
Good Sunday morning my stamping friends. Hope your weekend is going well. I’ll be at work all day today and it’s supposed to be a little warmer and rain, but this is NJ we’ll see what happens lol. Yesterday I actually had the day to myself, which is surprising for a weekend. My husband went in one direction, my daughter another and my son another, so it was just me and Jasmine, my dog. I was able to get a few things done, like update my retired list of items that I’m selling. You can see the new items that I added HERE, or by going to my blog at creativestampingdesigns.com and clicking on the top where it says Retirement Sale List. I had a bit of crafters block, so I wasn’t able to get cards done like I planned, but at least it wasn’t a wasted day lol.
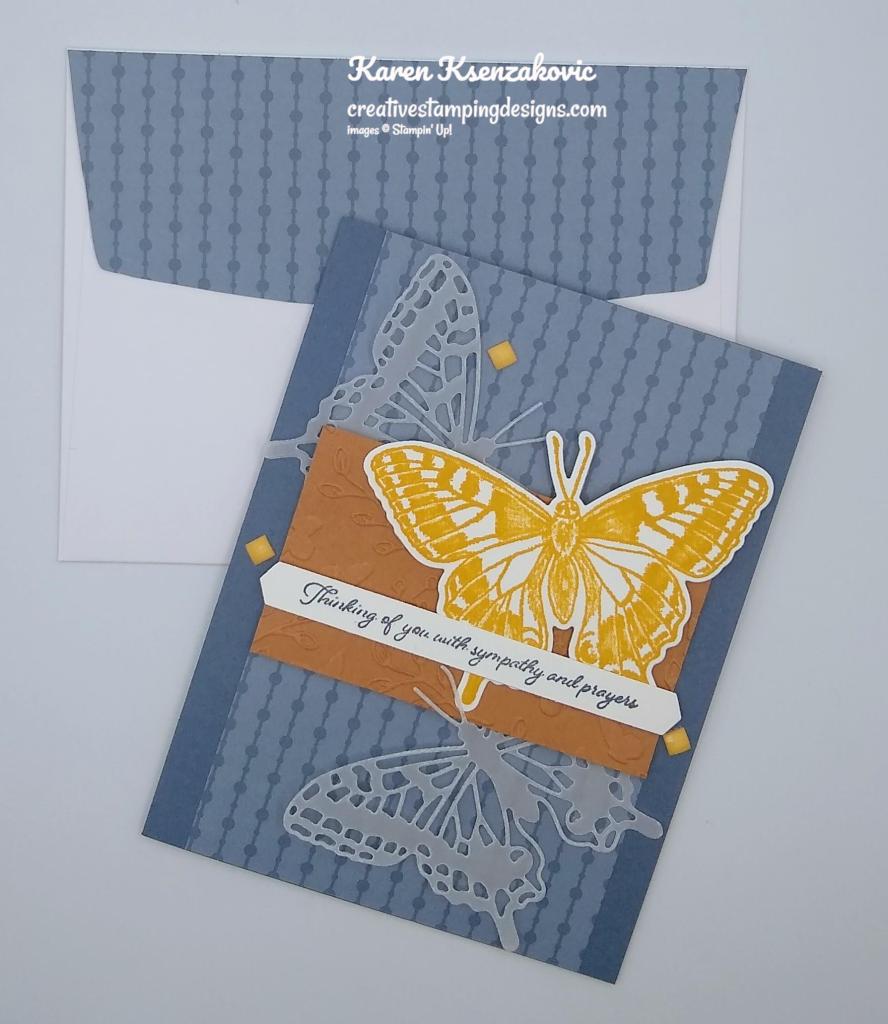
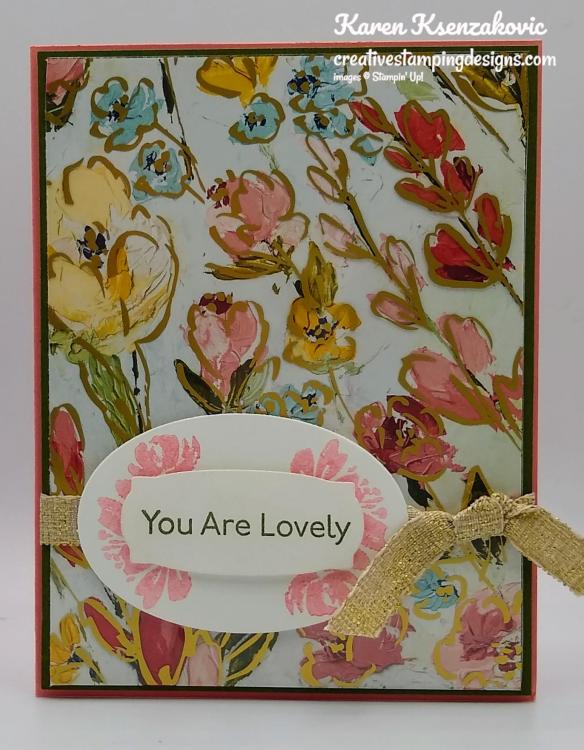
Today’s card is another one we made at my class on Tuesday using the 2020-2022 In-Colors. Here’s my card for today.
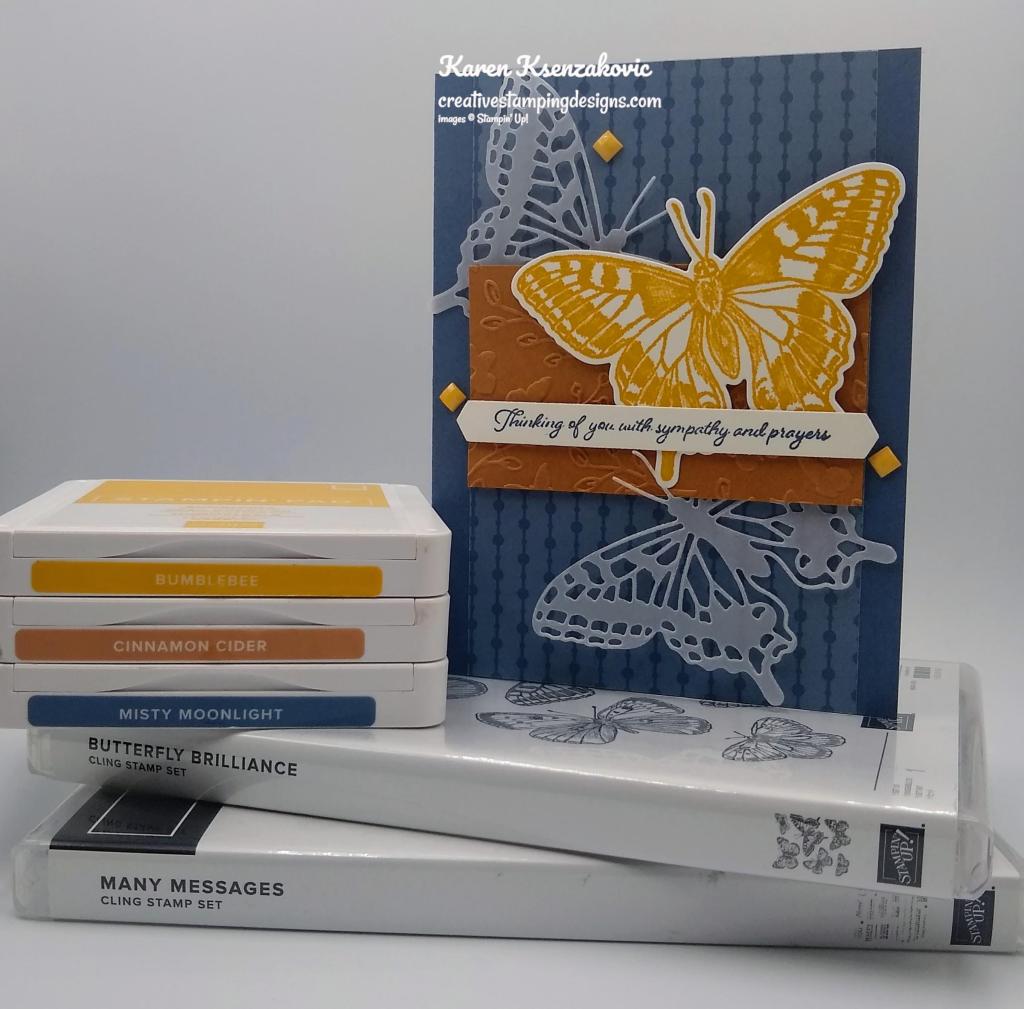
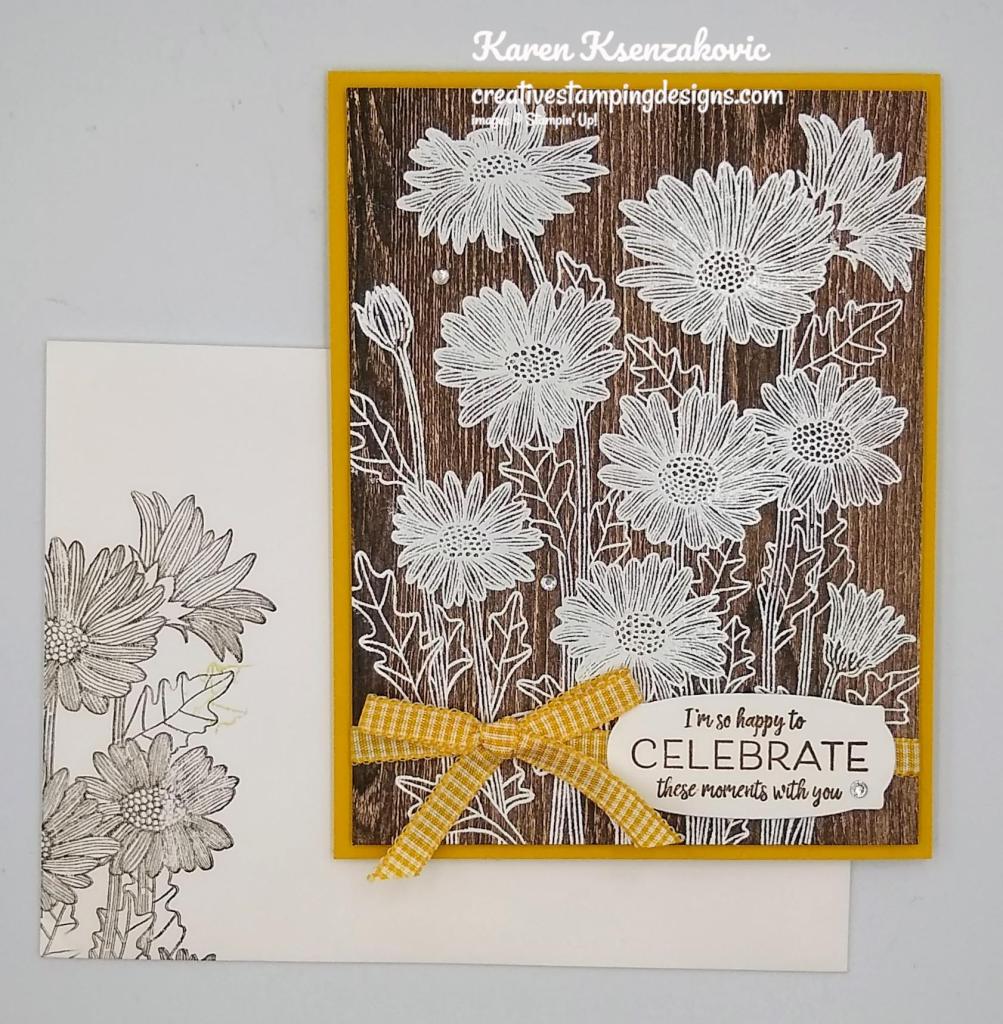
I used the Stampin’ Up! Butterfly Brilliance Cling Stamp Set along with the Stampin’ Up! Many Messages Cling Stamp Set and the 2020-2022 In-Color 6 X 6 Designer Series Paper for my card.
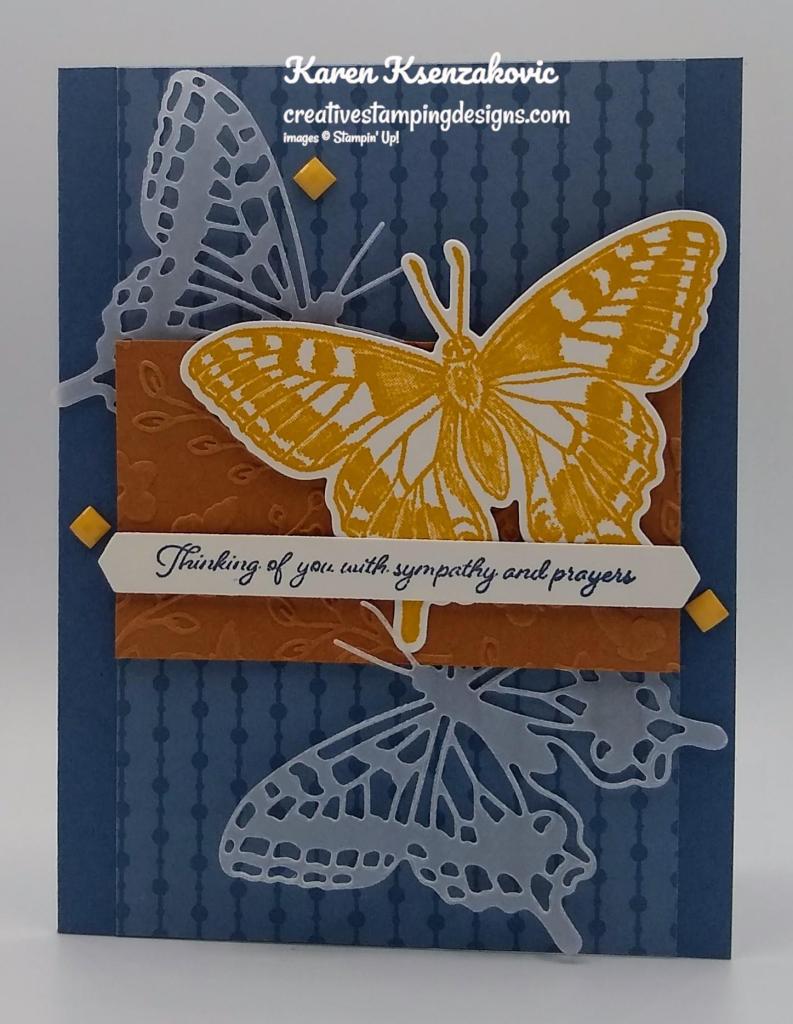
I started by adhering a panel of the Misty Moonlight 2020-2022 In-Color DSP to a Misty Moonlight card base. I embossed a panel of Cinnamon Cider cardstock using the Meadow Moments Embossing Folder and adhered it to the card front using Stampin’ Dimensionals.

I cut 2 of the largest detail butterflies from a panel of Vellum Paper using the Brillant Wings Dies. I adhered them under the Cinnamon Cider panel using Glue Dots on the wing that was tucked under the panel only. On a panel of Basic White cardstock I stamped the large butterfly image from the Butterfly Brilliance stamp set in Bumblebee Ink. I cut the butterfly out using my Brilliant Wings Dies.
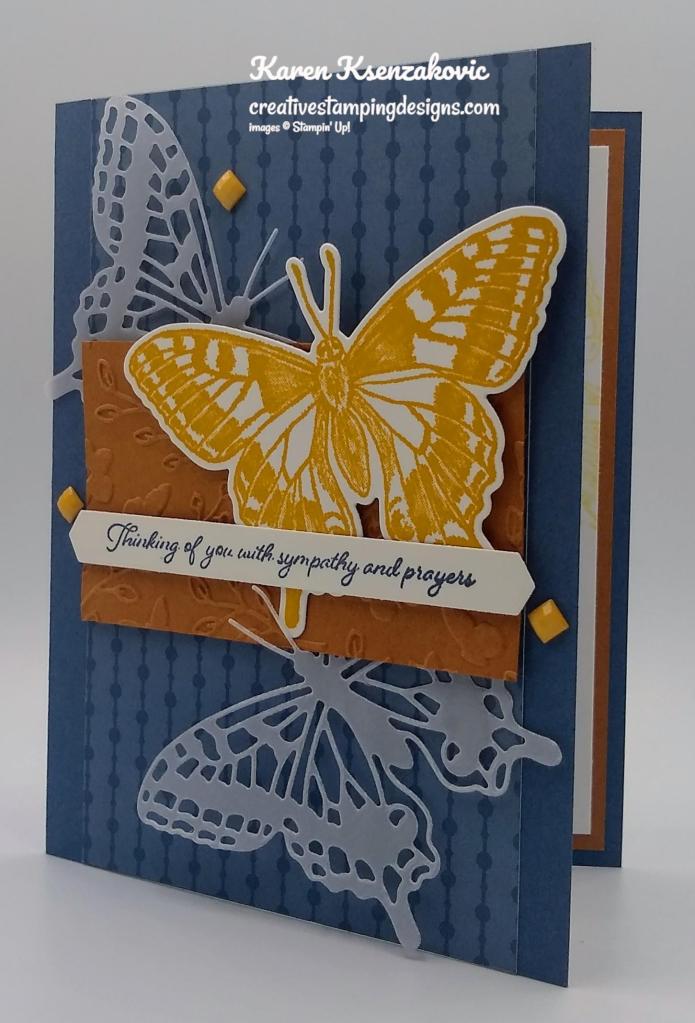
I adhered the stamped butterfly image to the card front on the Cinnamon Cider panel using Stampin’ Dimensionals. I stamped the sentiment from the Many Messages stamp set in Misty Moonlight Ink. I cut the sentiment out using my Messages Dies and adhered it over the butterfly using Stampin’ Dimensionals only on the ends. I added a few Bumblebee 2020-2022 In-Color Square Gems to the card front.
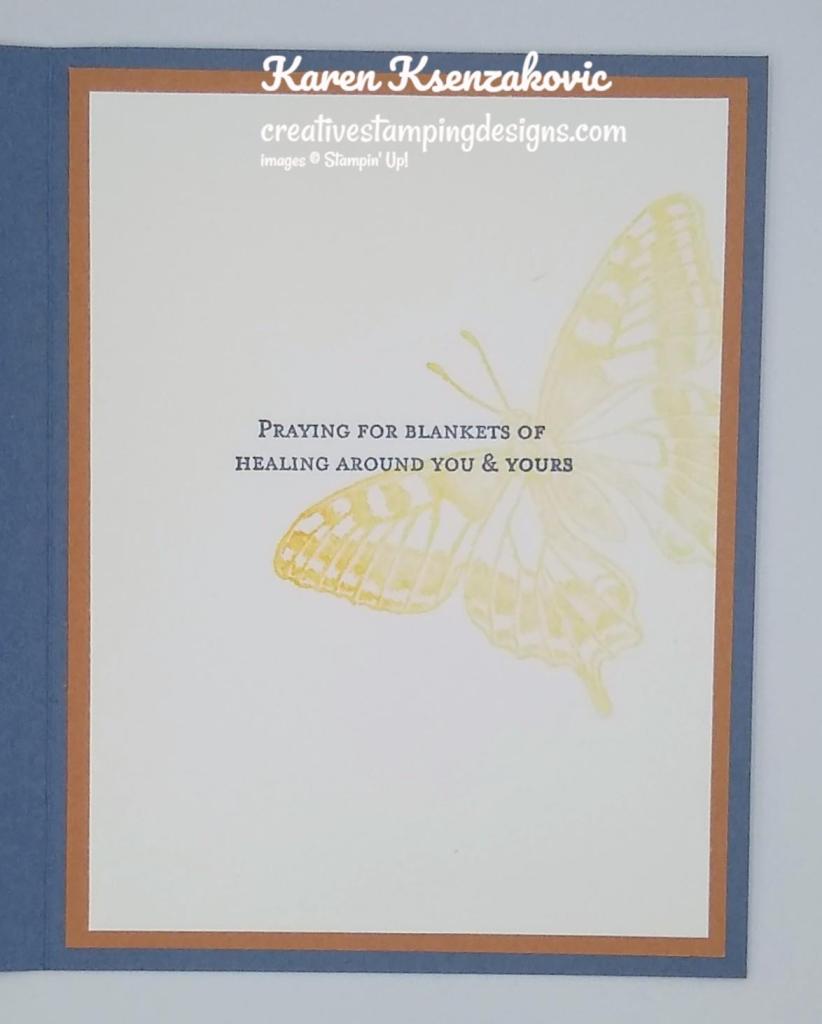
On the inside I stamped the sentiment from the Stampin’ Up! Through It Together Cling Stamp Set in Misty Moonlight Ink on a Basic White panel. I stamped the butterfly image from the Butterfly Brilliance stamp set in Bumblebee Ink, stamping off once on scrap paper, on the side of the panel. I adhered the Basic White panel to a Cinnamon Cider mat and then to the inside of the Misty Moonlight card base.

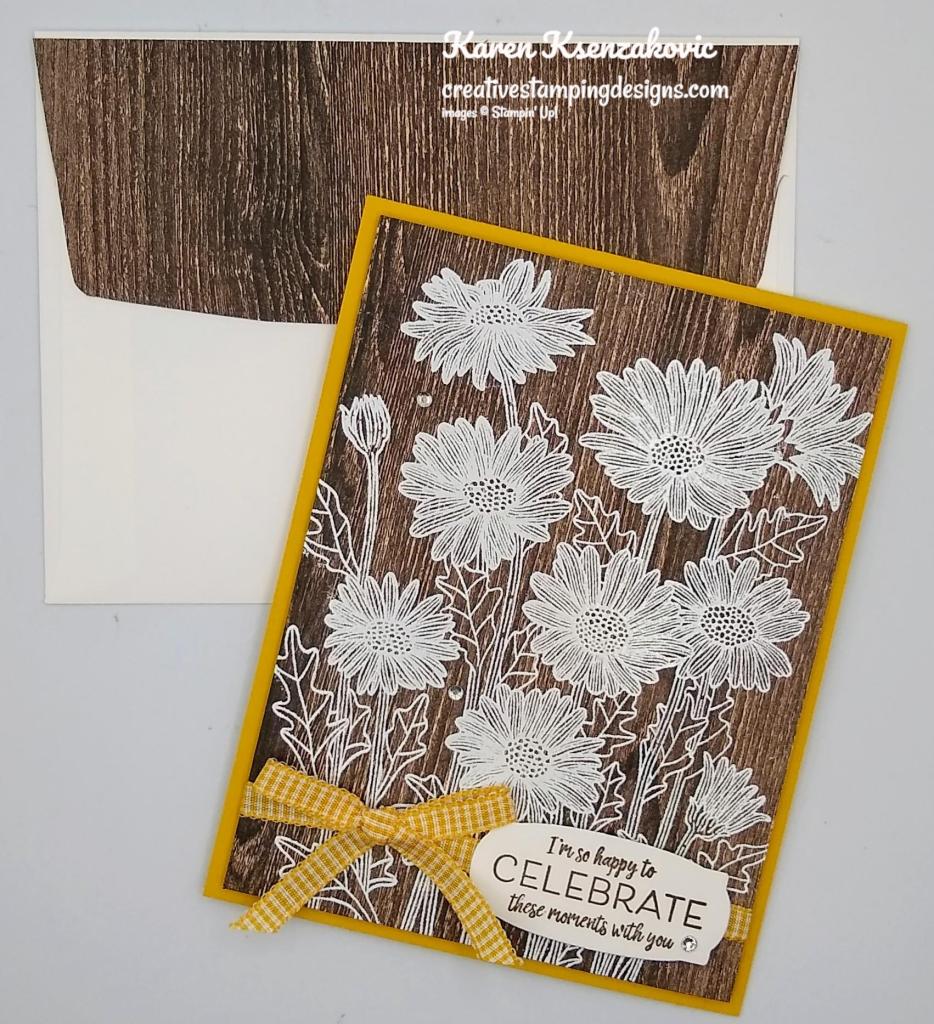
To finish my card, I decorated a Basic White Medium Envelope. I stamped the large butterfly from the Butterfly Brilliance stamp set in Bumblebee Ink on the envelope front. I adhered a panel of the Misty Moonlight 2020-2022 In-Color DSP to the envelope flap.
Thank you for stopping by my blog today. I hope you liked my card and will give it a try. Happy Stamping!!
*********************************************************************************************************
If you need any stamping supplies, I’d love to be your Demonstrator. Just click HERE to go directly to my online store or drop me an email if you have any questions.
MY CURRENT HOST CODE IS: R6393VBY
Use this host code when placing an order with me. When you order $50 or greater you will receive a free gift from me! If your order is over $150, please do not use this code, but you’ll still get the free gift. The free gift is your choice of any 1 item valued up to $10.00 from the 2021-2022 Annual Catalog or the January – June 2022 Mini Catalog! For any orders $50 or more I will also send you my monthly class tutorials. Click HERE or go to my Customer Rewards for more details and to see what this month’s tutorials are.
Please remember to use my current Host Code and make sure that you can see my name on the final checkout page listed as your Demonstrator when you order so that you know that you’re ordering with me and you’ll get my rewards!
Happy Stamping, Karen
*********************************************************************************************************
Savings are in Bloom
March 1 – March 31
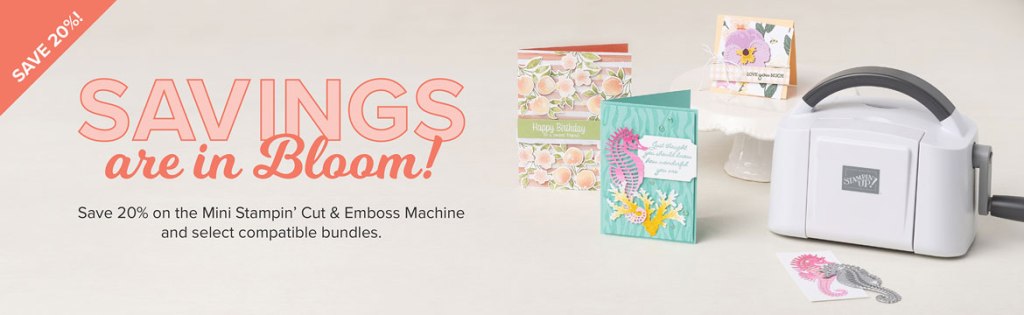
If you haven’t already, it’s time to meet your mini crafting companion: the Mini Stampin’ Cut & Emboss Machine! If this is your first encounter, allow us to introduce you.
This mini—but mighty—machine is durable, portable, and easy to use. It’s the perfect pick for budding beginners who want to branch out, papercrafting pros who want to craft on the go, or those who are short on storage space! With this trusty tool, any crafter can make precise cuts and embossed designs for their projects with one pass.
During the month of March, you can snag the Mini Stampin’ Cut & Emboss Machine at a 20% discount! This miniature machine is compatible with a large selection of Stampin’ Up! embossing folders and dies. Build your craft collection and combine the Mini Stampin’ Cut & Emboss Machine with any (or all!) of the select stamp-and-die bundles that are also available for 20% off during the month of March!
Take your crafting to the next level.
Savings are in Bloom Promotion Details
- Promotion Sales Period: March 1 – March 31, 2022
- Promotion Ends: March 31, 2022 at 11:50 PM MT
- The Mini Stampin’ Cut & Emboss Machine will be available for purchase at a 20% discount.
- A number of select stamp-and-die bundles that are compatible with the Mini Stampin’ Cut & Emboss Machine will also be available for purchase at a 20% discount.
- For this promotion only, we’ve brought back the previously popular Art Gallery, Celebrate Sunflowers, and Garden Wishes bundles. They will only be available in their bundle form during this promotion, so make sure to snag ‘em while you still can!
- The Mini Stampin’ Cut & Emboss Machine and select compatible bundles can be bought together or separately.
- There is no limit on the number of Mini Stampin’ Cut & Emboss Machines you can purchase during this promotion.
- Products are available in all markets while supplies last. Offer may vary from market to market based on product availability. No backorders or substitutions will be allowed.
- The stamp-and-die bundles that can be found in a current catalog will be replenished until they retire. When they do retire, the bundles will be added to the Retiring List.
- Due to supply chain challenges, this promotion may be altered or ended early. I will notify you if we hear that this offer may be changed or ended before March 31.
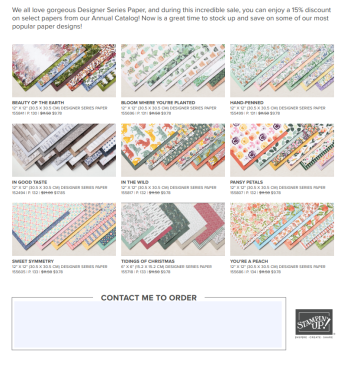
You can see the full list of bundles included in the sale on this flyer Click Here for a printable PDF flyer.
*********************************************************************************************************
Now Available Waves of The Ocean Collection
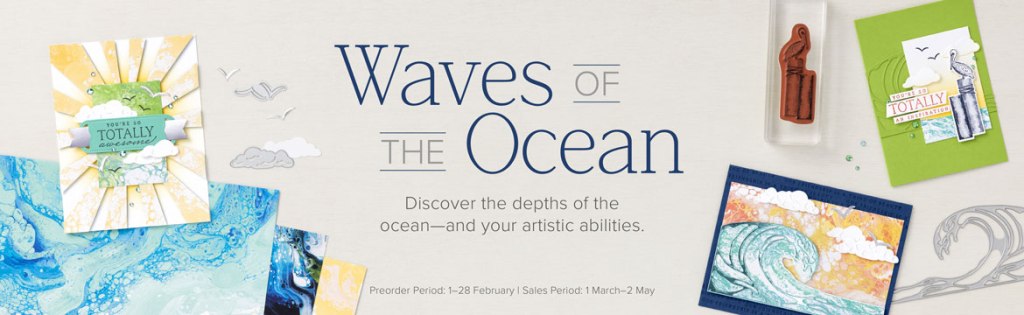
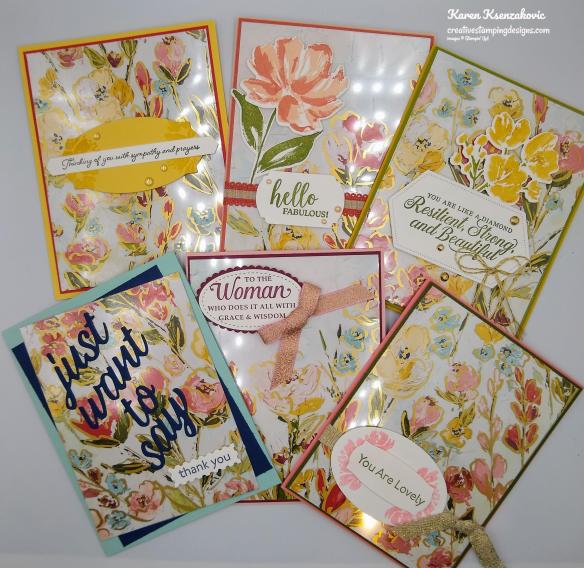
Each of the world’s wide and open oceans is brimming with beauty and wonder. Marvelous marine animals, miles of submerged mountain ranges, and unique underwater plants lie thousands of feet below Earth’s dry surface, encouraging exploration and awaiting discovery.
Discover the depths of the ocean—and your artistic abilities—with the Waves of the Ocean Collection! This coastal collection includes an inspiring set of stamps and detailed dies, both early-release products from the upcoming 2022–2023 Annual Catalog. Plus, a pack of paper made from images of hand-poured paint, blue-hued foil sheets for a sea of shine, and radiant rhinestones for a splash of sparkle—each an exclusive product you can only purchase during the promotion period!
Explore artistic expression with the Waves of the Ocean Collection. With these seaside supplies, you’ll dive into inspiration and swim in a sea of creativity! Keep reading for promotion and product details, marketing tips and tricks, and shareable resources that’ll blow you out of the water.
Promotion Details:
- Waves Of The Ocean Product Collection available beginning March 1, 2022.
- Ordering Deadline: May 2, 2022; 11:50 PM (MT)
- The Waves of Inspiration Stamp Set and Waves Dies can be ordered separately, if desired.
- The following exclusive products are only available while supplies last:
- Waves of the Ocean 12″ x 12″ Designer Series Paper
- Blue Foils 12″ x 12″ Specialty Paper
- Rhinestone Waves Basic Jewels
- Qualifying orders are eligible for Stampin’ Rewards. The Waves of the Ocean Collection can not be selected as a half price item.
Click Here for a printable PDF Flyer.
*********************************************************************************************************
ORDERING BONUS FROM ME!!!

I’m offering a little ordering bonus for all orders of $50+ place through me during the month of March! Instead of getting only the tutorials of the month, you’ll get six sets of previous tutorials using bundles that are currently on sale plus the March Daffodil Daydream tutorials!
Here are all seven of the tutorials that you’ll get:
- Daffodil Daydream
- Sweet As A Peach
- Quiet Meadow
- Pansy Patch
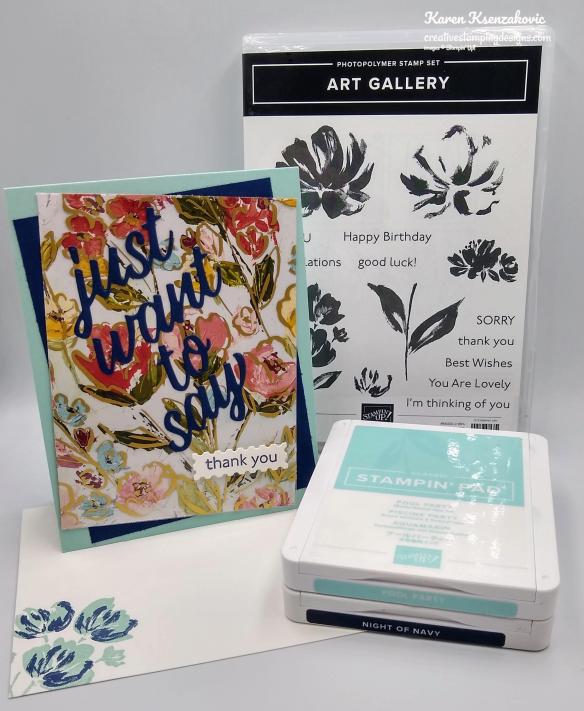
- Art Gallery*
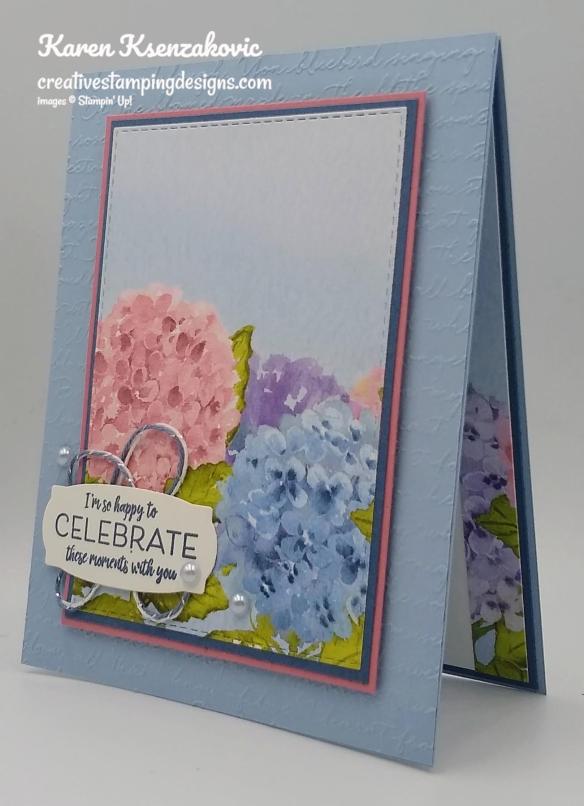
- Hydrangea Haven*
- Celebrate Sunflowers*
You’ll get the tutorials from me no matter what you purchase as long as your order is $50 or greater during March 2022!
*Some of the tutorials are feature items that are now retired; however, the basic designs can be incorporated with many different designer papers and embellishments.
Click Here for my Online Store and start shopping those, Sales.
*********************************************************************************************************
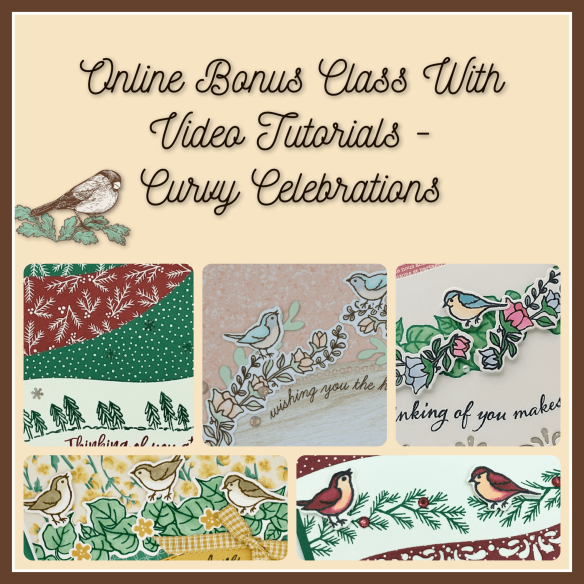
Beyond The Horizon
Subscribe February 11 – March 10
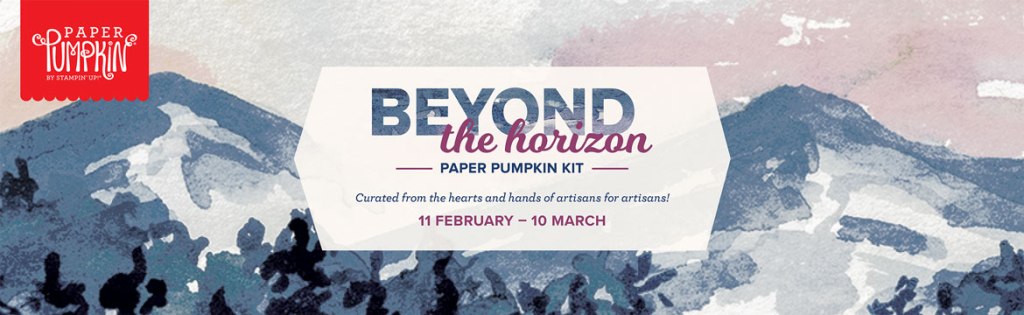
From the hands and hearts of our in-house artisans to you—our fellow crafters and creators—comes this month’s breathtaking kit. The Beyond the Horizon Paper Pumpkin Kit includes watercolor prints and designs inspired by the beautiful nature around us to create nine cards and coordinating envelopes. And paper pieces that perfectly coordinate with the New Horizons Suite Collection in the January–June 2022 Mini Catalog.
Don’t forget the FREE stamp set inside (yes—that’s two stamp sets in one kit!) as our way of saying THANK YOU to all of our wonderful Paper Pumpkin subscribers.
With all these marvelous materials and more, we can’t wait to see how you take this kit far beyond the horizon!
Details:
- This month’s kit contains enough elements to create 9 cards—3 each of 3 designs—and 9 coordinating envelopes. This all-inclusive kit includes printed card bases, die-cut paper pieces, embellishments, adhesive, and more!
- The Beyond the Horizon Paper Pumpkin Kit includes a Misty Moonlight Classic Stampin’ Spot!
- This kit’s stamp set is perfect for any occasion. With sentiments that say “thanks”, “hello”, “thinking of you,” and so many more, you’ll be able to use this stamp set year round.
- And if you thought one stamp set was great just wait—this month’s kit comes with a BONUS stamp set for FREE! That’s two stamp sets in one kit! It’s our way of saying THANK YOU to you our Paper Pumpkin subscribers.
- That’s not all! This kit perfectly coordinates with the New Horizons Suite Collection in our January–June 2022 Mini Catalog Which means even more exclusive elegant watercolor designs curated by our in-house artists just for you!
- Card size: 4-1/4″ x 5-1/2″ (10.8 x 14 cm)
- Envelope size: 4-1/2″ x 5-3/4″ (11.4 x 14.6 cm)
- Coordinating colors: Bumblebee, Calypso Coral, Evening Evergreen, Misty Moonlight, Night of Navy, Old Olive, Pale Papaya
Subscribe to the March Paper Pumpkin Kit between 11 February and 10 March at paperpumpkin.com!
Note: Supplies may be limited toward the end of the subscription period.
*********************************************************************************************************
Card stock cuts for this project:
- Basic White Cardstock 3″ X 4″ (butterfly), 3 3/4″ X 5″ (inner liner)
- Cinnamon Cider Cardstock 2″ X 3 1/2″ (card front panel), 4″ X 5 1/4″ (inner liner mat)
- Misty Moonlight Cardstock 8 1/2″ X 5 1/2″ (card base scored & folded at 4 1/4″)
- 2020-2022 In-Color 6 X 6 Designer Series Paper 3 1/2″ X 5 1/2″ (card front panel), 2 1/4″ X 6″ (envelope flap)
*********************************************************************************************************
Product List


")


 Designer Series Paper")


")


")


 Designer Series Paper")


")


 Blushing Bride Metallic Ribbon")
 Fine Art Ribbon")
 Scalloped Linen Ribbon")


")
")

")


")


")


