Good Friday morning my fellow stampers. Welcome to Fun Fold Friday. I’ve made a Corner Flip Fun Fold card for you today. Here’s my card.

My card today joined in with Global Design Project Theme Challenge #195. I didn’t even see this challenge until after my card was done. Here is their theme for the week.

I started with a Thick Whisper White card base. After scoring it at the 4 1/4″ mark, I slid the end of the card to the 3″ mark on my trimmer. The 8 1/2″ side should be up against the bottom edge. I placed the cutting blade at the 2 1/2″ mark and cut to the 4 7/8″ mark. I then turned the card with the 5 1/2″ side against the bottom edge and placed the long edge at the 3″ mark. I placed the cutting blade at the 3″ mark and cut to the 5/8″ mark. I turned the cut edge, which is in the middle of the card front, in from the bottom and brought it up to the top and using my Bone Folder gave a good press on the folded edges.

After flipping the cut piece, I adhered a panel of Night of Navy of Navy and Mango Melody to the turned panel. On a panel of Whisper White cardstock I stamped the cluster of clouds from the Stampin’ Up Above The Clouds Photopolymer Stamp Set in Seaside Spray Ink. I then stamped the cluster of hot air balloons from the Above The Clouds stamp set in Tuxedo Black Ink. On a small panel of Whisper White cardstock I stamped the 2 large hot air balloons from the Above The Clouds stamp set in Tuxedo Black Memento Ink and punched them out using the Hot Air Balloon Punch. I colored all the balloons in using my Call Me Clover, Crumb Cake, Daffodil Delight, Mango Melody, Night of Navy, Poppy Parade and Pumpkin Pie Stampin’ Blends Markers. I adhered the artwork panel to the card front using Snail. I adhered the 2 larger hot air balloons to the card front using Stampin’ Dimensionals. On a scrap piece of Crumb Cake cardstock I stamped the balloon basket from the Above The Clouds stamp set in Soft Suede Ink twice and punched them out using the Hot Air Balloon Punch. I adhered them using a Mini Stampin’ Dimensional to the bottom of the larger balloons.

I stamped the clouds from the Above The Clouds stamp set all around the card base in Seaside Spray Ink stamping off once. I stamped a couple of the birds from the Above The Clouds stamp set in Tuxedo Black Memento Ink on the card base. On the bottom of the card base I stamped the sentiment from Above The Clouds stamp set in Night of Navy Ink. I immediately sprinkled it with Clear Stampin’ Emboss Powder and heat set it using my Heat Tool. It[s very hard to see, but I also stamped a few of the smaller balloons from the Above The Clouds stamp set in VersaMark Ink on either side of the sentiment. I sprinkled them with Clear Stampin’ Emboss Powder and heat set it using my Heat Tool.

For the inside I took a panel of Night of Navy cardstock and using VersaMark Ink I stamped the smaller hot air balloons from the Above The Clouds stamp set all around. I sprinkled the panel with Clear Stampin’ Emboss Powder and heat set it using my Heat Tool. I adhered the Night of Navy panel to the inside of the Thick Whisper White card base using Multipurpose Liquid Glue. On a Whisper White panel, I stamped the sentiment from Above The Clouds stamp set in Night of Navy Ink in the center. I stamped the clouds from the Above The Clouds stamp set around on the panel in Seaside Spray Ink stamping off once. I stamped the small hot air balloons and the birds from the Above The Clouds stamp set in Tuxedo Black Memento Ink on the Whisper White panel. I colored the balloons in the same as I did for the card front. To adhered the Whisper White panel so that it doesn’t show when the card is closed, I placed it behind the folded card front and folded the card back to it using Multipurpose Liquid Glue.


To finish my card I decorated a Medium Whisper White Envelope. I stamped the clouds from Above The Clouds stamp set all around the front of the envelope and on the bottom of the envelope flap in Seaside Spray Ink stamping off once. I stamped the birds and the smaller hot air balloons from the Above The Clouds stamp set in Tuxedo Black Memento Ink on the envelope flap and colored them in the same as I did for the card front.
Thank you for stopping by my blog today. I hope you enjoyed today’s fun fold card and will give it a try. I hope everyone has a fabulous weekend! Happy Stamping!!
****************************************************************************************************
If you need any stamping supplies, I’d be very happy to be your Demonstrator. Just click here to go directly to my online store or drop me an email if you have any questions.
MY CURRENT HOST CODE IS: AHCJYGJN
For any orders $50 or more I will send you my monthly class tutorials. Click here or go to my Customer Rewards to see what this months tutorials are.
STAMPS ON THE CLEARANCE RACK
For the first time ever, Stampin’ Up! is putting stamp sets on the Clearance Rack! This is not something they have done in the past—and they don’t know if they will do again—so pick up those deals while you can!
Click here to shop the clearance rack.
Happy Stamping, Karen!
****************************************************************************************************
EXTRA, EXTRA!! JOINING PROMOTION JULY 1, 2019 – AUGUST 31, 2019

From July 1 until August 31, new demonstrators will receive an additional $30 to put toward bonus products in their Starter Kit (for a total of $155 in merchandise for $99)!! THEN, they’ll receive a $10 coupon code the following month. Are you interested? Keep reading to learn more!
Dates: July 1 – August 31 at 11:50 PM MT
Details:
- The bonus at initial sign up allows demonstrators to pick $30 more than usual. You will pay $99 to sign up and choose $155 worth of Stampin’ Up! products in your Starter Kit.
- Coupon codes will be sent between the fifth and seventh business day of the following month the new demonstrator signs up.
- The email address listed in a new demonstrator’s profile will be used to send the $10 coupon code.
- Coupon codes may be redeemed only once.
- Coupon codes expire October 31, 2019; after this date, they will no longer be valid.
- New demonstrators who submit their Independent Demonstrator Agreement (IDA) before July 1 or after August 31 will not be eligible for this promotion.
If you’ve ever considered purchasing that Starter Kit, now is a great time! We’d love to have you join and get that discount for yourself or start your own business!!
If you are interested in joining my team click here for details or email me. I’d love to have you on my team.
****************************************************************************************************
STAMPIN’ UP BONUS DAYS ARE BACK STARTING JULY 1, 2019

YAY!!! The awesome Bonus Days promotion from Stampin’ Up! is back!! For every $50 that you spend between July 1 and July 31 (before shipping and tax), you will earn a $5 Bonus Days coupon code that can be used August 1–31!
Earning Period Details – July 1-31:
- Earning Period Deadline: July 31, 2019, by 11:50 PM (MT)
- An email address is required to participate; Bonus Days coupon codes can be delivered only via email.
- If a participant earns multiple codes from a single order, they will receive one email with multiple codes. If they earn multiple codes from multiple orders, they will receive separate emails for each code earned.
- All order types qualify for this promotion. Fax and email orders still require an email address.
- Orders that are started before the promotion begins will not go toward earning coupon codes.
- There is no limit to the number of coupon codes participants can earn per order or throughout the duration of the Bonus Days earning period.
Redemption Period Details – August 1-31:
- Redemption Period Deadline: August 31, 2019, by 11:50 PM (MT)
- There is no limit to the number of coupon codes participants can use on an order during redemption.
- Bonus Days coupon codes may be redeemed for any product (excluding Starter Kits and Paper Pumpkin subscriptions).
- New prepaid Paper Pumpkin codes may be discounted with Bonus Days coupon codes.
- Bonus Days coupon codes may be redeemed one time only.
The earning period for this awesome promotion starts on July 1 and the coupons can be redeemed beginning August 1!! Let me know if you have any questions.
****************************************************************************************************

I have gathered up a lot of retired Stamp Sets, Embossing Folders & Dies and put a list together for anyone interested. I have single Stamp Sets along with Stamp Sets bundled with Dies or Punches. Take a look and see if there is anything that you missed out on getting and would still like. Click Here to go to my list.
****************************************************************************************************
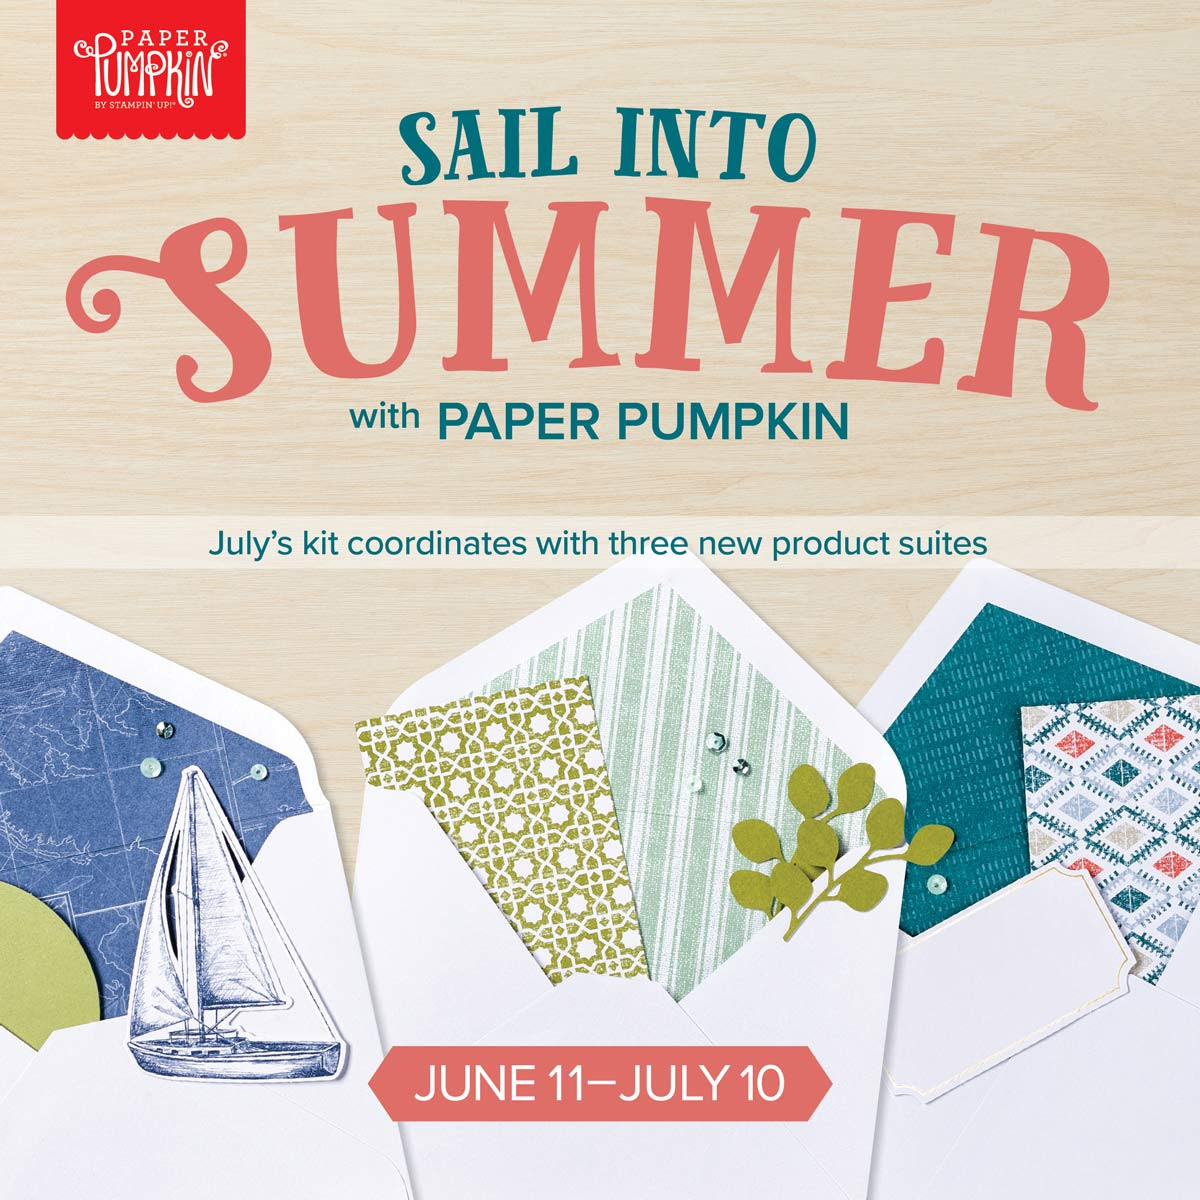
Sail Into Summer – July Paper Pumpkin Kit!
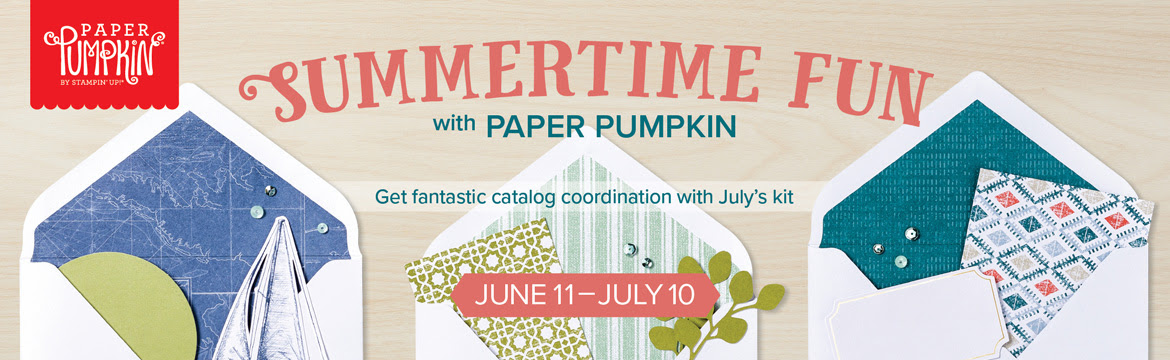
This month, Paper Pumpkin is providing unprecedented catalog coordination, giving you THREE new suites that you can mix and match with July’s kit! The three suites are:
- Woven Threads Suite p. 13–14
- Garden Lane Suite p. 40–41
- Come Sail Away Suite p. 144–145
More about the July Kit:
- Makes 9 mailable cards with envelopes (3 each of 3 designs)
- Coordinating colors: Gold, Kraft, Mossy Meadow, Old Olive, Pear Pizzazz, Pretty Peacock, Sahara Sand, Seaside Spray, and Terracotta Tile
- Must have an active subscription by July 10, 2019 to receive the On My Mind kit.
- Product availability may be limited toward the end of the promotion period.
If you’re interested in subscribing to Paper Pumpkin yourself, you can either sign up for a subscription where you are billed monthly for your kit or you can purchase a prepaid subscription in my online store. To see more information and to sign up for the monthly subscription, CLICK HERE. To see the options for prepaid subscriptions in my online store, CLICK HERE.
****************************************************************************************************
Card stock cuts for this project:
- Mango Melody Cardstock 2 3/4″ X 2 3/4″ (corner flip mat)
- Night of Navy Cardstock 2 7/8″ X 2 7/8″ (corner flip mat), 5 3/8″ X 4 1/8″ (inner liner mat)
- Whisper White Cardstock 2 5/8″ X 2 5/8″ (artwork), 4 1/2″ X 3 1/8″ (inner liner)
- Thick Whisper White Cardstock 8 1/2″ X 5 1/2″ (card base scored and folded at 4 1/4″)
****************************************************************************************************
Product List


 I colored the images in using my Pretty Peacock, Purple Posy, Rococo Rose and Seaside Spray Stampin’ Blends Markers. Since we don’t have a Terracotta Tile Stampin’ Blend Marker yet, I used the Terracotta Tile Re-inker and my Aqua Painter filled with alcohol.
 I stamped the sentiment from the Garden Shed stamp set in Tuxedo Black Memento Ink on the top of the card front. I adhered the card front to a Pretty Peacock card base using Snail.
 On the inside I stamped the flower pot and watering can image from the Garden Shed stamp set in Tuxedo Black Memento Ink on a Whisper White panel stamping off 3 times. I stamped the sentiment from the Garden Shed stamp set over the top of the lightly stamped image in Tuxedo Black Memento Ink. I adhered the Whisper White panel to the inside of the Pretty Peacock card base using Multipurpose Liquid Glue.