
Good Tuesday morning my stamping friends. I hope your week has started well. I’ve got a busy one ahead of me. Today is my only day off and I’ll be working the next 6 days straight. Maybe I’ll be surprised, and they won’t schedule me for Sunday.
Today’s card is another one that we made at our quarterly team meeting a couple weeks ago. This one was designed by another one of our team members Darryl Robbins. Here’s my card for today.
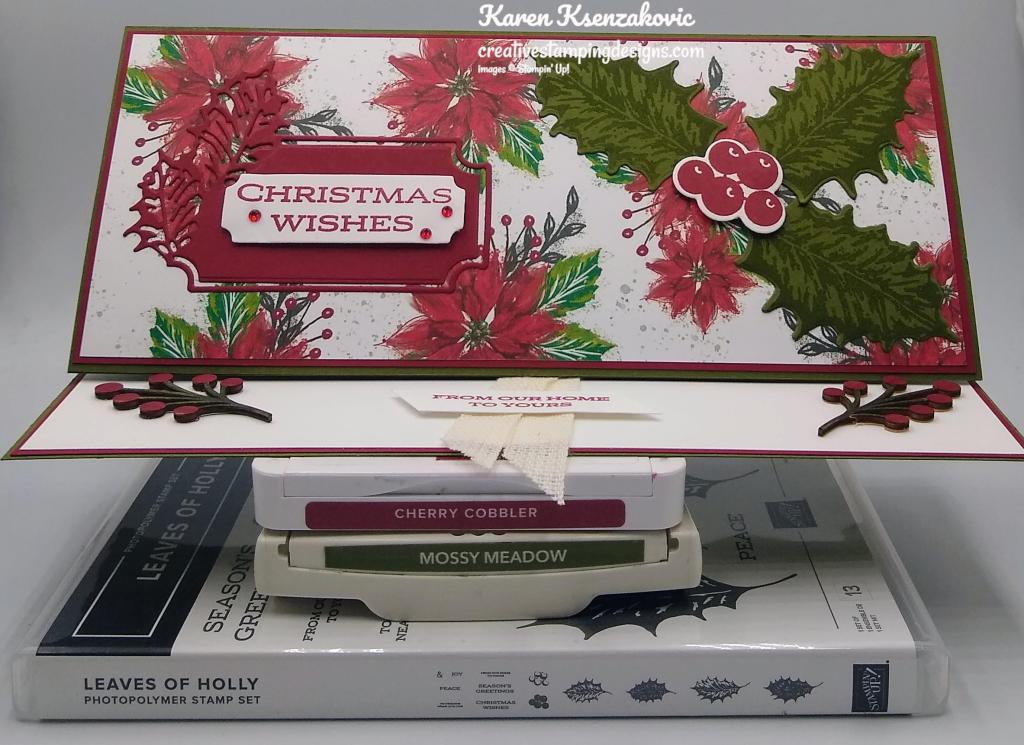
I used the Stampin’ Up! Leaves of Holly Bundle along with the Boughs of Holly Designer Series Paper for my card today. This was the first time I’ve made a Slimline card and I think it came out pretty good since I didn’t know what I was doing.
I started by adhering a panel of Boughs of Holly DSP to a Cherry Cobbler mat. I adhered the layered panel to the panel of Mossy Meadow cardstock using Multipurpose Liquid Glue. I adhered the layered panels to the 1 7/8″ section of the Mossy Meadow card base using Multipurpose Liquid Glue.

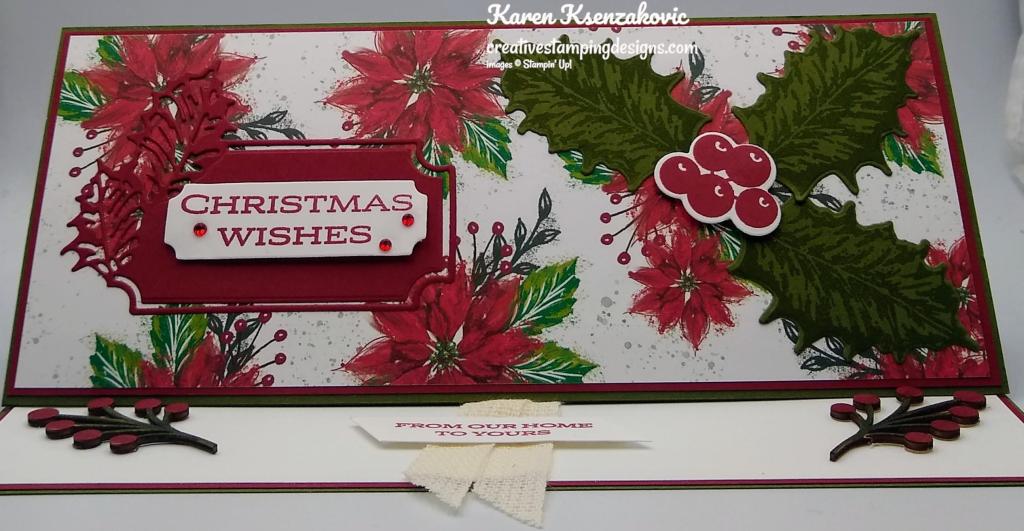
Using the Holly Berry Dies, I cut the holly frame die from a panel of Cherry Cobbler cardstock. I stamped the sentiment from the Stampin’ Up! Leaves of Holly Photopolymer Stamp Set in Cherry Cobbler Ink on a panel of Basic White cardstock. I cut the sentiment out using the Holly Berry Dies. I adhered the holly frame to the card front using Multipurpose Liquid Glue. I adhered the sentiment inside the frame using Stampin’ Dimensionals.
On the panel of Mossy Meadow cardstock, I stamped the smaller holly leaf image from the Leaves of Holly stamp set in Mossy Meadow Ink. I cut the leaves out using the Holly Berry Dies. On the panel of Basic White cardstock, I stamped the berry image from the Leaves of Holly stamp set in Cherry Cobbler Ink and cut them out with the Holly Berry Dies. I adhered the leaves to the card front using Multipurpose Liquid Glue. I adhered the berries over the leaves using Stampin’ Dimensionals. I added a few Red Rhinestone Basic Jewels to the card front.
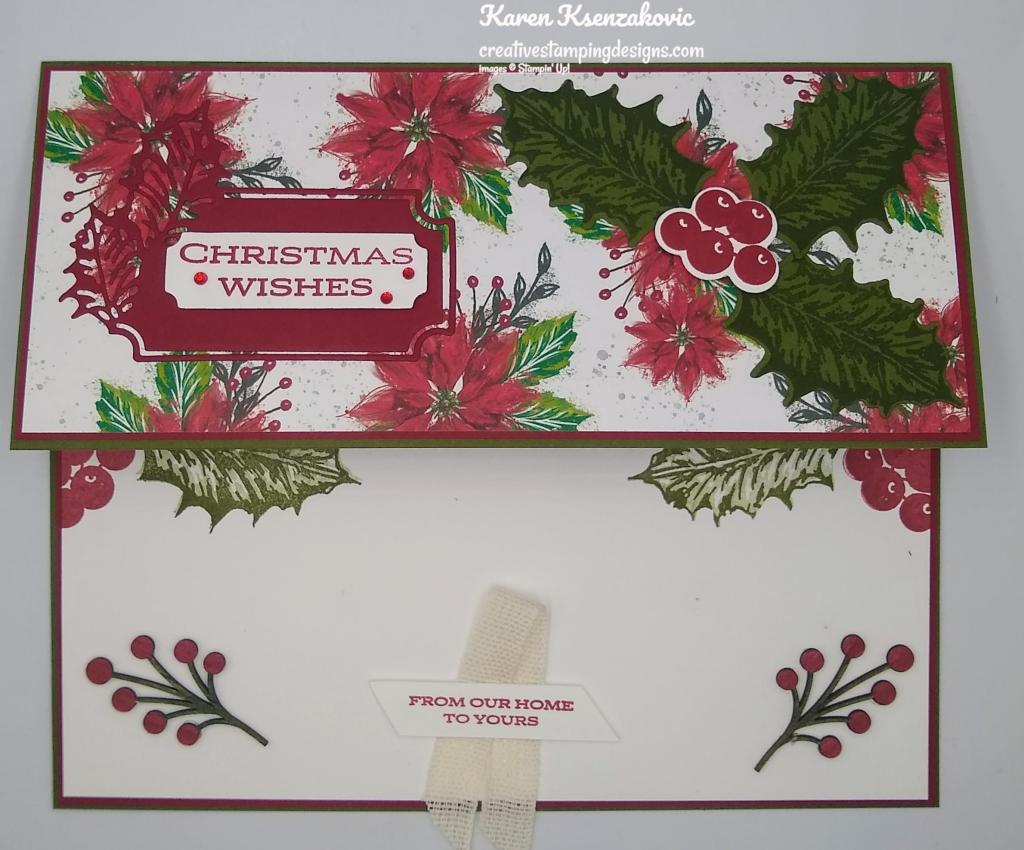
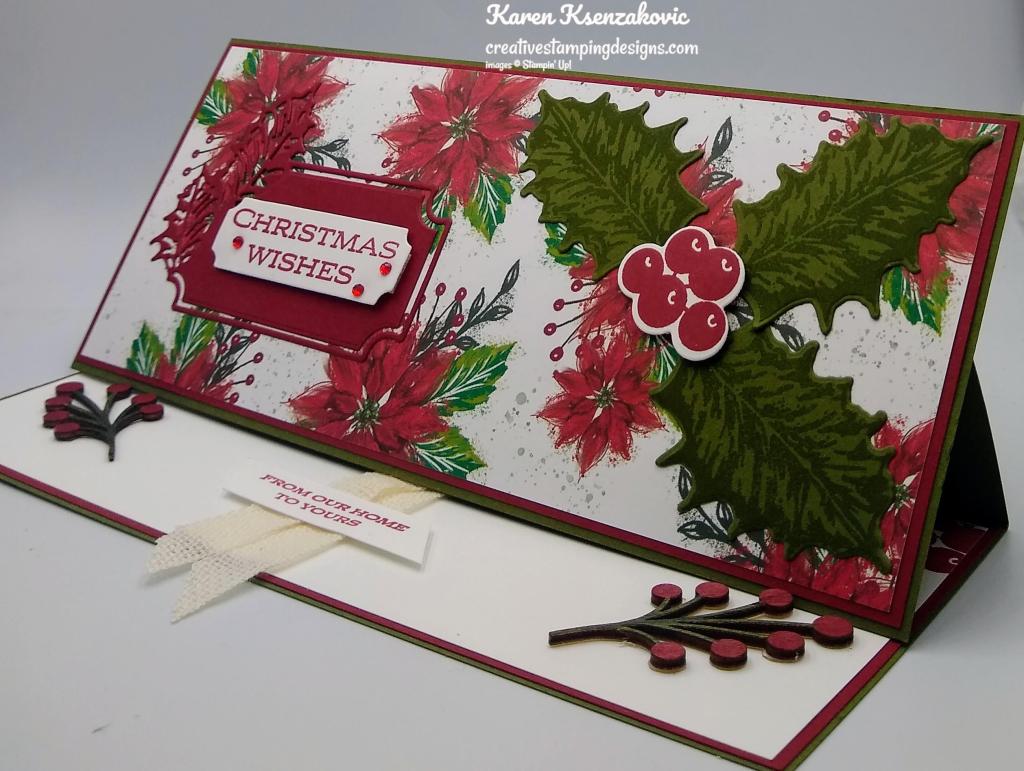
For the inside. I stamped the holly leaf images from the Leaves of Holly stamp set in Mossy Meadow Ink on the top of a Basic White panel. I stamped the berry image by the holly leaves in Cherry Cobbler Ink. I adhered the Basic White panel to a Cherry Cobbler mat and then to the inside of the Mossy Meadow card base. I stamped the sentiment from the Leaves of Holly stamp set in Cherry Cobbler Ink on a panel of Basic White cardstock. I cut the 2 ends on an angle using my Paper Snips. I adhered a piece of the Natural 1/2″ Woven Ribbon on the bottom of the panel using Stampin’ Seal. I adhered the sentiment over the ribbon using Stampin’ Dimensionals. I colored 2 of the Textural Elements using the Cherry Cobbler and Mossy Meadow Stampin’ Blends Markers. I adhered the Textural Elements on either side of the panel where I wanted the easel to stand using Glue Dots on the berry parts.
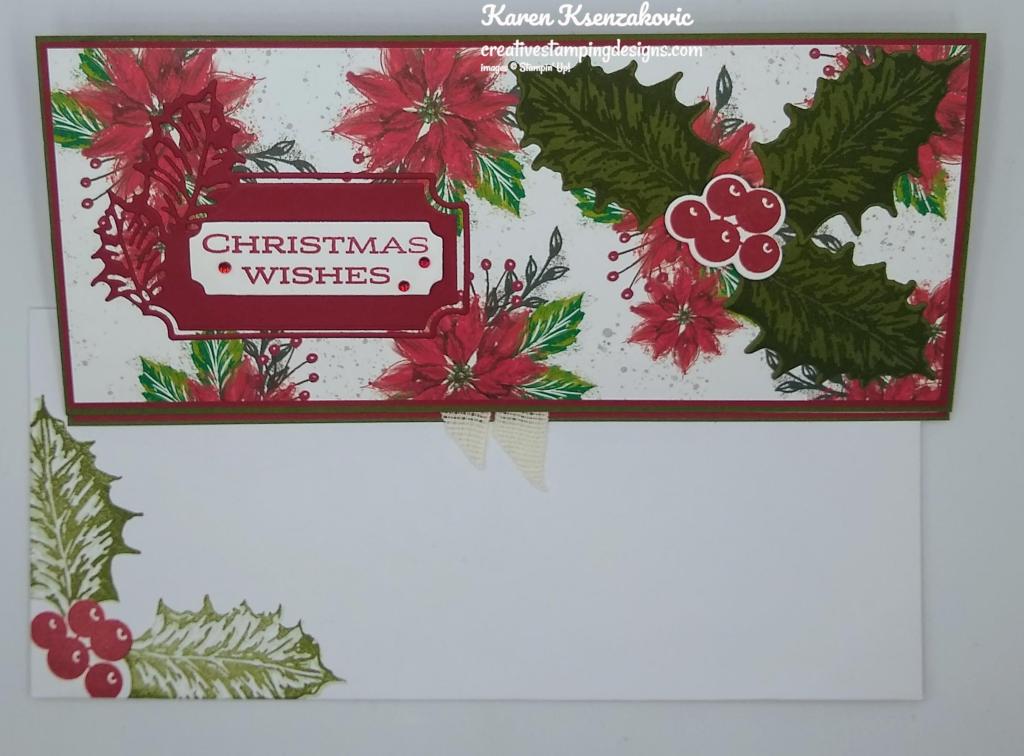
To finish my card, I decorated a Slimline Envelope. I stamped the holly leaf images from the Leaves of Holly stamp set in Mossy Meadow Ink and the berry image in Cherry Cobbler Ink on the envelope front.
Thank you for stopping by my blog today. I hope you liked the slimline card and will try it. Happy Stamping!!
*********************************************************************************************************
If you need any stamping supplies, I’d love to be your Demonstrator. Just click HERE to go directly to my online store or drop me an email if you have any questions.
MY CURRENT HOST CODE IS: CD74ZSKH
Use this host code when placing an order with me. When you order $50 or greater you will receive a free gift from me! If your order is over $150, please do not use this code, but you’ll still get the free gift. The free gift is your choice of any 1 item valued up to $10.00 from the 2022-2023 Annual Catalog or the July – December 2022 Mini Catalog! For any orders $50 or more I will also send you my monthly class tutorials. Click HERE or go to my Customer Rewards for more details and to see what this month’s tutorials are.
Please remember to use my current Host Code and make sure that you can see my name on the final checkout page listed as your Demonstrator when you order so that you know that you’re ordering with me and you’ll get my rewards!
Happy Stamping, Karen
*********************************************************************************************************
September 1 – September 30!!!

Every week in the month of September Stampin’ Up! will be offering a selection of discounted products. Discounts and product selection will vary from week to week.
Head over to my Online Store Here to see the Weekly Deals for this week.
- New products added each week on 1, 8, 15, and 22 September.
- Week 1: Sept 1−7, Week 2: Sept 8−14, Week 3: Sept 15−21, Week 4: Sept 22−28
- Promotion ends 28 September.
- Product options and discounts vary based on inventory availability.
- All order types qualify for this promotion
- Discounted items can be added to a Starter Kit.
- Get the most up-to-date product information on the online store beginning 1 September.
*********************************************************************************************************
Available Now!!

Some things are great on their own but become epic when they are paired with something else: cereal and milk, toast and butter, Fred Astaire and Ginger Rogers. We may be biased, but our favorite combo is our stamp sets and dies—and that’s what the Perfect Partners promotion is all about!
We created six new dies that coordinate with stamp sets in the 2022–2023 Annual Catalog and the July–December 2022 Mini Catalog. These coordinating dies will only be available during this promotion and will not be offered in any catalog.
These stamp sets and dies are available separately or as a bundle. By buying the bundle, you and your customers will save 10% off the retail price.
Put these wonderful stamp sets and dies together for more papercrafting fun!
*********************************************************************************************************
Ho Ho Ho
Subscribe September 11 – October 10
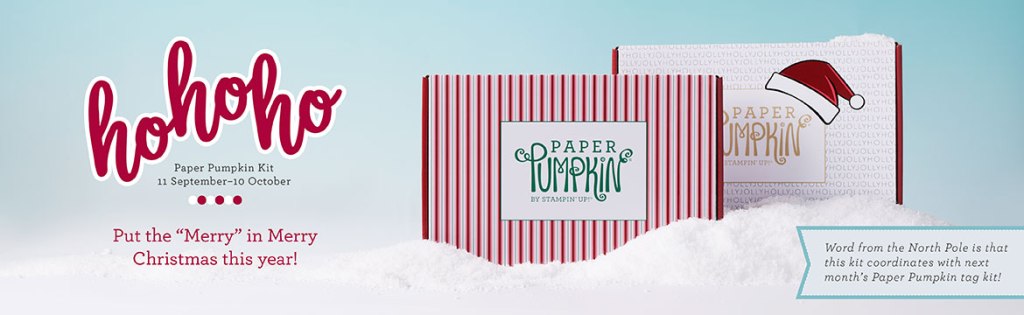
‘Tis the season to make your own Christmas cards with the Ho Ho Ho Paper Pumpkin Kit! This kit contains whimsical designs of Santa and his reindeer in a classic Christmas color palette which is sure to match various styles of holiday décor and look great on mantles everywhere.
Each kit contains enough supplies to create 9 festive cards—3 each of 3 designs—and 9 coordinating envelopes. These cards are sure to bring the warm holiday spirit.
And word from the North Pole is that this kit coordinates with next month’s Paper Pumpkin tag kit and the special add-on product! With so much coordination between products, you’ll have a breeze at creating a cohesive look for all your holiday gifting needs. Make this season the most wonderful time of the year for your loved ones—and for yourself!
This kit includes:
- Ho Ho Ho Photopolymer Stamp Set
- Early Espresso Classic Stampin’ Spot
- Printed card bases
- Printed envelopes
- Printed die cuts
- Die-cut labels
- Iridescent foil die-cut snowflakes
- Vellum
- Vanilla expoy dots
- Adhesive dots
- Mini Dimensionals
Card size: 4-1/4″ x 5-1/2″ (10.8 x 14 cm)
Coordinating Stampin’ Up! colors: Bermuda Bay, Cherry Cobbler, Crumb Cake, Early Espresso, Shaded Spruce, Sweet Sorbet, Very Vanilla
Subscribe to the October Paper Pumpkin Kit between 11 September and 10 October at paperpumpkin.com!
Note: Supplies may be limited toward the end of the subscription period.
*********************************************************************************************************
Card stock cuts for this project:
- Basic White Cardstock 3″ X 4″ (sentiment & berries), 3 1/2″ X 8 1/2″ (inner liner), 1/2″ X 2″ (inside sentiment)
- Cherry Cobbler Cardstock 2 – 3 5/8″ X 8 3/8″ (card front & inner liner mats), 3″ X 4″ (die cut panel)
- Mossy Meadow Cardstock 7 1/2″ X 8 3/4″(card bae scored & folded at 1 7/8″ & 3 3/4″), 3 3/4″ X 8 3/4″ (easel panel), 4″ X 5 1/4″ (holly leaves)
- Boughs of Holly Designer Series Paper 3 1/2″ X 8 1/2″ (card front)
*********************************************************************************************************
Product List
")
")
")


 Designer Series Paper")


 Woven Ribbon")


