

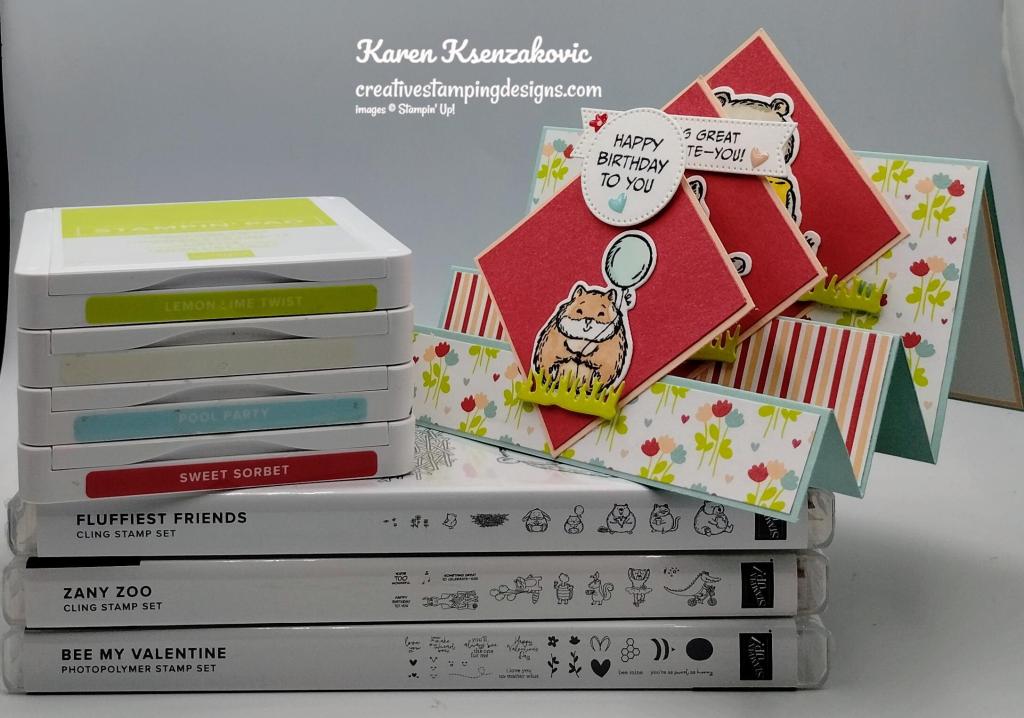
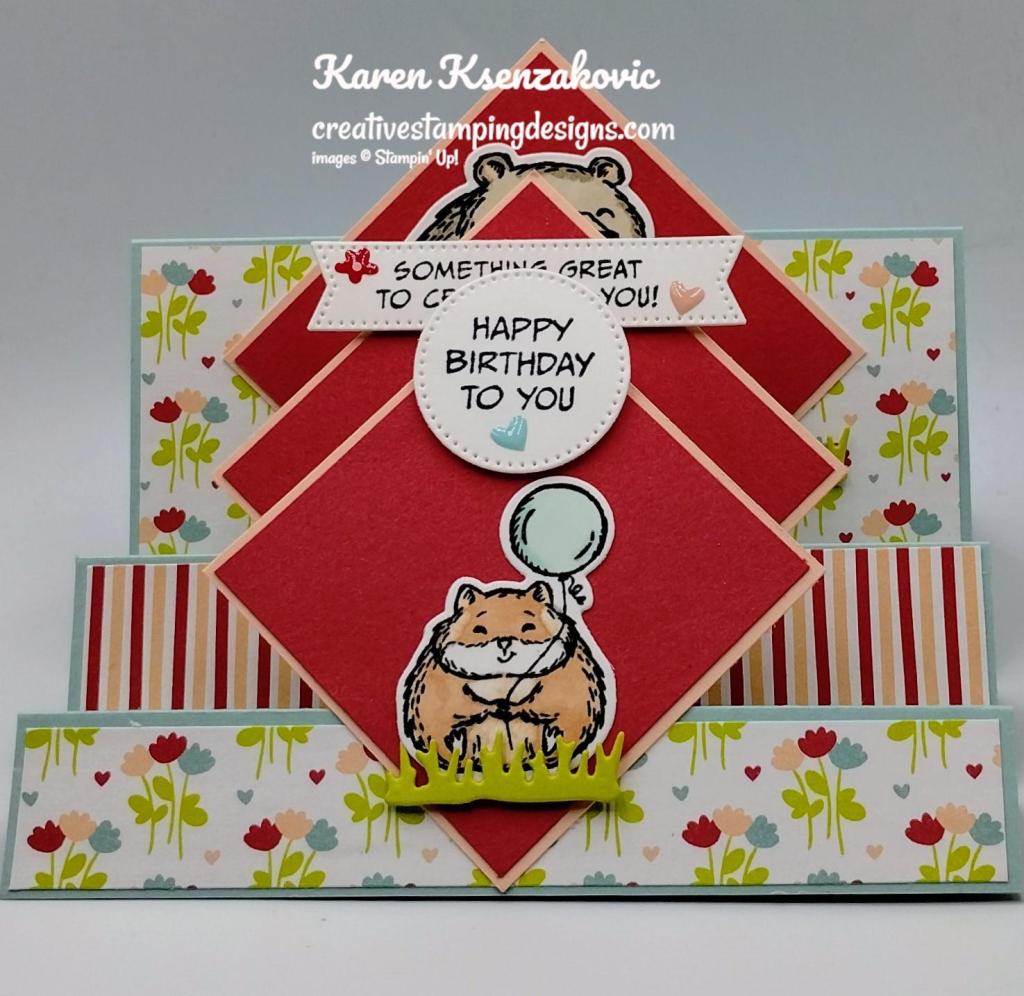
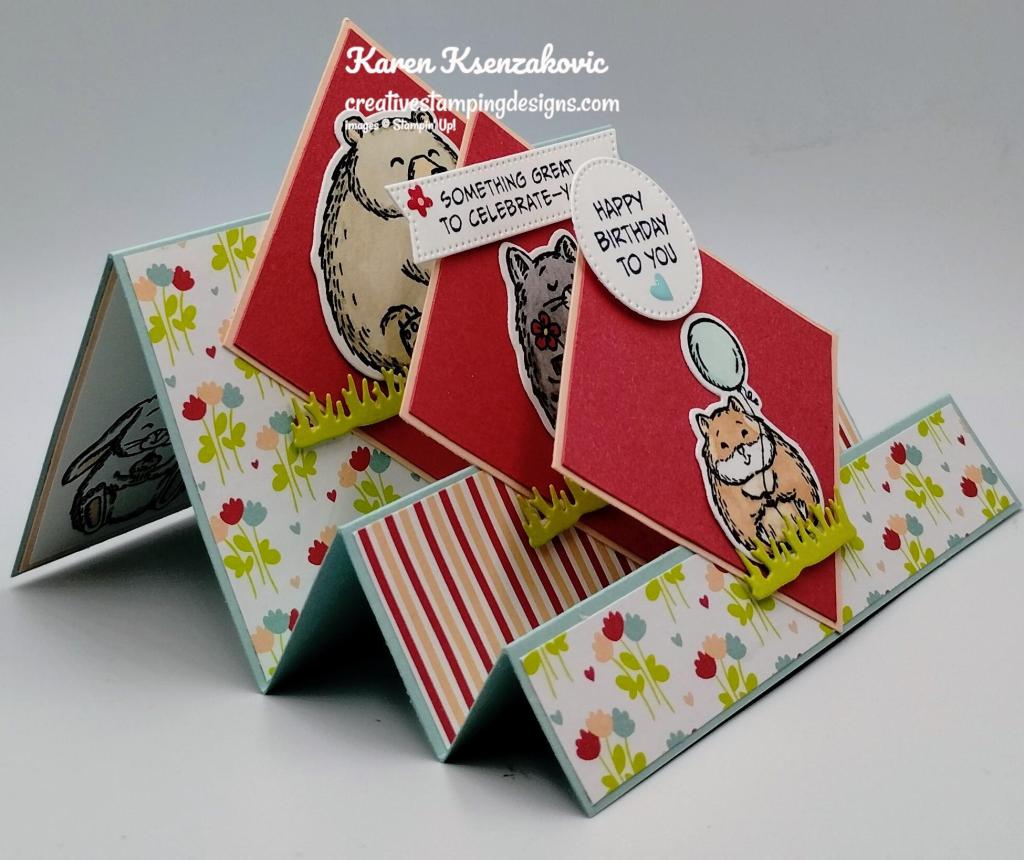
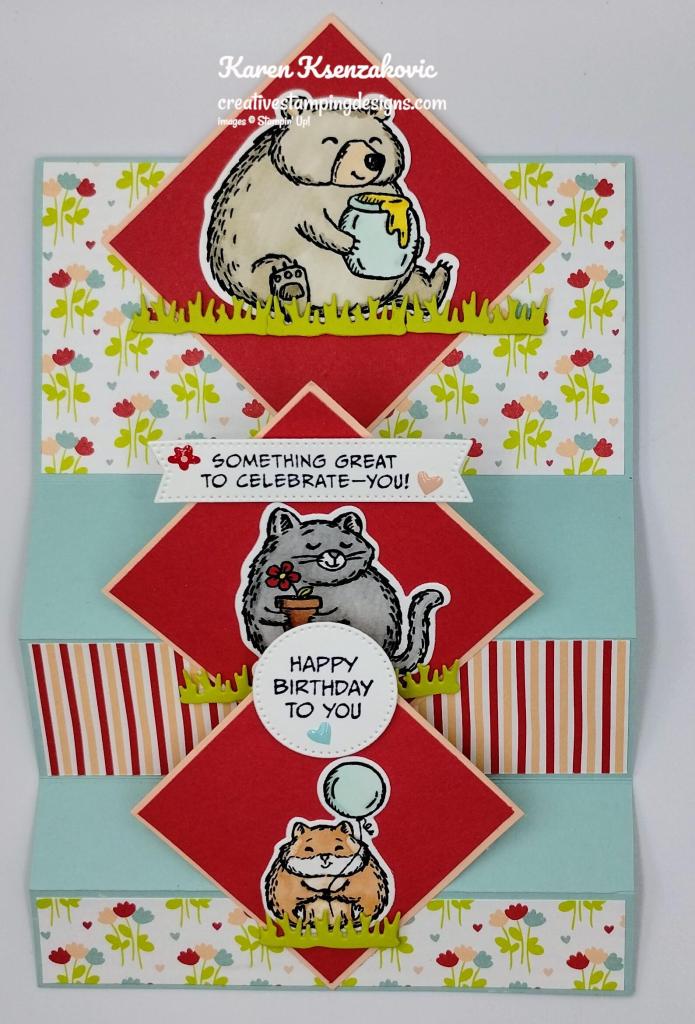
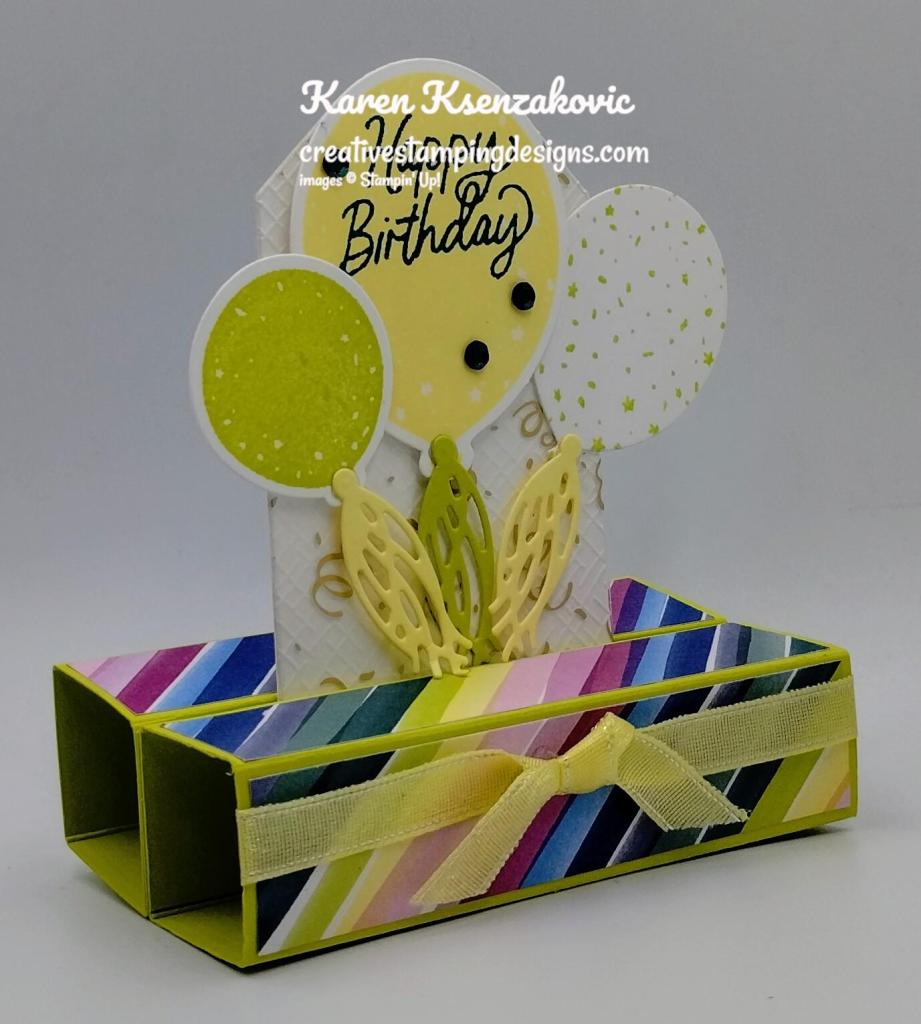
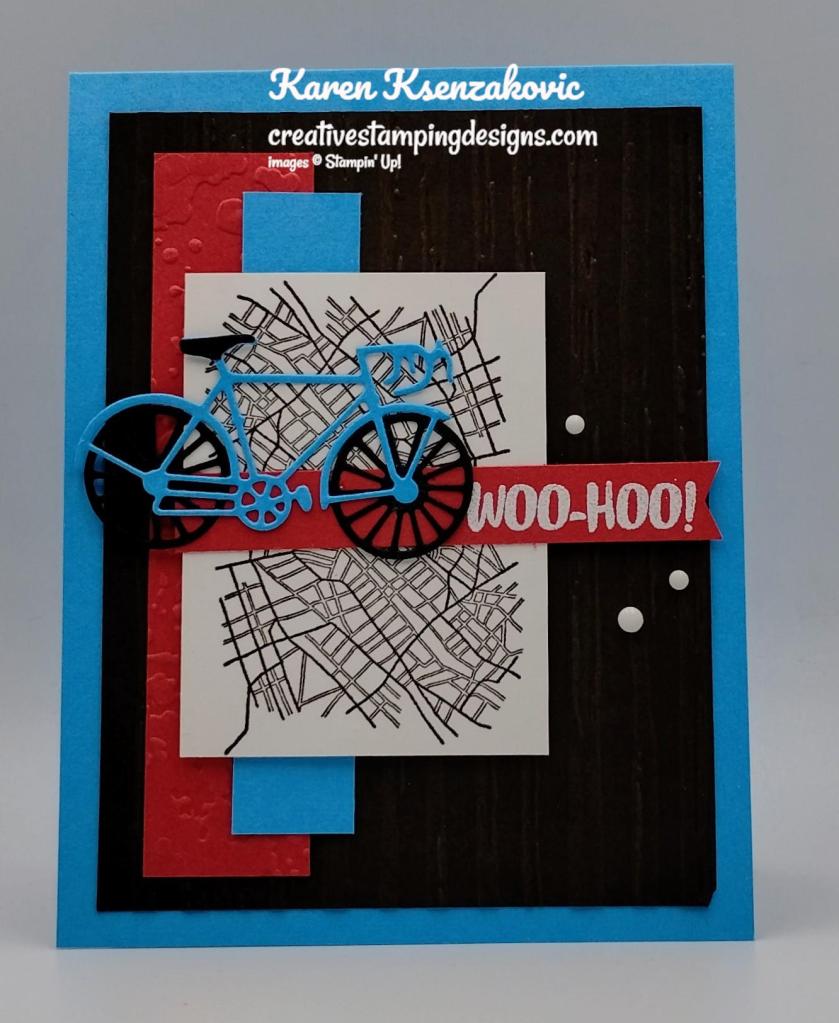
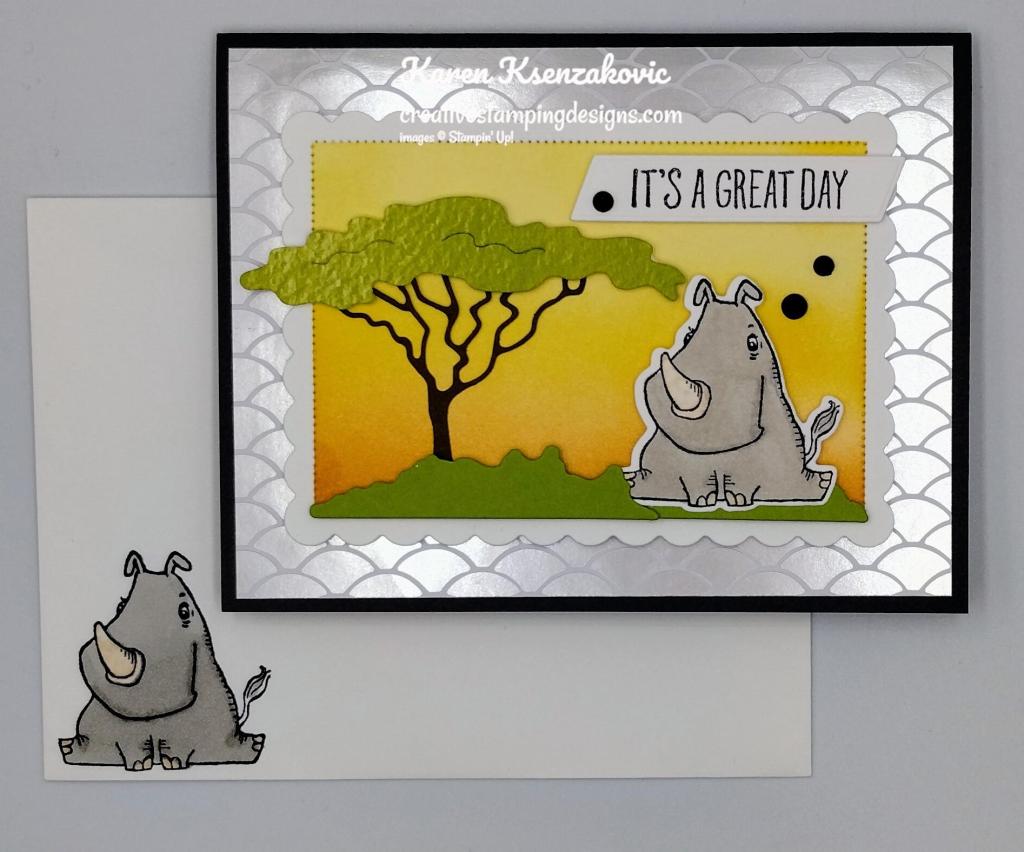
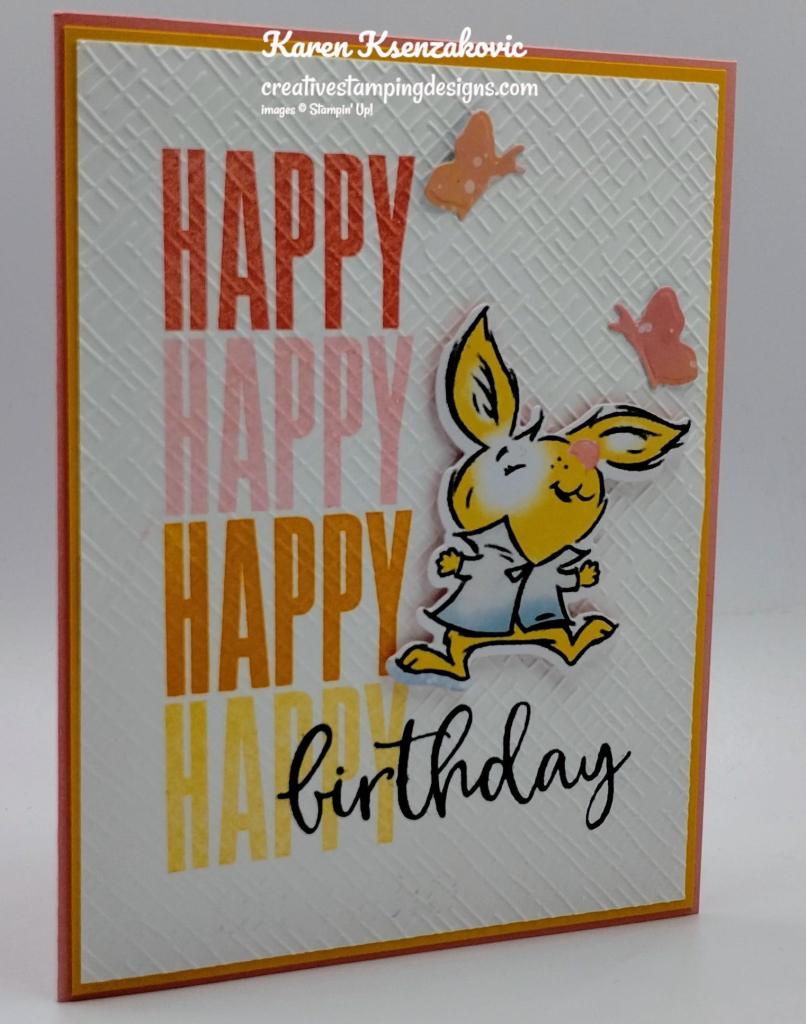
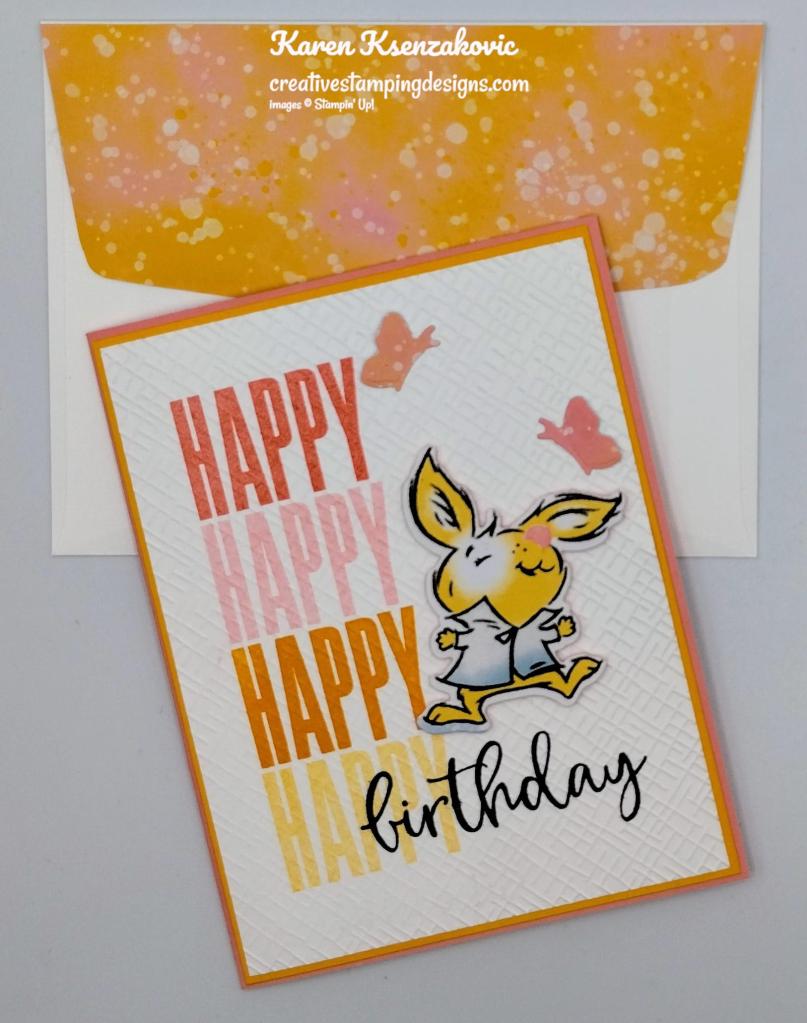
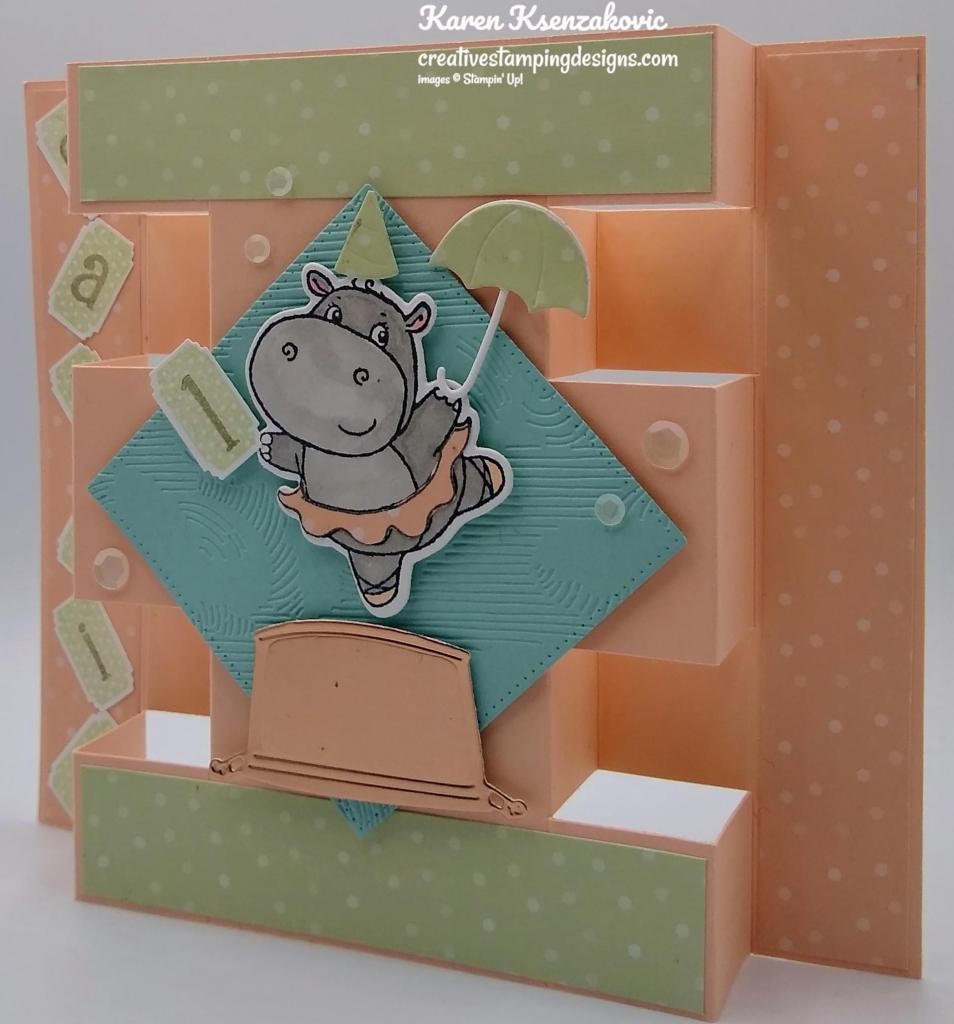
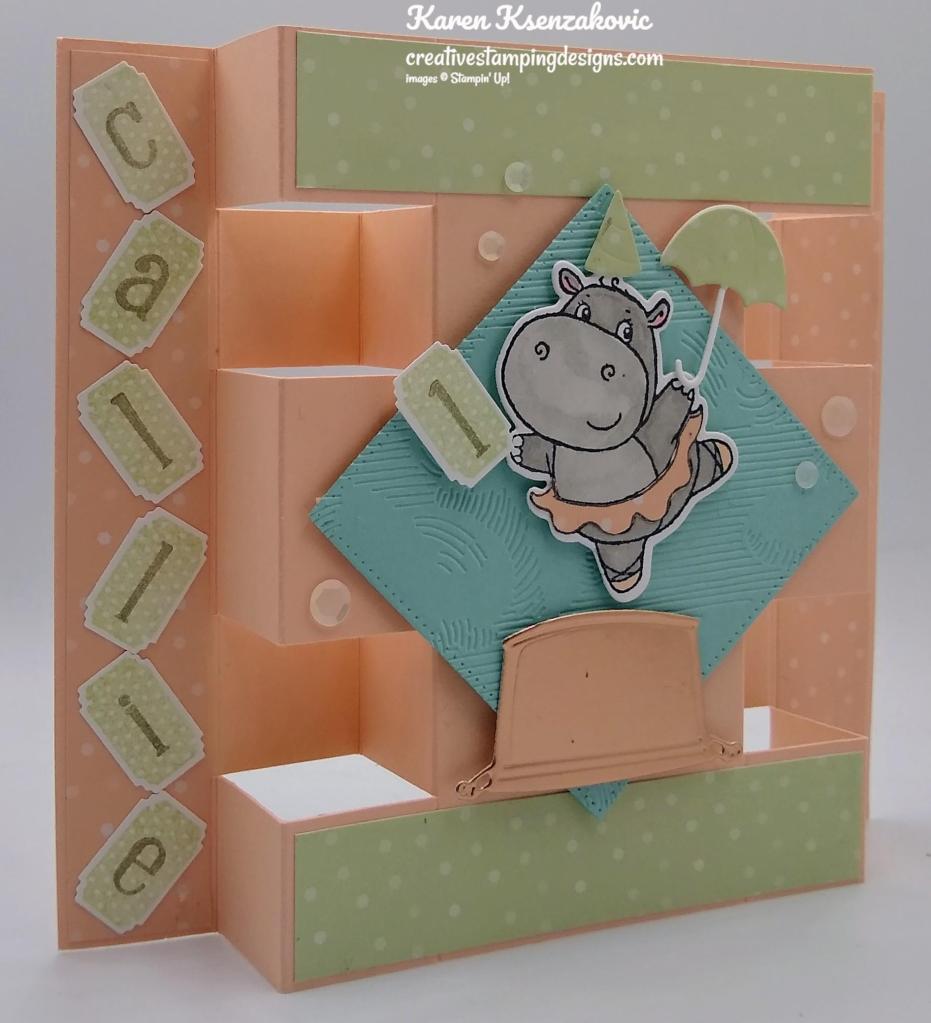
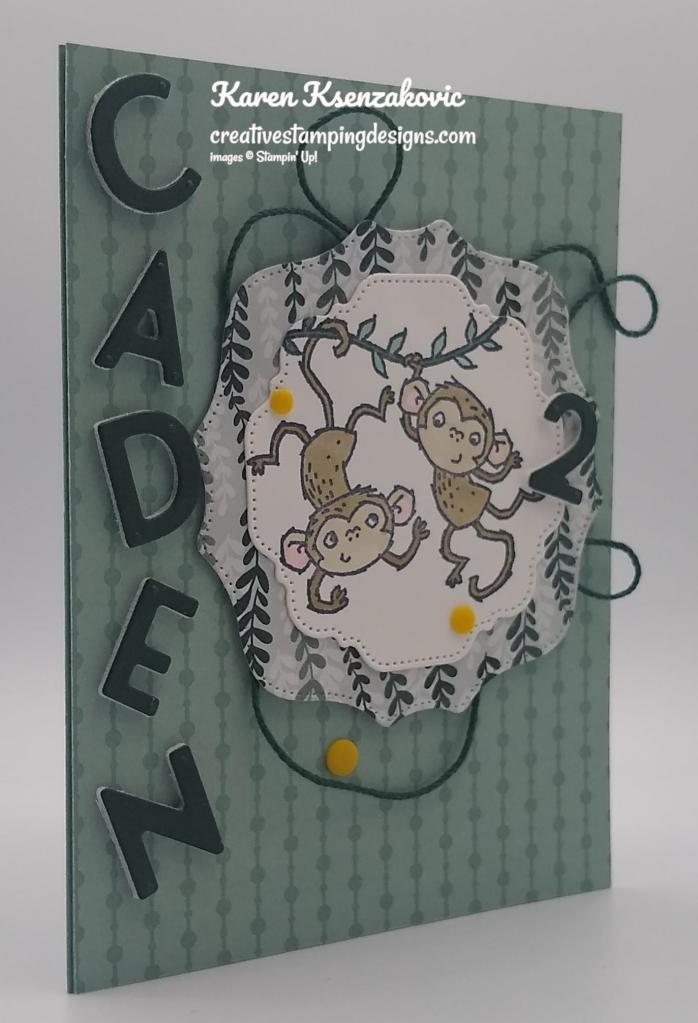
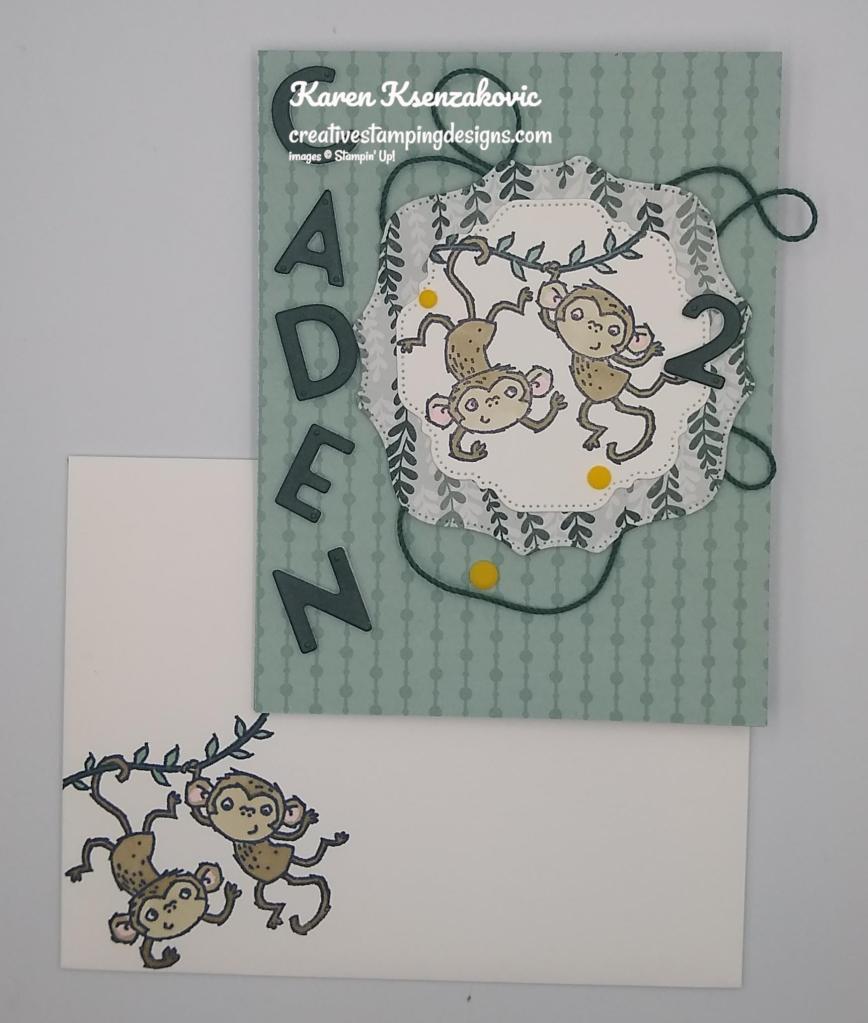
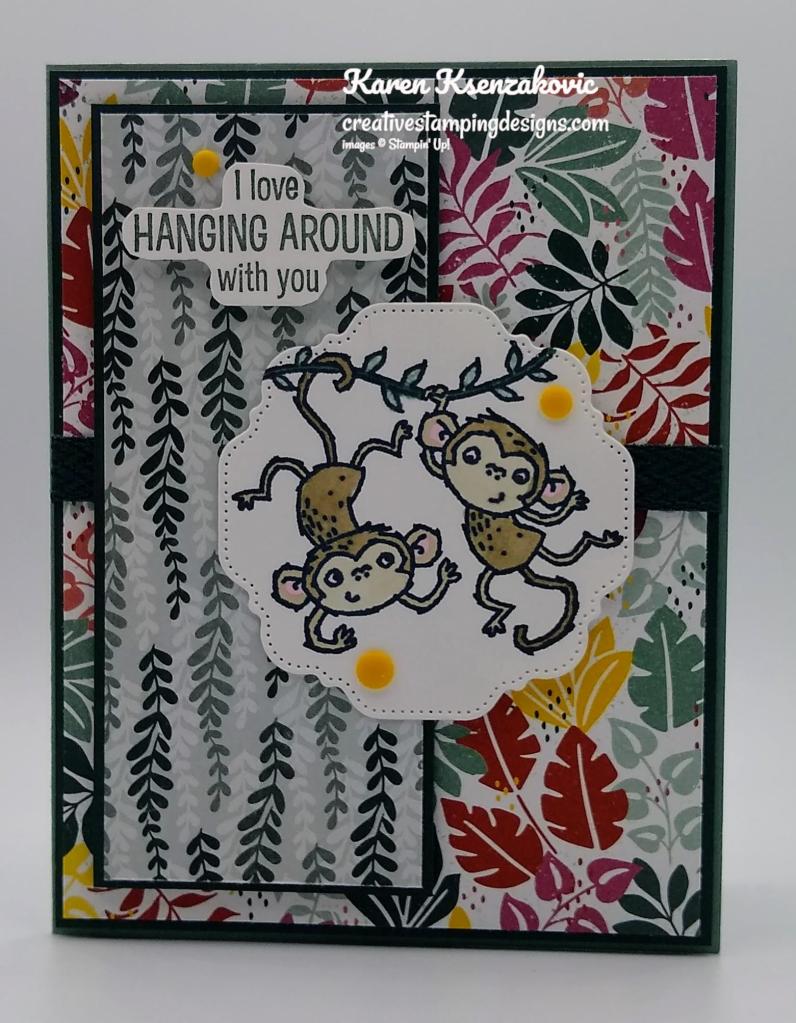
Good Tuesday morning my stamping friends welcome to Amy’s Inkin’ Krew Team Blog Hop. It’s the 2nd Tuesday of the month so that means Blog Hop Day!! If you are starting with me, be sure to hop around to see everyone’s beautiful projects. If you’ve hopped over from Ann Louise’s blog, welcome to my blog and thank you for stopping by. The theme this month is “Birthday”. We can interpret this however we want. A friend of ours, daughter’s 3rd birthday is coming up and this set seemed perfect for her card. Here’s my card for today.

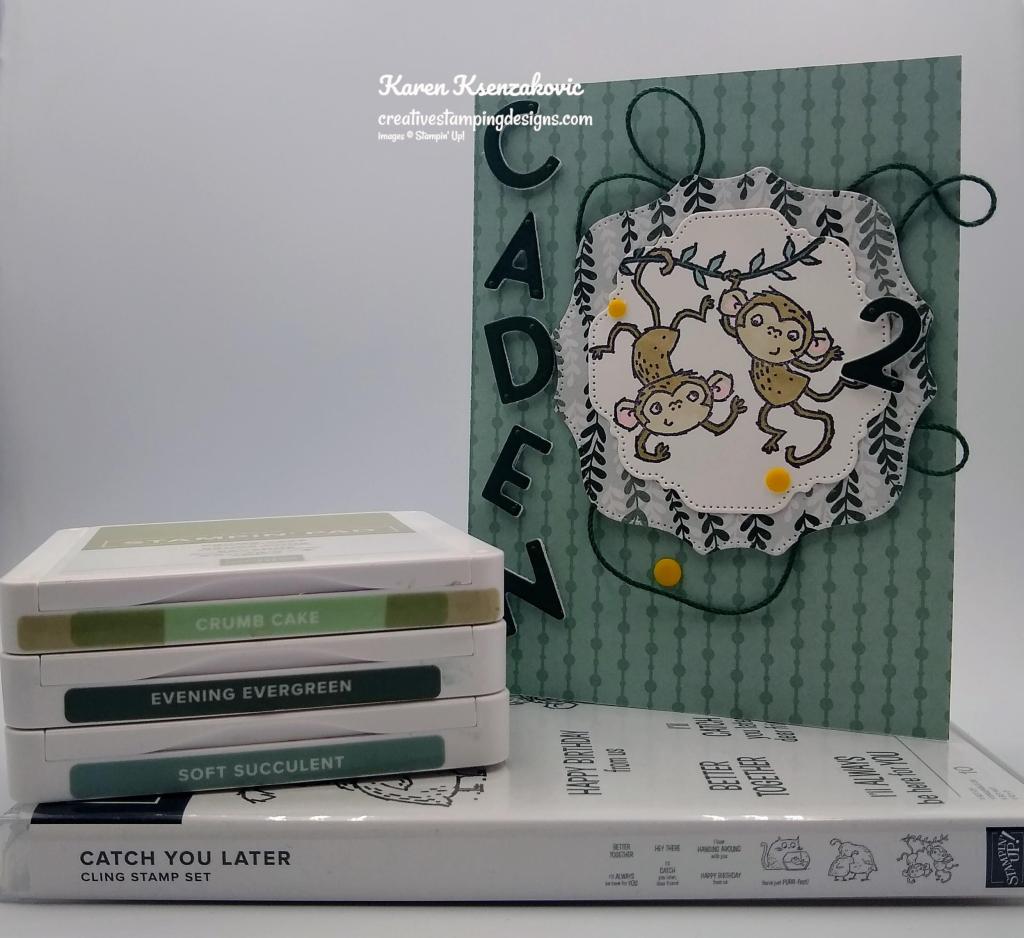
I used the Online Exclusive Stampin’ Up! Filled With Fun Bundle (available March 5) along with the Fresh As A Daisy Designer Series Paper, Stampin’ Up! Zany Zoo Cling Stamp Set and Hot Air Balloon Dies for my card today.
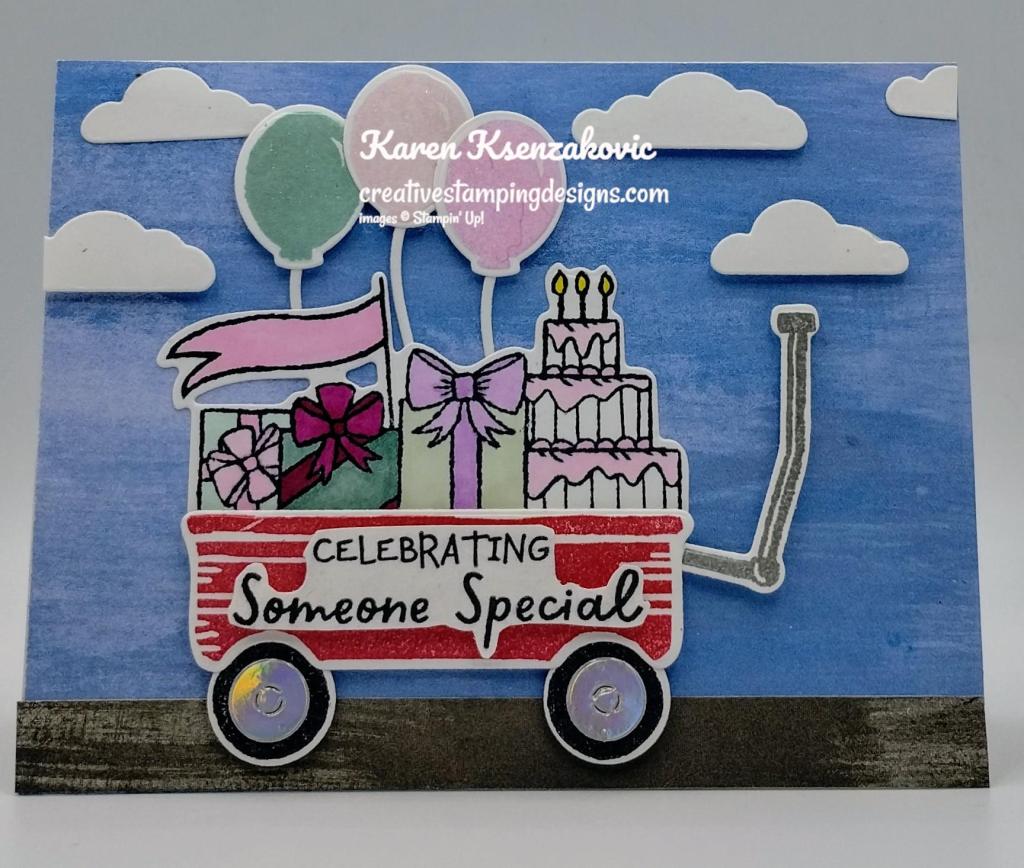
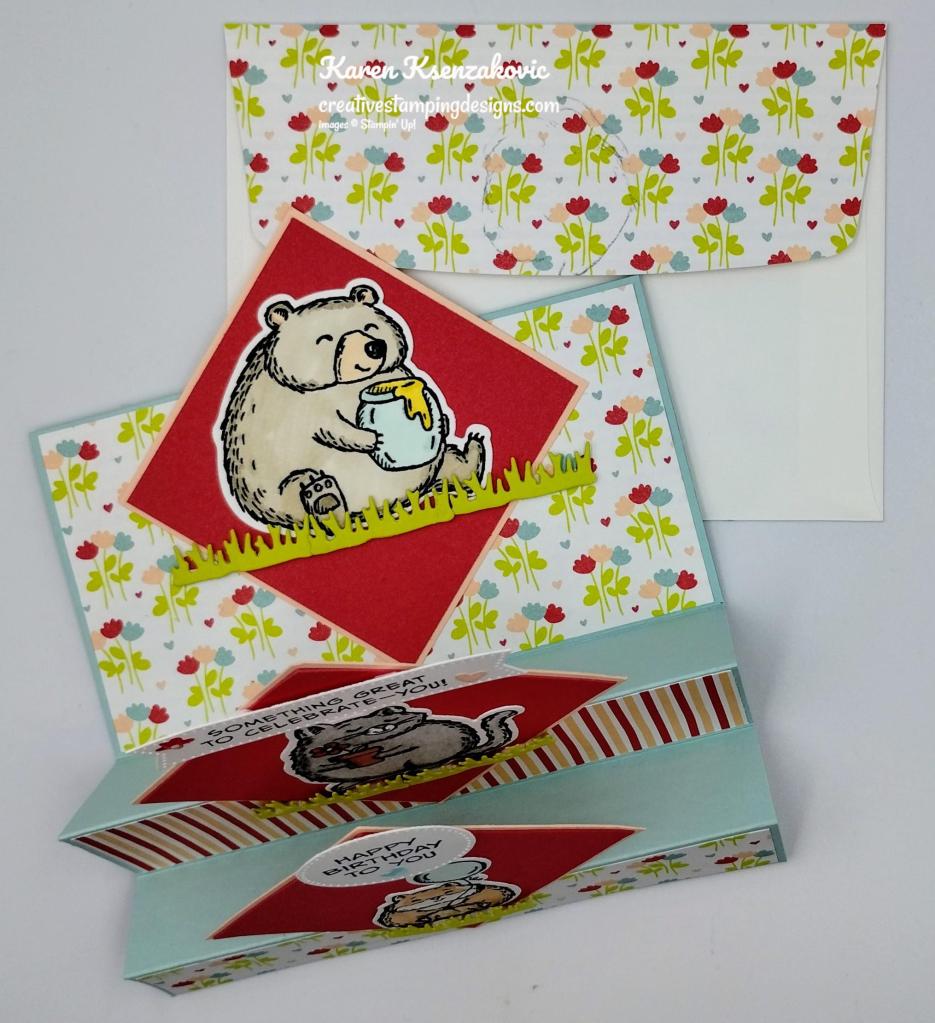
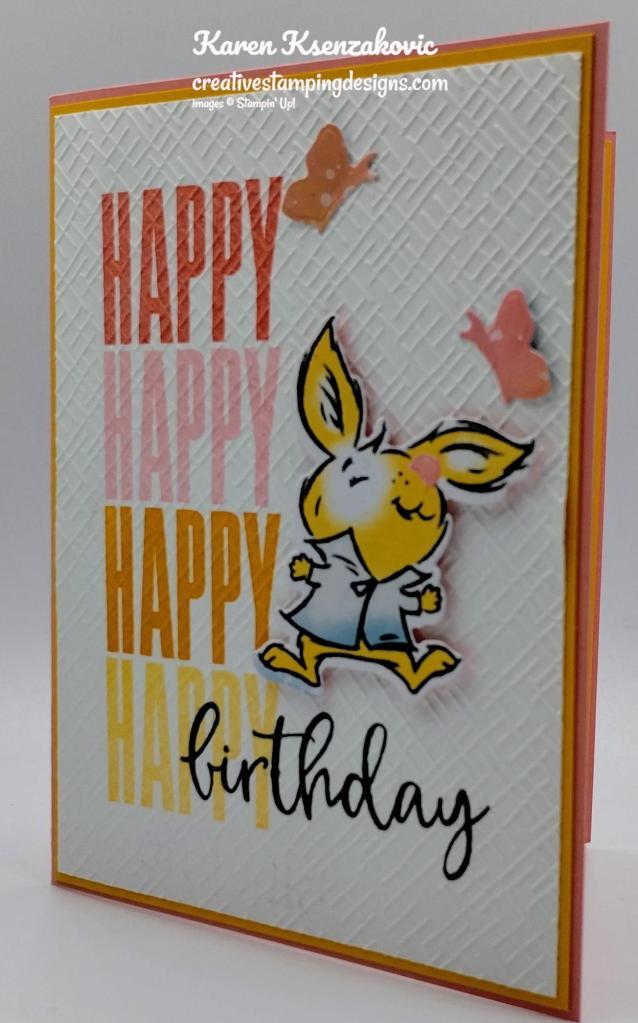
I started by adhering a panel of Fresh As A Daisy DSP to a Basic White thick card base using Liquid Glue. I adhered another strip of Fresh As A Daisy DSP to the bottom of the card front using Liquid Glue.

On a panel of Basic White, I stamped the wagon image from the Stampin’ Up! Filled With Fun Photopolymer Stamp Set in Sweet Sorbet Ink. I stamped the wagon handle image in Smoky Slate Ink. I stamped the present/cake image and wheel images from the Filled With Fun stamp set in Tuxedo Black Ink. I stamped the balloon image from the Filled With Fun stamp set in Bubble Bath, Fresh Freesia and Pool Party Inks. I cut all the images out using the Filled With Fun Dies. I colored the present/cake image using Berry Bursh, Bubble Bath, Fresh Freesia, Lemon Lolly, Lost Lagoon, Pool Party and Soft Sea Foam Stampin’ Blends Markers. I cut the wheel centers from a panel of Holographic Trio Paper using the Filled With Fun Dies. I brushed the balloon die cuts with Clear Wink of Stella Brush to give them a little shimmer.

I adhered the wheel centers to the wheels using Glue Dots then to the wagon using Liquid Glue. I adhered the handle to the wagon using a Glue Dot. I adhered the wagon to the card front using Stampin’ Dimensionals. I adhered the strings to the balloons using Glue dots. I adhered the balloons to the card front using Stampin’ Dimensionals. I adhered the presents/cake image on top of the balloon strings just behind the wagon using Liquid Glue. Using the Hot Air Balloon Dies, I cut the clouds from a panel of Basic White. I adhered the clouds to the card front using Liquid Glue and Stampin’ Dimensionals. I stamped the sentiment from the Filled With Fun stamp set in Tuxedo Black Ink. I fussy cut the sentiment using Paper Snips. I adhered the sentiment to the wagon using Stampin’ Dimensionals.
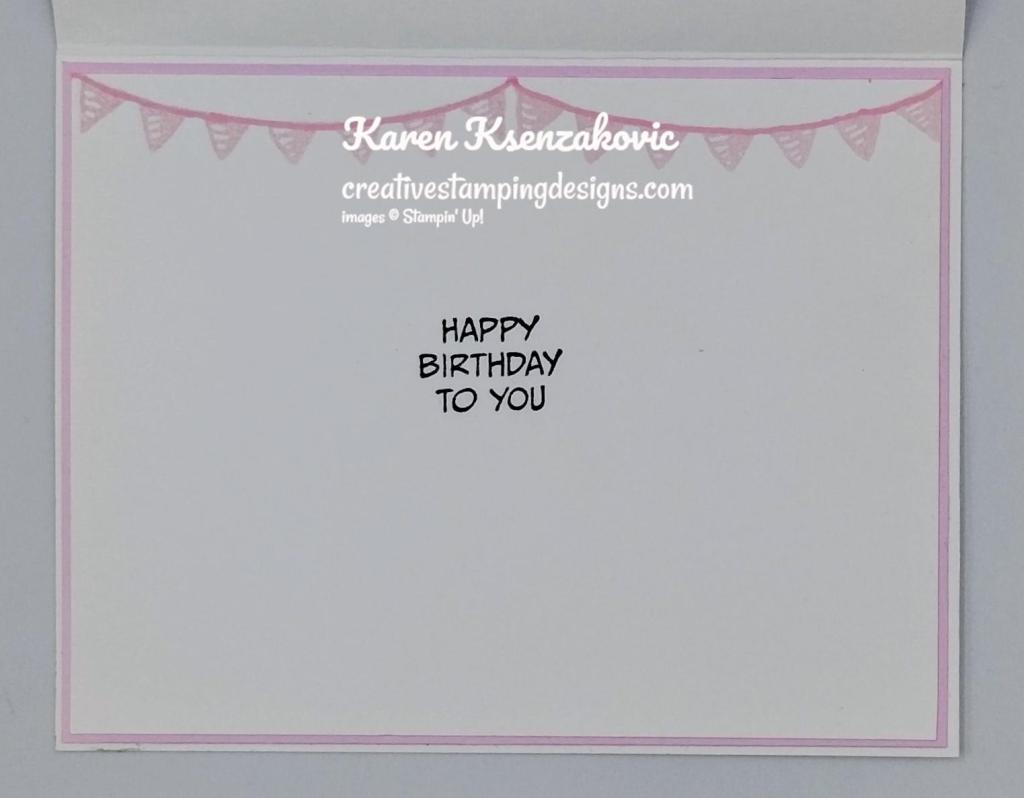
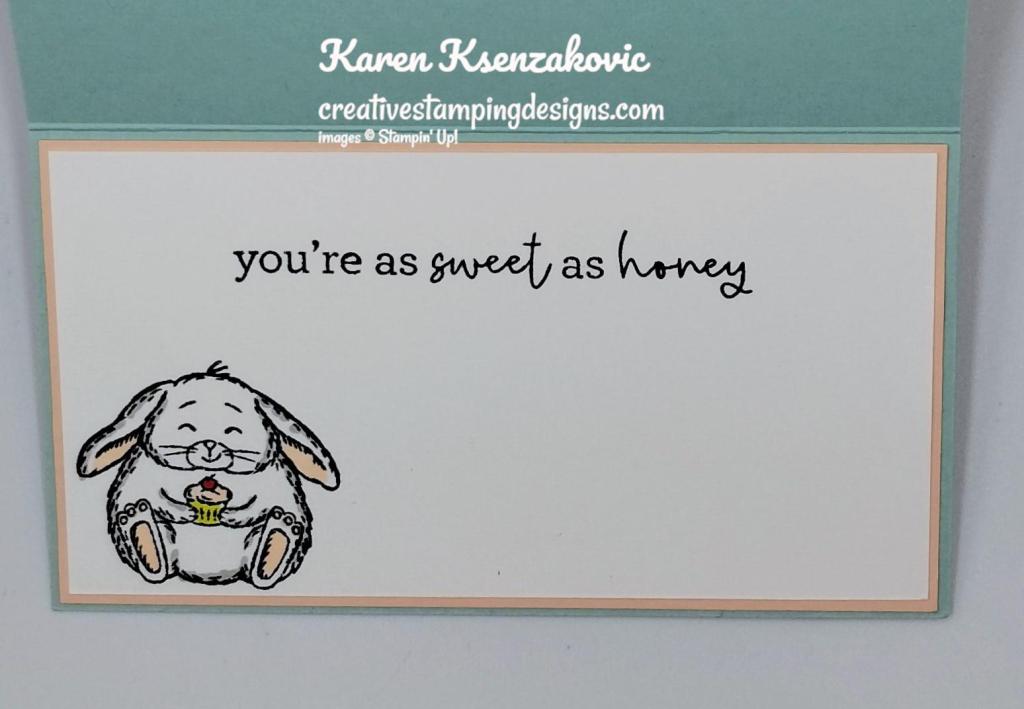
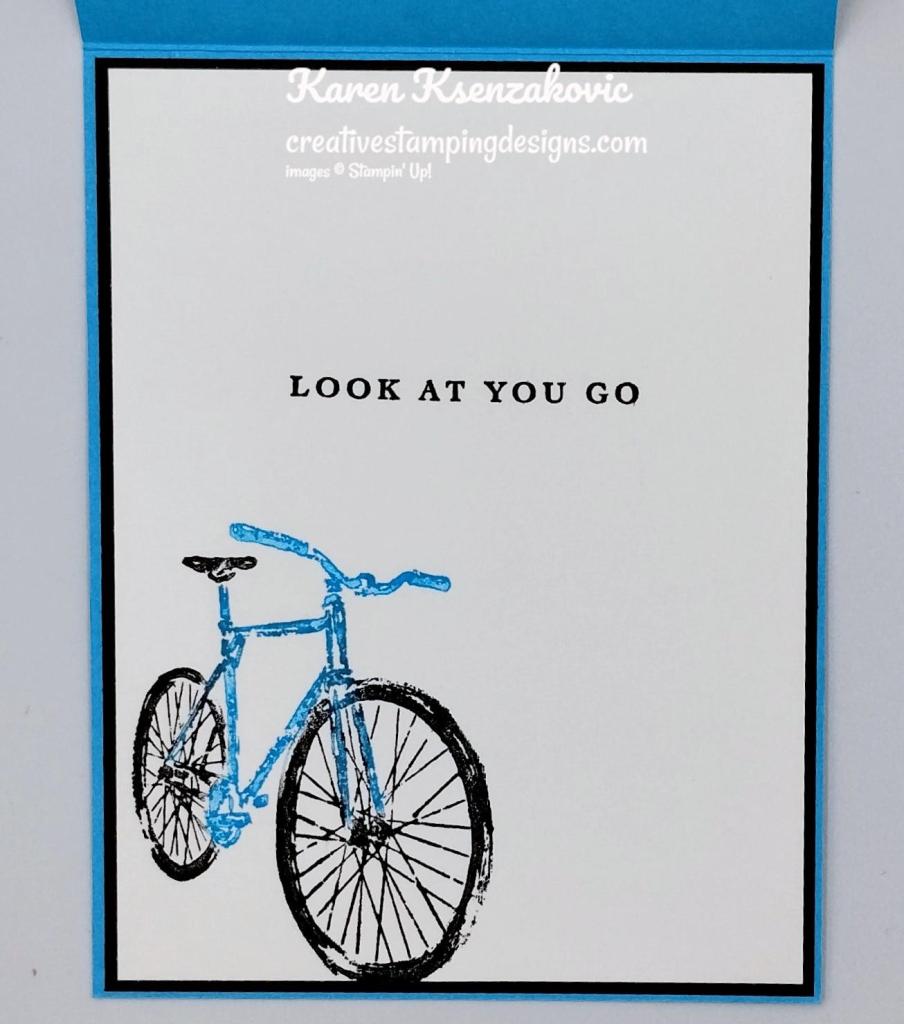
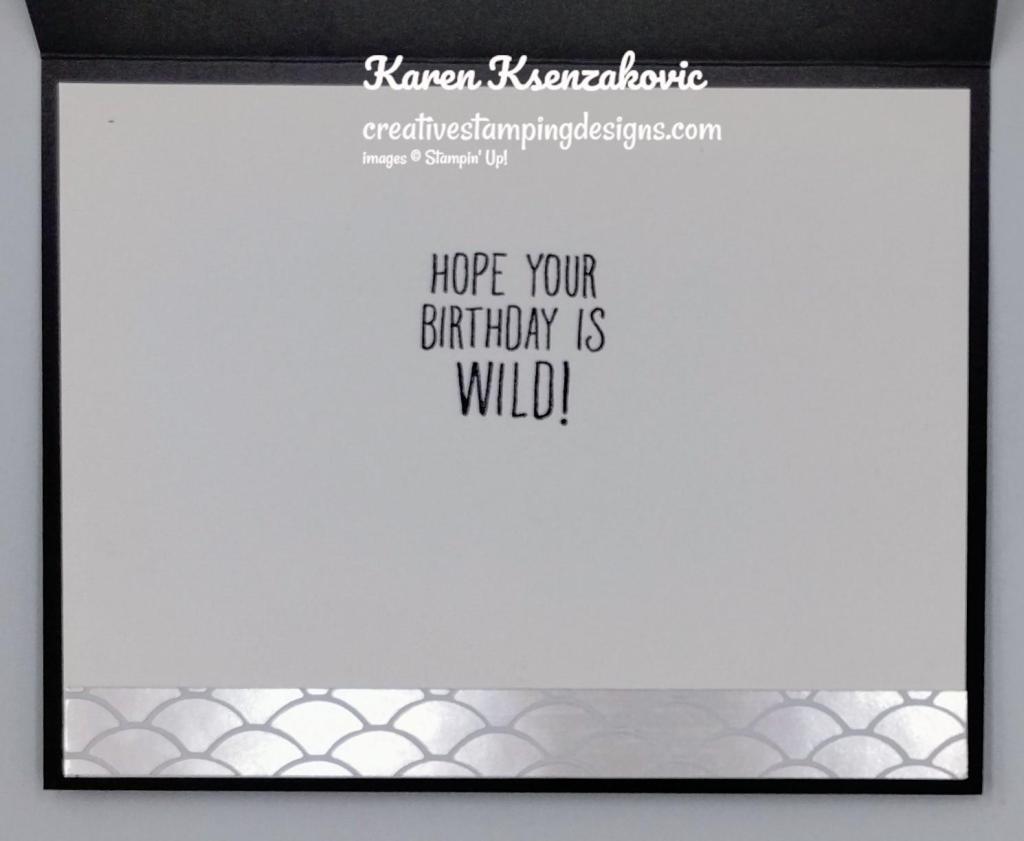
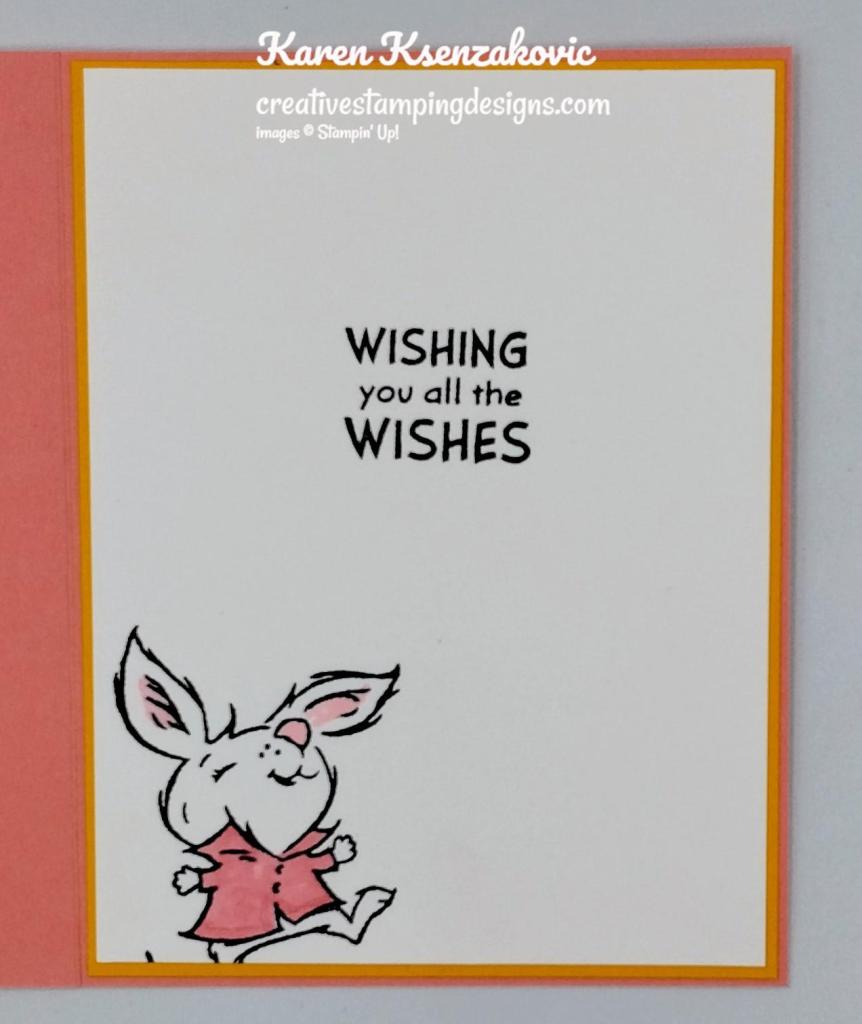
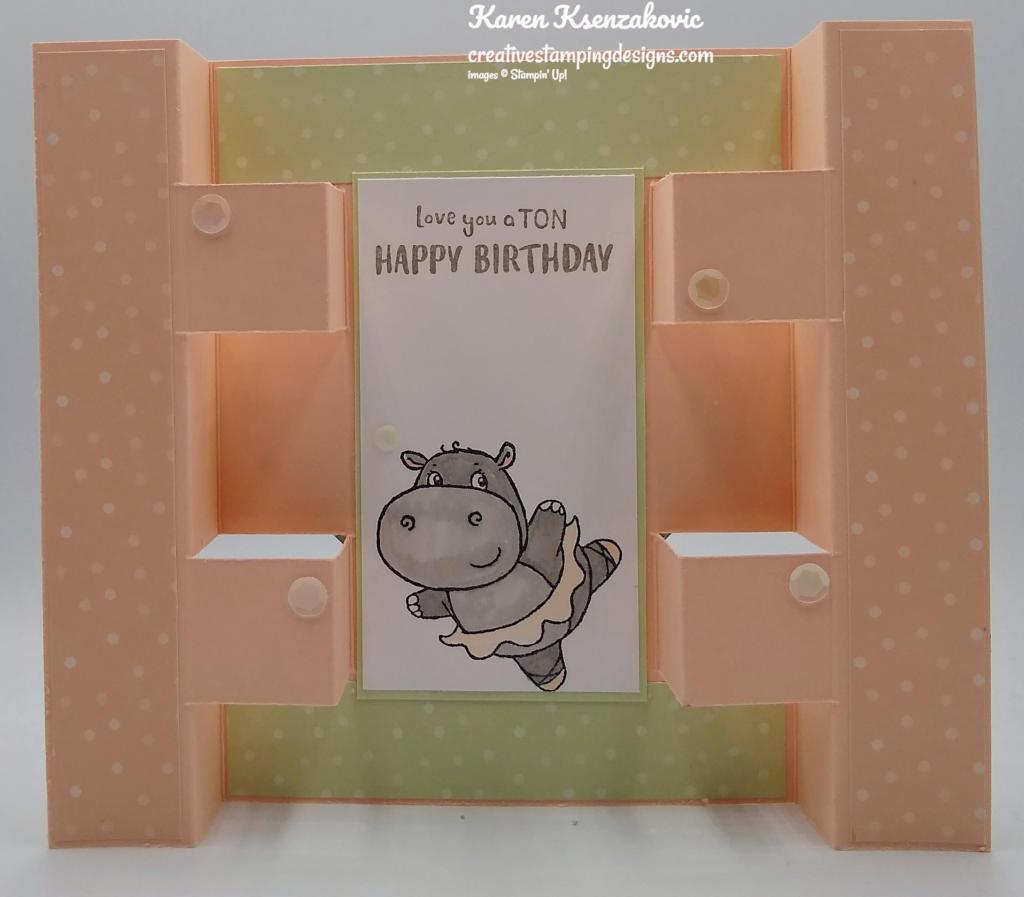
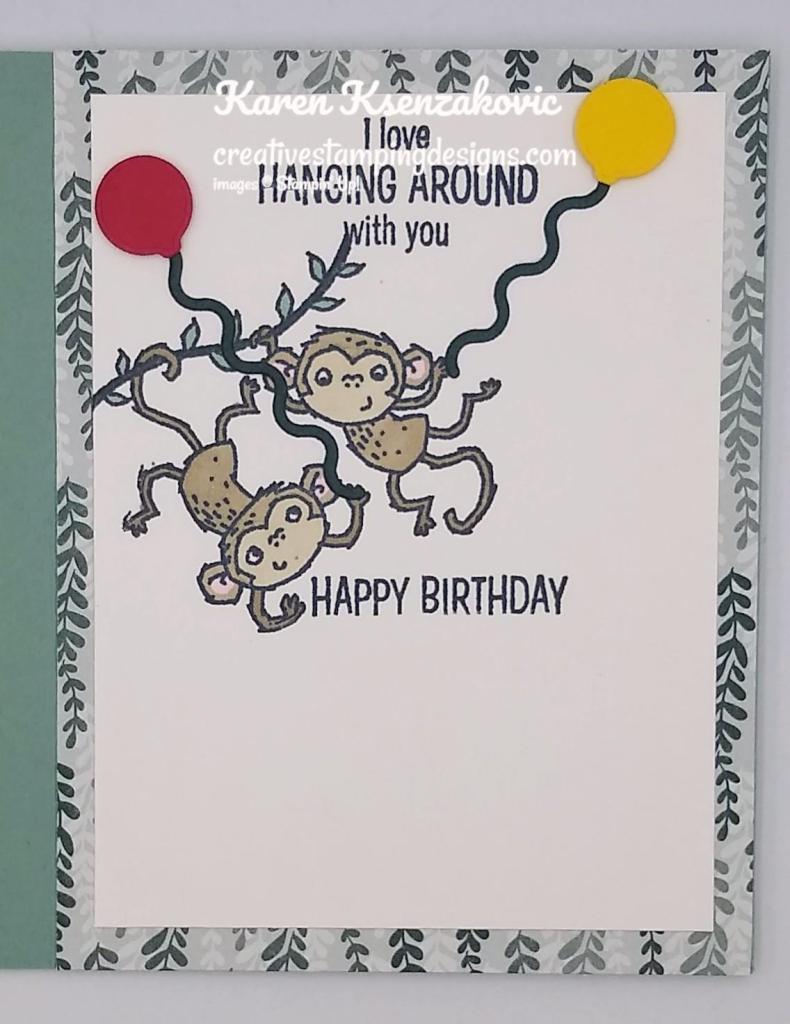
On the inside, I stamped the sentiment from the Zany Zoo stamp set on a panel of Basic White in Tuxedo Black Ink. I stamped the flag banner image from the Filled With Fun stamp set in Bubble Bath Ink on the top of the panel. I adhered the Basic White panel to a Bubble Bath mat then to the inside of the Basic White Thick card base.
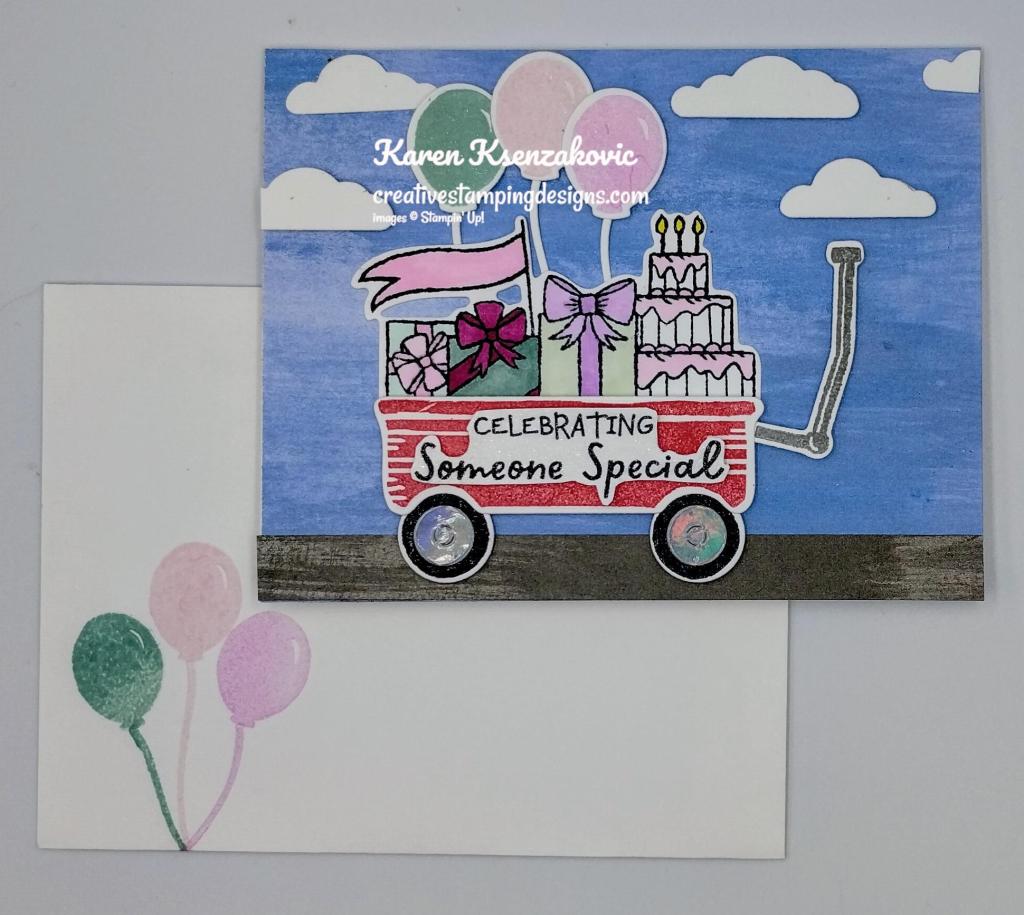
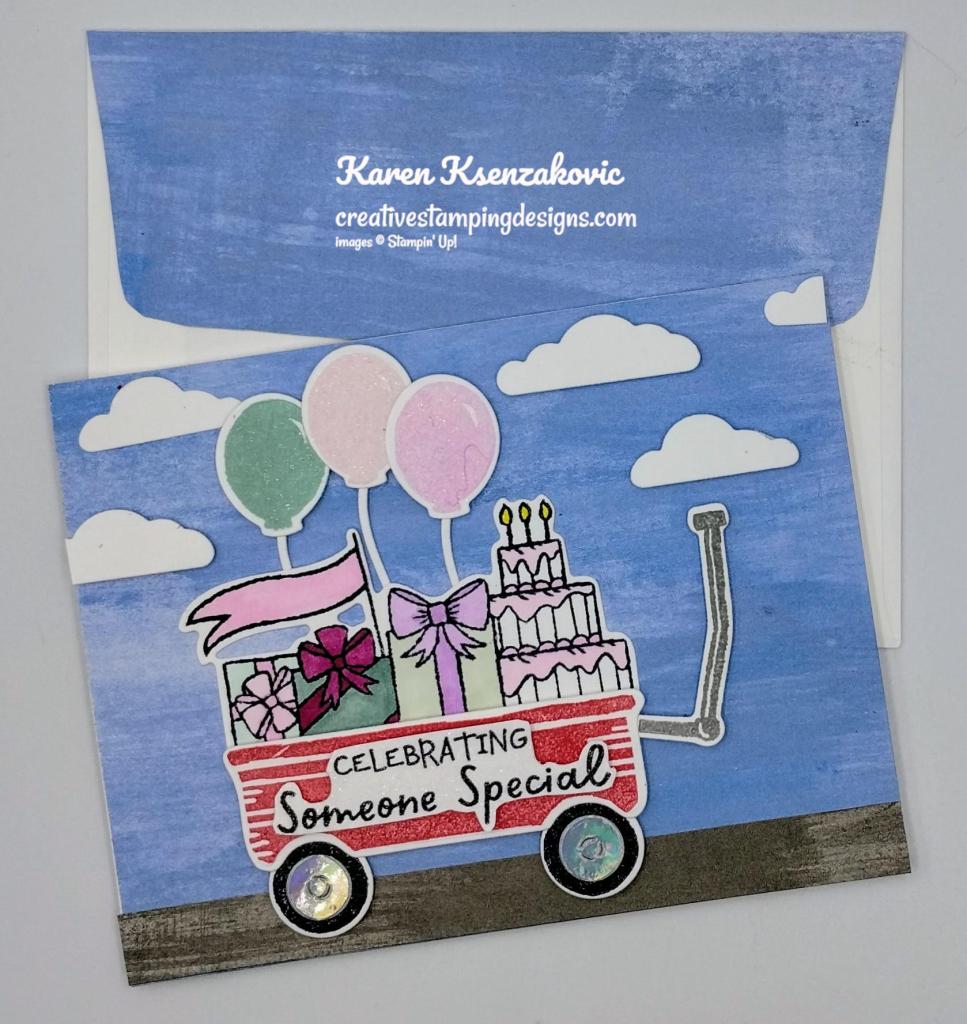
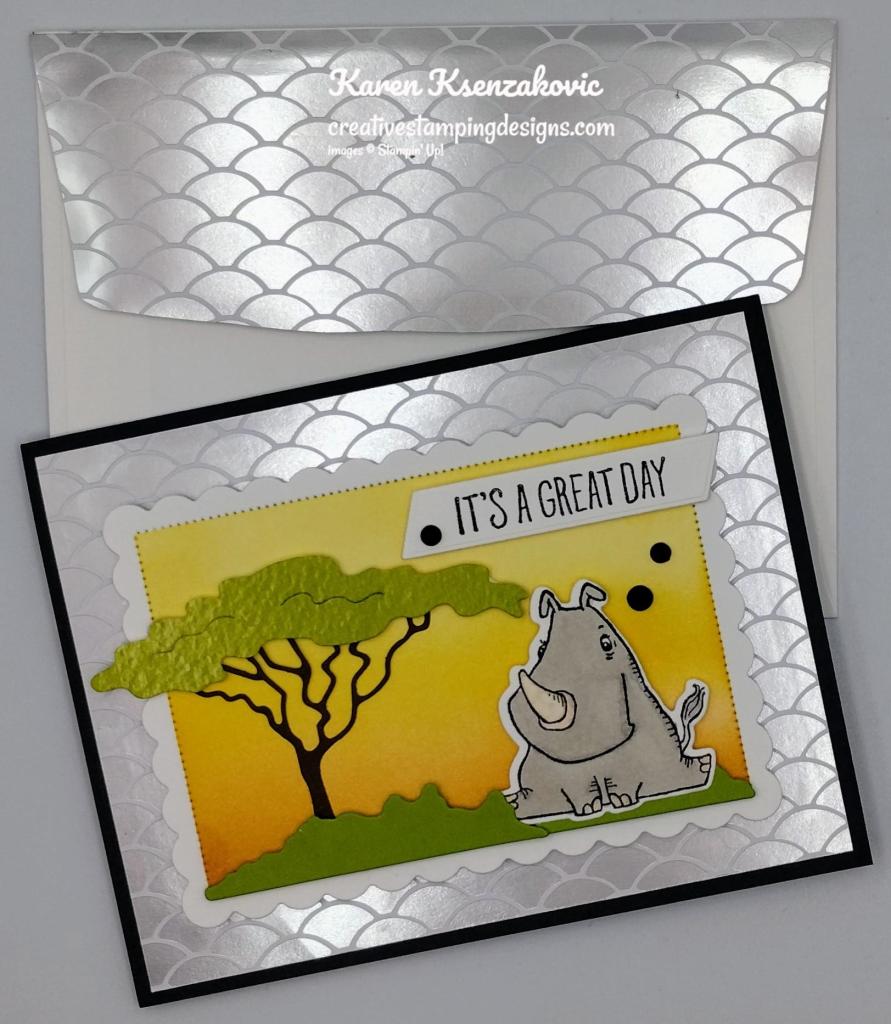
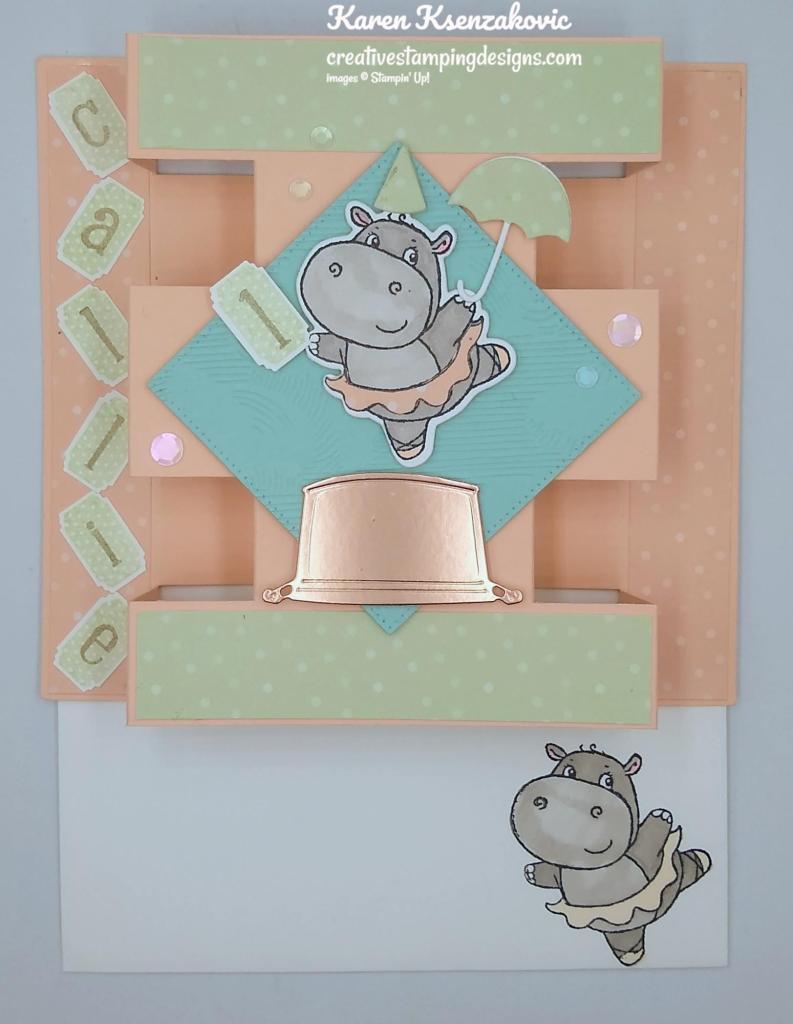
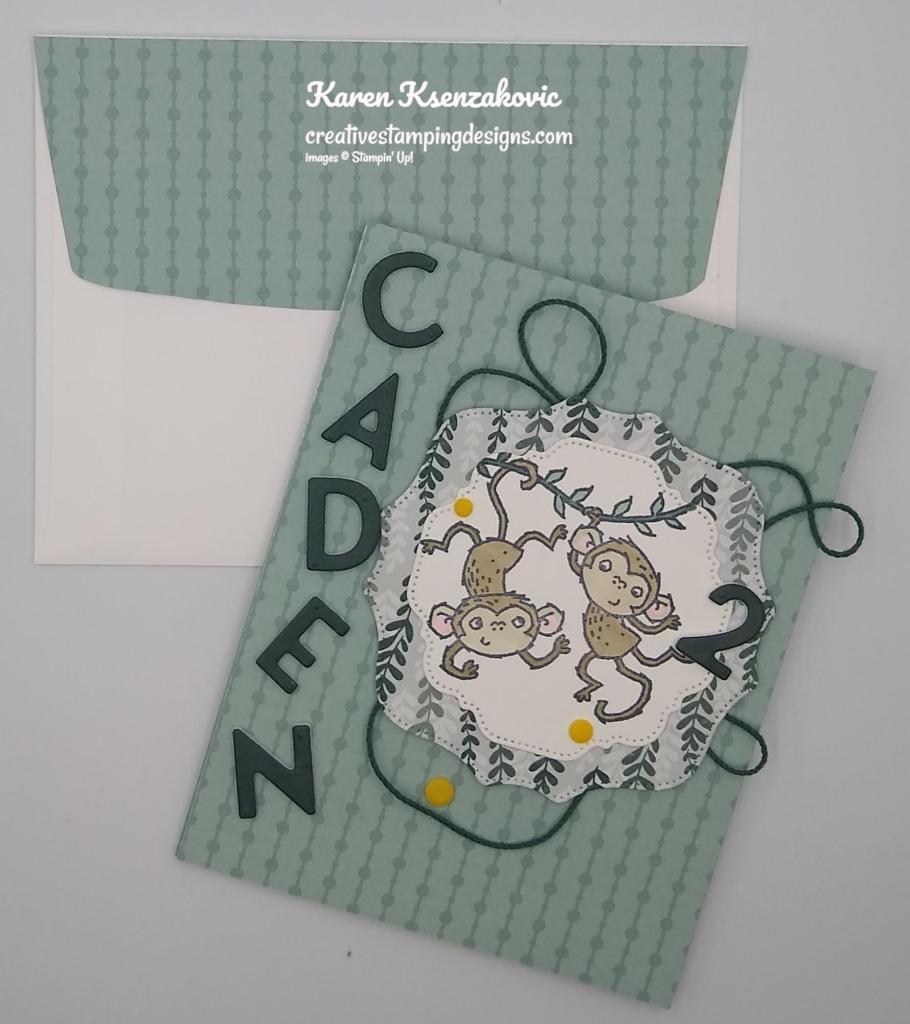
To complete my card, I decorated a Basic White Medium Envelope. I stamped the balloon and string images from the Filled With Fun stamp set in Bubble Bath, Fresh Freesia and Pool Party Inks on the envelope front. I adhered a panel of Fresh As A Daisy DSP to the envelope flap.
Thank you for visiting by my blog today, I hope you liked my card and will give it a try. Now that you’ve seen my card, be sure to hop around to see everyone’s beautiful projects. Hit Previous to hop back to Ann Louise’s blog or hit Next to head over to Shirley’s blog. You can also click on each of the names and hop around that way. I hope you enjoy seeing everyone’s projects. Happy Hopping!!
- Tara Carpenter
- Karen Finkle
- Carol Buckalew
- Ann Louise Fodgaard
- Karen Ksenzakovic You Are Here
- Shirley Gentry
- Terry Lynn Bright
- Mary Deatherage
- Nel Thames
- Akiko Sudano
- Amy Koenders
*********************************************************************************************************
If you need any stamping supplies, I’d love to be your Demonstrator. Just click HERE to go directly to my online store or drop me an email if you have any questions.
MY CURRENT HOST CODE IS: T9JKA3XQ
Use this host code when placing an order with me. When you order $50 or greater you will receive a free gift from me! If your order is over $150, please do not use this code, but you’ll still get the free gift. The free gift is your choice of any 1 item valued up to $10.00 from the 2023-2024 Annual Catalog, the January-April 2024 Mini Catalog or from the Online Exclusives! Unfortunately, packs of cardstock are no longer an option for a free gift. Shipping has become too expensive to ship and it’s costing me as much to ship as the cardstock costs. For any orders $50 or more I will also send you my monthly class tutorials. Click HERE or go to my Customer Rewards for more details and to see what this month’s tutorials are.
Please remember to use my current Host Code and make sure that you can see my name on the final checkout page listed as your Demonstrator when you order so that you know that you’re ordering with me, and you’ll get my rewards!
Happy Stamping, Karen
*********************************************************************************************************
In response to changing policies at Stampin’ Up – I’m adjusting my Ordering Gift policy as well. I’m having to get a little more tough on the adding of Host codes when you place your order thru my Online Store.
Not to worry – you’re still going to get that $10 ordering gift for orders of $50 (before shipping & tax) or greater. And the gift is still any 1 SU! product up to that $10 value – which includes some of our fun Host Sets!
But – if you DO NOT use the Host code for your orders of less than $150 (this is the RETAIL total before Shipping & Handling), then you’ll have two options:
- You’ll need to call Stampin’ Up! (1-800-Stamp-Up) and ask them to add it for you. They’re very helpful and will get it done quickly! OR….
- If your order was over the $50 threshold but under $150, then…you’ll forfeit that $10 ordering gift and rewards – this is the Bummer Option – and I REALLY don’t want to do this, SO please remember to add my Current Host Code.
*********************************************************************************************************
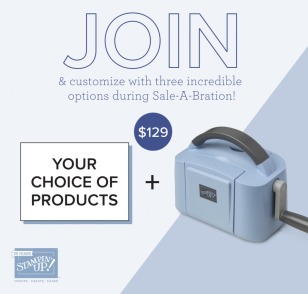
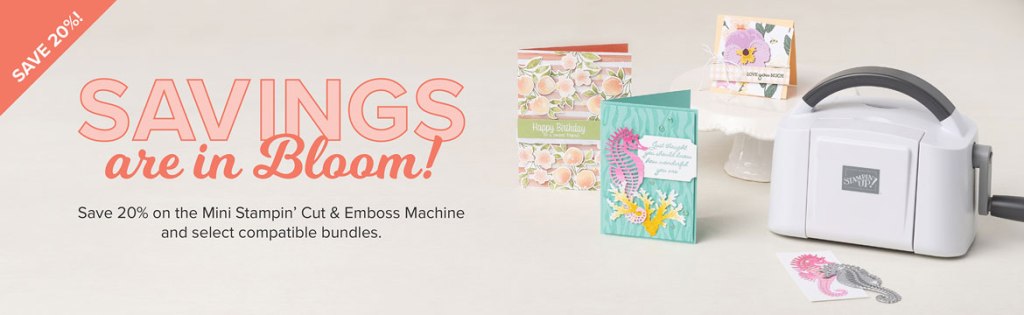
Joining Special January 4 – February 29

Starter Kit Special during Sale-A-bration! Shop for up to $125 worth of anything you want, Pay $99 plus tax get FREE Shipping, and A FREE Stampin’ Glass Mat Studio!
The Stampin’ Glass Mat Studio is a paper crafter’s dream! The heavy-duty glass mat comes printed with a ruler and grid lines for easy measuring, while the large surface space gives ample room for spreading out while paper crafting. The safety-tempered glass has a heat and scratch resistant surface that wipes clean with the included cloth and water—no chemicals needed. The reusable cloth also cleans ink off your stamps! The nonslip, heat resistant, waterproof silicone mat features four palette squares for mixing custom ink colors or for holding small ink spots in place while crafting. Each component can be used separately, or you can use all three items together for a multipurpose paper crafting studio that’s both functional and elegant.
Option 2 – Instead of the Glass Mat Studio you can choose $125 worth of product PLUS an additional $30 worth of product of your choice when you join for $99. That’s a $155 value!
There is never an obligation to sell. You can join just to enjoy the discount for yourself along with all the other Demonstrator benefits. You get early access to all the upcoming catalogs along with being able to preorder. You can attend the OnStage Event and any other events Stampin’ Up! has. Unsure about this? Contact me at creativestampingdesigns@gmail.com and we can talk. Being a part of the Stampin’ Up! Community is one of the best decisions I’ve ever made. I have made many friends along the way while doing what I love, Paper Crafting. This Joining offer is only good during Sale-a-bration which starts January 4 and ends on February 29.
********************************************************************************************************
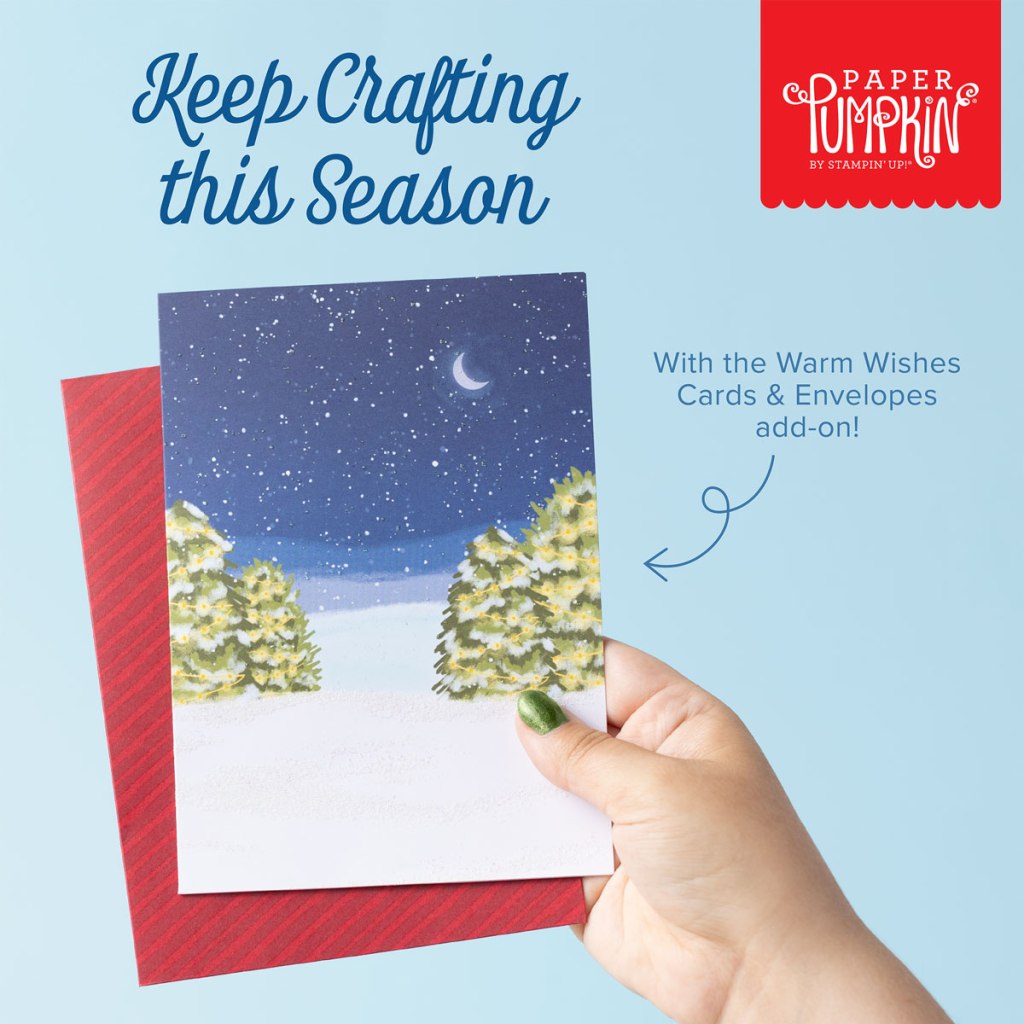
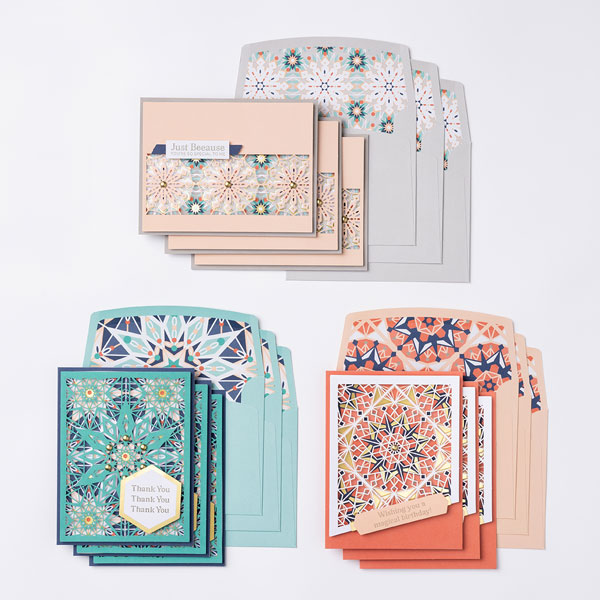
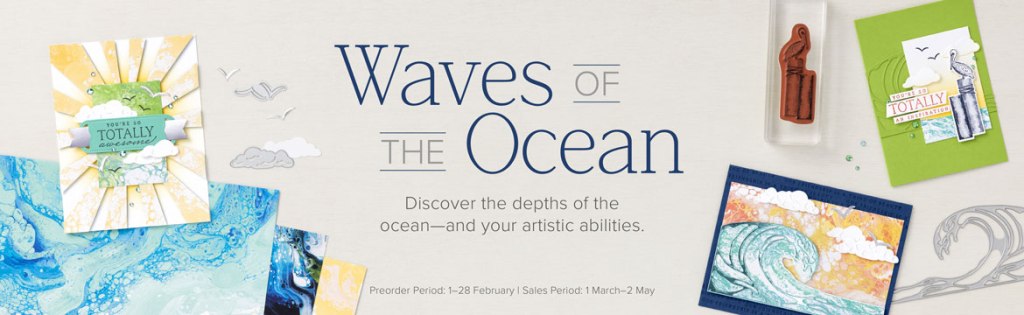
Memorable Meadows
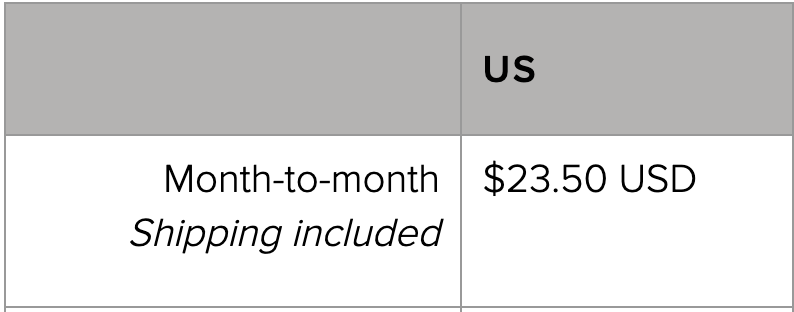
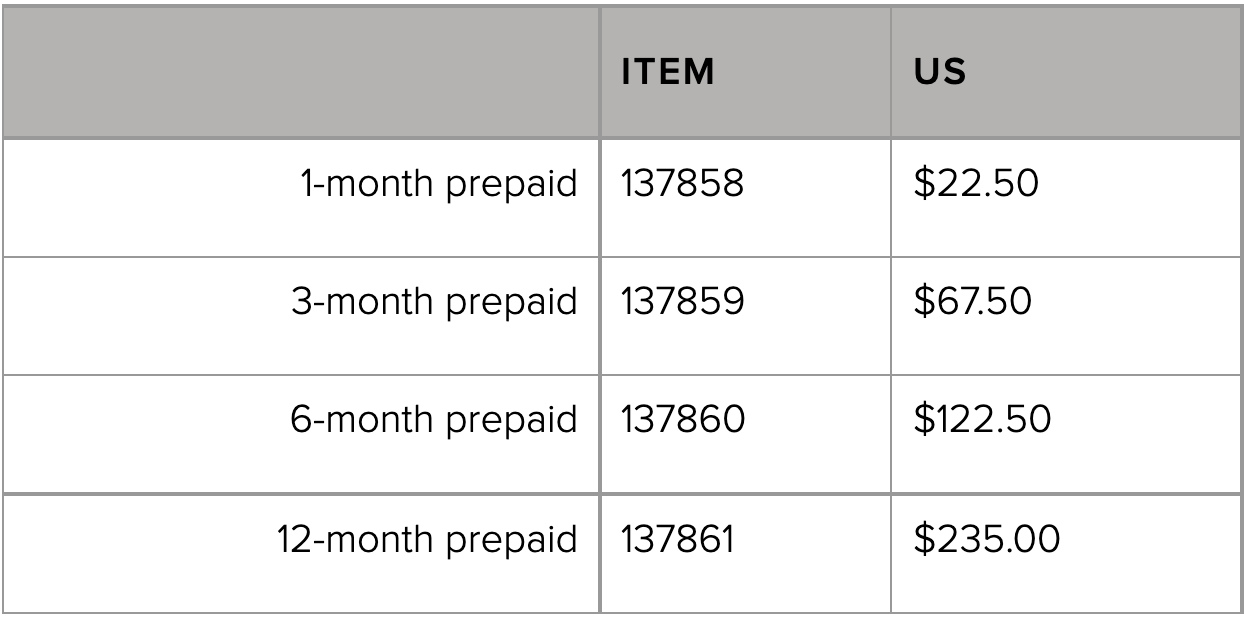
Subscribe February 11 – March 10
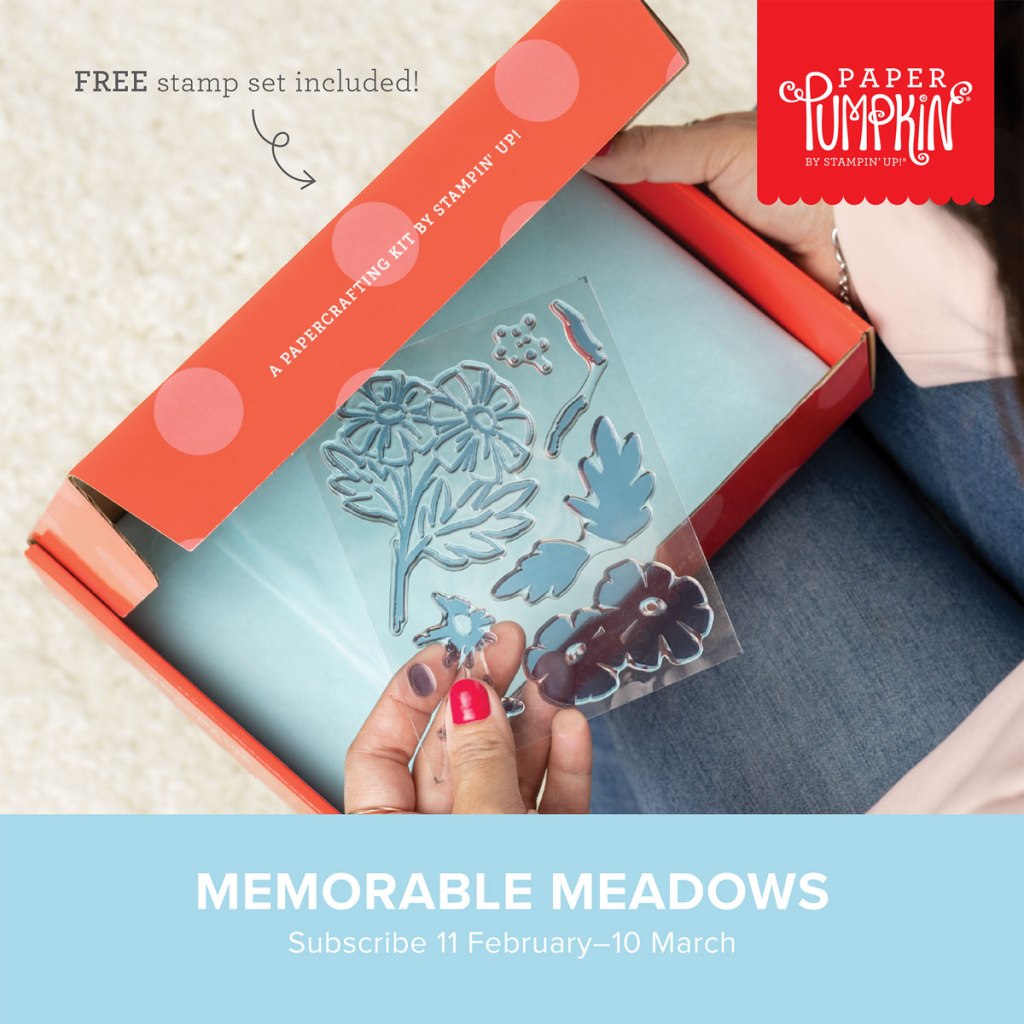
Share nature’s beauty with lovely all-occasion cards!
• Makes 9 cards: 3 each of 3 designs with 9 coordinating envelopes
• Precut vellum pieces & wood embellishments
• Coordinates with the Meandering Meadows Suite Collection (item 162745)
• Coordinating colors: Granny Apple Green, Garden Green (Classic Stampin’ Spot),
Balmy Blue, Night of Navy, Gorgeous Grape, Fresh Freesia
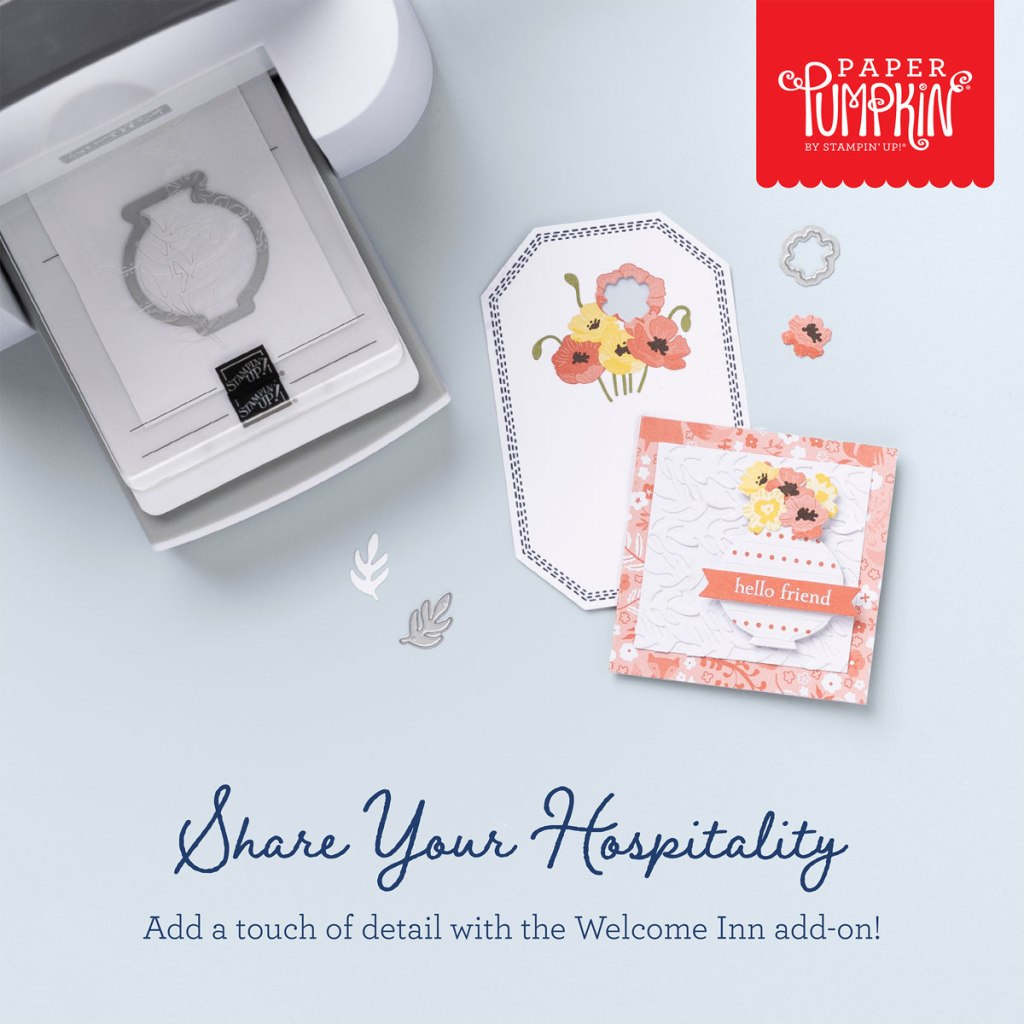
Don’t miss the coordinating Love of Spring Dies add-on!
The dies will coordinate with the January, February and March Paper Pumpkin Kit.
The Love of Spring Dies Add-On—available only while supplies last!

Item # 164396 $12.00
This exclusive add-on coordinates with the three upcoming kits! Paper Pumpkin subscribers can purchase it beginning 11 December. The add-on is available only while supplies last, so it’s best to shop early!
Subscribe to the February Paper Pumpkin Kit between 11 February and 10 March by clicking here!
Note: Supplies may be limited toward the end of the subscription period.
*********************************************************************************************************
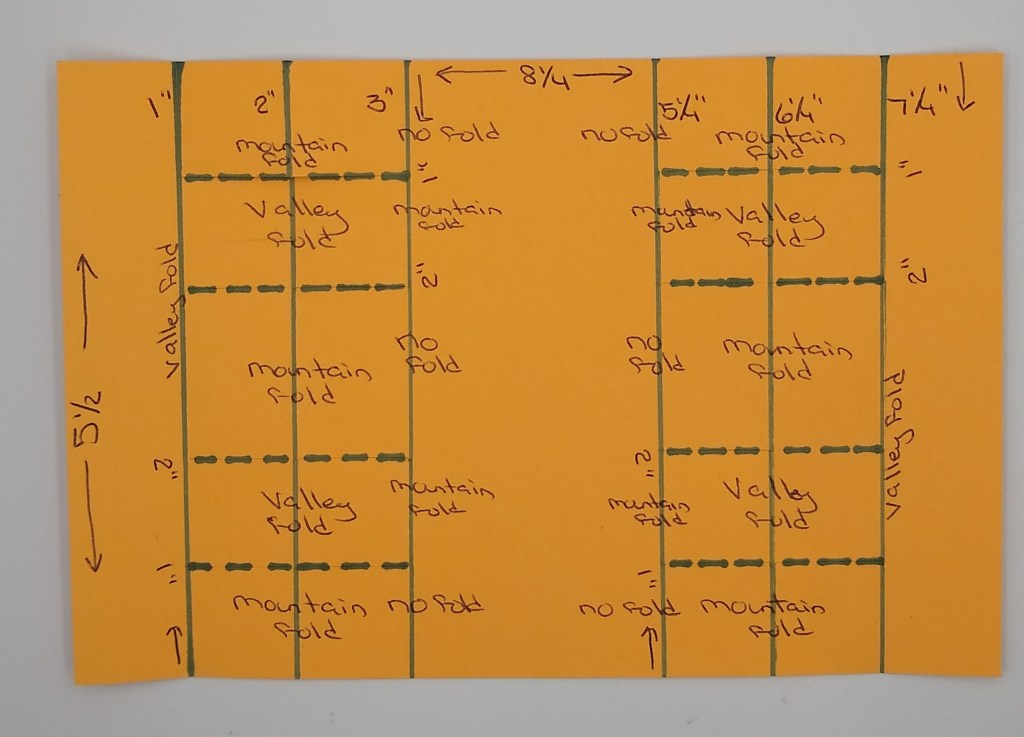
Card stock cuts for this project:
- Basic White Cardstock 4 1/4″ X 5 1/2″ (artwork), 4″ X 5 1/4″ (inner liner)
- Basic White Thick Cardstock 5 1/2″ X 8 1/2″ (card base scored & folded at 4 1/4″)
- Bubble Bath Cardstock 4 1/8″ X 5 3/8″ (inner liner mat)
- Fresh As A Daisy Designer Series Paper 4 1/4″ X 5 1/2″(card front), 1/2″ X 5 1/2″ (card front panel), 2 1/4″ X 6″ (envelope)
- Holographic Trio Specialty Paper 1″ X 1 1/4″ (inner wheels)
*********************************************************************************************************
Product List
")


 Designer Series Paper")
 Specialty Paper")


")
")

 Designer Series Paper")
 Specialty Designer Series Paper")


 Sheer Ribbon Combo Pack")


")
")

")


")


")


")
")


 Specialty Designer Series Paper")
 Designer Series Paper")


")
")
")

")


 Designer Series Paper")


")


")

 Specialty Paper")
 Designer Series Paper")


 Designer Series Paper")
 Designer Series Paper")


 Chevron Weave Ribbon")

