Good Monday morning stamping friends and Happy Halloween Eve. How many of you remember going out on mischief night and draping toilet paper on neighbors’ trees and putting soap on car windows? I know I’m dating myself here. That was always good clean fun that we had when we were kids, but it’s a thing of the past anymore.
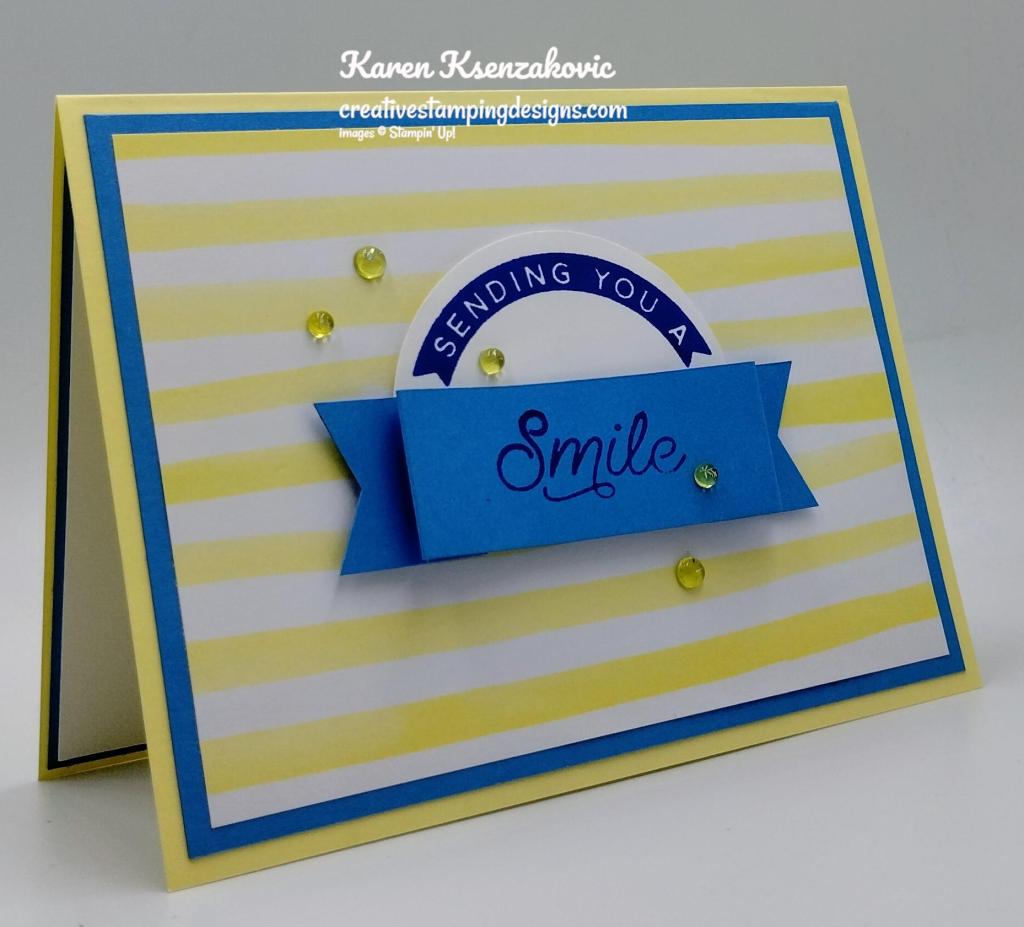
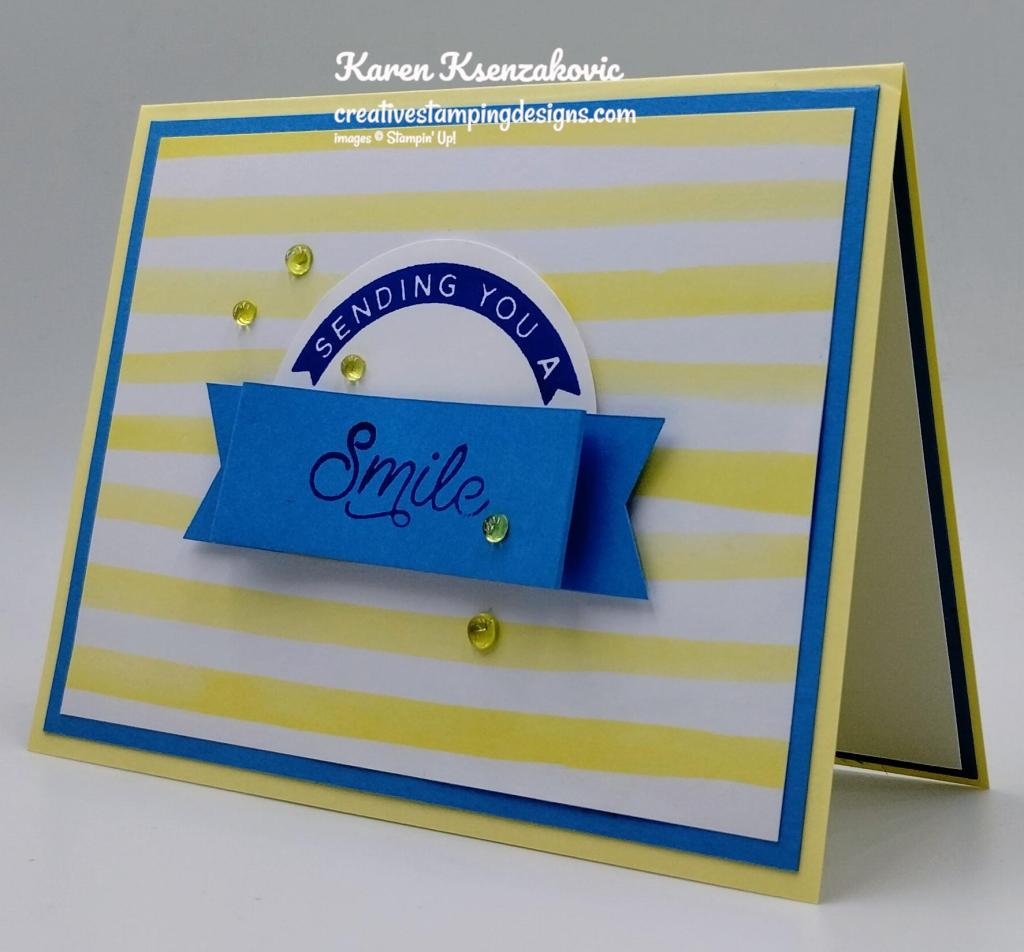
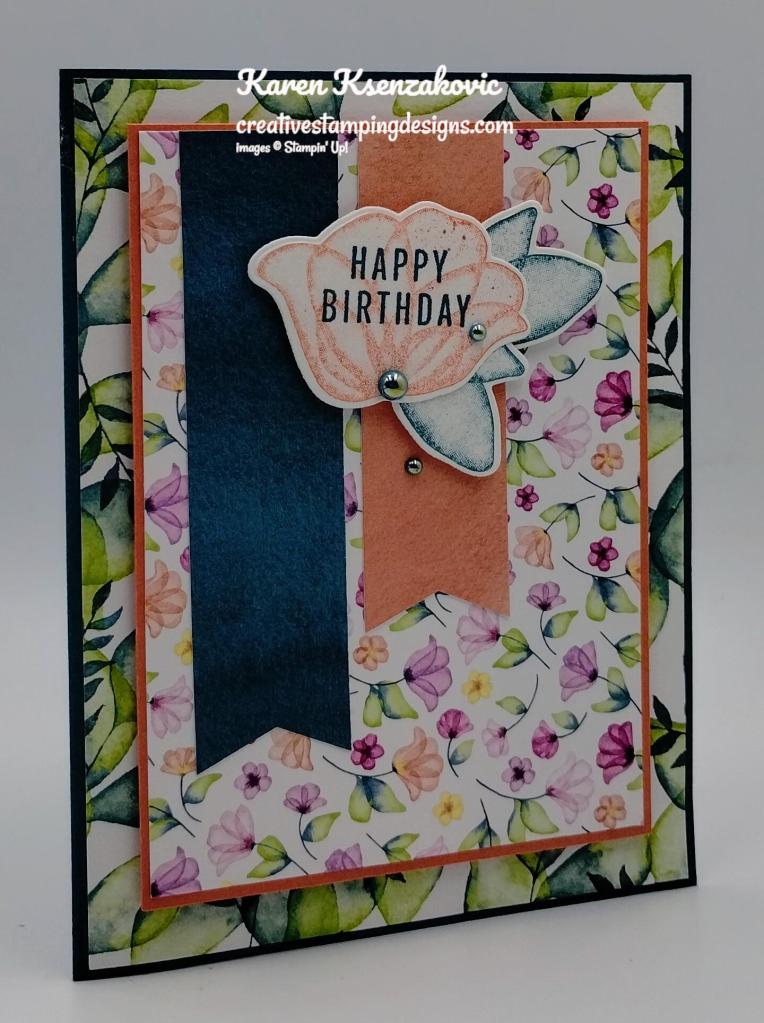
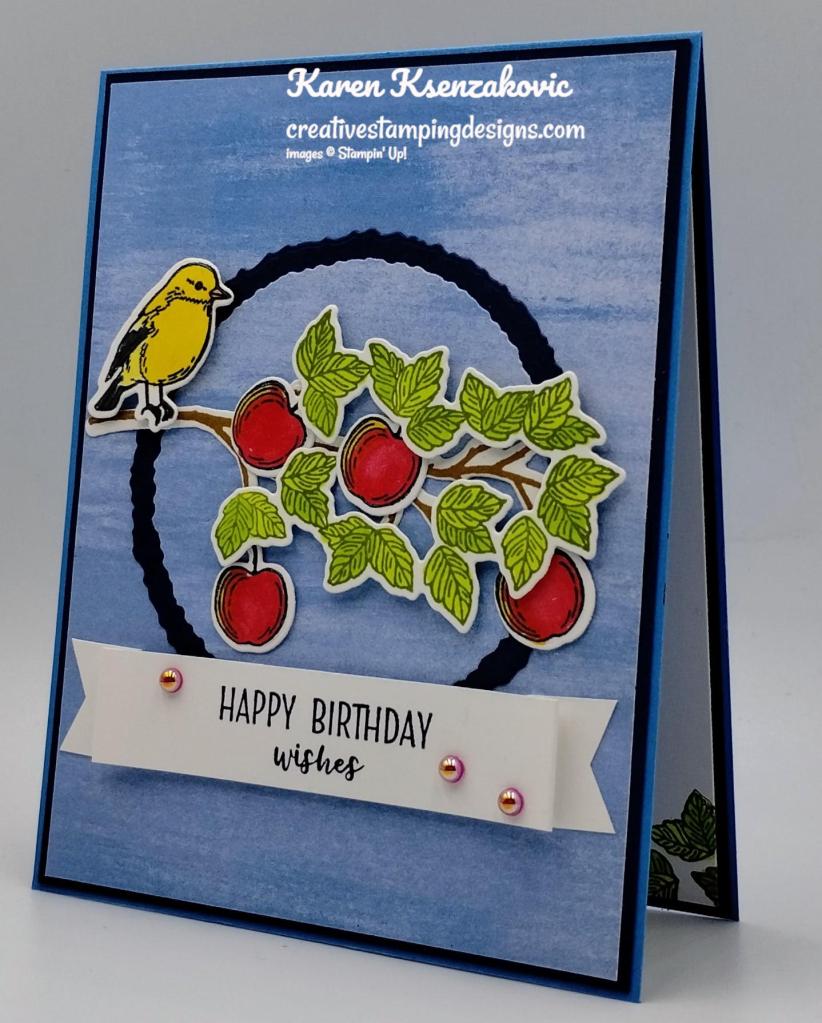
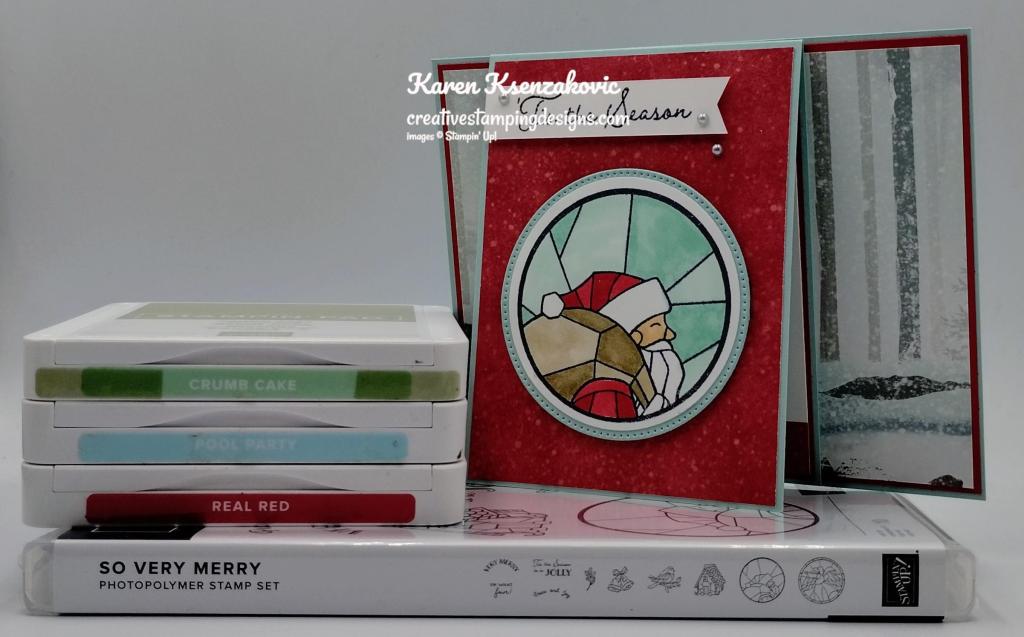
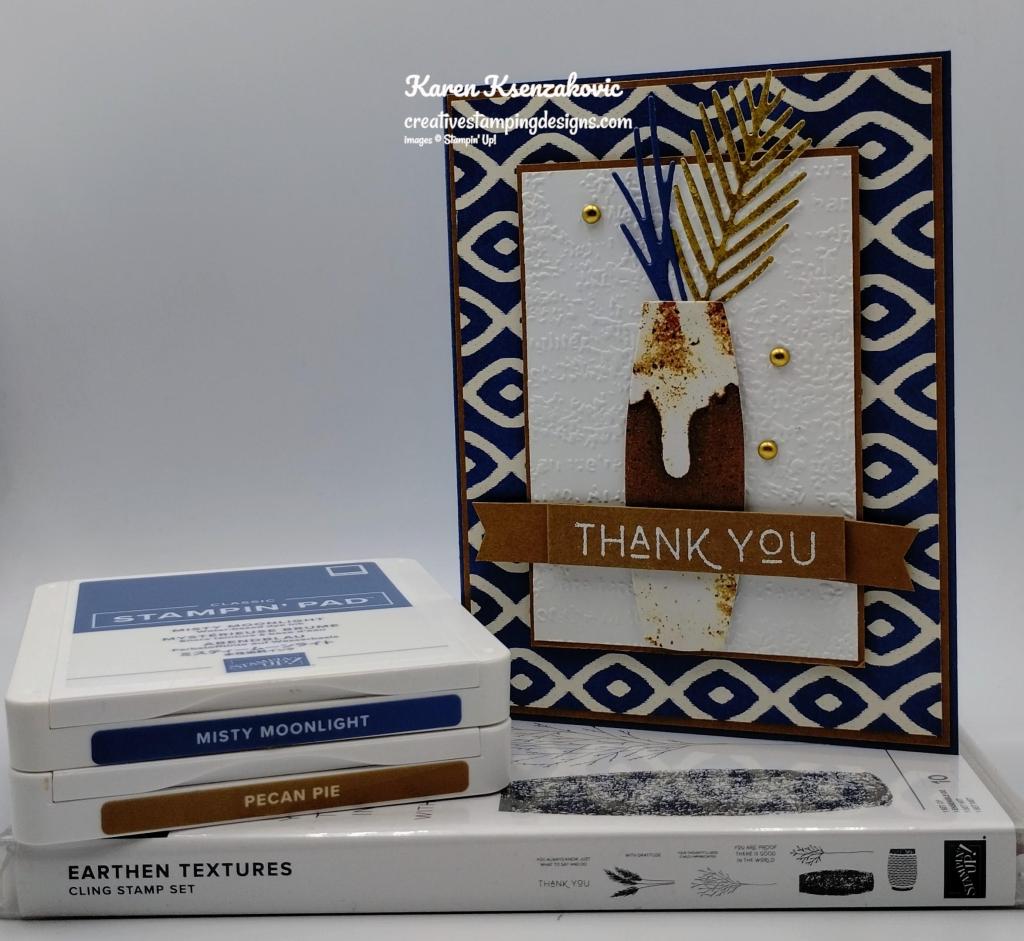
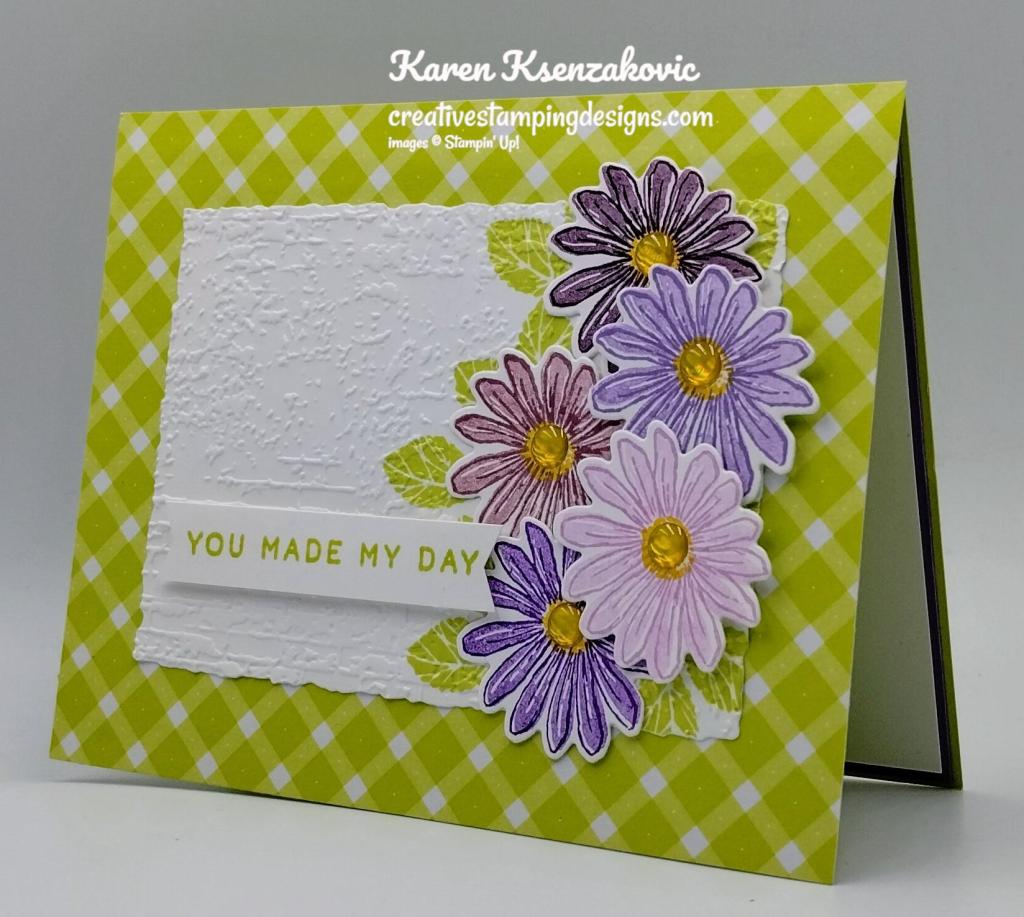
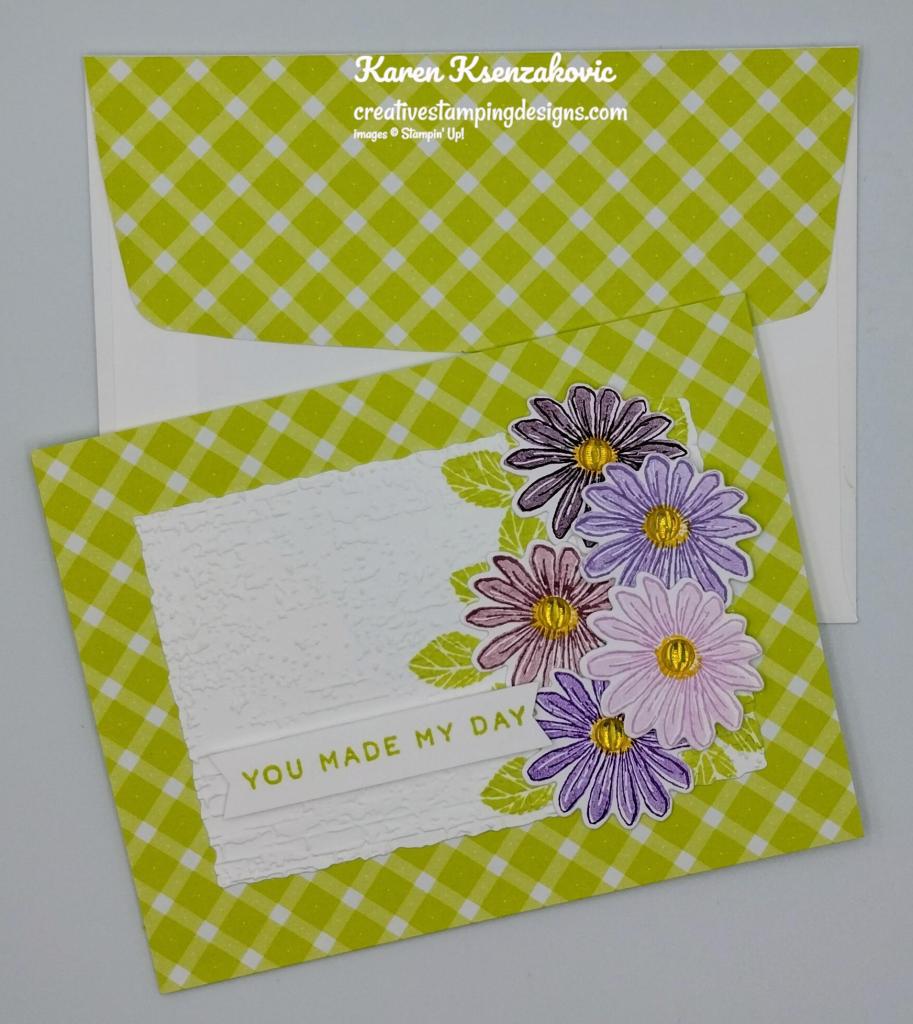
I have another Christmas card for you today. I think Imay be at the end of having to make Holiday cards. If you’d like to see a quick video on how I made my card, Click Here to go to my Instagram Reels. Here’s my card for today.
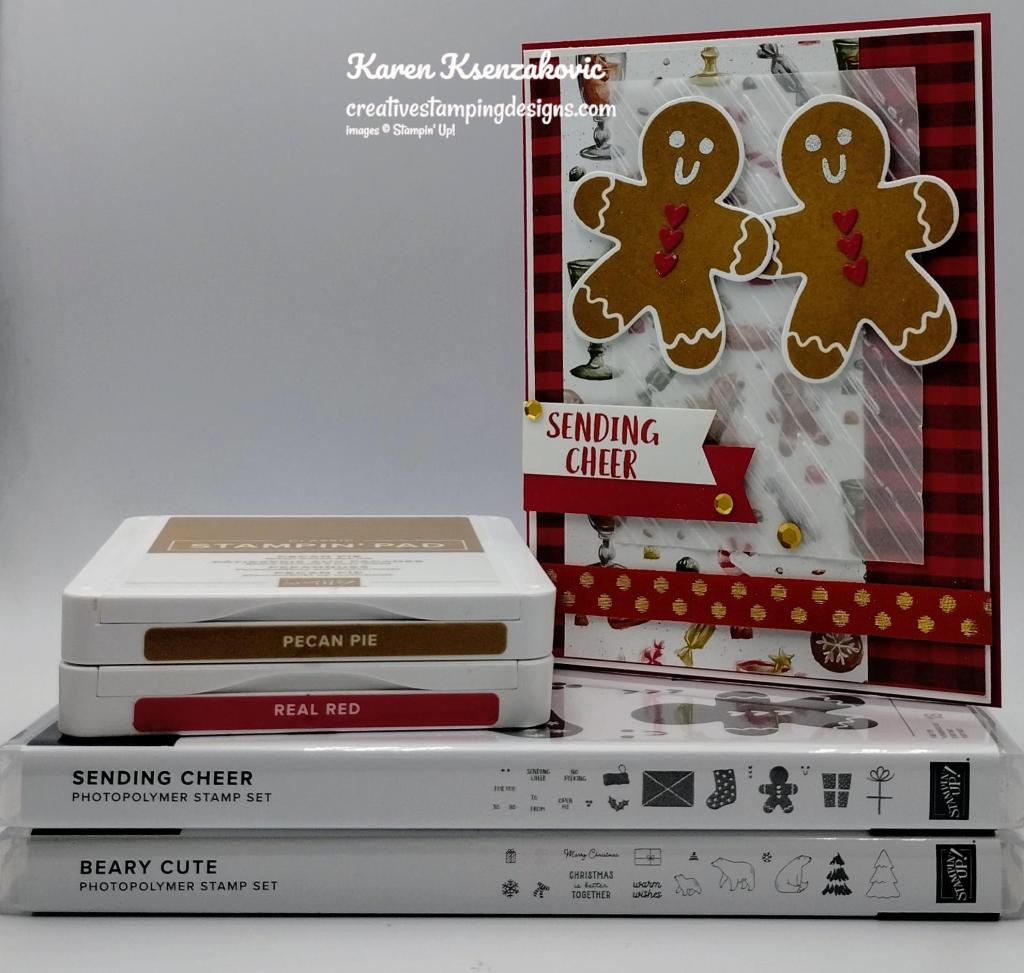
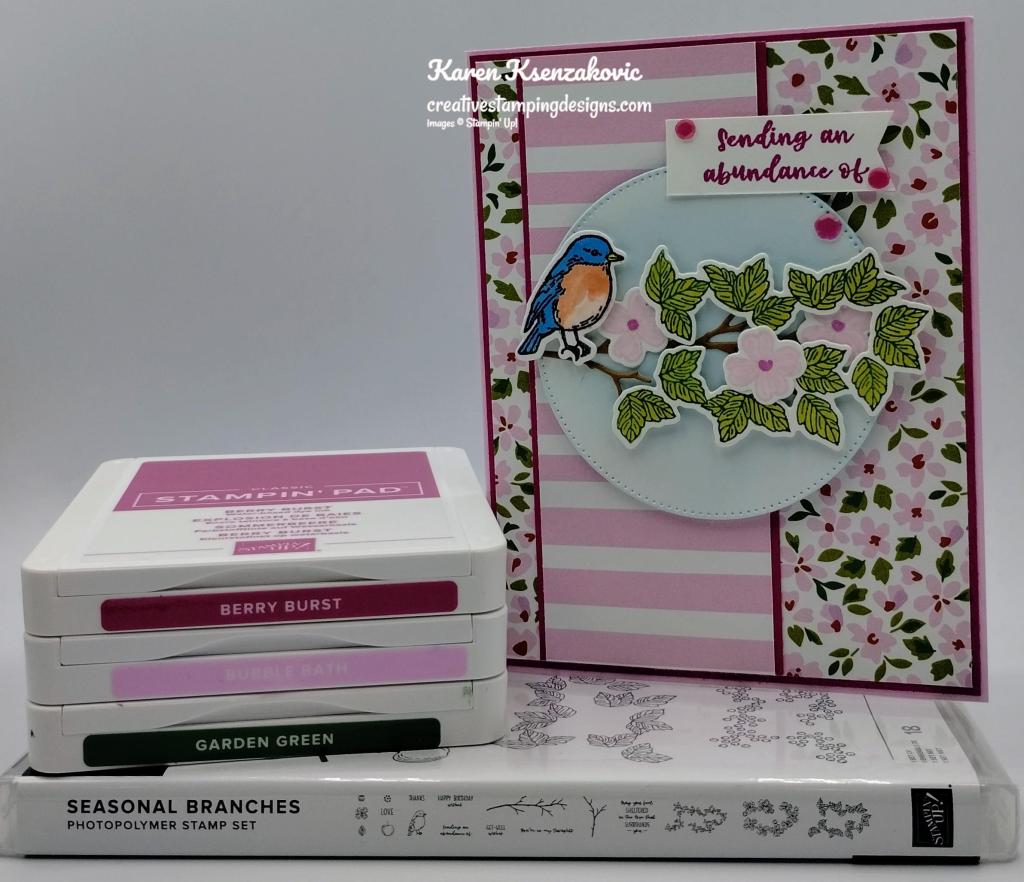
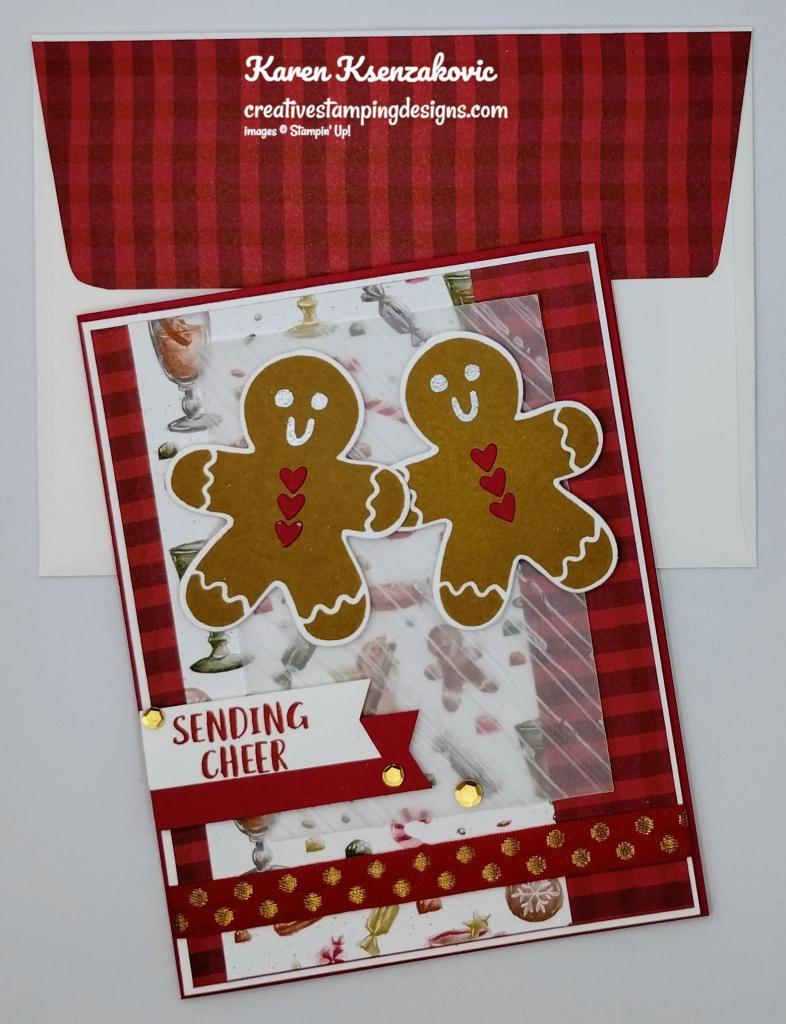
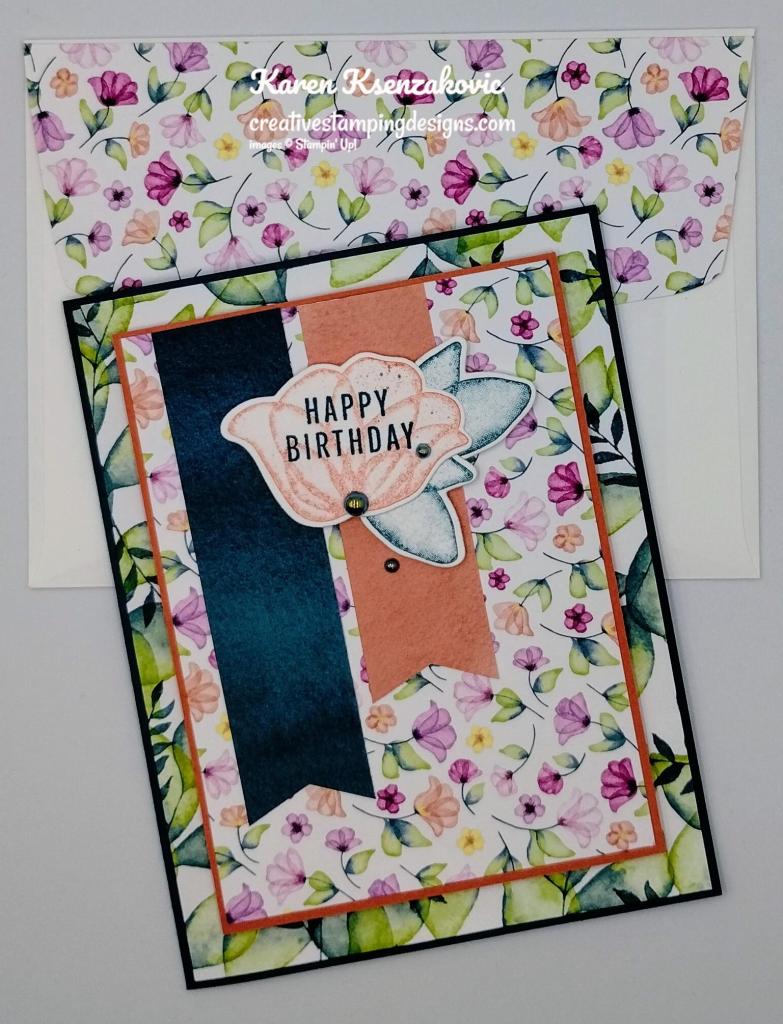
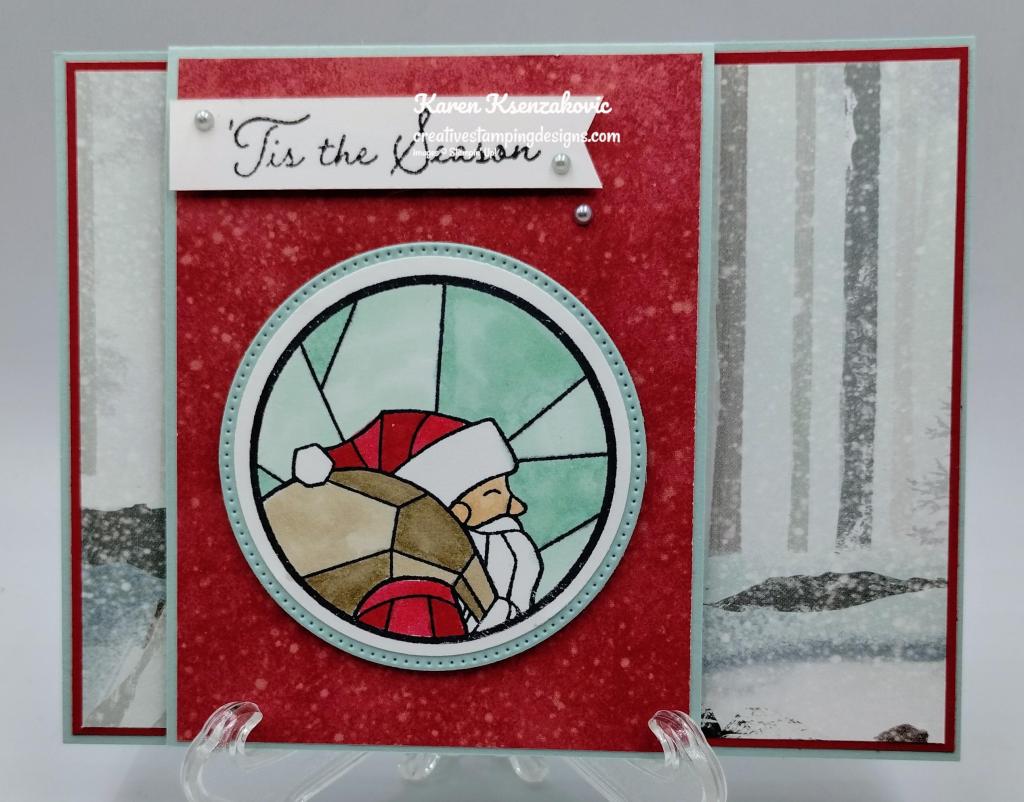
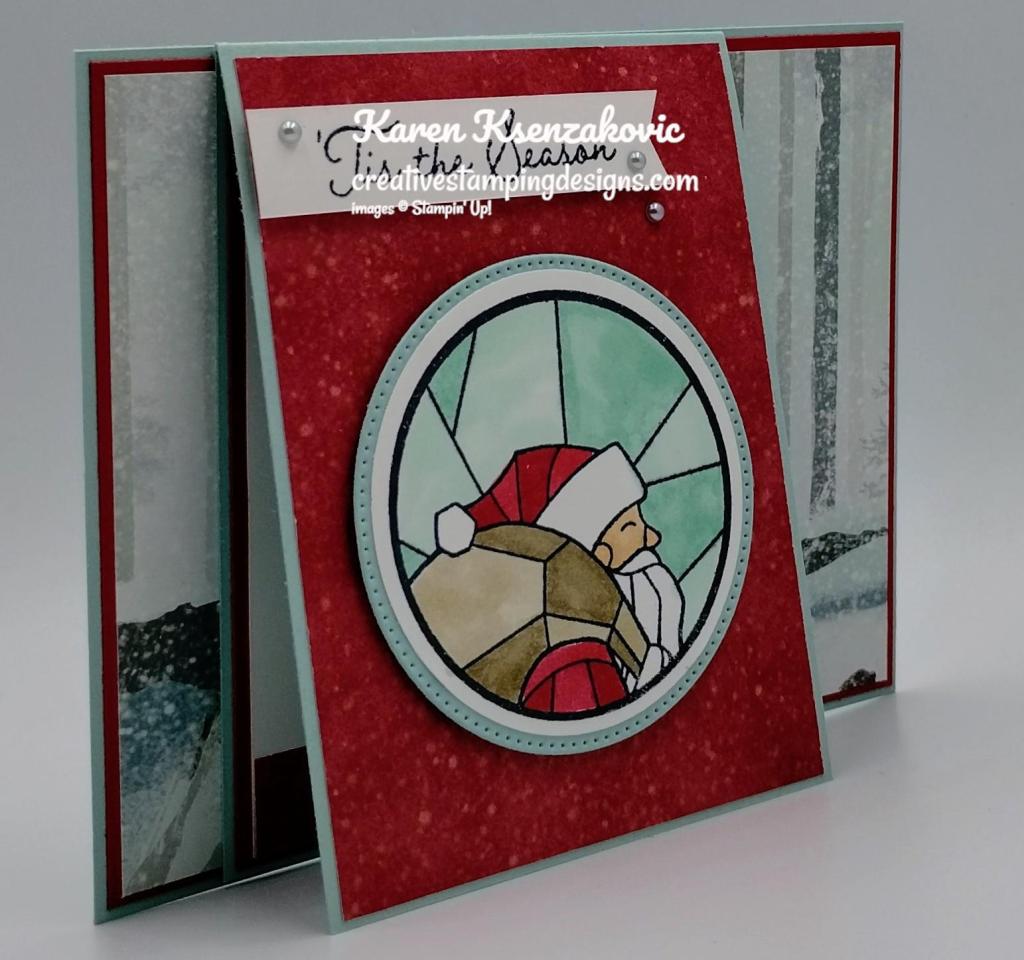
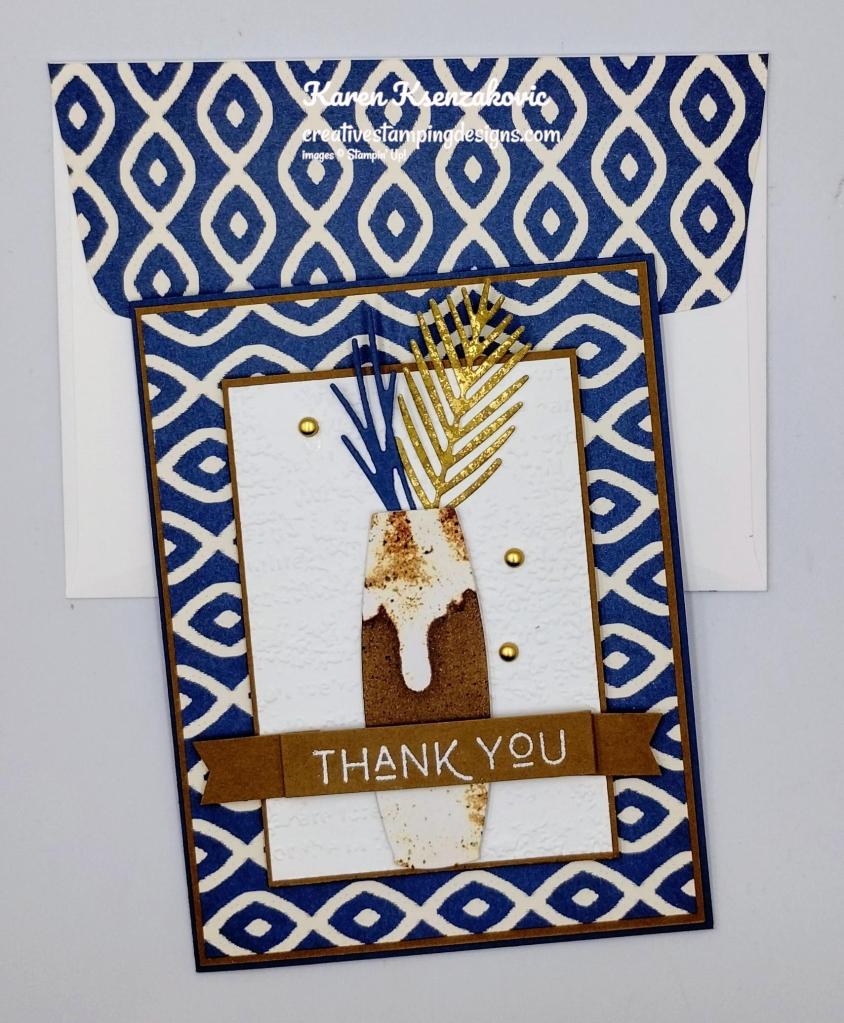
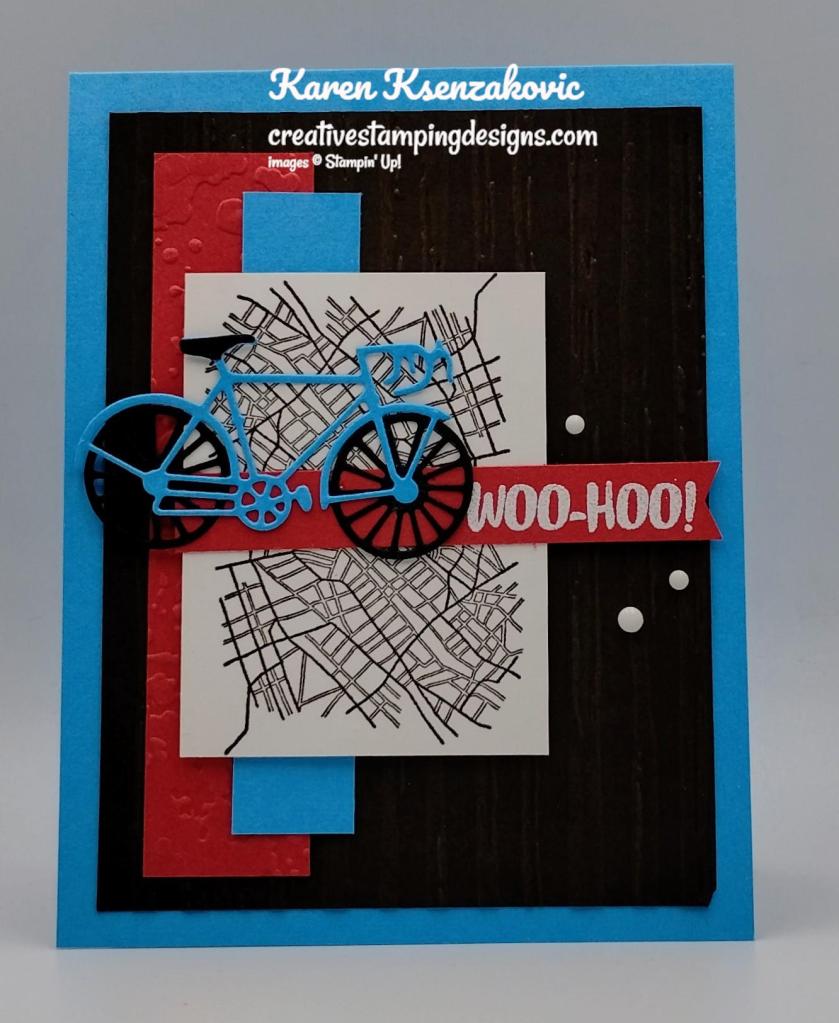
I used the Stampin’ Up! Sending Cheer Bundle along with the Stampin’ Up! Beary Cute Photopolymer Stamp Set, Joy of Christmas Designer Series Paper, Stripes & Splatters 3D Embossing Folder and Online Exclusive Traditions of St. Nick Designer Series Paper for my card today.

My design is from Freshly Made Sketches #609.
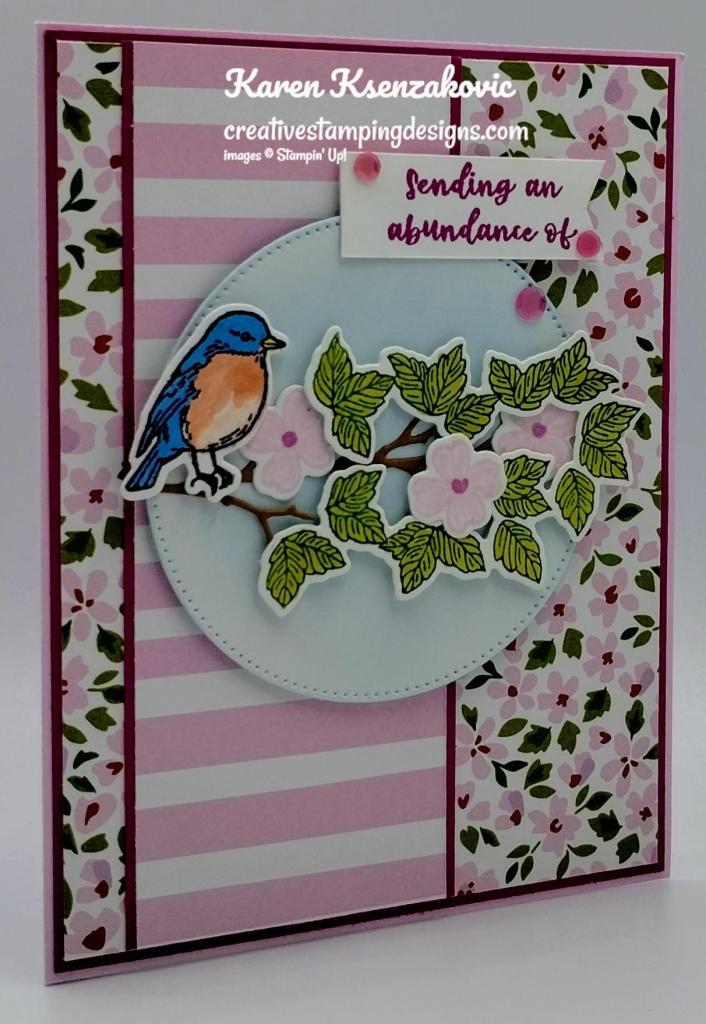
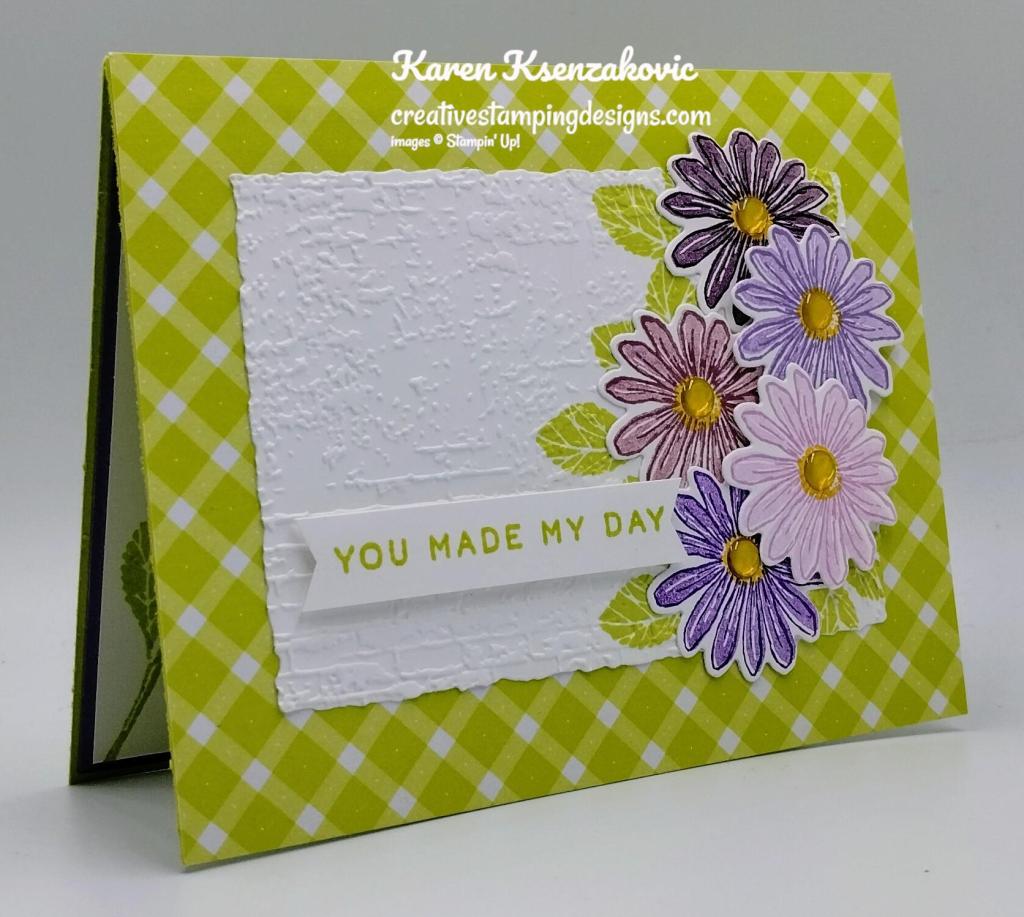
I started by adhering a panel of Joy of Christmas DSP to a Basic White mat using Stampin’ Seal. I adhered a panel of Traditions of St. Nick DSP to the matted panel using Multipurpose Liquid Glue. I wrapped a piece of Real Red & Gold 3/8″ Dotted Ribbon around the layered panel and adhered it on the back using Stampin’ Seal. I adhered the layered panel to a Real Red card base using Stampin’ Dimensionals.
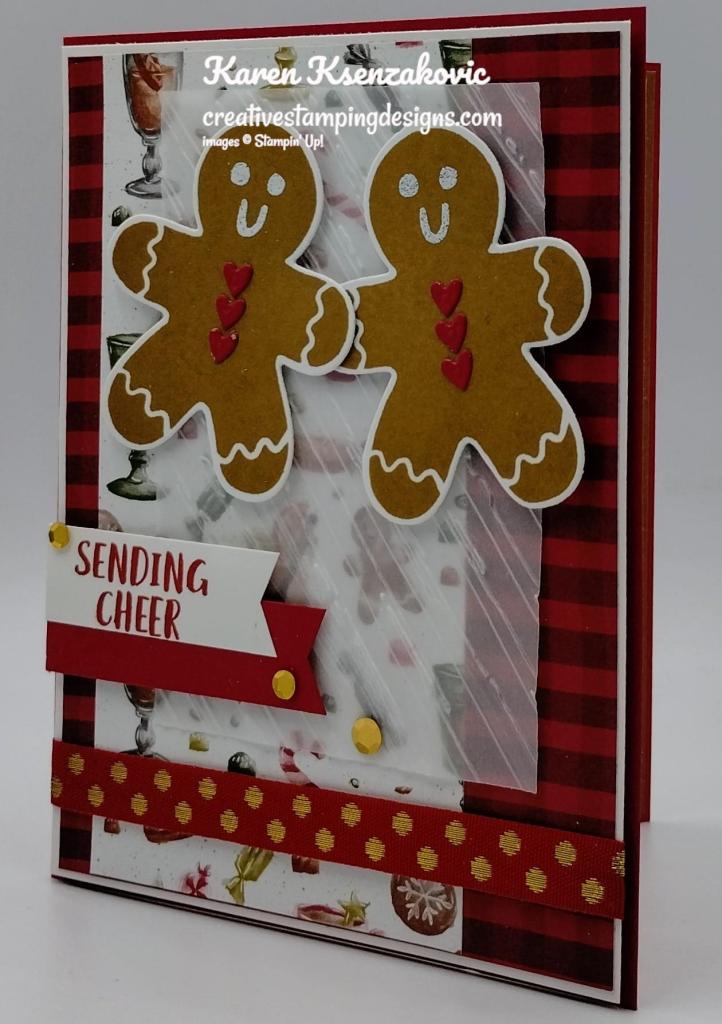
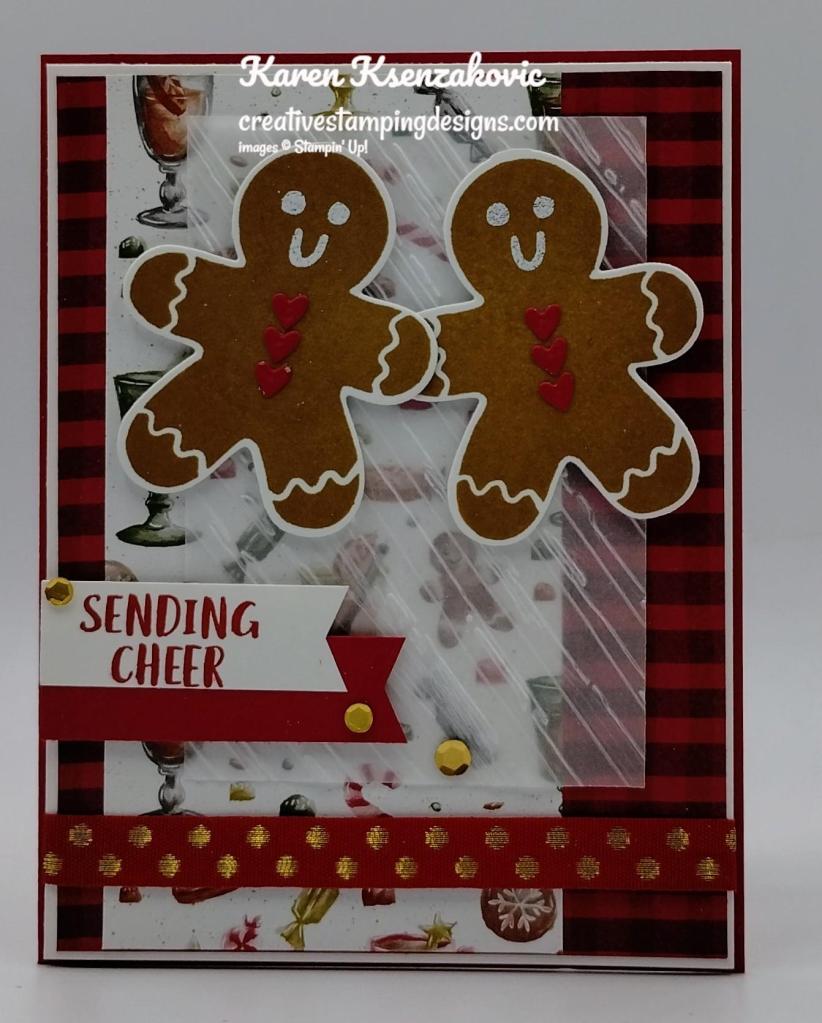
I stamped the gingerbread man image from the Stampin’ Up! Sending Cheer Photopolymer Stamp Set in Pecan Pie Ink 2 times on a panel of Basic White. I stamped the face image from the Sending Cheer stamp set in Versamark Ink on the image. I sprinkled it with White Embossing Powder and set it using the Heat Tool. I cut the images out using the Sending Cheer Dies. Using the Sending Cheer Dies I cut out 2 sets of the tiny hearts from a panel of Real Red. I embossed a panel of Vellum paper using the Stripes & Splatters EF. I adhered the hearts to the gingerbread men using Multipurpose Liquid Glue. I adhered the gingerbread men to the embossed vellum paper using Stampin’ Dimensionals. I adhered the vellum to the card front.
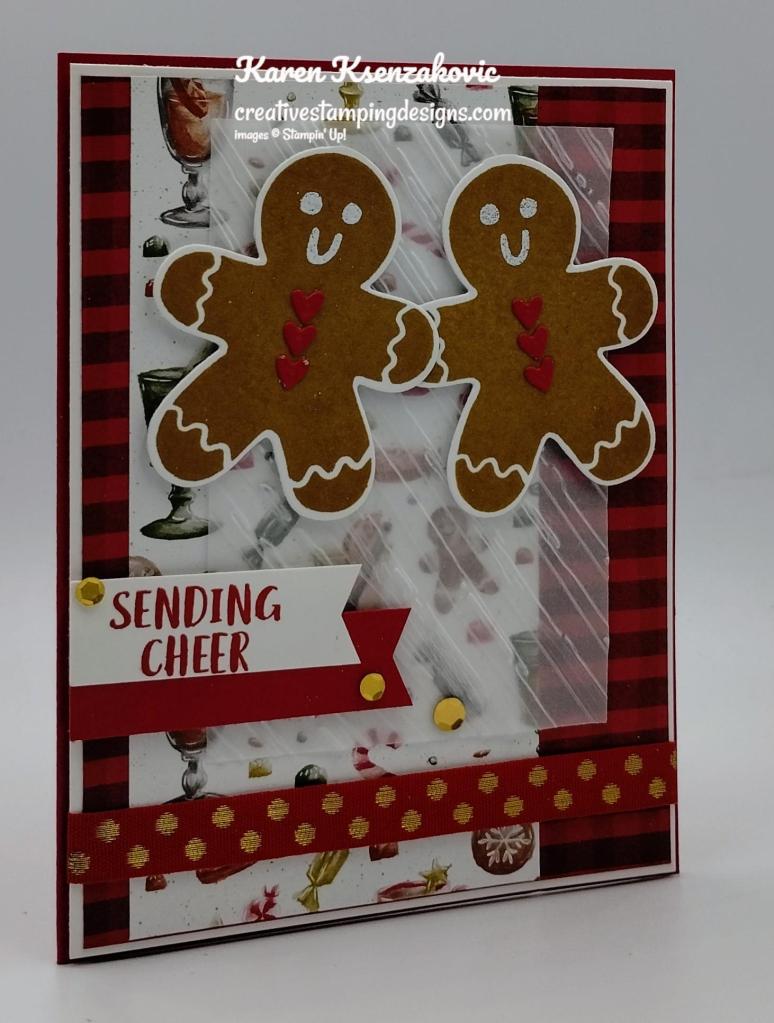
On a strip of Basic White, I stamped the sentiment from the Sending Cheer stamp set in Real Red Ink. I cut the end of the sentiment and the end of a strip of Real Red using the Banner Pick A Punch. I adhered the banners to the card front using Stampin’ Dimensionals. I added a few Neutrals Adhesive-Backed Sequins to the card front.

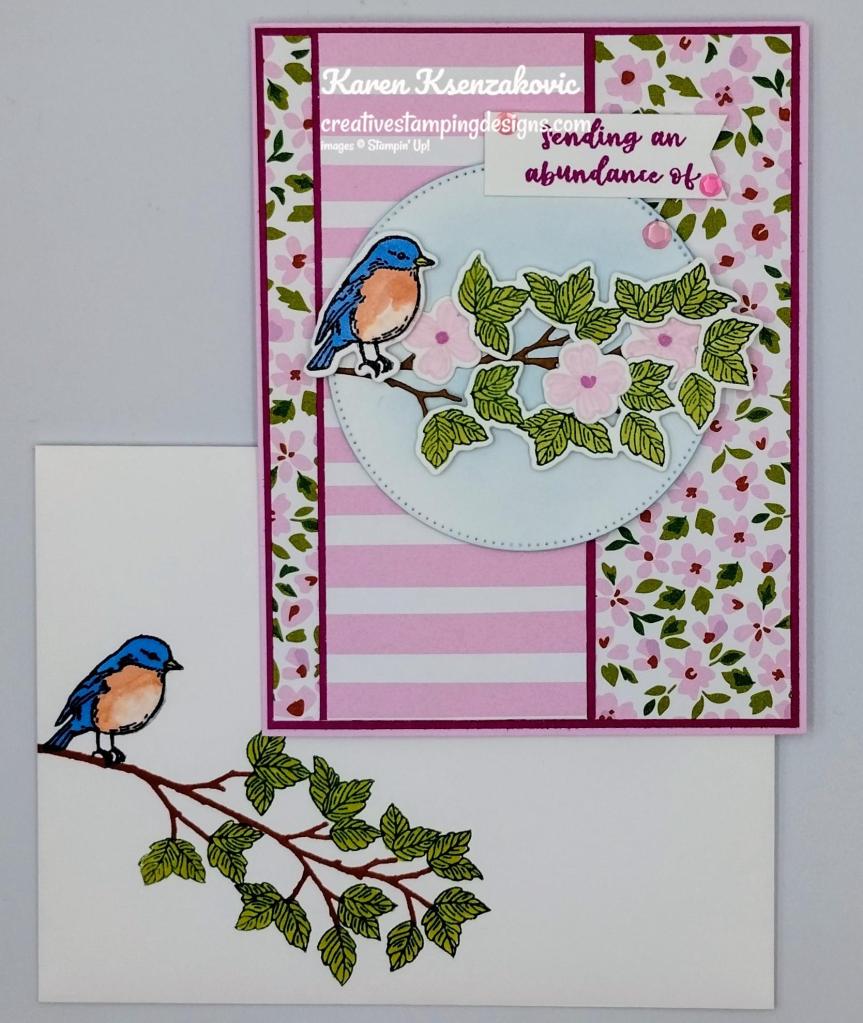
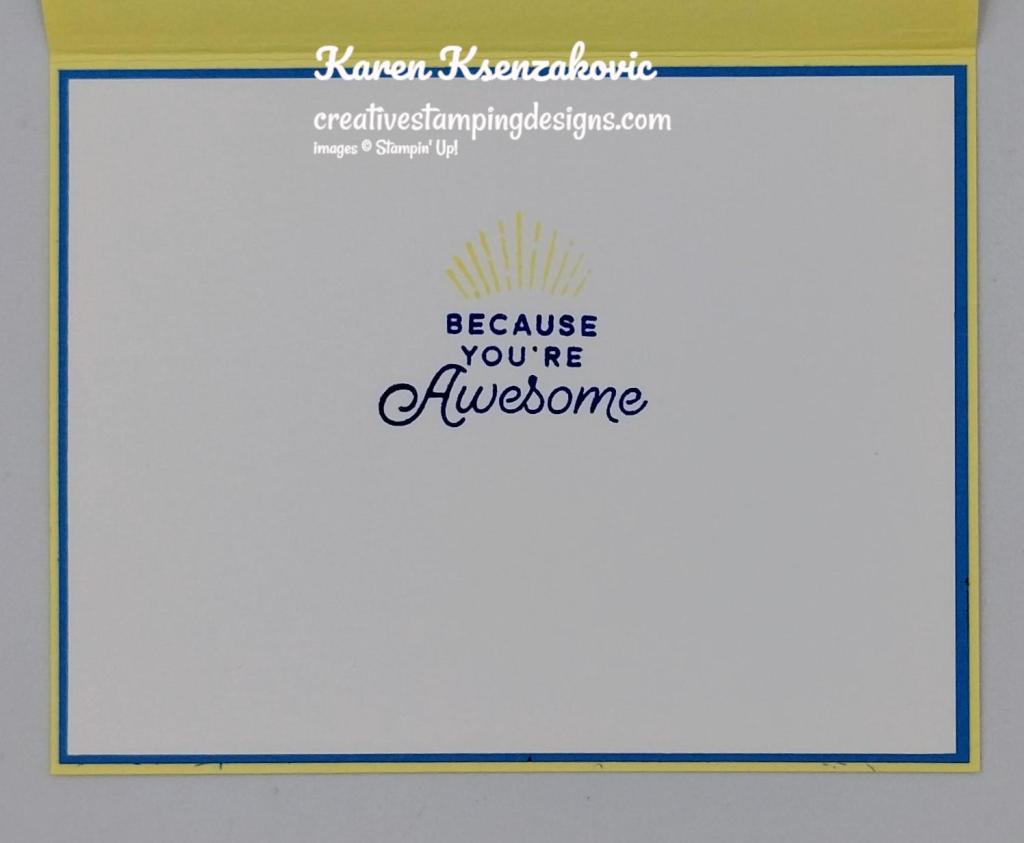
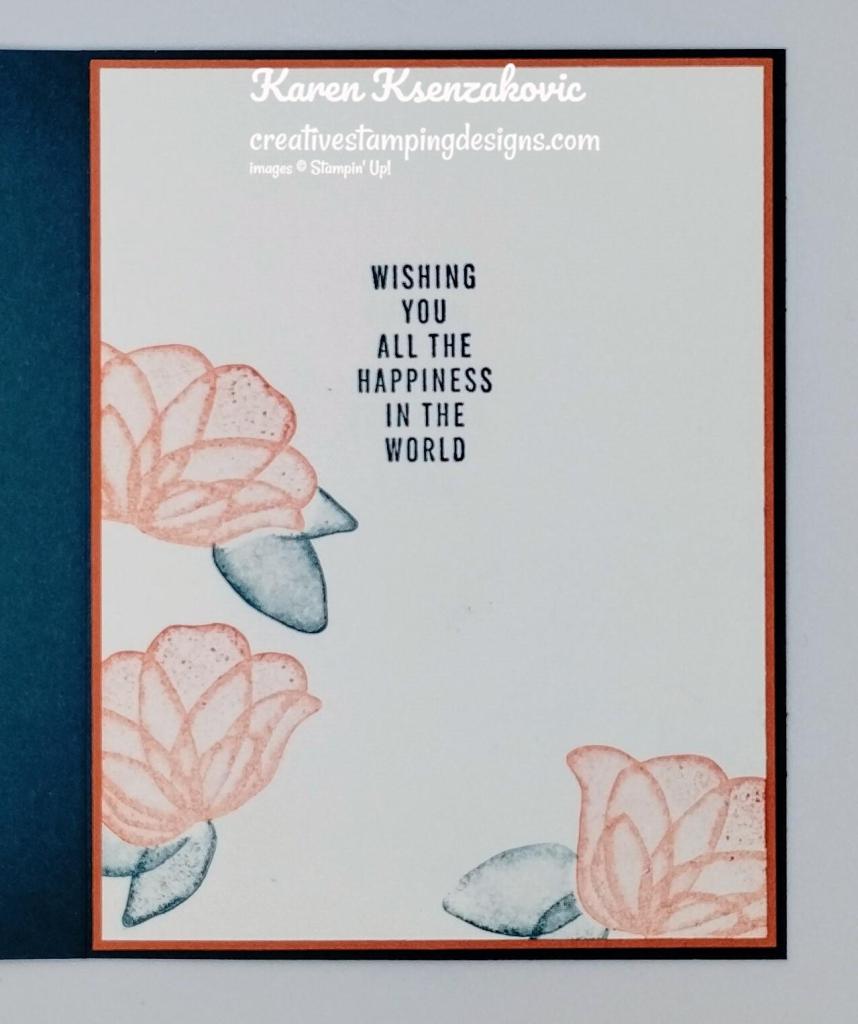
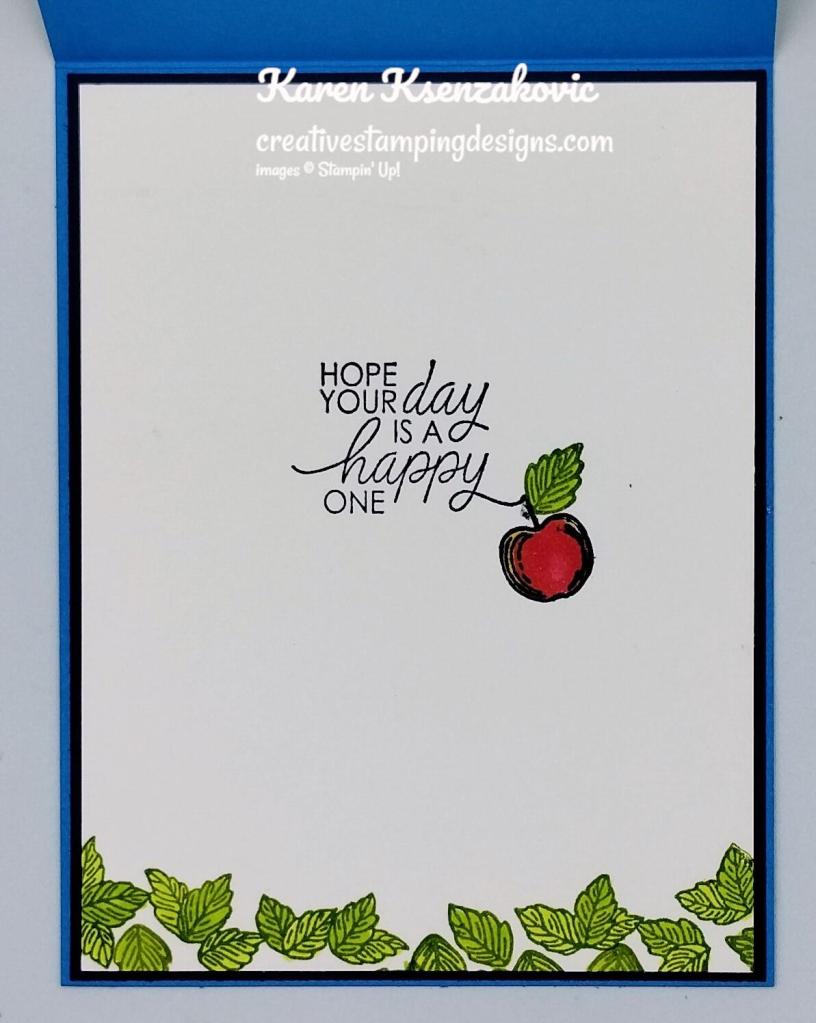
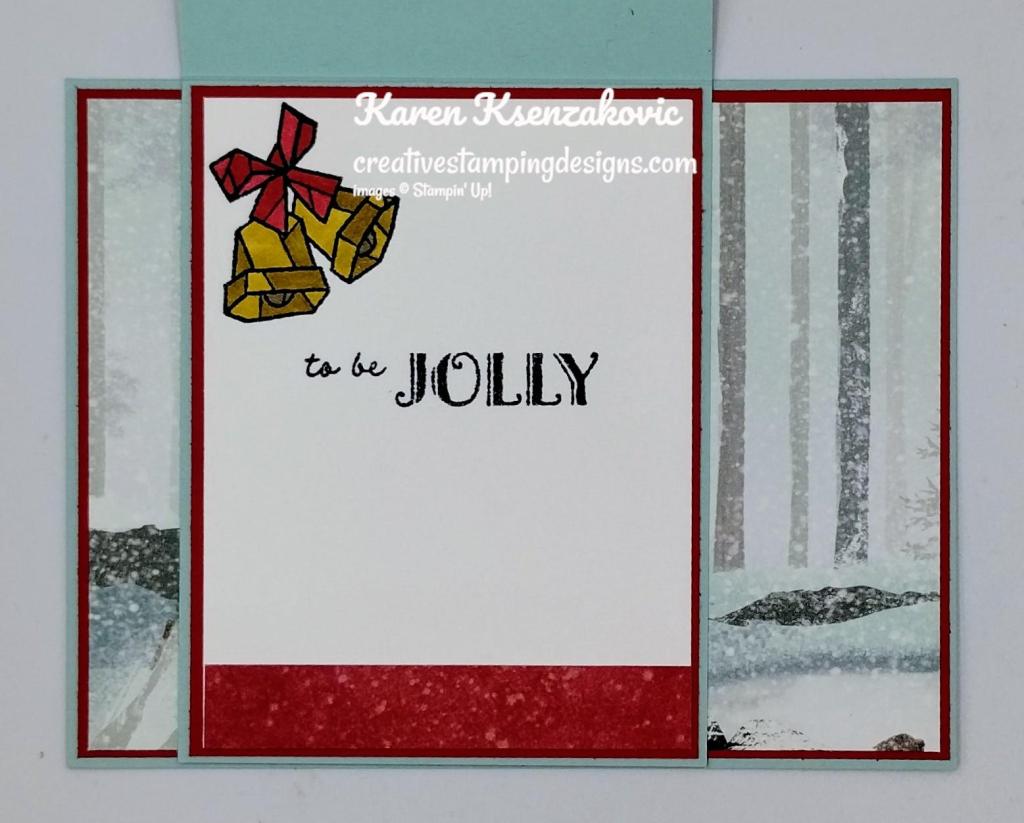
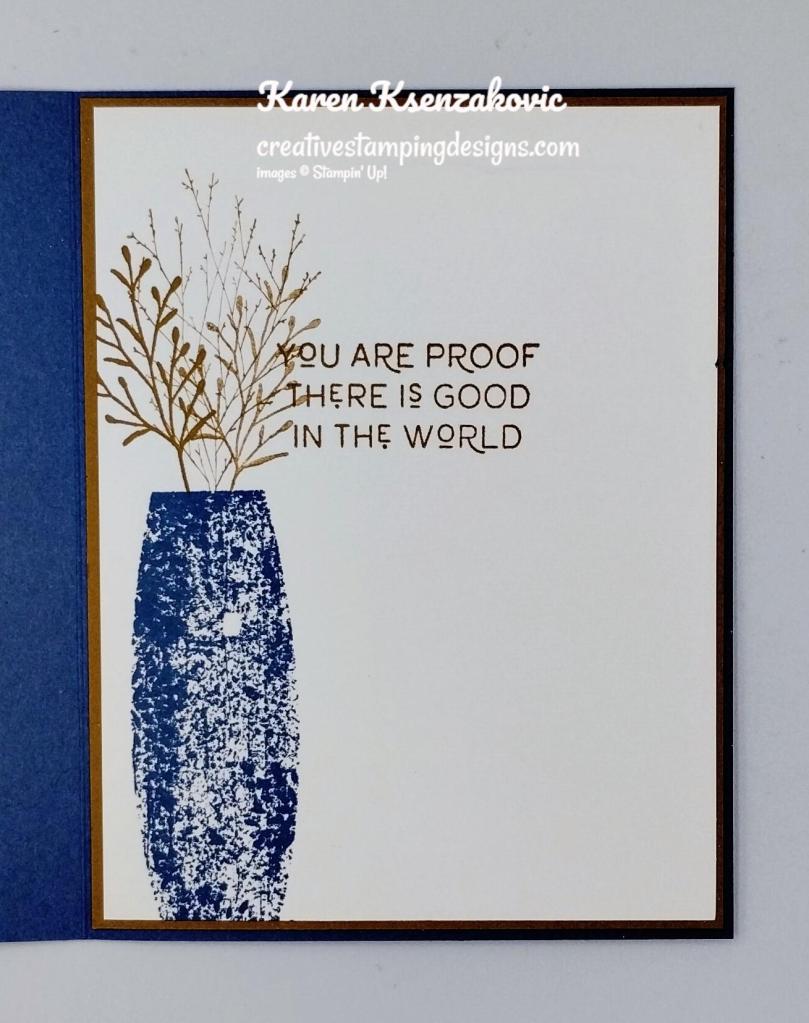
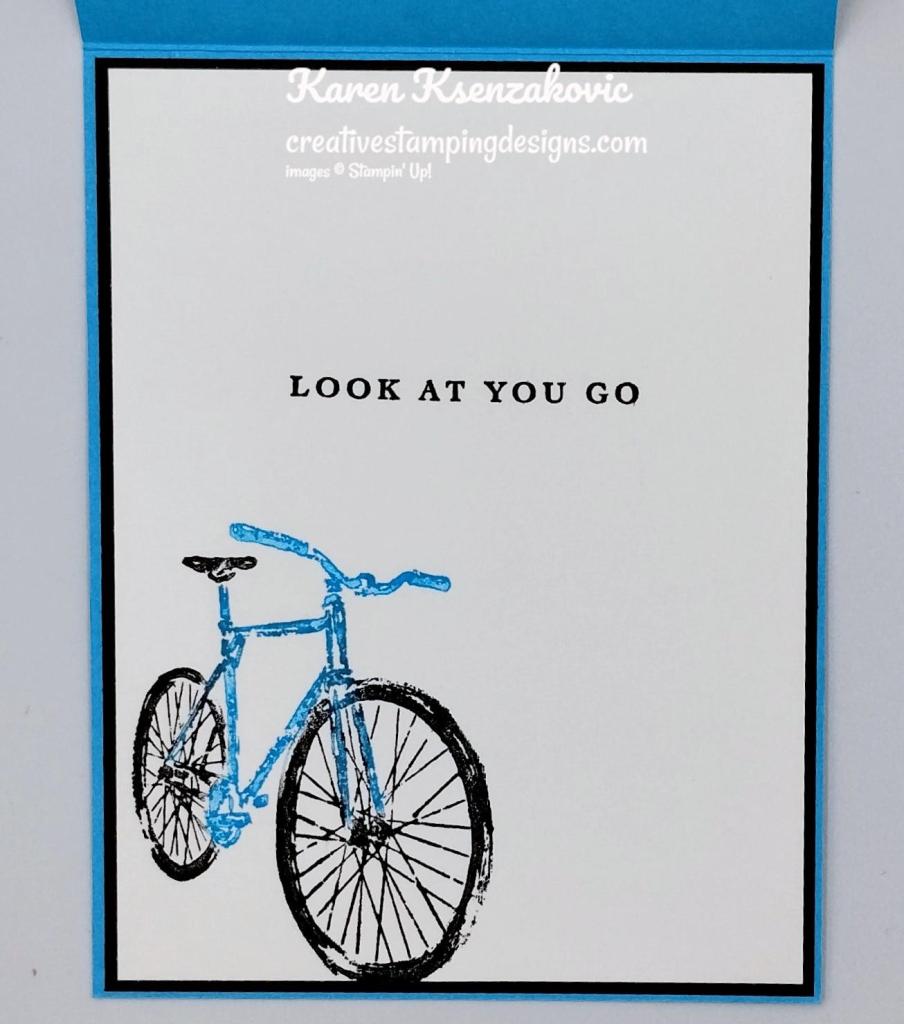
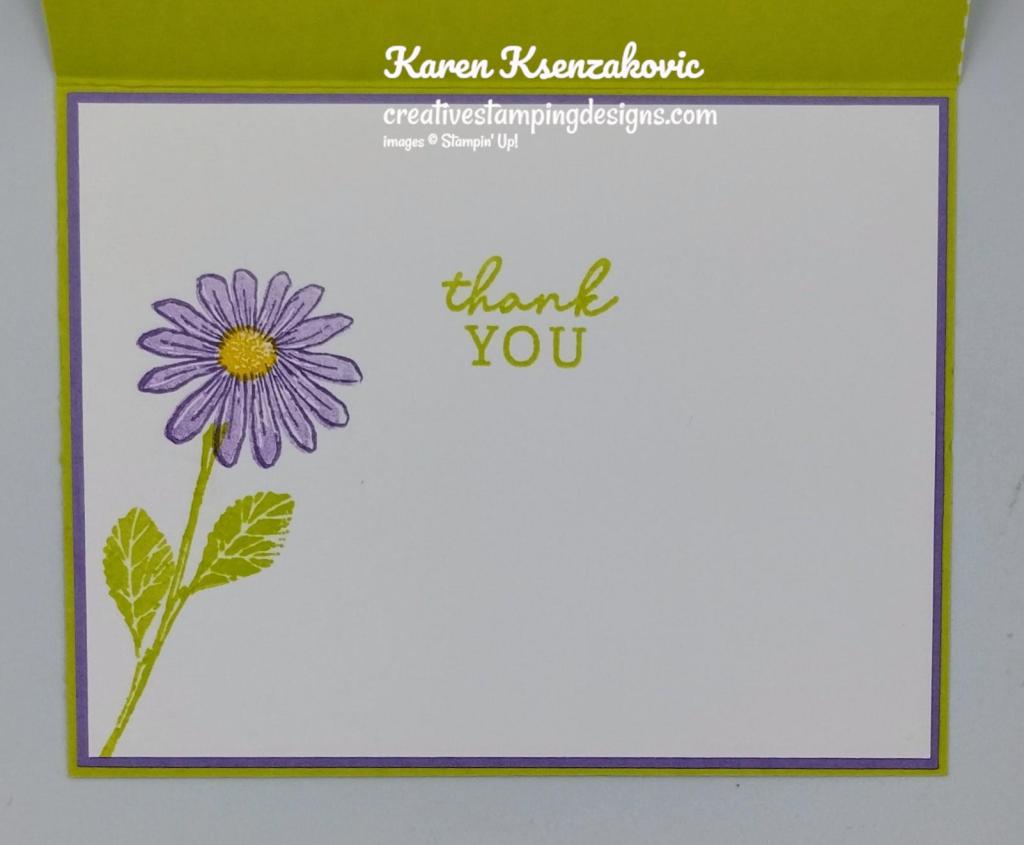
On the inside, I stamped the sentiment from the Beary Cute stamp set in Real Red Ink. I adhered a strip of Traditions of St. Nick DSP to the bottom of the panel. I adhered the Basic White panel to a Pecan Pie mat then to the inside of the Real Red card base.
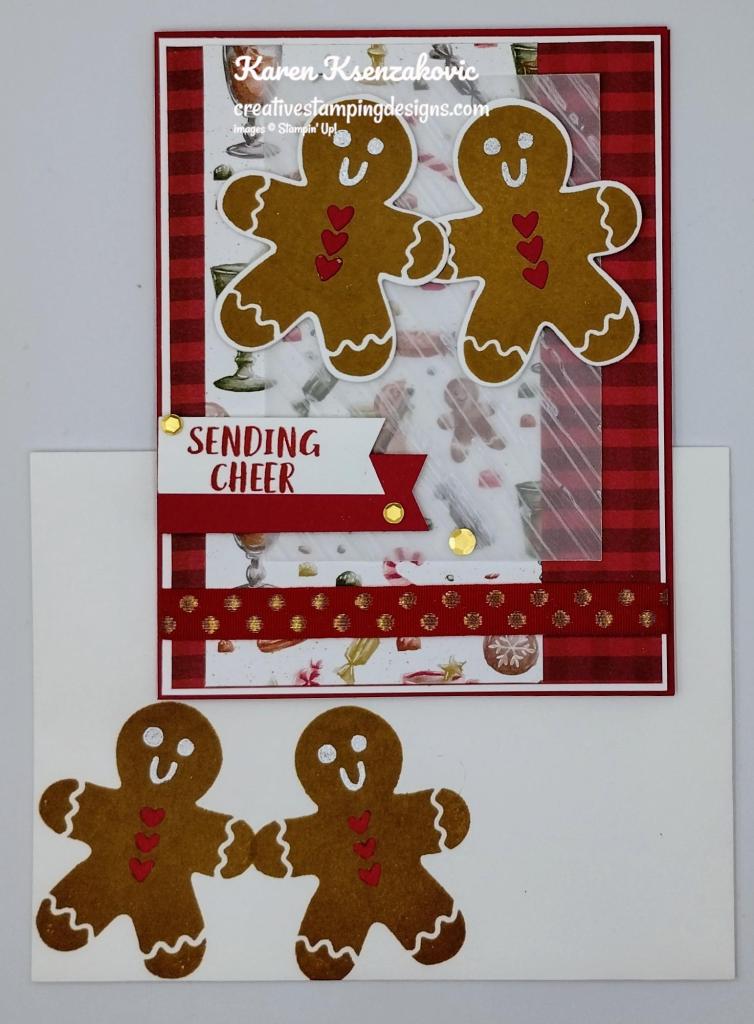
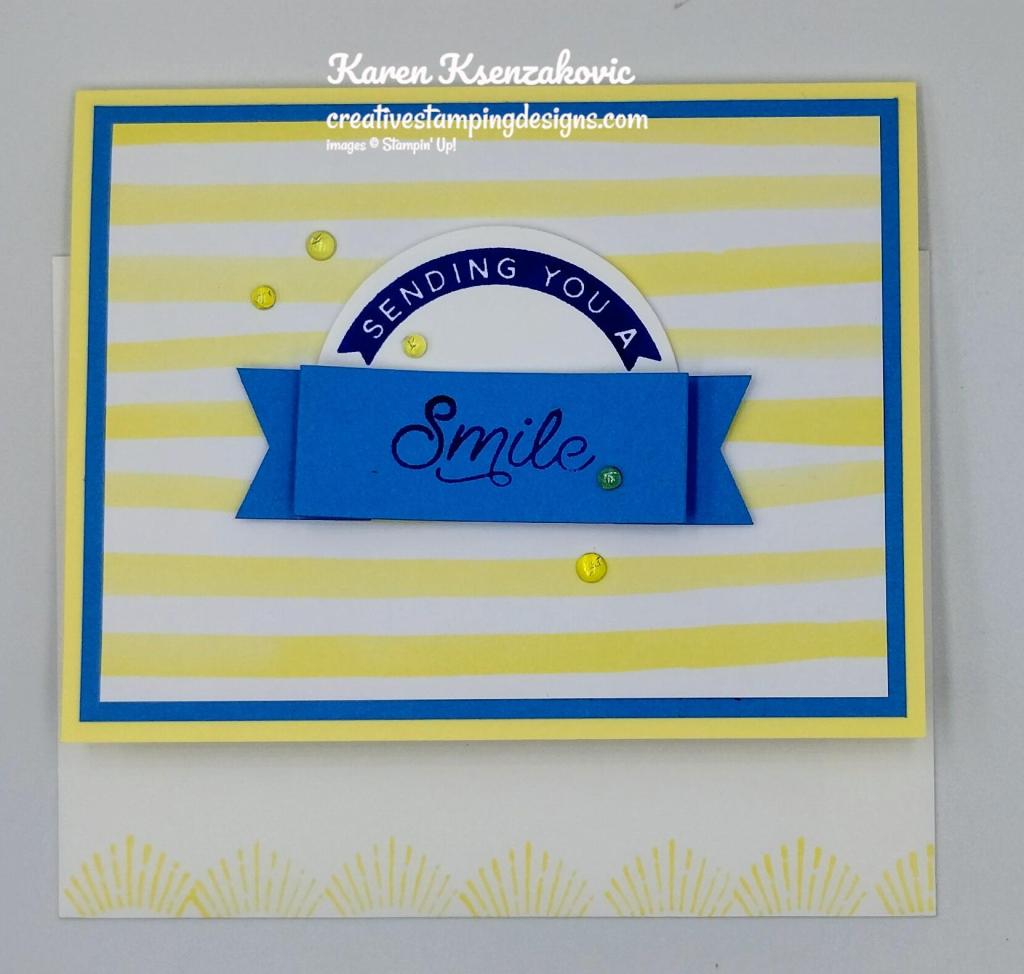
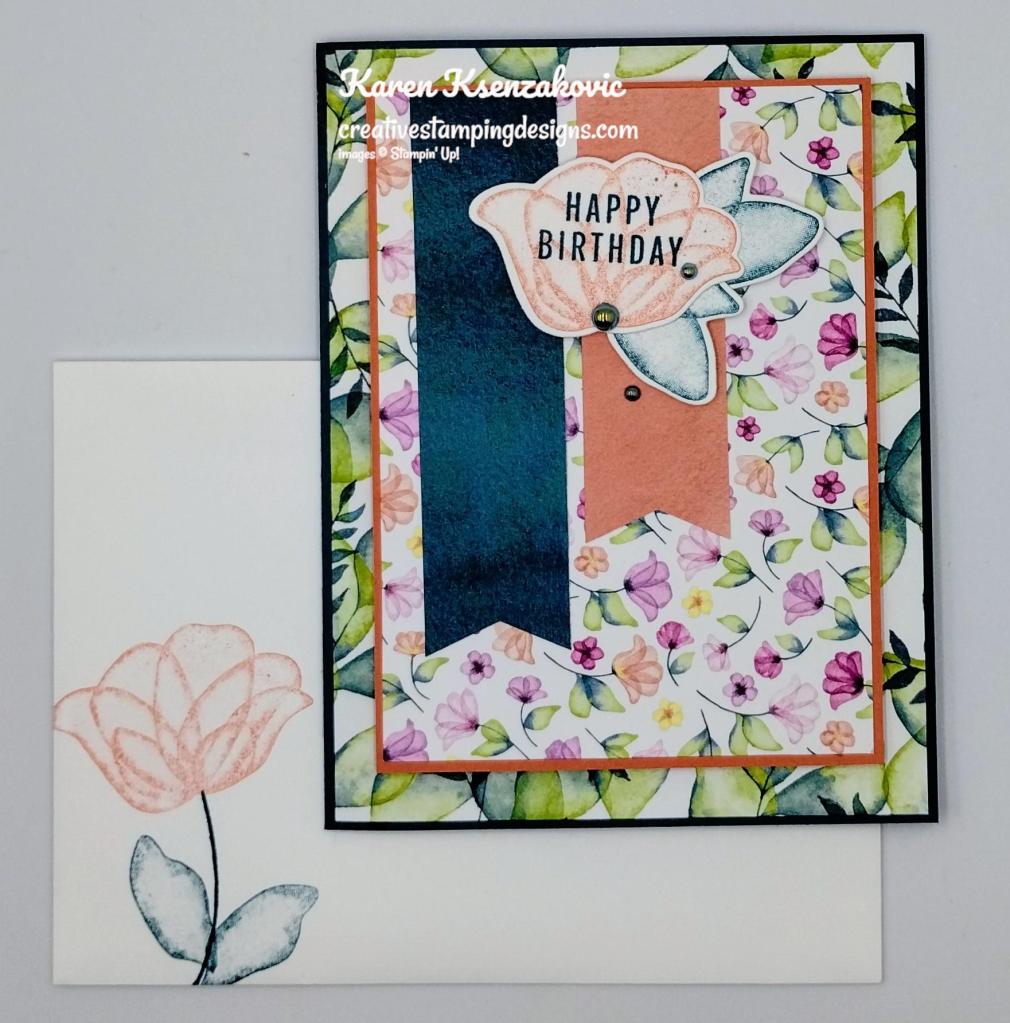
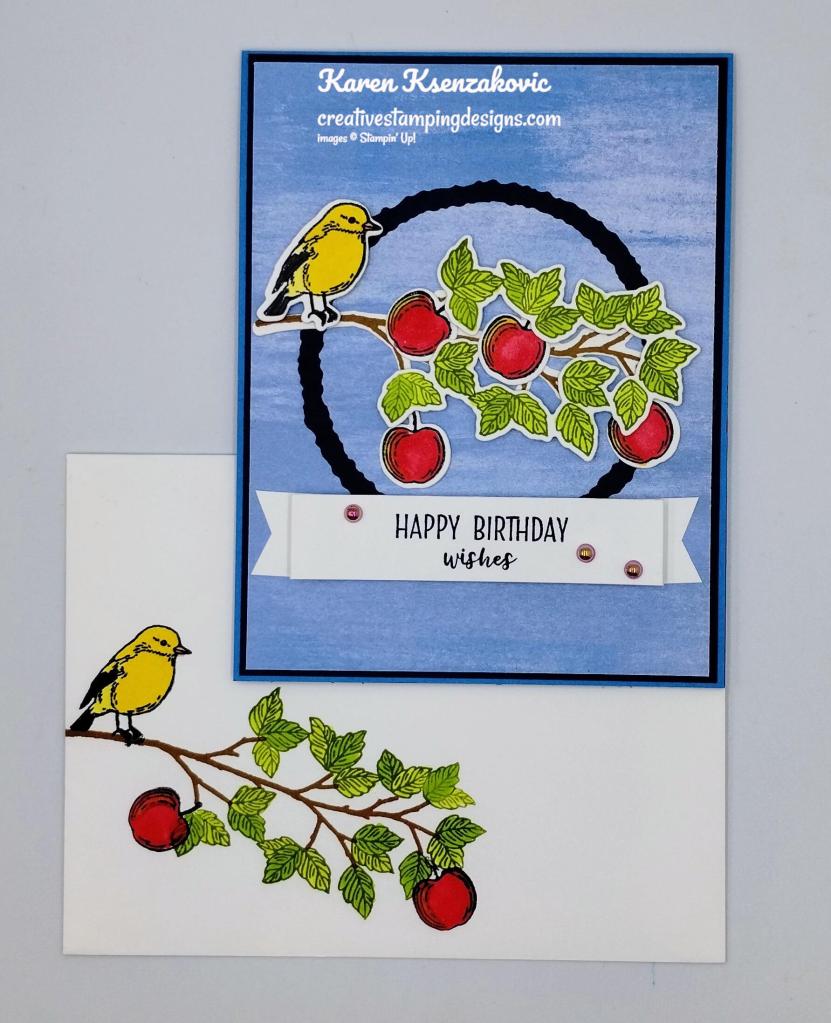
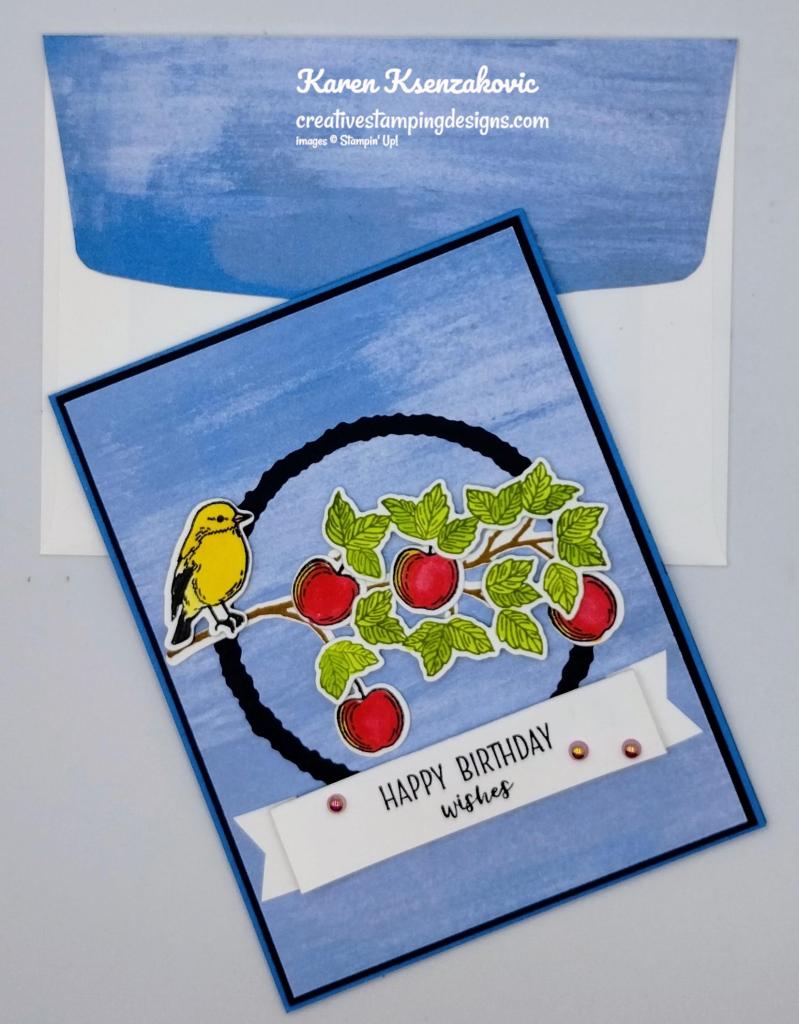
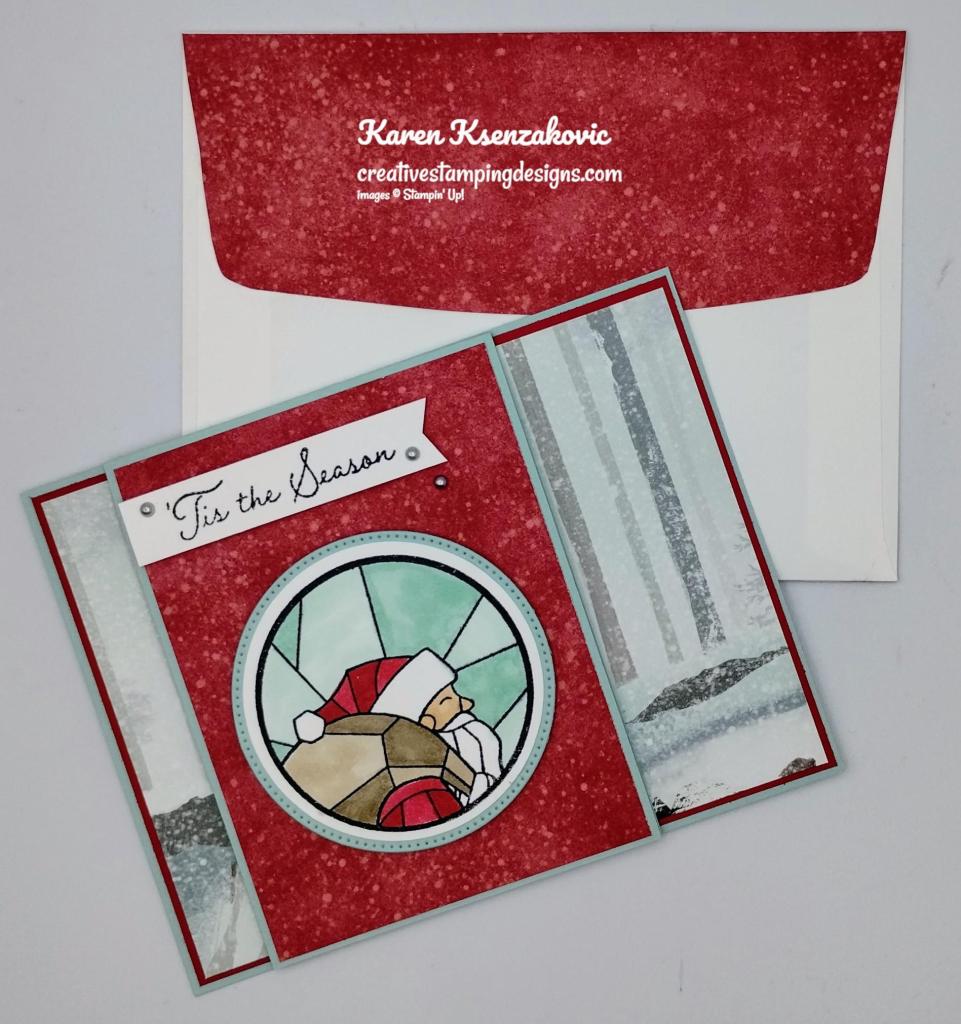
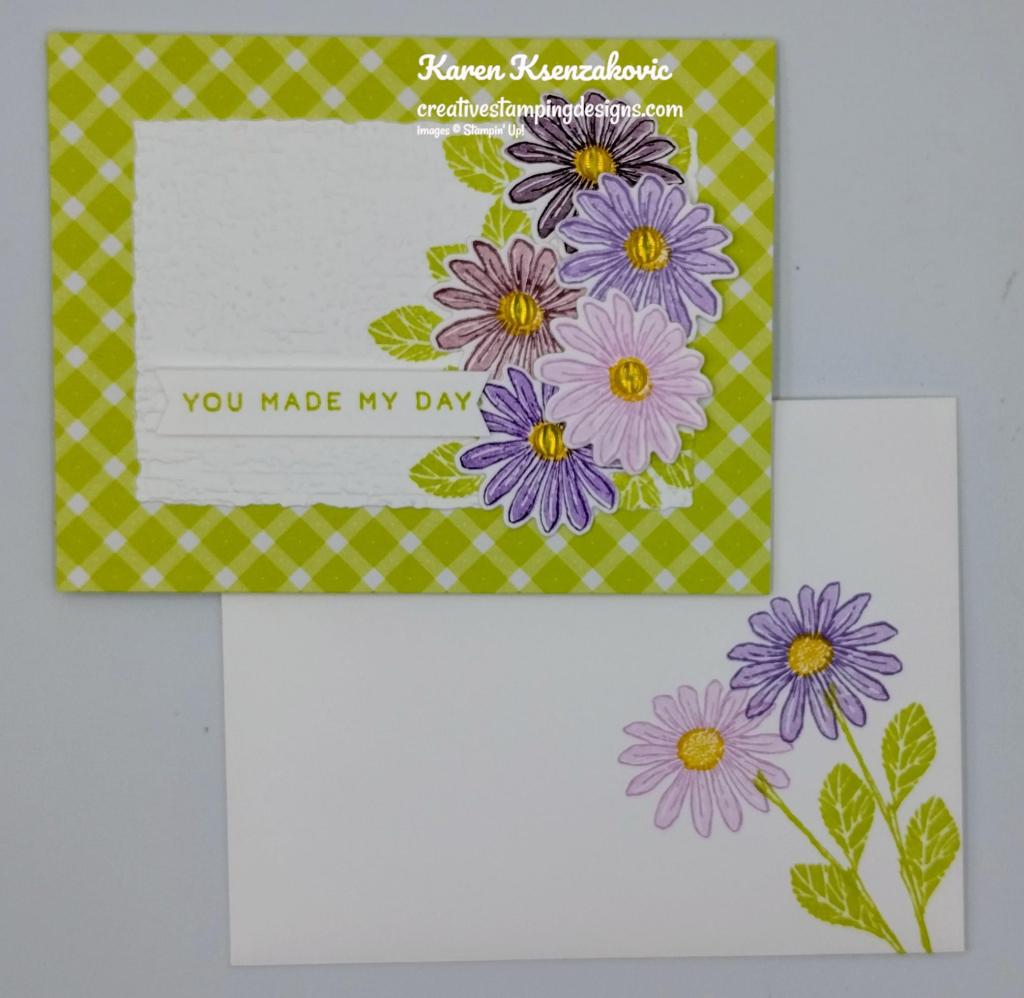
To finish my card, I decorated a Basic White Medium Envelope. I stamped the gingerbread man image from the Sending Cheer stamp set in Pecan Pie Ink on the envelope front. I adhered a panel of Joy of Christmas DSP to the envelope flap.
Thank you for stopping by my blog today. I hope you like the card and will give it a try. Happy Stamping!!
*********************************************************************************************************
If you need any stamping supplies, I’d love to be your Demonstrator. Just click HERE to go directly to my online store or drop me an email if you have any questions.
MY CURRENT HOST CODE IS: BX4UV6HE
Use this host code when placing an order with me. When you order $50 or greater you will receive a free gift from me! If your order is over $150, please do not use this code, but you’ll still get the free gift. The free gift is your choice of any 1 item valued up to $10.00 from the 2023-2024 Annual Catalog! Unfortunately, packs of cardstock are no longer an option for a free gift. Shipping has become too expensive to ship and it’s costing me as much to ship as the cardstock costs. For any orders $50 or more I will also send you my monthly class tutorials. Click HERE or go to my Customer Rewards for more details and to see what this month’s tutorials are.
Please remember to use my current Host Code and make sure that you can see my name on the final checkout page listed as your Demonstrator when you order so that you know that you’re ordering with me, and you’ll get my rewards!
Happy Stamping, Karen
*********************************************************************************************************
In response to changing policies at Stampin’ Up – I’m adjusting my Ordering Gift policy as well. I’m having to get a little more tough on the adding of Host codes when you place your order thru my Online Store.
Not to worry – you’re still going to get that $10 ordering gift for orders of $50 (before shipping & tax) or greater. And the gift is still any 1 SU! product up to that $10 value – which includes some of our fun Host Sets!
But – if you DO NOT use the Host code for your orders of less than $150 (this is the RETAIL total before Shipping & Handling), then you’ll have two options:
- You’ll need to call Stampin’ Up! (1-800-Stamp-Up) and ask them to add it for you. They’re very helpful and will get it done quickly! OR….
- If your order was over the $50 threshold but under $150, then…you’ll forfeit that $10 ordering gift and rewards – this is the Bummer Option – and I REALLY don’t want to do this, SO please remember to add my Current Host Code.
*********************************************************************************************************
TOMORROW is the last day for Joining Special October 3 – October 31
If you’ve been thinking about joining the Stampin’ Up! community October is the perfect time. You can add new Online Exclusive products to your Starter Kit, and still have more money to spend. This is really an awesome deal and I’d love to have you on my team. The added free registration to OnStage is a great bonus and then you can order the Bee Mine Suite collection for your 1st order.

We want to celebrate our 35th anniversary in style! From October 3 – October 31, anyone who joins our fun crafting community as a new demonstrator can choose either 35% OFF the cost of their Starter Kit or get 35% MORE product with their Starter Kit! What a deal!
Promotion Period: 3–31 October
New demonstrators can choose one of the following options for your Starter Kit:
Option 1: Get 35% OFF the normal cost of a Stampin’ Up! Starter Kit. Those who select this option will receive $125 USD worth of product for only $64.35 USD!
Option 2: Get 35% MORE product with their Starter Kit. Those who select this option will receive $168.75 USD worth of product by spending $99 USD!
No matter which option you choose for your Starter Kit, both provide free business supplies and free shipping on your Starter Kit—not to mention all the fun that comes with being part of Stampin’ Up!
FREE OnStage @Home Registration
It gets better! Those who sign up for a Starter Kit during this offer will also be automatically registered for FREE* to our virtual OnStage event on 11 November—a $77 USD value!
- Those who sign up for this offer have the opportunity to watch the event independently, gathered together with other demonstrators, or with their Team Leader.
- Demonstrators who join during this promotion will be automatically added to the OnStage attendees; they do not need to register separately.
- Demonstrators who join during this promotion will also receive an email with all the information about this event.
*Please note that free registration will not include the gift box.
Stampin’ Up! events are always SO much fun!! Bonus that you can join and attend your first even for free!!
Come join my team.
We welcome all types of Demonstrators from those only purchasing to get the discount for themselves to those who want to run a business and anywhere in between! There’s never any pressure to sell! We’re a group that loves to stamp and share what you create. Demonstrators get lots of perks including at least a 20% discount on all orders that you place as a Demonstrator, invitations to Stampin’ Up! Demonstrator events and preordering from upcoming catalogs and promotions (like the new Online Exclusives coming in November!!)! The new Online Exclusive items ARE available to pick as part of your Starter Kit (or you can order them later and get your 20% discount!).
*********************************************************************************************************
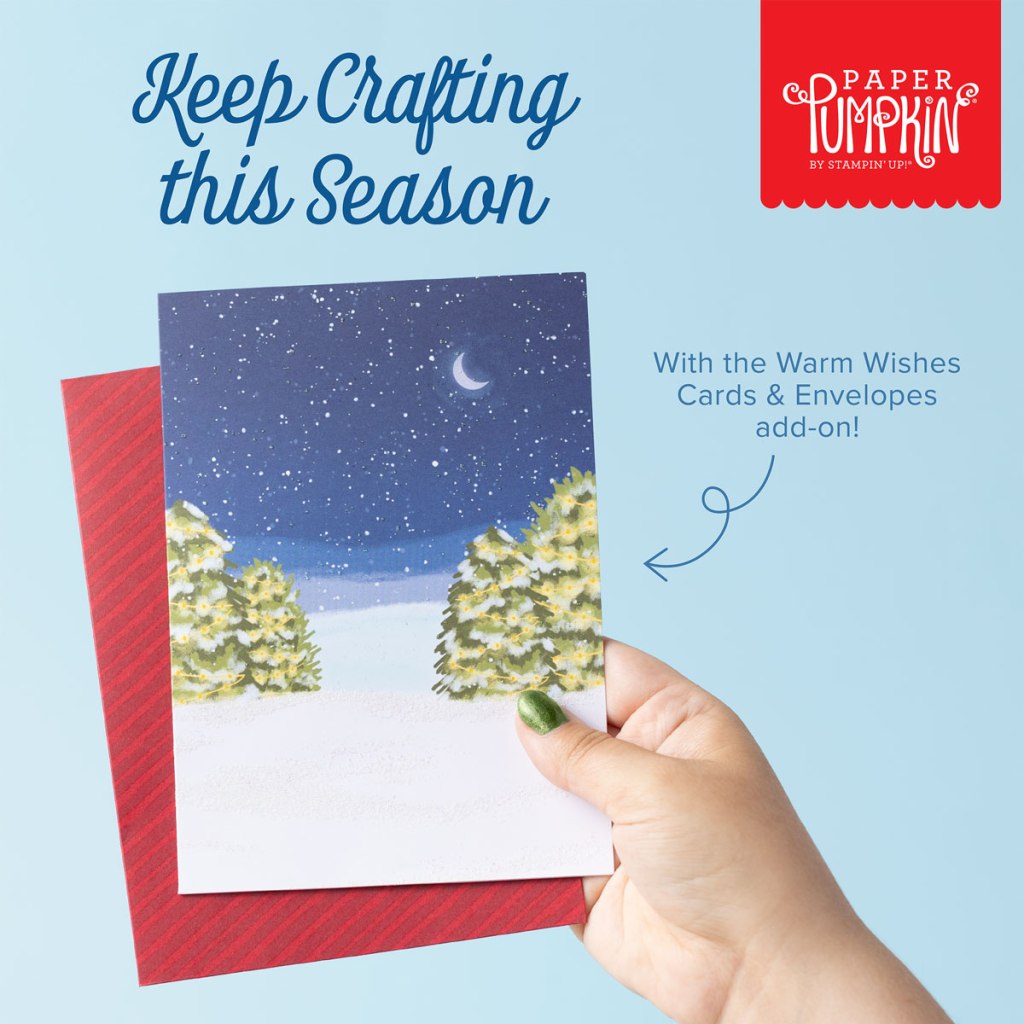
Warm Wishes
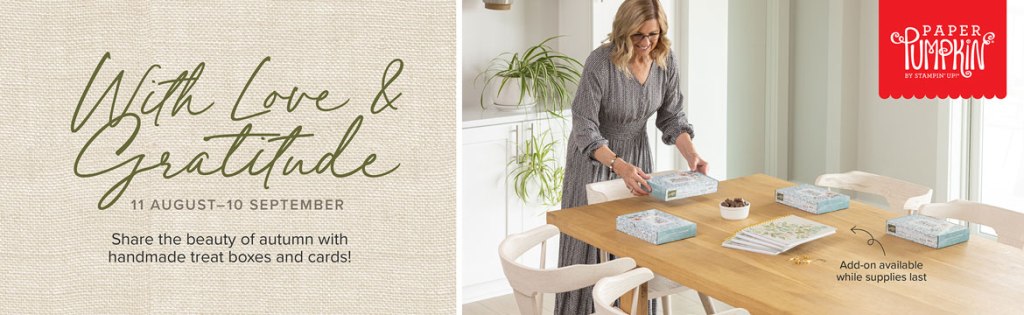
Subscribe October 11 – November 10

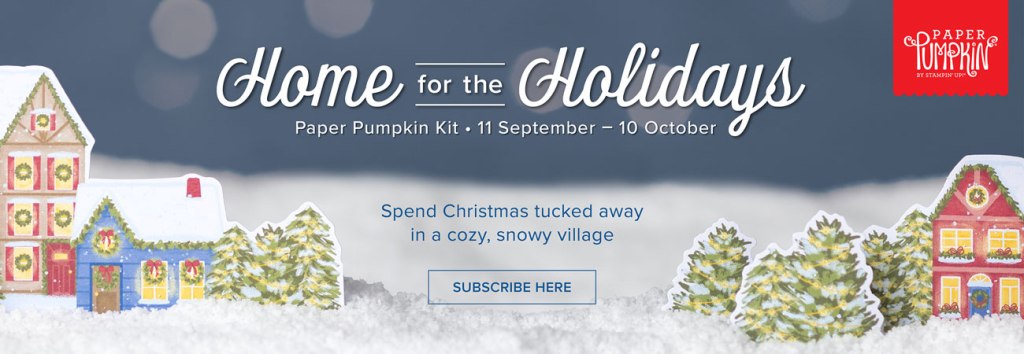
Light up the Christmas season with this month’s Paper Pumpkin kit! With traditional Christmas home designs and warm Christmas wishes, spread the light of Christmas with a gift box. Plus, you can get the Warm Wishes Cards & Envelopes Add-On to take your Christmas crafting even further (available while supplies last). This month’s kit coordinates with the October Home for the Holidays Paper Pumpkin Kit! If you can’t get enough of this traditional Christmas scene and need more cozy crafts, then make sure to check the October Refill’s availability and spend more time crafting this holiday season!
This month’s kit comes with everything you need to make traditional Christmas treat packaging boxes that you can fill up with all sorts of small goodies, treats, gifts, and more. Subscribe today so you can take part in spreading the light of Christmas around you!
This kit includes:
- 8 boxes; 4 each of 2 designs
- 1 Mossy Meadow Stampin’ Spot
- Iridescent glitter accents on paper
- Precut paper pieces
- Linen thread
- Treat bags
- Warm Wishes photopolymer stamp set
- Completed box size: 4-1/4″ x 4-1/2″ x 1-1/2″ (10.8 x 11.4 x 3.8 cm) and 4/1/4″ x 3-3/4″ x 1-1/2″ (10.8 x 9.5 x 3.8 cm)
- Coordinating Stampin’ Up! colors: Balmy Blue, Blueberry Bushel, Cherry Cobbler, Crushed Curry, Daffodil Delight, Lemon Lolly, Mossy Meadow, Night of Navy, Old Olive, Pecan Pie, Real Red
ADD-ON DETAILS
Warm Wishes Cards & Envelopes
Available for purchase starting 11 October; only while supplies last.
Item number: 163985
$14.00 USD
This add-on includes:
• 20 Cards & Envelopes
• Iridescent glitter accents on paper
• Folded card size: 5″ x 7″ (12.7 x 17.8 cm)
Subscribe to the November Paper Pumpkin Kit between 11 October and 10 November by clicking here!
Note: Supplies may be limited toward the end of the subscription period.
*********************************************************************************************************
Card stock cuts for this project:
- Basic White Cardstock 5/8″ X 2″(sentiment), 4 1/8″ X 5 3/8″ (card front mat), 4″ X 5 1/4″ (inner liner)
- Pecan Pie Cardstock 4 1/8″ X 5 3/8″ (inner liner mat)
- Real Red Cardstock 8 1/2″ X 5 1/2″ (card base scored & folded at 4 1/4″), 5/8″ X 2 3/8″ (banner), 3/8″ x 2″ (hearts)
- Joy of Christmas Designer Series Paper 4″ X 5 1/4″ (card front), 2 1/4″ X 6″ (envelope flap)
- Traditions of St. Nick Designer Series Paper 2 3/4″ X 5 1/4″ (card front panel), 1/2″ X 4″ (inner liner)
- Vellum Paper 2 3/4″ x 4″ (card front panel)
*********************************************************************************************************
Product List
")
")

")


 Designer Series Paper")
 Designer Series Paper")


")


 Dotted Ribbon")


")
")
 Circle Punch")


 Designer Series Paper")


")
")


 Designer Series Paper")


")
")


 Designer Series Paper")


")

 Designer Series Paper")


")


")
")

 Designer Series Paper")
 Specialty Paper")
 Designer Series Paper")


")
")

")


")
")

")


 Designer Series Paper")