
Good Monday morning my fellow stampers. How was everyone’s weekend? Did anyone do anything fun? I went for a ‘walk’ with my husband and daughter to Duke Foundation which is right near where I live. There are beautiful gardens, landscaping and waterfalls throughout the foundation. There are bridges that go over different lakes on the property, one in particular leads to a meditation garden which is simply gorgeous. Our walk ended up being over 3 hours and 7 1/2 miles long.
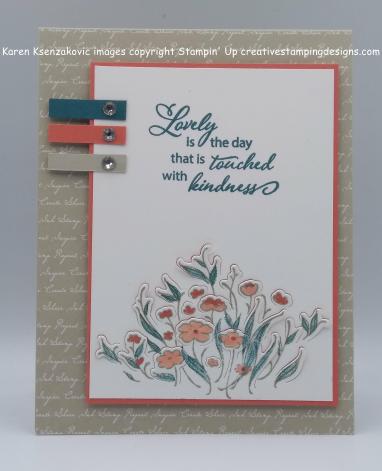
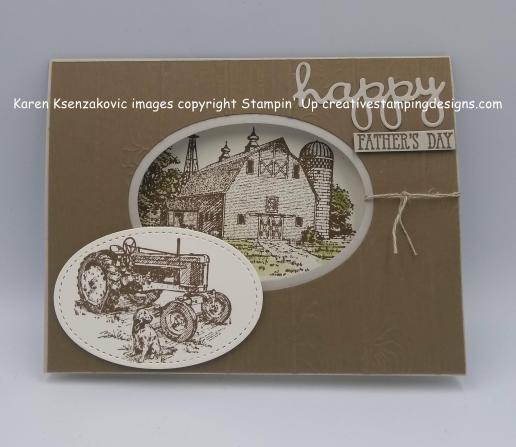
For today’s card I used a few different stamp sets. I picked one for my focal image, one for the stripes and 2 different ones for the sentiments. I like mixing stamps set on cards to give it a different look sometimes. I was pretty happy how my card came out and all I used was Stamp, Ink and Paper, the basics to card making. Here’s my card.

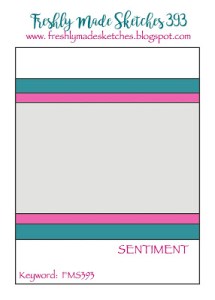
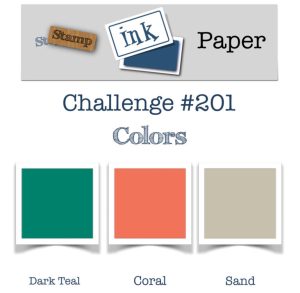
My card was inspired by 2 challenges. First was the Colour & Sketch Challenge #326. Here are their colors.

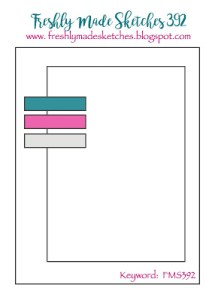
The other one that inspired me was the Just Add Ink Challenge #462. Here is their sketch.

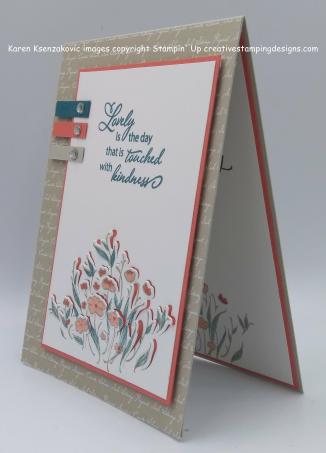
I started by stamping the sketched flower from the Stampin’ Up Floral Essence Photopolymer Stamp Set in Tuxedo Black Memento Ink on a panel of Whisper White cardstock. I stamped the solid flowers from the Floral Essence stamp set on either side of the sketched flower in Gorgeous Grape Ink using the masking technique. I stamped the leaves from the Floral Essence stamp set around the flowers in Mossy Meadow Ink. I stamped the center of the flowers in Sahara Sand Ink stamping off once. I colored the sketched flower in using my Calypso Coral Stampin’ Blends Markers and my Light Mossy Meadow Stampin’ Blends Marker to color the leaves. I adhered the artwork to a Gorgeous Grape mat using Snail.

On a Whisper White card front I stamped the distressed filigree image from the Stampin’ Up Woven Heirlooms Cling Stamp Set using Calypso Coral and Mossy Meadow Inks. I adhered the card front to a Gorgeous Grape card base using Multipurpose Liquid Glue.

On the top corner of the artwork, I stamped the sentiment from the Stampin’ Up New Wonders Cling Stamp Set in Tuxedo Black Memento Ink on an angle. I adhered the matted artwork to the card front using Stampin’ Dimensionals.

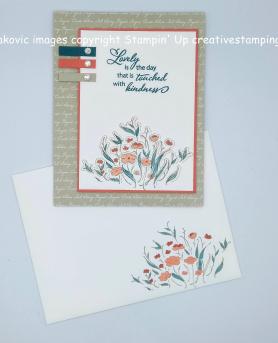
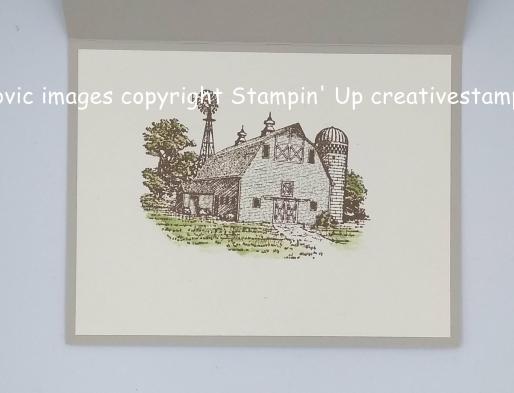
On the inside I stamped the larger solid flower image from the Floral Essence stamp set in Calypso Coral Ink on the bottom corner of a Whisper White panel. I stamped the smaller solid flower image from the Floral Essence stamp set in Gorgeous Grape Ink, stamping off once, on either side of the Calypso Coral flower. I stamped the leaves from the Floral Essence stamp set in Mossy Meadow Ink around the flowers. I stamped the flower centers in Sahara Sand Ink stamping off once. I stamped the sentiment from the Stampin’ Up Well Said Cling Stamp Set in Tuxedo Black Memento Ink in the center of the Whisper White panel. I adhered the Whisper White panel to the inside of the Gorgeous Grape card base using Multipurpose Liquid Glue.


To finish my card I decorated a Medium Whisper White Envelope. I stamped the flowers from the Floral Essence stamp set on the envelope front the same way I did on the inner liner. I stamped the distressed filigree image from the Woven Heirlooms stamp set on the envelope flap the same way I did on the card front.
Thank you for stopping by my blog today. I hope you liked my card and will give it a try. Happy Stamping!!
If you need any stamping supplies, I’d be very happy to be your Demonstrator. Just click here to go directly to my online store or drop me an email if you have any questions.
MY CURRENT HOST CODE IS: AHCJYGJN
For any orders $50 or more I will send you my monthly class tutorials. Click here or go to my Customer Rewards to see what this months tutorials are.
Click here to shop the clearance rack.
Happy Stamping, Karen!
****************************************************************************************************
If you are interested in joining my team click here for details or email me. I’d love to have you on my team.
****************************************************************************************************

I have gathered up a lot of retired Stamp Sets, Embossing Folders & Dies and put a list together for anyone interested. I have single Stamp Sets along with Stamp Sets bundled with Dies or Punches. Take a look and see if there is anything that you missed out on getting and would still like. Click Here to go to my list.
****************************************************************************************************
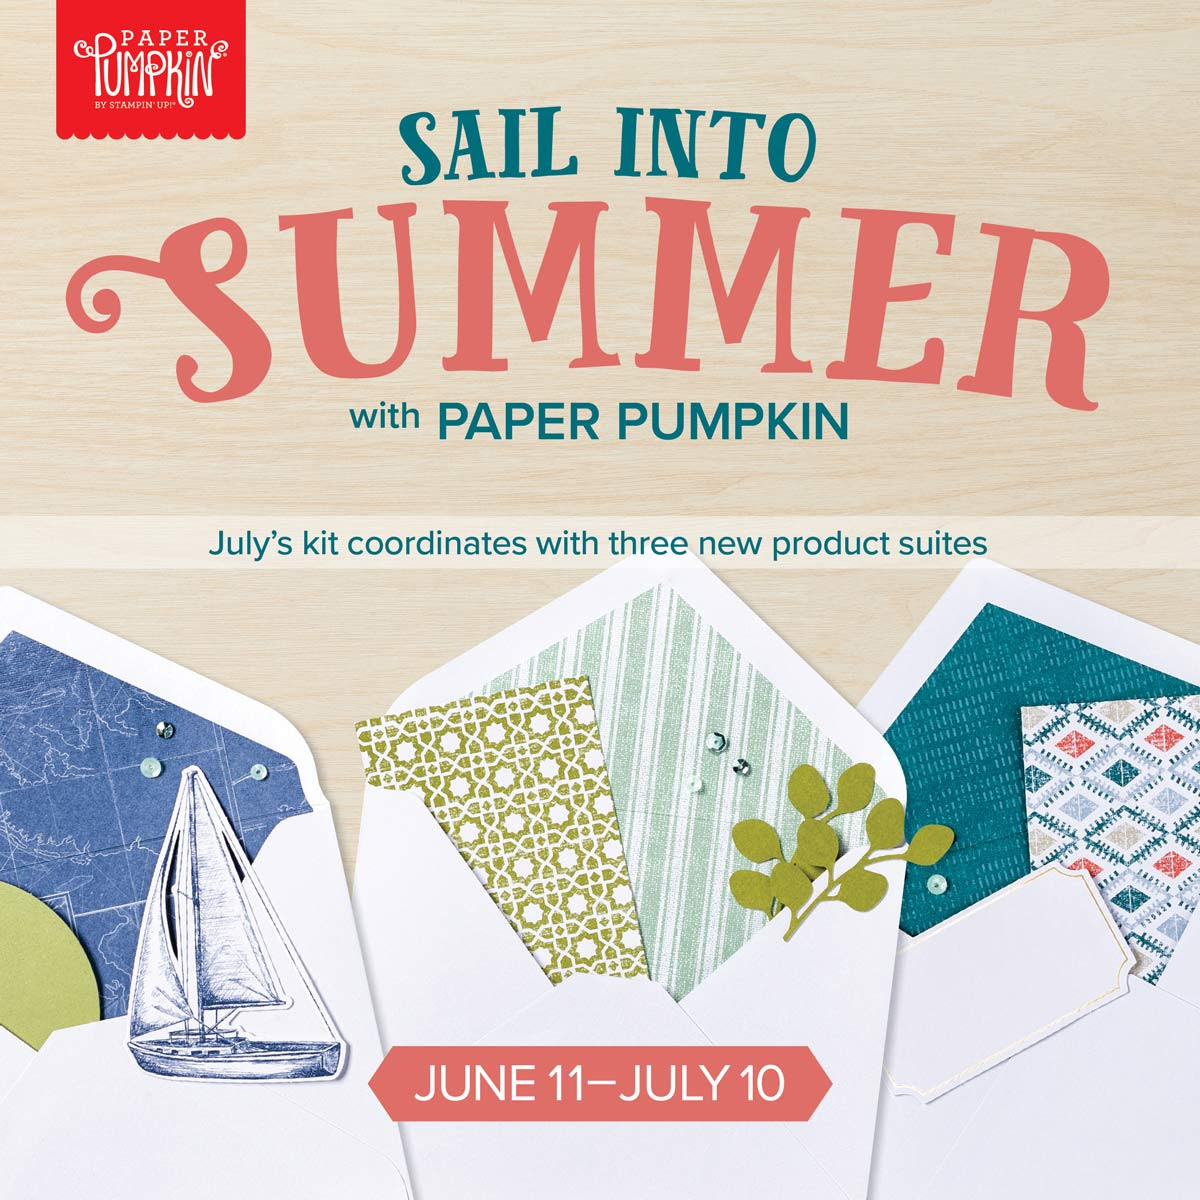
Sail Into Summer – July Paper Pumpkin Kit!
This month, Paper Pumpkin is providing unprecedented catalog coordination, giving you THREE new suites that you can mix and match with July’s kit! The three suites are:
- Woven Threads Suite p. 13–14
- Garden Lane Suite p. 40–41
- Come Sail Away Suite p. 144–145
More about the July Kit:
- Makes 9 mailable cards with envelopes (3 each of 3 designs)
- Coordinating colors: Gold, Kraft, Mossy Meadow, Old Olive, Pear Pizzazz, Pretty Peacock, Sahara Sand, Seaside Spray, and Terracotta Tile
- Must have an active subscription by July 10, 2019 to receive the On My Mind kit.
- Product availability may be limited toward the end of the promotion period.
If you’re interested in subscribing to Paper Pumpkin yourself, you can either sign up for a subscription where you are billed monthly for your kit or you can purchase a prepaid subscription in my online store. To see more information and to sign up for the monthly subscription, CLICK HERE. To see the options for prepaid subscriptions in my online store, CLICK HERE.
****************************************************************************************************
Card stock cuts for this project:
- Gorgeous Grape Cardstock 8 1/2″ X 5 1/2″ (card base scored and folded at 4 1/4″), 3″ X 3″ (artwork mat)
- Whisper White Cardstock 2 – 4″ X 5 1/4″ (card front and inner liner), 2 7/8″ X 2 7/8″ (artwork)
****************************************************************************************************
Product List


 Burlap Ribbon")


 Designer Series Paper")


 Designer Series Paper")


