
Good Wednesday morning my stamping friends. We’re halfway through the week already and on our way to the weekend. I hope you are starting to make some plans.
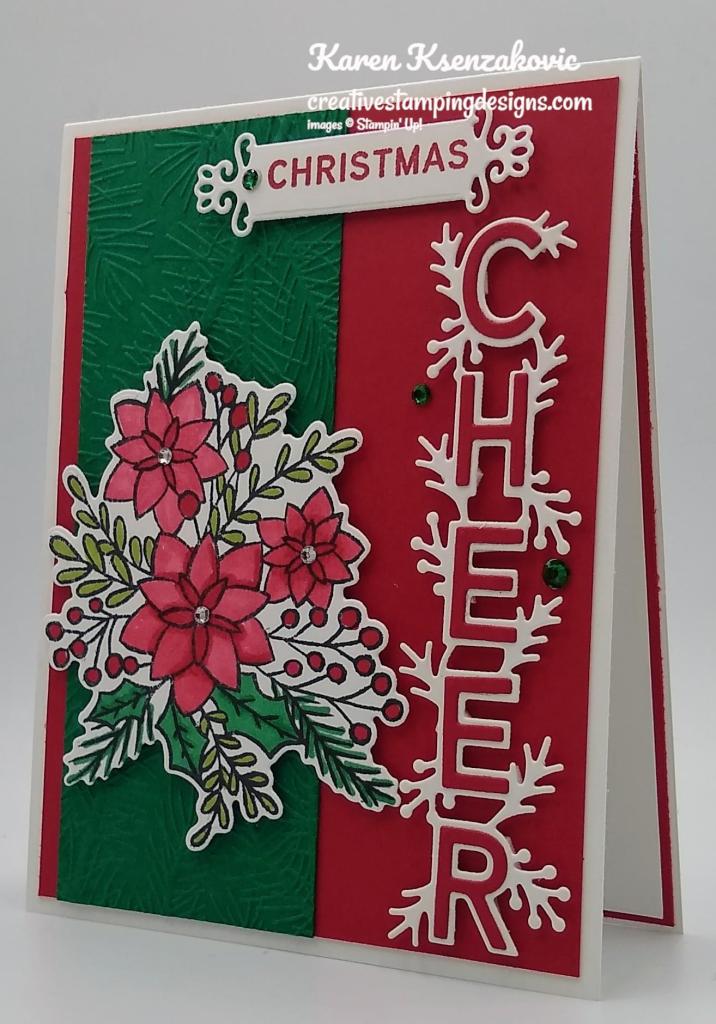
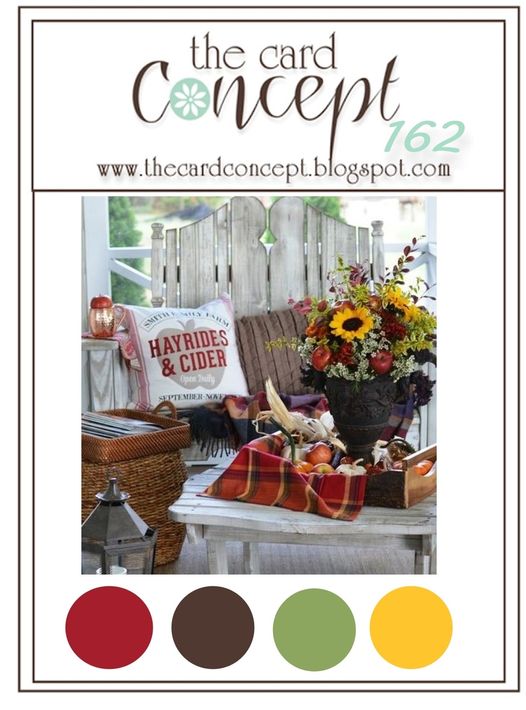
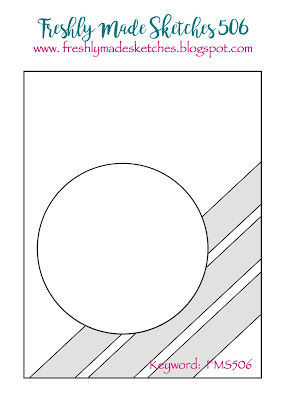
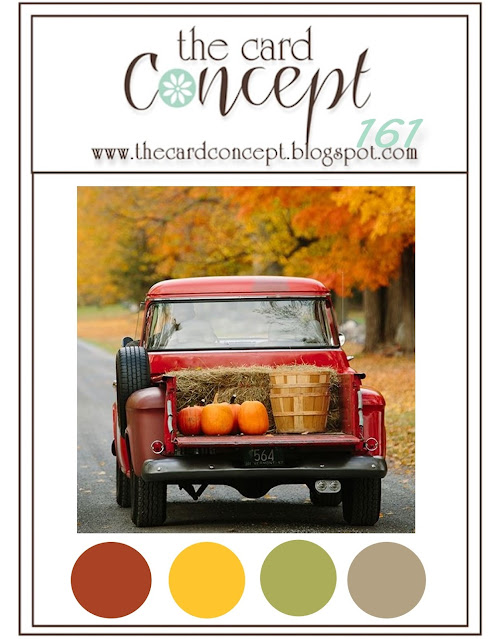
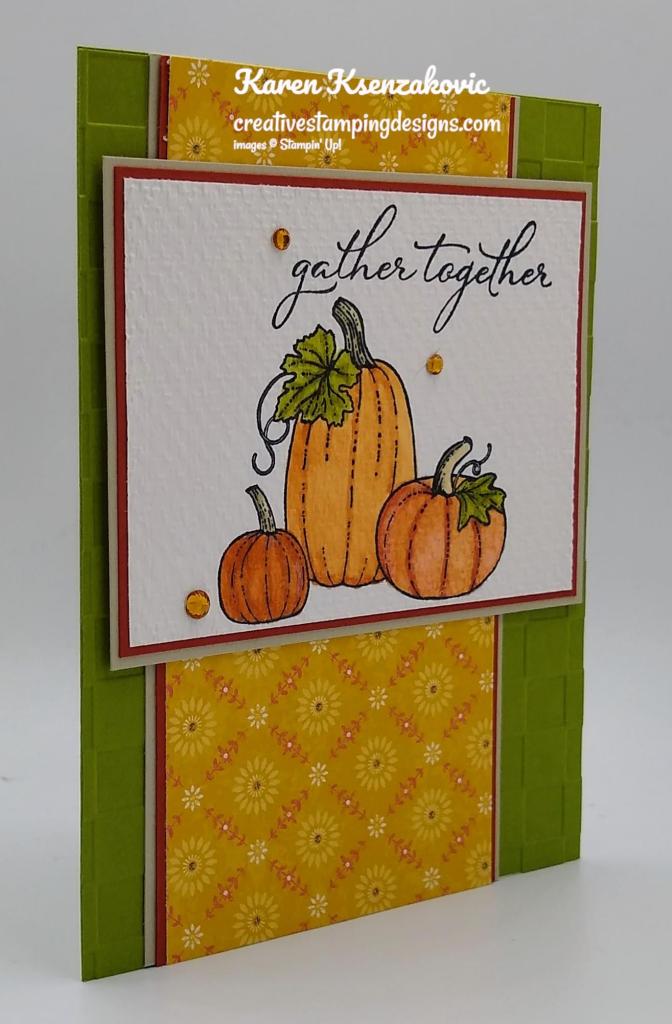
It’s time for another inspiration challenge for The Card Concepts. The inspiration photo is Peace On Earth. Here is my card that was inspired from the challenge photo.
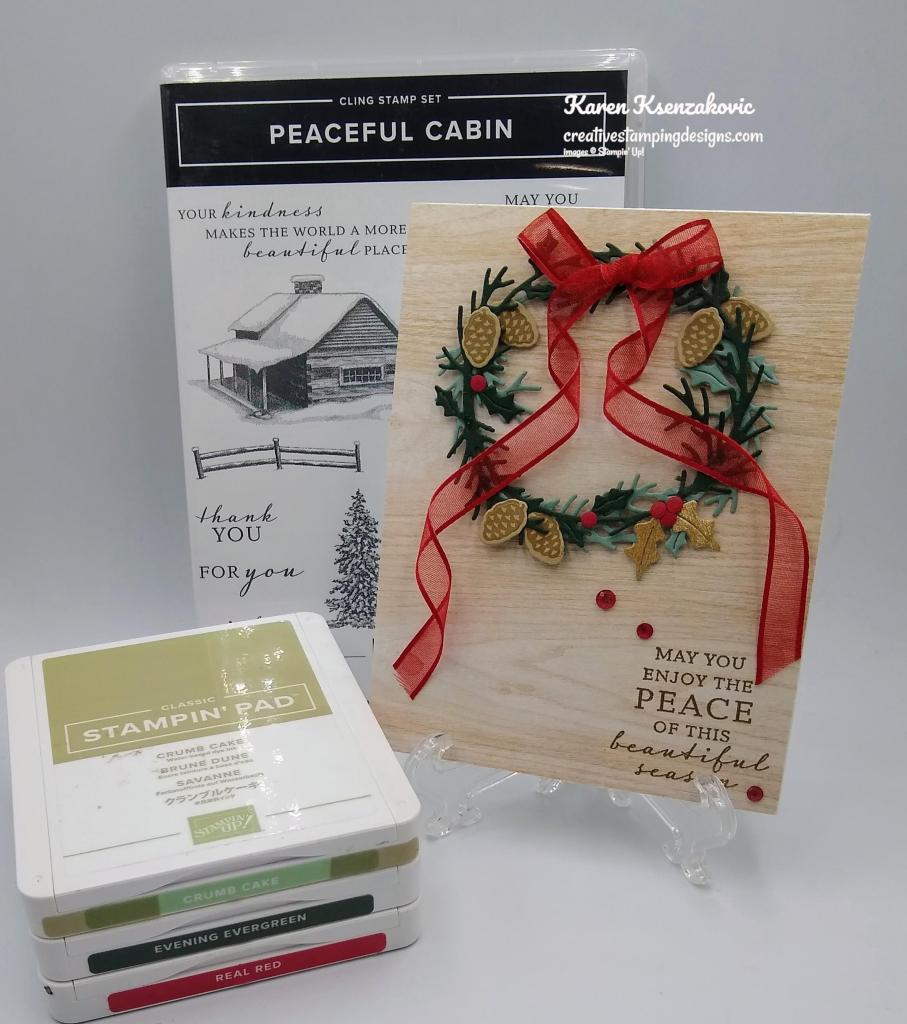
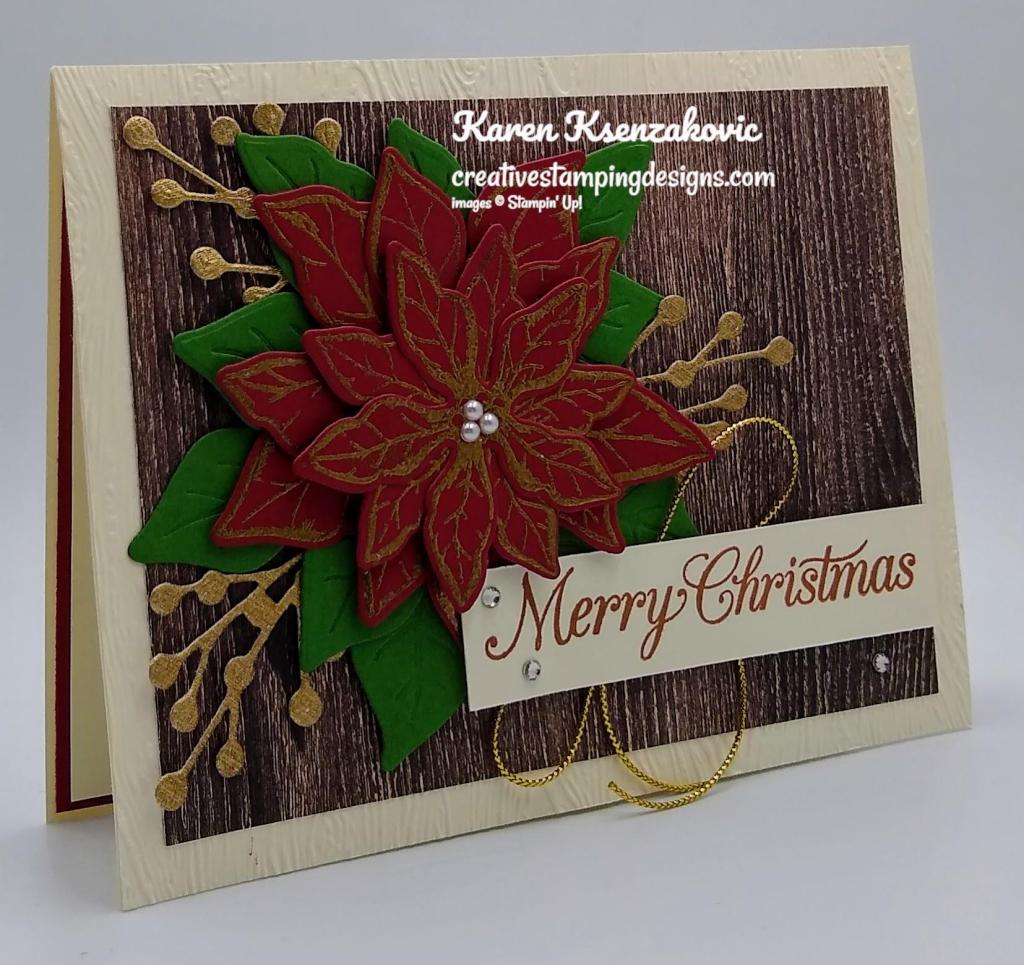
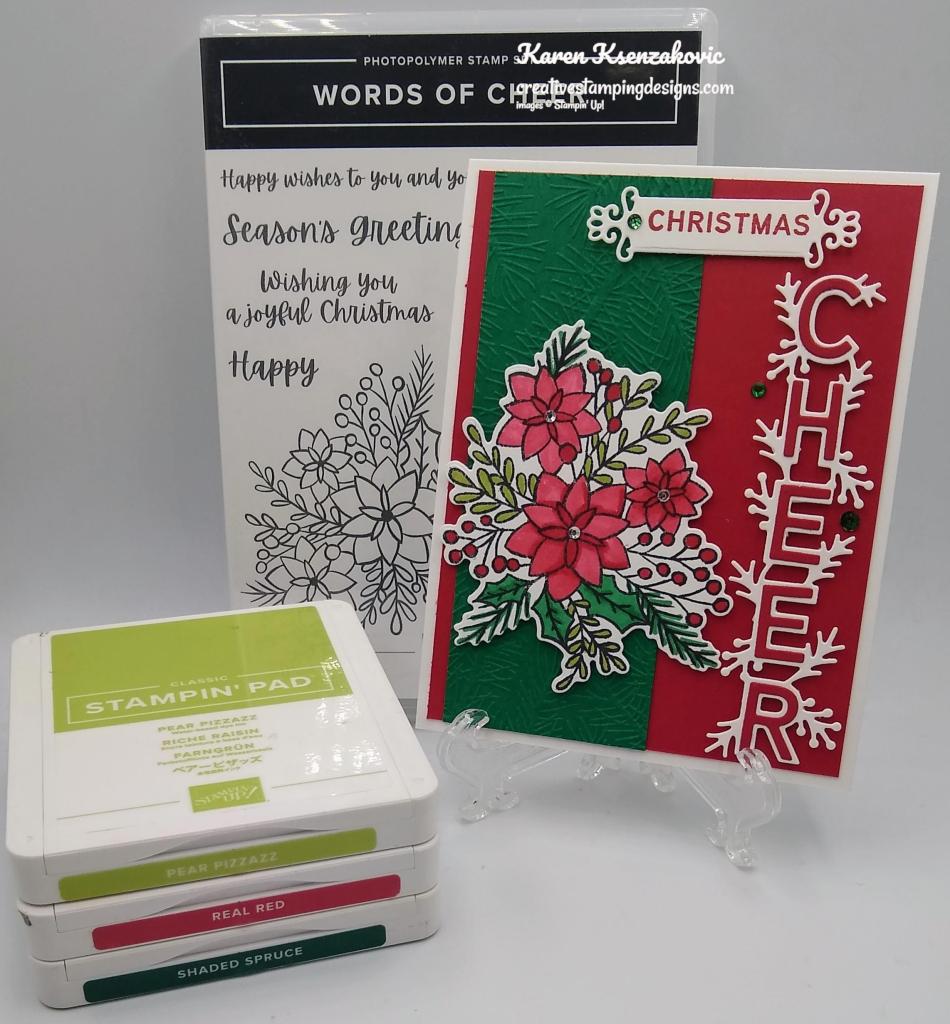
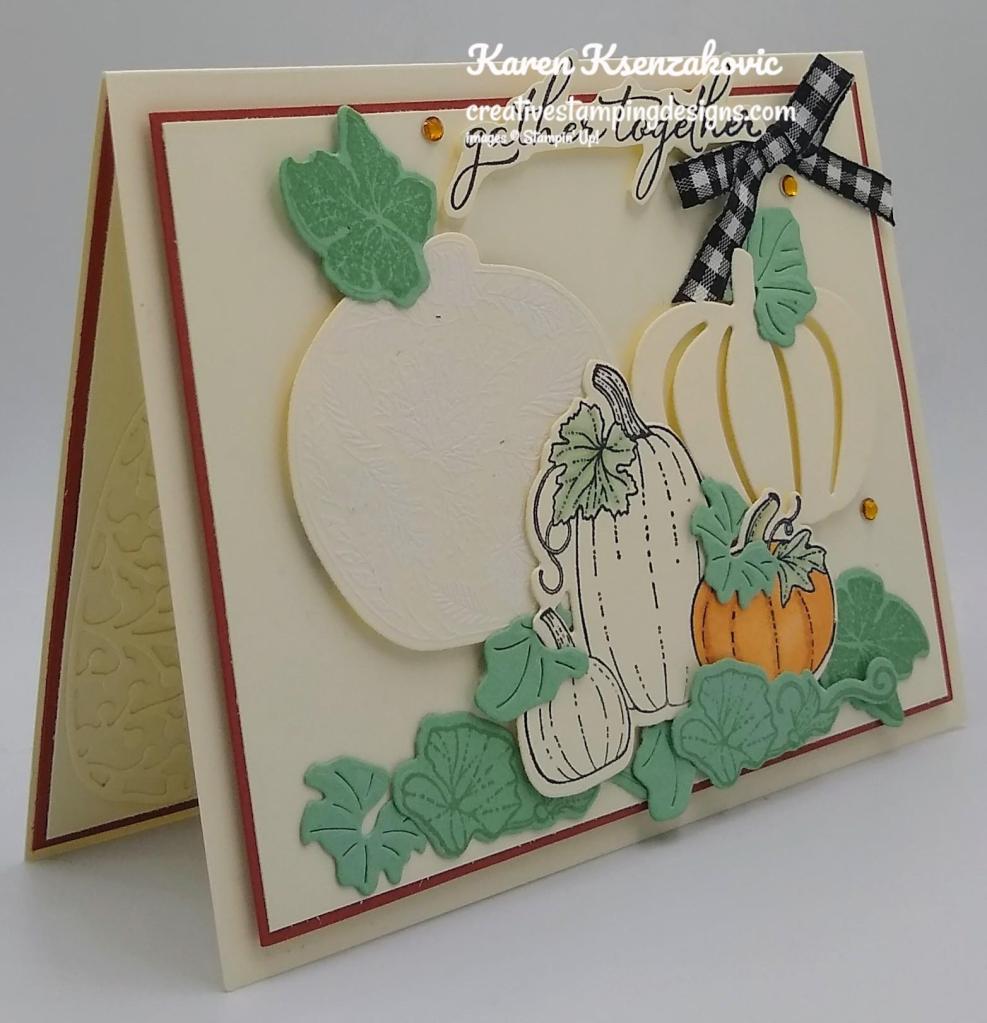
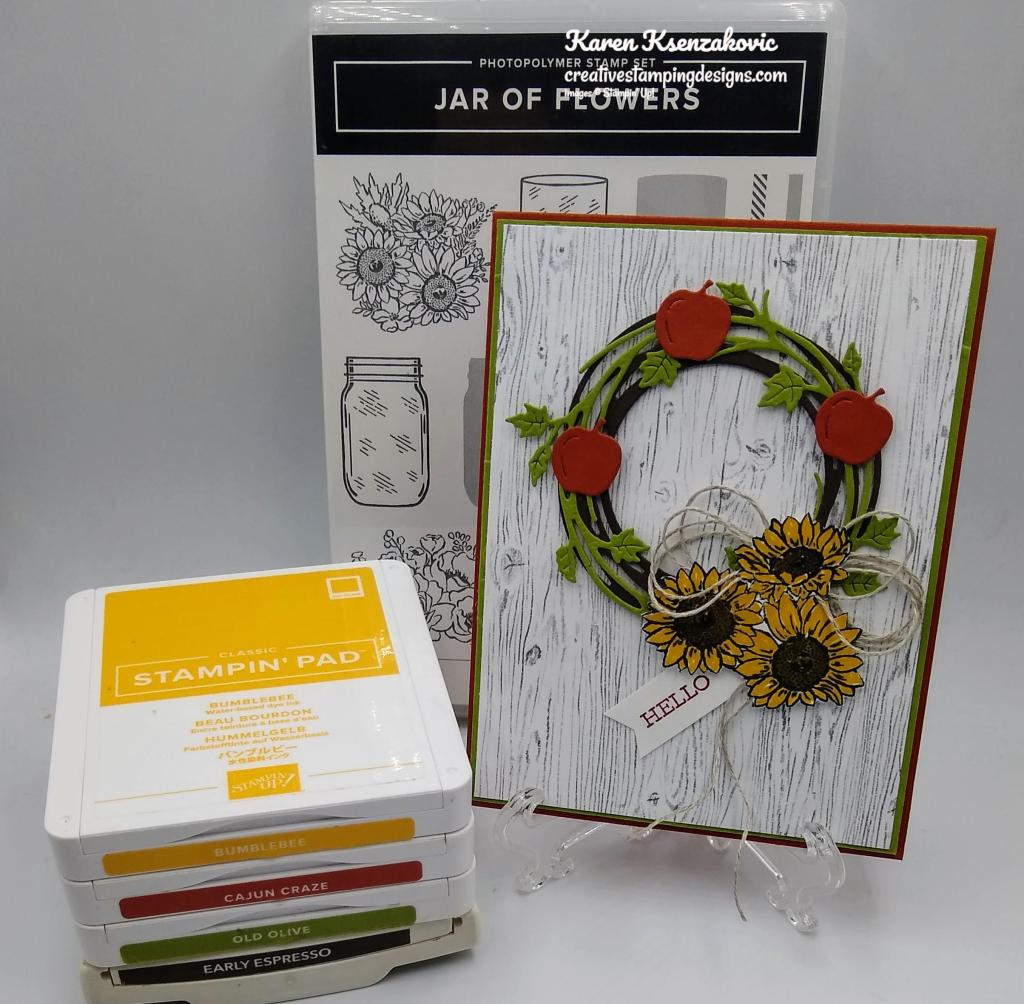
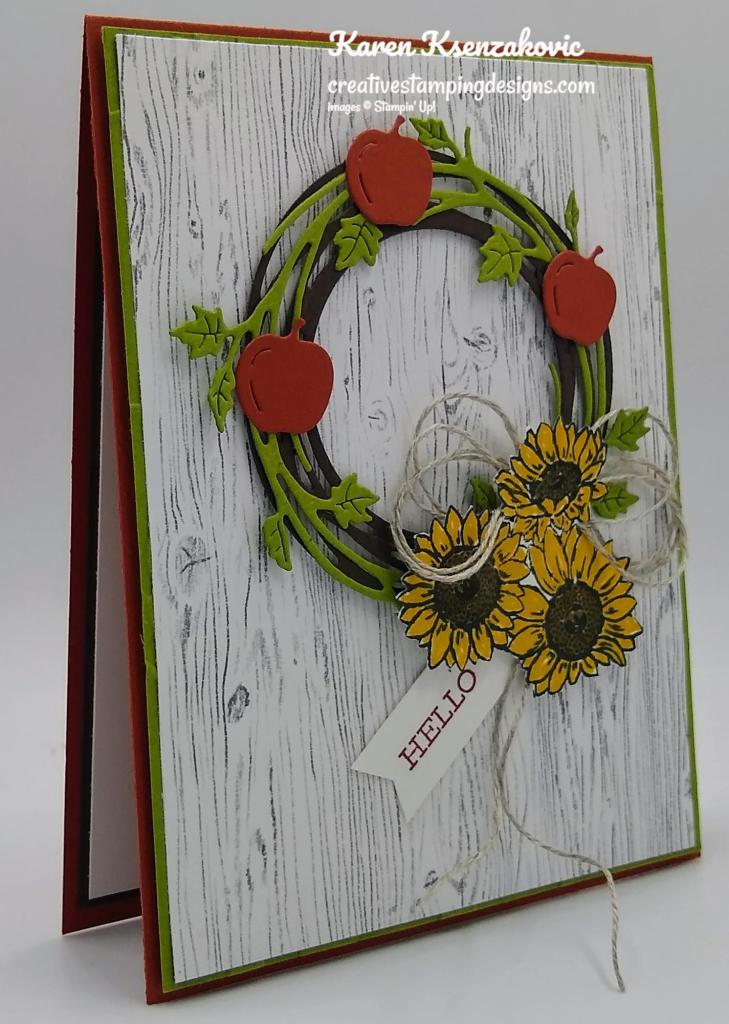
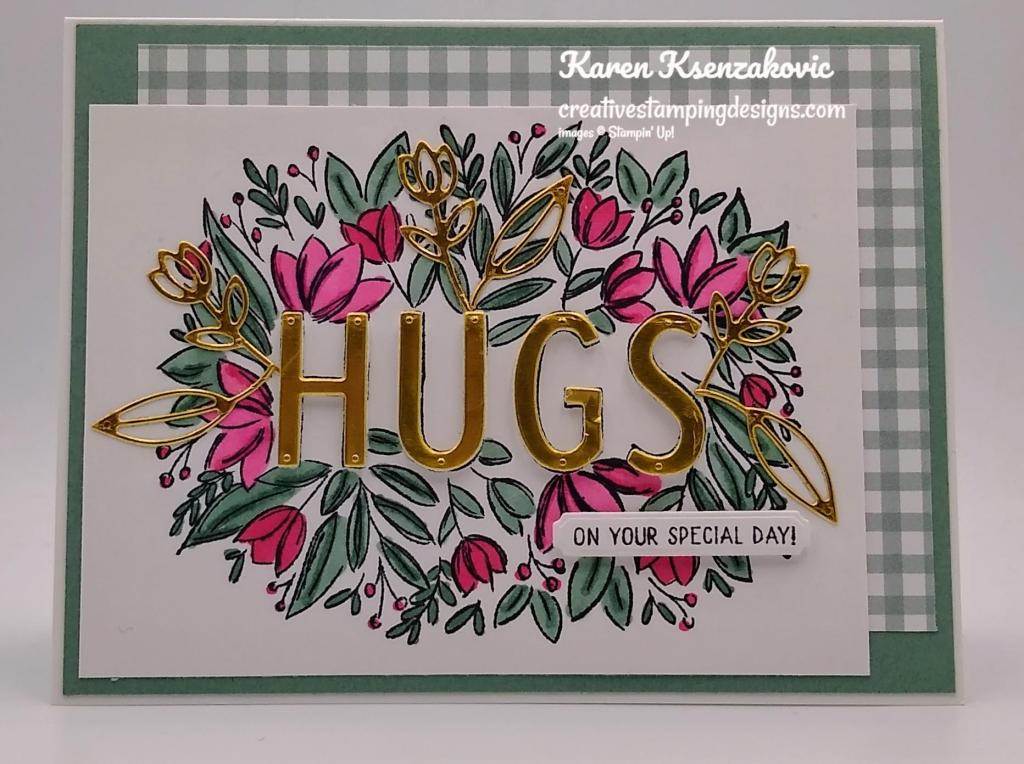
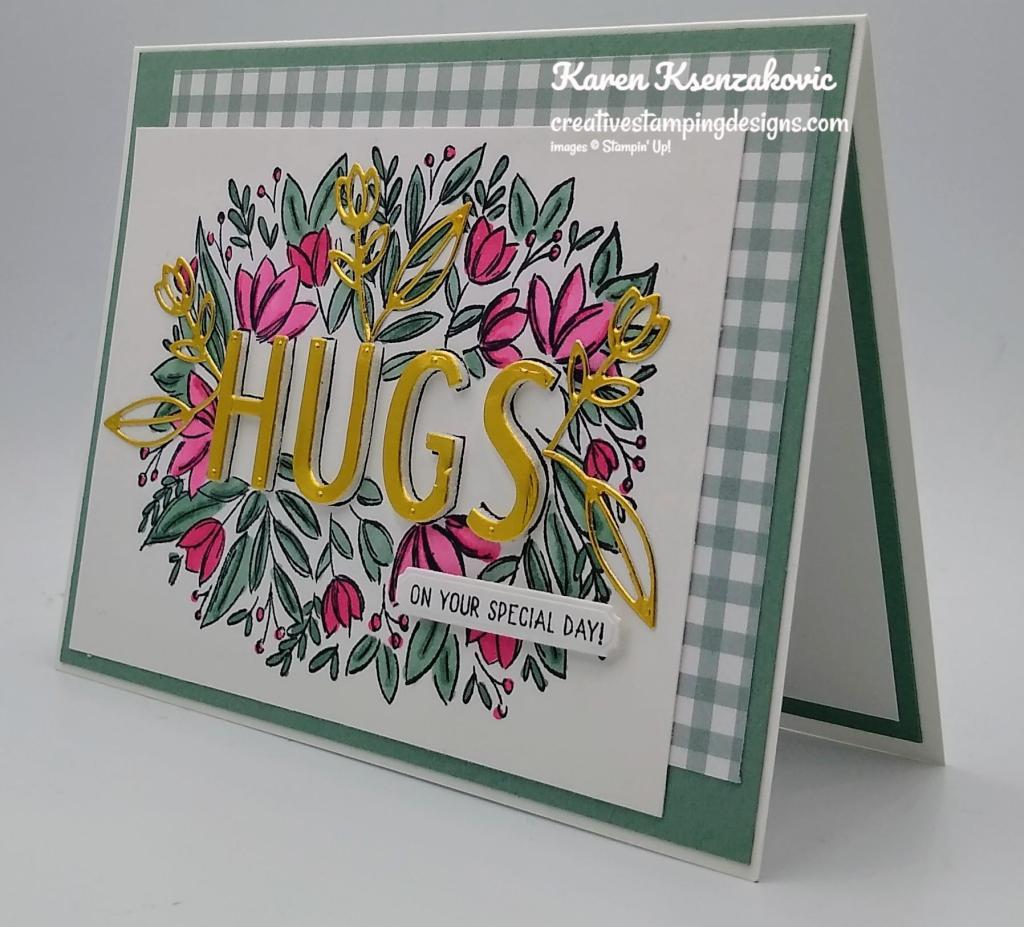
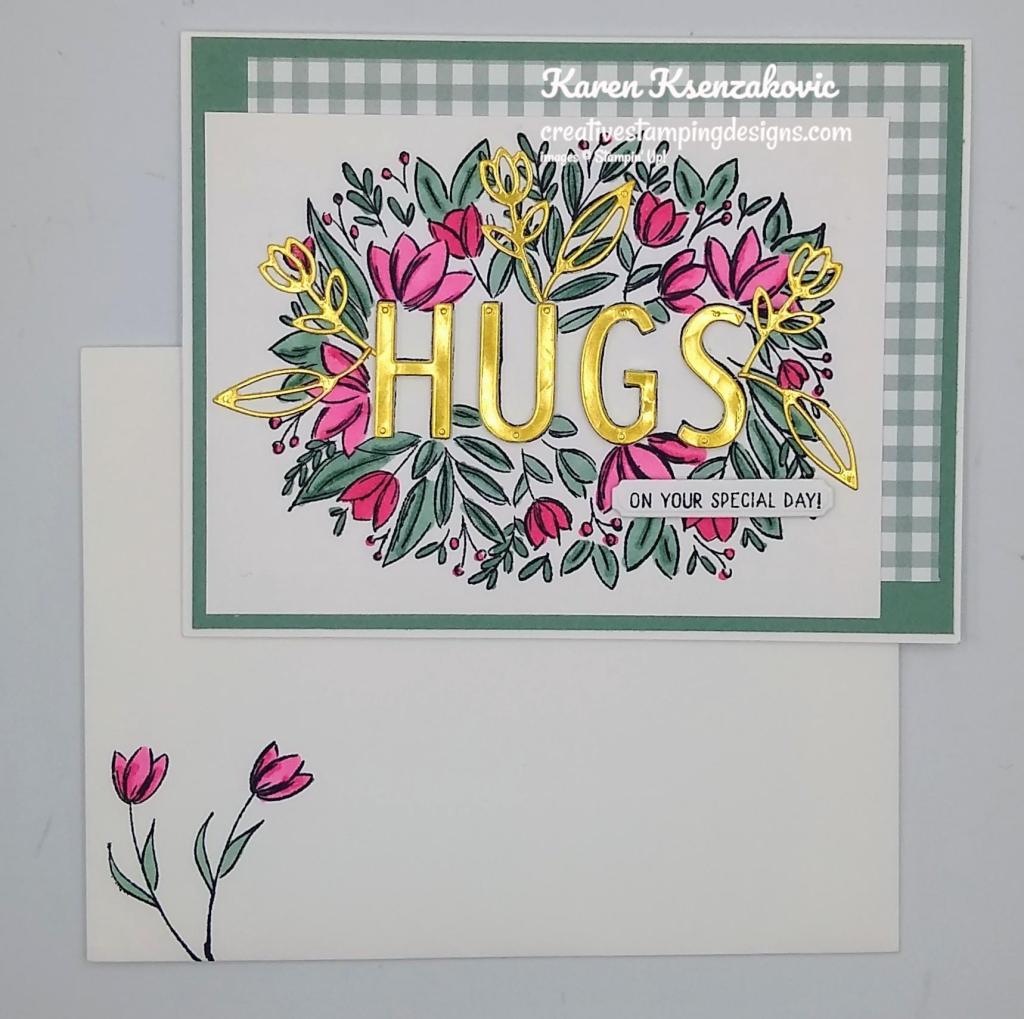
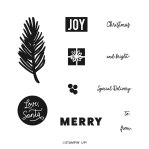
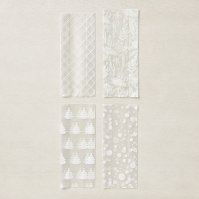
I used the Stampin’ Up! Peaceful Cabin ClingStamp Set along with the Stampin’ Up! Sparkle of The Season Bundle for my Clean and Simple card. I was inspired by the gorgeous wreath in the photo.
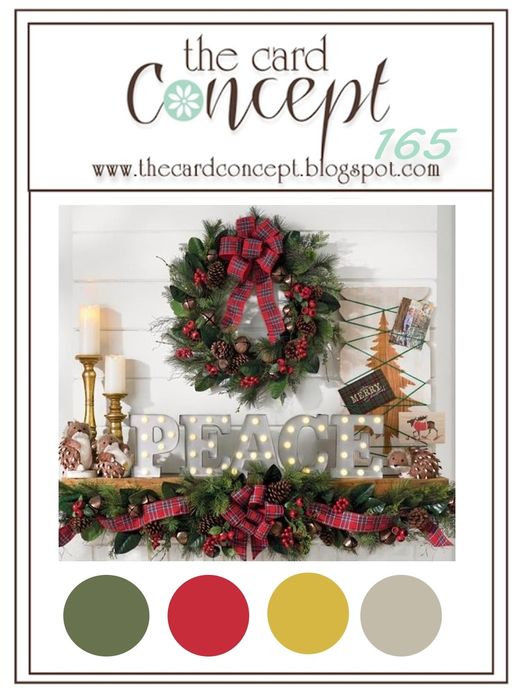
I hope you will take a moment to visit The Card Concepts and join us for our Challenge #165. How are you inspired by this photo?
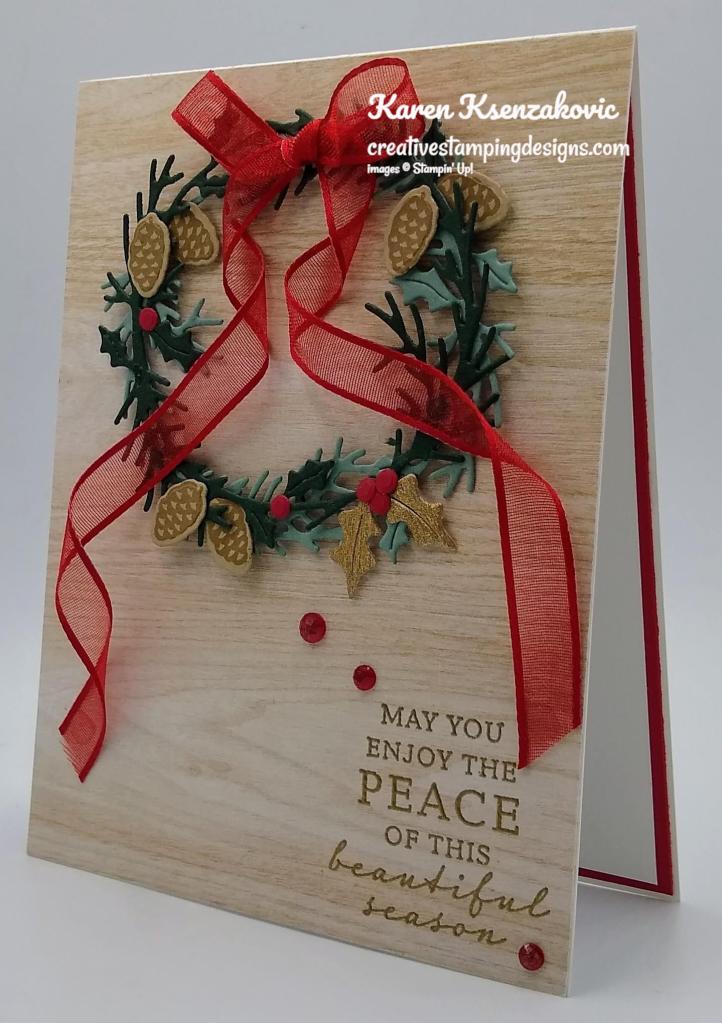
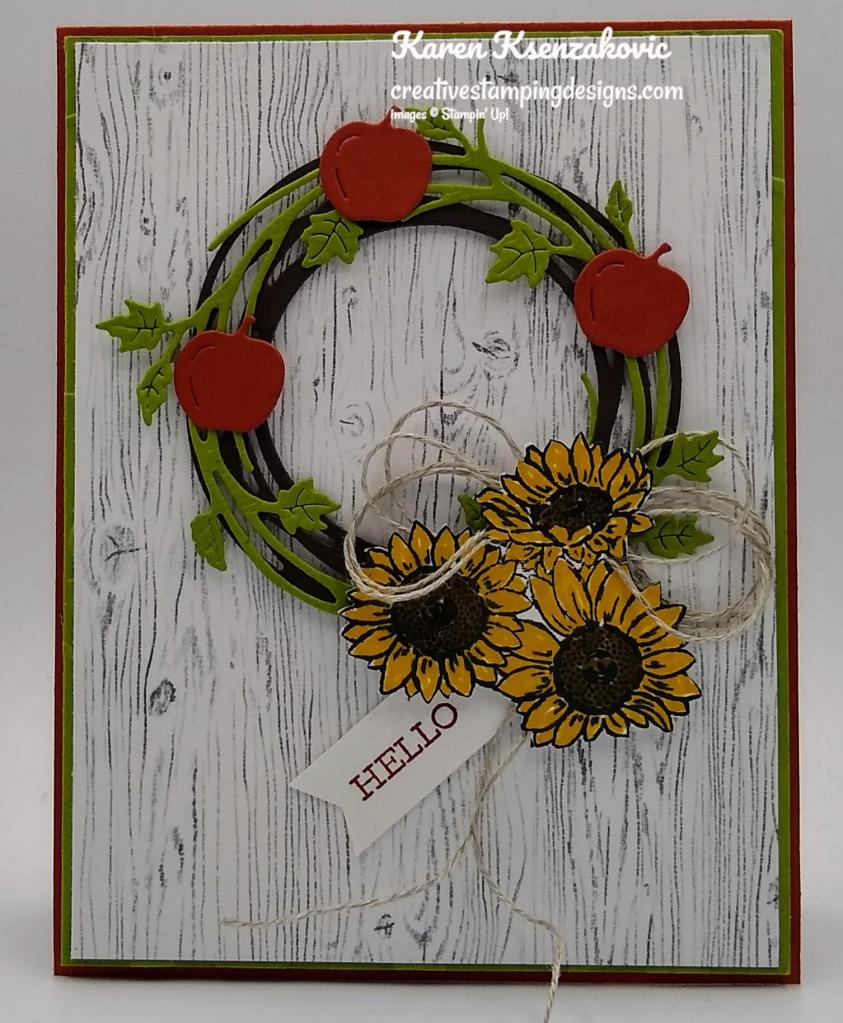
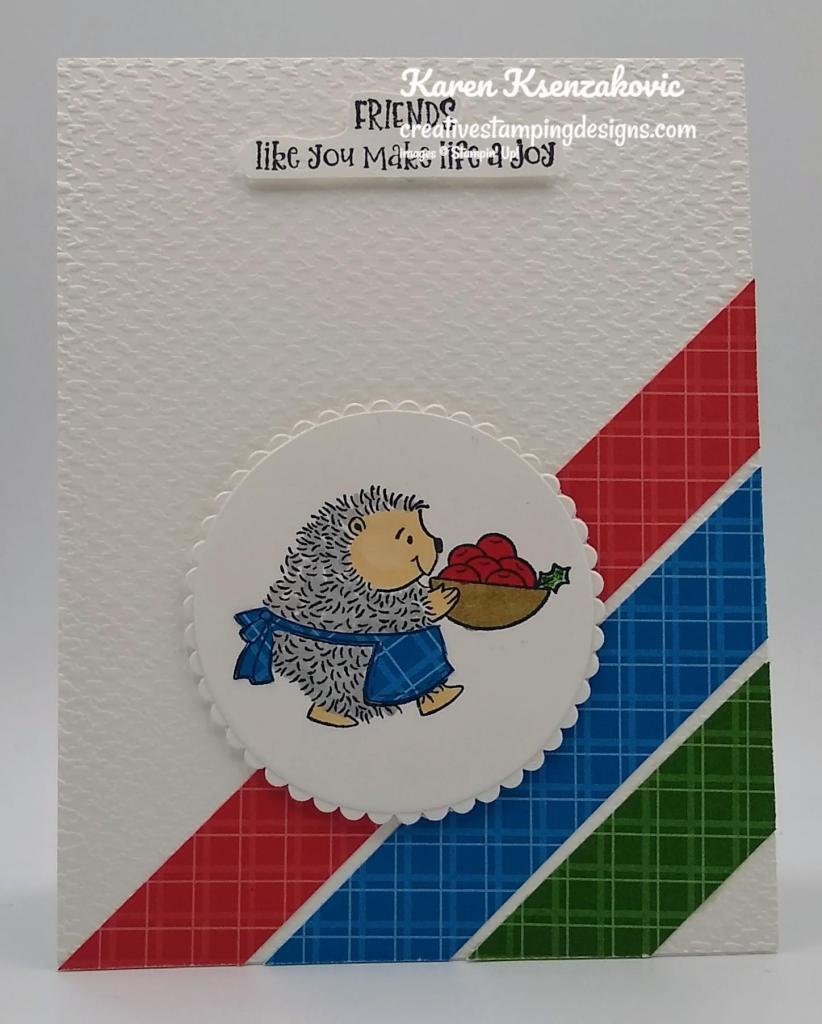
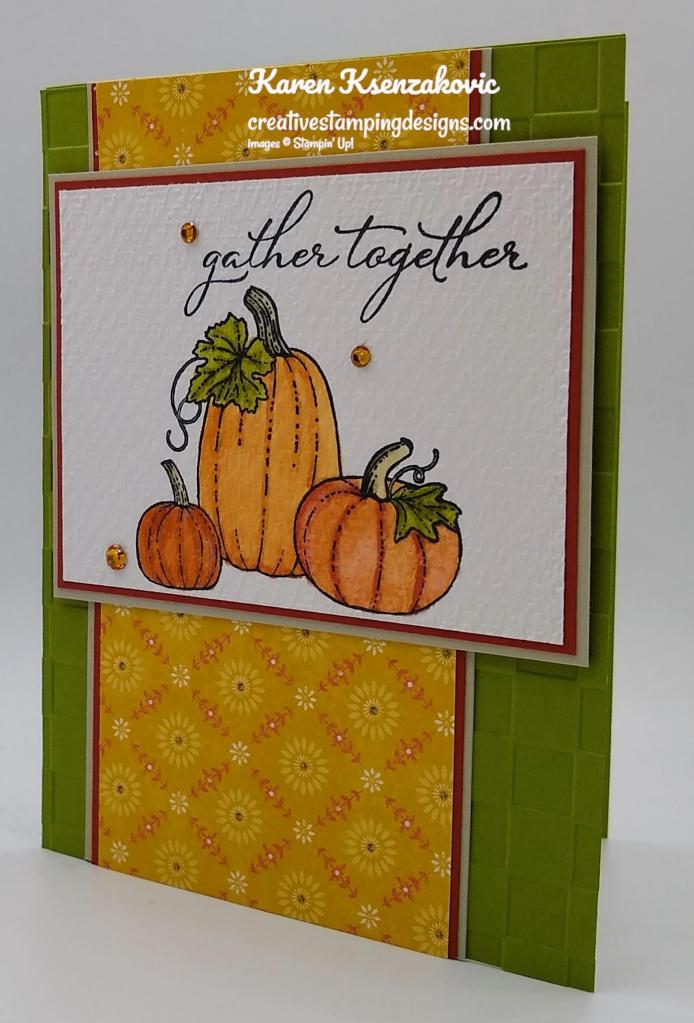
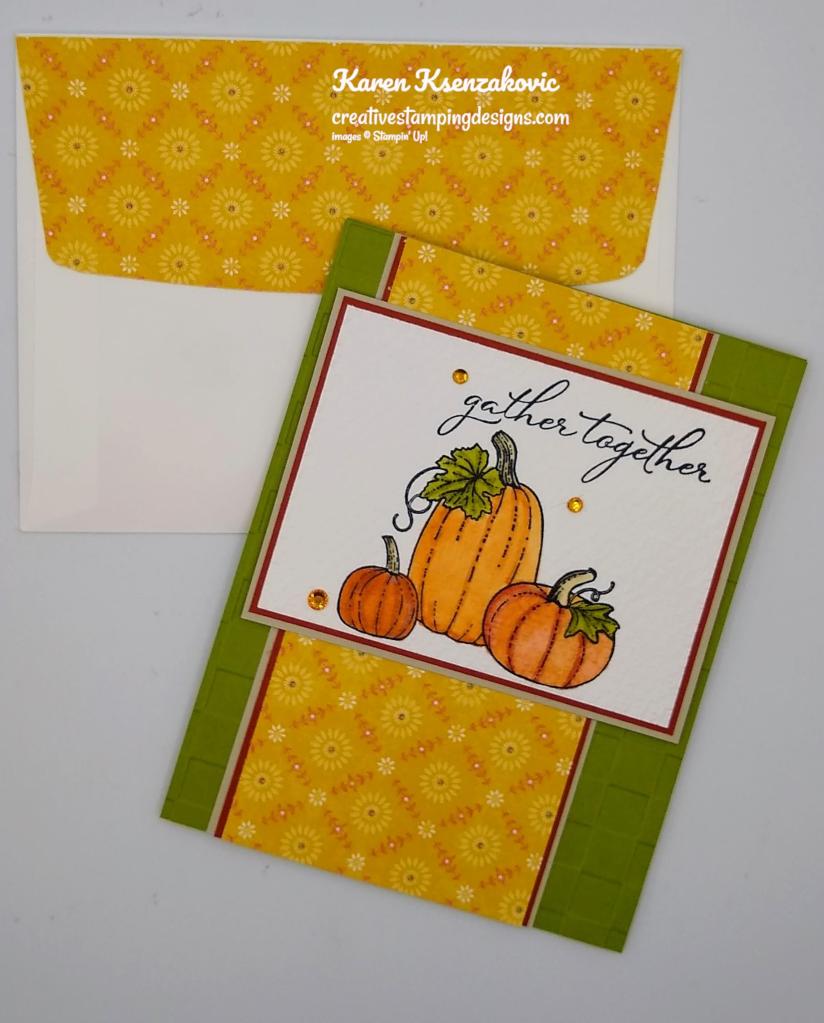
I started by stamping the sentiment from the Peaceful Cabin stamp set in Versamark Ink on the bottom of an In Good Taste Designer Series Paper card front. I immediately sprinkled it with my Gold Embossing Powder and set it using my Heat Tool. I adhered the card front to a Basic White Thick card base.
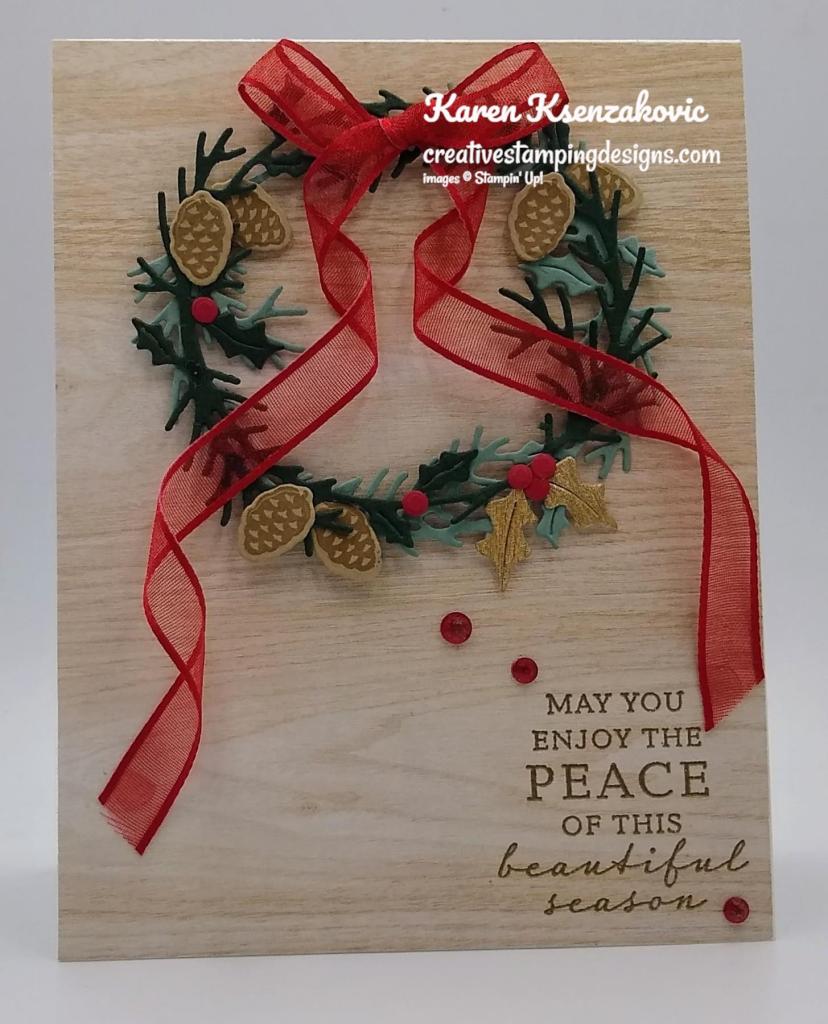
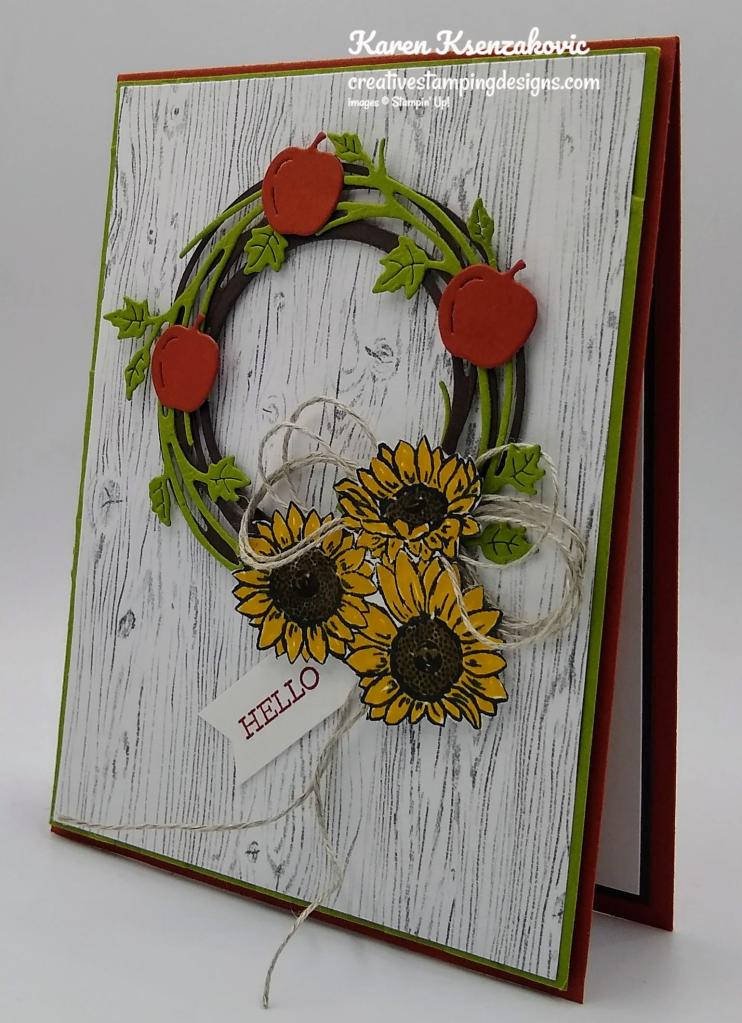
Using my Seasonal Swirls Dies, I cut 2 of the wreaths out, 1 in Evening Evergreen and 1 in Soft Succulent. On a panel of Crumb Cake cardstock I stamped the small pinecone image from the Stampin’ Up! Sparkle of The Season Photopolymer Stamp Set in Crumb Cake Ink multiple times. I cut the images out using my Seasonal Swirls Dies. I cut 3 sets of holly from a panel of Gold & Rose Gold Metallic Paper and multiple berries from a scrap of Real Red cardstock. I adhered the pinecones, holly and berries to the wreaths using Glue Dots and Multipurpose Liquid Glue. I adhered the wreath to the card front using Stampin’ Dimensionals.

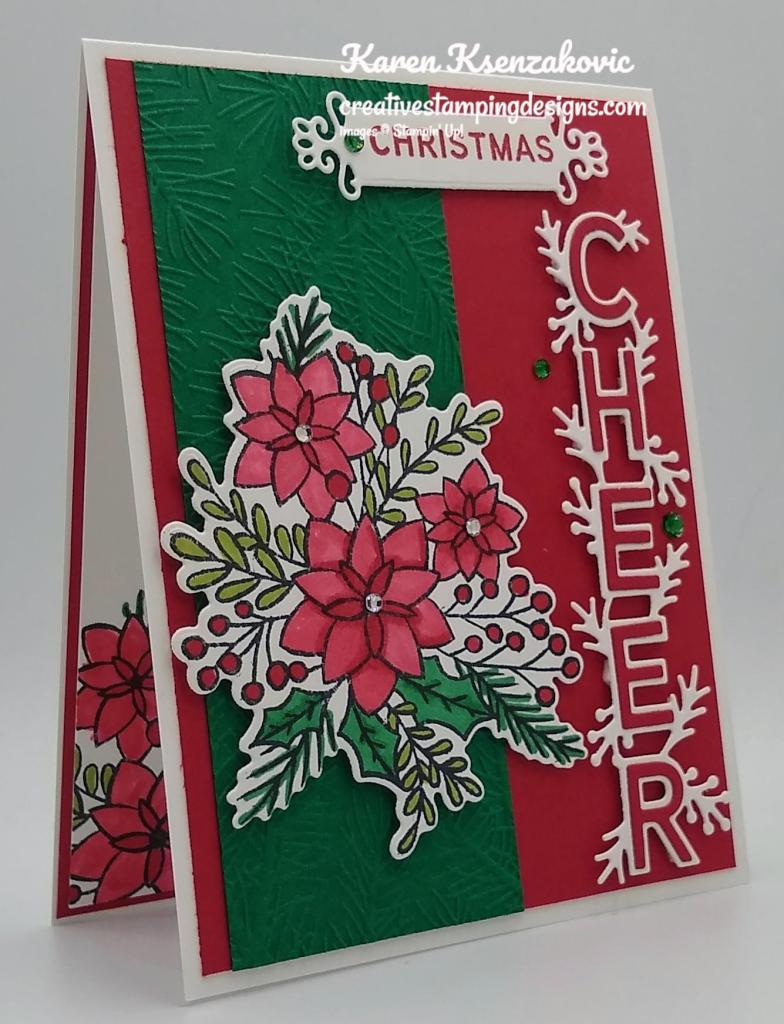
I tied a bow using the Real Red 3/8″ Sheer Ribbon and adhered it to the top of the wreath using a Glue Dot leaving long tails. I twisted the tails of the bow and tacked them in a couple places using Glue Dots. I added a few Wonderful Gems to the card front.

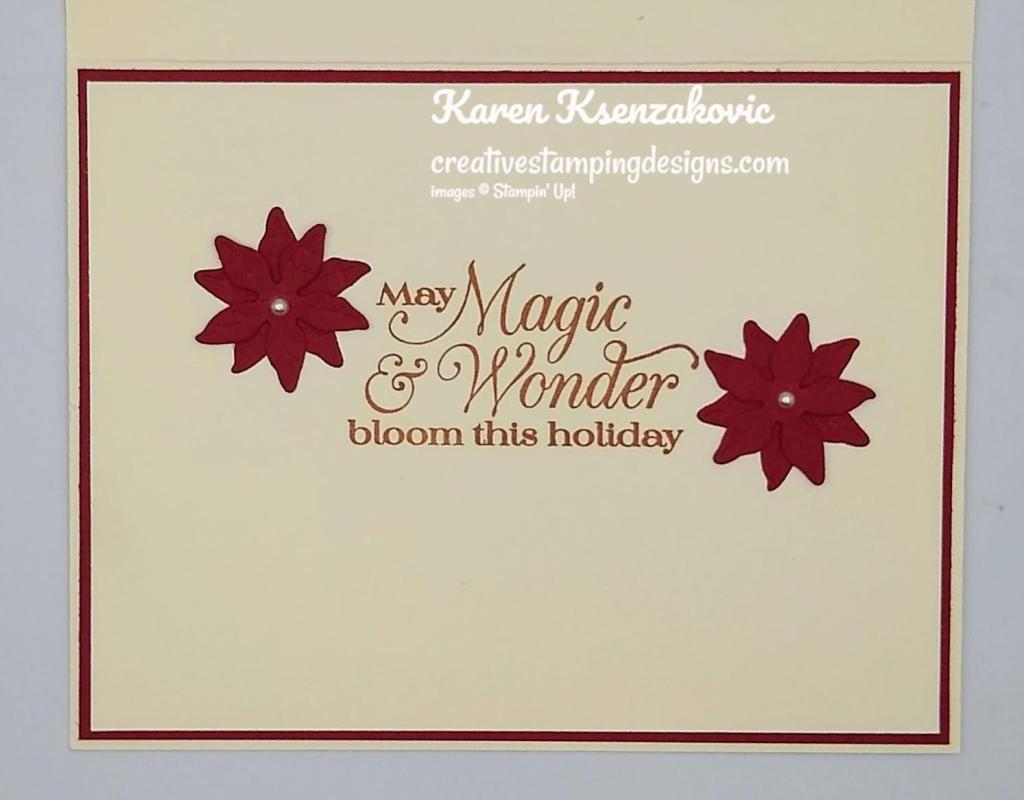
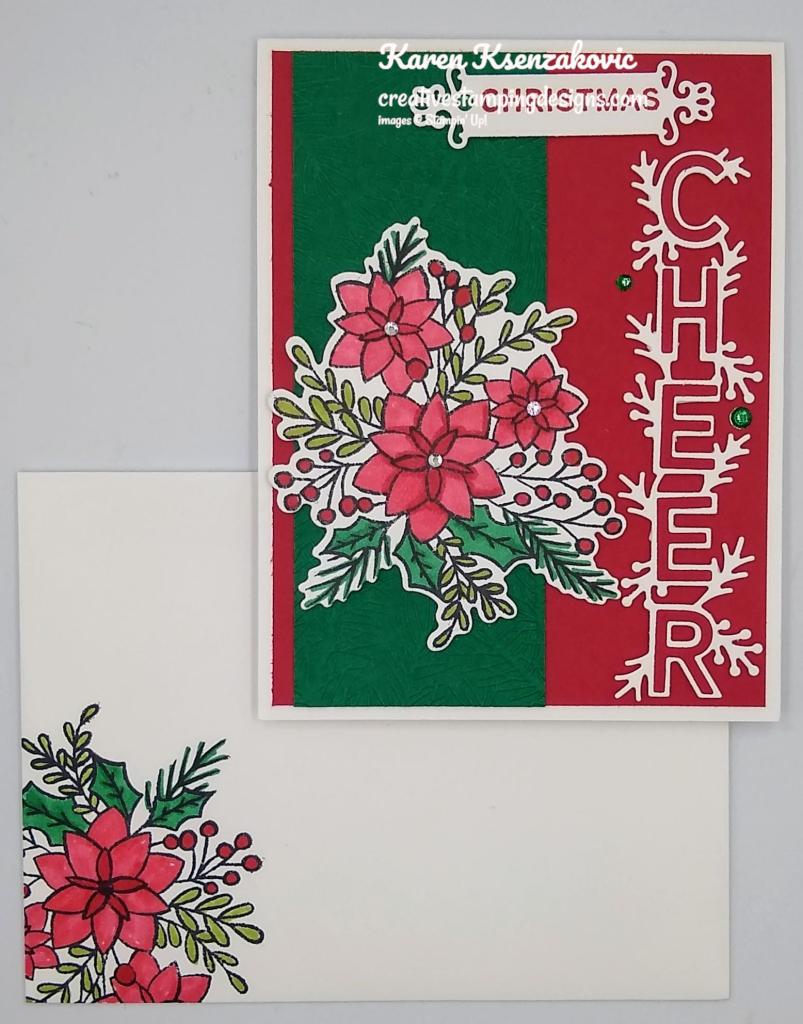
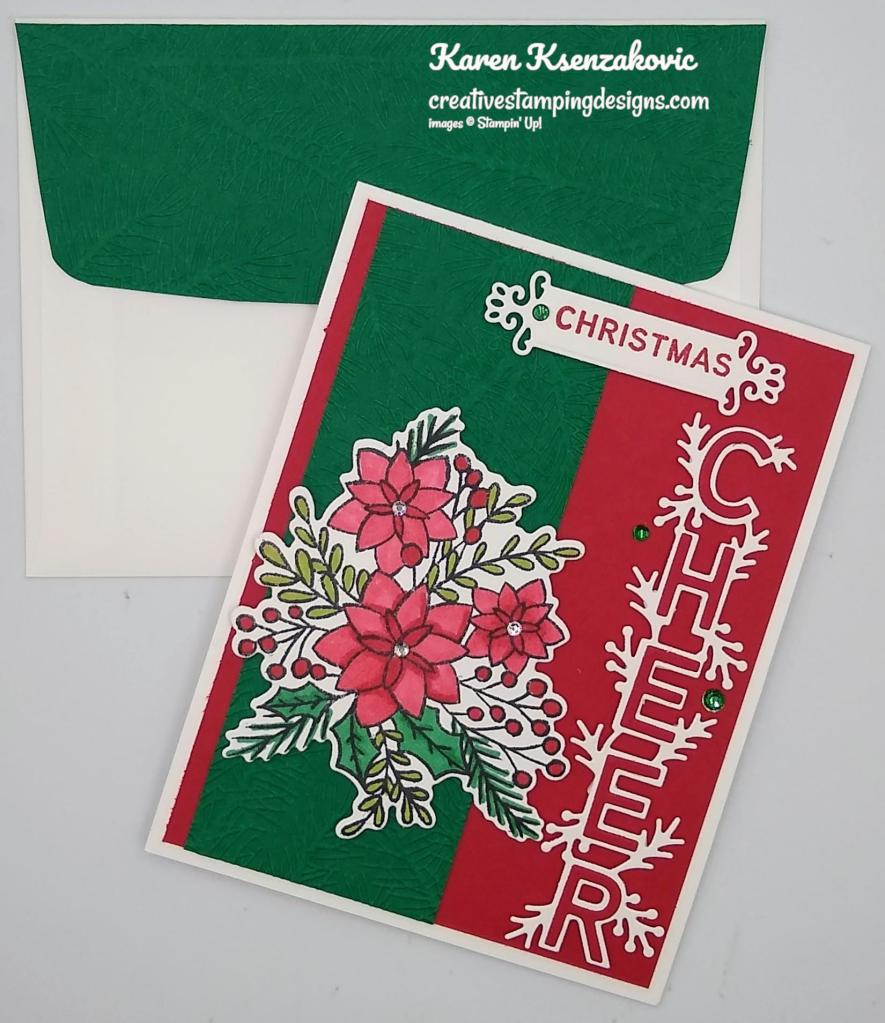
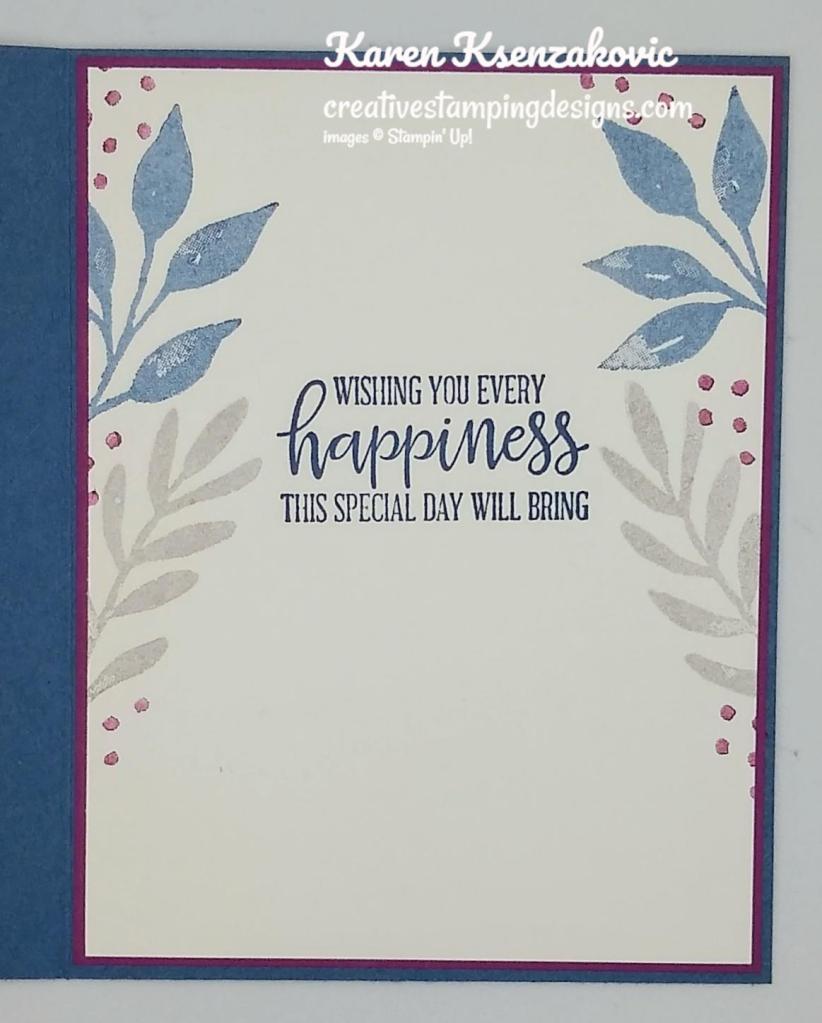
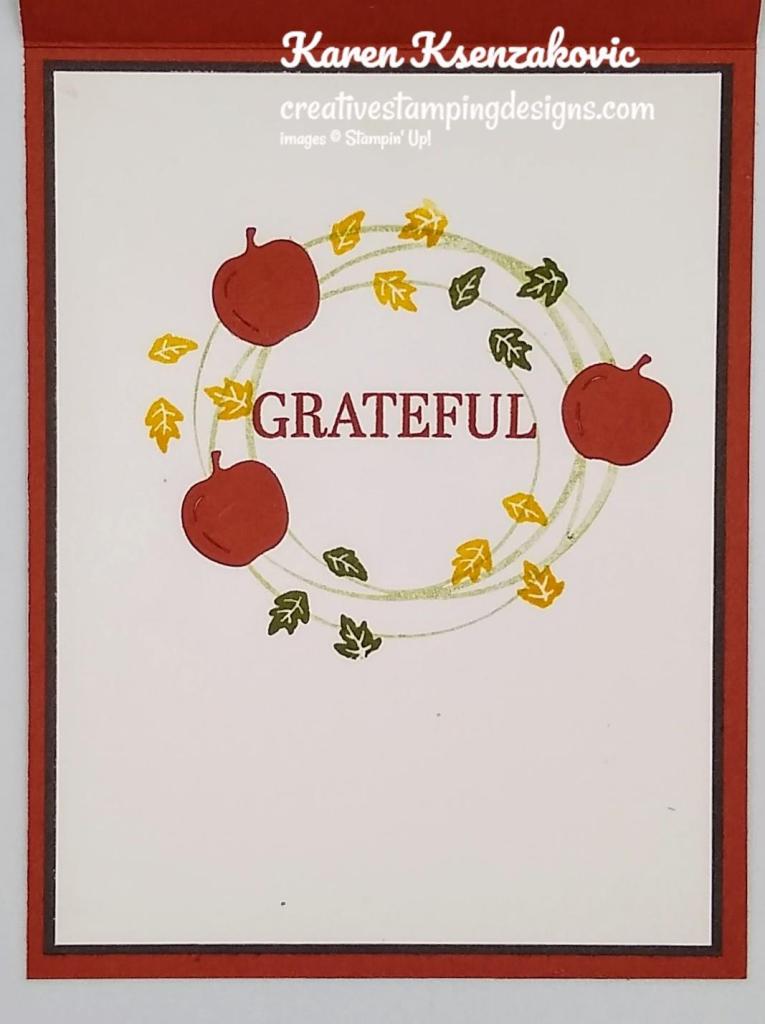
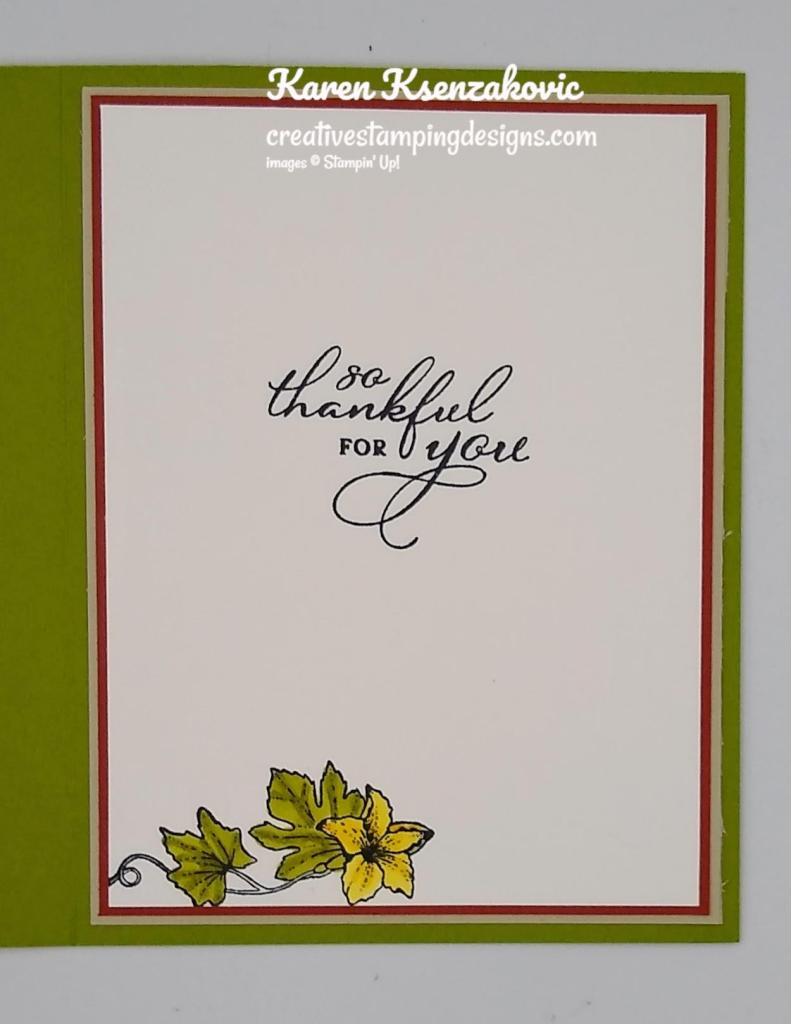
On the inside I stamped the sentiments from the Stampin’ Up! Evergreen Elegance Cling Stamp Set in Crumb Cake Ink. I stamped the pine boughs image from the Evergreen Elegance stamp set above and below the sentiment in Evening Evergreen Ink. I adhered the pinecones and holly & berries I had cut to the boughs. I adhered the Basic White panel to a Real Red mat and then to the inside of the Basic White Thick card base.

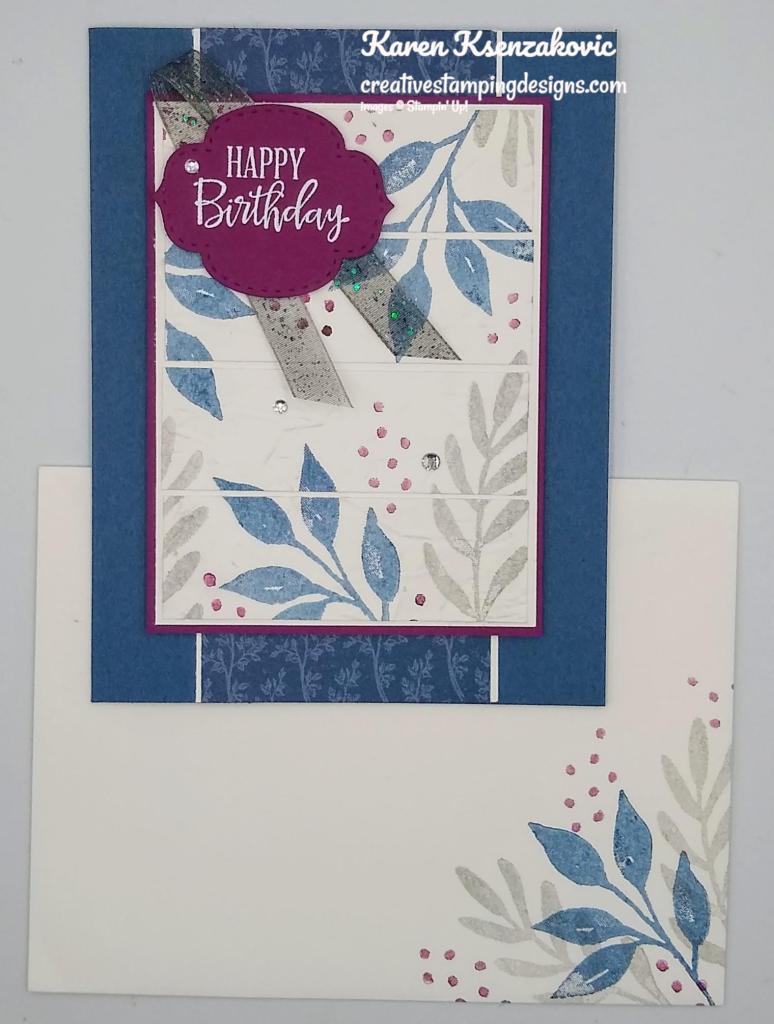
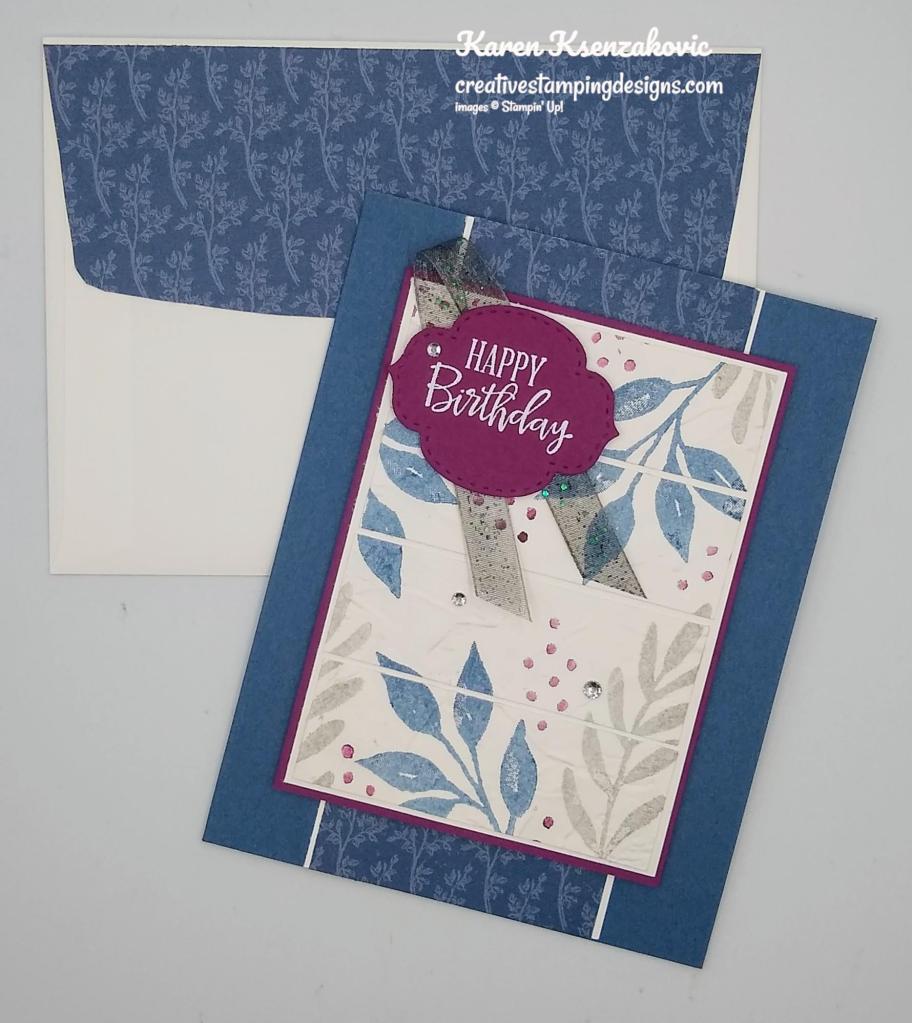
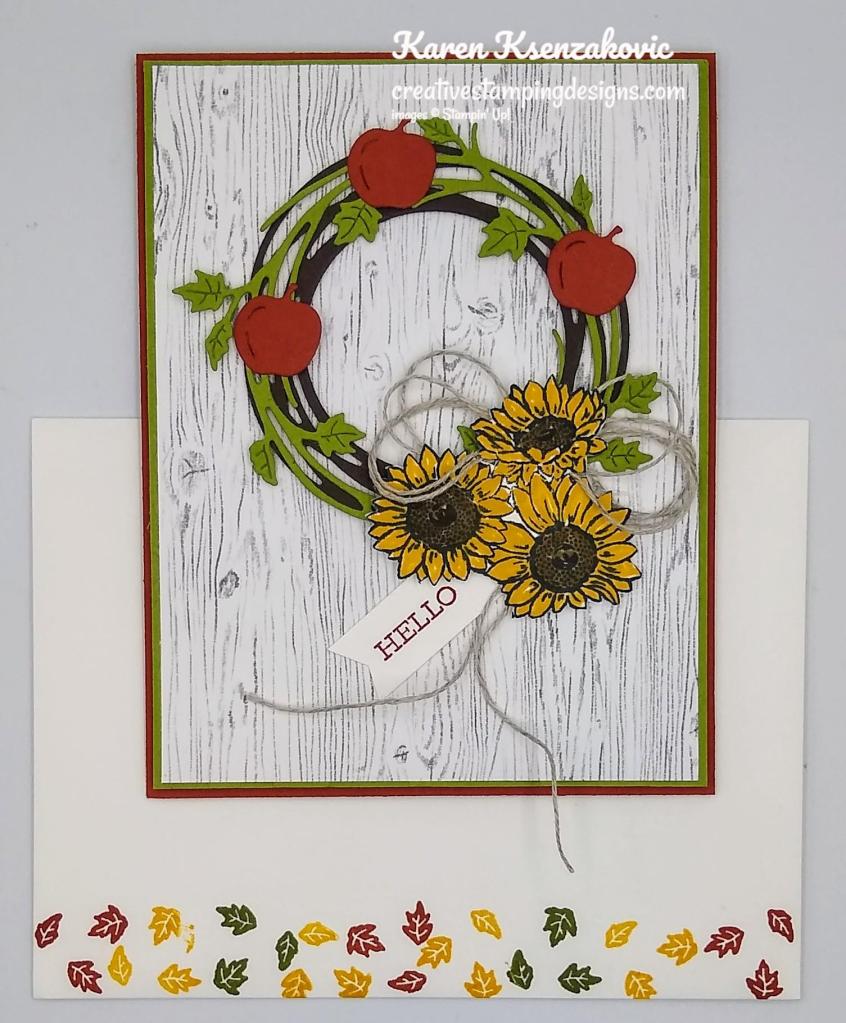
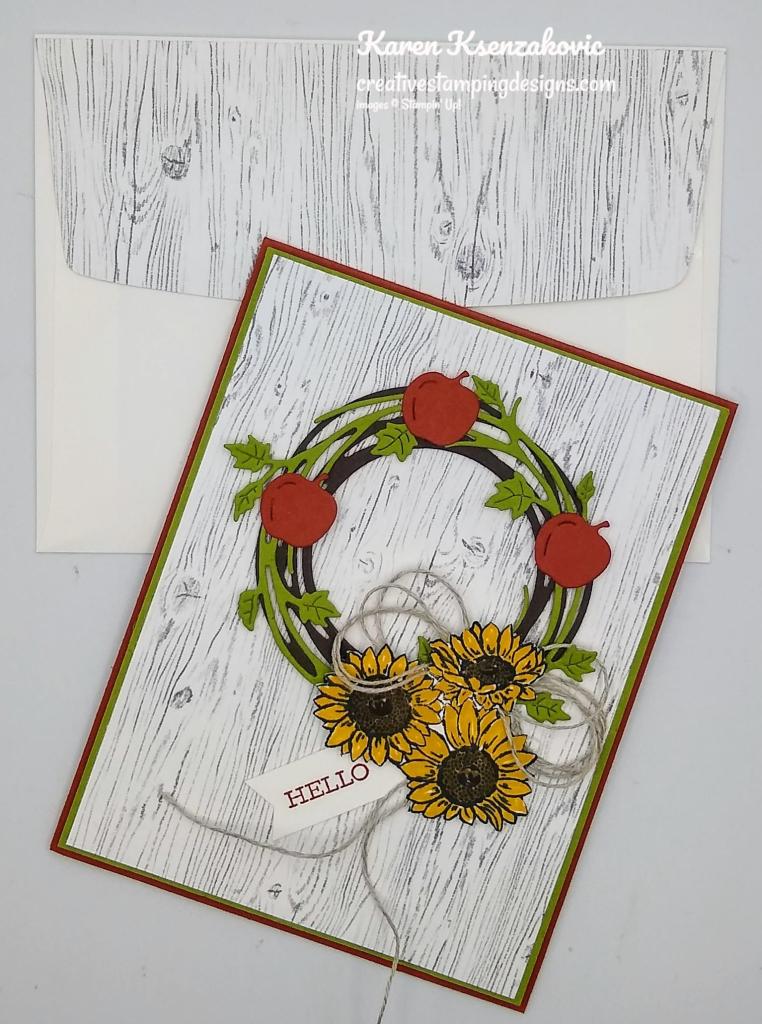
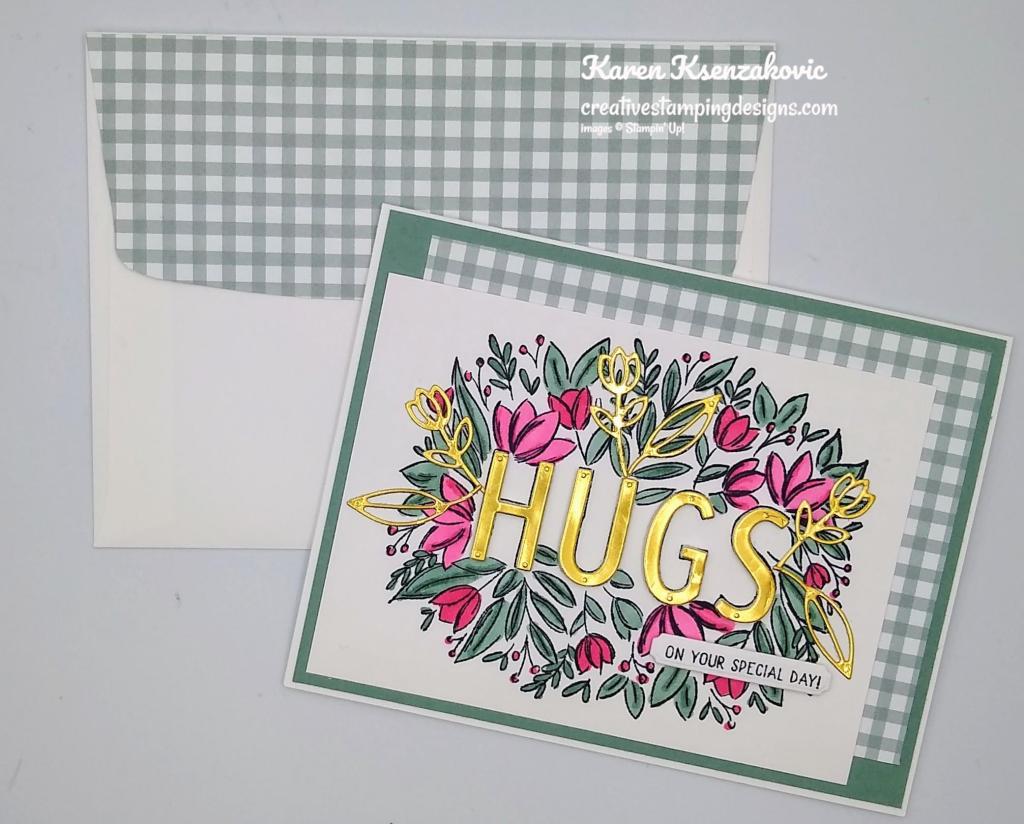
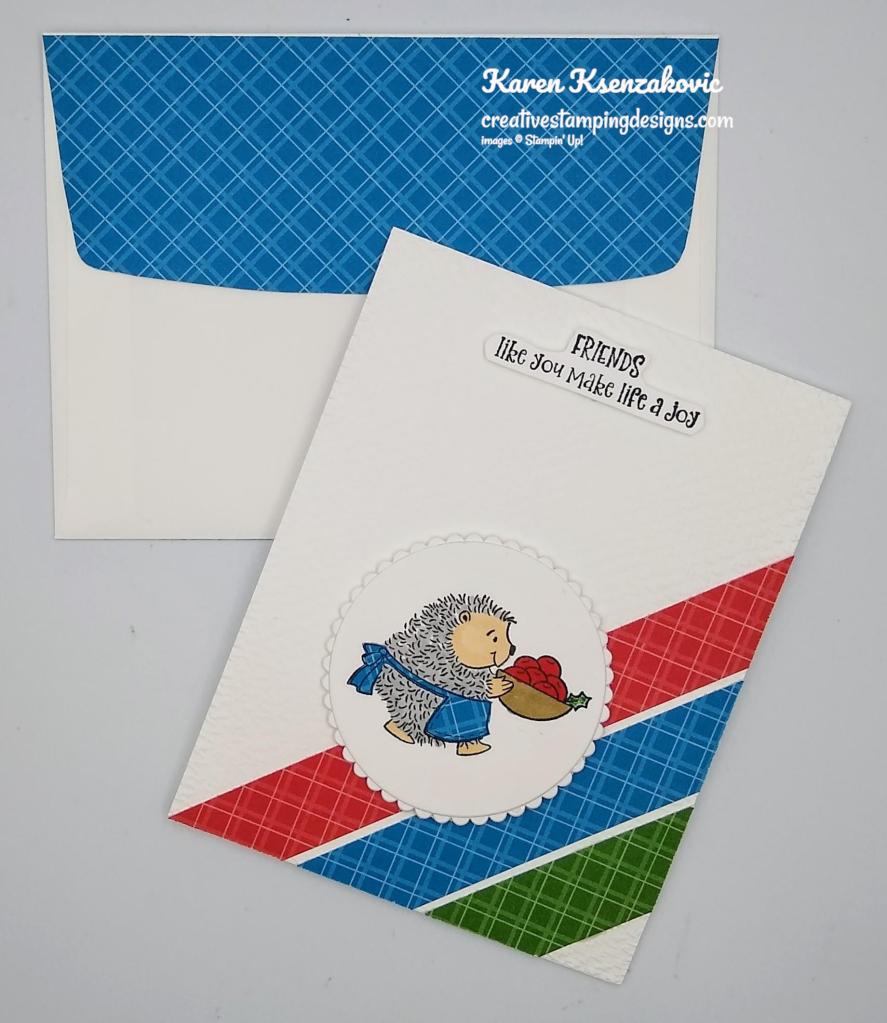
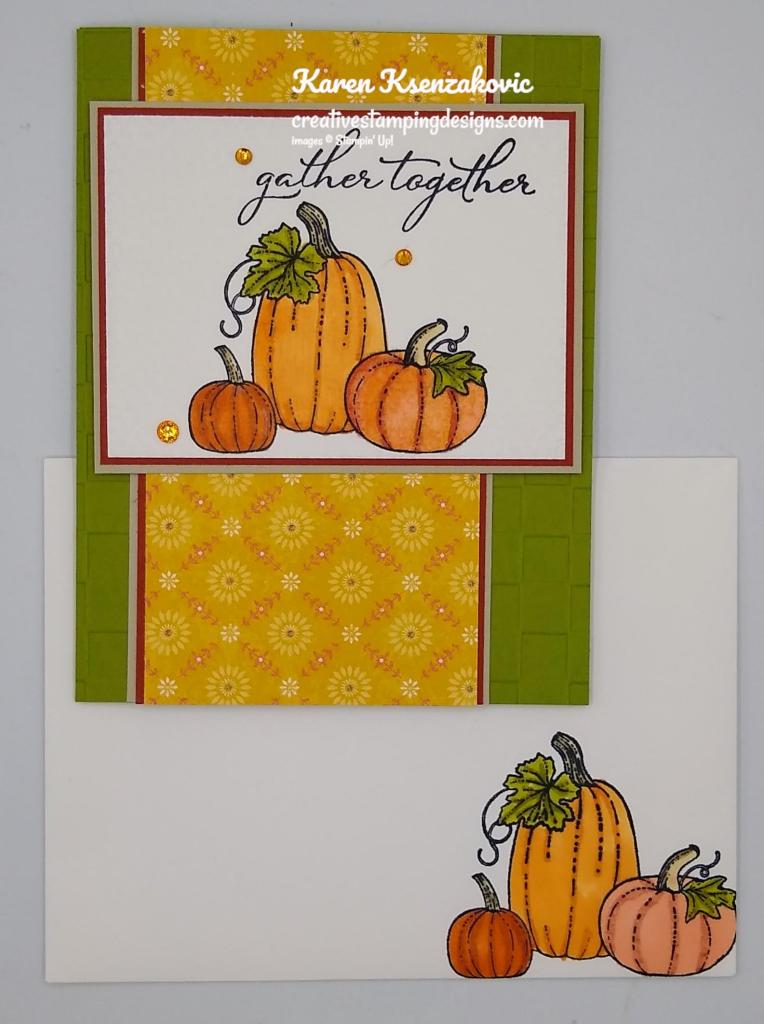
To complete my card I decorated a Basic Whtie Medium Envelope. I stamped the pine boughs image from the Evergreen Elegance stamp set in Evening Evergreen Ink above and below where I’d be writing the address on the envelope front and on the envelope flap.

Thank you for stopping by my blog today. I hope you liked my card and will give it a try. Happy Stamping!!
*********************************************************************************************************
Due to still being sick with pneumonia and not being able to talk, my Facebook Live will be cancelled for today. I’m hoping to be back next week at the same time.
*********************************************************************************************************
If you need any stamping supplies, I’d love to be your Demonstrator. Just click HERE to go directly to my online store or drop me an email if you have any questions.
MY CURRENT HOST CODE IS: JSPXUJD6
Use this host code when placing an order with me. When you order $50 or greater you will receive a free gift from me! If your order is over $150, please do not use this code, but you’ll still get the free gift. The free gift is your choice of any 1 item valued up to $10.00 from the 2020-2021 Annual Catalog or the July-December 2021 Mini Catalog! For any orders $50 or more I will also send you my monthly class tutorials. Click HERE or go to my Customer Rewards for more details and to see what this months tutorials are.
Please remember to use my current Host Code and make sure that you can see my name on the final checkout page listed as your Demonstrator when you order so that you know that you’re ordering with me and you’ll get my rewards!
Happy Stamping, Karen!
*********************************************************************************************************
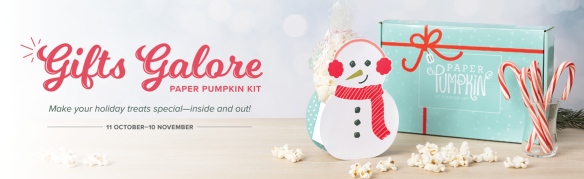
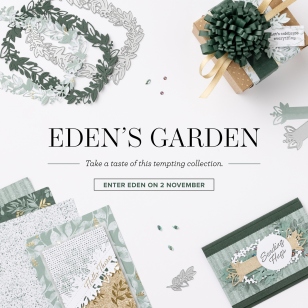
LOTS OF PUN
Subscribe November 11 – December 10
What’s not to “loaf” about a punny joke? It never hurts to have a little laughter, light-heartedness, and humor sprinkled into your schedule. If you’re a fan of fun, get a kick out of clever crafts, and can’t keep it together when you hear a classic knee-slapper, you’ll go bananas over this month’s cute ‘n’ quirky kit!
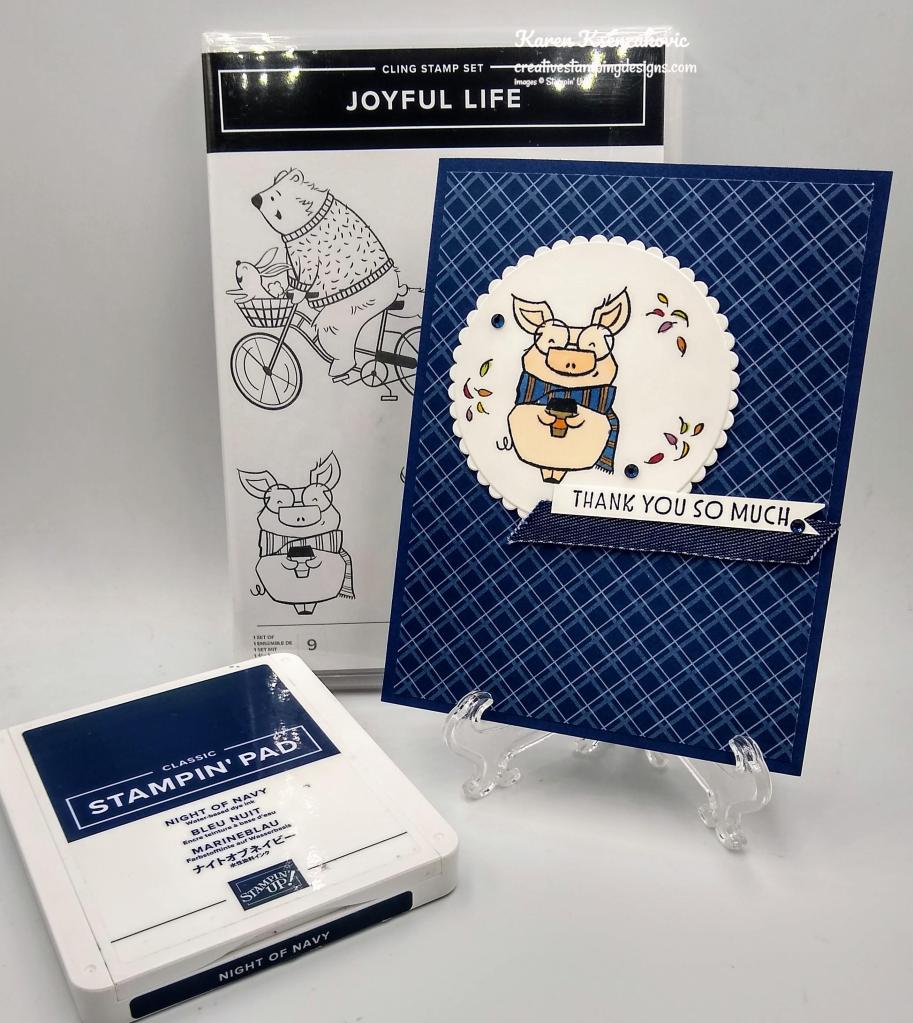
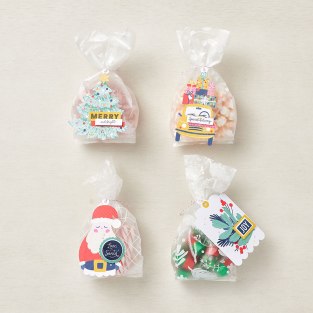
The Lots of Pun Paper Pumpkin Kit includes enough egg-citing elements to create nine cards and coordinating envelopes. From giddy gingham to splatters and stripes, this playful Paper Pumpkin kit features a fun and fresh look with one-of-a-kind patterns and designs! Egg-cellent for any occasion, reason, or season throughout the year, the kit’s pun-packed stamp set provides completely customizable characters for a very versatile crafting experience. Pair each stamp with its matching die-cut snack, then mix up the faces and accessories for an absolutely adorable accent!
Pick up your friends and family with pun-filled projects. December’s delightful kit is sure to make ‘em smile!
Details
- The kit contains enough elements to create 9 cards—3 each of 3 designs—and 9 coordinating envelopes. This all-inclusive kit includes printed card bases, die-cut paper pieces, embellishments, adhesive, and more!
- The Lots of Pun Stamp Set is a builder stamp set! This means the included images can be mixed and matched to build a variety of unique characters with different looks and features.
- Card size: 4-1/4″ x 5-1/2″ (10.8 x 14 cm)
- Envelope size: 4-1/2″ x 5-3/4″ (11.4 x 14.6 cm)
- Coordinating colors: Crumb Cake, Daffodil Delight, Early Espresso, Granny Apple Green, Pool Party, Poppy Parade
- Includes a Classic Stampin’ Spot
Subscribe to the December 2021 Paper Pumpkin Kit between 11 November and 10 December at paperpumpkin.com!
Note: Supplies may be limited toward the end of the subscription period.
*********************************************************************************************************
Card stock cuts for this project:
- Basic White Cardstock 4″ X 5 1/4″ (inner liner)
- Basic White Thick Cardstock 4 1/4″ X 11″ (card base scored & folded at 5 1/2″)
- Crumb Cake Cardstock 2″ X 2″ (pinecones)
- Evening Evergreen Cardstock 3 1/4″ X 3 1/4″ (wreath)
- Real Red Cardstock 4 1/8″ X 5 3/8″ (inner liner mat), scrap for berries
- Soft Succulent Cardstock 3 1/4″ X 3 1/4″ (wreath)
- Gold & Rose Gold 6 X 6 Specialty Metallic Paper 2″ X 2″ (holly)
- In Good Taste Designer Series Paper 4 1/4″ x 5 1/2″ (card front)
*********************************************************************************************************
Product List
")
")

")


 Metallic Specialty Paper")


")
 Sheer Ribbon")


")


 Gingham Ribbon")


")


 Host Designer Series Paper")


 Glittered Organdy Ribbon")


 Designer Series Paper")


 Denim Ribbon")


 Designer Series Paper")


")
 Designer Series Paper")
 Designer Series Paper")


 Designer Series Paper")


