
Good Friday morning my stamping friends welcome to my Fun Fold Friday. How was everyone’s week? I had a bit of an exciting week starting off Monday. You’ll see below. Has anyone made any plans for the weekend yet? I’ll be working all day tomorrow and Sunday again.
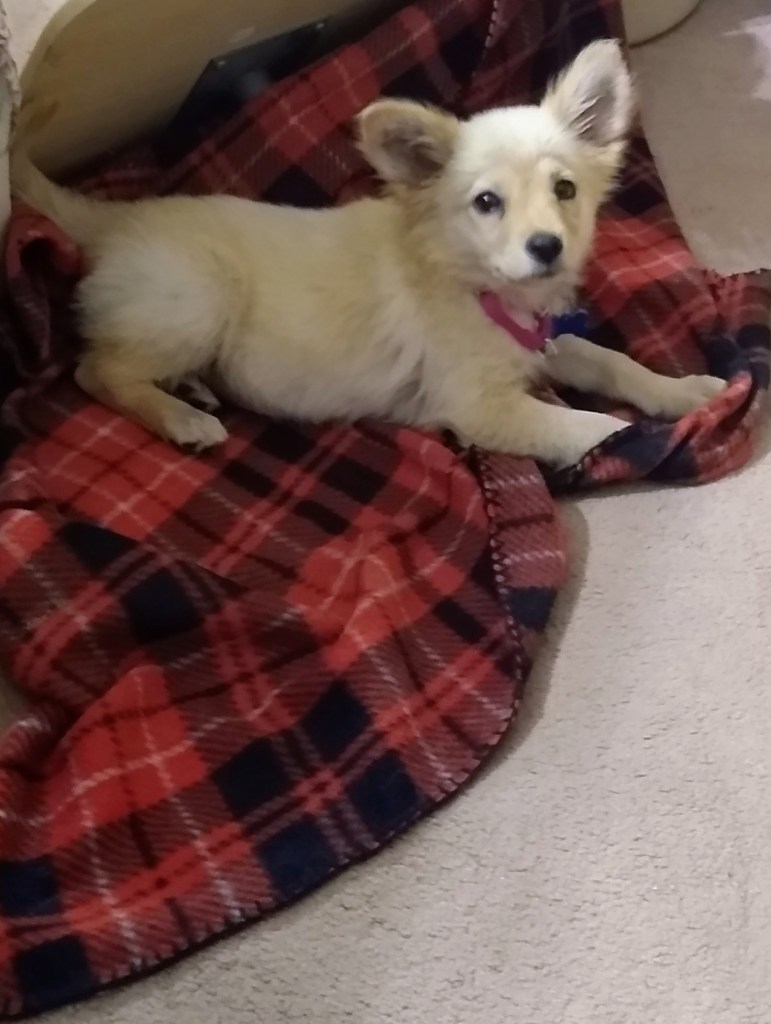
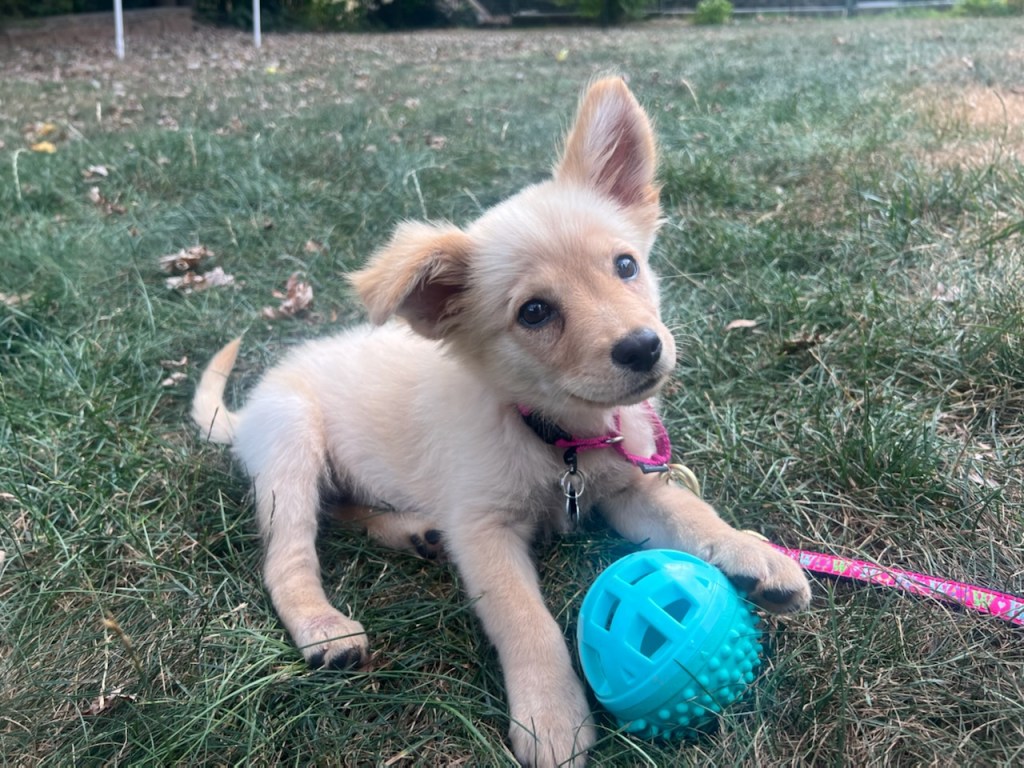
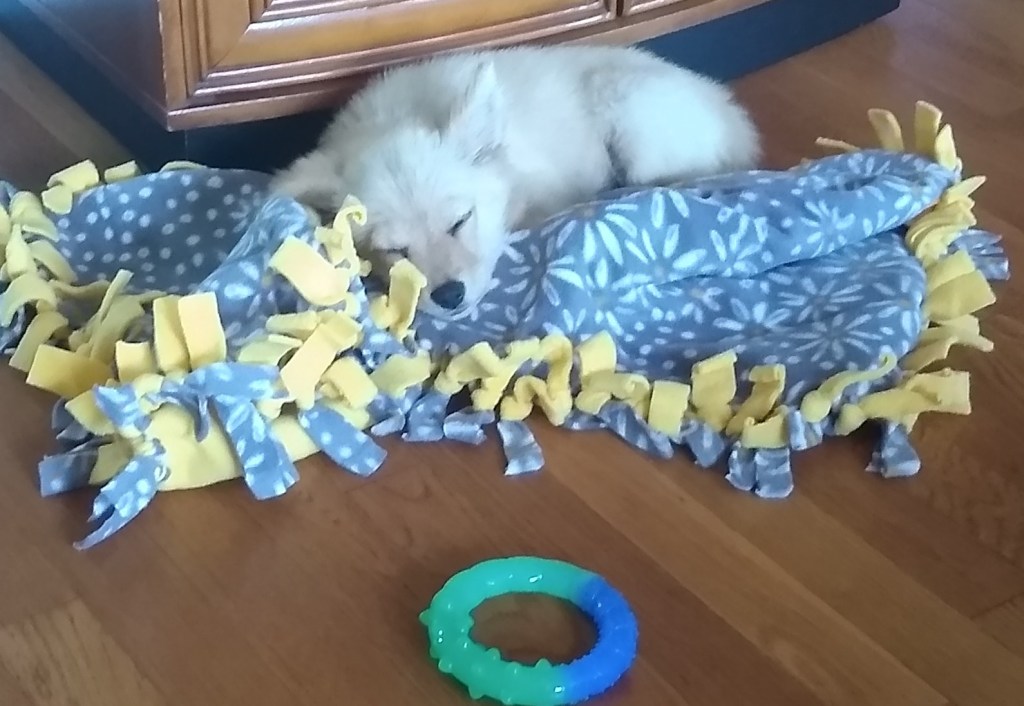
So, before I get started with my card, last week I missed my live because we went to meet a puppy. It’s been a really sad house here since my Jasmine puppy passed. Unfortunately, the puppy was listed as a female lab/border collie mix and that was wrong. I was going to just wait until spring and this little cutie came to me. Meet Coraline. She’s a 10-week-old mix breed. I just ordered a DNA kit to find out what she is. She was listed as a lab/border collie mix, I think there might be more. I’ll let you know once I find out. She is such a good girl already. I’ve got her house broken, sleeping through the night and walking on a leash. She knows the sit command and touch already. She knows where my card making table is and runs ahead of me down the stairs to curl up while I make my cards.
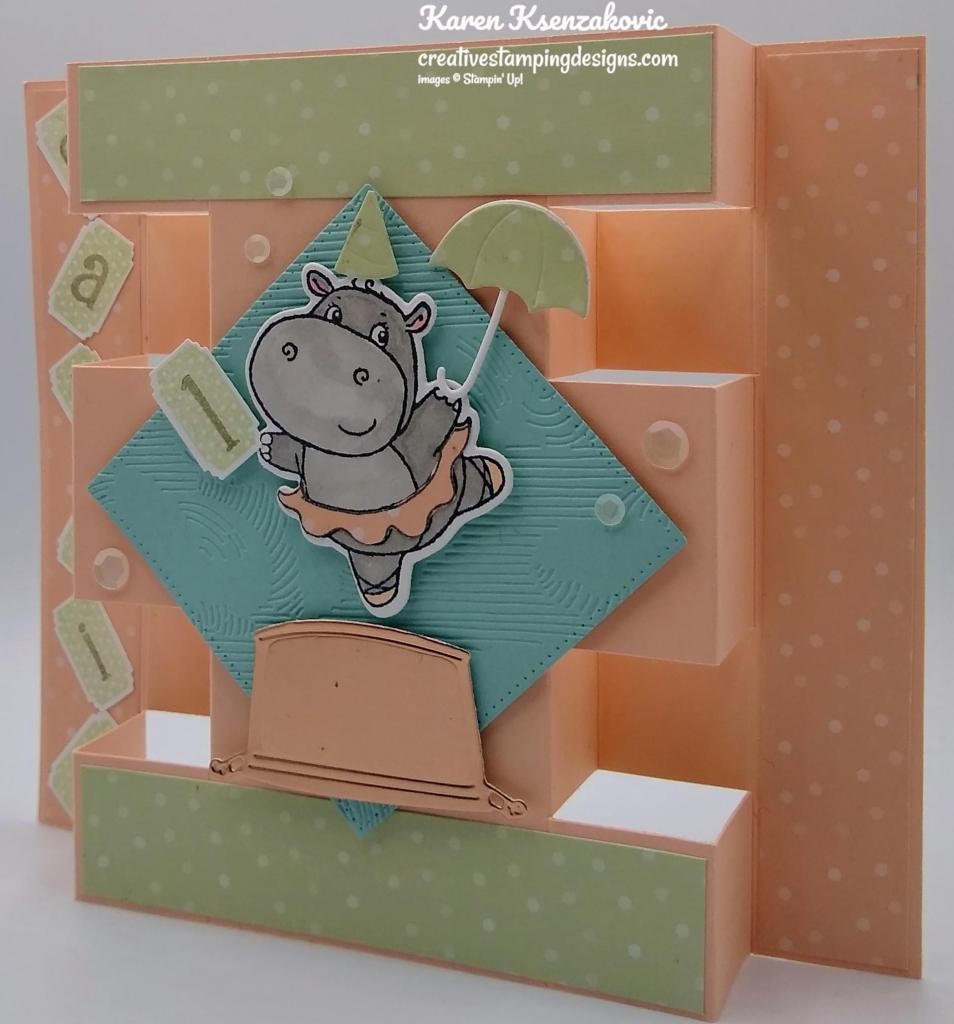
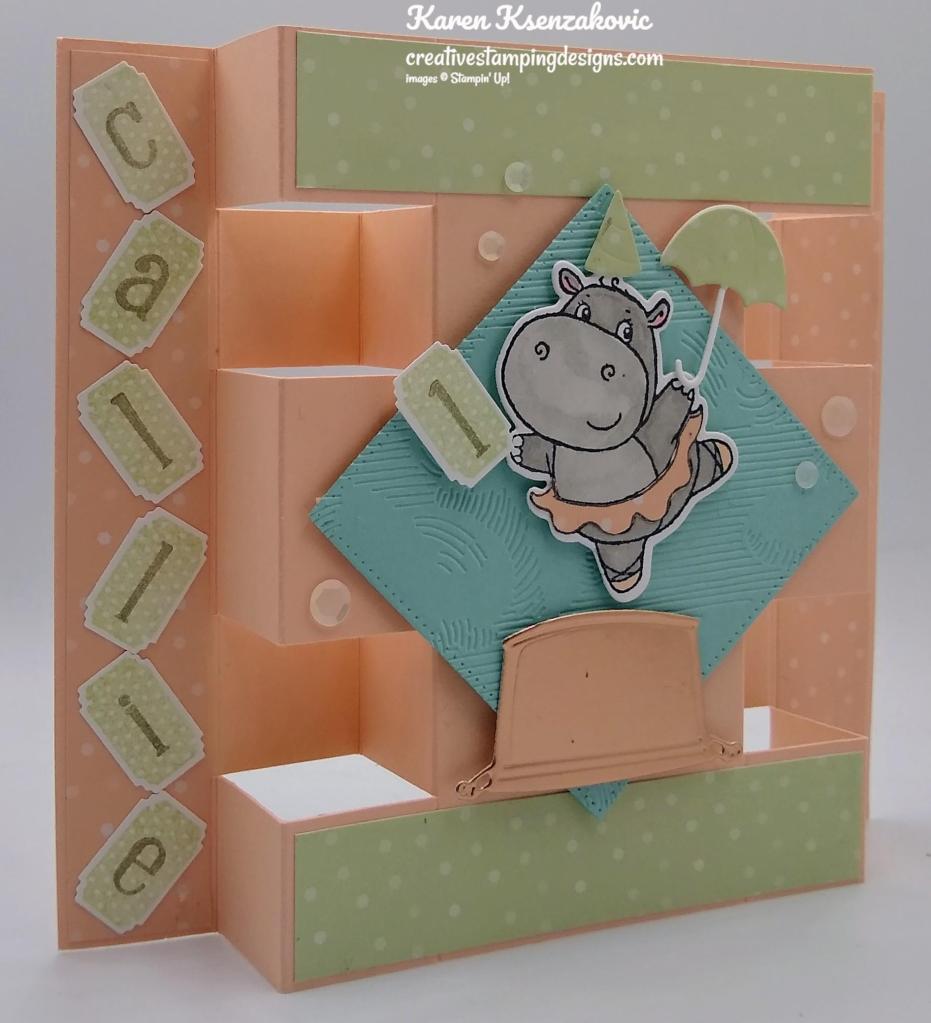
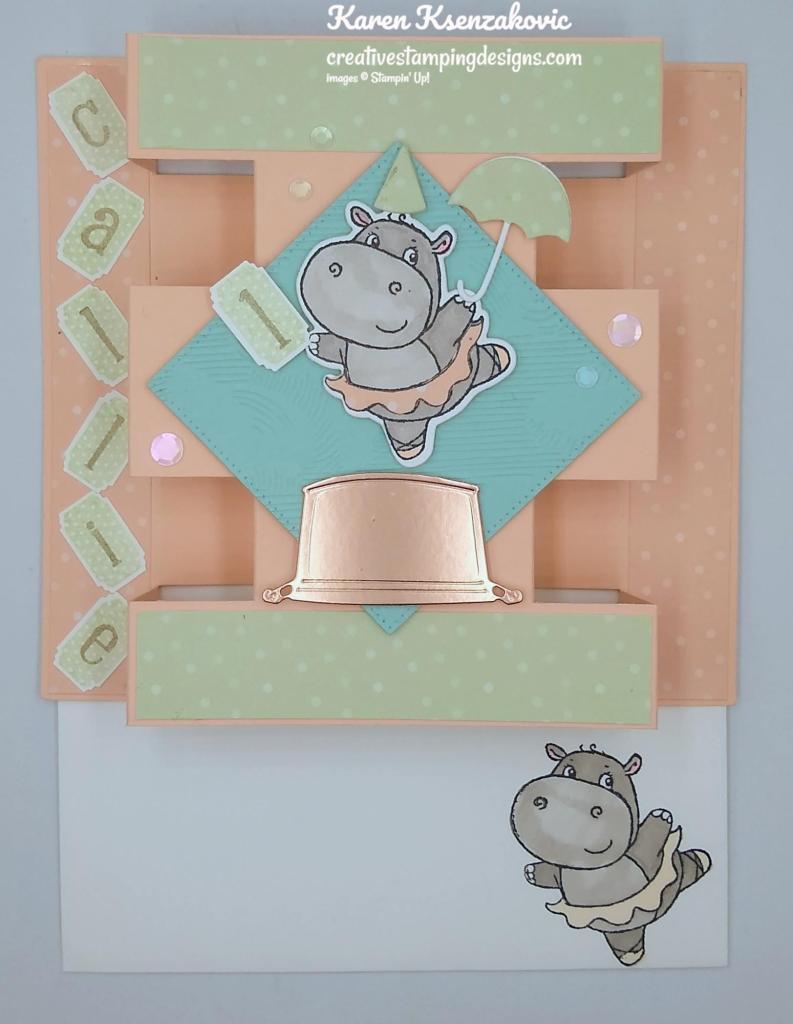
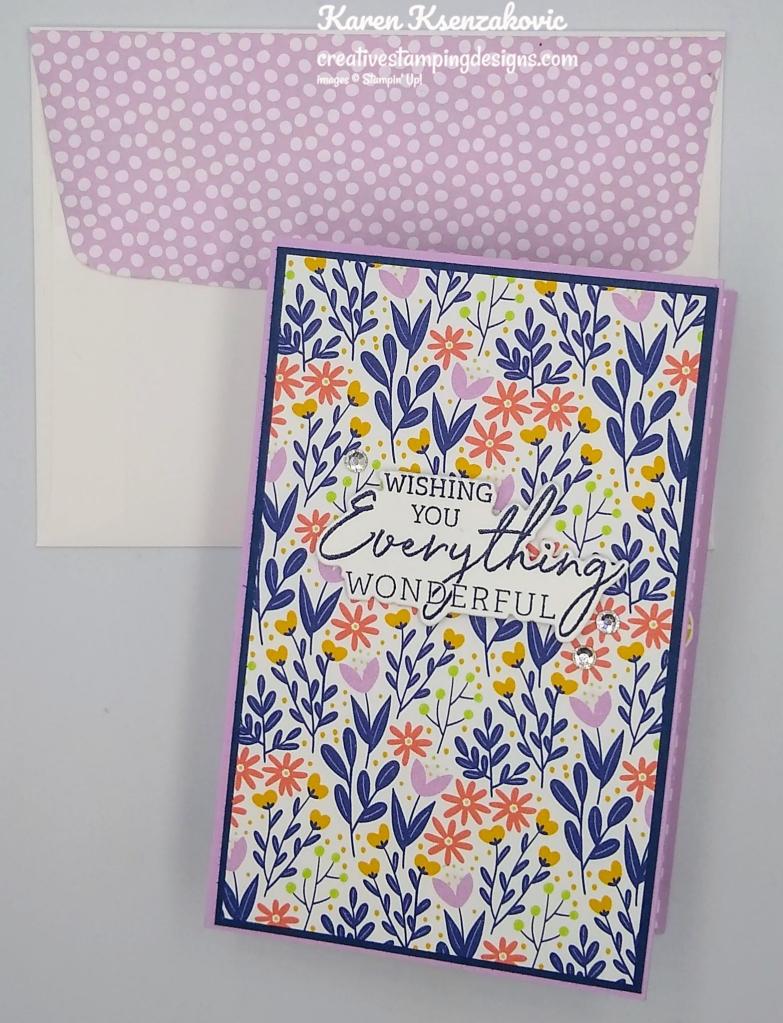
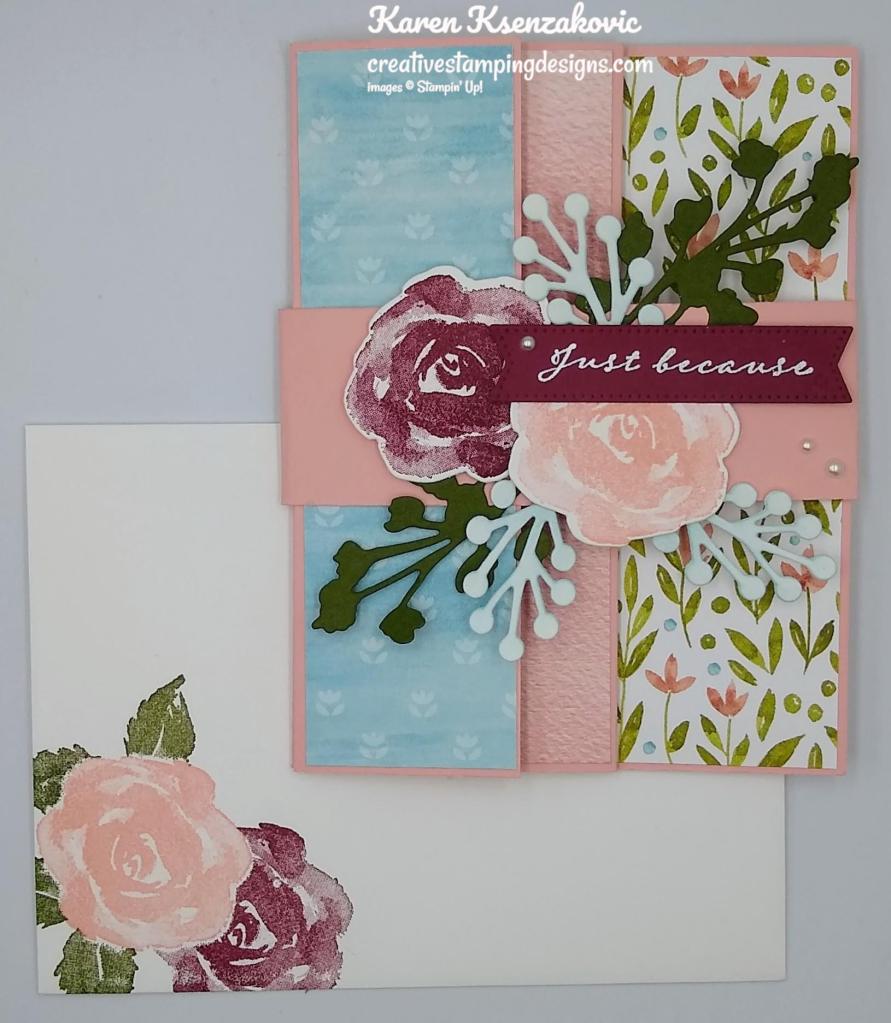
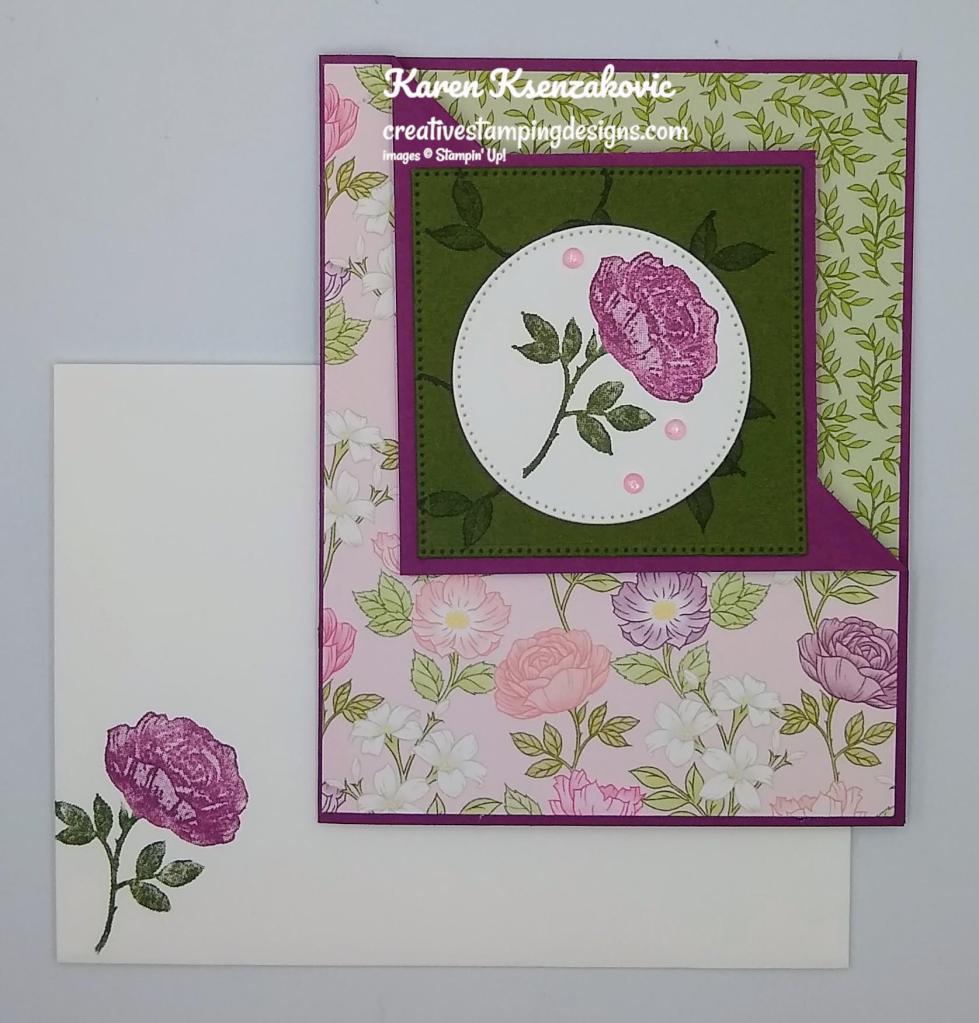
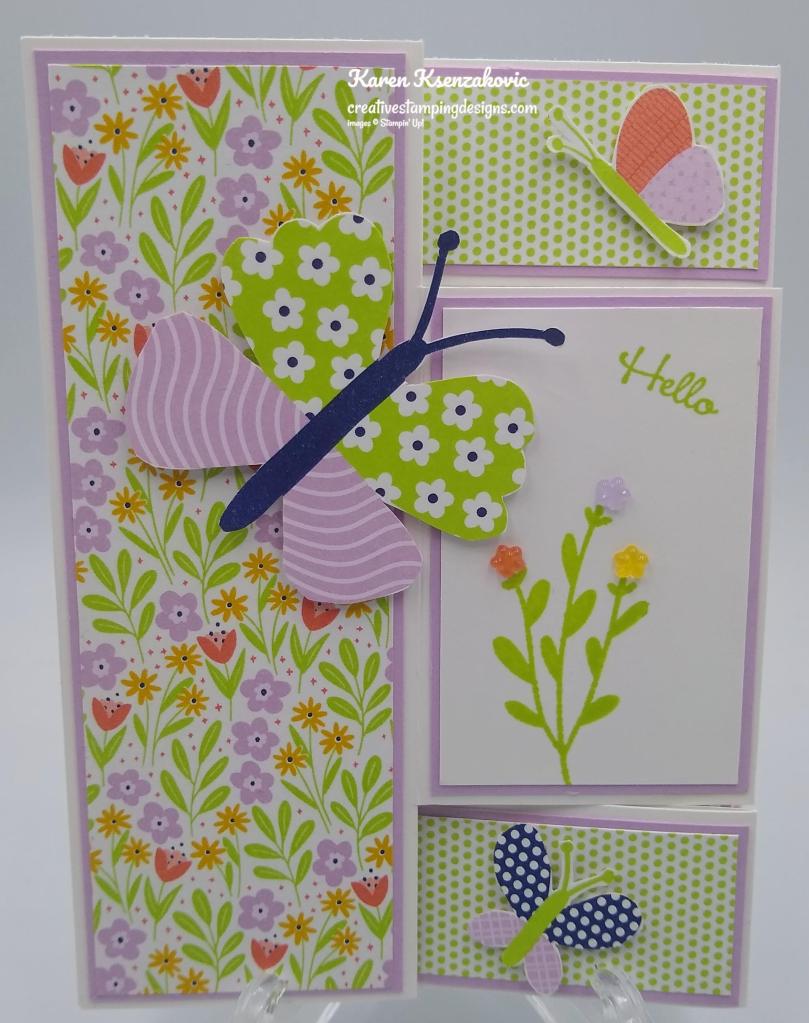
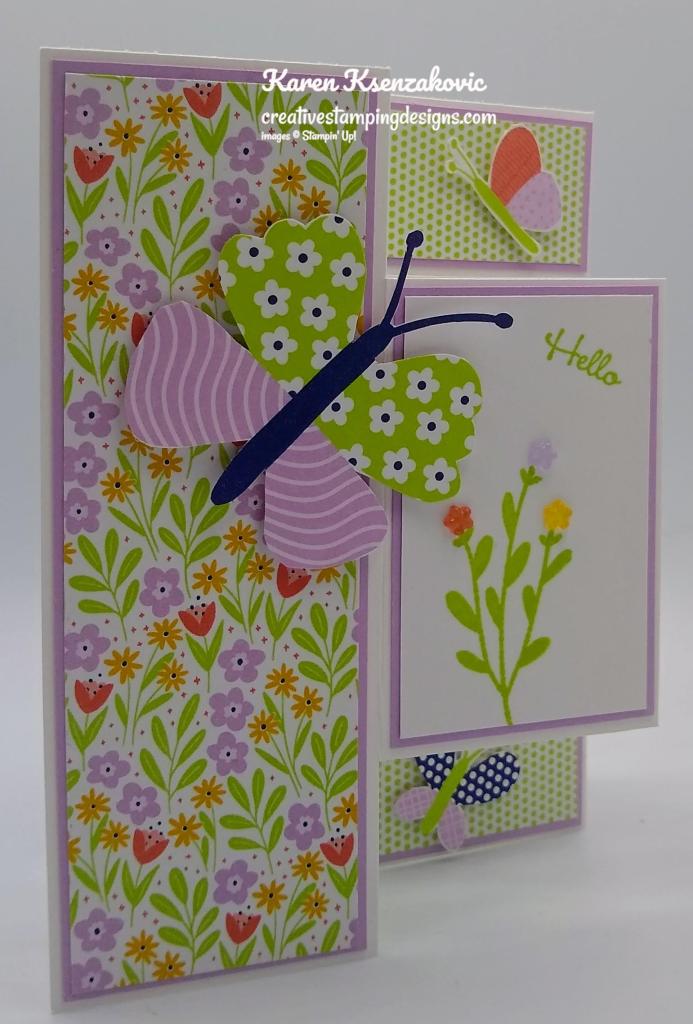
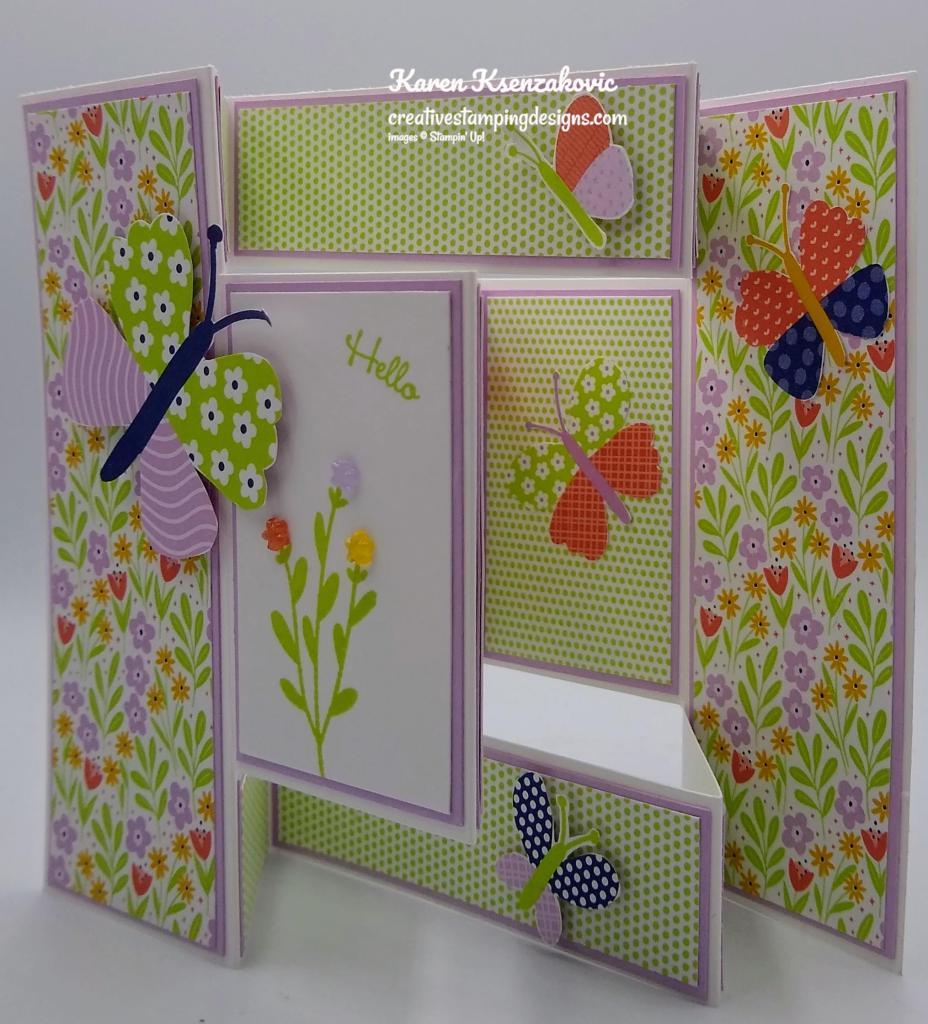
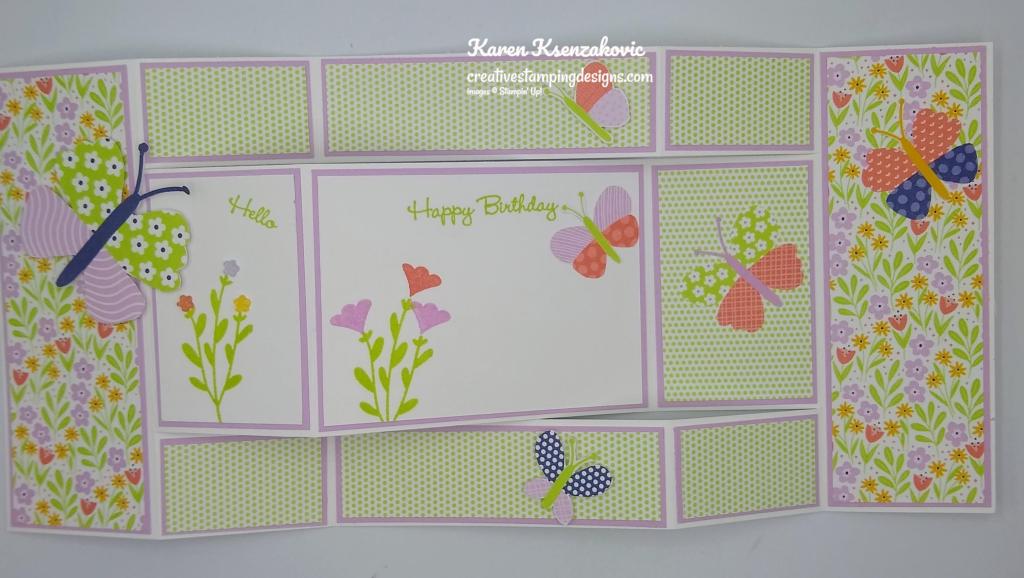
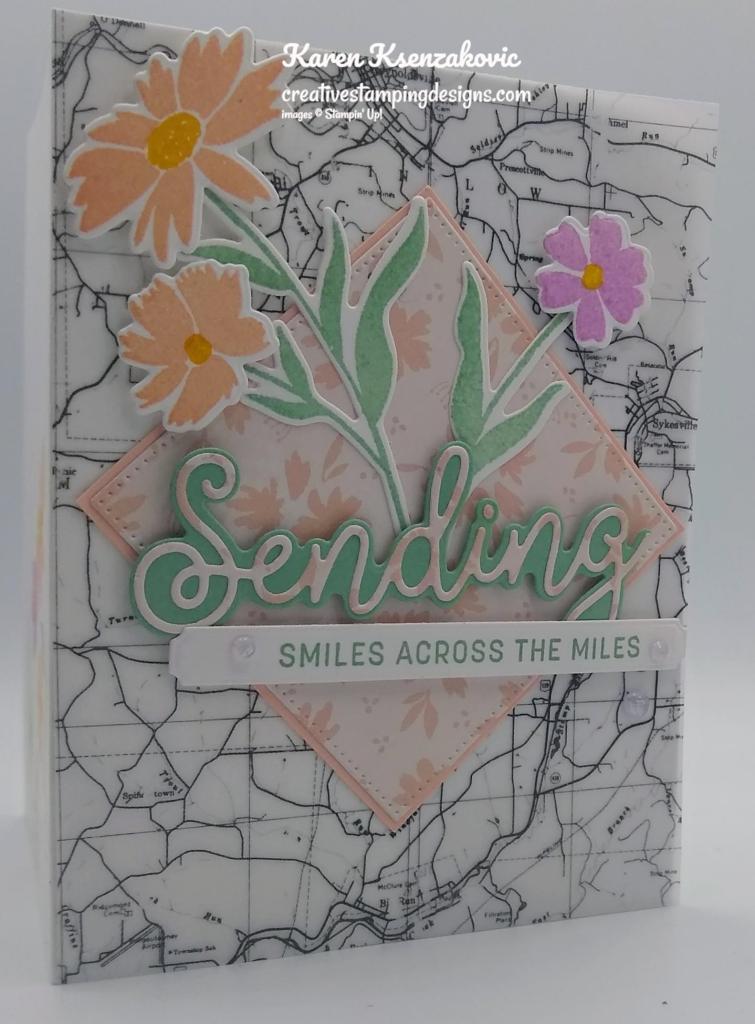
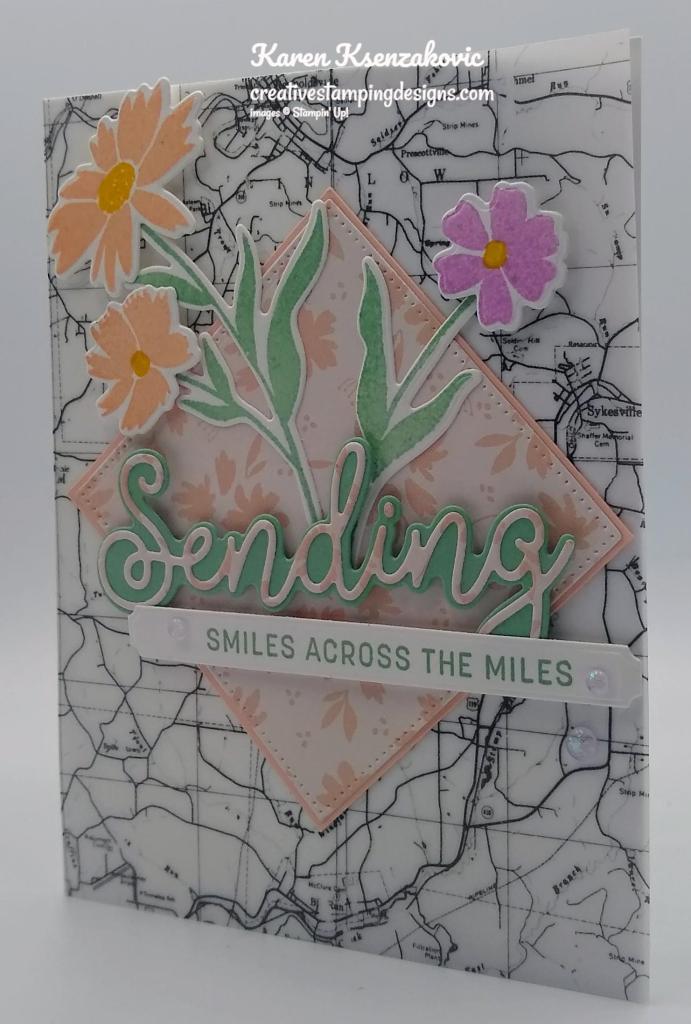
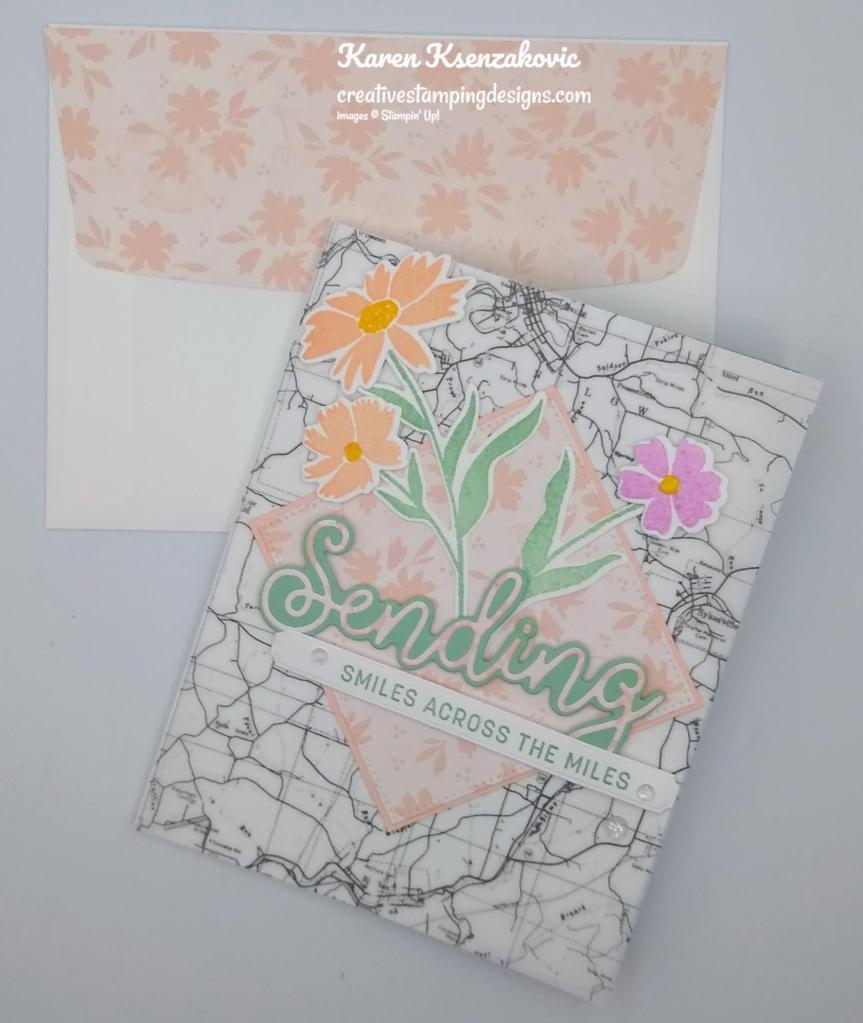
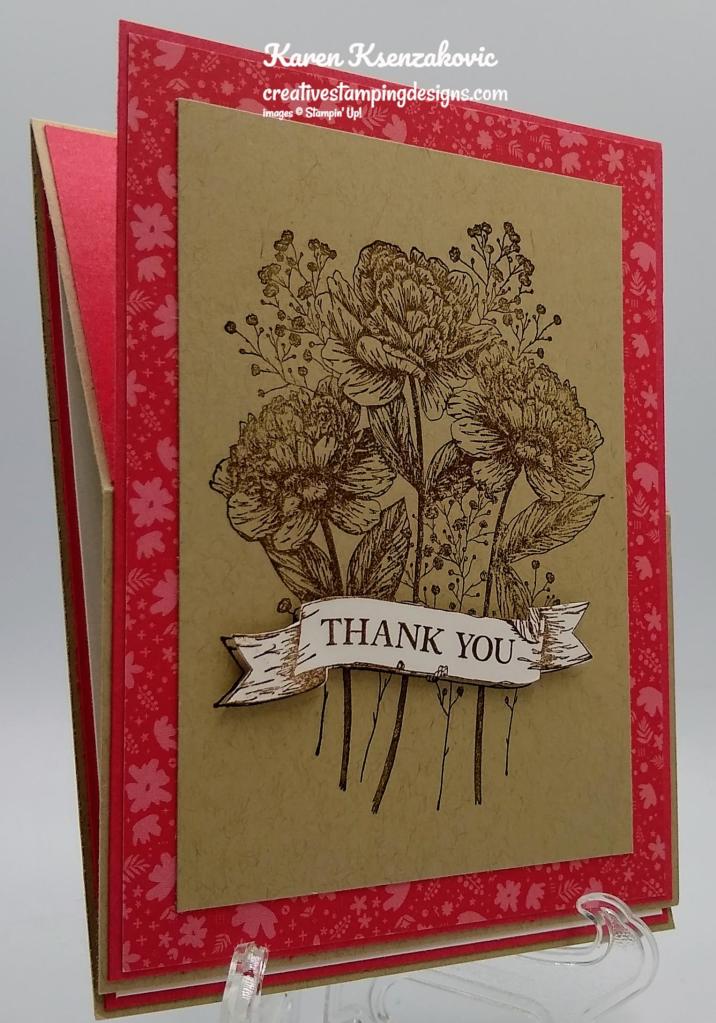
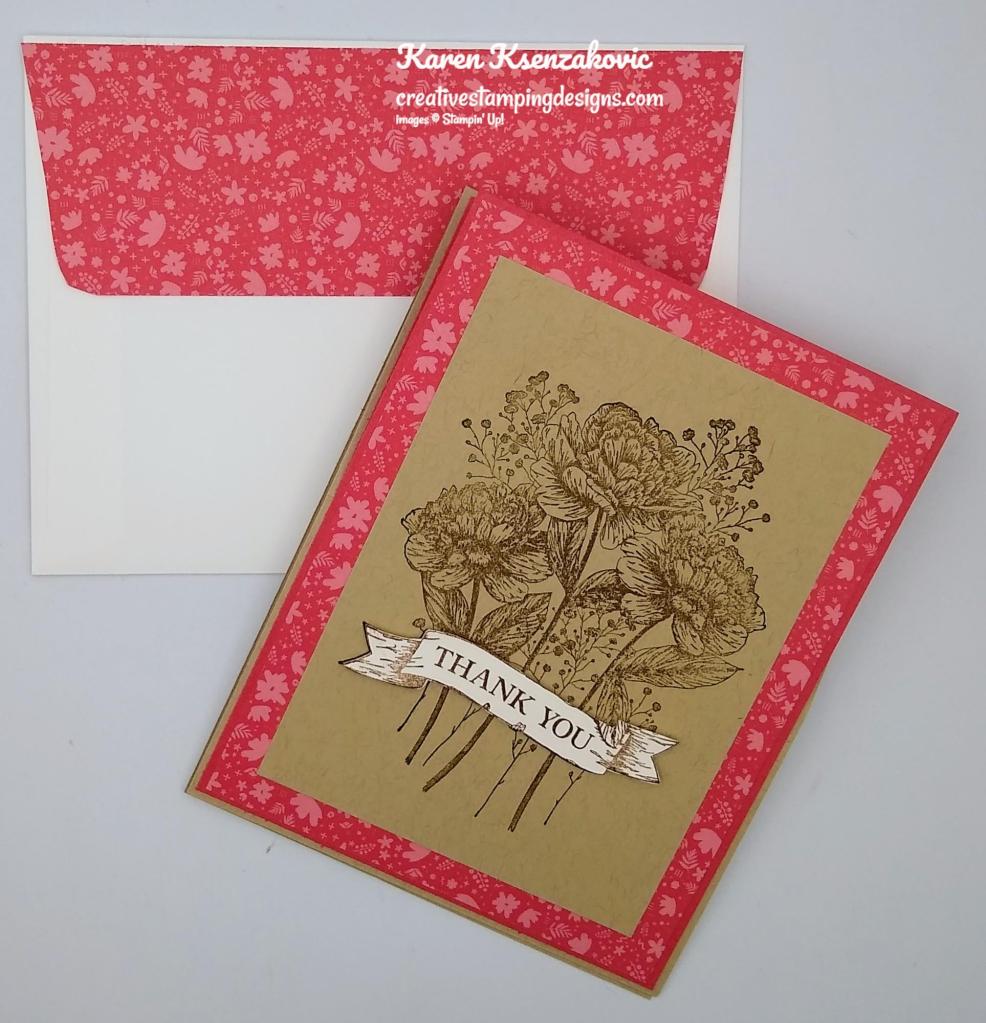
Today’s card I made on my Facebook Live video on Wednesday. If you were able to join me or watched the replay, thank you. If you’d like to watch my video and stamp along, the measurements are below along with the links to my Facebook page and my YouTube channel. Here is my card for today.
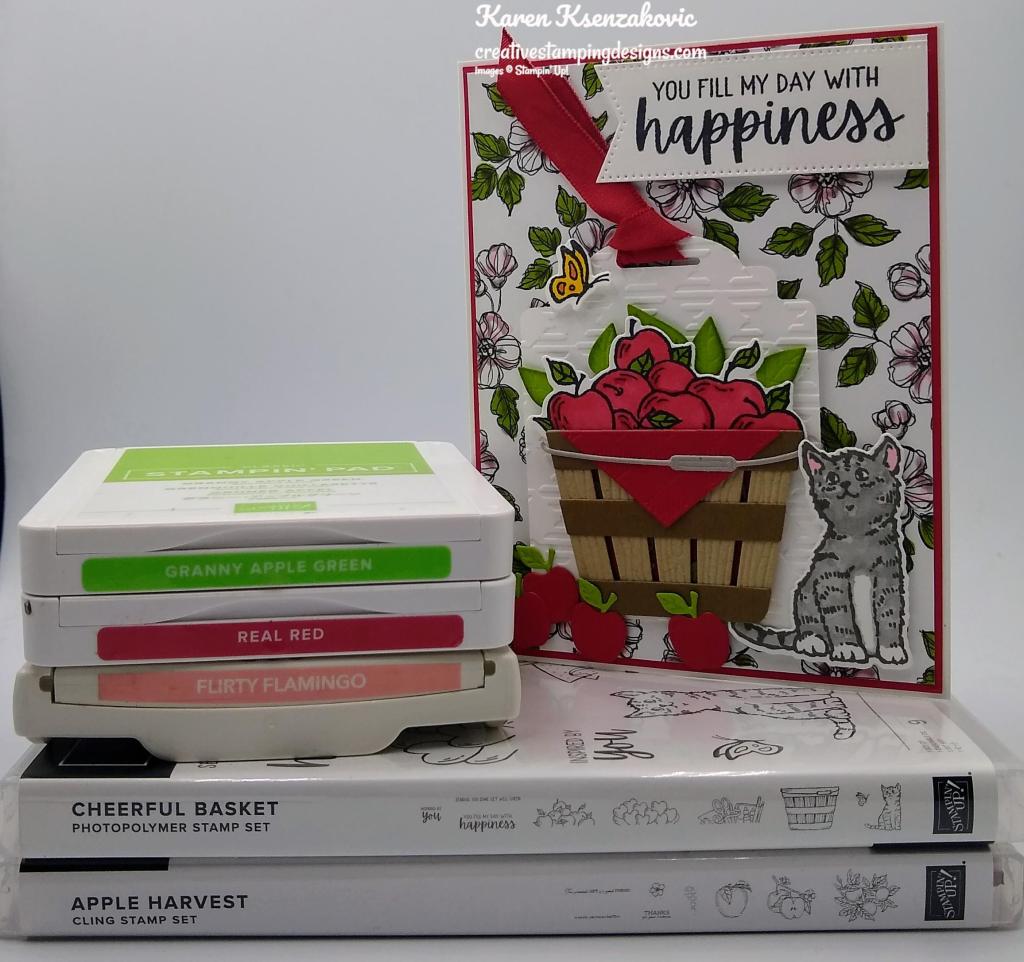
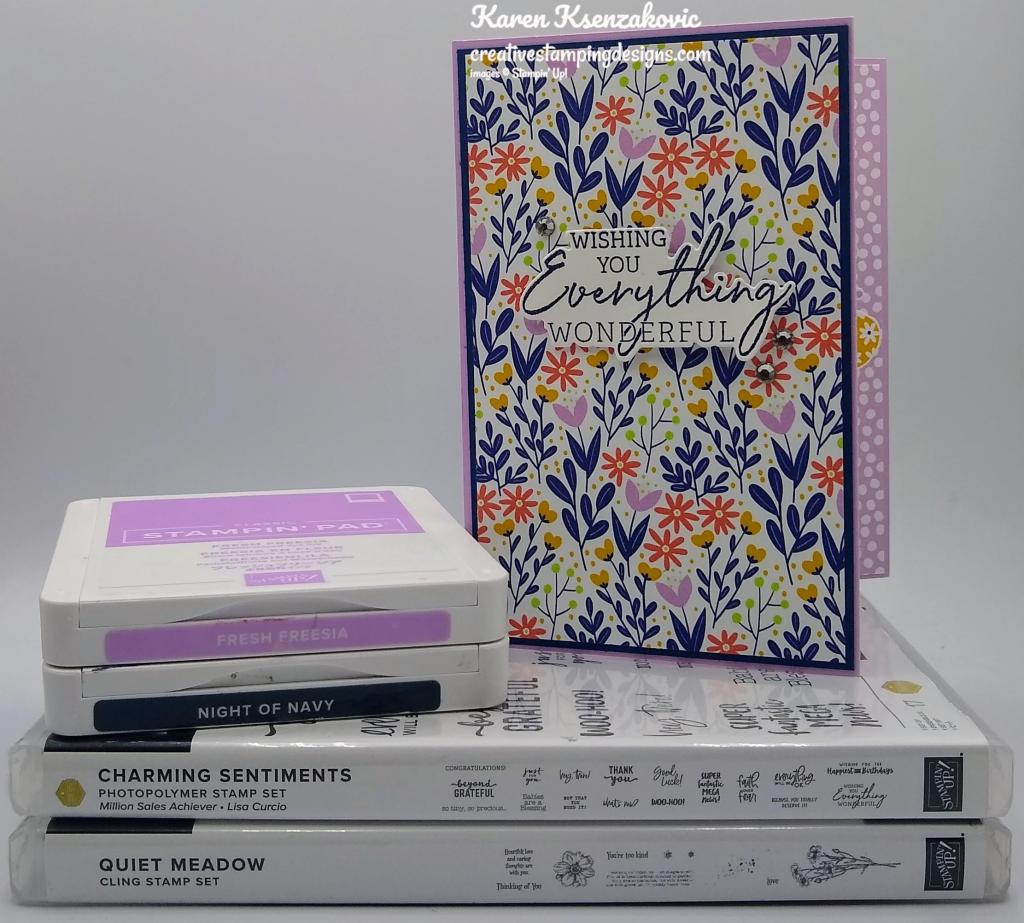
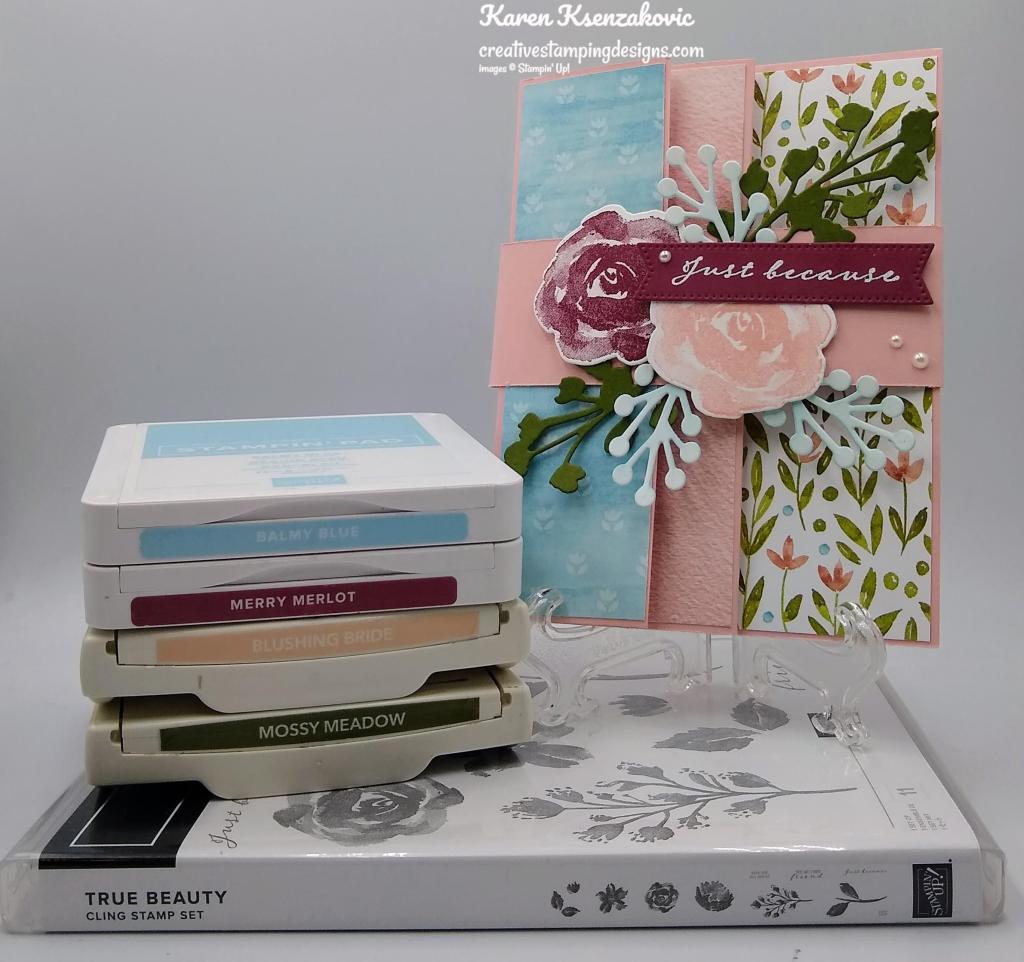
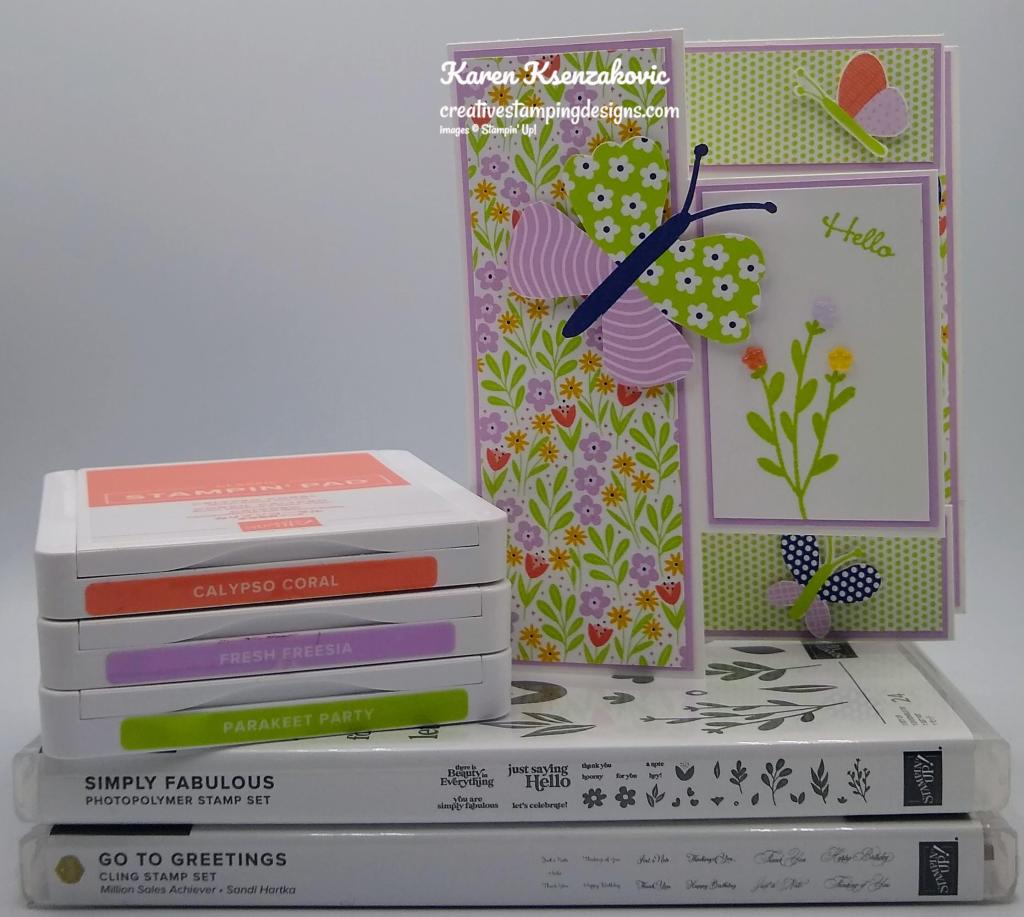
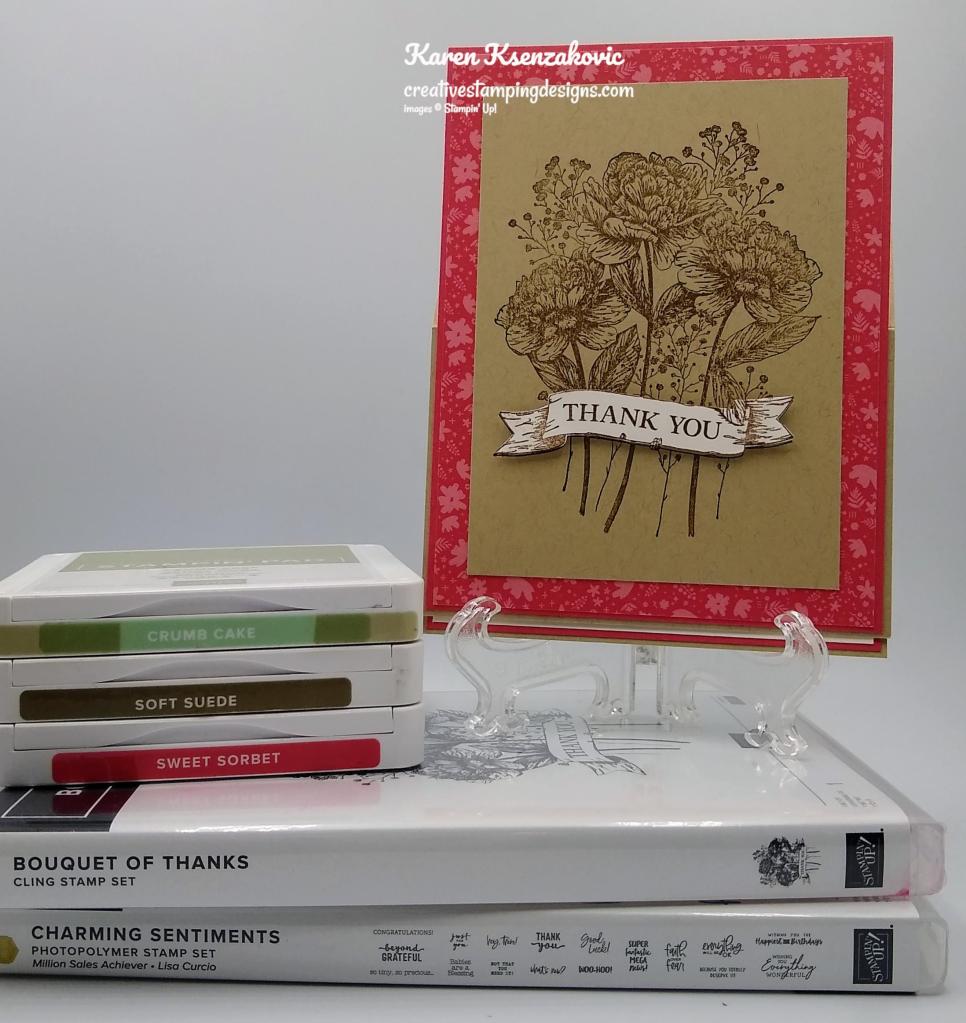
I used the Stampin’ Up! Cheerful Basket Bundle along with the Stampin’ Up! Apple Harvest Cling Stamp Set and the Perfectly Penciled Designer Series Paper for my card today.
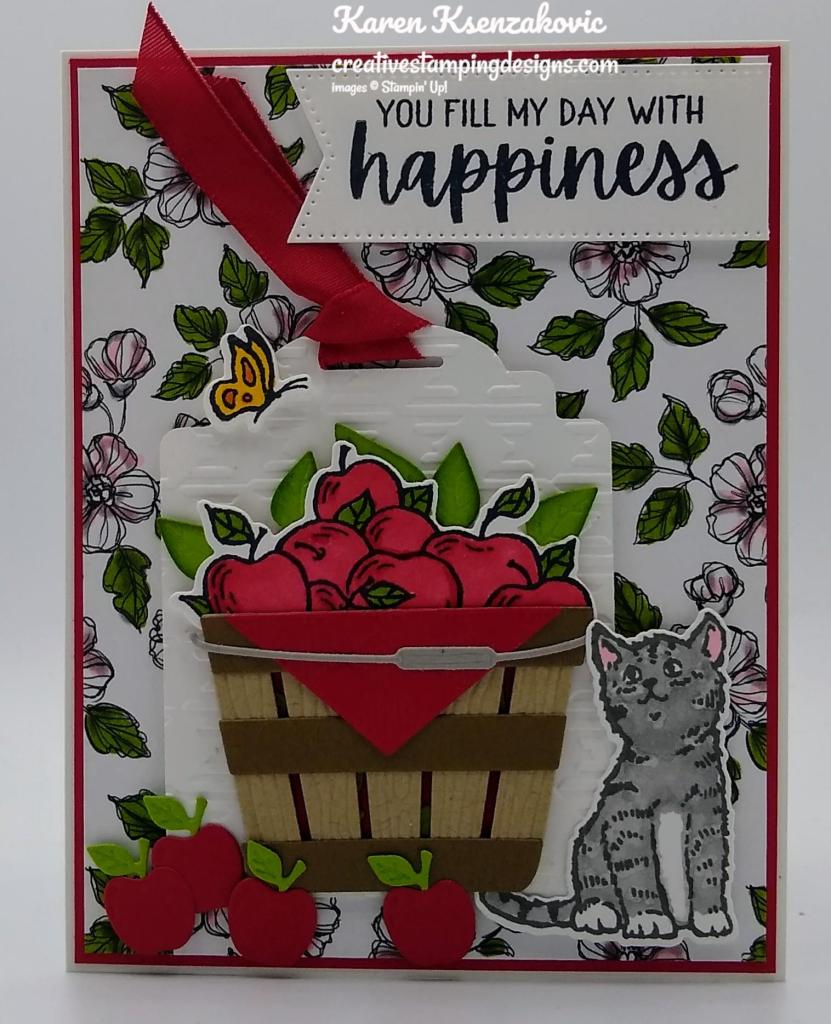
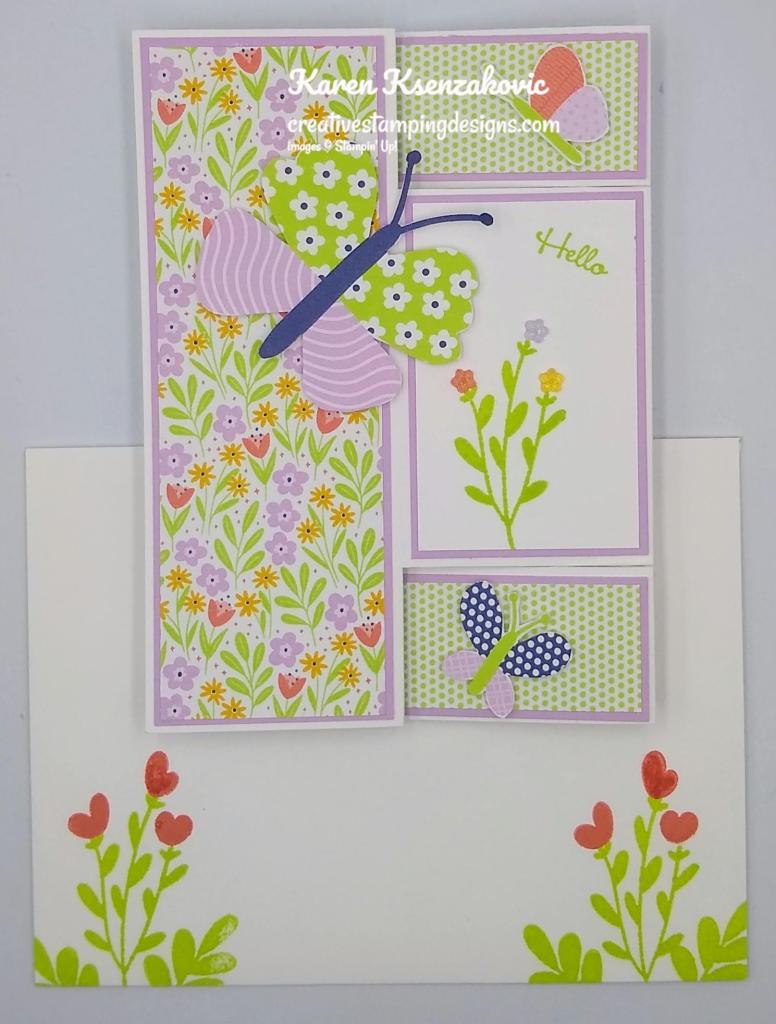
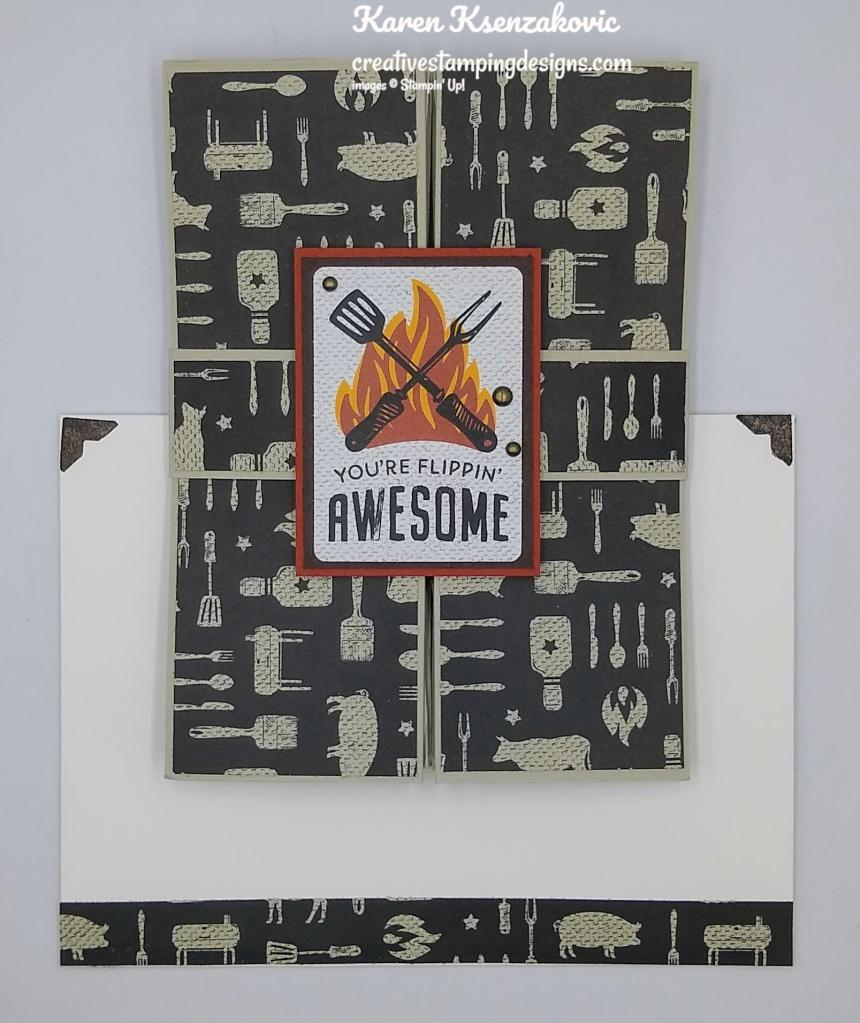
I started by coloring a panel of Perfectly Penciled DSP using my Flirty Flamingo and Granny Apple Green Stampin’ Blends Markers. I adhered the panel to a Real Red mat and then to a Basic White Thick card base. On a panel of Basic White cardstock I stamped the sentiment, the apple, the cat and the butterfly images from the Stampin’ Up! Cheerful Basket Photopolymer Stamp Set in Tuxedo Black Ink. I colored the images in using my Daffodil Delight, Flirty Flamingo, Granny Apple Green, Real Red and Smoky Slate Stampin’ Blends Markers. I cut all the images out using my Full Basket Dies.
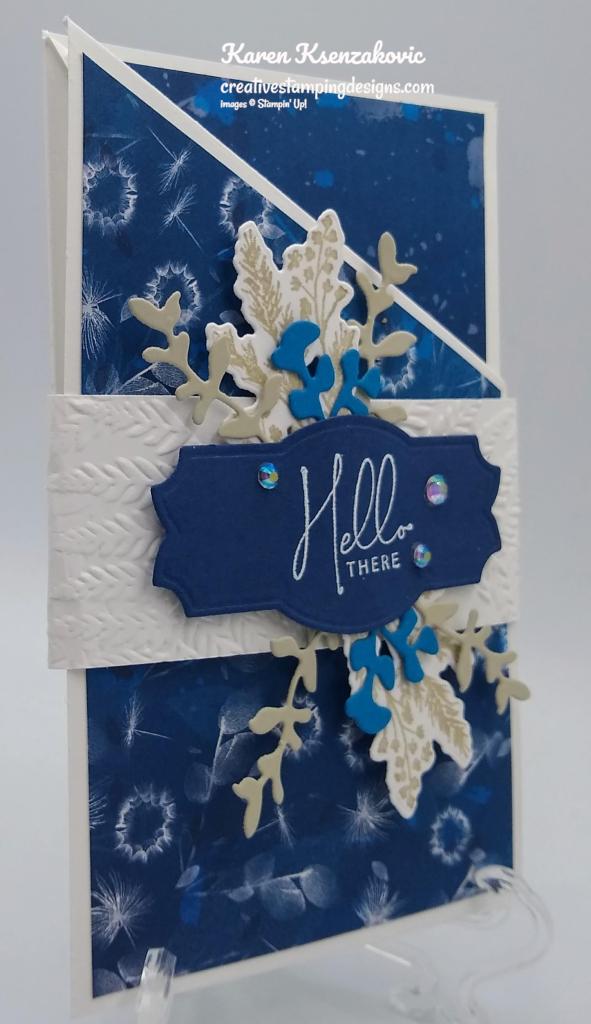
I cut the largest tag die from the Designer Tags Dies from a panel of Basic White cardstock. I cut one end of the tag off using my Paper Snips and embossed the tag using the Gingham Embossing Folder. Using my Full Basket Dies, I cut the detailed basket from a panel of Crumb Cake cardstock, the basket bands from Soft Suede cardstock, the leaves from Granny Apple Green Cardstock, the handle from Smoky Slate cardstock and the solid basket, napkin and apples from Real Red cardstock. I adhered the solid red basket behind the detailed basket using Stampin’ Dimensionals and trimmed the excess using my Paper Snips. I adhered the colored apples to the basket using Multipurpose Liquid Glue to the back of the basket. I adhered the basket to the embossed tag. I threaded a piece of Real Red ribbon from the Real Red & Garden Green 3/8″ Ribbon Combo Pack through the tag and tied it off. I adhered the tag to the card front using Stampin’ Dimensionals.
I adhered the cat next to the basket using Stampin’ Dimensionals. I adhered the butterfly to the top of the tag and the extra apples to the bottom of the card front. I cut the sentiment using my Stylish Shapes Dies and adhered it to the top of the card front using Stampin’ Dimensionals.
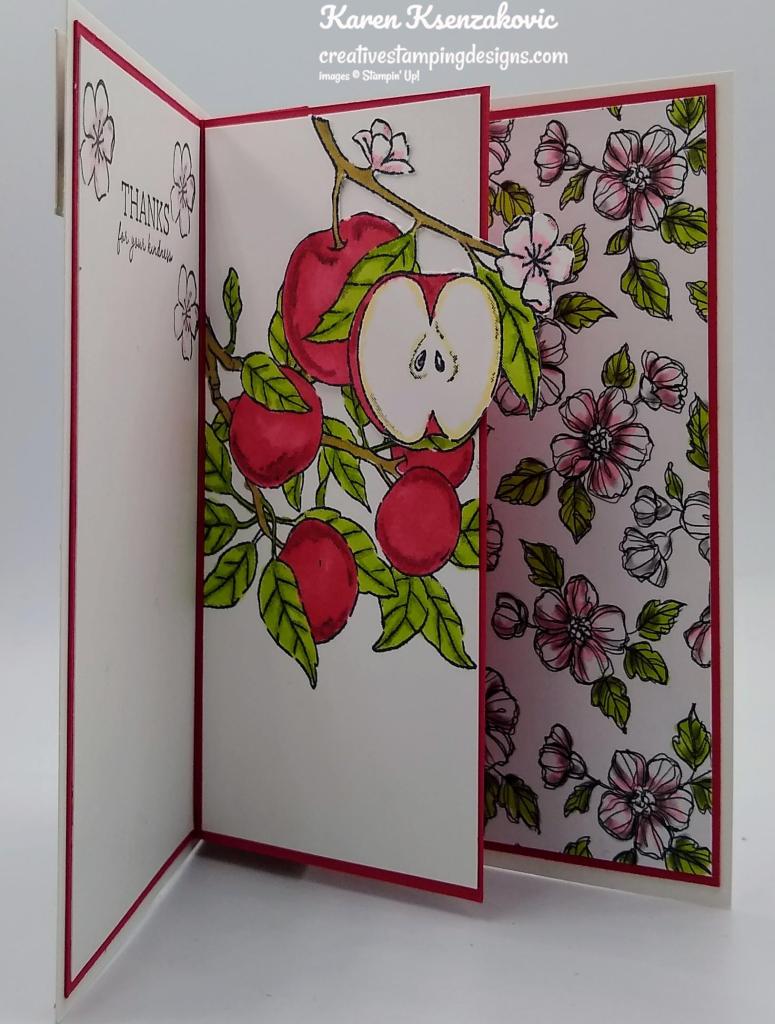
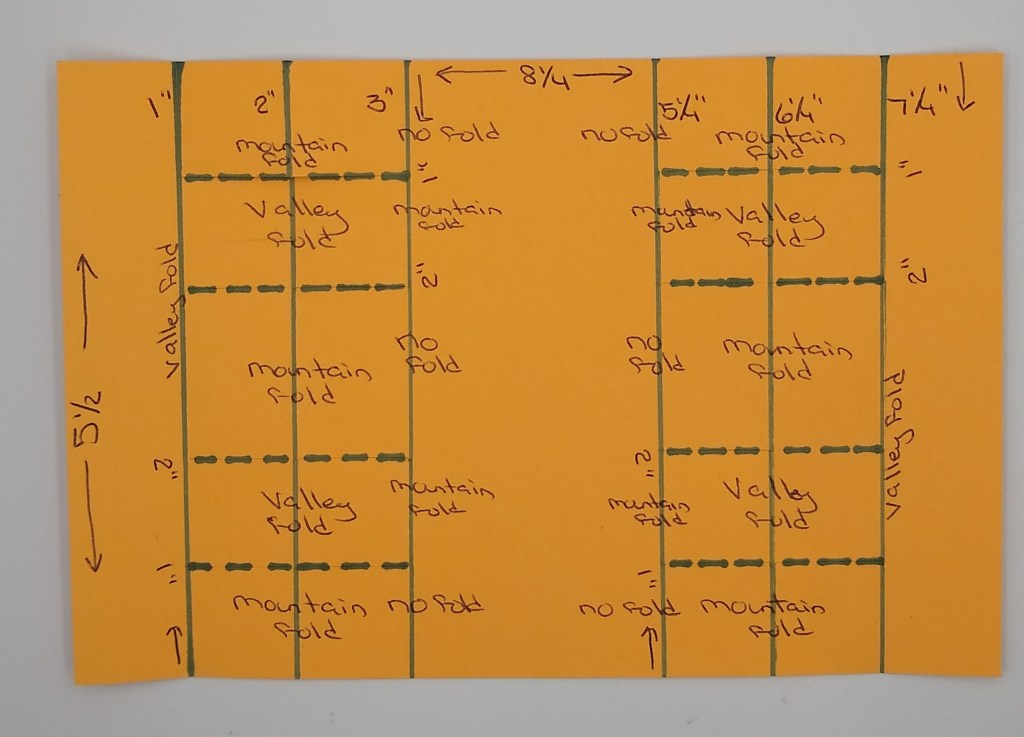
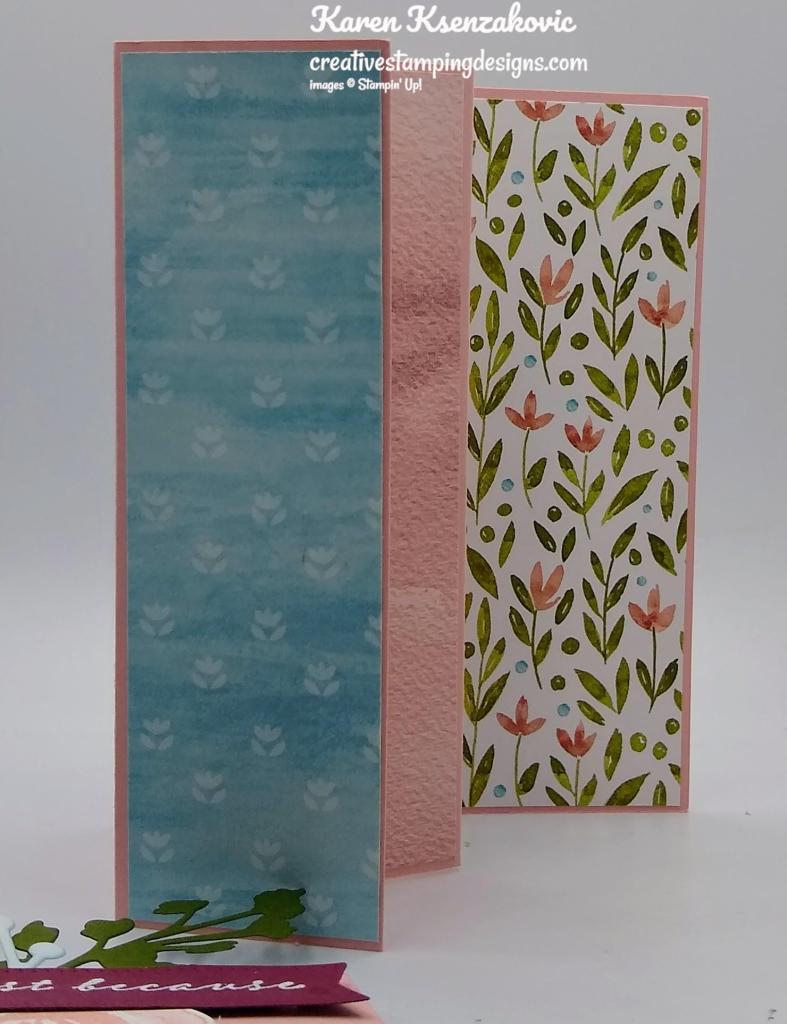
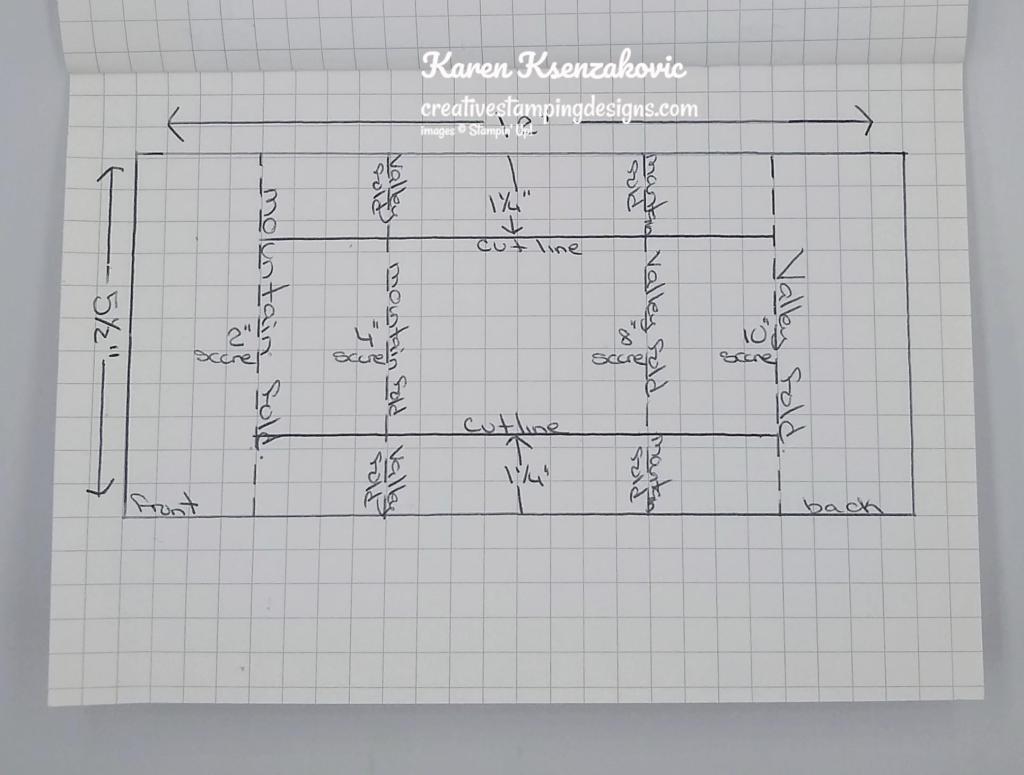
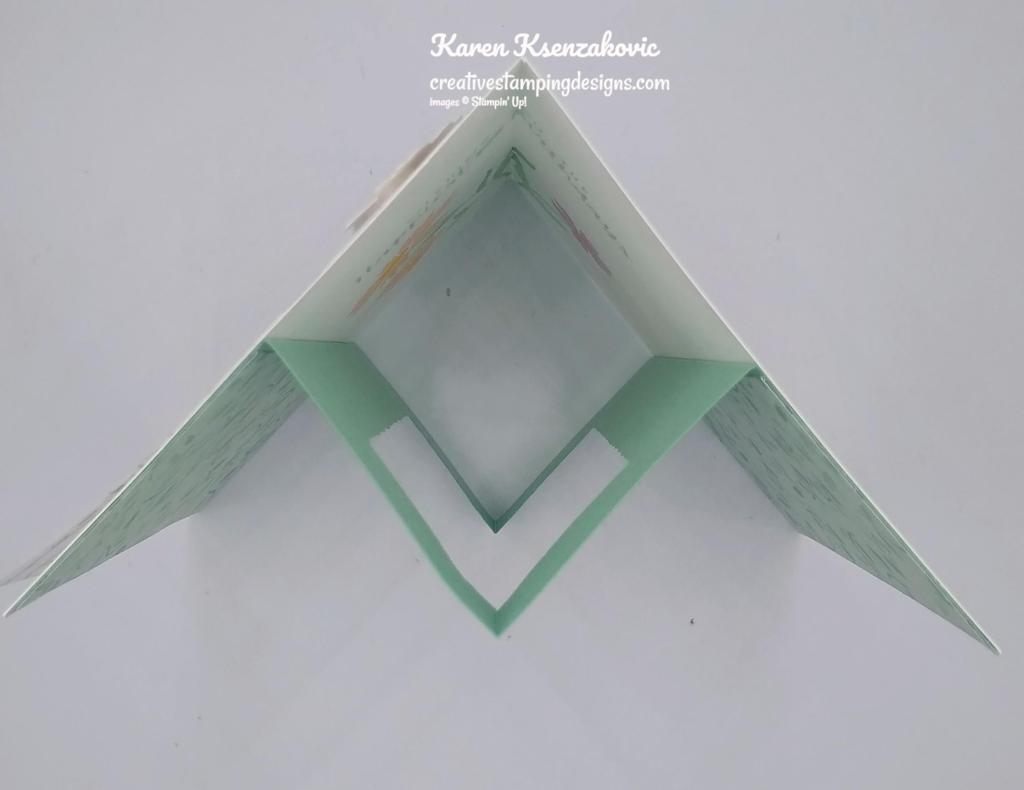
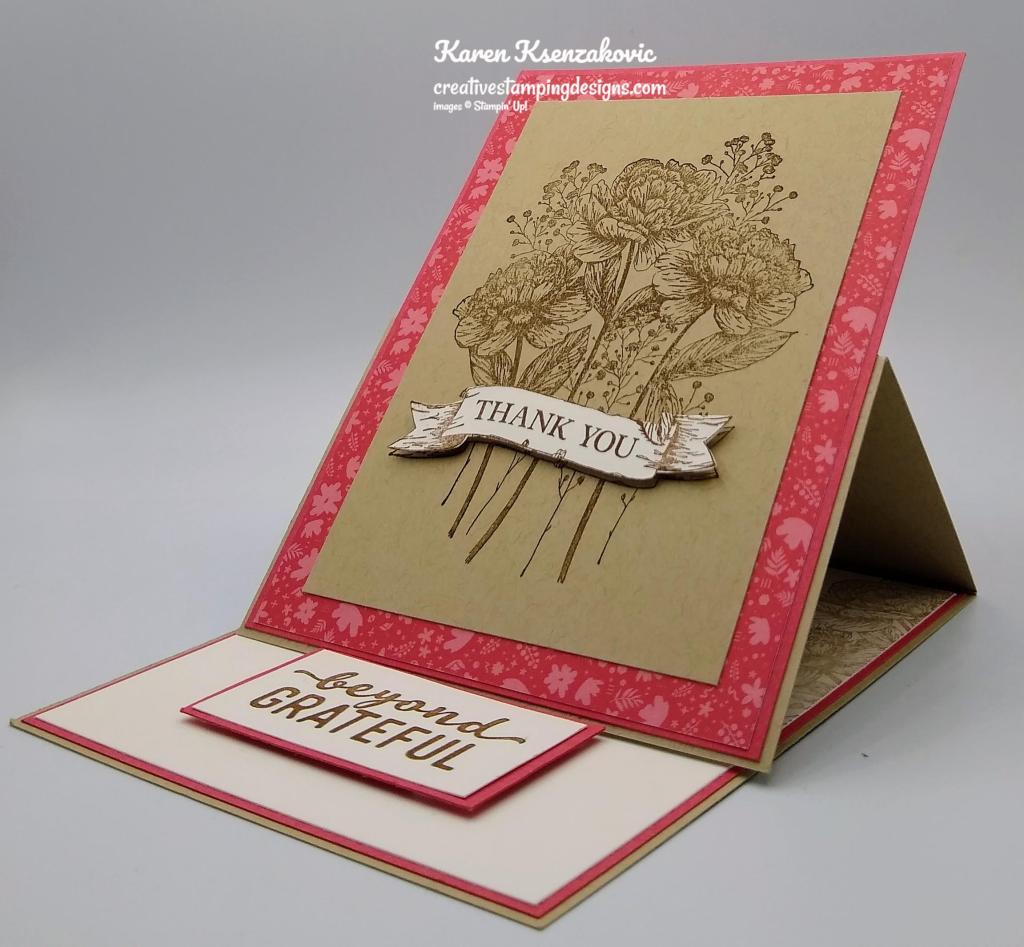
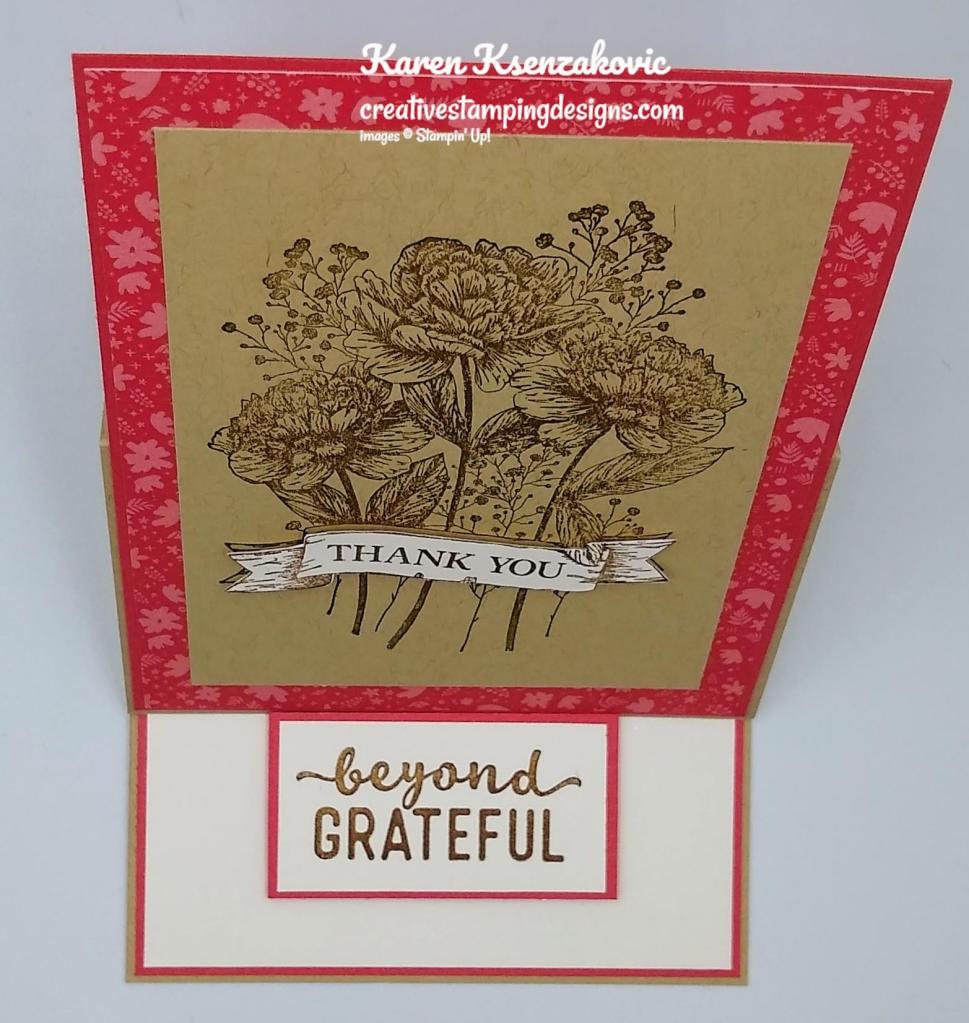
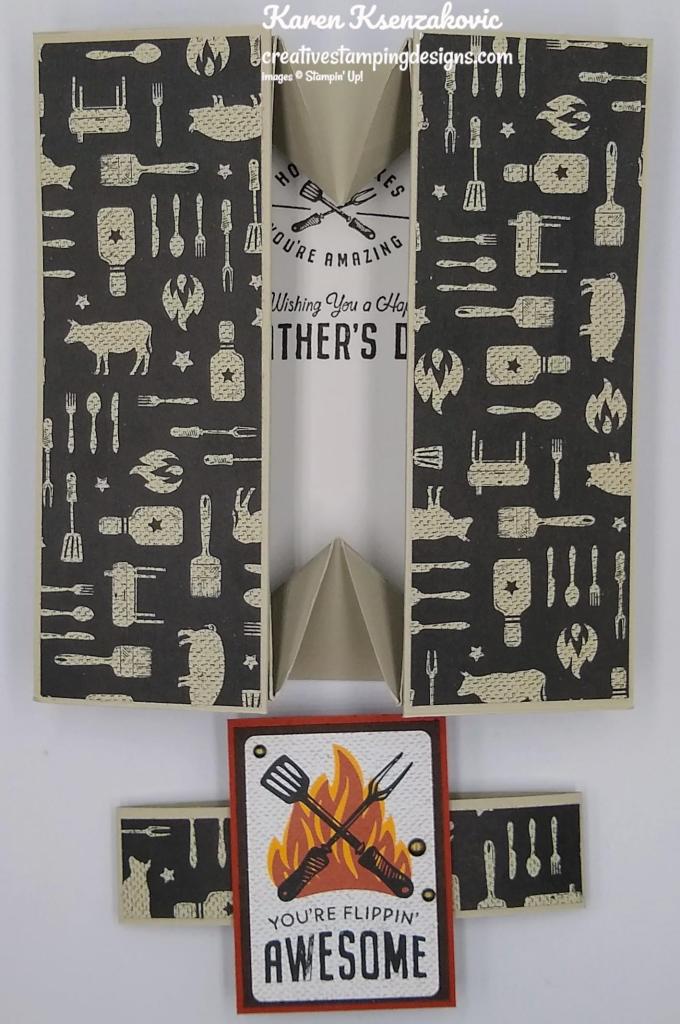
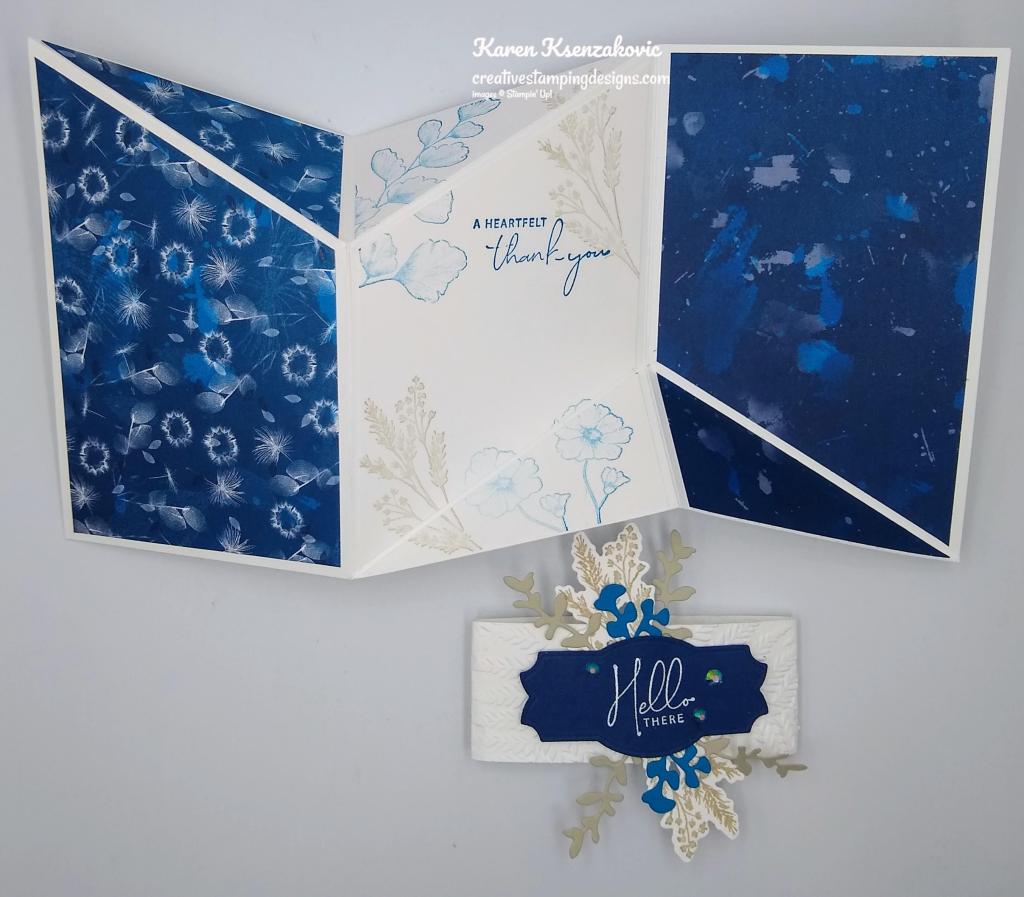
This next part is much easier to understand if you watch the video or my Instagram Reel. On the I folded the 5 1/8″ x 5 1/4″ panel of Real Red cardstock on the 1″ & 2″ score lines. I folded the 5 3/8″ X 5 1/4″ panel of Real Red cardstock on the 3 1/8″ score line. I adhered the 1″fold to the back of the 3 1/8″ fold using Multipurpose Liquid Glue. I adhered the folded panel to the inside of the Basic White Thick card base using Multipurpose Liquid Glue.
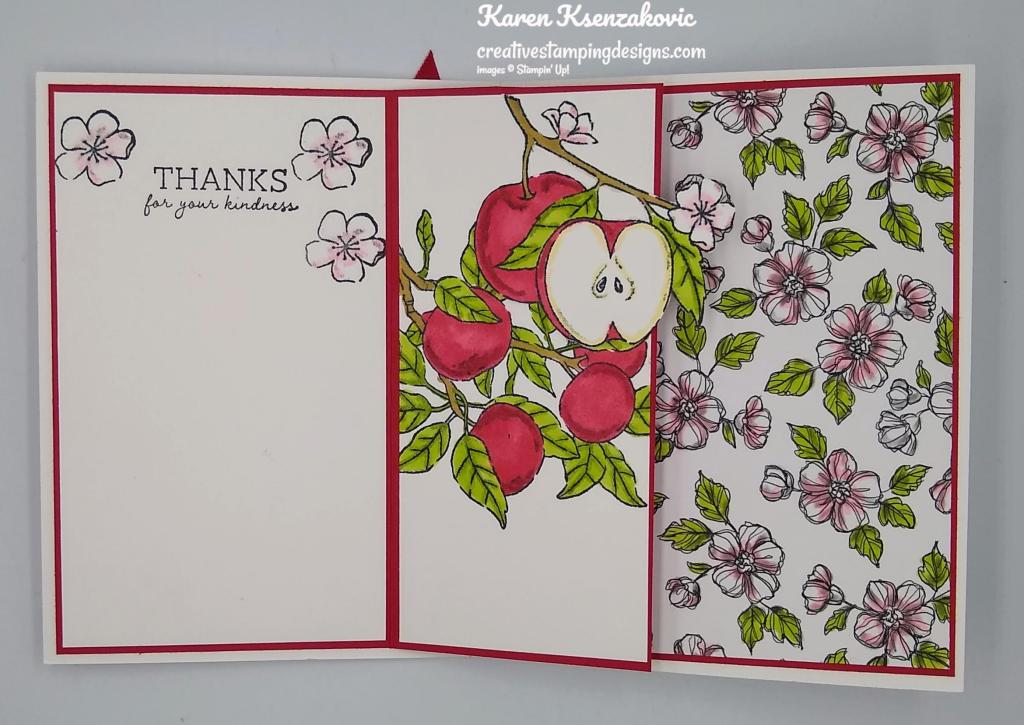
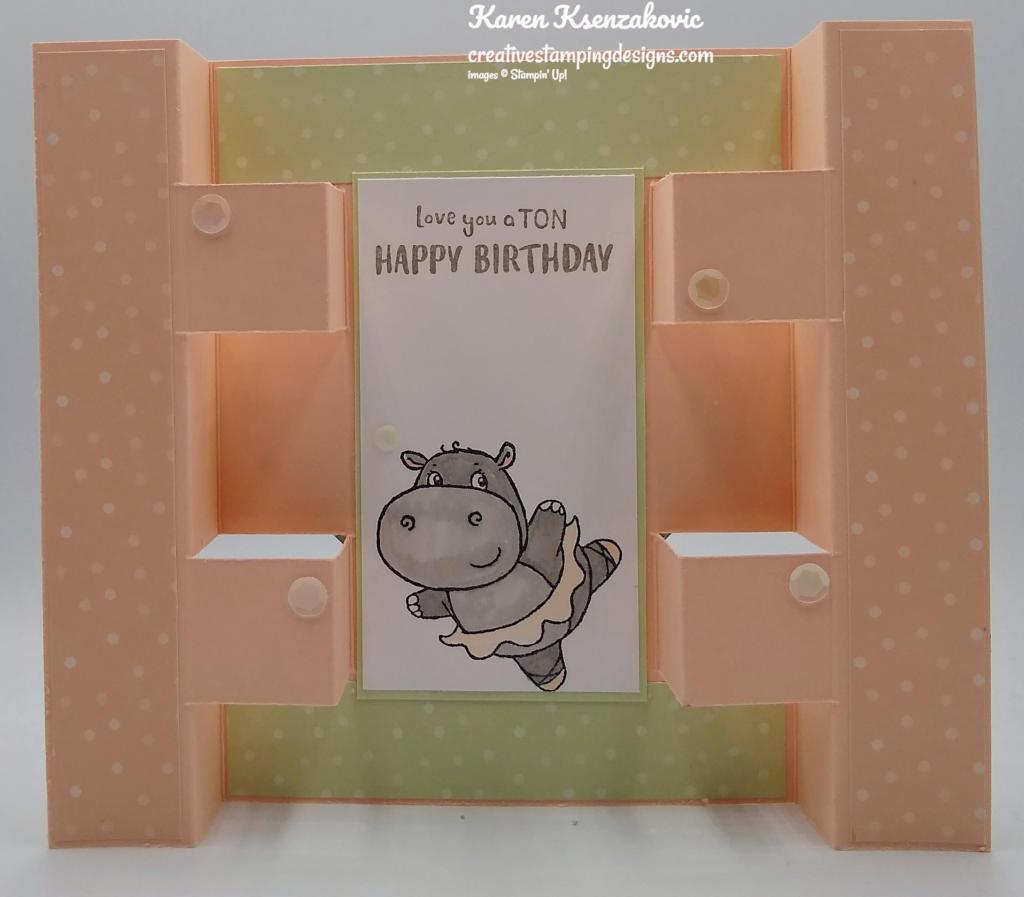
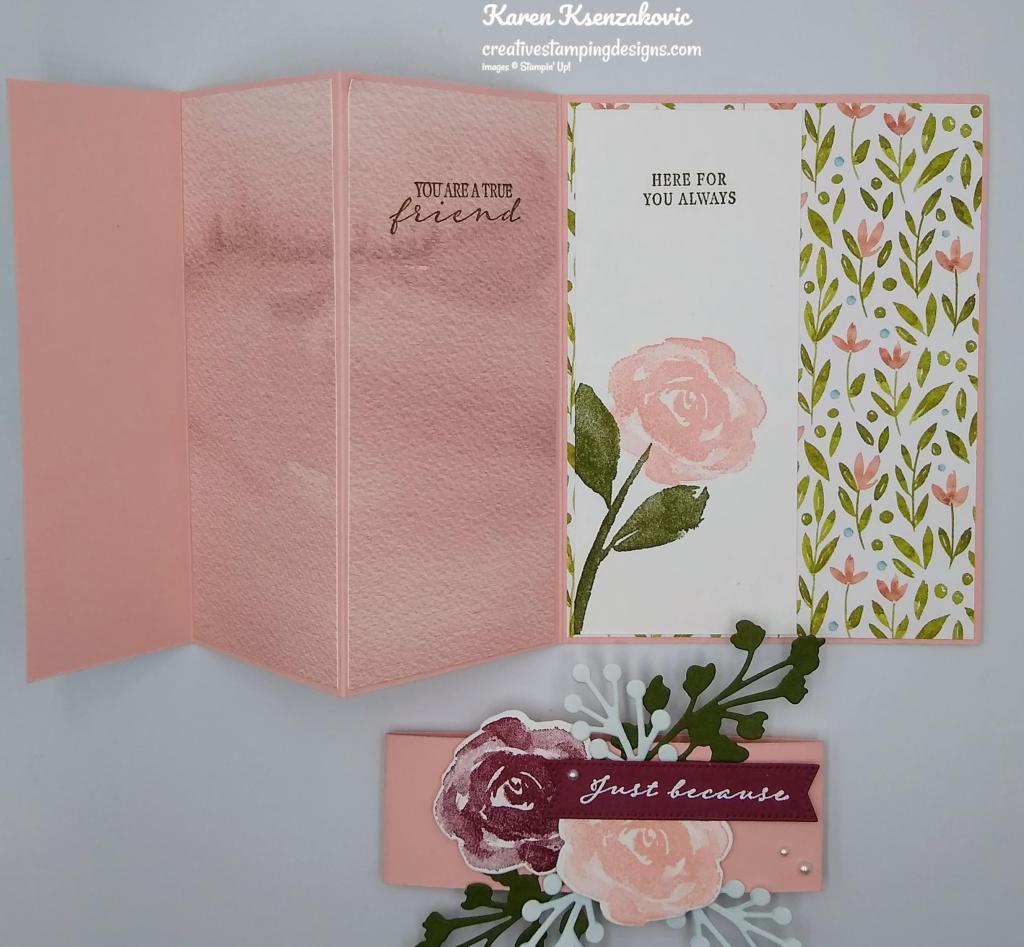
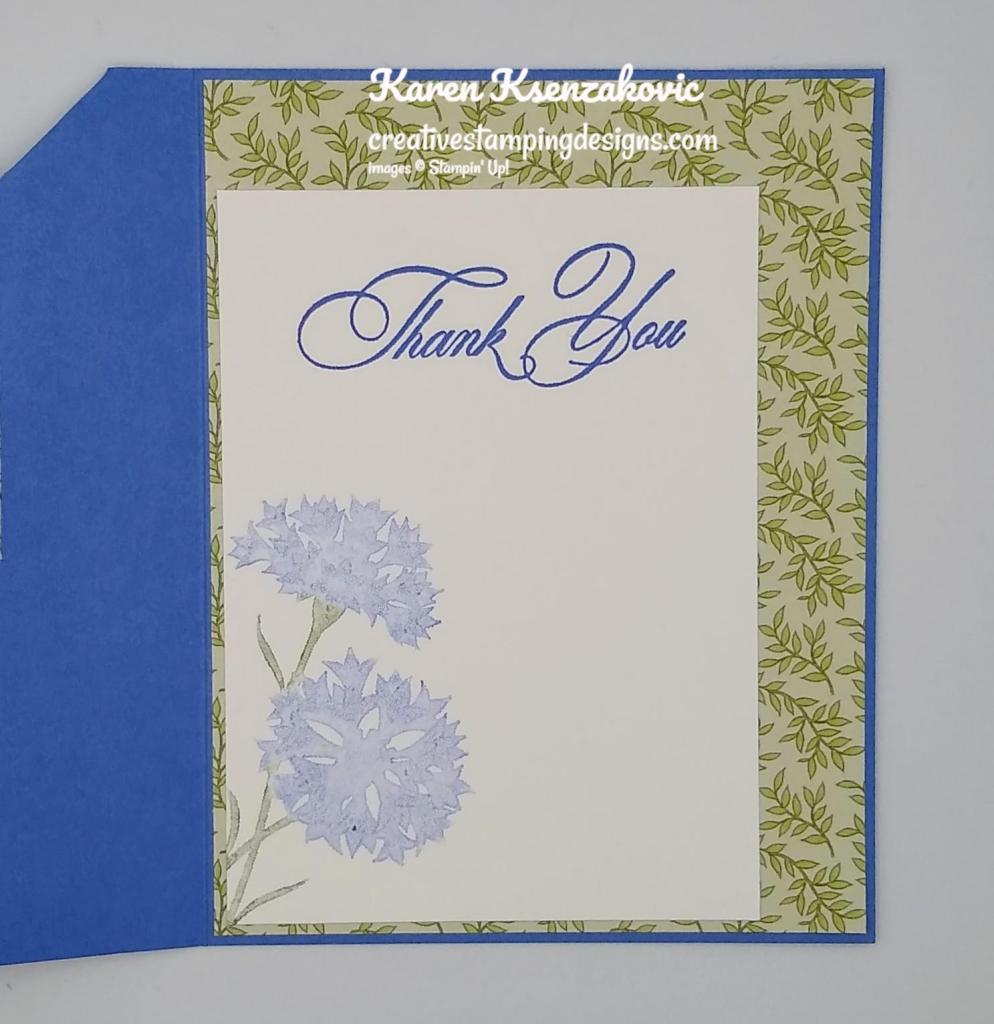
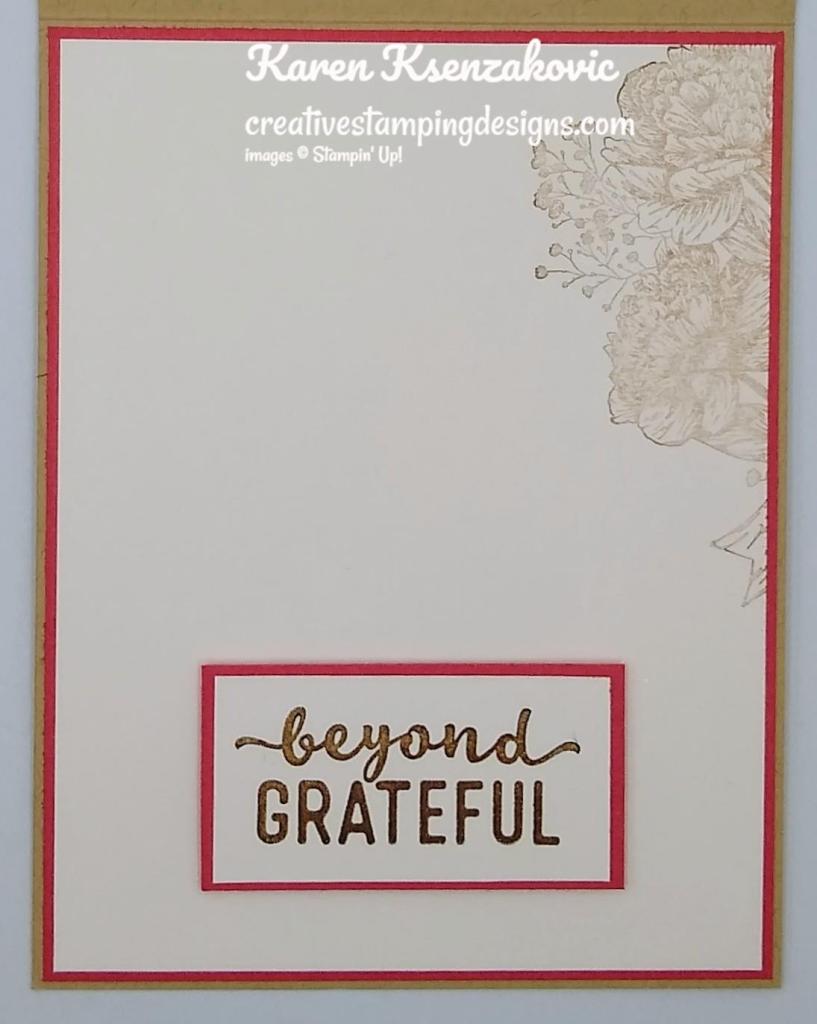
I adhered a colored panel of Perfectly Penciled DSP to the right inside of the card base. On a 2 3/8″ x 5 1/8″ panel of Basic White cardstock, I stamped the small apple branch from the Apple Harvest stamp set in Tuxedo Black Ink. I colored the image using my Granny Apple Green, Real Red and Soft Suede Stampin’ Blends Markers. I adhered the panel to the center of the inner liner. On a panel of Basic White cardstock, I stamped the large apple branch image from the Apple Harvest stamp set in Tuxedo Black Ink. I colored the image using my Flirty Flamingo, Granny Apple Green, Real Red and Soft Suede Stampin’ Blends Markers. I fussy cut the image using my Paper Snips (the dies for this stamp set will be available Sept 1st). I adhered the cut image to the center panel so that it would overhang. On the 3″ X 5 1/8″ panel of Basic White cardstock, I stamped the sentiment and the small flower image from the Apple Harvest stamp set in Tuxedo Black Ink. I colored the flower using my Flirty Flamingo Stampin’ Blends Markers. I adhered the panel to the left side of the inner liner.
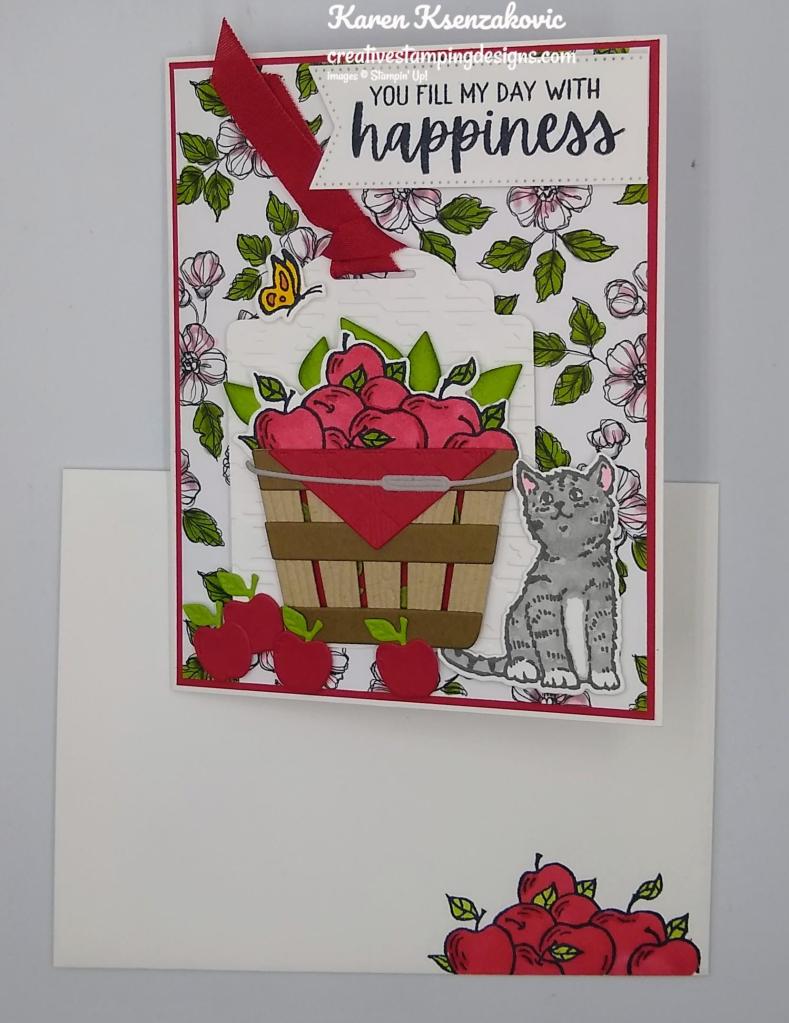
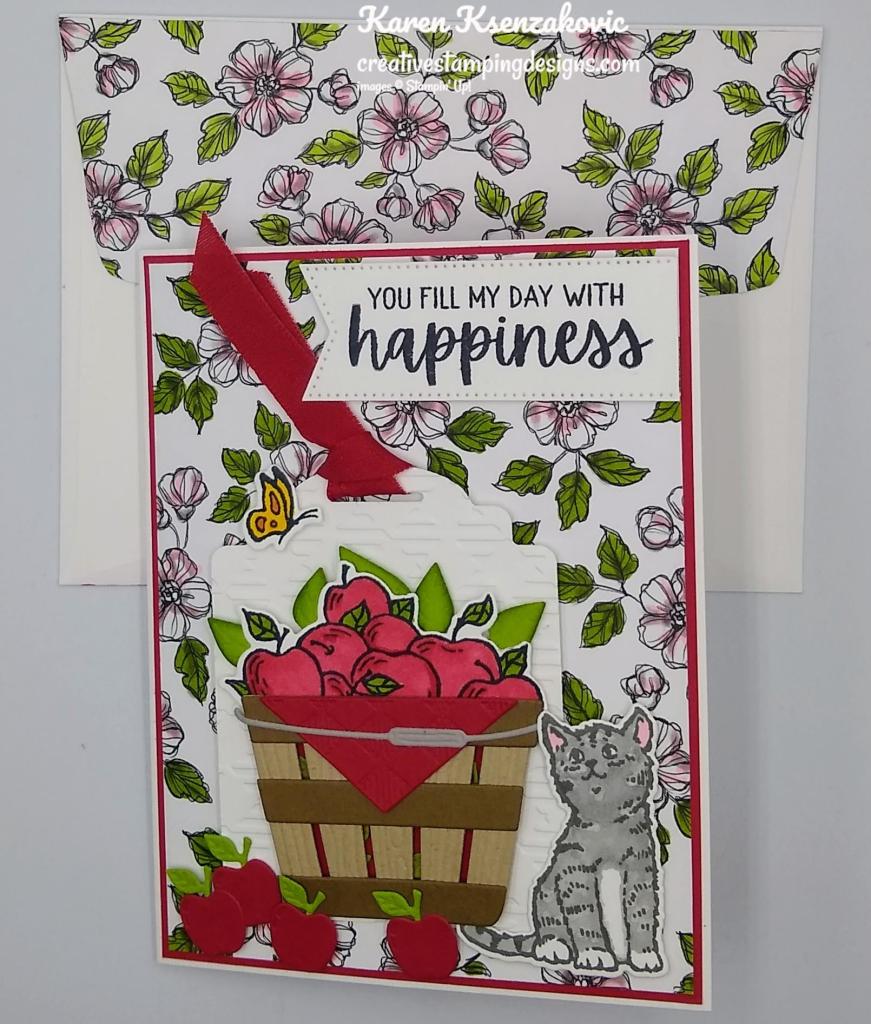
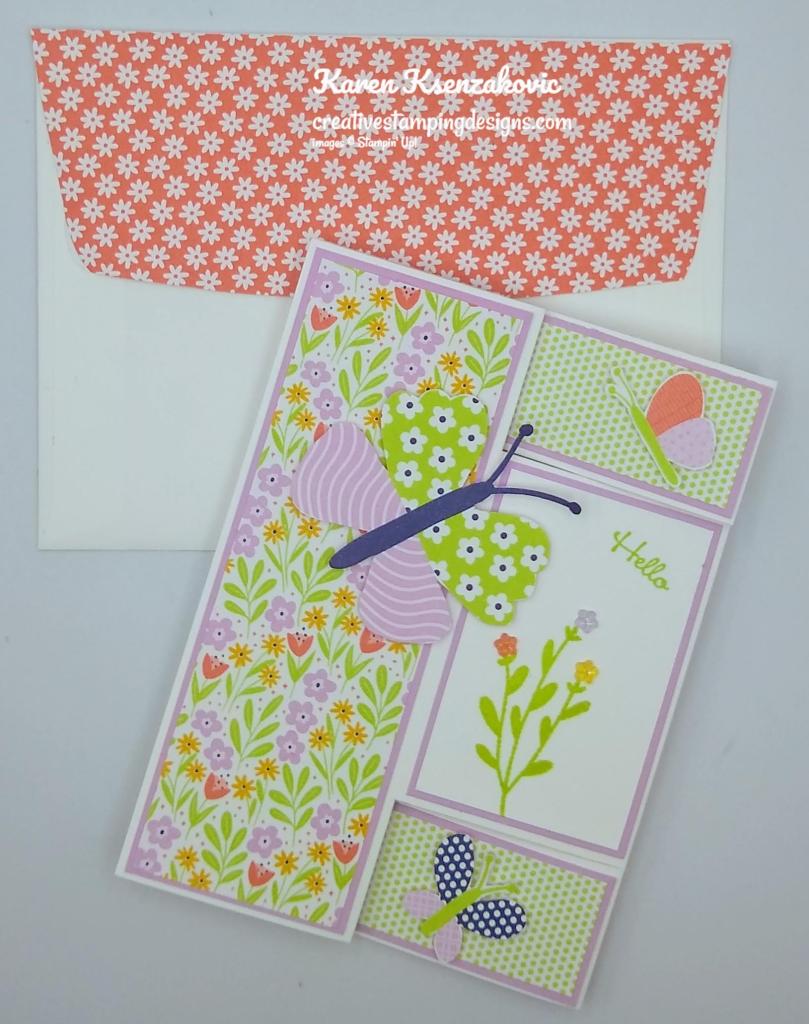
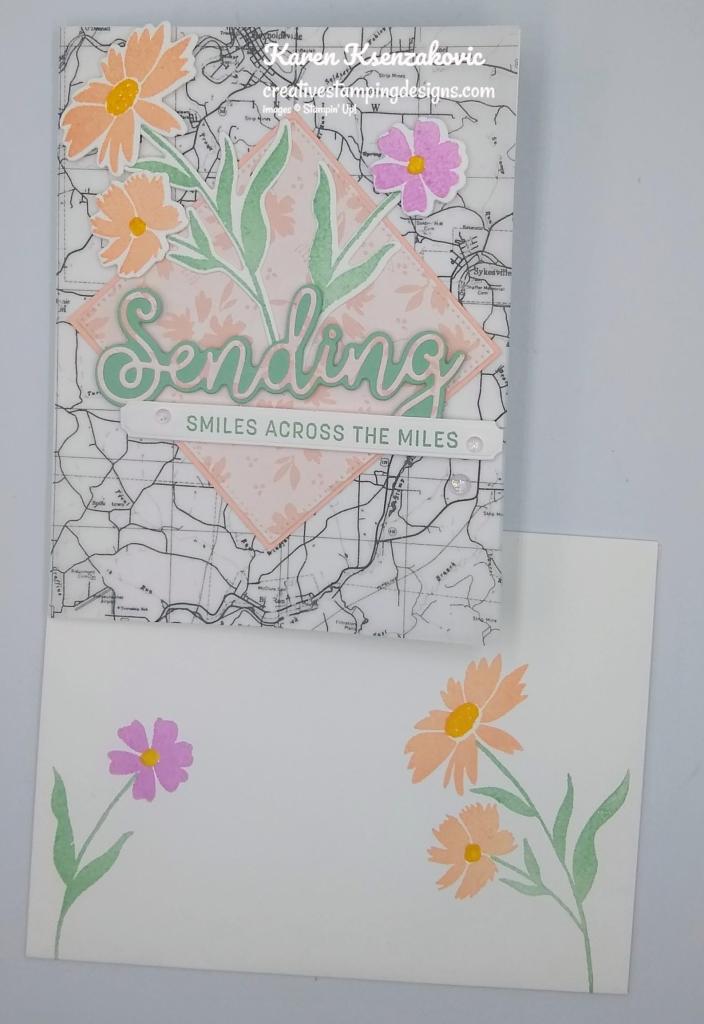
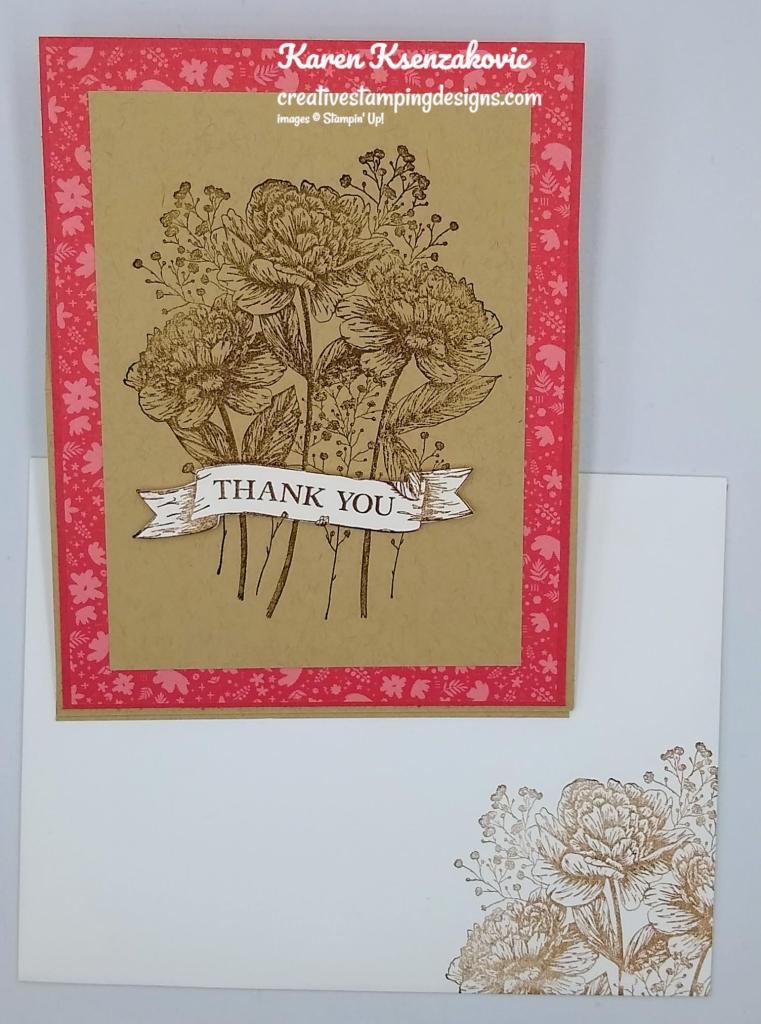
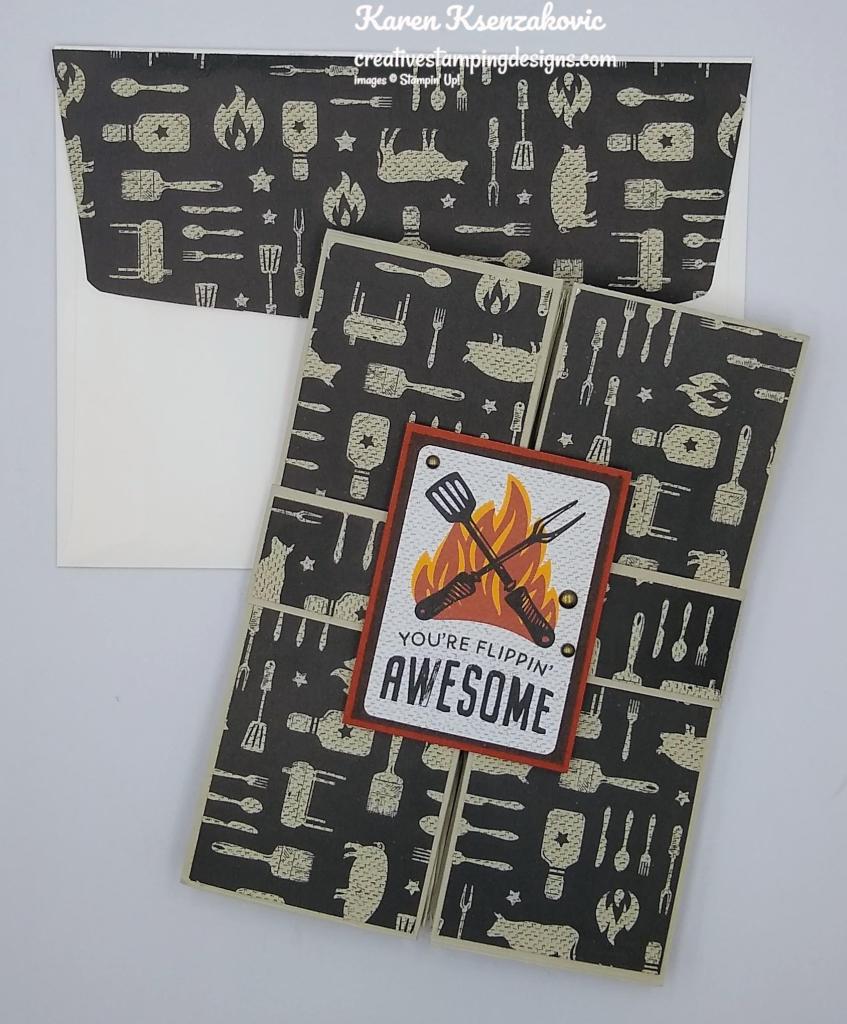
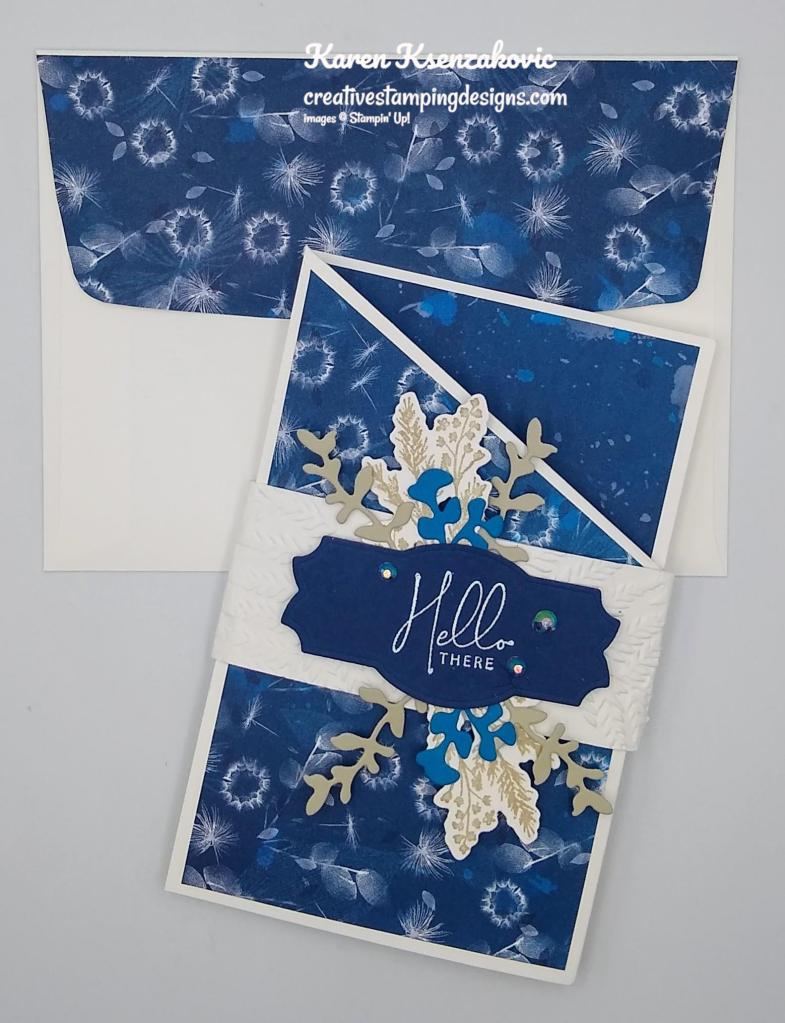
To finish my card, I decorated a Basic White Medium Envelope. I stamped the apple image from the Cheerful Basket stamp set in Tuxedo Black Ink on the envelope front. I colored the image using my Granny Apple Green and Real Red Stampin’ Blends Markers. I adhered a colored panel of Perfectly Penciled DSP to the envelope flap.
Thank you for stopping by my blog today. I hope you liked my card and will give it a try. I hope you will CASE this card and please feel free to post it in the comments of my Facebook page under my post. I’d love to see your take on the card. The list of measurements are below if you’d like to stamp along while watching the video. You can watch my video on my Facebook page Here.
You can also view the video on my YouTube channel Here. If you watch this on my YouTube channel, please remember to subscribe so that you will get notified when a new video goes live. Happy Stamping!!
*********************************************************************************************************
If you need any stamping supplies, I’d love to be your Demonstrator. Just click HERE to go directly to my online store or drop me an email if you have any questions.
MY CURRENT HOST CODE IS: QY4S2TZX
Use this host code when placing an order with me. When you order $50 or greater you will receive a free gift from me! If your order is over $150, please do not use this code, but you’ll still get the free gift. The free gift is your choice of any 1 item valued up to $10.00 from the 2021-2022 Annual Catalog or the January – June 2022 Mini Catalog! For any orders $50 or more I will also send you my monthly class tutorials. Click HERE or go to my Customer Rewards for more details and to see what this month’s tutorials are.
Please remember to use my current Host Code and make sure that you can see my name on the final checkout page listed as your Demonstrator when you order so that you know that you’re ordering with me and you’ll get my rewards!
Happy Stamping, Karen
*********************************************************************************************************
Coming Soon!!! Starting September 1, 2022

Some things are great on their own but become epic when they are paired with something else: cereal and milk, toast and butter, Fred Astaire and Ginger Rogers. We may be biased, but our favorite combo is our stamp sets and dies—and that’s what the Perfect Partners promotion is all about!
We created six new dies that coordinate with stamp sets in the 2022–2023 Annual Catalog and the July–December 2022 Mini Catalog. These coordinating dies will only be available during this promotion and will not be offered in any catalog.
These stamp sets and dies are available separately or as a bundle. By buying the bundle, you and your customers will save 10% off the retail price.
Put these wonderful stamp sets and dies together for more papercrafting fun!
Interested in Being Able to Order Them Now? Join My Team!!
Being a demonstrator, you are able to order products ahead of customers. You get to attend the Stampin’ Up! events and be a part of an awesome team and community. There is no obligation to sell or blog, you can join as a Hobby Demonstrator just to enjoy the discount. For just $99 you get to pick $125 in product of your choice. Stampin’ Up! includes a past Paper Pumpkin Kit along with some business items in case you want to make it a business. This all ships for FREE. After that all your future orders you get to enjoy a 20% discount. Ask me how!!

If you join during Sale-a-bration you will receive this awesome Making Plans Collection absolutely free. It includes a July 2022-December 2023 Making Plans Planner including an 8″ X 9 1/2″ Faux Leather Carrying Case, 5 1/2″ X 8 1/2″ Planer Pages, Monthly Divider Pages and Sticker Sheets. It also includes 3 – Creative Journals that are 5 3/4″ X 8″ and a Making Plans Photopolymer Stamp Set. Contact me for more information at creativestampingdesigns@gmail.com. I’d love to have you on my team. You can join as a hobby demonstrator just to enjoy the discount for yourself. No obligations to sell, hold classes or have a blog.
*********************************************************************************************************
New Sale-a-bration Items Added
Stampin’ Up! has added some additional items that you can earn for FREE with orders beginning at $50 during Sale-a-bration! You can see the new items Here. There are some really great new items to pick from! You’ll see them added to the list of options that you can pick for free with orders of $50+ as you go through the checkout process. Let me know if you have any questions. Happy Shopping!
*********************************************************************************************************
The Back To School Sales Tax Holiday is going on until August. For those of you living in Alabama, Arkansas, Florida, Illinois, Massachusetts, Mississippi, Missouri, New Jersey, New Mexico, Ohio, Puerto Rico, South Carolina, Tennessee, Texas, Virginia and West Virginia…you’ve got sales tax holidays coming up!! Be sure to check the list.
The good news is that some items in the Stampin’ Up! Catalogs qualify for the sales tax holidays! The list of sales tax holidays by state and items in that state that qualify Here on a printable PDF. Check it out to see when your state has the Sales Tax Holiday.
*********************************************************************************************************
Spooky Treats
Subscribe August 11 – September 10

Get your Halloween crafting on with the Spooky Treats Paper Pumpkin Kit. This month’s kit includes everything you need to make 18 absolutely adorable (and just the right amount of spooky) treat boxes—that’s 6 each of 3 unique designs! No need to let the season creep up on you; subscribe and order your kit today.
Plus, we’re putting the TREAT in trick-or-treat with a special GIVEAWAY on social media starting 5 September at 9:00am (MT)! Simply follow @PaperPumpkin on Instagram or the Paper Pumpkin page on Facebook, like either post, and mention three friends in the comments for your chance to win one of two personalized JBL speakers. You’ll have to be quick because the giveaway closes 8 September at 4:00pm (MT). Don’t miss out on this fang-tastic opportunity!
This kit includes:
- This month’s kit contains enough elements to create 18 treat boxes—6 each of 3 designs. This all-inclusive kit includes printed box bases and tops, die-cut paper pieces, adhesives, and more!
- The Spooky Treats Paper Pumpkin Kit includes an Orchid Oasis Classic Stampin’ Spot!
- This kit’s stamp set puts the TREAT in trick-or-treat with fun, Halloween-themed sentiments and designs. Embrace the spooky season with ghost, bat, spider, and star images.
- This kit also includes a special peek-through box top on one of the box designs.
Finished box size: 2-1/2″ x 3″ x 1″ (6.4 x 7.6 x 2.5 cm)
Coordinating Stampin’ Up! colors: Basic Black, Gray Granite, Orchid Oasis, Fresh Freesia, Crushed Curry, Pumpkin Pie
Subscribe to the August Paper Pumpkin Kit between 11 August and 10 September at paperpumpkin.com!
Note: Supplies may be limited toward the end of the subscription period.
*********************************************************************************************************
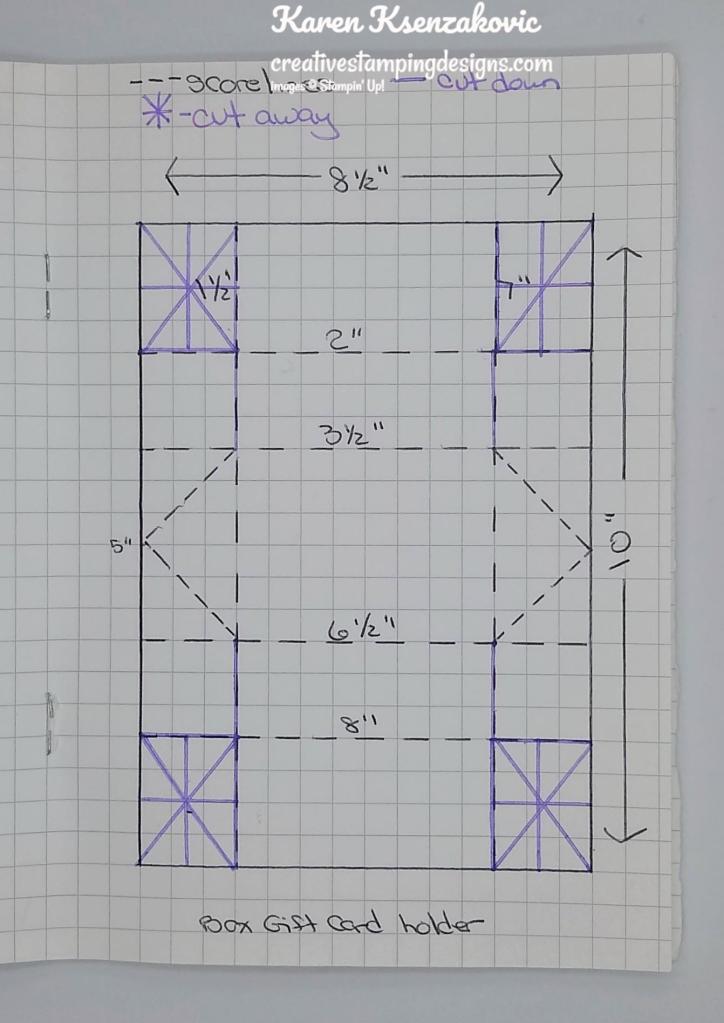
Card stock cuts for this project:
- Basic White Cardstock 3″ X 5 1/8″ & 2 3/8″ x 5 1/8″ (inner liners), 8 1/2″ x 5 1/2″ (tag, sentiment & artwork)
- Basic White Thick Cardstock 8 1/2″ X 5 1/2″ (card base scored & folded at 4 1/4″)
- Crumb Cake Cardstock 2″ X 2 1/2″ (detailed basket)
- Granny Apple Green Cardstock 3 1/2″ x 2″ (leaves)
- Real Red Cardstock 4 1/8″ X 5 3/8″ (card front mat), 4 1/4″ X 1″ (apples), 2 3/4″ x 2 1/4″ (solid basket), 5 1/8″ x 5 1/4″ (inner liner scored & folded at 1″ & 2″), 5 3/8″ x 5 1/4″ (inner liner scored & folded at 3 1/8″)
- Soft Suede Cardstock 2 1/2″ X 1 1/2″ (basket bands)
- Smoky Slate Cardstock 1/2″ x 2 1/2″ (handle)
- Perfectly Penciled Designer Series Paper 4″ X 5 1/4″ (card front), 3″ X 5 1/8″ (inner liner), 2 1/4″ X 6″ (envelope flap)
*********************************************************************************************************
Product List
")
")

")


 Designer Series Paper")


 Ribbon Combo Pack")


")


")


 Specialty Paper")
 Designer Series Paper")


")
")


 Designer Series Paper")


")
")


 Designer Series Paper")


")


")


")
 Cardstock")


")
")
")


 Host Designer Series Paper")
 Layering Designs")


")


 Designer Series Paper")


")


 Specialty Designer Series Paper")


")
")
")


 Designer Series Paper")


