
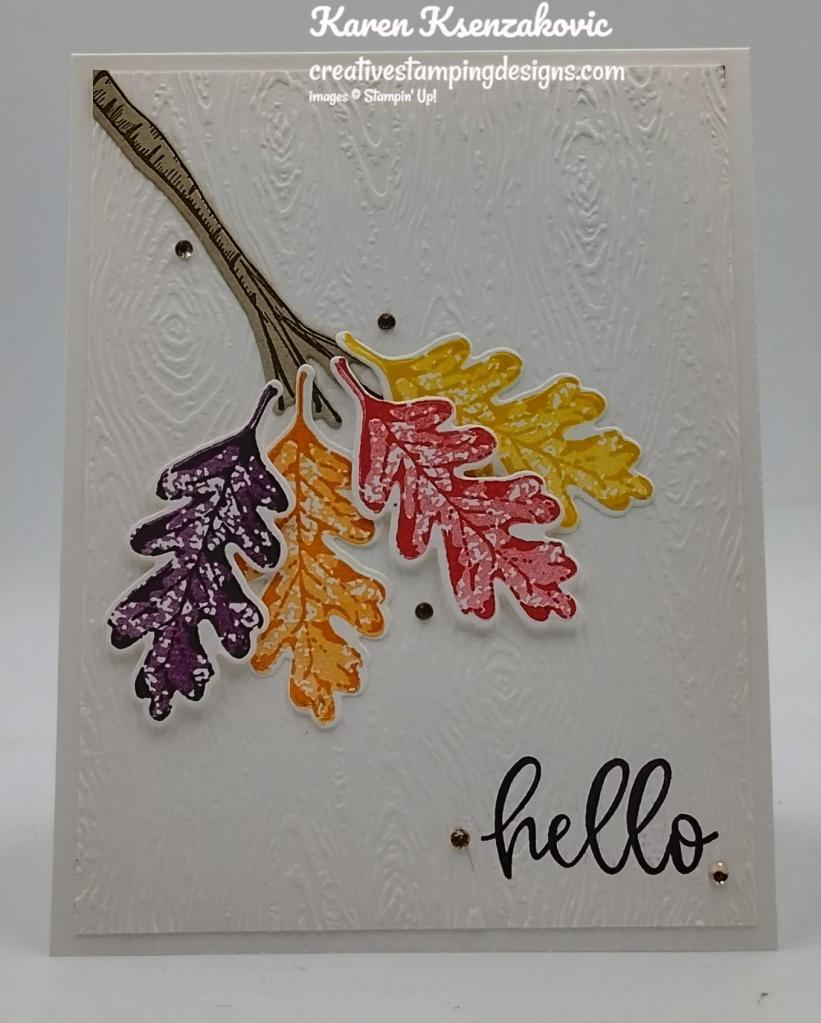
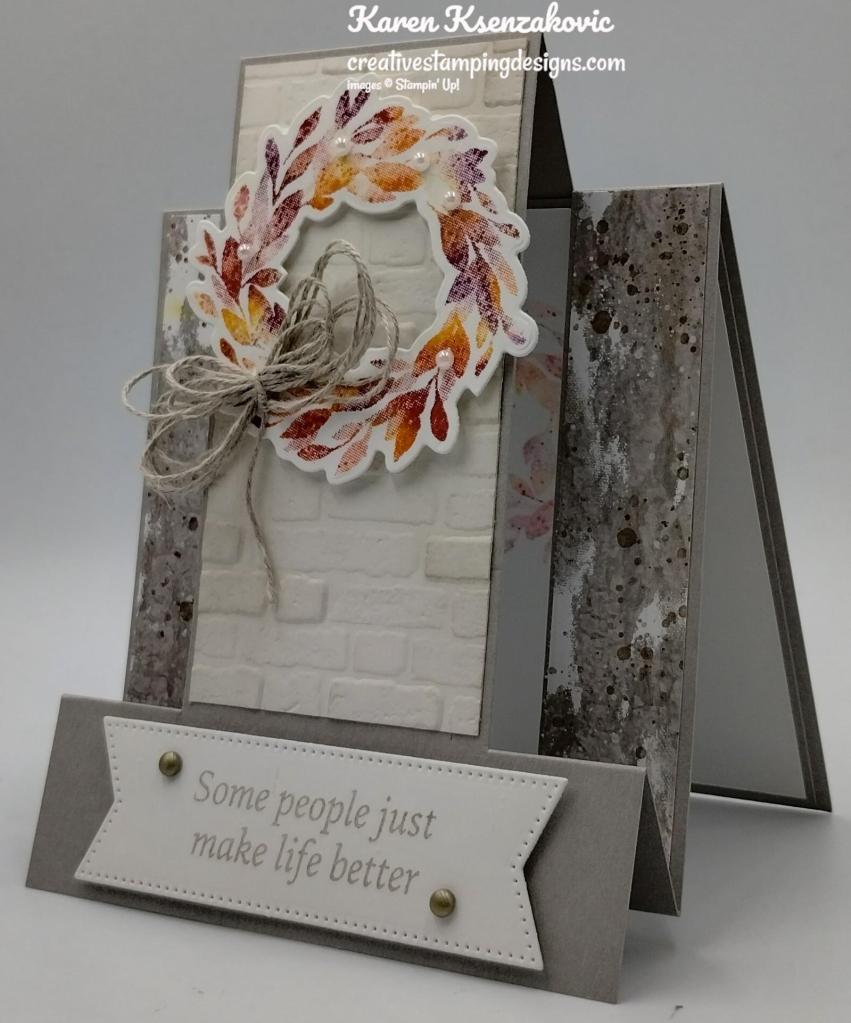
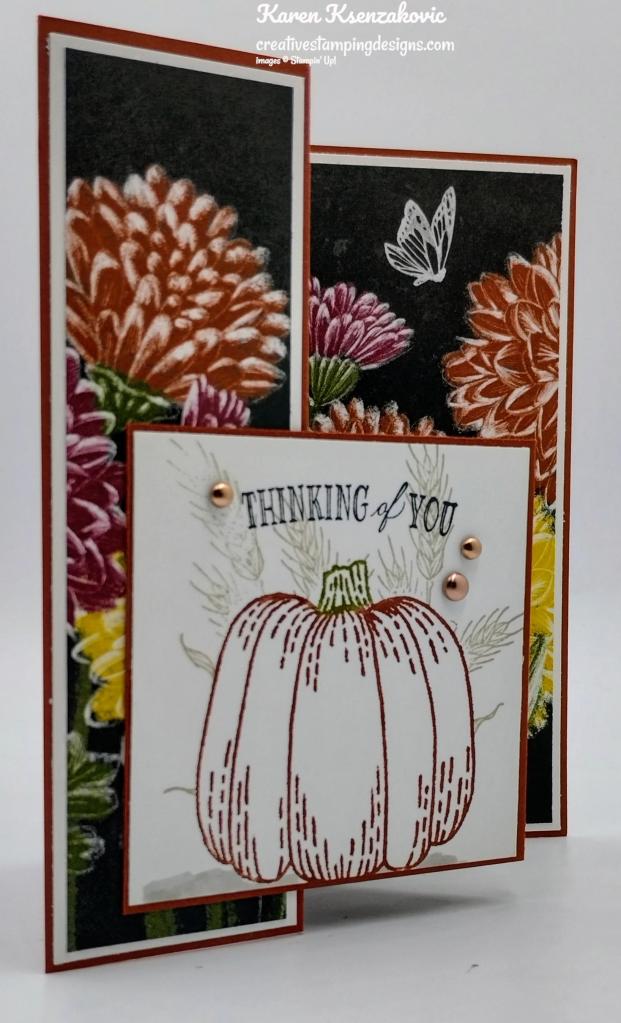
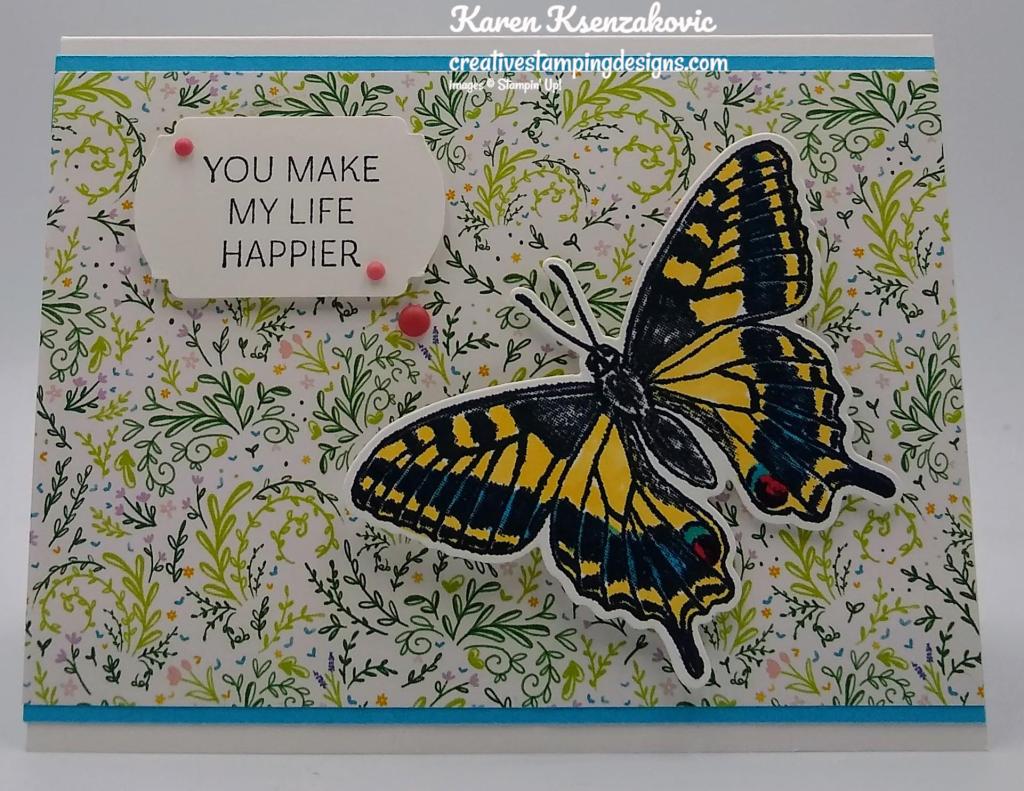
Good Tuesday morning my stamping friends, welcome to a fun new blog hop! It’s the Fun Folds Blog Hop for Stampin’ Up! Demonstrators! We’ve got a talented line-up of demonstrators from all over. This is going to be a once-a-month hop and all our cards will be fun folds!! Here’s my card for today.
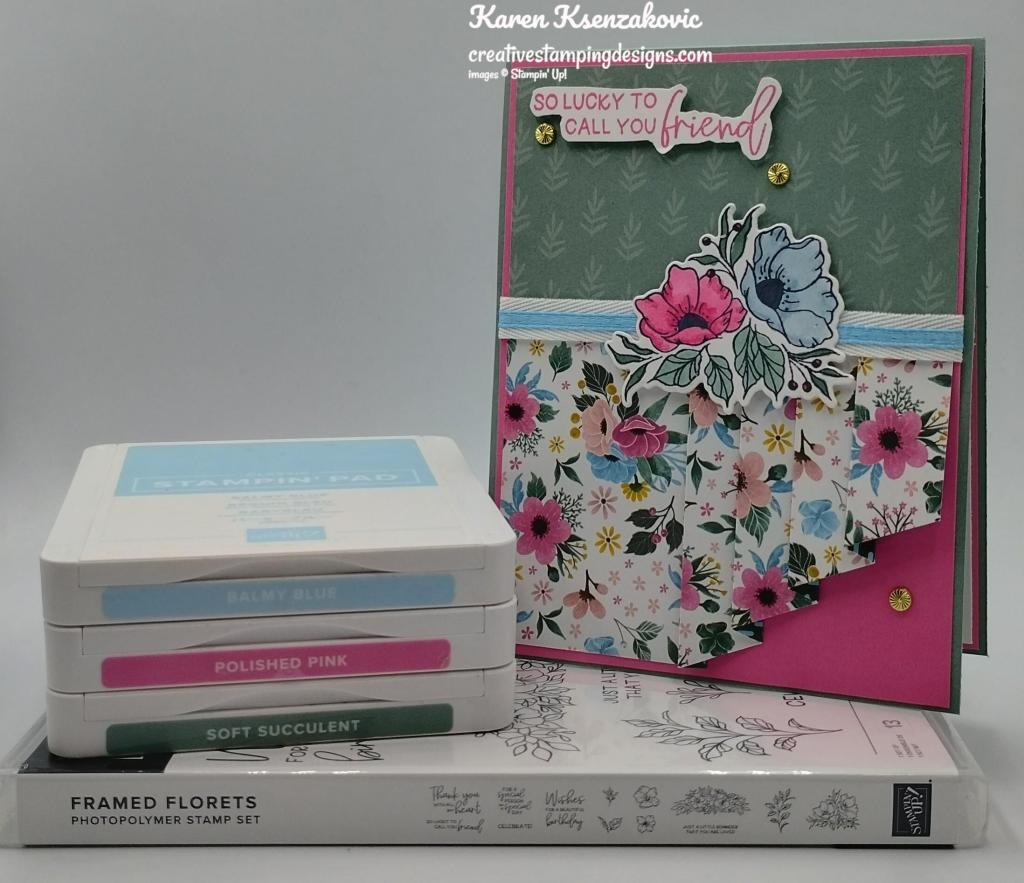
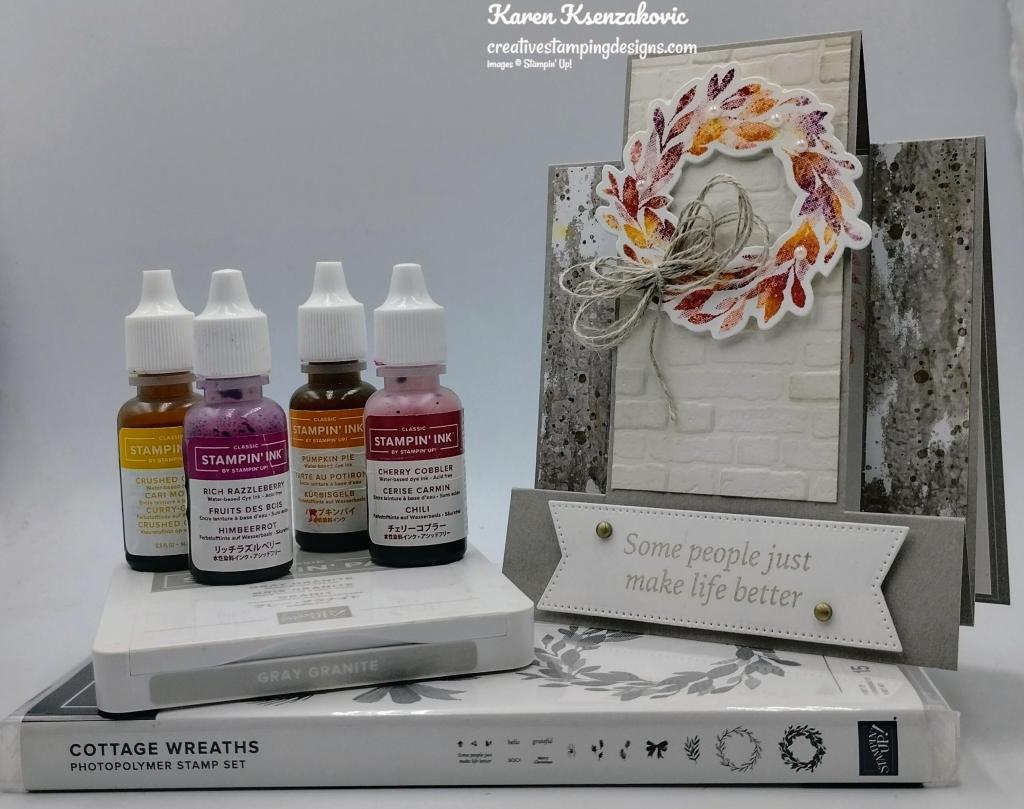
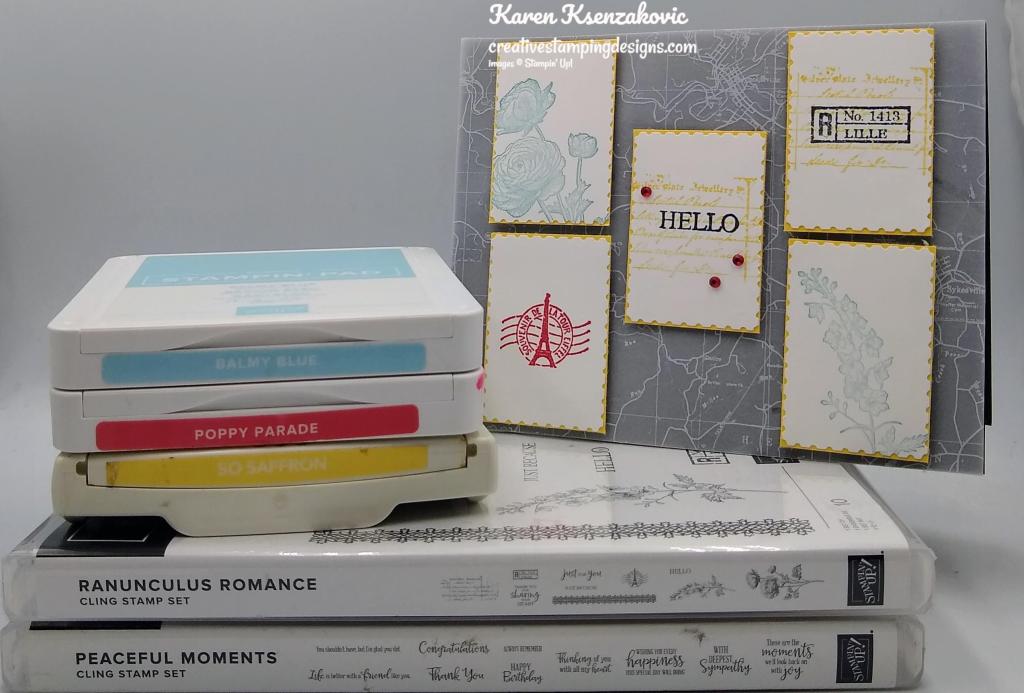
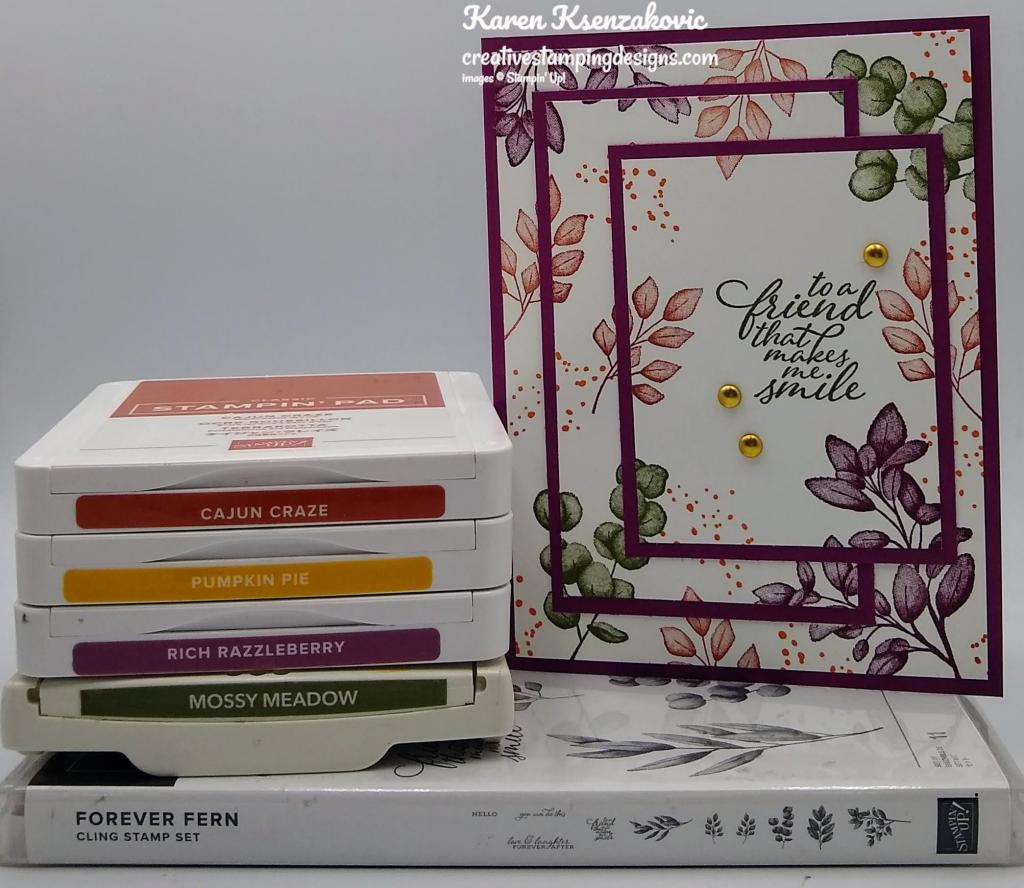
I used the new upcoming Stampin’ Up! Framed Florets Bundle and the Fitting Florets Designer Series Paper for my card today.
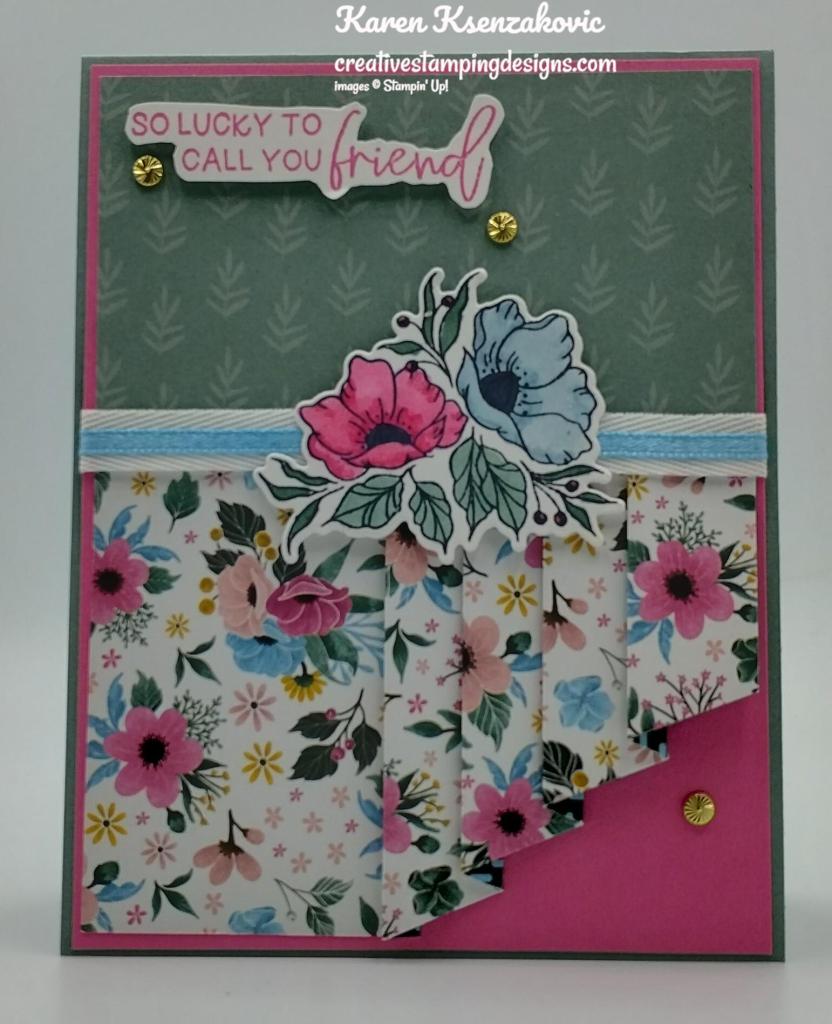
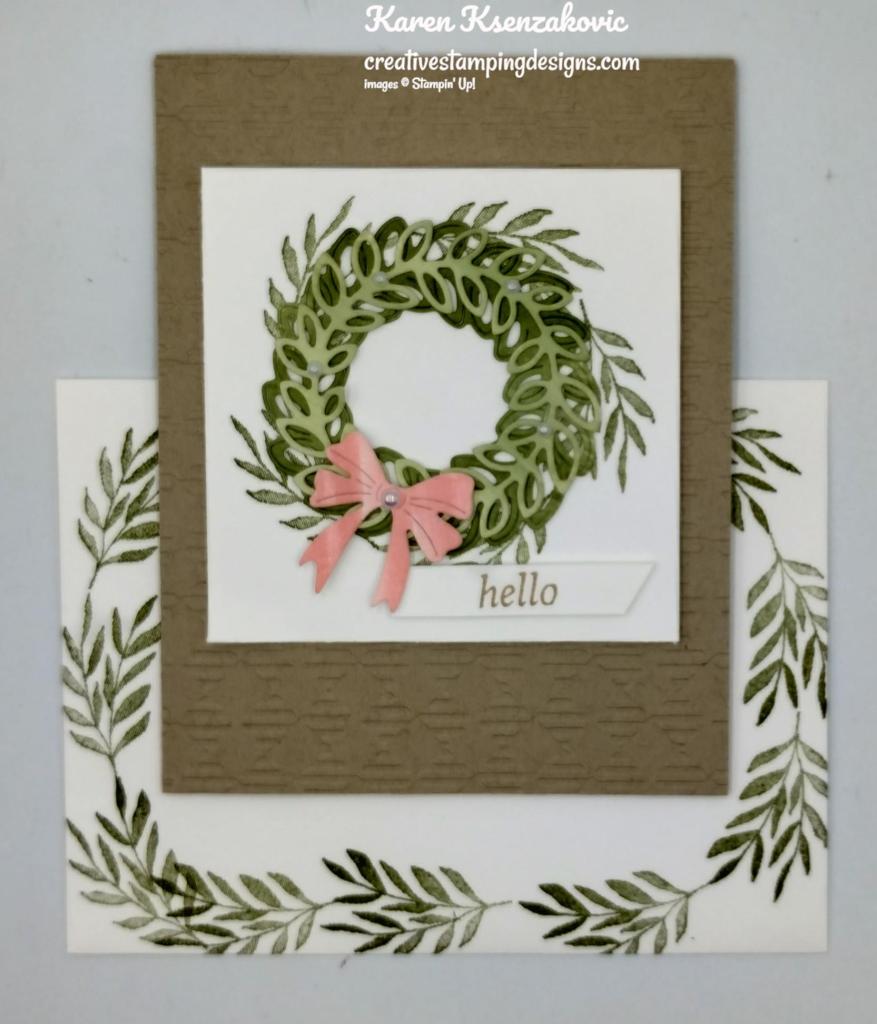
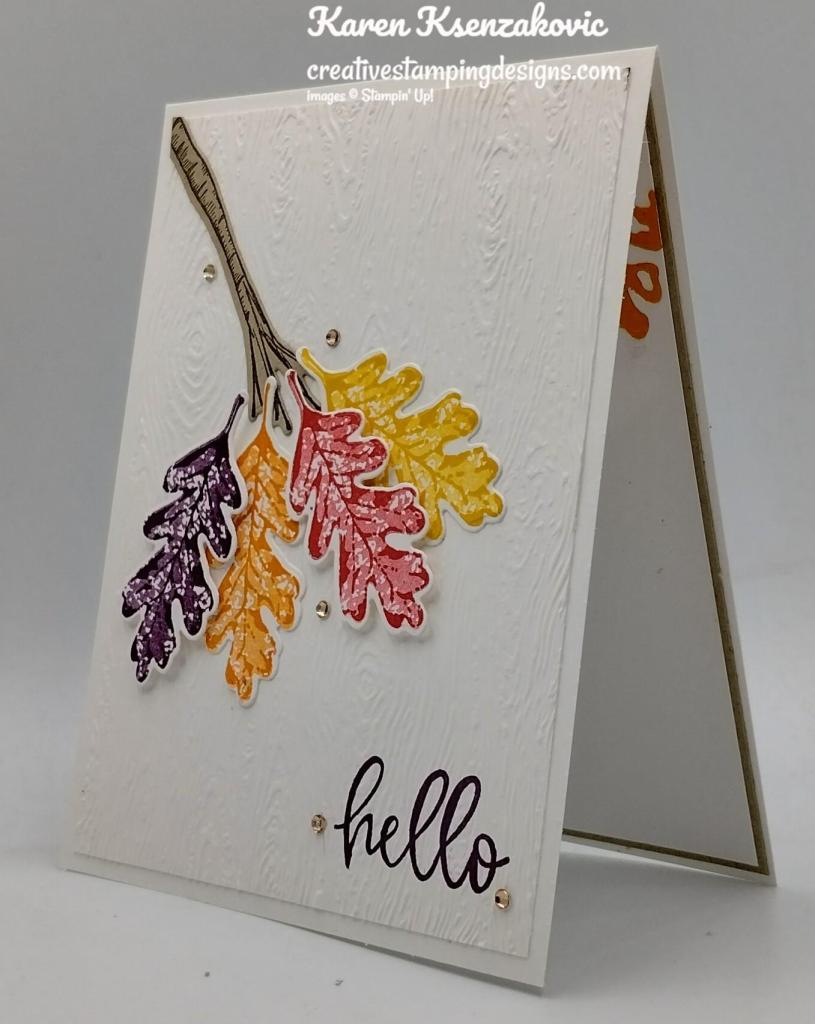
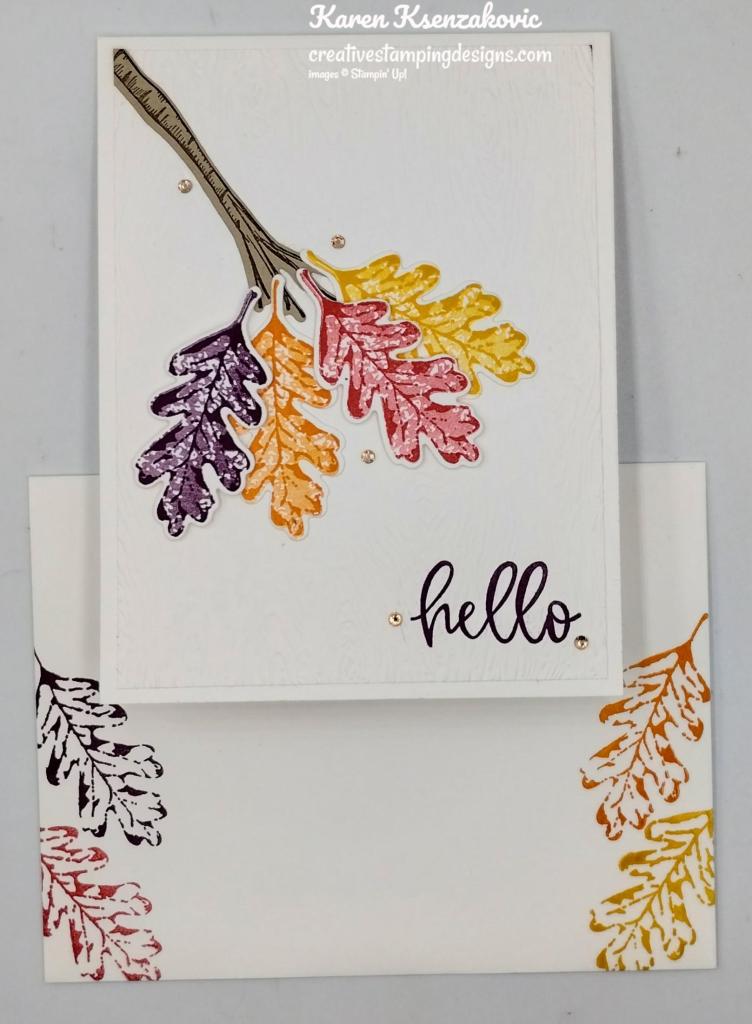
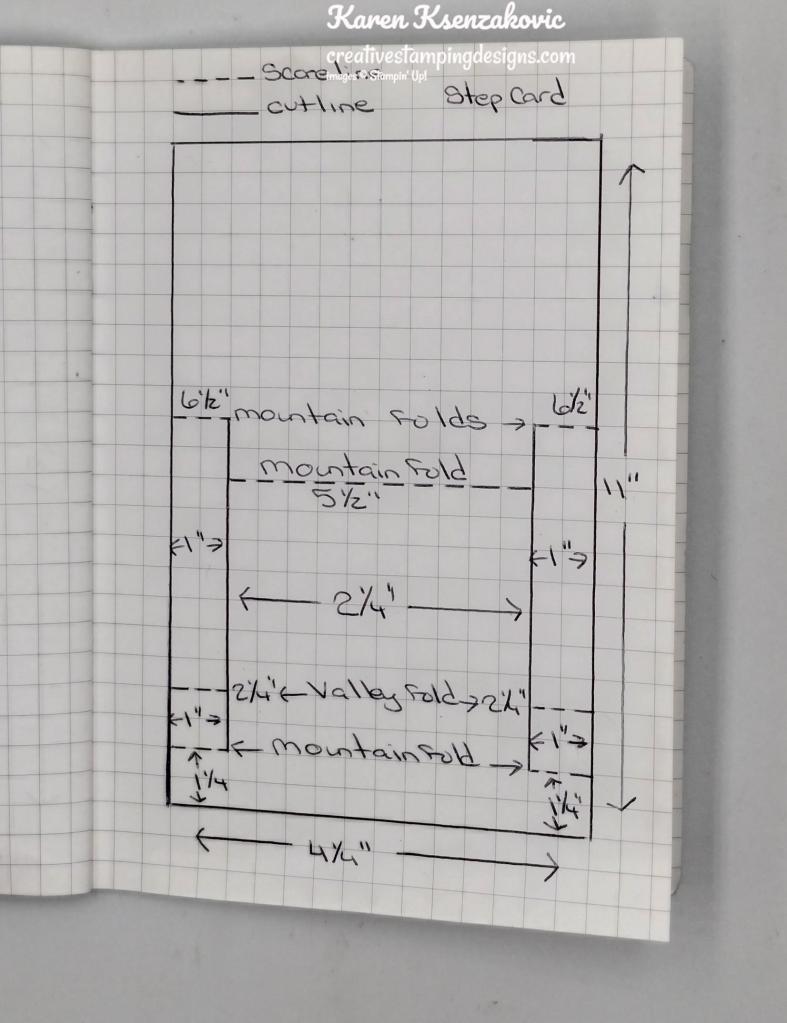
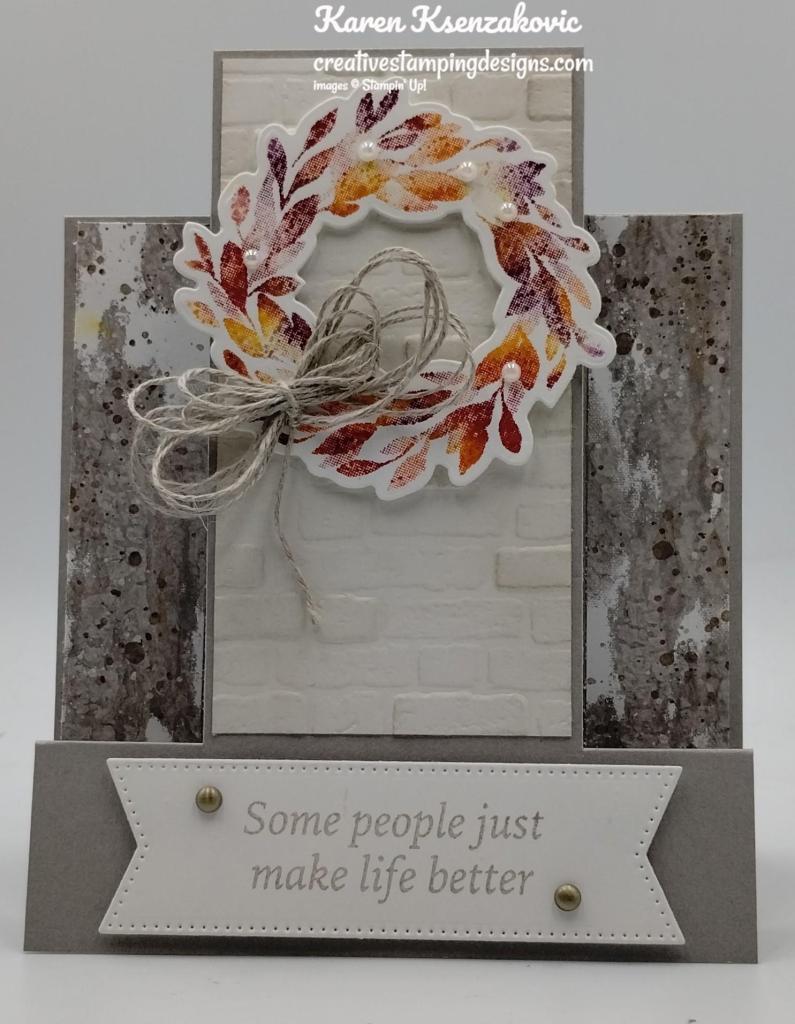
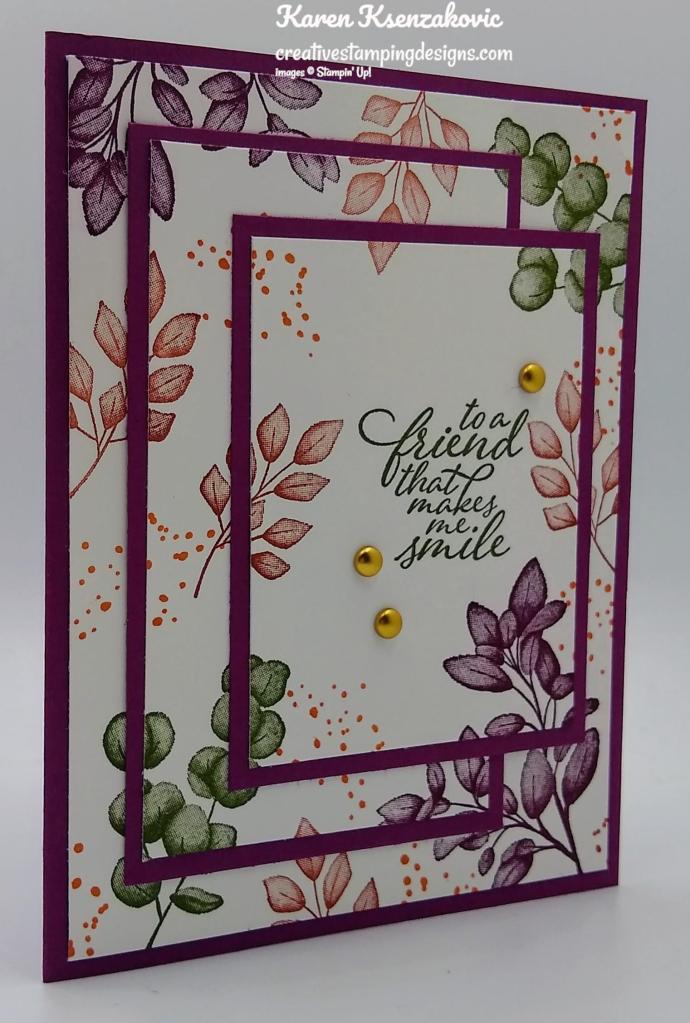
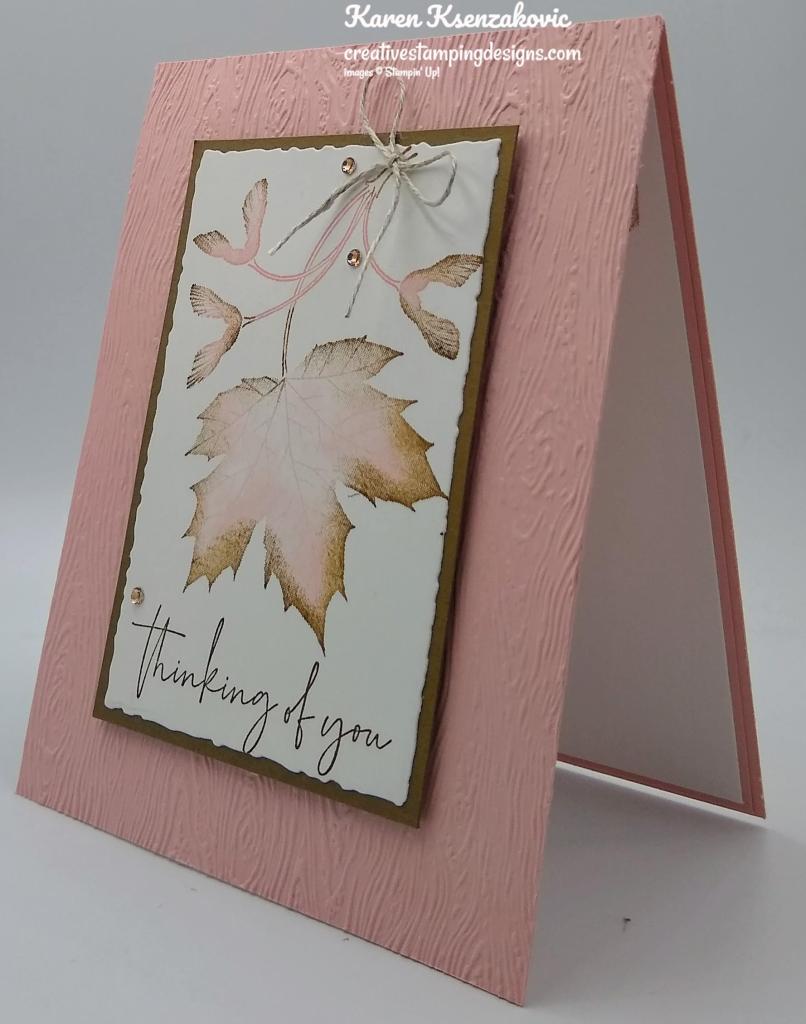
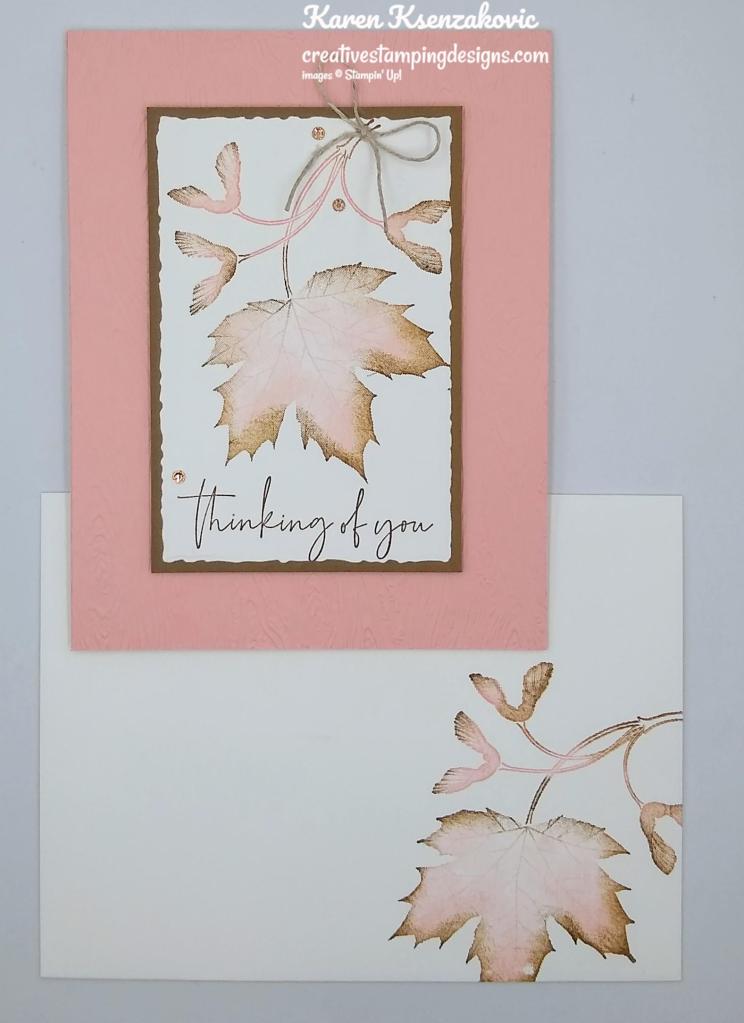
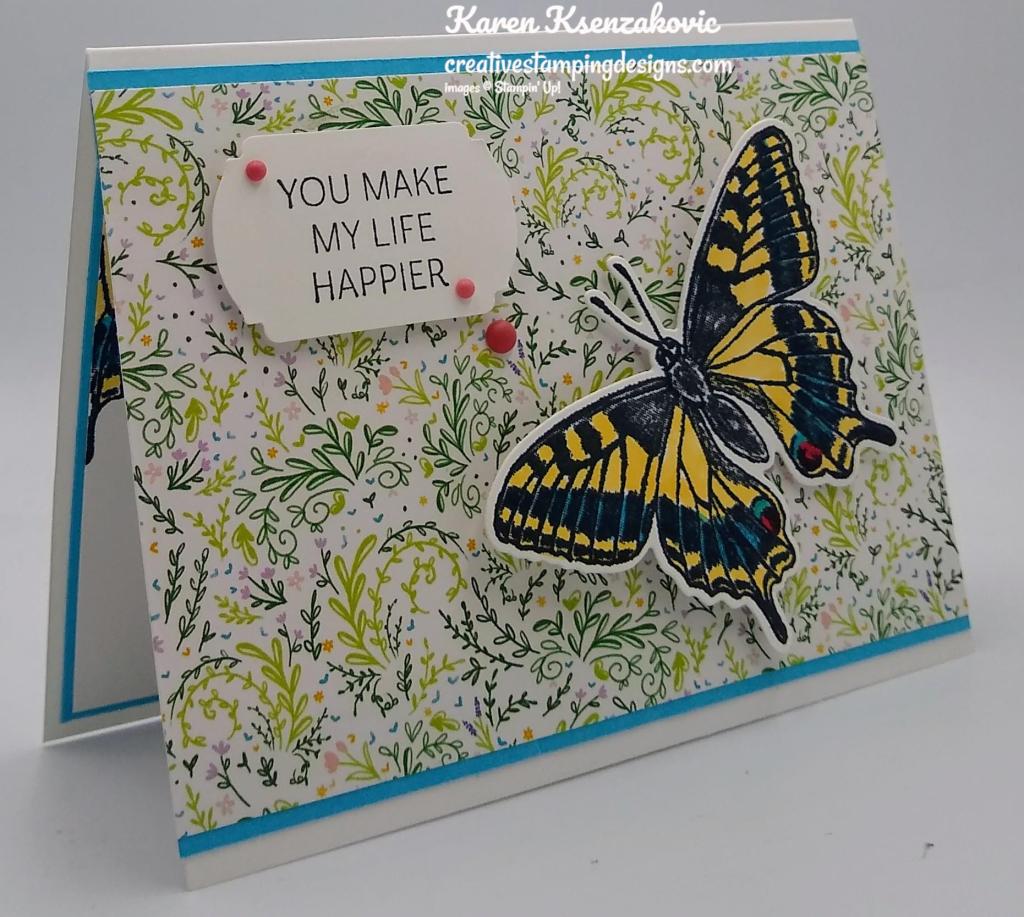
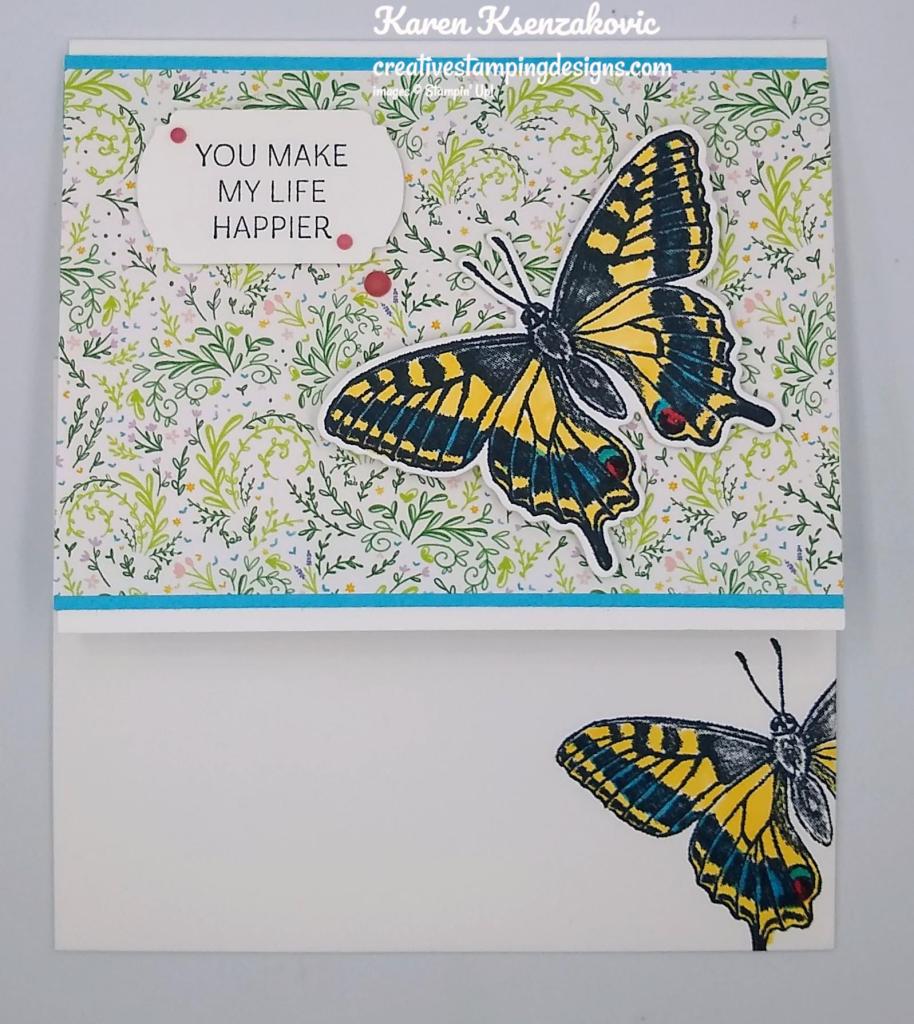
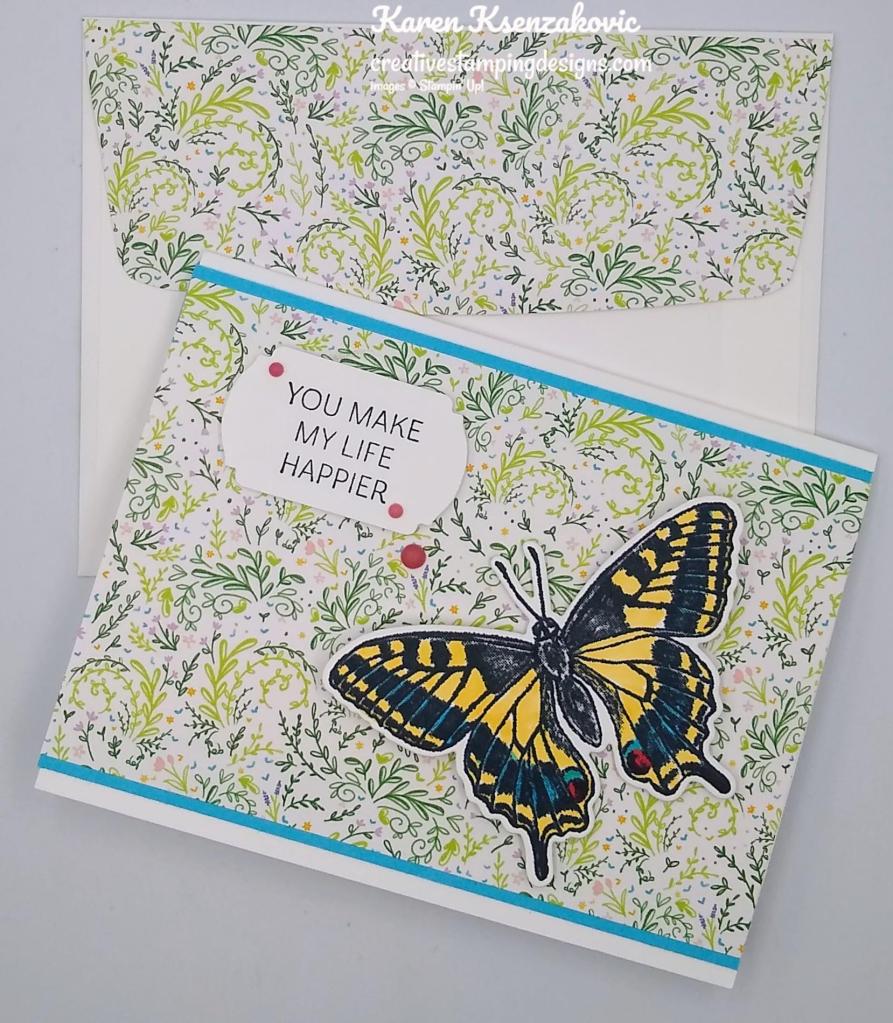
I started by adhering a panel of Fitting Florets DSP to the top of a Polished Pink mat. I scored, cut & folded the panel of Fitting Florets DSP (as in diagram below) and adhered it to the bottom of the Polished Pink mat. I wrapped a piece of Balmy Blue 3/8″ Double Stitched Ribbon around the card front on the seams of the DSP and adhered it to the back using Stampin’ Seal. I adhered the card front to a Soft Succulent card base using Multipurpose Liquid Glue.
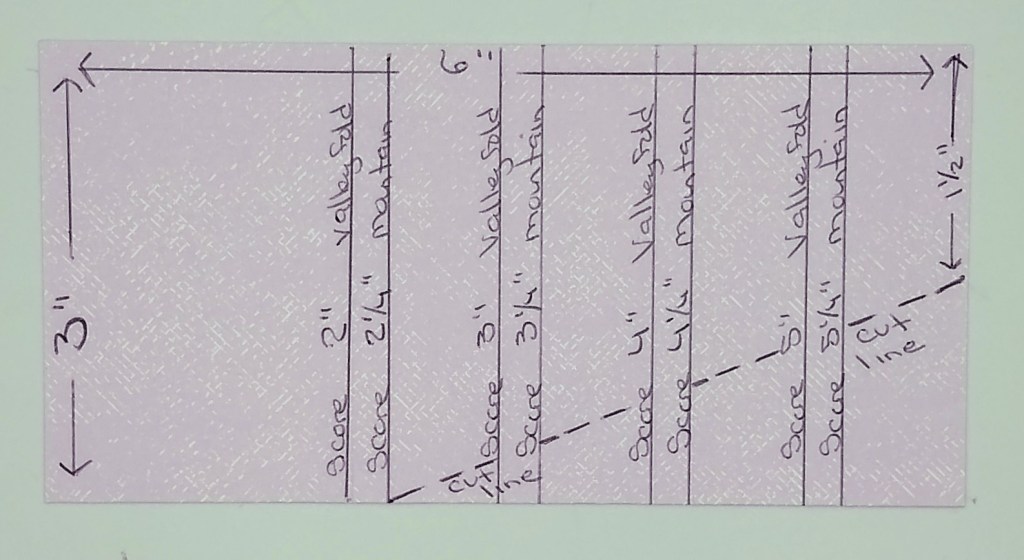
Here is my template for the drapery fold.
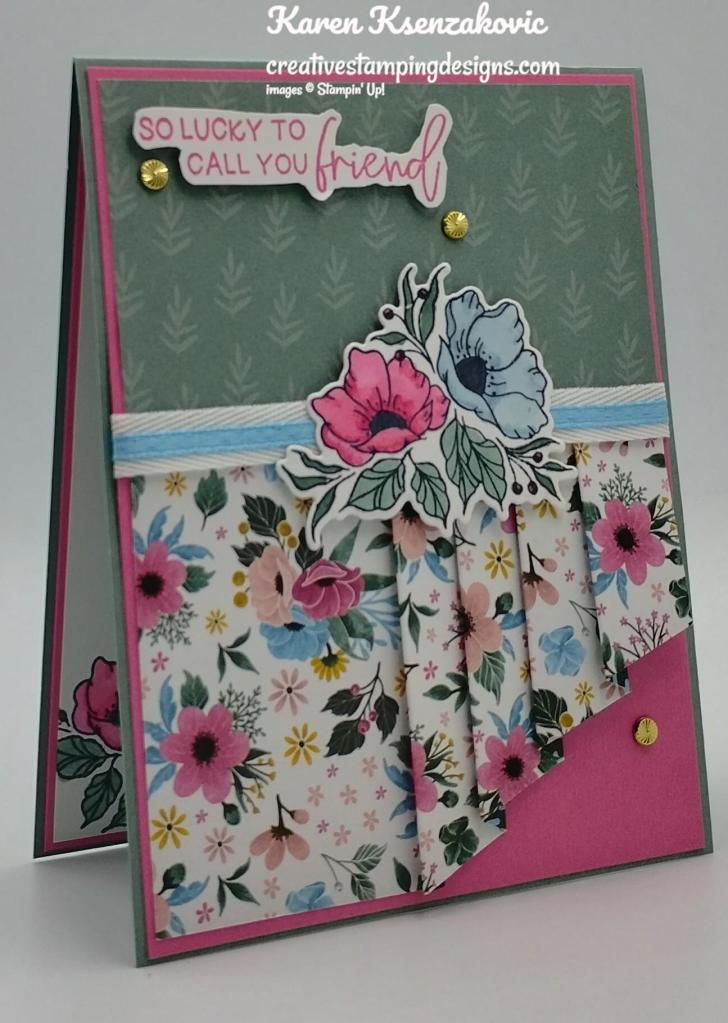
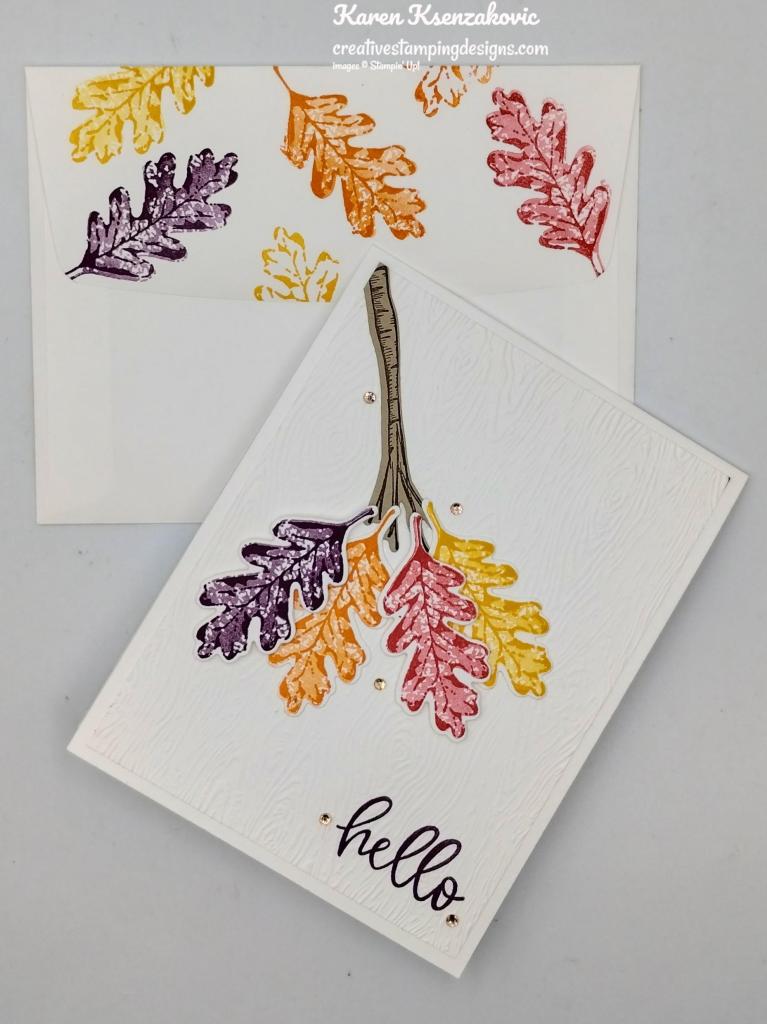
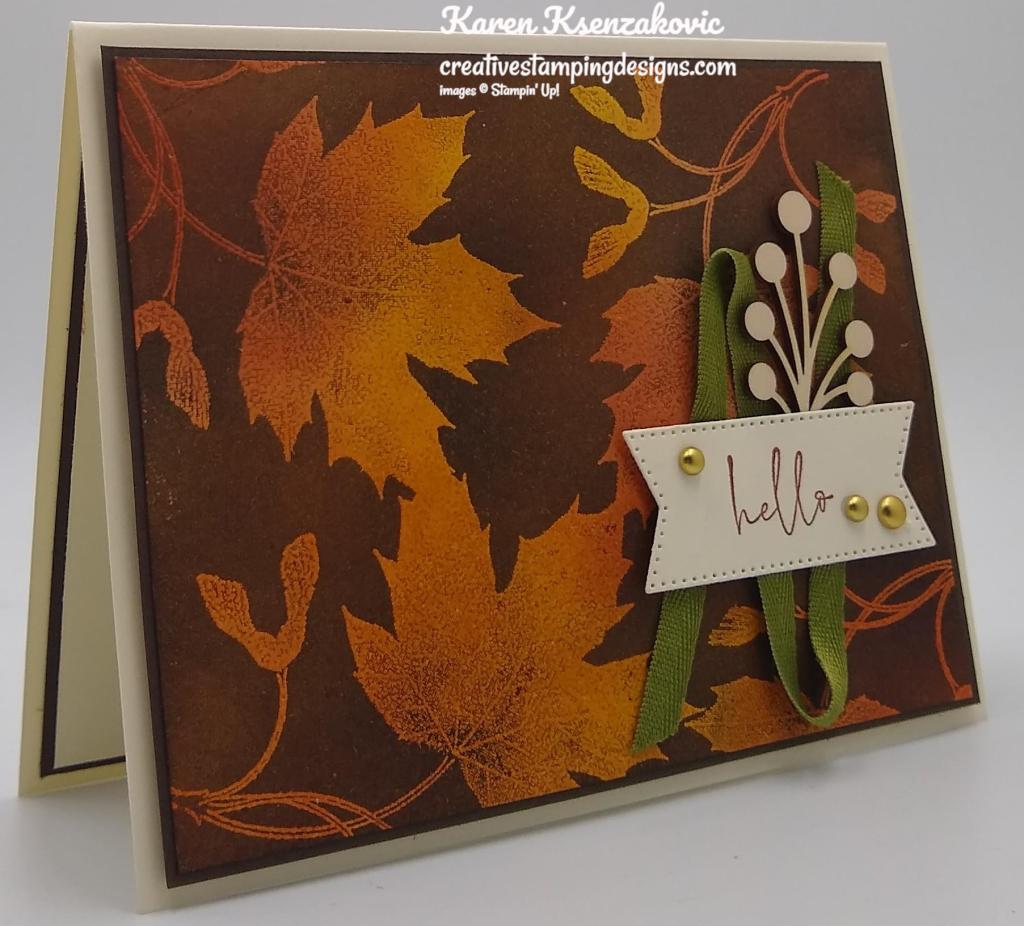
On a small panel of Basic White cardstock, I stamped the sentiment from the Stampin’ Up! Framed Florets Photopolymer Stamp Set in Polished Pink Ink. I fussy cut the sentiment using my Paper Snips. I adhered the sentiment to the card front using Stampin’ Dimensionals.
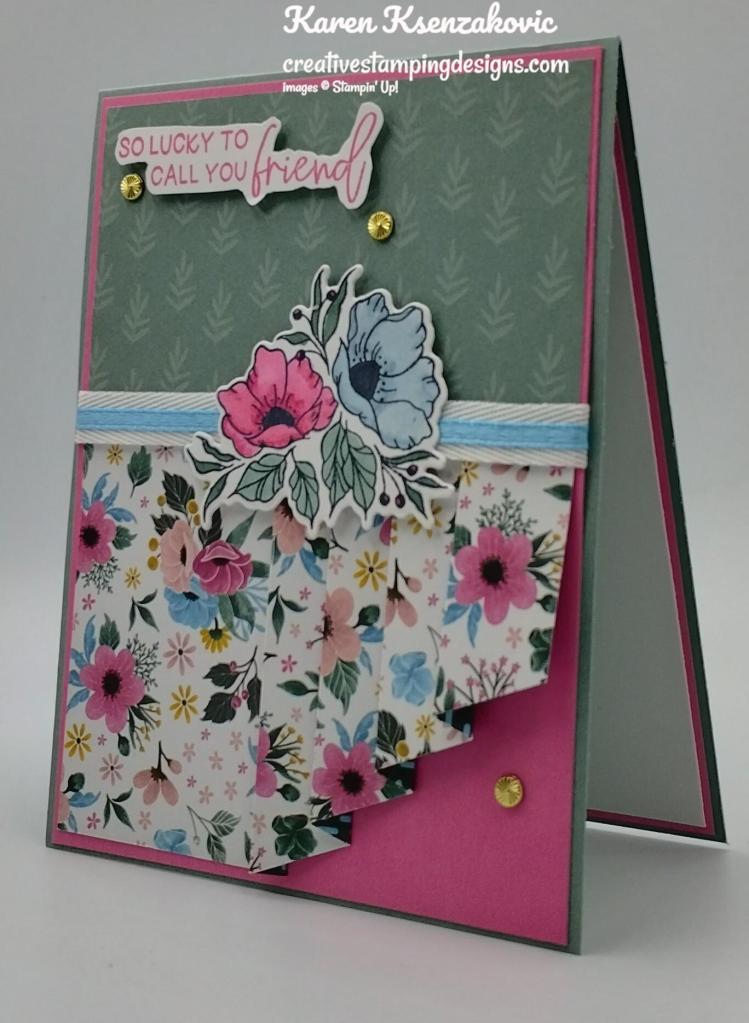
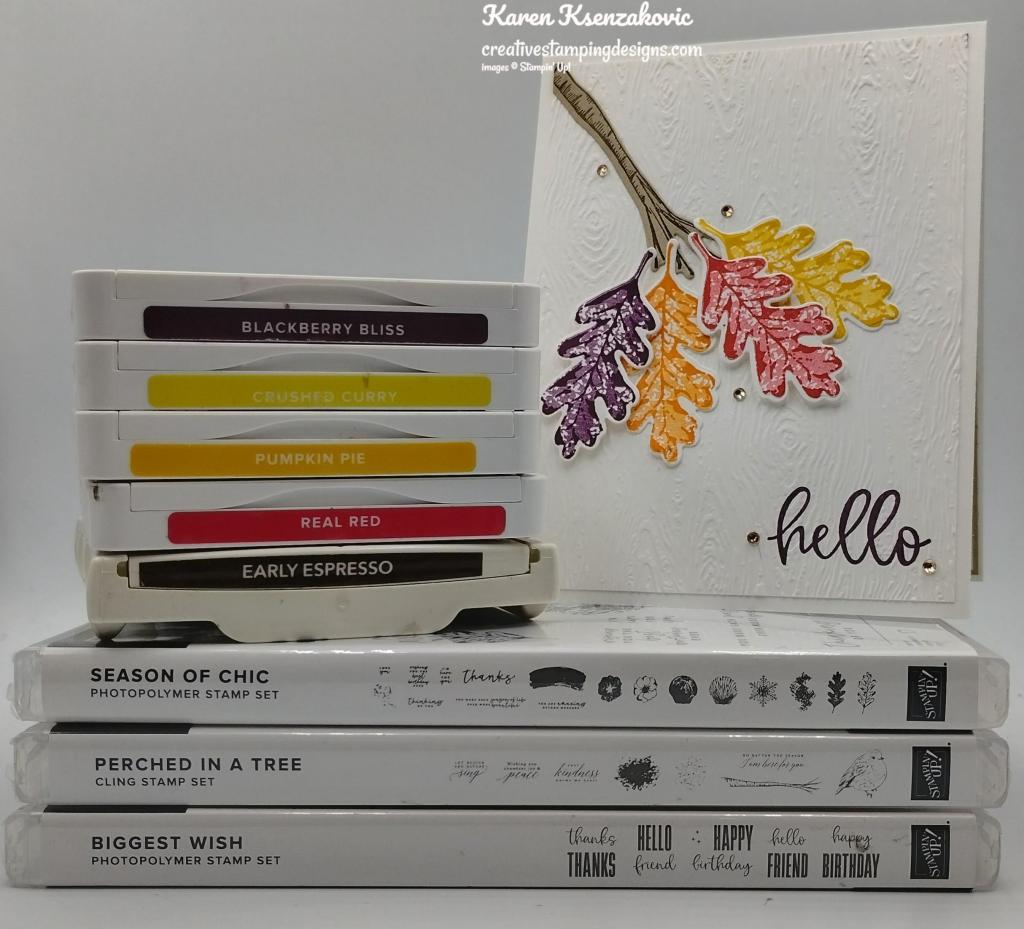
On a panel of Basic White cardstock I stamped the floral image from the Framed Florets stamp set in Tuxedo Black Ink. I colored the image using my Balmy Blue, Polished Pink and Soft Succulent Stampin’ Blends Markers. I cut the image out using the Framed Florets Dies. I adhered the floral image to the card front over the ribbon using Stampin’ Dimensionals. I added a few of the new Gold Adhesive-Backed Swirls to the card front.
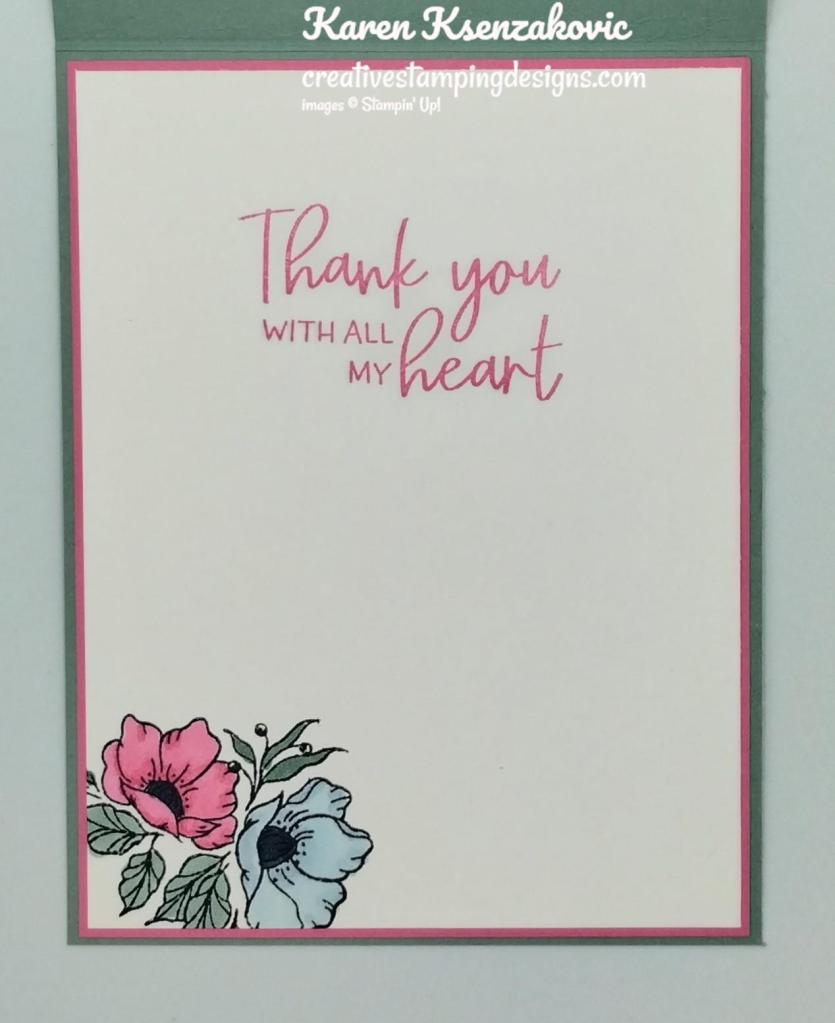
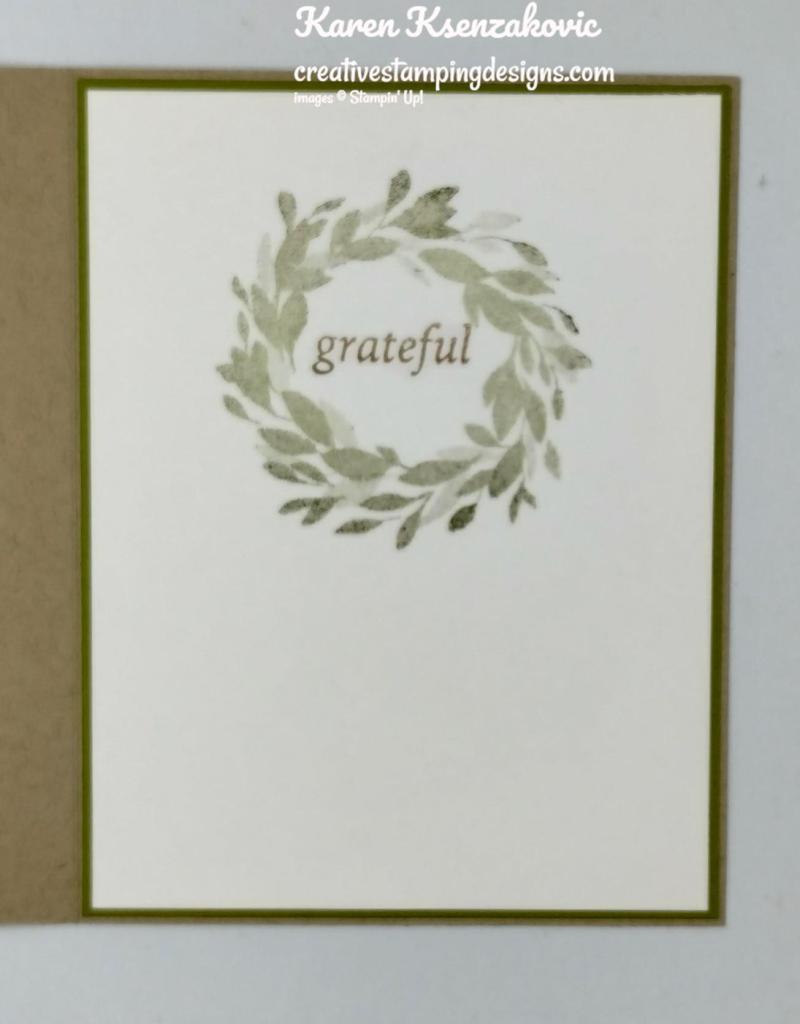
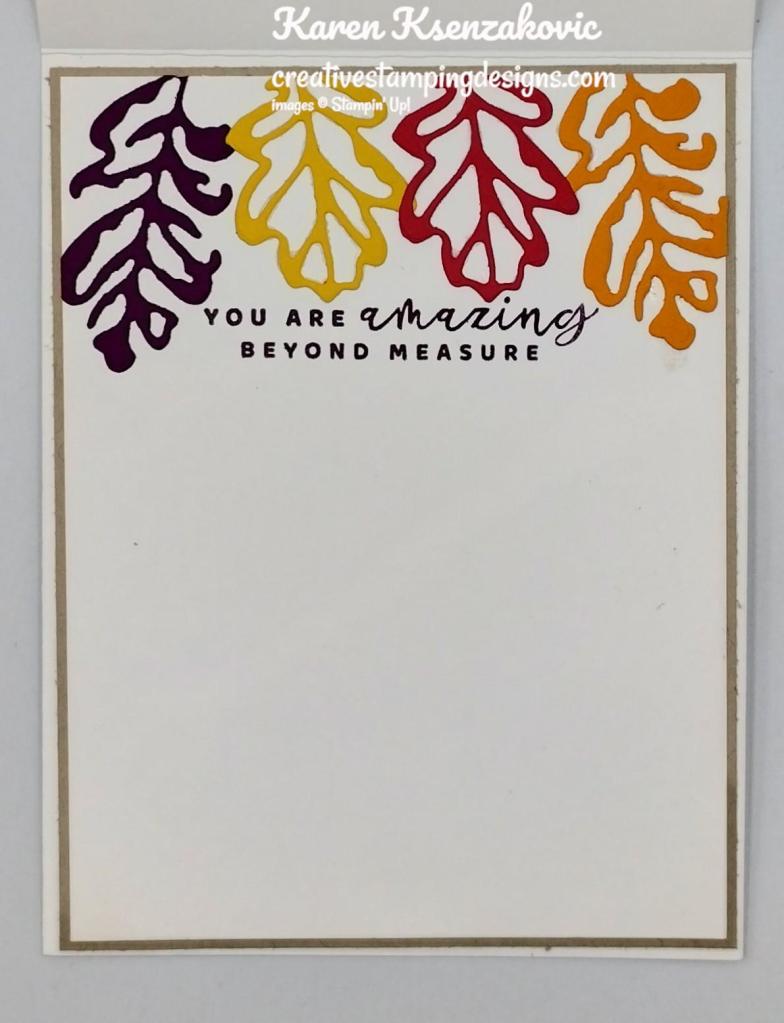
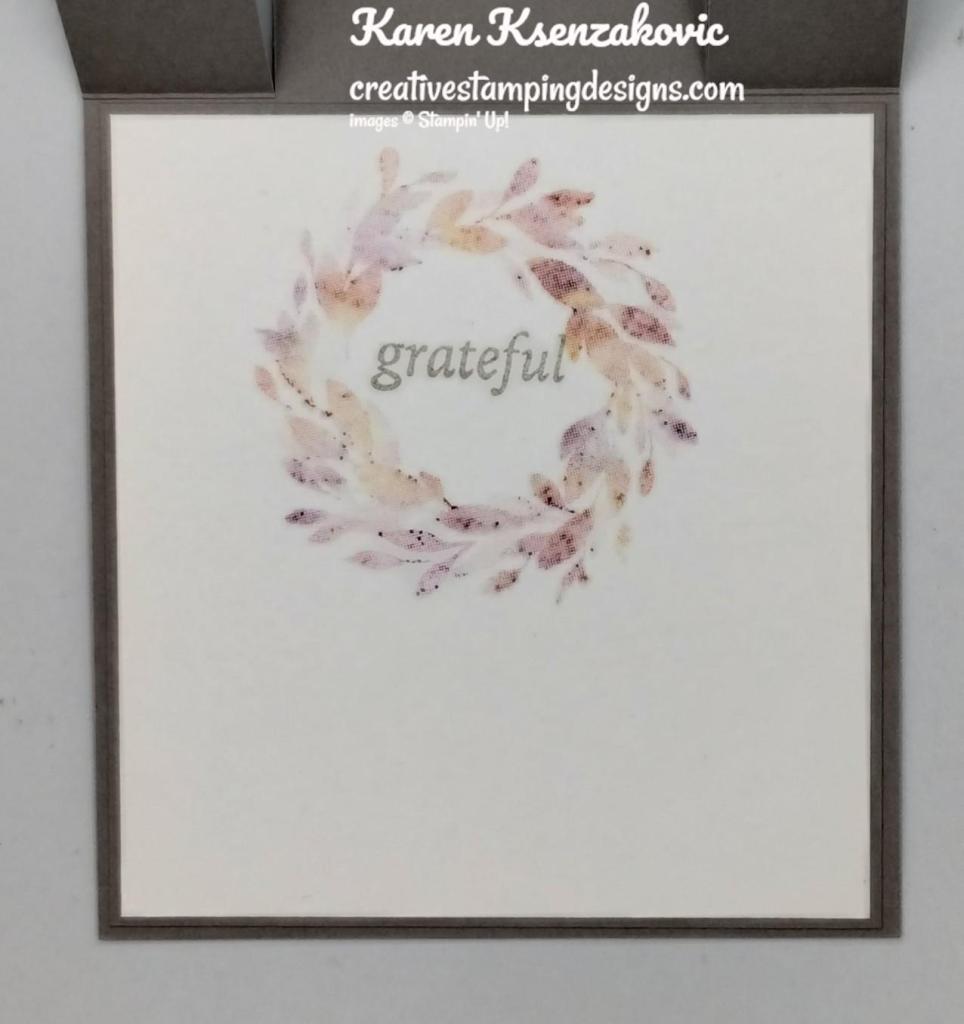
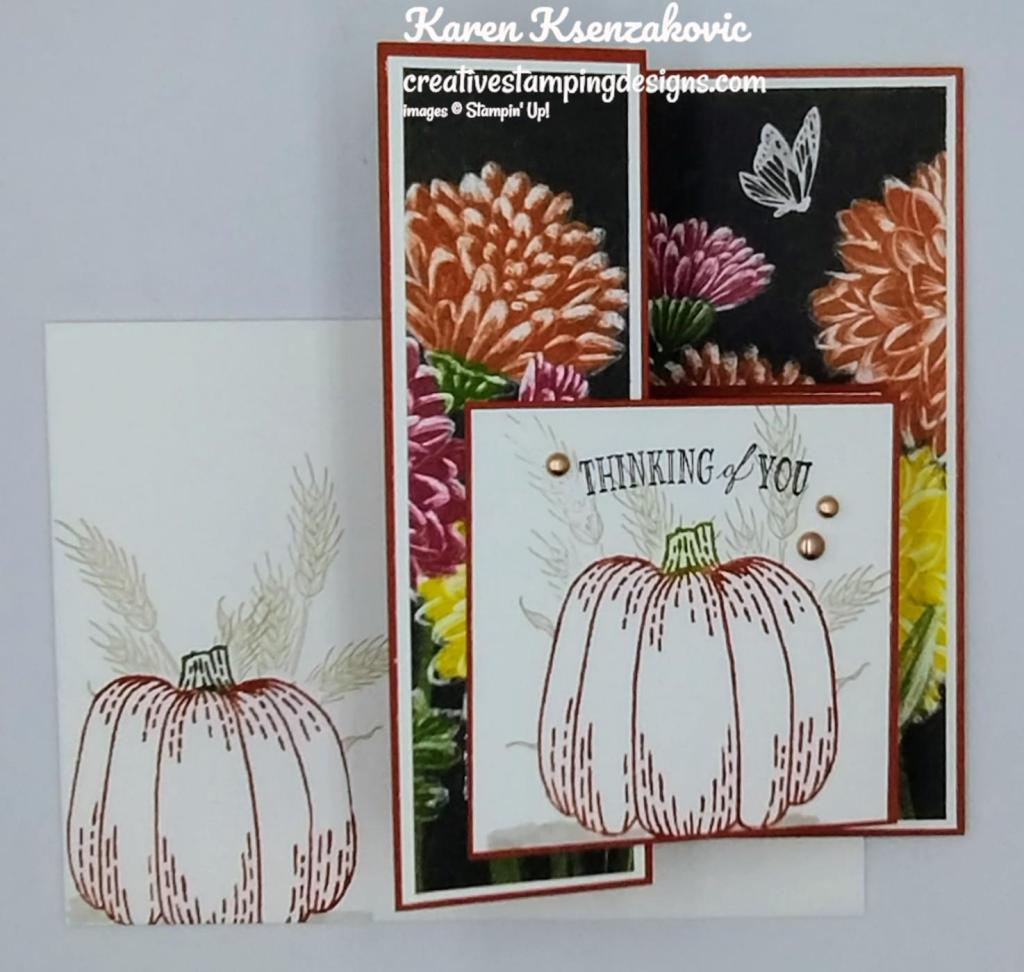
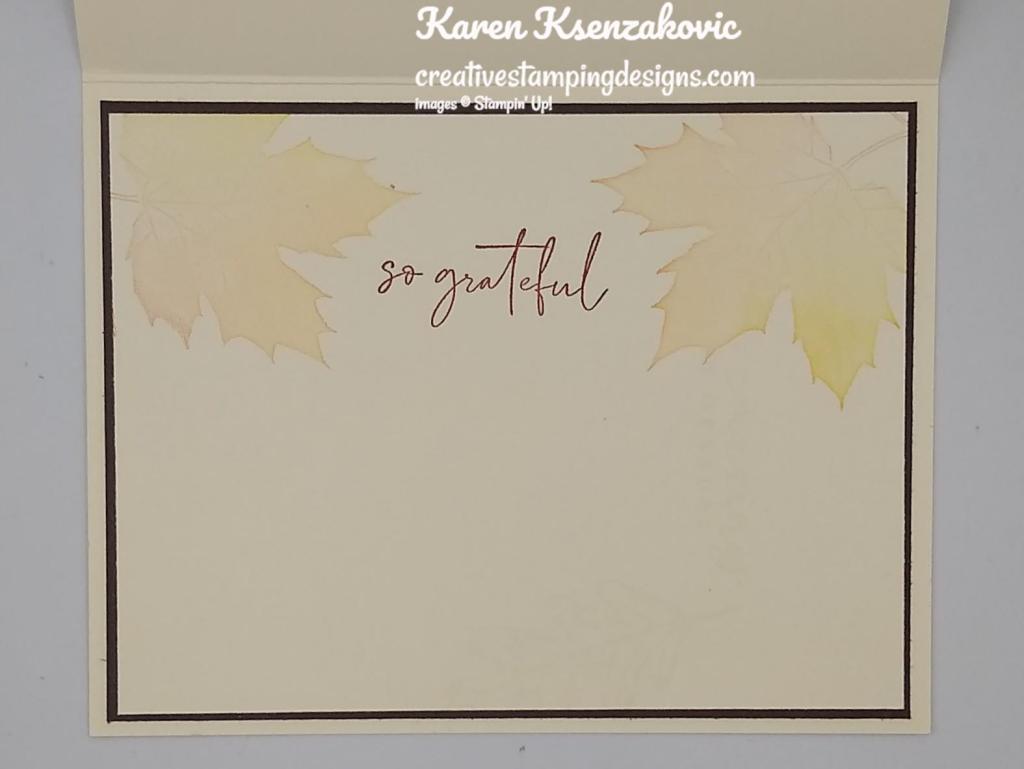
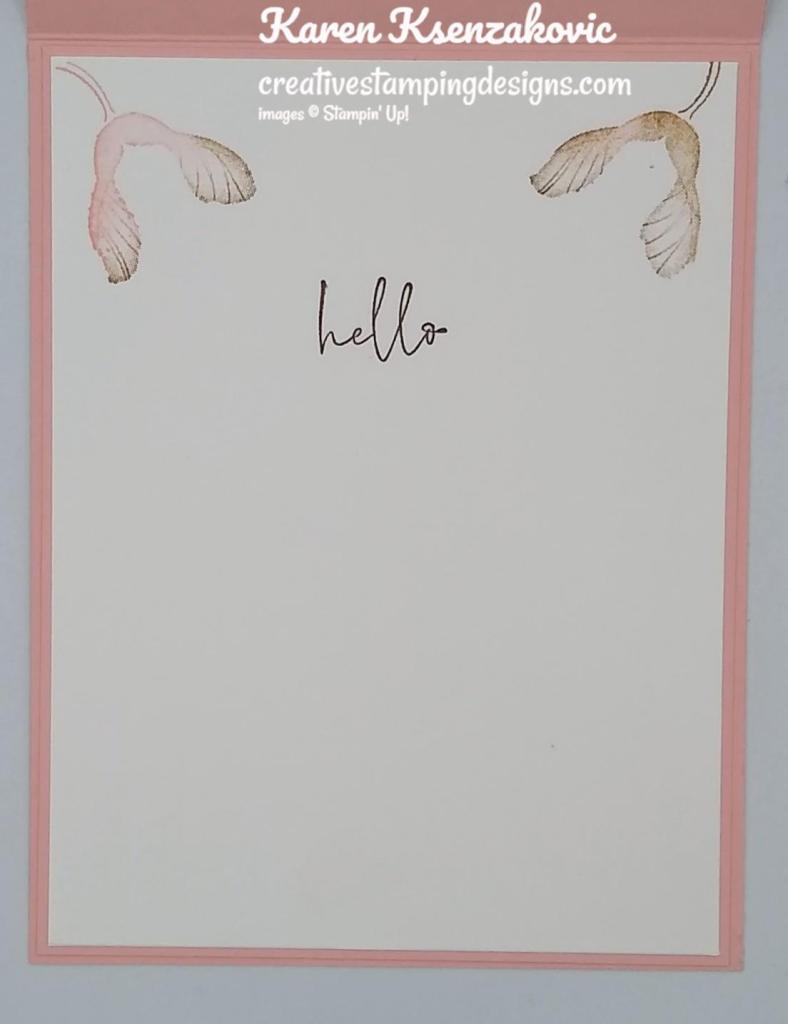
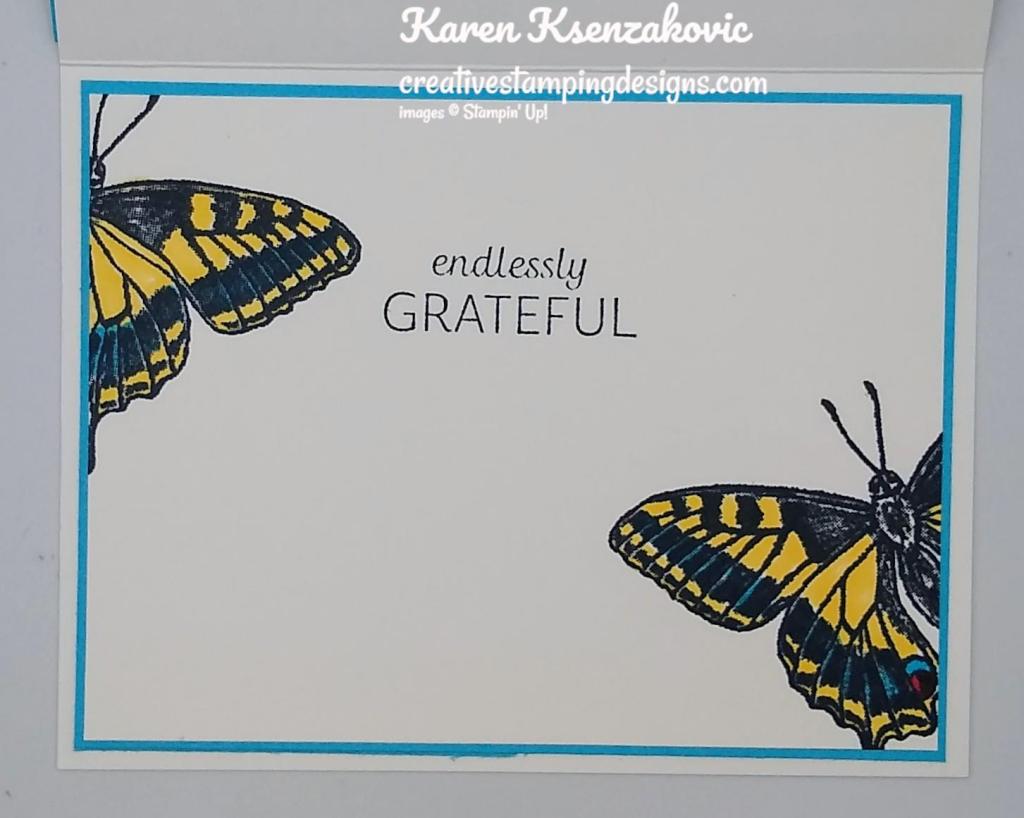
On the inside, I stamped the sentiment from the Framed Florets stamp set in Polished Pink Ink on a Basic White panel. I stamped the floral image from the Framed Florets stamp set on the bottom of the panel in Tuxedo Black Ink and colored it using my Balmy Blue, Polished Pink and Soft Succulent Stampin’ Blends Markers. I adhered the Basic White panel to a Polished Pink mat then to the inside of the Soft Succulent card base.
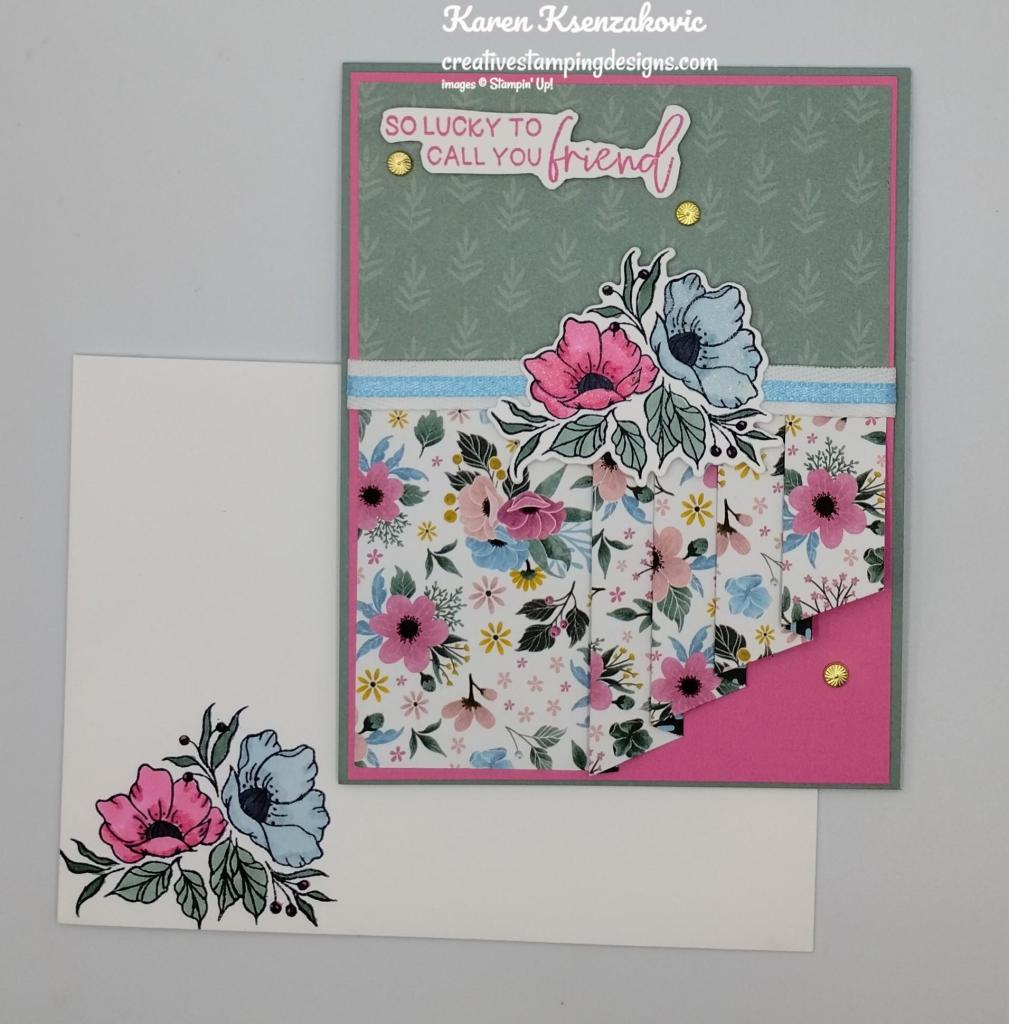
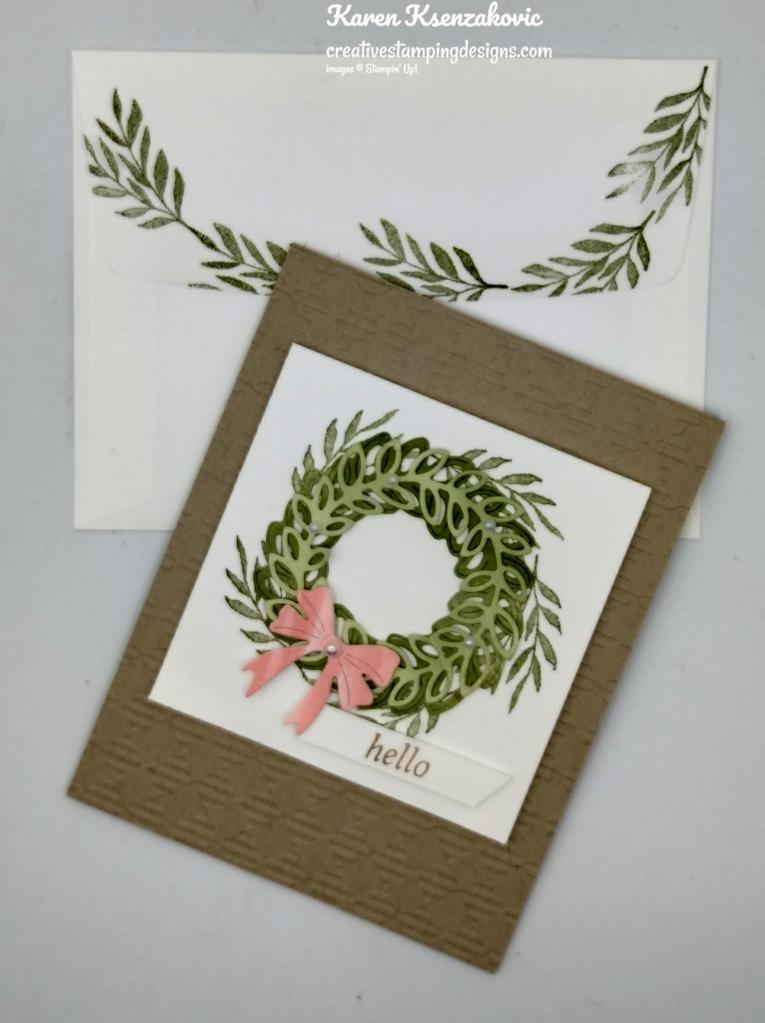
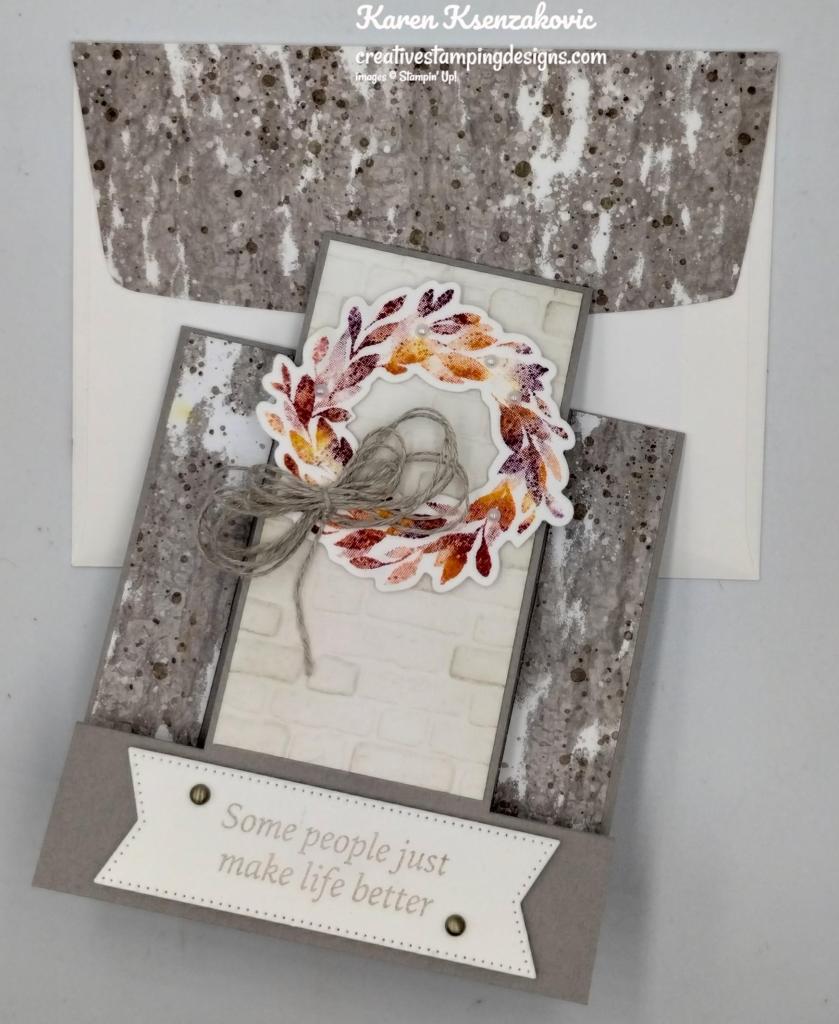
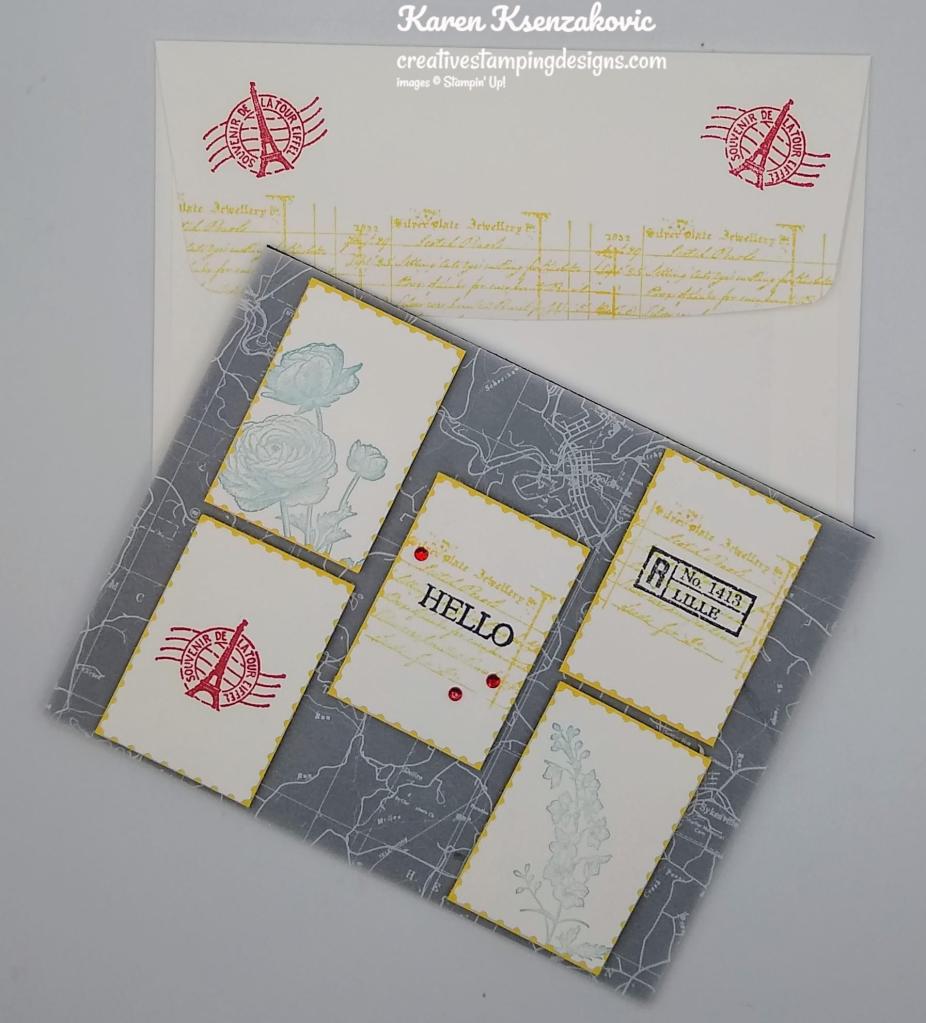
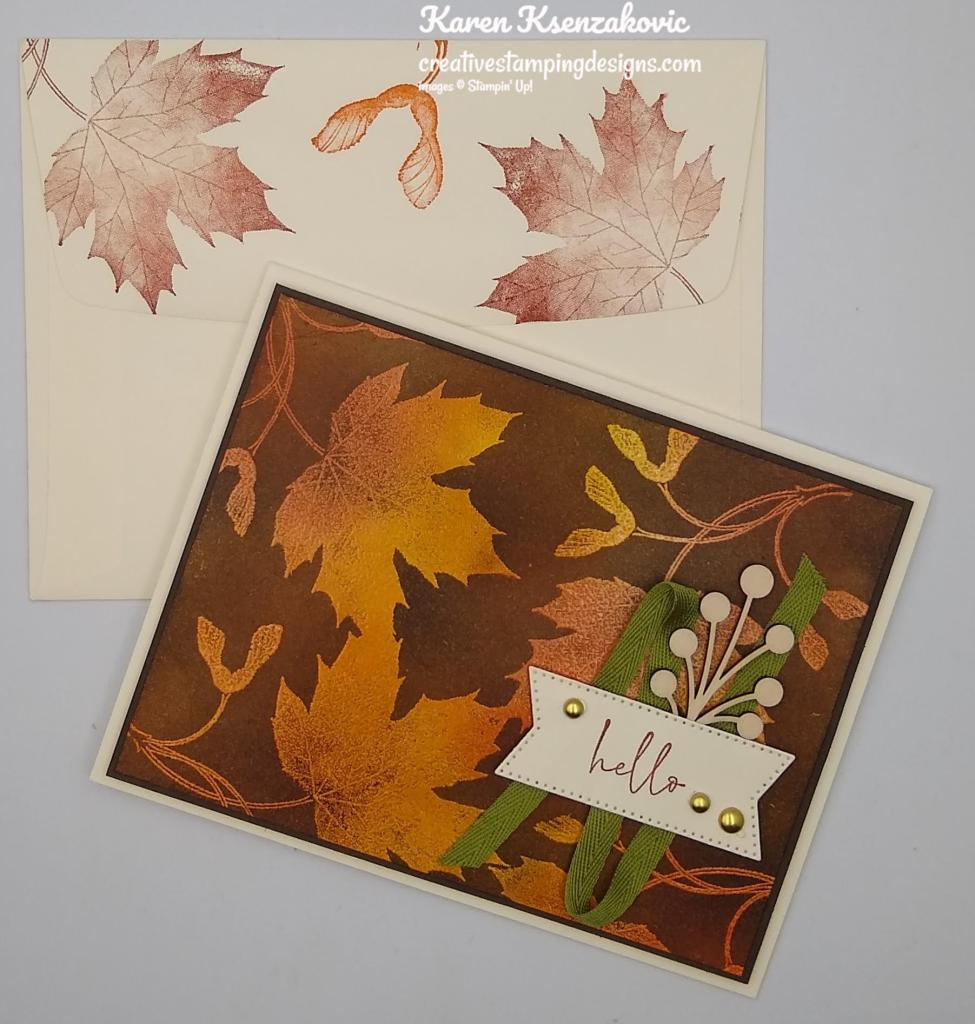
To complete my card, I decorated a Basic White Medium Envelope. I stamped the floral image from the Framed Florets stamp set in Tuxedo Black Ink on the envelope front and colored it the same as I did for the card. I adhered a panel of Fitting Florets DSP to the envelope flap.

Thank you for stopping by my blog today. Now that you’ve seen my card, I hope you will take a minute to hop thru all our projects today – you can just click on the names below to go direct to all the blogs! Happy Hopping!!
- Beth McCullough
- Sue Jackson
- Mary Deatherage
- Karen Finkle
- Debbie Mageed
- Melissa Seplowitz
- Karen Ksenzakovic: You Are Here
*********************************************************************************************************
Please bear with me this week. I may be missing in action for a bit. My whole family and I have Covid, so I may not be up to making as many cards as normal. I’ve been doing a LOT of sleeping, a lot more than normal.
*********************************************************************************************************
If you need any stamping supplies, I’d love to be your Demonstrator. Just click HERE to go directly to my online store or drop me an email if you have any questions.
MY CURRENT HOST CODE IS: 76V6XDMX
Use this host code when placing an order with me. When you order $50 or greater you will receive a free gift from me! If your order is over $150, please do not use this code, but you’ll still get the free gift. The free gift is your choice of any 1 item valued up to $10.00 from the 2022-2023 Annual Catalog or the July – December 2022 Mini Catalog! For any orders $50 or more I will also send you my monthly class tutorials. Click HERE or go to my Customer Rewards for more details and to see what this month’s tutorials are.
Please remember to use my current Host Code and make sure that you can see my name on the final checkout page listed as your Demonstrator when you order so that you know that you’re ordering with me and you’ll get my rewards!
Happy Stamping, Karen
*********************************************************************************************************
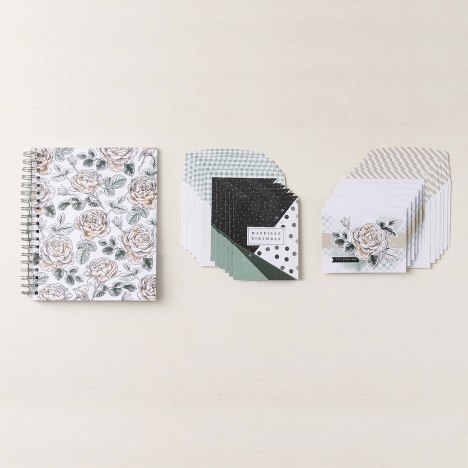
FITTING FLORETS COLLECTION
There’s a new Suite coming November 1st.

Add just the right touch of elegance to any occasion, including Christmas and seasonal celebrations, with the sweet Fitting Florets Collection. From color schemes to sentiments and embellishments to dies, these unique products blend together so that your cards and crafts fit whatever occasion you might need. Send birthday wishes, express your gratitude, or spread Christmas cheer—with so many options to mix and match you’ll be set no matter the celebration all year!
Starting 1 November 2022, you can order items from the Fitting Florets Collection. All items in the collection can be ordered separately. Click HERE or on the photo for a printable PDF flyer.
The following exclusive products are only available while supplies last:
- Framed & Festive Cling Stamp Set (item 160888)
- Fitting Florets Designer Series Paper (item 161814)
- Gold Adhesive-Backed Swirls (item 161822)
The following will be available for purchase in the Mini Catalog starting January 2023:
- Framed Florets Bundle (item 162407)
- Framed Florets Photopolymer Stamp Set (item 161815)
- Framed Florets Dies (item 160623)
Would you like to be able to purchase this collection early so you can get ahead with your Christmas cards? You can add it to your Starter Kit when you join Stampin’ Up! You can order the whole collection for $97.50. Then you still get to choose another $57.50 in product of your choice, and it will all only cost you $99. Everything ships for FREE and Stampin’ Up! will even throw in a past Paper Pumpkin Kit and some business supplies in case you want to start your own business. There is never an obligation to sell, you can join as a Hobby Demonstrator just to enjoy the discount for yourself. Contact me at creativestampingdesigns@gmail.com and we can talk. I would LOVE to have you on my team.
*********************************************************************************************************
Final Week for this AMAZING Starter Kit + Promotion From Stampin’ Up!!!

October is a fabulous time to join Stampin’ Up! You will get even MORE FREE products in your customizable Starter Kit! Between October 4-31, when you join, you will get $155 worth of products in your Starter Kit for only $99!! Plus you’ll get free shipping and all the fun being a part of Stampin’ Up! and our Inkin’ Krew Team!
STARTER KIT+ PROMOTION DATES: OCTOBER 4-31, 2022
- When you purchase your Starter Kit, you will be able to redeem $155 of Starter Kit eligible products for just $99!!
- You can select any eligible Stampin’ Up! products up to the stated value of $155.
- Your Starter Kit also includes business resources like catalogs, brochures, order forms, and postcards.
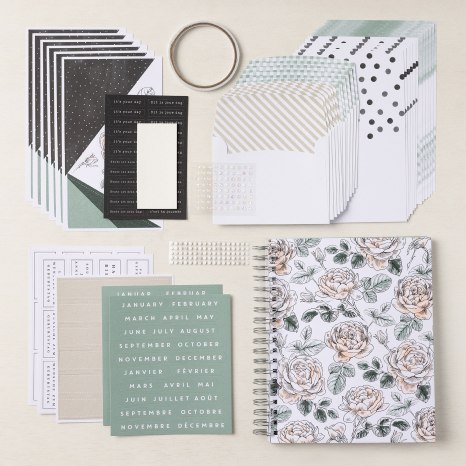
- The Starter Kit also includes a FREE past Paper Pumpkin kit!
- In addition to the amazing added value to your Starter Kit, when you join Stampin’ Up! you get to be a part of our amazing community of crafters. Plus, you get to enjoy sharing simple and fun crafting experiences with others, early access to products, and exclusive access to training events!!
- There is no requirement to hold events, share online or sell in any way to others. You can join and simply get the awesome Starter Kit+ deal and then get a minimum of a 20% discount on anything that you purchase as a Demonstrator!
- New demonstrators who submit their Independent Demonstrator Agreement (IDA) before October 4 or after October 31 will not be eligible for this offer.
- Starter Kit + Promotion begins: October 4, 2022
- Starter Kit + Promotion ends: October 31, 2022 @ 11:50pm MT
You can check out more information about joining our team Here and more details about the benefits of being a Demonstrator and find the link to join Here.
I’d be happy to help you and talk to you about joining. Contact me at creativestampingdesigns@gmail.com and we can connect. This is such a great deal you won’t want to pass it up.
*********************************************************************************************************
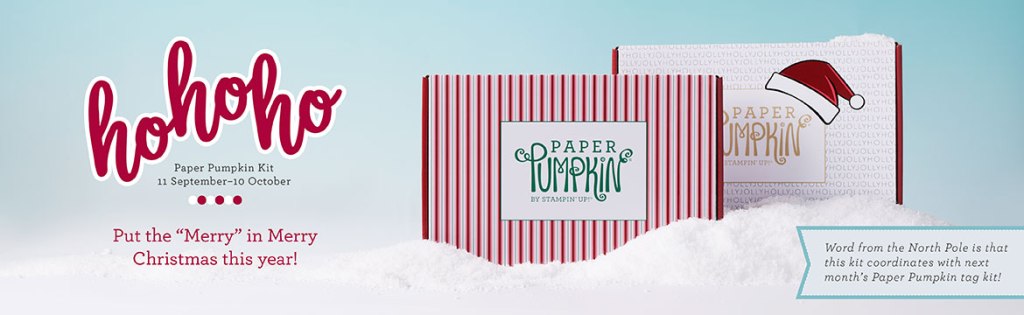
From The North Pole
Subscribe October 11 – November 10

When autumn rolls around, do you start thinking about cozy Christmas crafting projects? This November, Paper Pumpkin delivers this and more with its one-of-a-kind, holiday-themed crafting experience. This festive kit includes 12 fun, sparkly gift tags and (as always!) an exclusive stamp set—plus everything you need for a successful holiday crafting experience.
Need unique Christmas packaging to round out your gifting? We’ve got you covered with our exclusive North Pole Sacks add on.
This kit includes:
- This month’s kit contains enough elements to create 12 tags—4 each of 3 designs. This all-inclusive kit includes printed die-cut paper pieces, twine, adhesive, and more!
- Includes a Cherry Cobbler Classic Stampin’ Spot!
- You’ll love decorating your gift tags with snowflake and banner die-cut pieces on our Mint Macaron glitter specialty paper (a Paper Pumpkin exclusive).
- Create festive gift tags for all your packaging needs this holiday season with classic Christmas colors and designs.
Finished gift tag size: 2″ x 3″ (5.1 x 7.6 cm)
Coordinating Stampin’ Up! colors: Basic Black, Cherry Cobbler, Crumb Cake, Mint Macaron, Shaded Spruce, Sweet Sorbet
Subscribe to the November Paper Pumpkin Kit between 11 October and 10 November at paperpumpkin.com!
Note: Supplies may be limited toward the end of the subscription period.
ADD-ON
Available for purchase on stampinup.com starting 11 October 2022:
North Pole Sacks Add-On

Item Number: 162416
Add-on details:
- Includes 12 food-safe paper bags
- Create fun packaging for your seasonal gifts and treats
- Features a festive design in Crumb Cake
- Bag size: 4″ x 6″ (10.2 x 15.2 cm)
Note: Supplies may be limited toward the end of the subscription period.
*********************************************************************************************************
Card stock cuts for this project:
- Basic White Cardstock1 1/2″ X 3″ (sentiment), 2 1/4″ X 3″ (flowers), 4″ X 5 1/4″ (inner liner)
- Polished Pink Cardstock 2 – 4 1/8″ X 5 3/8″ (card front & inner liner mats)
- Soft Succulent Cardstock 4 1/4″ x 11″ (card base scored & folded at 5 1/2″)
- Fitting Florets Designer Series Paper 2 1/2″ X 4″ (card front panel), 3″ X 6″ (drapery), 2 1/4″ x 6″ (envelope flap)
*********************************************************************************************************
Product List


")
")


")
")

")
")

")


 Designer Series Paper")


")
")

 Designer Series Paper")


")
")


 Layering Designs")


")


")


")


")

 Designer Series Paper")


