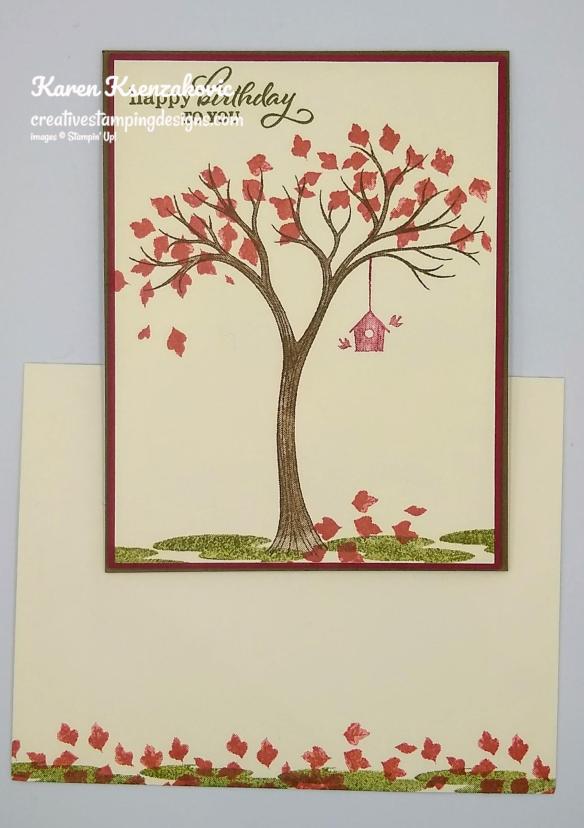
Good Wednesday morning my fellow stampers. How is everyone’s week going? We’re halfway through and on our way to the weekend. Another month flying by. I was walking home from work the other day and noticed everyone’s leaves raked to the curb waiting to be picked up, except mine. Mine are still green on my tree. I have a purple plum tree in my backyard and it’s still purple full of leaves. Other that pine trees, I have the only trees with leaves that haven’t turned on our block. My trees are definitely laughing at me.
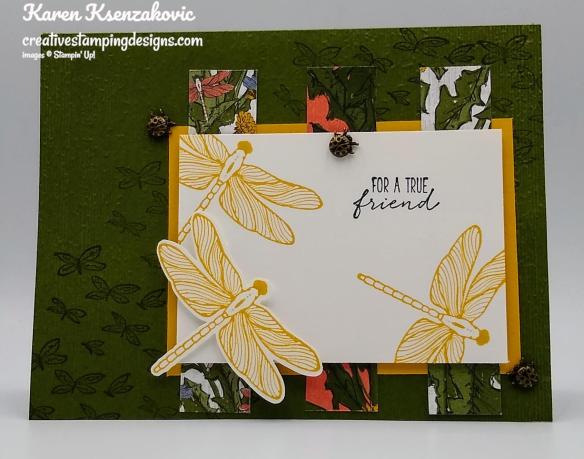
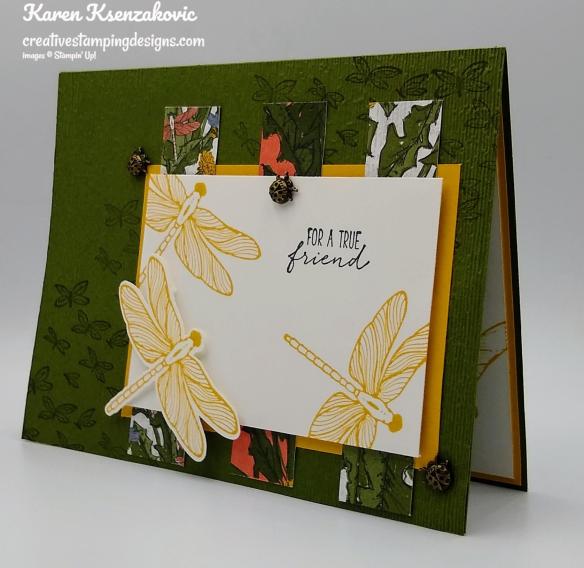
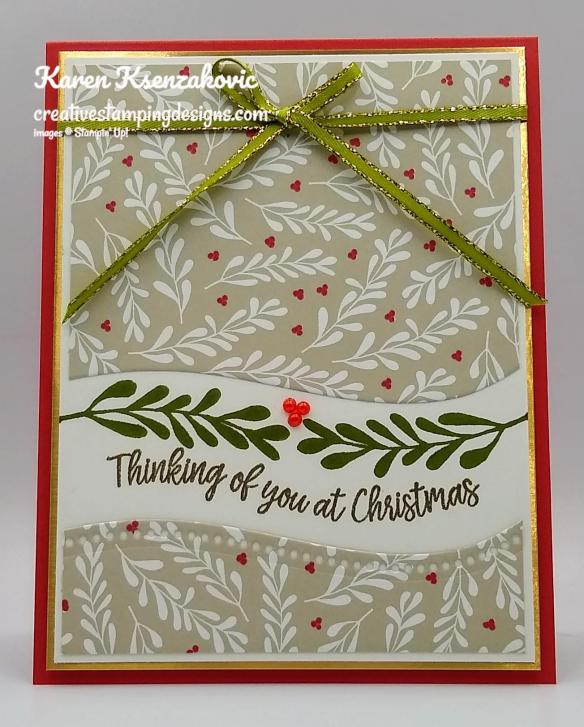
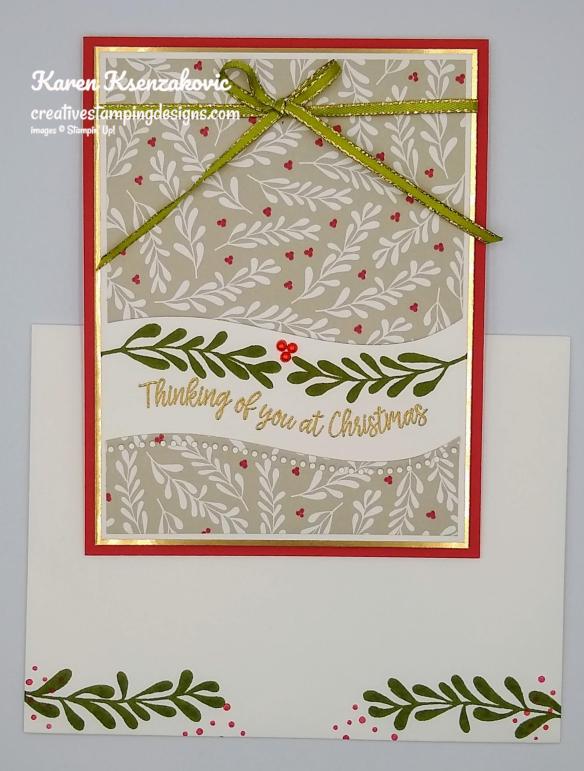
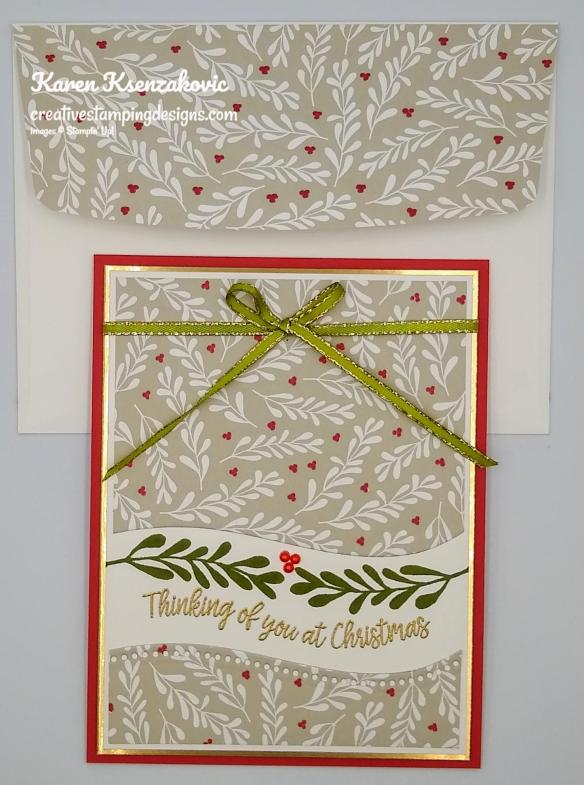
I have sneak peek for you today of another card that we ‘made’ at OnStage@Home this past weekend. This is another one that everyone’s will look different depending on which patterns of the paper everyone chose. Here’s my take on the card.

I played along with Always Fun Challenge #188. Their theme is ‘Thank You’.
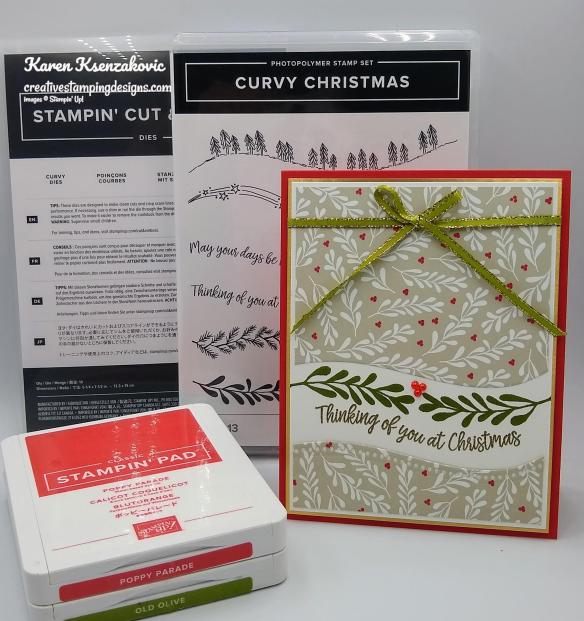
I used the Stampin’ Up! Dragonfly Garden Bundle which will be available for purchase January 5, 2021 from the January-June 2021 Mini Catalog.
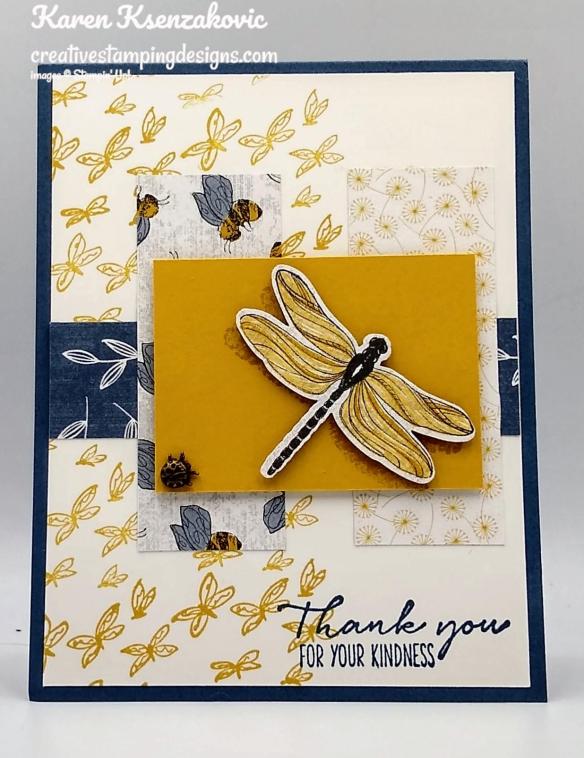
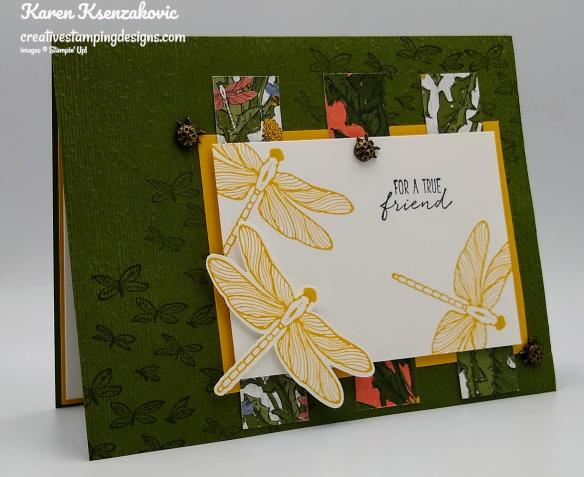
I started by stamping the small dragonfly cluster image from the Stampin’ Up! Dragonfly Garden Stamp Set in Bumblebee Ink along the side of a Whisper White panel. I adhered a panel of Dandy Garden 6 X 6 Designer Series Paper across the center of the panel using Stampin’ Seal.

I stamped the sentiment from the Dragonfly Garden stamp set on the bottom of the panel in Misty Moonlight Ink. On a panel of Bumblebee cardstock I stamped the wings fill image from the Dragonfly Garden stamp set in Bumblebee Ink twice. From a panel of the Dandy Garden DSP I punched one of the dragonflies out using my Dragonflies Punch and adhered it to the Bumblebee panel, above the stamped wings so that it looked like a shadow, using Stampin’ Dimensionals.
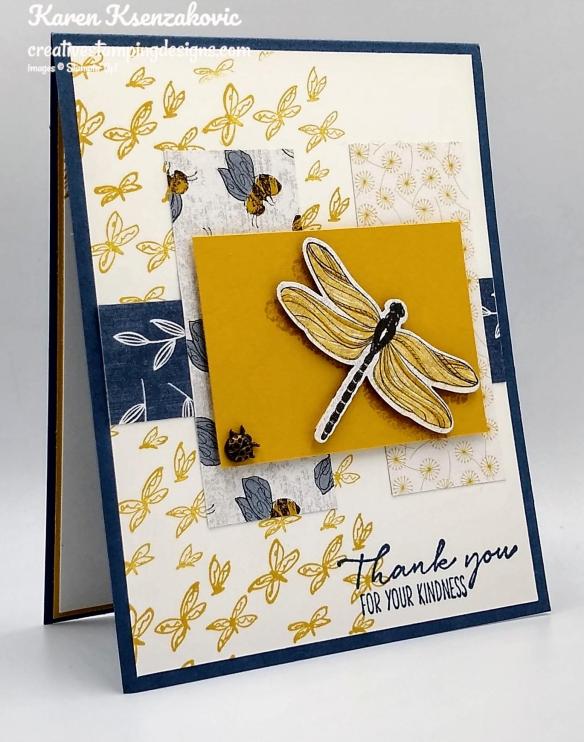
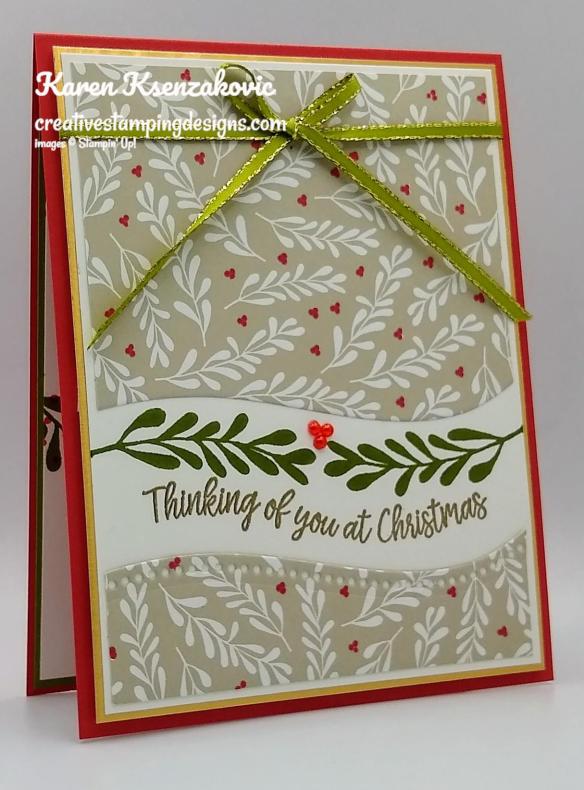
I adhered the 2 shorter panels of Dandy Garden DSP to the card front using Multipurpose Liquid Glue. I adhered the Bumblebee panel to the card front using Stampin’ Dimensionals. I adhered the card front to a Misty Moonlight card base using Multipurpose Liquid Glue. I added a Ladybug Trinkets to the corner of the Bumblebee panel using a Glue Dot.

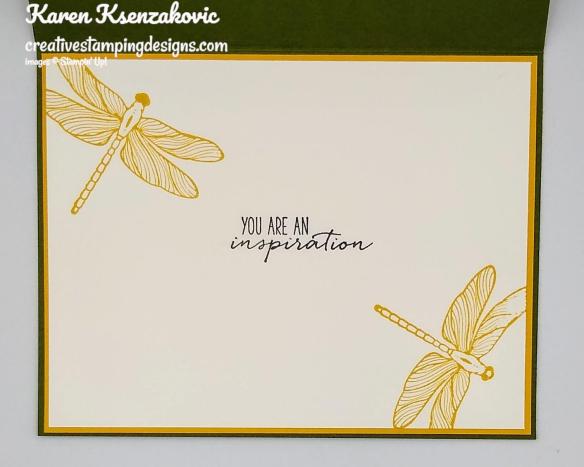
On the inside I stamped the sentiment from the Stampin’ Up! Ornate Thanks Photopolymer Stamp Set in the center of a Whisper White panel in Misty Moonlight Ink. I stamped the dragonfly image from Dragonfly Garden stamp set twice on the panel. I adhered the Whisper White panel to a Bumblebee mat using Stampin’ Seal and then to the inside of the Misty Moonlight card base using Multipurpose Liquid Glue.
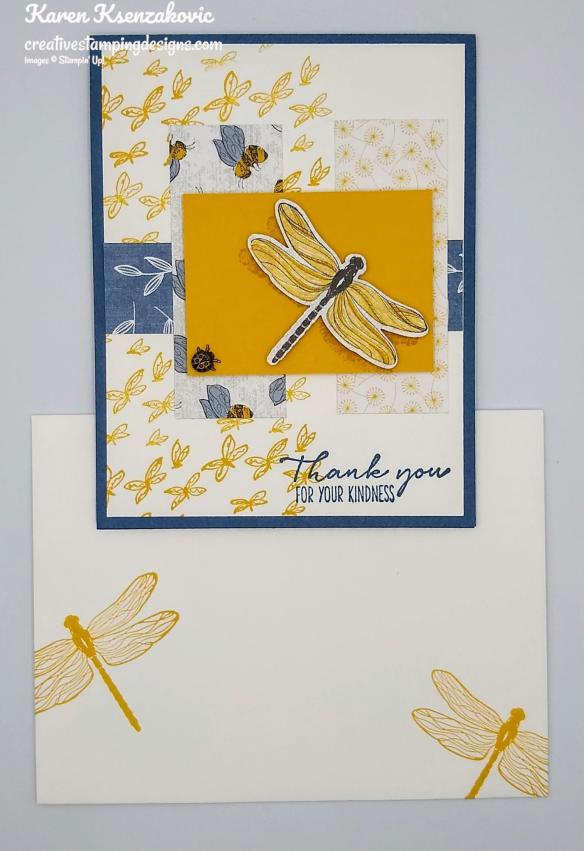
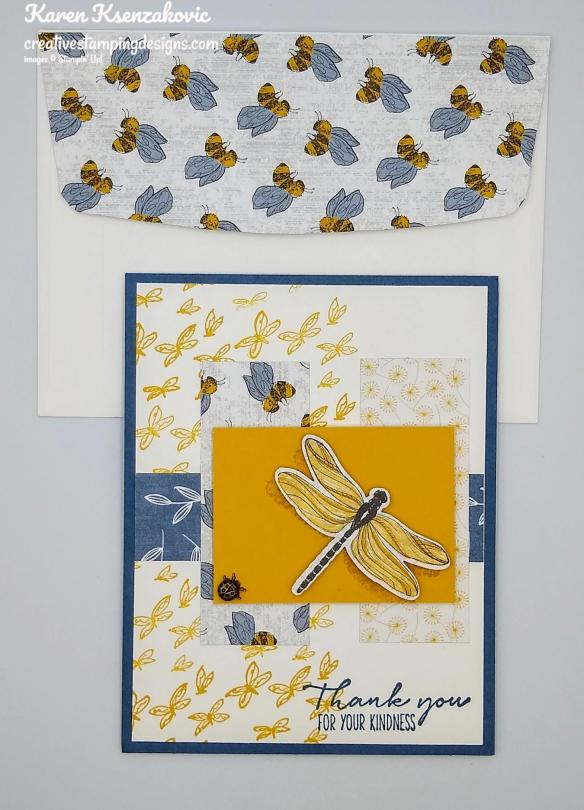
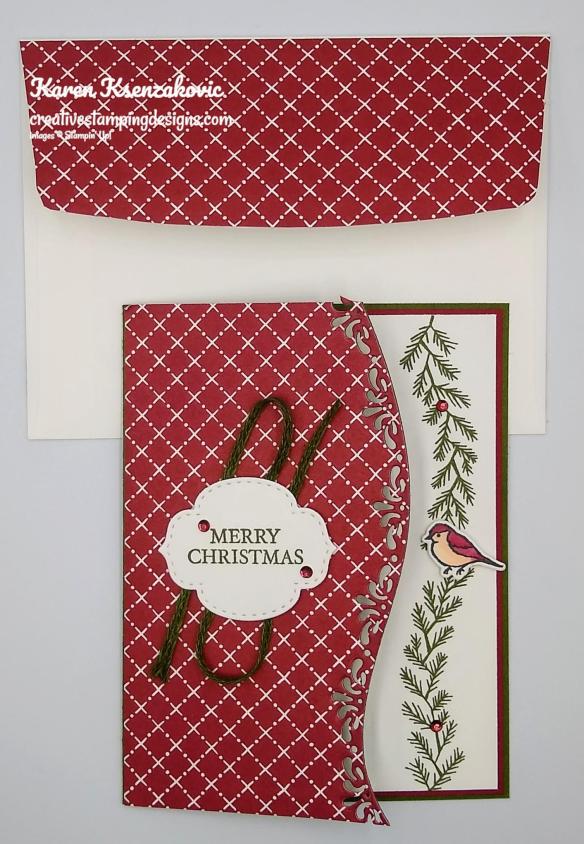
To finish my card I decorated a Medium Whisper White Envelope. I stamped the dragonfly image from the Dragonfly Garden stamp set in Bumblebee Ink twice on the envelope front. I adhered a panel of Dandy Garden DSP to the envelope flap.
Thank you for stopping by my blog today, I hope you liked my card. All items used for today’s card, except for the Ornate Thanks stamp set, will be available from the January-June 2021 Mini Catalog on January 5, 2021. If you are one of my customers and have placed an order in the past year, I will be sending you the catalog as soon as I get them. Happy Stamping!!
****************************************************************************************************
Join me today at 4pm Today on Facebook Live .
I’m planning to go live on my Facebook page with a project today at 4:00pm ET. Stop by my Facebook page at 4pm ET to see what card I will be making this week.
*********************************************************************************************************
If you need any stamping supplies, I’d love to be your Demonstrator. Just click HERE to go directly to my online store or drop me an email if you have any questions.
MY CURRENT HOST CODE IS: 9XYYG2ZU
Use this host code when you order $50 or greater and receive a free gift from me! If your order is over $150, please do not use this code, but you’ll still get the free gift. The free gift is your choice of any 1 item valued up to $10.00 in the 2020-2021 Annual Catalog! For any orders $50 or more I will also send you my monthly class tutorials. Click HERE or go to my Customer Rewards for more details and to see what this months tutorials are.
Click HERE to shop the clearance rack.
Please remember to use my current Host Code and make sure that you can see my name on the final checkout page listed as your Demonstrator when you order so that you know that you’re ordering with me and you’ll get my rewards!
Happy Stamping, Karen!
*********************************************************************************************************
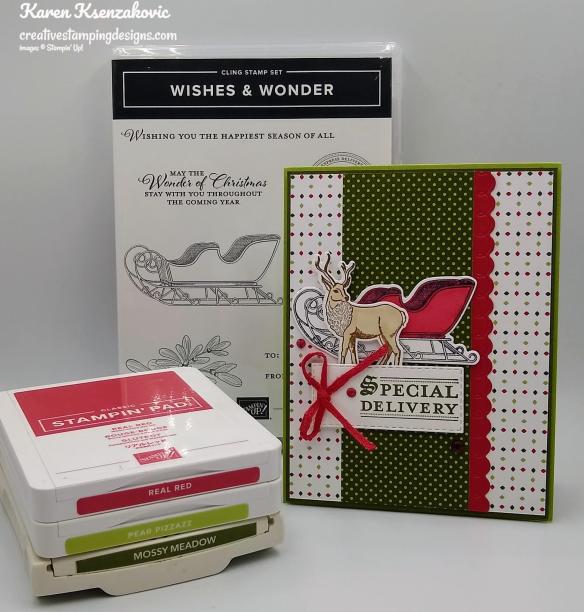
FREE Bonus Quite Curvy and Curvy Christmas Project Tutorials With Videos When You Purchase The Bundle From Me!!

A group of us worked together to create five awesome tutorials using the Stampin’ Up! Curvy Celebrations special release products with video tutorials! You can get this set of exclusive tutorials when you purchase either the Quite Curvy Variety Bundle (item 158396) or the Quite Curvy Bundle (item 156228) from me between now and January 4!
If your order is $50 or greater and includes either of these bundles, you will get this set of tutorials in addition to the monthly online class tutorials AND your $10 thank you gift! And you’ll also earn my Creative Stamping Designs Reward Points!
*********************************************************************************************************
Card stock cuts for this project:
- Bumblebee Cardstock 2″ X 2 3/4″ (card front panel), 4 1/8″ X 5 3/8″ (inner liner mat)
- Misty Moonlight Cardstock 4 1/4″ X 11″ (card base scored and folded at 5 1/2″)
- Whisper White Cardstock 2 – 4″ X 5 1/4″ (card front and inner liner)
- Dandy Garden 6 X 6 Designer Series Paper 1″ X 4″ (card front panel), 2 – 1 1/4″ X 3 1/4″ (card front panels), 2 1/4″ X 6″ (piece for envelope flap)
*********************************************************************************************************
Product List
")


")
")


 Braided Linen Trim")


")
")


 Designer Series Paper")


")


 Designer Series Paper")


")


 Ribbon")


")
")

 Designer Series Paper")


")