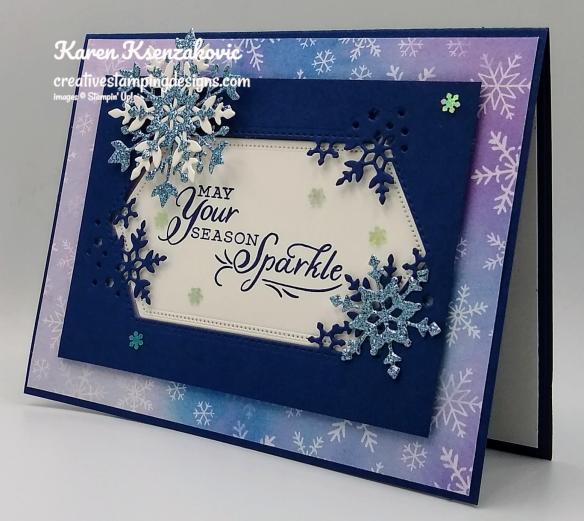
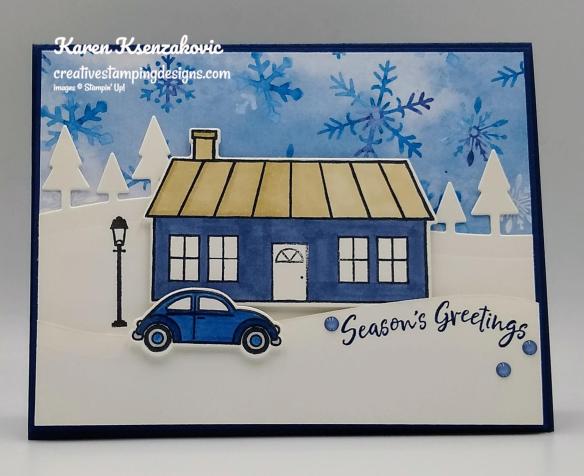
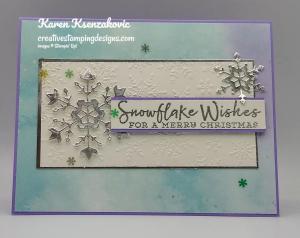
Good Thursday morning my stamping friends! Welcome to our Happy Inkin’ Thursday Blog Hop. I hope everyone is doing well today. If you are hopping over from Karen Finkle’s blog, thank you for stopping by my blog. This week we have a Color Challenge. I can’t wait to see what everyone has created this week. Be sure to take a moment to hop around to see everyone’s beautiful projects. Here is my card using this weeks Colors.

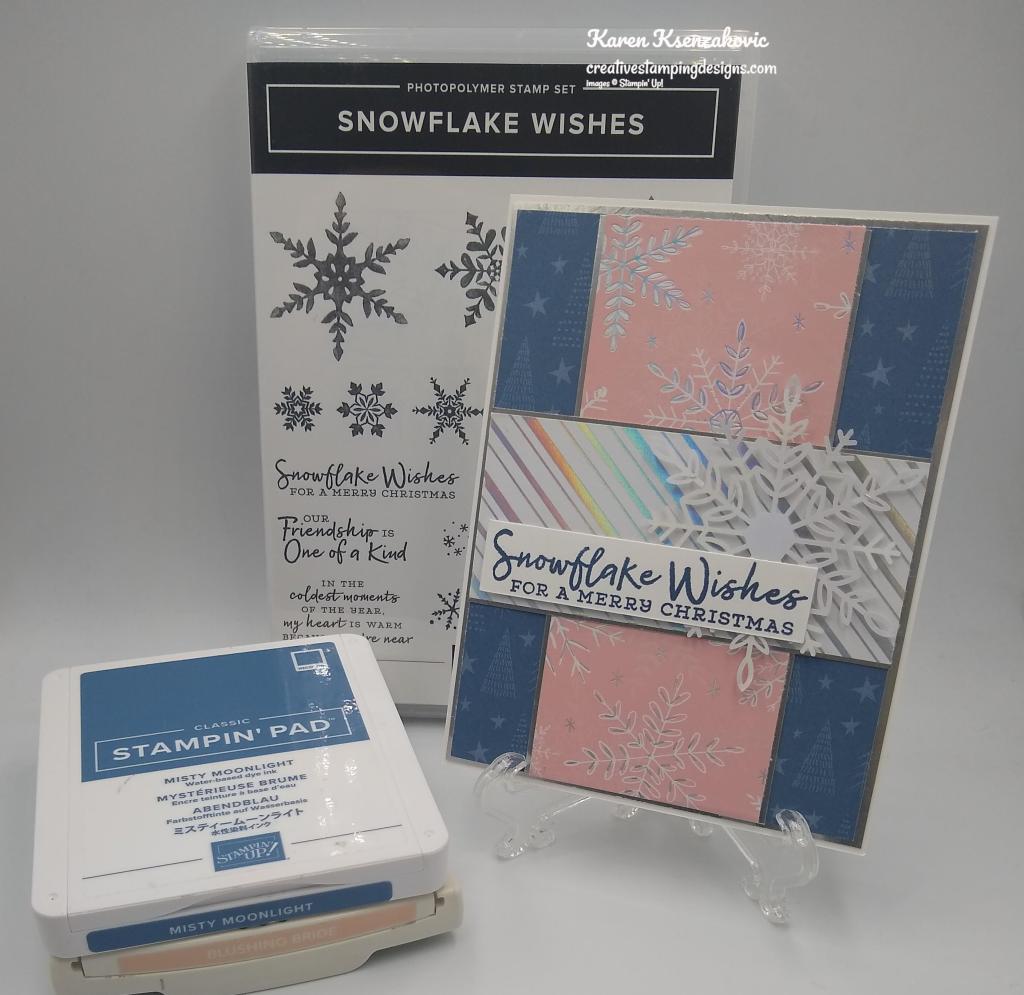
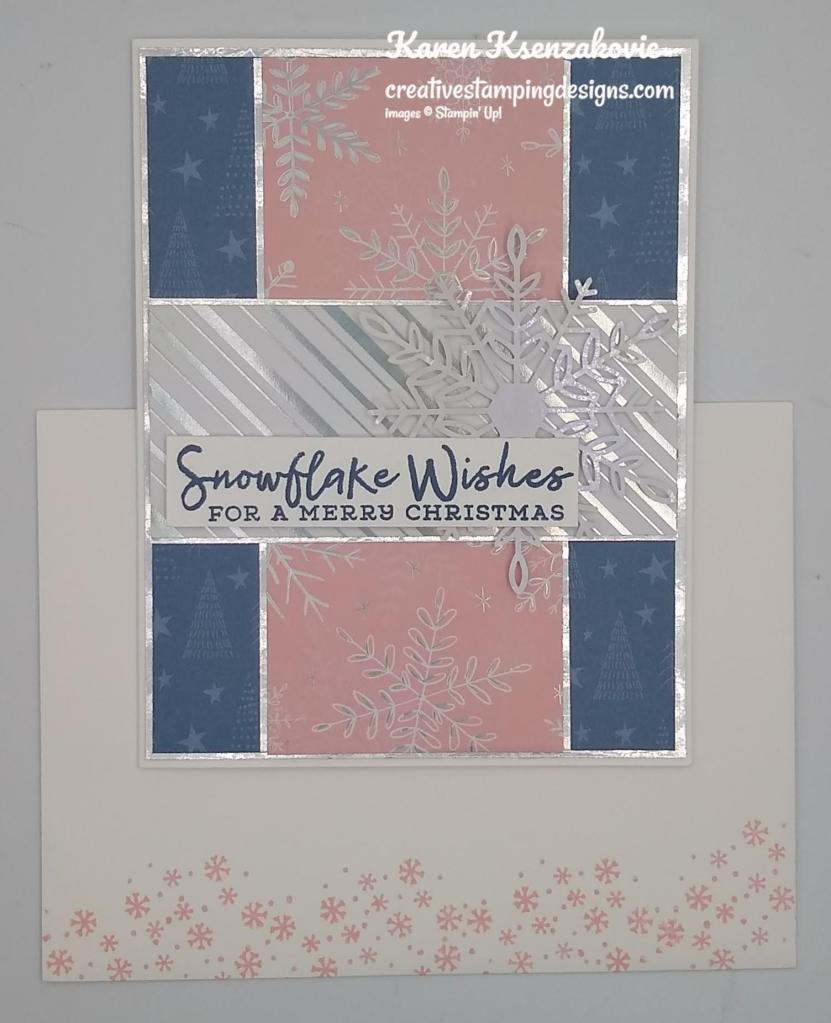
I used the Stampin’ Up! Snowflake Wishes Photopolymer Stamp Set along with the Tidings of Christmas 6 X 6 Designer Series Paper, both which are from the 2021-2022 Annual Catalog, for my card today.

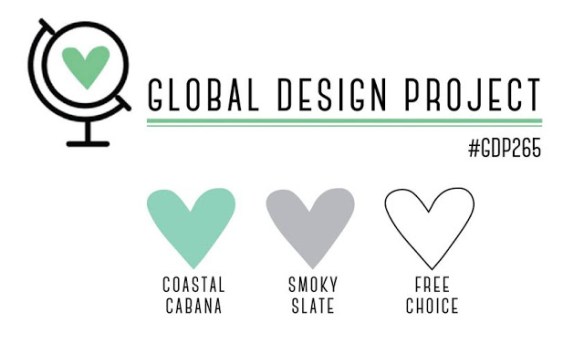
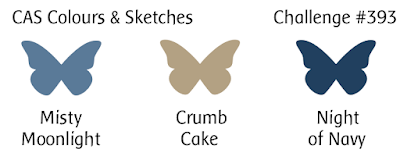
These are our colors for this week.

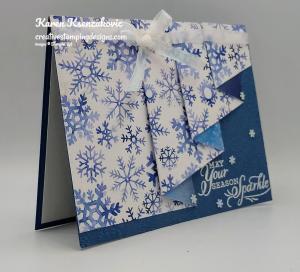
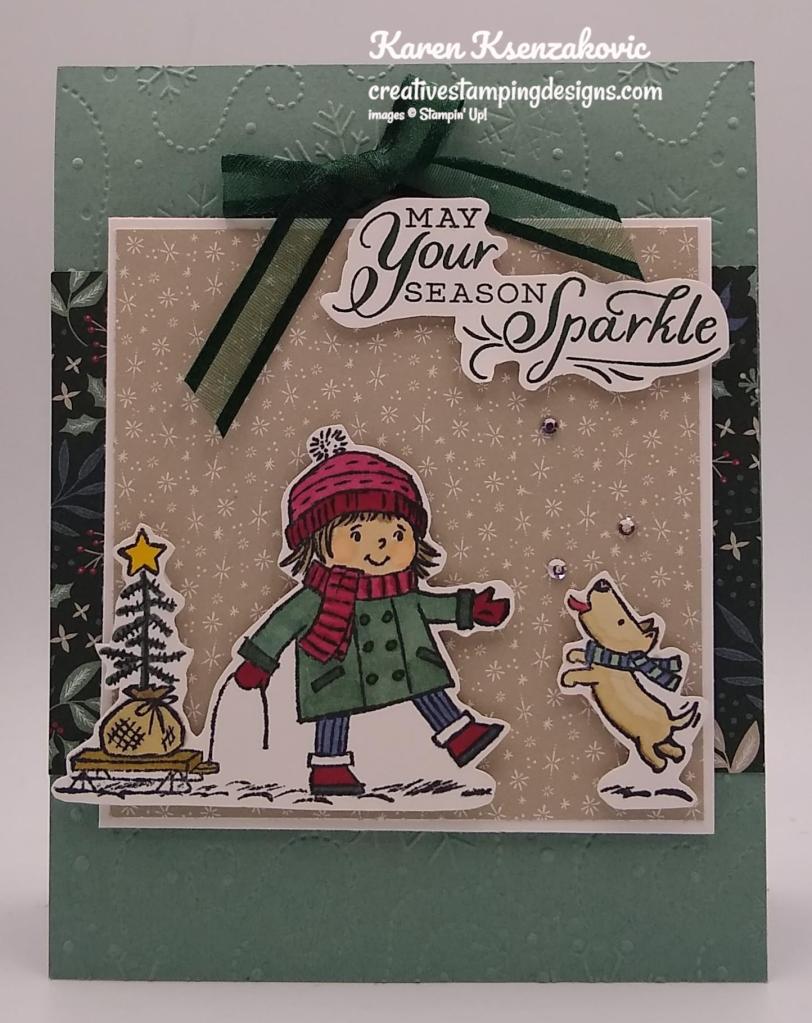
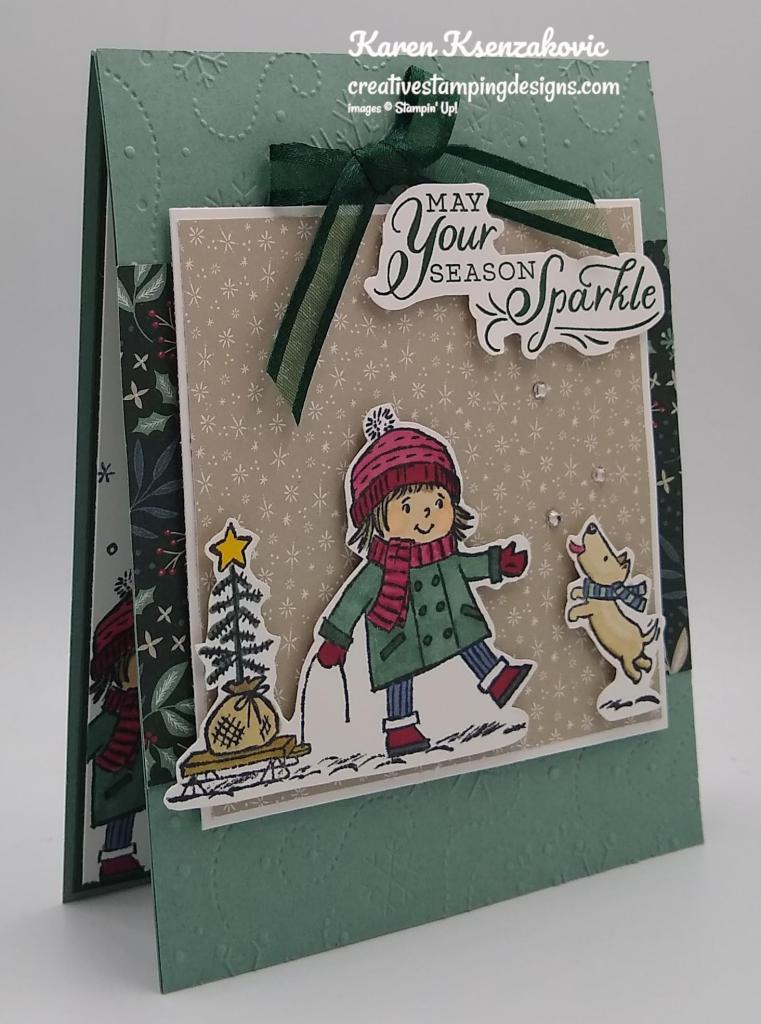
As some of you know, my favorite cards have multiple layers. So, for today, I’ve made a card with a lot of layers. I started by adhering a panel of the Tidings of Christmas DSP to an Evening Evergreen card base using Stampin’ Seal.

I adhered all the Tidings of Christmas DSP panels to the coordinating mats using Stampin’ Seal. I adhered the layered panels to the card front using Stampin’ Seal. I adhered a strip of Evening Evergreen cardstock across the card front using Multipurpose Liquid Glue and wrapped a piece of the Misty Moonlight/Silver Bakers Twine from the Flowers for Every Season Ribbon Combo Pack around the card front and tied a bow.
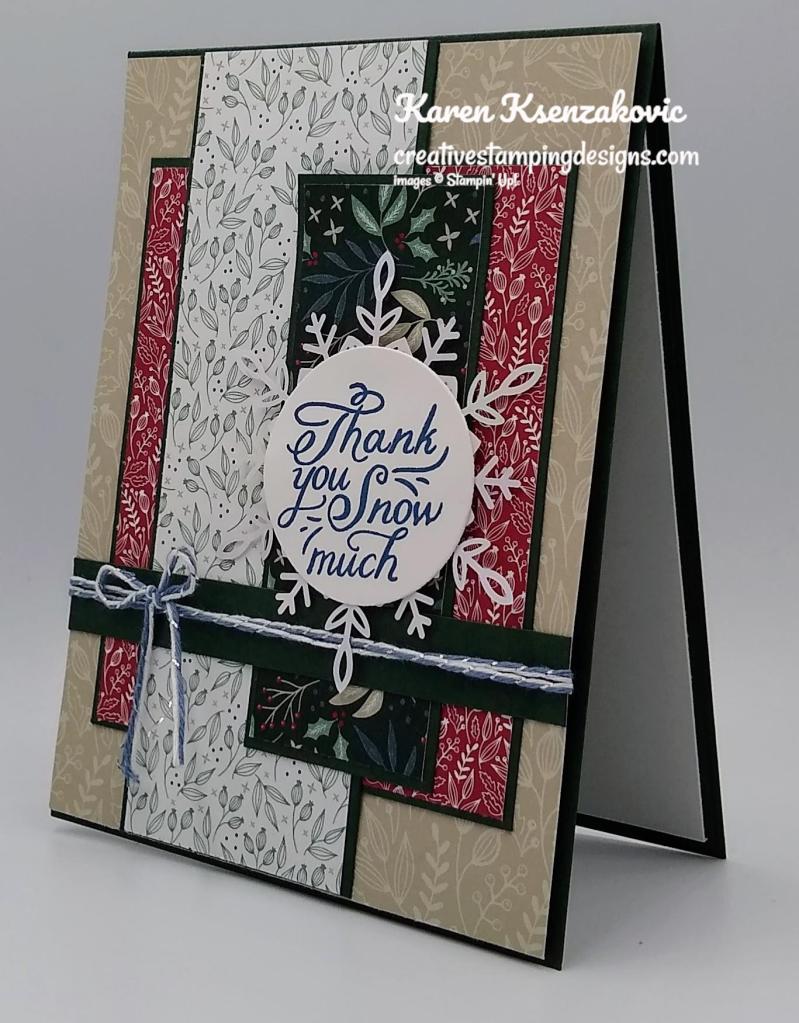
On a panel of Basic White cardstock I stamped the sentiment from the Snowflake Wishes stamp set in Misty Moonlight Ink and cut it our using the 3 from the smallest Layering Circles Dies. I adhered a Wonderful Snowflake to the card front using a Stampin’ Dimensional. I adhered the sentiment to the center of the snowflake using Multipurpose Liquid Glue.
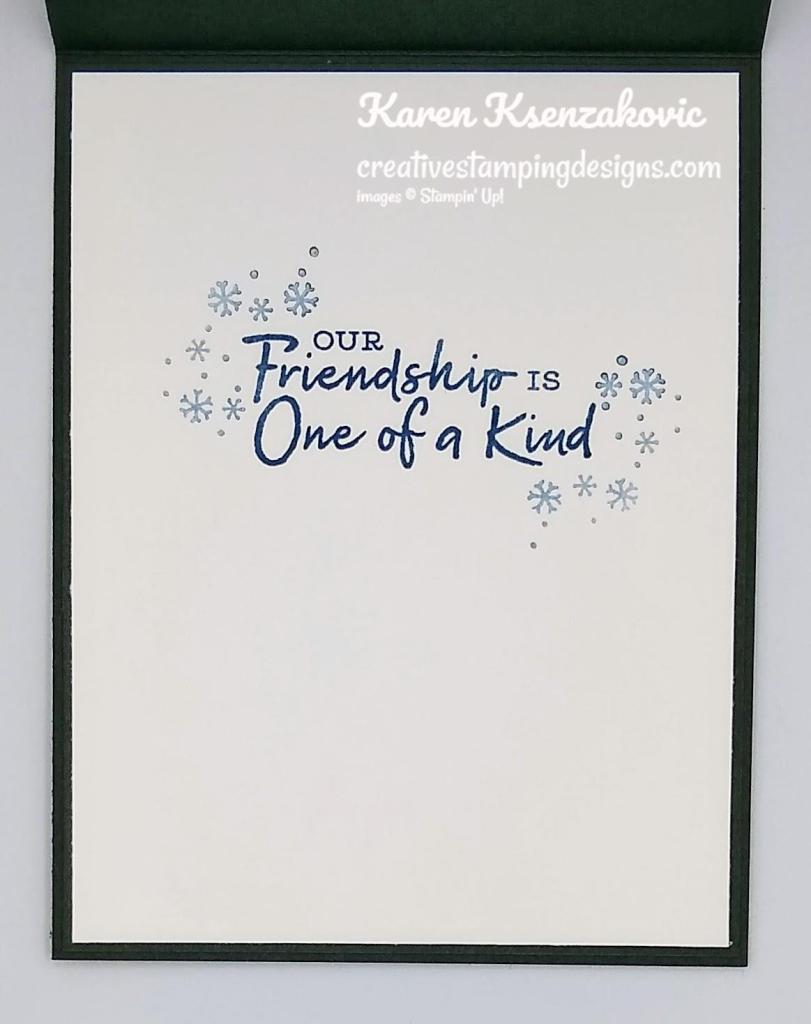
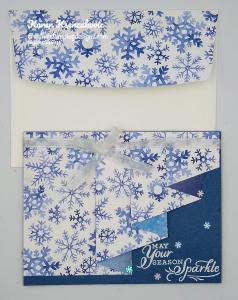
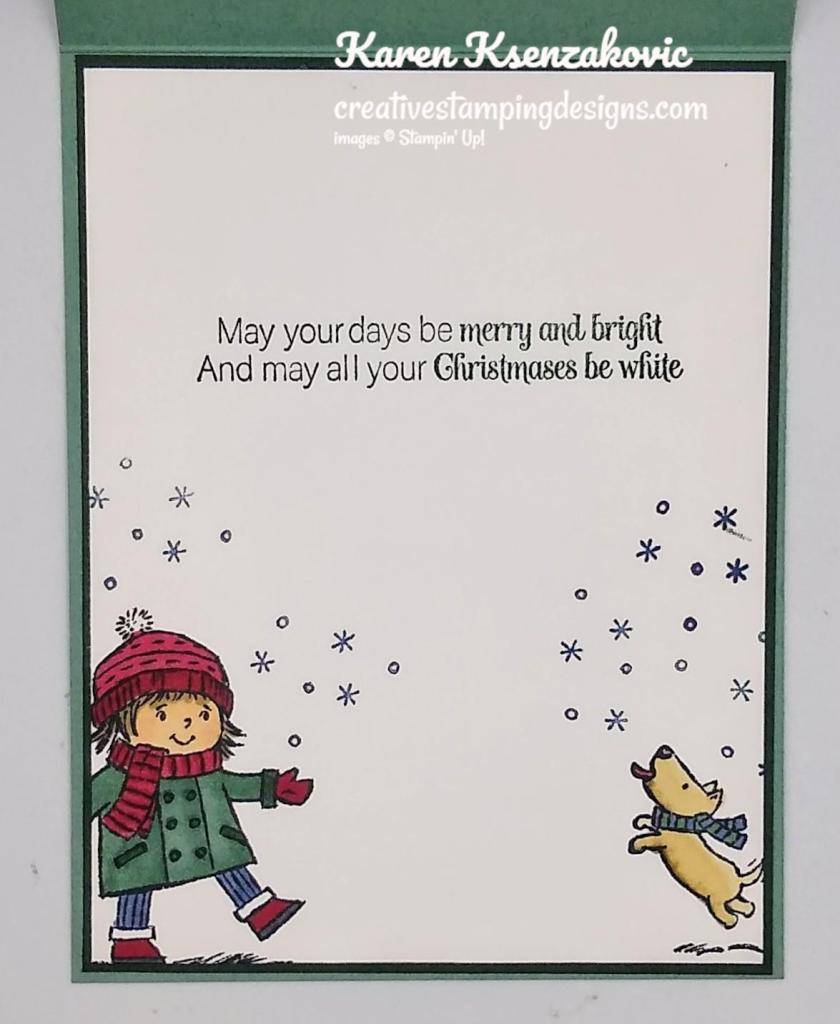
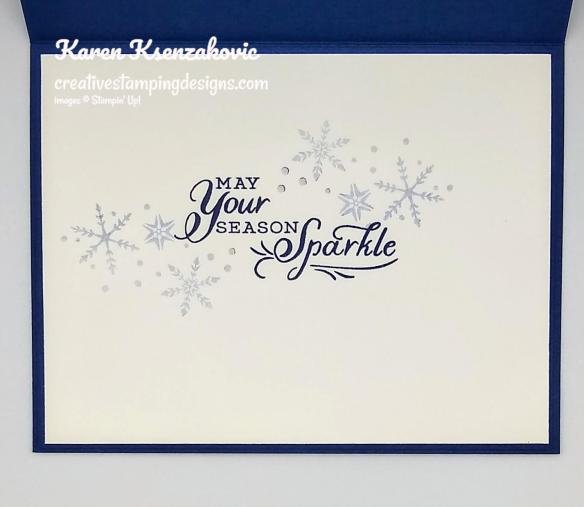
On the inside I stamped the sentiment from the Snowflake Wishes stamp set in Misty Moonlight Ink on a Basic White panel. I stamped the small cluster of snowflakes image from the Snowflake Wishes stamp set on either side of the sentiment in Misty Moonlight Ink, stamping off once. I adhered the Basic White panel to an Evening Evergreen mat and then to the inside of the Evening Evergreen card base.

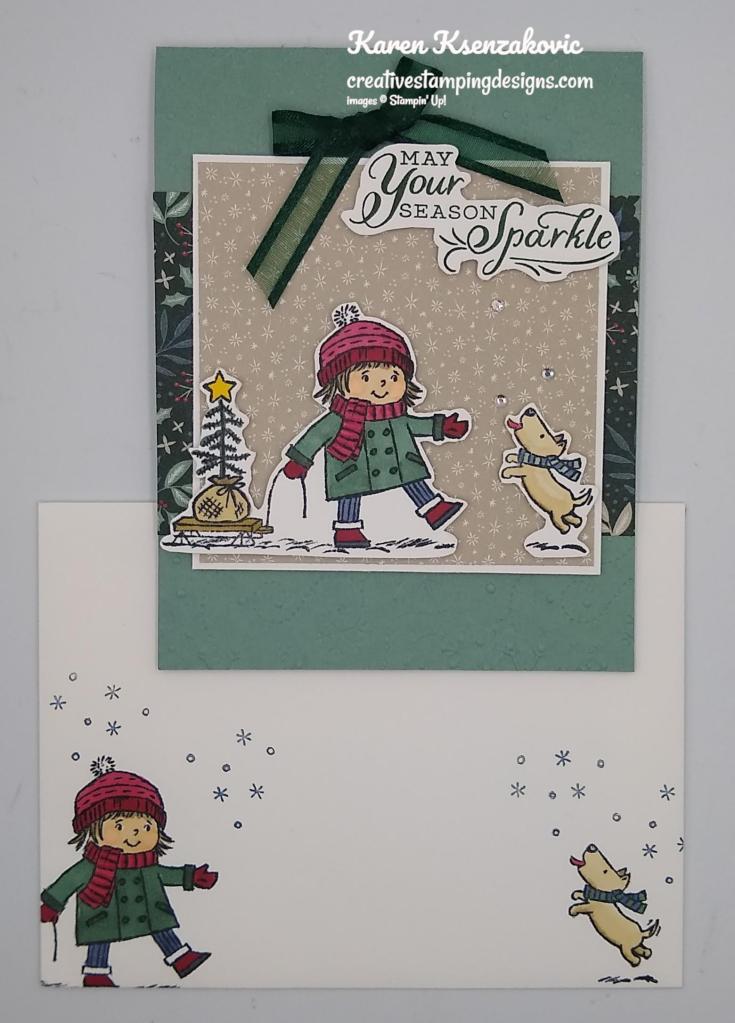
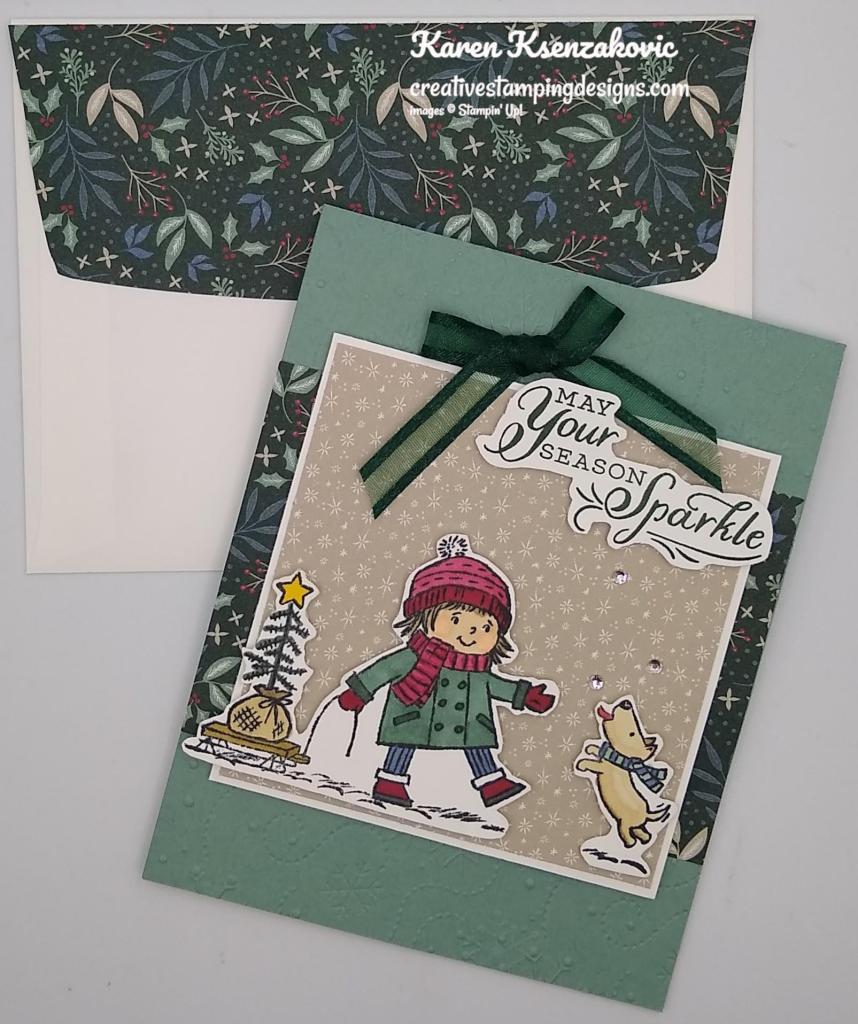
To complete my card I decorated a Basic White Medium Envelope. I adhered a strip of the Tidings of Christmas DSP to the envelope front and a panel on the envelope flap.

Thank you for visiting my blog today. I hope you liked my card and will give it a try. Now that you’ve seen my card, take a minute to hop through all our projects today. If you click on the Next Blog button, you’ll go to Tara’s page. Or you can just click on the names below to go directly to all their blogs! Happy Hopping!!

Karen Ksenzakovic: You Are Here
*********************************************************************************************************
If you need any stamping supplies, I’d love to be your Demonstrator. Just click HERE to go directly to my online store or drop me an email if you have any questions.
MY CURRENT HOST CODE IS: JSPXUJD6
Use this host code when placing an order with me. When you order $50 or greater you will receive a free gift from me! If your order is over $150, please do not use this code, but you’ll still get the free gift. The free gift is your choice of any 1 item valued up to $10.00 from the 2020-2021 Annual Catalog or the July-December 2021 Mini Catalog! For any orders $50 or more I will also send you my monthly class tutorials. Click HERE or go to my Customer Rewards for more details and to see what this months tutorials are.
Please remember to use my current Host Code and make sure that you can see my name on the final checkout page listed as your Demonstrator when you order so that you know that you’re ordering with me and you’ll get my rewards!
Happy Stamping, Karen!
*********************************************************************************************************
Stampin’ Up! has updated the Clearance Rack with a few new goodies! Head over there quick to get your hands on some great deals. But hurry!! Clearance Rack deals are only while supplies last!
CLICK HERE to head over to my online store to shop those great deals now!! Have fun shopping!
*********************************************************************************************************

The July–December 2021 Mini Catalog will be retiring soon! t’s always bittersweet to see a classic Stampin’ Up! catalog take a trip to retirement. But, we’re looking forward to all the new products on their way—and we hope you are, too! Beginning December 1, Stock up on your favorite products before they’re gone for good! Save up to 50% on essential craft supplies. The selection of Last Chance Products is only available while supplies last.
Click Here to open the full retiring list from the July-December 2021 Mini Catalog (includes the sale prices that start on December 1)
Click Here to see the full carryover list (items that will continue to be available and items that will be available again in the July-December 2022 Mini Catalog)
Last Chance Sale Details:
- See the full Retiring List (products that will no longer be available once the catalog retires) with the sale prices Here. The sale prices start on December 1!
- See the Carryover List (products that will still be available once the catalog retires) Here.
- All retiring products are available while supplies last, and there are no purchase limits.
- Discounted items can be added to a Starter Kit and redeemed as a 50% off item or with Stampin’ Rewards.
- Last Chance Sales Period: Starts December 1, 2021 at 12:01 AM MT and ends January 3, 2022 at 11:50 PM MT
Let me know if you have any questions and don’t forget to pick up any of those items on the retiring list that you’re wanting soon so that you don’t miss out!
*********************************************************************************************************
Kisses & Hugs
Subscribe December 11 – January 10
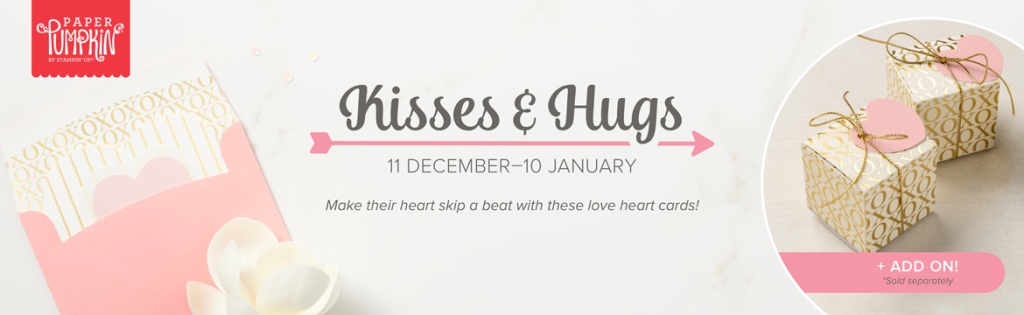
We all know that roses are red and violets are blue—it’s time that love-themed cards got an upgrade! The Kisses & Hugs Paper Pumpkin Kit will help you express that forever kind of love with heart-shaped cards that would make Cupid jealous.
The Kisses & Hugs kit is not bound to just Valentine’s Day, it works for all love occasions year-round like anniversaries, weddings, birthdays, or those “just because” days. Check out the teaser video below to get a taste of what’s included.
Details:
- Kit contains enough supplies to create 10 cards—5 each of 2 designs—and 10 coordinating envelopes
- Kit features an exclusive Two-Step photopolymer stamp set
- Kit includes a Gray Granite Classic Stampin’ Spot
- Card size: 4-1/2″ x 4-1/4″ (11.4 x 10.8 cm) heart-shaped cards; folded
- Coordinating colors: Blushing Bride, Flirty Flamingo, Gray Granite, Very Vanilla
ADD-ON
Name: Kisses & Hugs Mini Treat Boxes
Item number: 160147 | $10.00 USD | $13.75 CAD
Details:
- Contains 20 mini treat boxes and 20 heart tags
- Gold cord: 10-1/2″ yards (9.6 m)
- Finished size: 1-3/4″ x 1-3/4″ x 1-3/4″ (4.4 x 4.4 x 4.4 cm)
- Printed with gold foil
These coordinated treat boxes are not included in this month’s kit and are only available for purchase separately as an add-on online starting 25 January. You must be a Paper Pumpkin subscriber to purchase and they are only available while supplies last.
Subscribe to the January 2022 Paper Pumpkin Kit between 11 December and 10 January at paperpumpkin.com!
Note: Supplies may be limited toward the end of the subscription period.
*********************************************************************************************************
Card stock cuts for this project:
- Basic White Cardstock 2″ X 2″ (sentiment), 4″ x 5 1/4″ (inner liner)
- Evening Evergreen Cardstock 4 1/4″ X 11″ (card base scored & folded at 5 1/2″), 2″ X 5 3/8″, 3 1/2″ X 4″, 1 1/2″ X 3 3/4″ & 1/2″ X 4″ (card front mats), 4 1/8″ X 5 3/8″ (inner liner mat)
- Tidings of Christmas 6 X 6 Designer Series Paper 4 1/8″ x 5 3/8″, 1 7/8″ x 5 3/8″, 3 3/8″ X 3 7/8″, 1 3/8″ x 3 5/8″ (card front panels), 1/2″ X 6″ & 2 1/4″ X 6″ (envelope)
*********************************************************************************************************
Product List


 Designer Series Paper")


")


 Open Weave Ribbon")


 Specialty Pack")
 Specialty Designer Series Paper")


 Metallic Ribbon")


")


 Ribbon")


")