
Good Saturday morning my stamping friends. Welcome to the weekend. I hope you have something fun planned. I was suppose to have off today and only work a half day tomorrow, but things changed. I’ll be working today and tomorrow at the hardware store. One of my cashiers is sick and we had to rearrange the schedule and I won the prize lol.
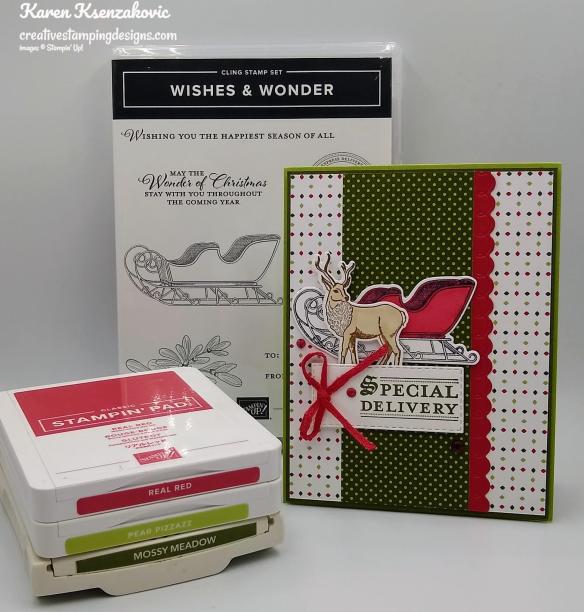
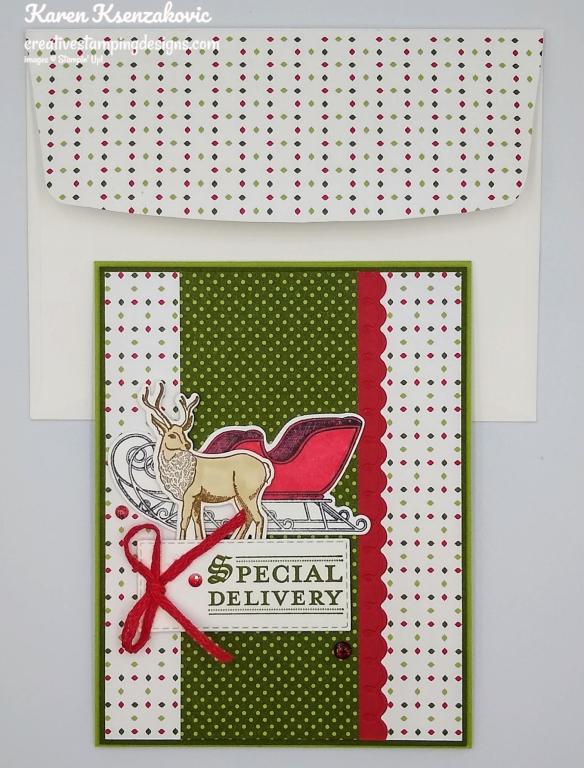
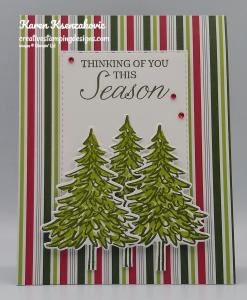
I pulled out another Christmas set from the July-December 2021 Mini Catalog for todays card. I love the images from this set. Here’s my card for today.

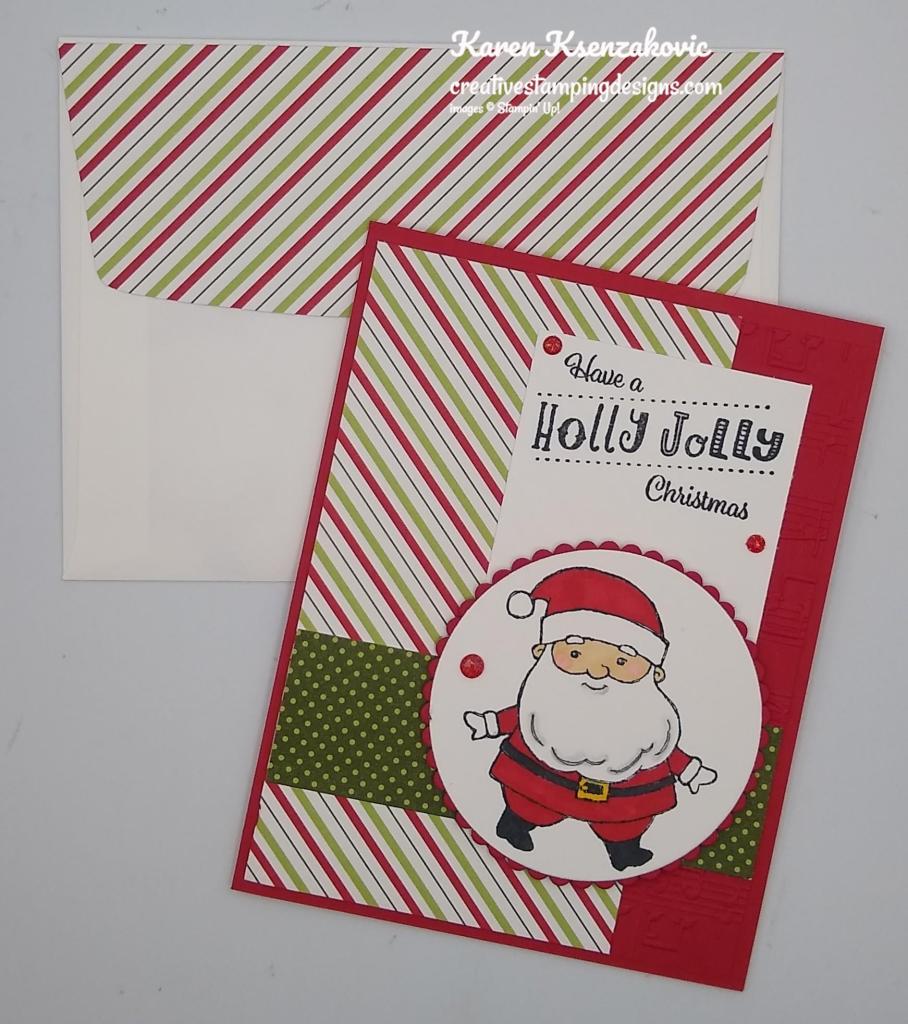
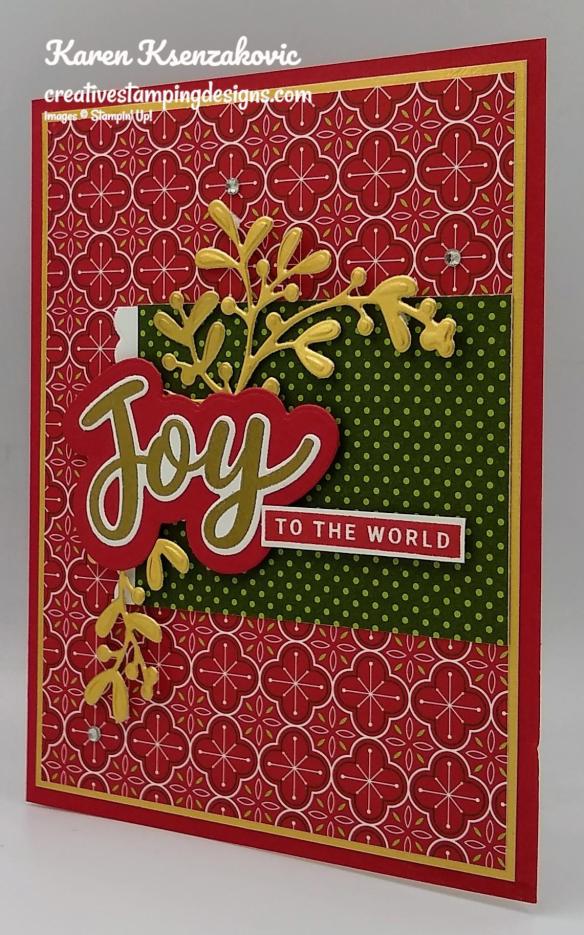
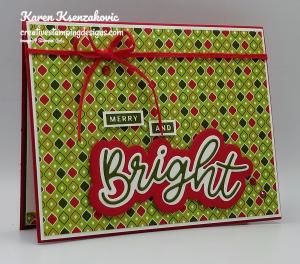
I used the Stampin’ Up! Be Jolly Cling Stamp Set along with the Heartwarming Hugs Designer Series Paper for my card today.

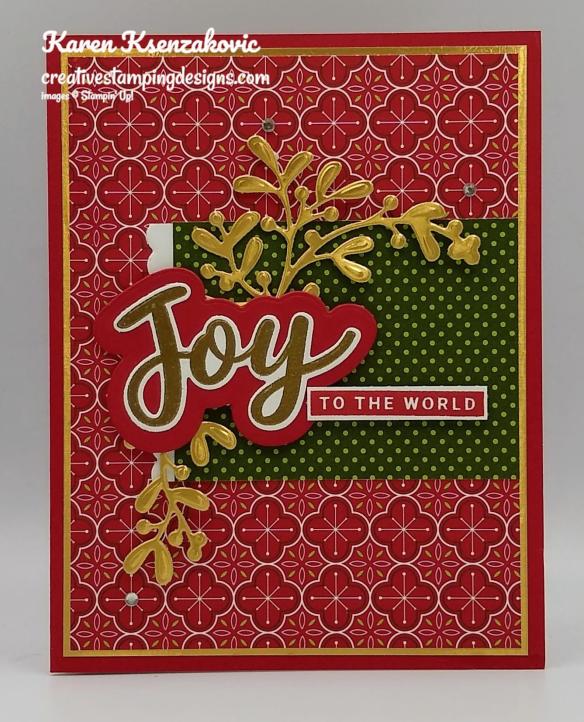
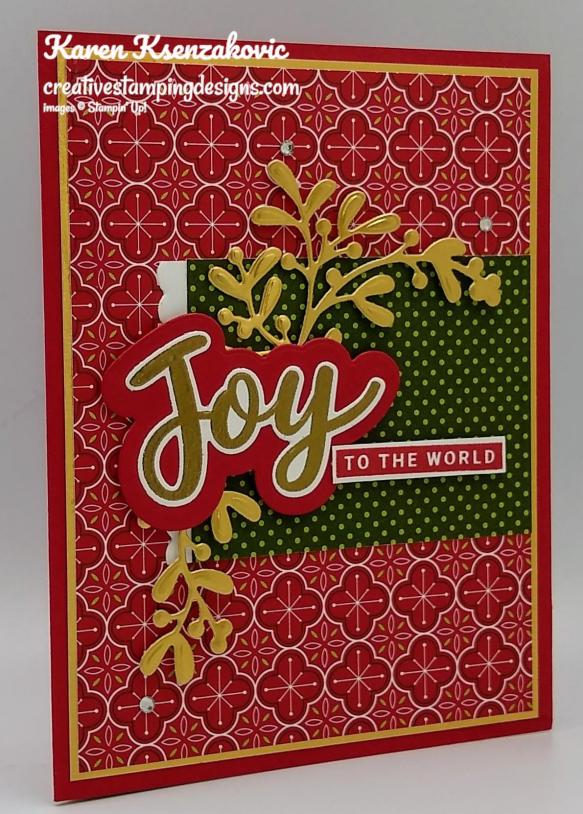
I started by embossing a Real Red card front using the Merry Melody 3D Embossing Folder. I adhered a panel of the Heartwarming Hugs DSP to the left side of the card front. I adhered another strip of the Heartwarming Hugs DSP across the card front towards the bottom. I adhered the card front to a Real Red card base using Multipurpose Liquid Glue.

On a panel of Basic White cardstock I stamped the adorable Santa image from the Be Jolly stamp set in Tuxedo Black Ink. I colored the image in using my Basic Black, Daffodil Delight, Flirty Flamingo, Ivory, Real Red and Smoky Slate Stampin’ Blends Markers. I used the Smoky Slate Stampin’ Blends Marker on the beard just to highlight and add a little color and then used the Stampin’ Blends Color Lifter to remove most of the color. I cut the image out using the 2nd largest Layering Circles Dies. I cut a scallop circle from a panel of Real Red cardstock using the 2nd largest scallop circle from the Layering Circles Dies. I adhered the stamped image to the scalloped circle using Stampin’ Seal.

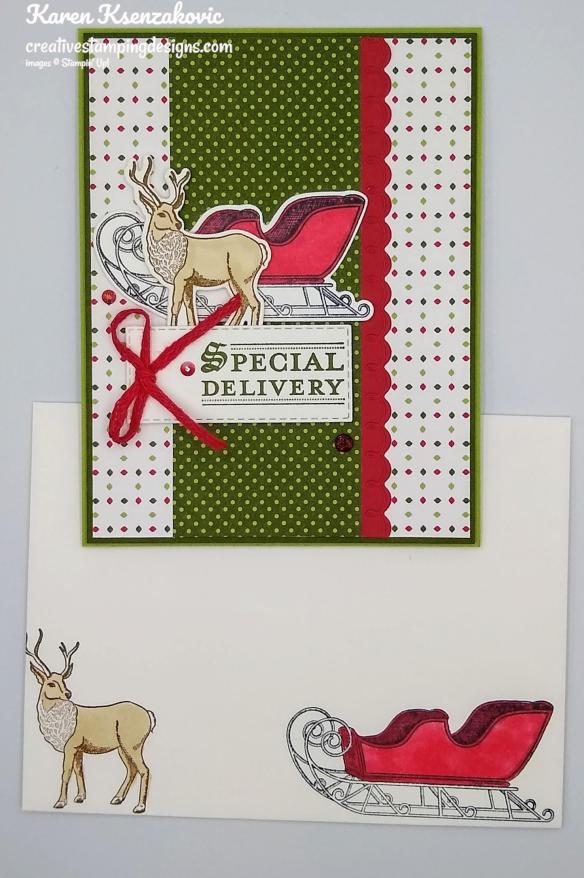
On a panel of Basic White cardstock I stamped the sentiment from the Stampin’ Up! Holly Jolly Wishes Cling Stamp Set in Tuxedo Black Ink. I adhered the sentiment to the card front just above the strip of DSP. I adhered the layered Santa image to the card front using Stampin’ Dimensionals. I added a few Real Red Wonderful Gems to the card front.
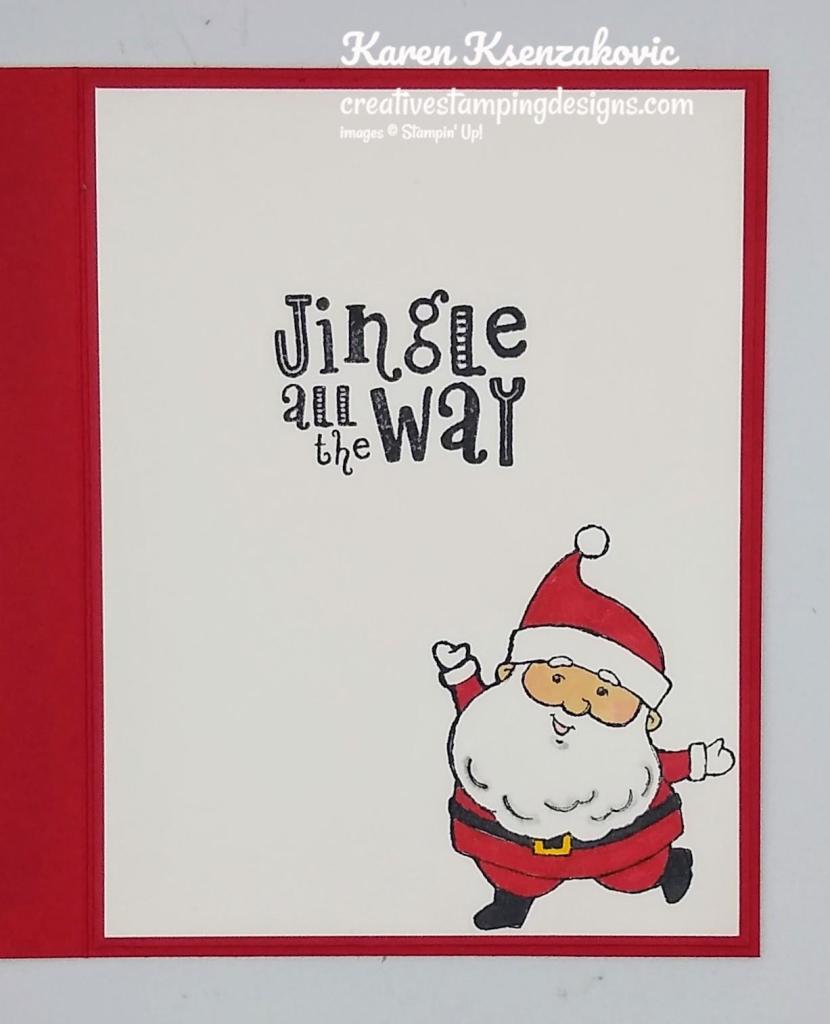
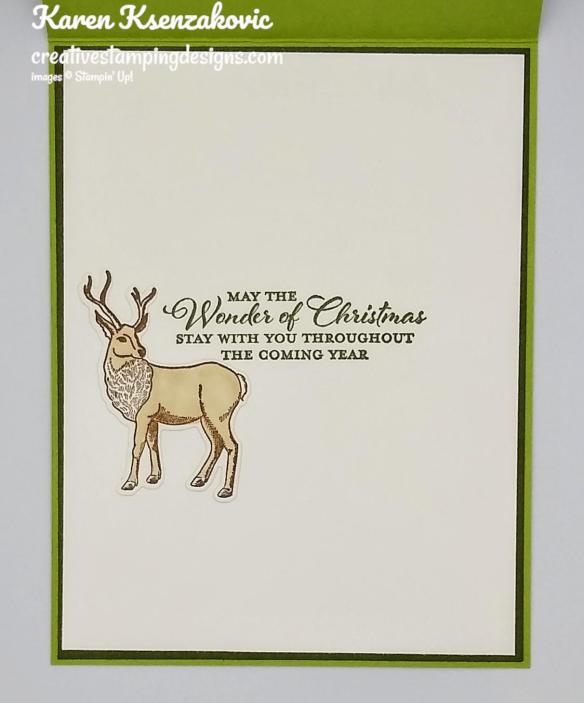
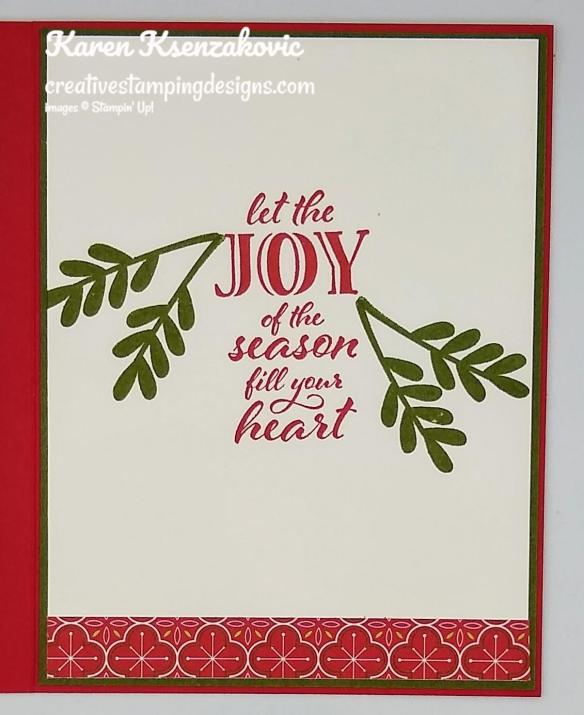
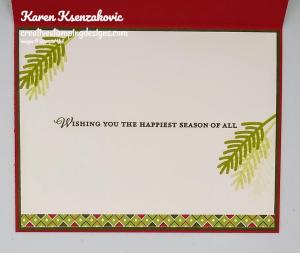
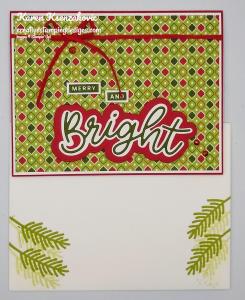
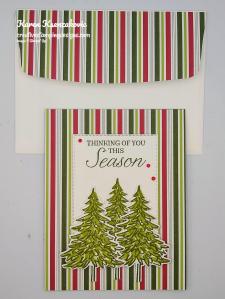
On the inside I stamped the sentiment from the Holly Jolly Wishes stamp set in Tuxedo Black Ink on a Basic White panel. I stamped another one of the adorable Santa images from the Be Jolly stamp set in Tuxedo Black Ink on the bottom of the panel and colored it in the same as I did for the card front. I adhered the Basic White panel to a Real Red mat and then to the inside of the Real Red card base.

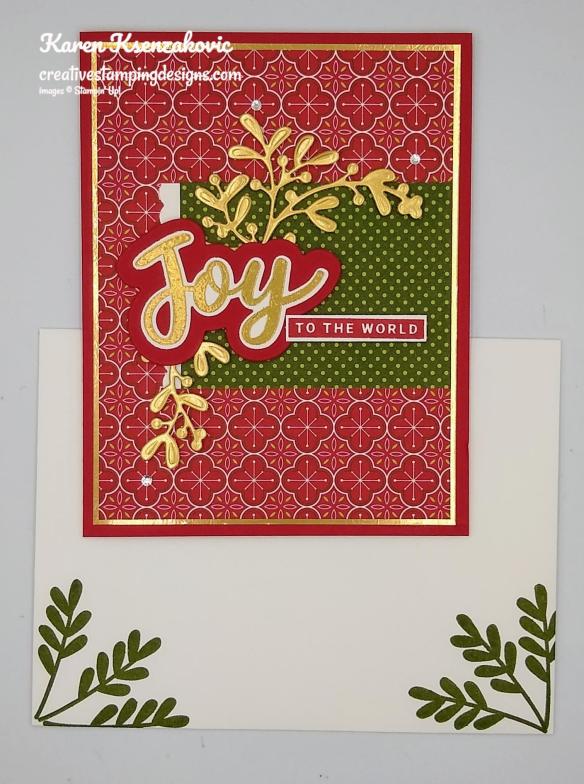
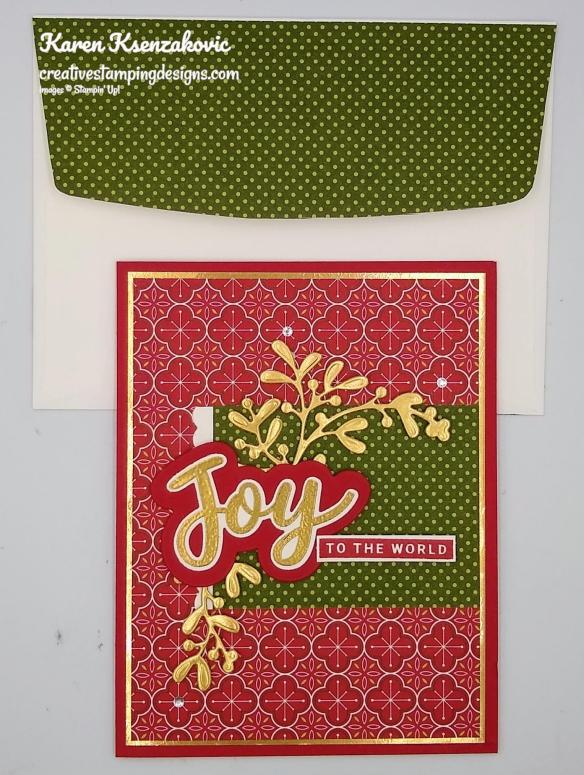
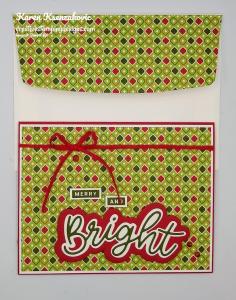
To finish my card I decorated a Basic White Medium Envelope. I stamped the Santa image from the Be Jolly stamp set in Tuxedo Black Ink on the envelope front and colored it the same as I did for the card. I adhered a panel of the Heartwarming Hugs DSP to the envelope flap.
Thank you for stopping by my blog today. I hope you liked my card and will give it a try. Happy Stamping!!
*********************************************************************************************************
If you need any stamping supplies, I’d love to be your Demonstrator. Just click HERE to go directly to my online store or drop me an email if you have any questions.
MY CURRENT HOST CODE IS: BM9R7DQX
Use this host code when you order $50 or greater and receive a free gift from me! If your order is over $150, please do not use this code, but you’ll still get the free gift. The free gift is your choice of any 1 item valued up to $10.00 from the 2020-2021 Annual Catalog or the July-December 2021 Mini Catalog! For any orders $50 or more I will also send you my monthly class tutorials. Click HERE or go to my Customer Rewards for more details and to see what this months tutorials are.
Please remember to use my current Host Code and make sure that you can see my name on the final checkout page listed as your Demonstrator when you order so that you know that you’re ordering with me and you’ll get my rewards!
Stampin’ Up! has added more items to their Clearance Rack. All items are **While Supplies Last**. So don’t wait if there is something you’ve been wanting, grab it while you can.
Happy Stamping, Karen!
*********************************************************************************************************
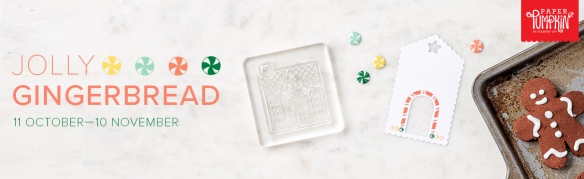
Gifts Galore
Subscribe October 11 – November 10

We all love to see piles of presents on Christmas morning. Make that your reality with the Gifts Galore Paper Pumpkin Kit! With classic Christmas sentiments, bright and festive colors, a sweet snowman, a tree with all the trimmings, or a playful pile of presents, you’ll have everything you need to make eye-catching treat packages that are sure to spread Christmas cheer. Each Gifts Galore box contains enough supplies to create nine treat packages—three each of three designs—and nine food-safe bags that are adorably styled for easy Christmas gifting. There’s plenty of joy to share with Gifts Galore!
- Kit contains enough supplies to create nine treat packages—three each of three designs—and nine food-safe bags.
- This all-inclusive kit includes printed die cuts, die-cut boxes, cellophane treat bags, adhesive, and more!
- Includes an exclusive stamp set and a Classic Stampin’ Spot
- Coordinating colors: Evening Evergreen, Flirty Flamingo, Old Olive, Pool Party, Poppy Parade
Subscribe to the November 2021 Paper Pumpkin Kit between 11 October and 10 November at paperpumpkin.com!
Note: Supplies may be limited toward the end of the subscription period.
*********************************************************************************************************
Card stock cuts for this project:
- Basic White Cardstock 3″ X 3″ (circle), 2 1/4″ X 2 3/4″ (sentiment), 4″ X 5 1/4″ (inner liner)
- Real Red Cardstock 8 1/2″ X 5 1/2″ (card base scored & folded at 4 1/4″), 4″ x 5 1/4[” (card front), 4 1/8″ x 5 3/8″ (inner liner mat)
- Heartwarming Hugs Designer Series Paper 3″ X 5 1/4″ (card front panel), 4″ X 1 1/4″ (card front panel), 2 1/4″ X 6″ (envelope flap)
*********************************************************************************************************
Product List

")


")


")


")
")


 Braided Linen Trim")


")
")

