Good Friday morning my stamping friends HAPPY APRIL!!! Welcome to my fun fold Friday. I can’t believe that it’s April, WOW!!! My Bradford Pear Tree has buds on it and so does my Dogwood Tree. My Hydrangeas are starting to sprout green and Tulips are popping up everywhere. Looks like spring is in the air, now if the temperatures would just cooperate. Does anyone have plans for the weekend? I’ll be signed in on my OnTour watching new products get used and learning some new things. I got my preorder placed this morning before I had to leave for work, so once it come in I’ll do an unveiling video. My credit card has gone in hiding for a bit, I guess it was a little bit of a shock all at once for it.
Today’s card I made on my Facebook Live video on Wednesday. If you were able to join me or watched the replay, thank you. If you’d like to watch my video and stamp along, the measurements are below along with the links to my Facebook page and my YouTube channel. Here’s my card for today.
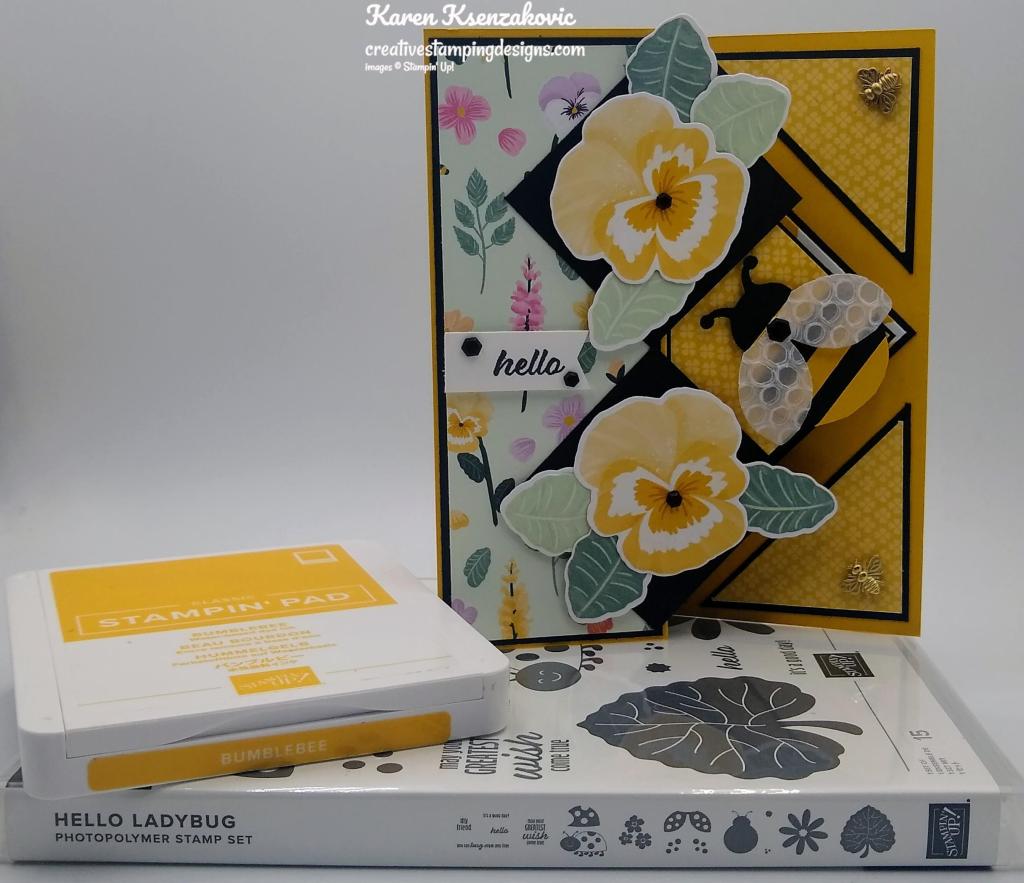
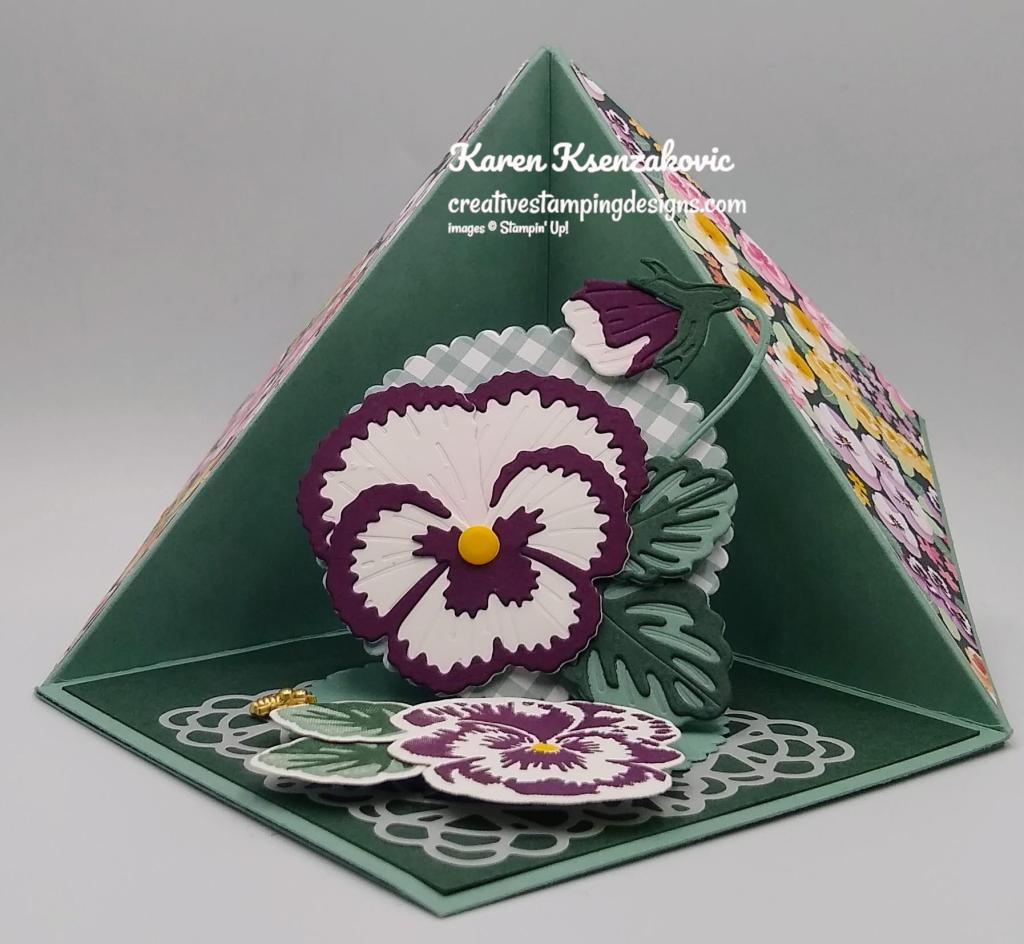
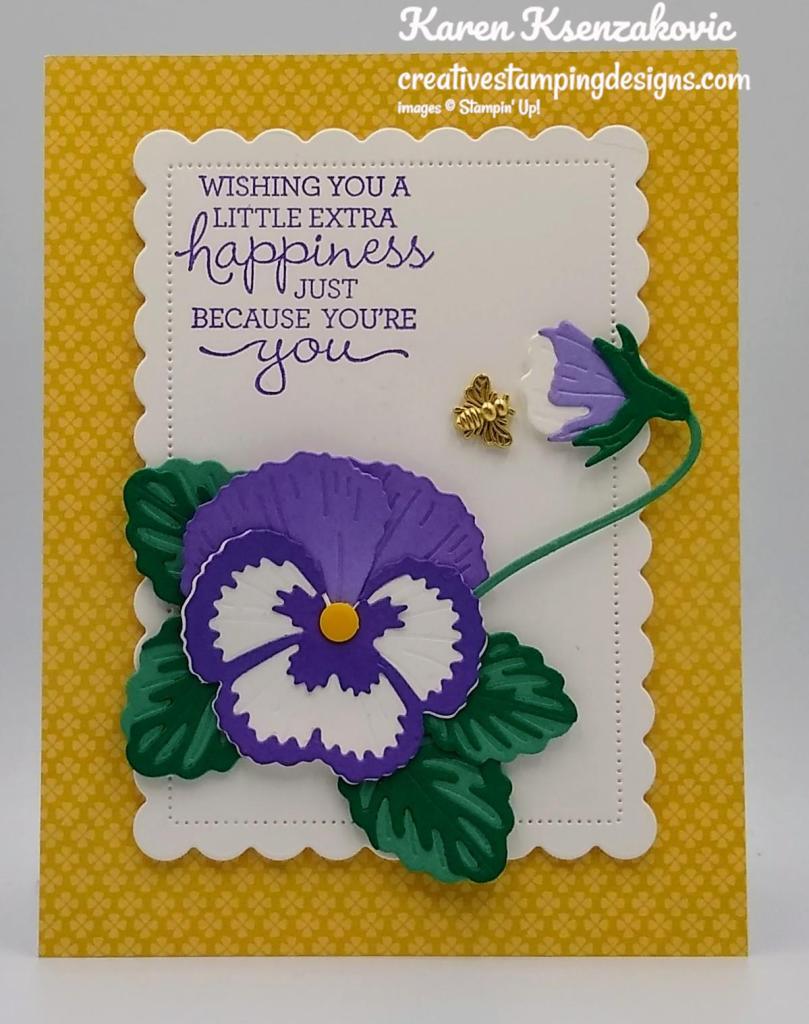
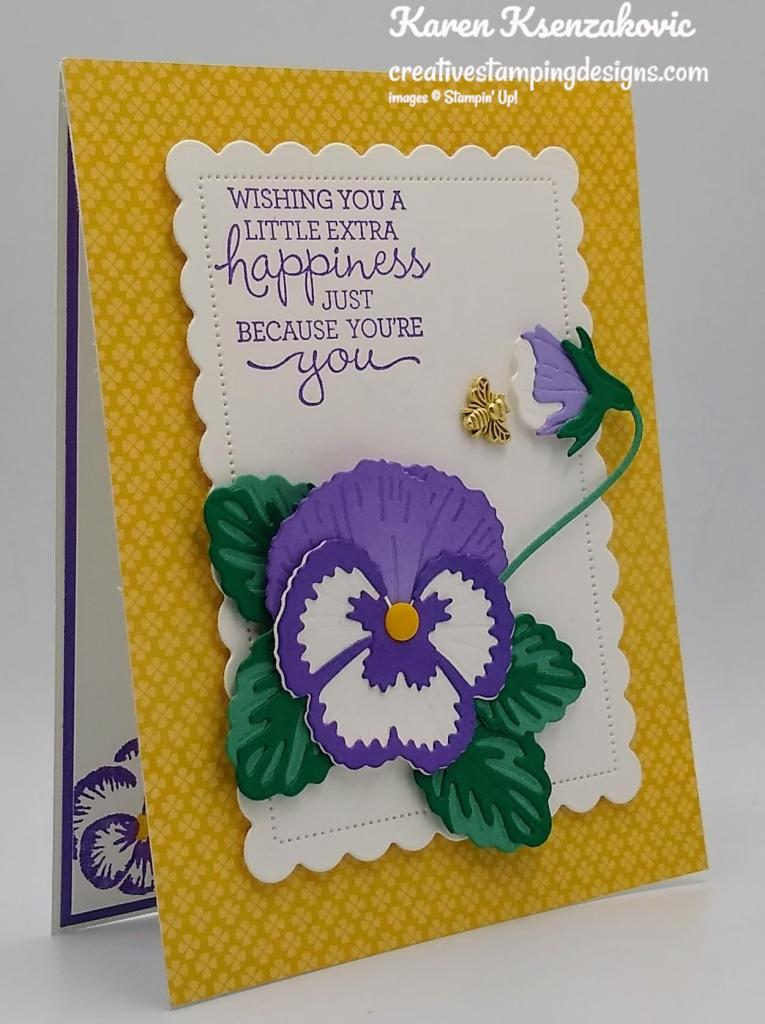
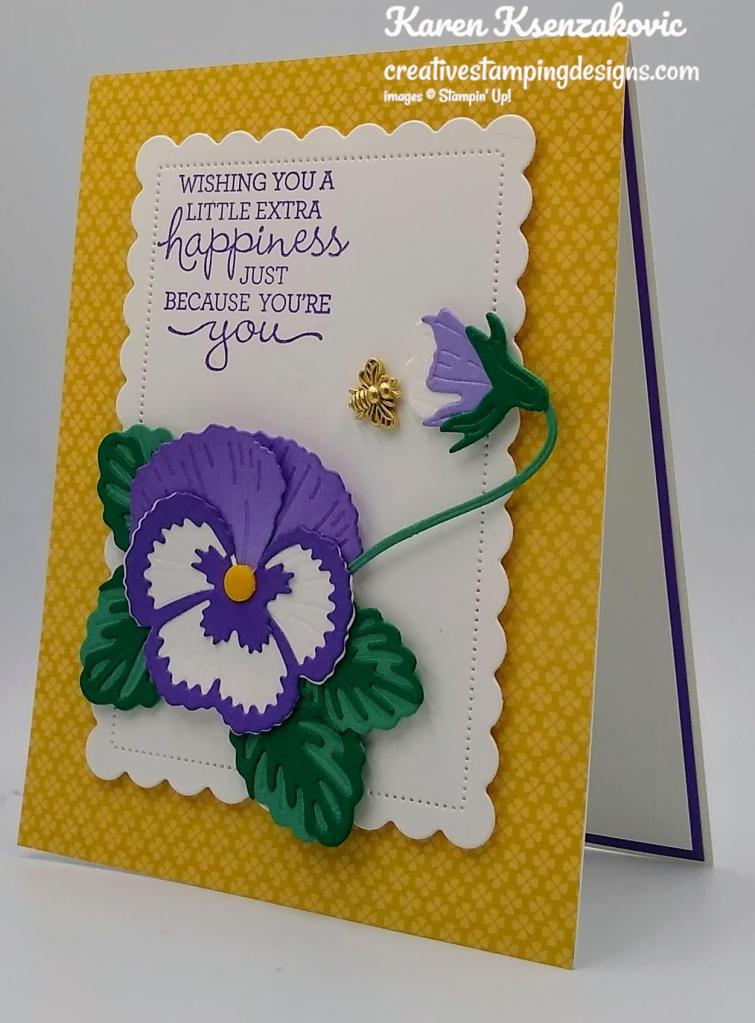
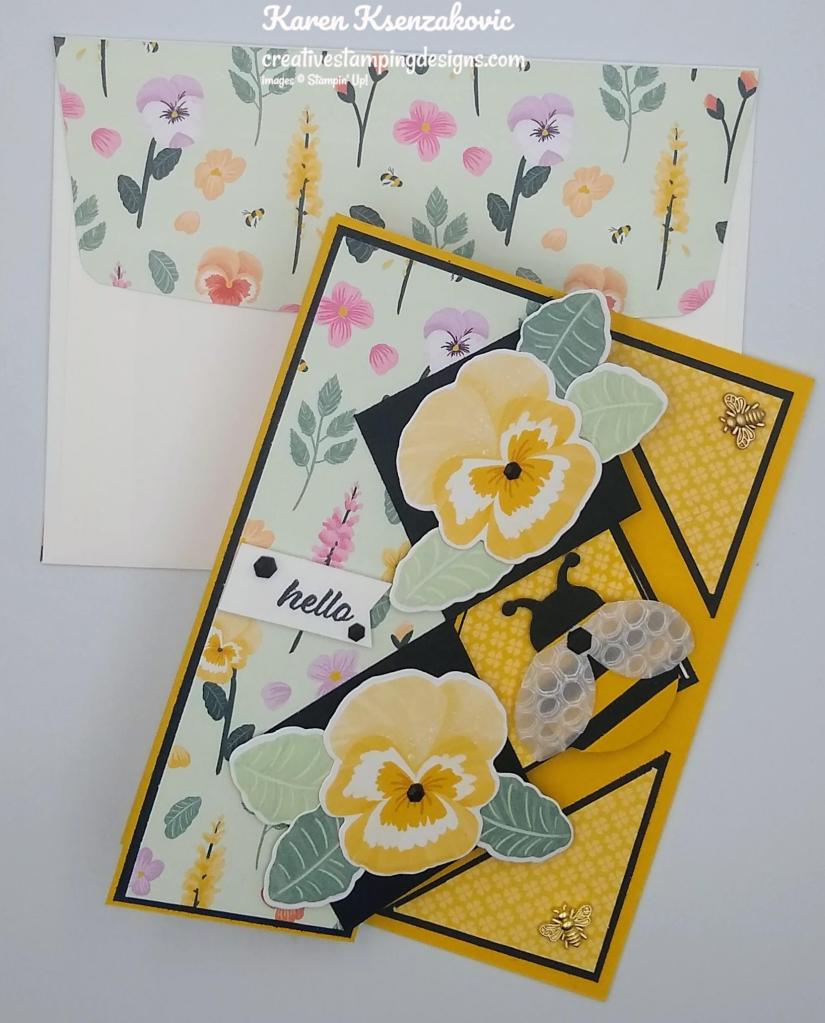
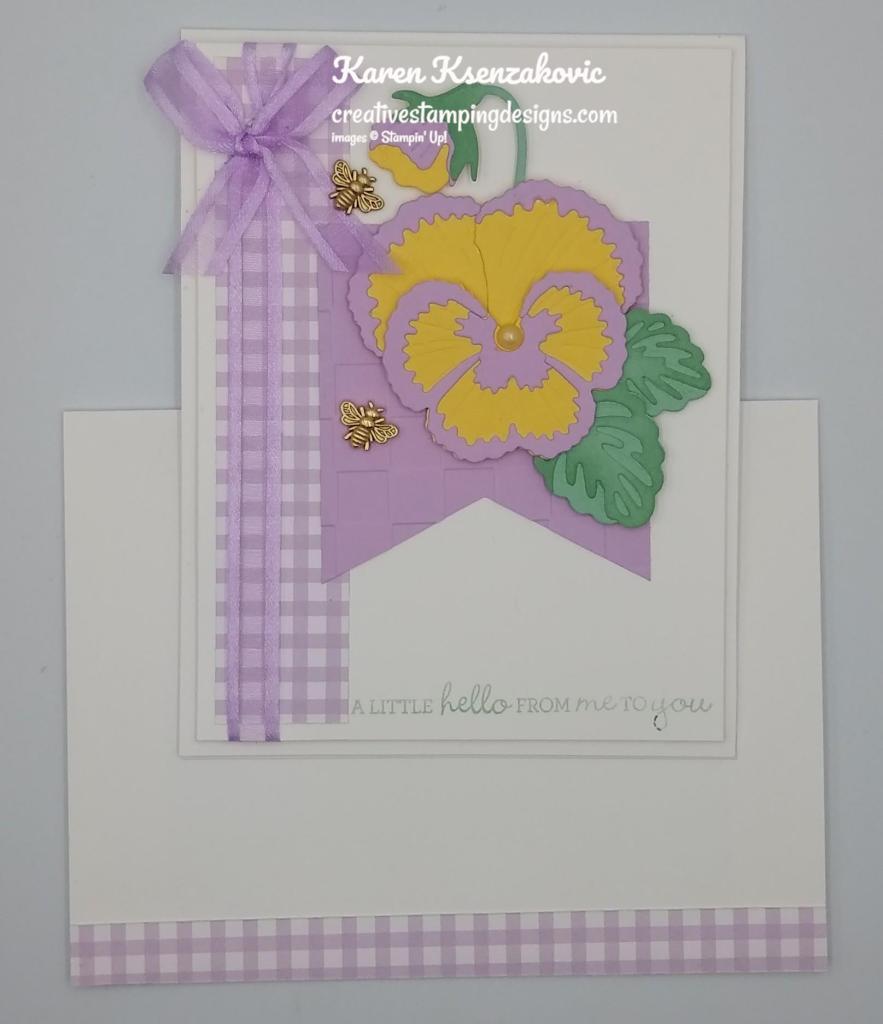
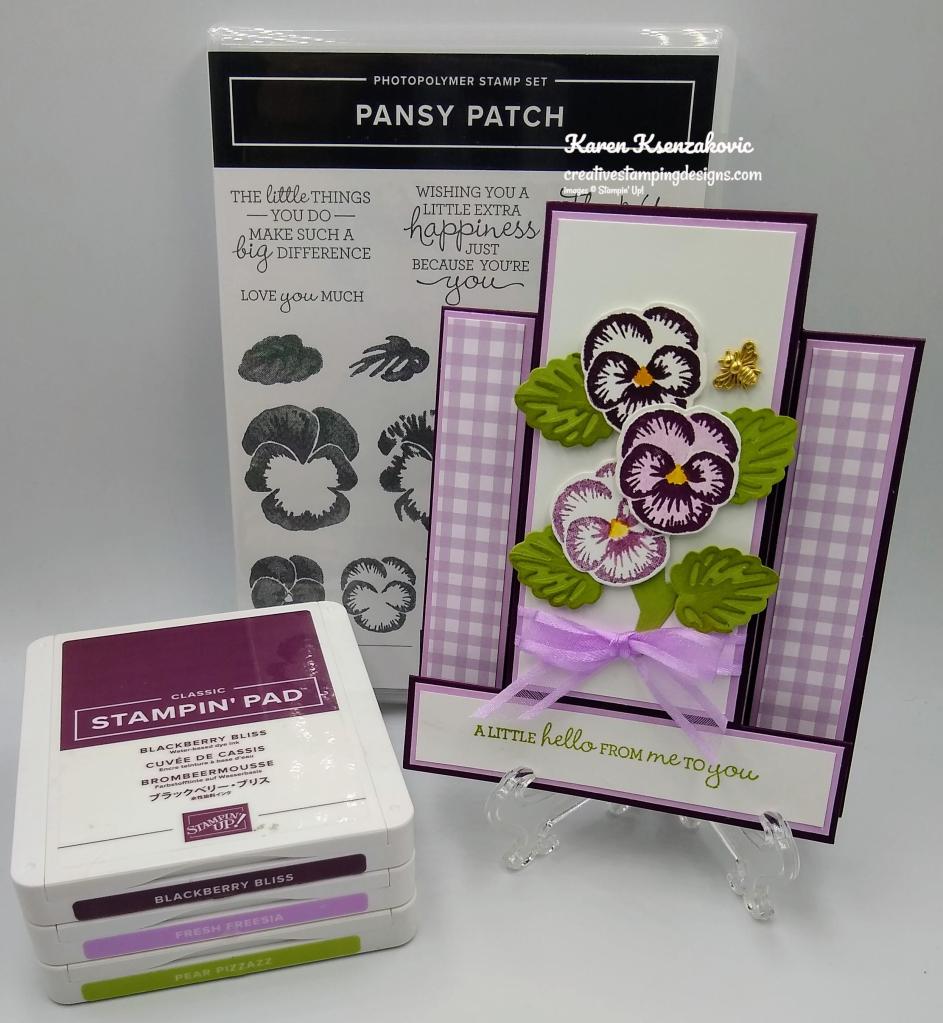
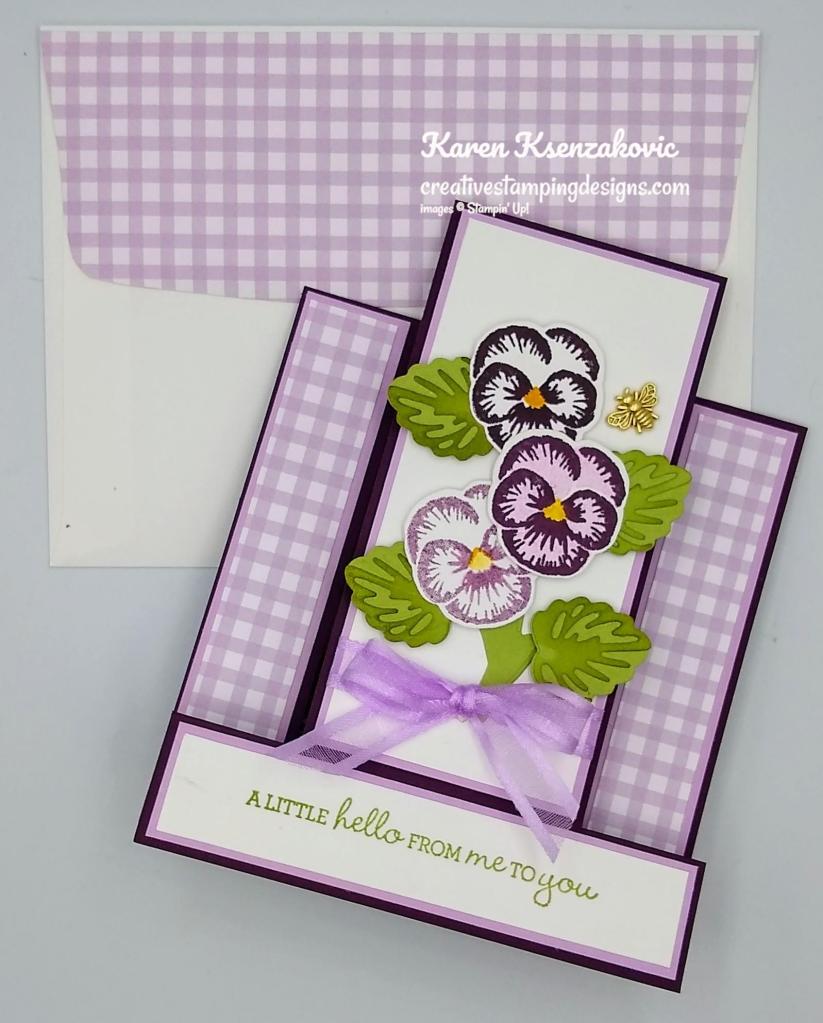
I used the Stampin’ Up! Hello Ladybug Photopolymer Stamp Set along with the Pansy Petals Designer Series Paper for my card today.
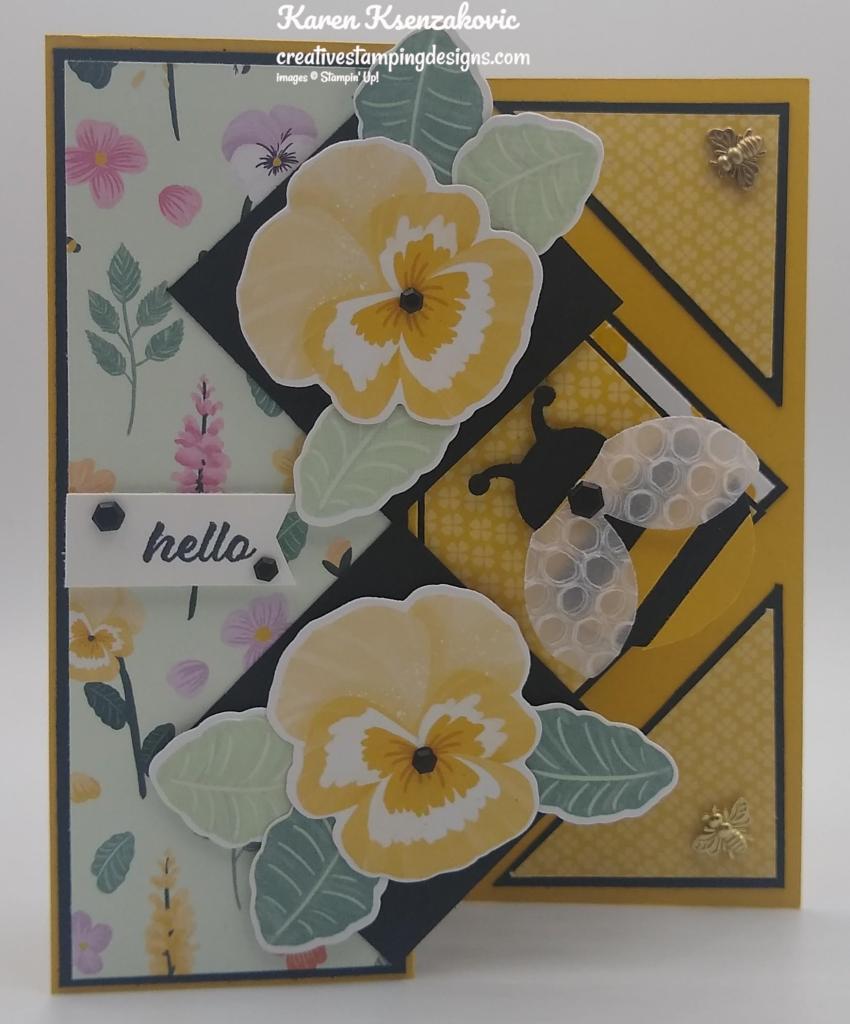
I started by scoring and folding a Bumblebee card base at 2 1/8″ & 4 1/4″ to make a Z-Fold card. I adhered 2 panels of Pansy Petals DSP to 2 Basic Black mats. I adhered 1 of the layered panels on the front of the card base.
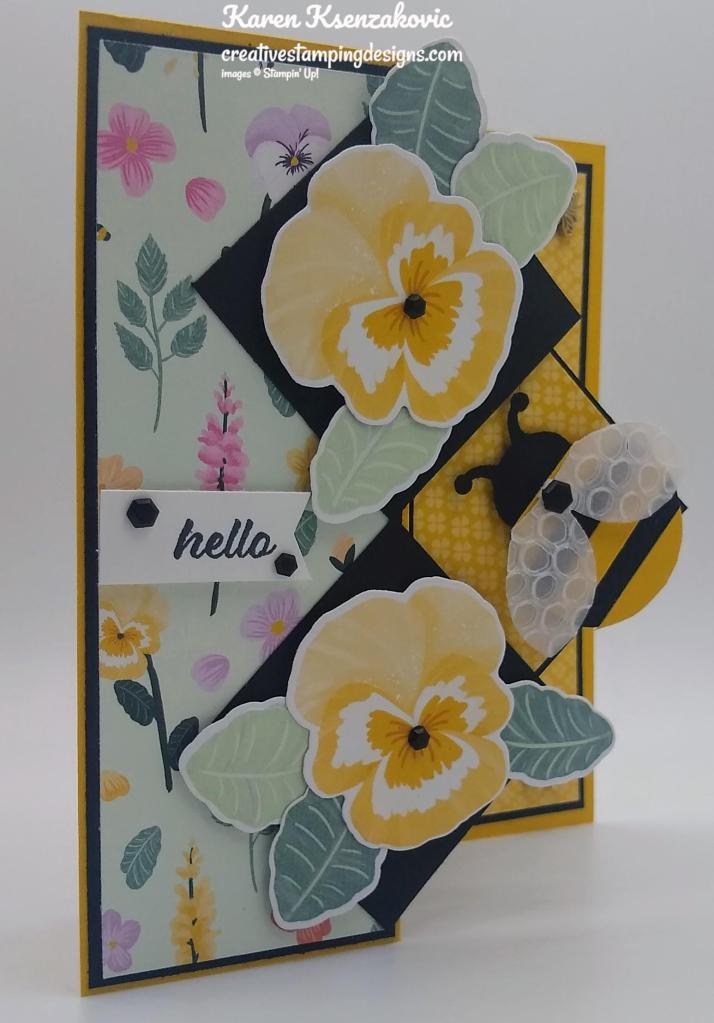
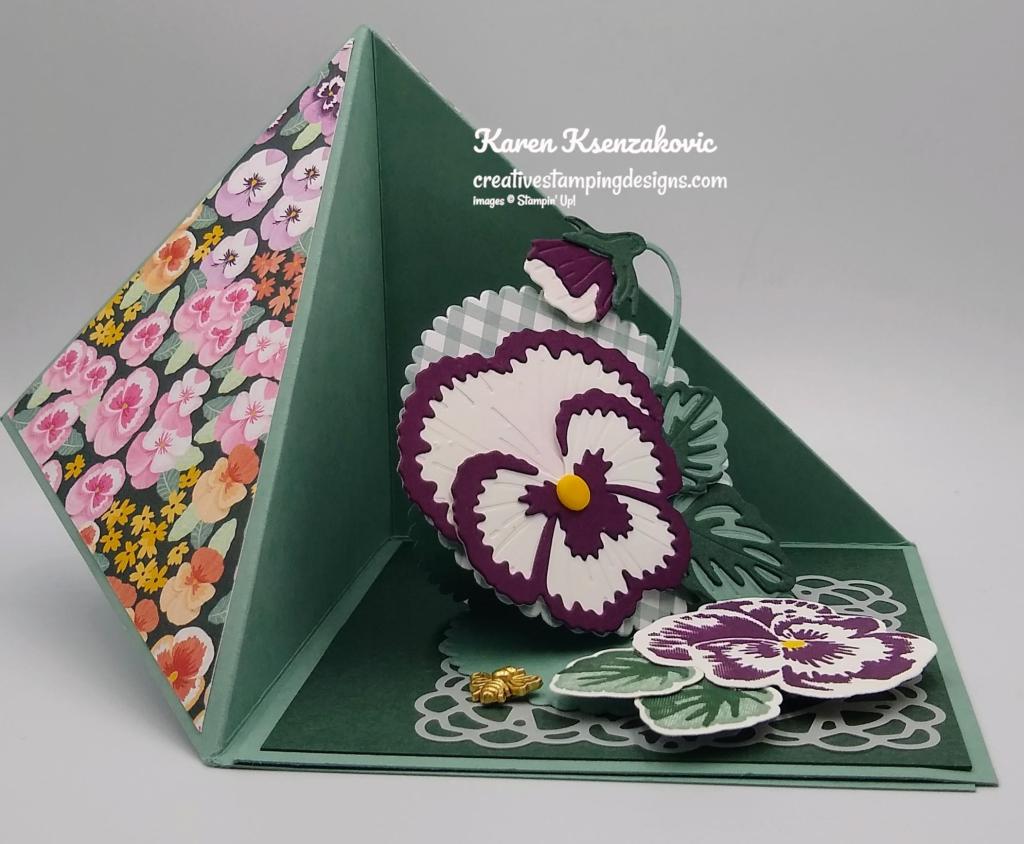
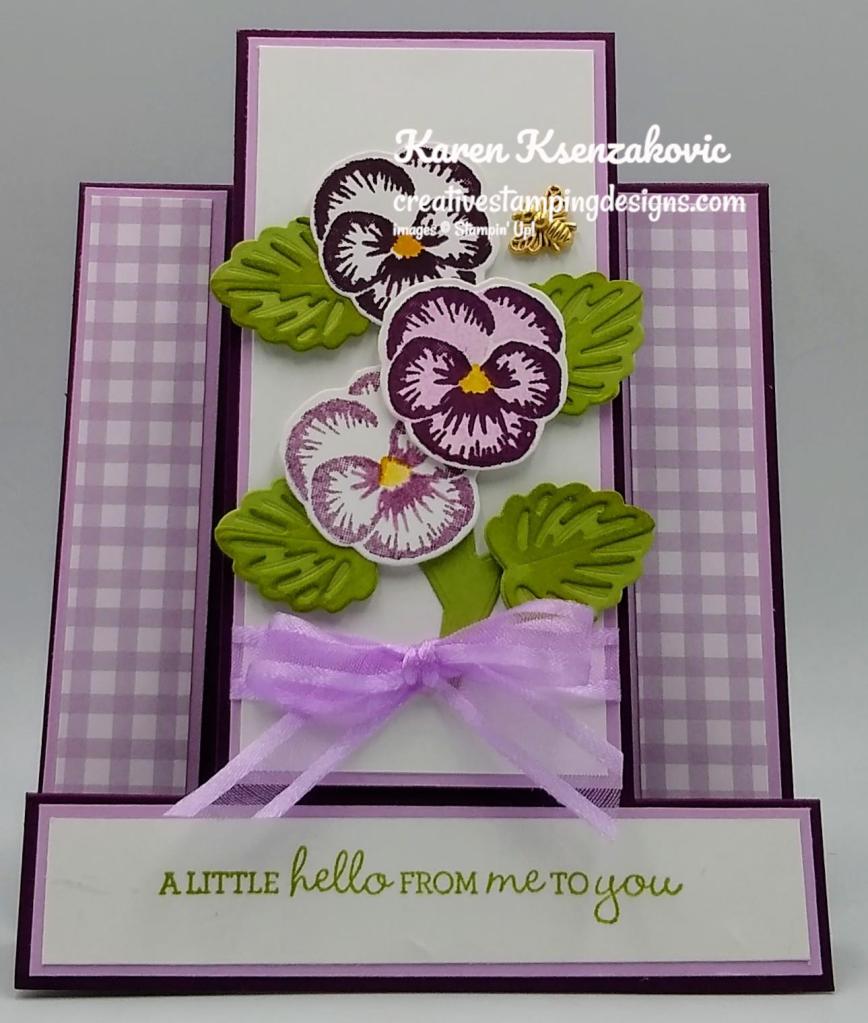
I cut 2 of the flower images from a panel of Pansy Petals DSP and 6 of the leaf images from another panel of Pansy Petals DSP using my Pansy Dies. I adhered the leaves to the back of the die cut flower using Glue Dots. I adhered 2 of the 1 7/8″ Basic Black squares to the card front as diamonds lining up the corners with the edge of the matted DSP. I adhered the die cut pansies to the diamonds using Stampin’ Dimensionals. I stamped the sentiment from the Stampin’ Up! Hello Ladybug Photopolymer Stamp Set in Tuxedo Black Ink on a strip of Basic White cardstock. I cut the strip using my Banner Pick A Punch and adhered it to the card front using Stampin’ Dimensionals. I adhered 2 of the Adhesive-Backed Hexagons to the sentiment and 2 to the flower centers.
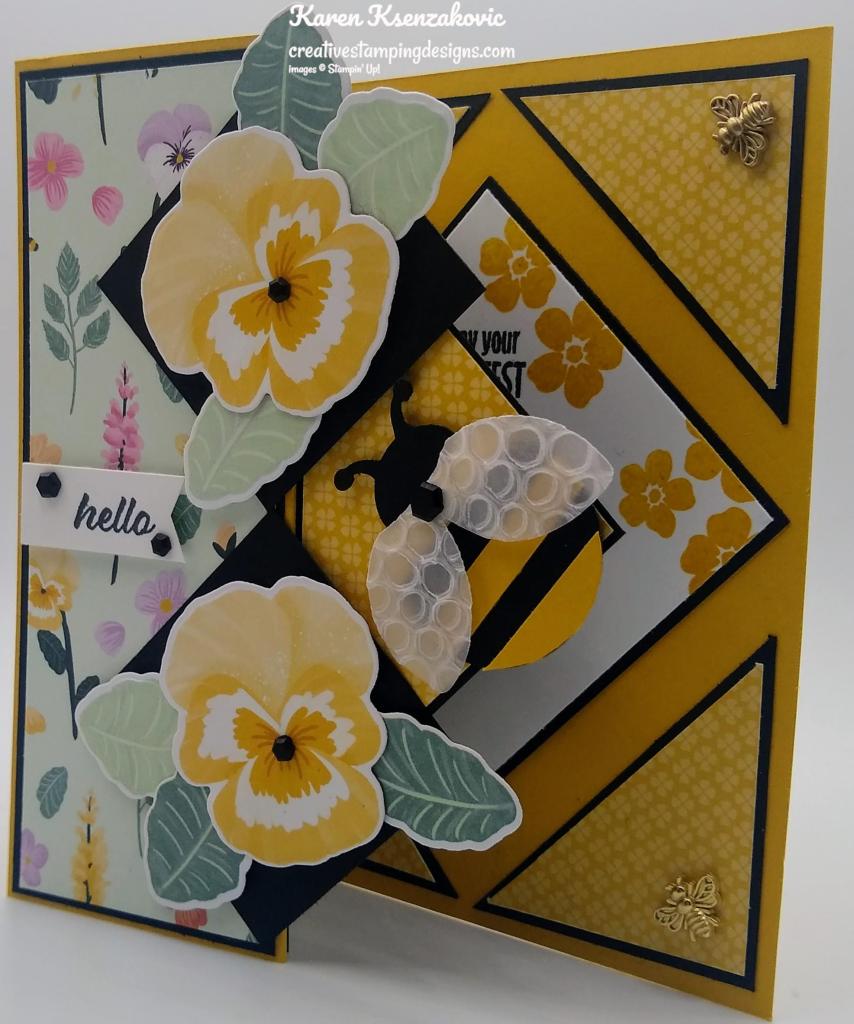
I cut a small panel of Basic Black cardstock using the Ladybug Builder Punch. I adhered 3 strips of Bumblebee cardstock evenly on the punched ladybug giving it stripes for the bumblebee. I punched a piece of Vellum paper using the Ladybug Builder Punch for the wings. I embossed the Vellum paper using my Hive 3D Embossing Folder. I adhered the wings to the bumblebee body using a Stampin’ Dimensional and added an Adhesive-Backed Hexagon in the center of the wings. For the mechanism the bumblebee is on, I took a 2 7/8″ square of Basic Black cardstock scored and folded it from corner to corner one way. I cut a 2 3/4″ square of Pansy Petals in half corner to corner and adhered it to one side of the square. After the inside was finished, I matched up the square with the inner liner, having the DSP side facing out. I added Multipurpose Liquid Glue to the Basic Black side of the triangle and adhered the card base to it so that it would line up perfectly. I adhered the bumblebee to the DSP side using Stampin’ Dimensionals. (If I didn’t explain this part clearly it might be better off watching the video).
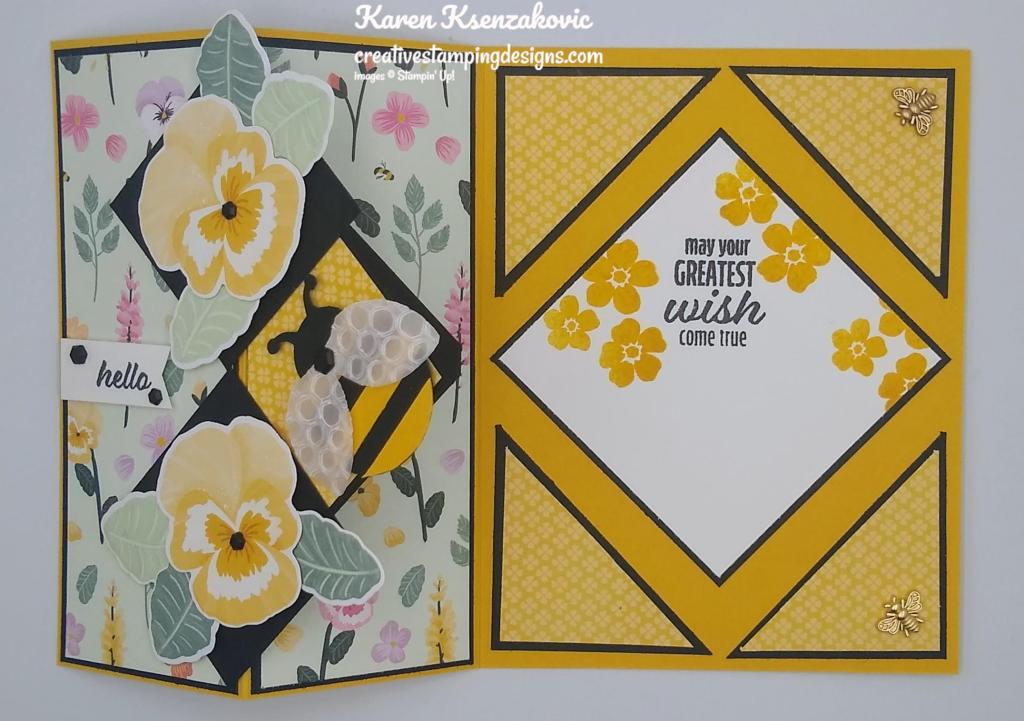
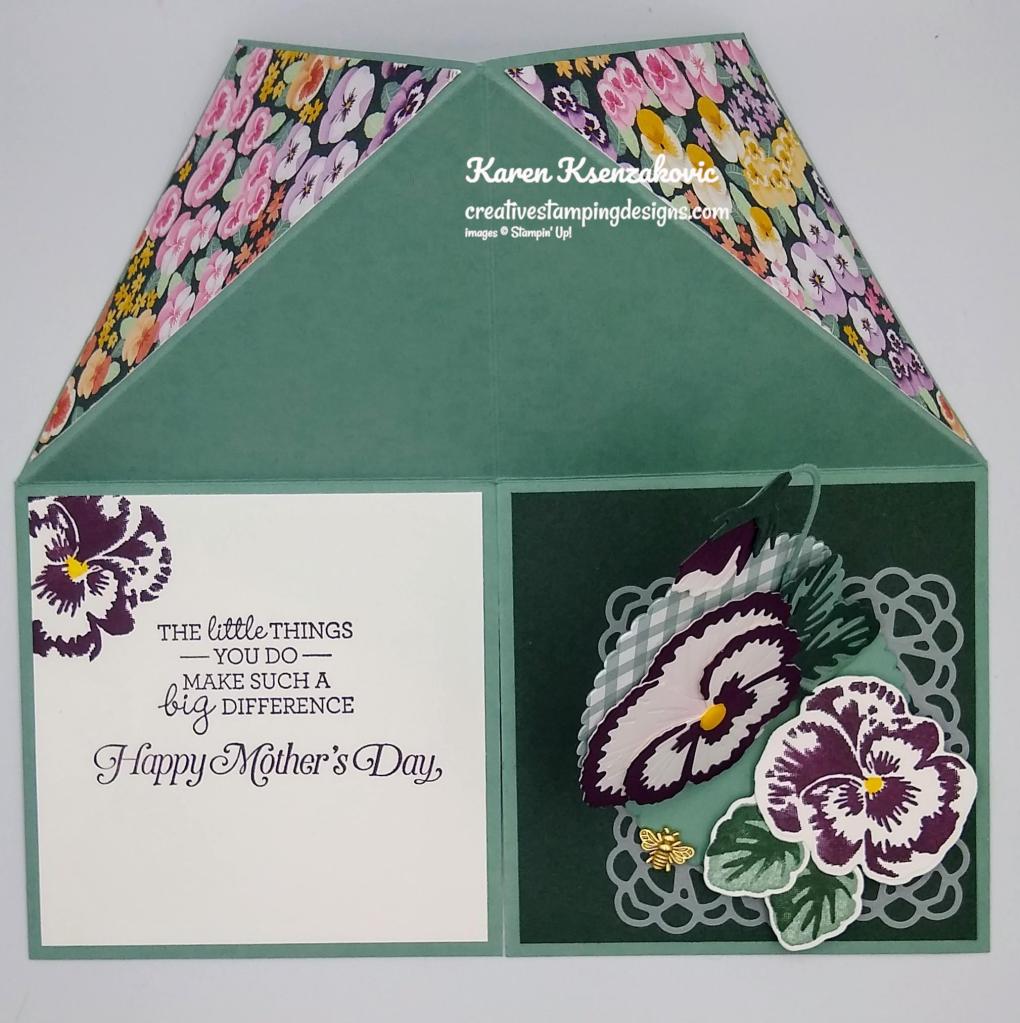
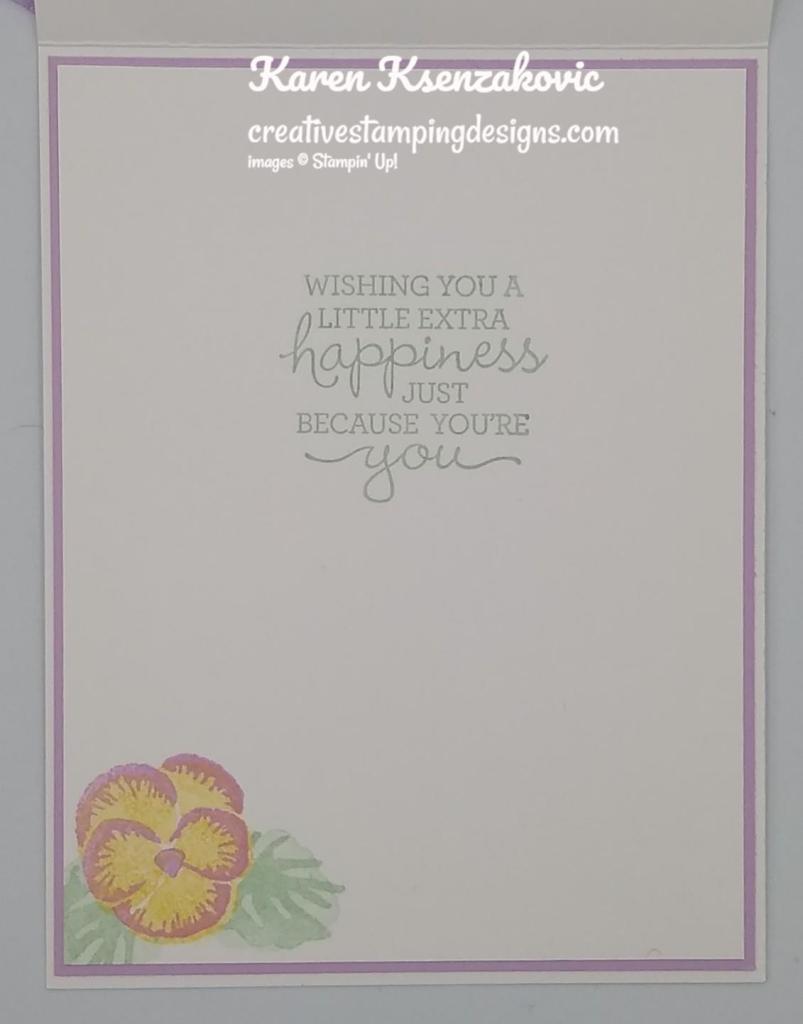
I adhered the 2nd DSP layered panel to the inside left of the card base. I cut 2 – 2″ Basic Black squares to make triangles. I cut 2 – 1 3/4″ Pansy Petal DSP squares to make triangles. I adhered the DSP to the Basic Black mats and then to the 4 corners of the inside of the card base. On a panel of Basic White cardstock, I stamped the sentiment from the Hello Ladybug stamp set in Tuxedo Black Ink. I stamped the flower image from the Hello Ladybug stamp set in Bumblebee Ink on the Basic White panel. I adhered the Basic White panel to a Basic Black mat and adhered it to the inside of the Bumblebee card base. I added a couple Bumblebee Trinkets to the 2 outside corners.
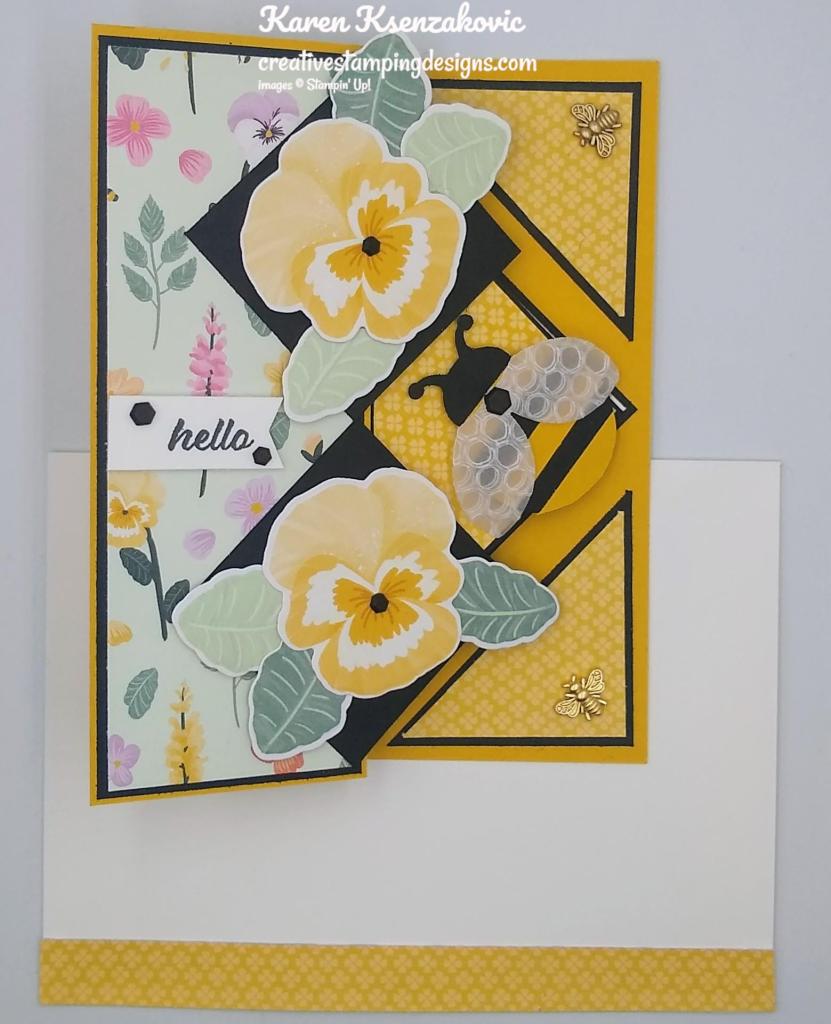
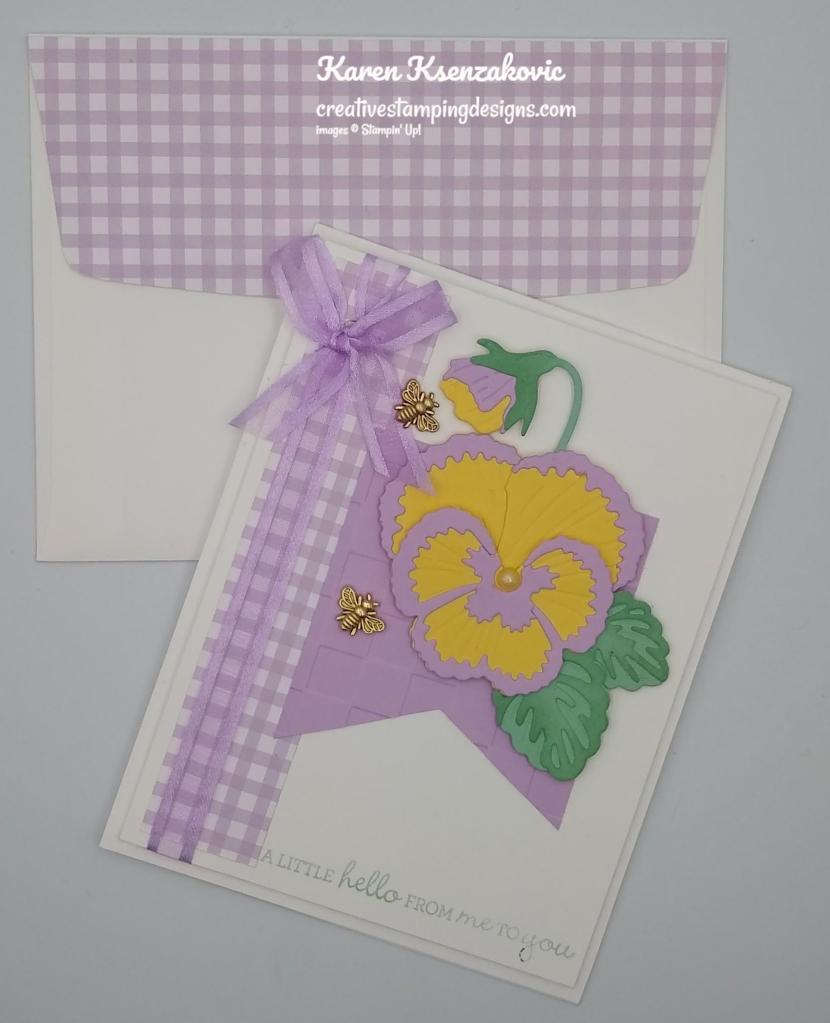
To finish my card, I decorated a Basic White Medium Envelope. I adhered a strip of the Pansy Petals DSP to the envelope front and a panel to the envelope flap.
Thank you for stopping by my blog today. I hope you liked my card and will give it a try. I hope you will CASE this card and please feel free to post it in the comments of my Facebook page under my post. I’d love to see your take on the card. The list of measurements are below if you’d like to stamp along while watching the video. You can watch my video on my Facebook page Here.
You can also view the video on my YouTube channel Here. Happy Stamping!!
*********************************************************************************************************
If you need any stamping supplies, I’d love to be your Demonstrator. Just click HERE to go directly to my online store or drop me an email if you have any questions.
MY CURRENT HOST CODE IS: XXM77BHN
Use this host code when placing an order with me. When you order $50 or greater you will receive a free gift from me! If your order is over $150, please do not use this code, but you’ll still get the free gift. The free gift is your choice of any 1 item valued up to $10.00 from the 2021-2022 Annual Catalog or the January – June 2022 Mini Catalog! For any orders $50 or more I will also send you my monthly class tutorials. Click HERE or go to my Customer Rewards for more details and to see what this month’s tutorials are.
Please remember to use my current Host Code and make sure that you can see my name on the final checkout page listed as your Demonstrator when you order so that you know that you’re ordering with me and you’ll get my rewards!
Happy Stamping, Karen
*********************************************************************************************************

The Stampin’ Up! 2021-2022 Annual Catalog Retiring Lists have posted, and the Last Chance Products Sale has begun!
Click here for a printable PDF list of all retiring items including the discounted prices.
LAST CHANCE PRODUCTS DETAILS
- All products are available while supplies last, and there are no purchase limits, so order soon (or order now so that you don’t have to worry!) to make sure that you are able to get the items that you are wanting!
- Discounted items can be added to a Starter Kit and redeemed as a 50% off item or with Stampin’ Rewards.
- Stamp Sets are not guaranteed during this promotion and are while supplies last.
- ORDER DEADLINES: May 2, 2022, at 11:50 PM MT
- The 2020-2022 In Colors – Cinnamon Cider, Just Jade, Bumblebee, Magenta Madness, and Misty Moonlight will be going away. I HIGHLY encourage you to stock up early on the 2020-2022 In-Color Cardstock, Ink Pads, and Refills as soon as possible, as these items sell out quickly!
Let me know if you have any questions. Happy shopping!
*********************************************************************************************************
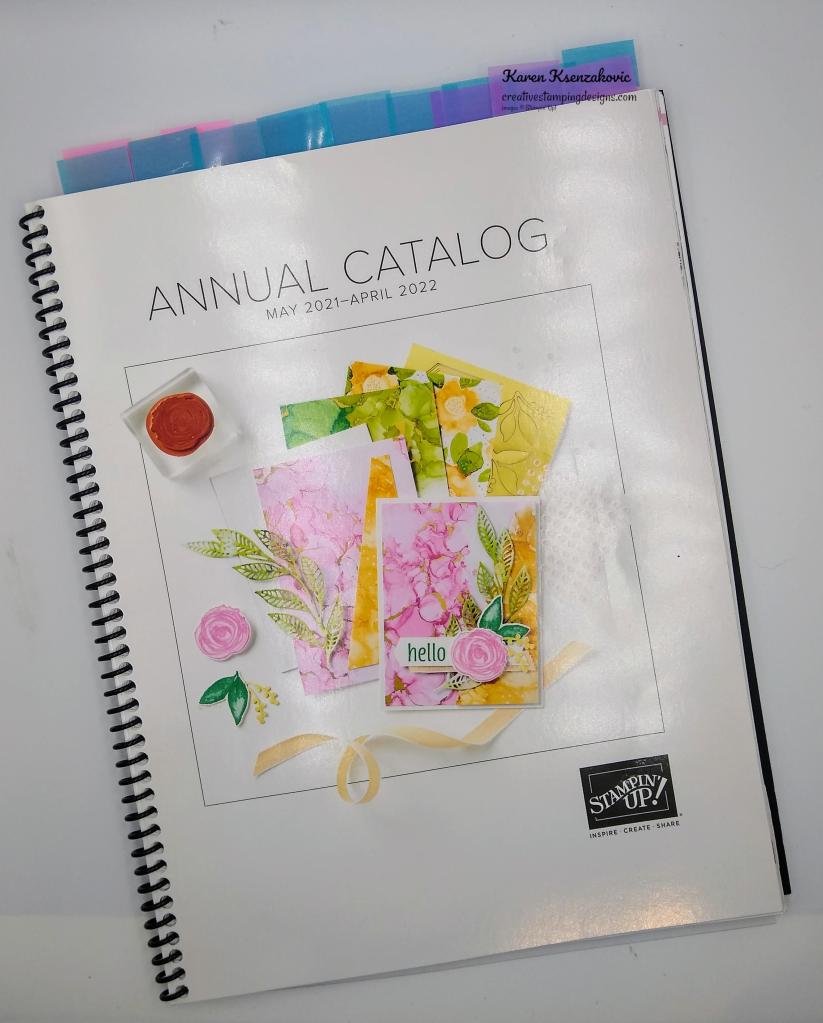
Stampin’ Up! 2022-2023 Annual Catalogs Coming Soon!
With the retiring list for the current Annual Catalog being posted Today…that means that the new 2022-2023 Stampin’ Up! Annual Catalog will be here soon! I got to preview it today and I’m loving what I’m seeing!
Here are the details:
- I will be ordering the 2022-2023 Annual Catalogs on April 1 for my customers. I will pack up the catalogs and mail them back out to my customers just as soon as they arrive. I anticipate that the new catalogs for my customers will begin arriving by mid-April.
- If you are not a current customer of mine but would like to be and would like to get a copy of the upcoming catalog when I mail them out, simply place an order through my Online Store and you’ll be added to my mailing list!
- Ordering from the new Annual Catalog starts on May 3, 2022!
Let me know if you have any questions. I can’t wait to see the new catalog soon! Demonstrator preorder starts on April 1! If you’re interested in joining, you can preorder and get the discount for yourself! Head over to my joining page Here to see the benefits of being a Demonstrator and to sign up now!
*********************************************************************************************************
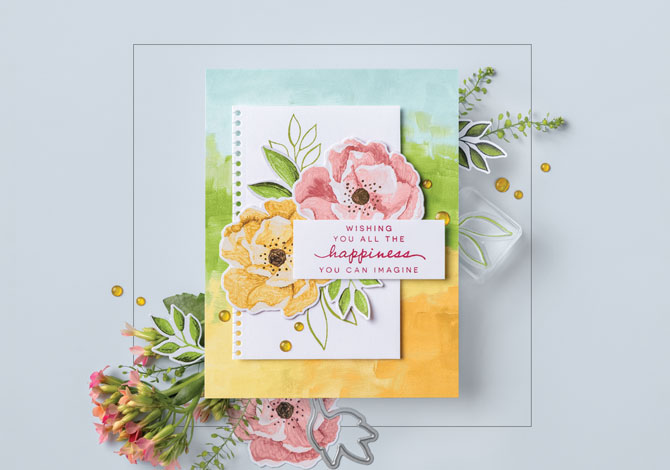
Change is Beautiful
Subscribe March 11 – April 10

Growing through life can also mean growing pains. Whether they’re climbing their career ladder or moving out for the first time—change can be simultaneously thrilling and scary—but isn’t that what makes life beautiful? Because new beginnings, after all, are simply new adventures. Let your loved ones know you’ll be there to support them through all of life’s chapters!
The Change is Beautiful kit contains enough supplies to create 9 stunning cards with a unique folding technique to commemorate moments of change. The designs are inspired by the natural cycles of change found in nature.
This kit includes:
- Change is Beautiful Photopolymer Stamp Set
- Melon Mambo Classic Stampin’ Spot®
- Printed card bases
- Printed envelopes
- Printed, shaped die cuts
- Iridescent sea glass
- Dimensionals
Card size: 4-1/4″ x 5-1/2″ (10.8 x 14 cm)
Coordinating Stampin’ Up! colors: Balmy Blue, Basic Black, Bermuda Bay, Crushed Curry, Evening Evergreen, Granny Apple Green, Melon Mambo
SUBSCRIPTION INFORMATION
Subscribe to the April Paper Pumpkin Kit between 11 March and 10 April at paperpumpkin.com!
Note: Supplies may be limited toward the end of the subscription period.
*********************************************************************************************************
Stampin’ Up! New Shipping Fees Beginning April 1
I want to let you know about a change to Stampin’ Up!’s shipping and handling pricing. Starting April 1, the minimum shipping charge will increase by $1.00, from $6.95 to $7.95—or by one percentage point, from 10% to 11% of the total order amount—whichever is greater.
If you ever use the expedited shipping options, those fees are going up a bit too. Here are the new fees for expedited shipping:
- Next Day Upgrade: $38.00 USD ($3.00 USD increase from the previous rate)
- 2nd Day Upgrade: $23.00 USD ($3.00 USD increase from the previous rate)
- 3 Day Shipping Upgrade: $15.00 USD ($5.00 USD increase from the previous rate)
- The expedited shipping option rates above are calculated in addition to the standard shipping rate (e.g., the next day shipping option would cost $7.95 USD or 11%—whichever is greater—plus $38.00 USD)
I want to make sure you’re aware of this change, as it impacts both you and me. Stampin’ Up! has worked to keep the increase as minimal as possible so they can continue bringing you the unique, high-quality, and coordinated paper crafting products that you love.
*********************************************************************************************************
Card stock cuts for this project:
- Basic Black Cardstock 2 – 2″ X 5 3/8″ (card front and inside dsp mats), 2 – 1 7/8″ X 1 7/8″ (card front panels with pansies), 2 – 2″ X 2″ (cut into triangles for inner liner mats), 2 – 2 7/8″ X 2 7/8″ (inner liner mat and mechanism for bumblebee)
- Basic White Cardstock 1 1/2″ X 1/2″ (sentiment), 2 3/4″ X 2 3/4″ (inner liner)
- Pansy Petals Designer Series Paper 2 – 1 7/8″ X 5 1/4″ (card front and inside panels), 2 – 1 3/4″ X 1 3/4″ (cut into triangles for inner liner), 2 3/4″ X 2 3/4″ (cut into triangle for mechanism), pansy and leaf panels cut with pansy dies, 1/2″ X 6″ & 2 1/4″ X 6″ (envelope)
- Vellum Paper scrap for wings
*********************************************************************************************************
Product List
")
")


 Designer Series Paper")


")
")


 Open Weave Ribbon")


")