
Good Tuesday morning my stamping friends. How was everyone’s 4th? Did you go to see fireworks?
Today’s card is one that we will be making tonight at my Stamp Camp Card Class. I’m hoping the ladies like this one. Here’s my card for today.
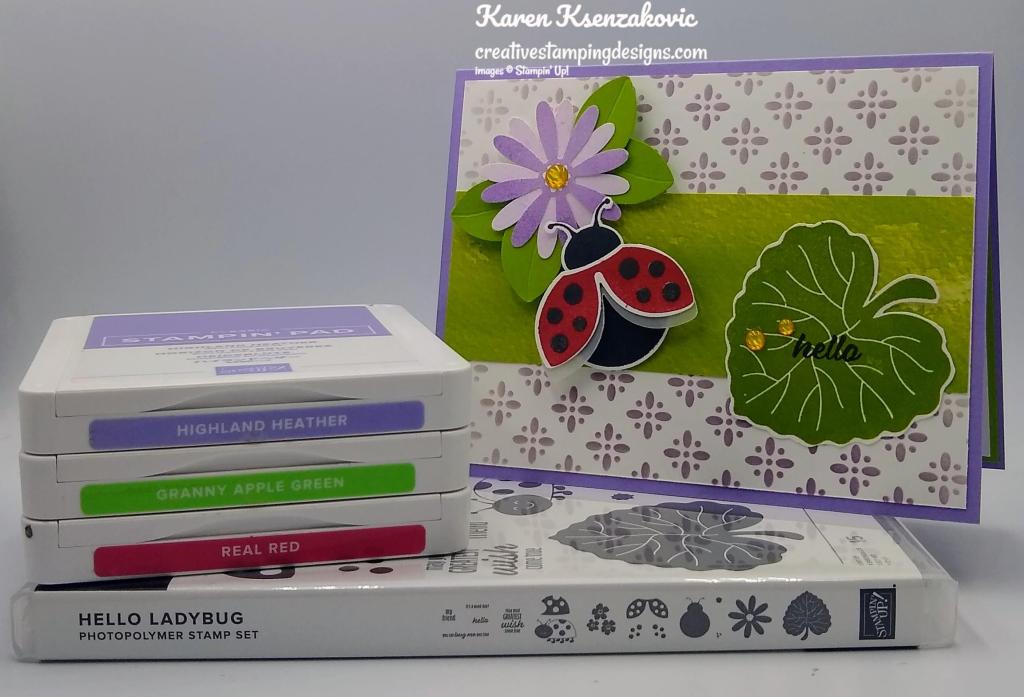
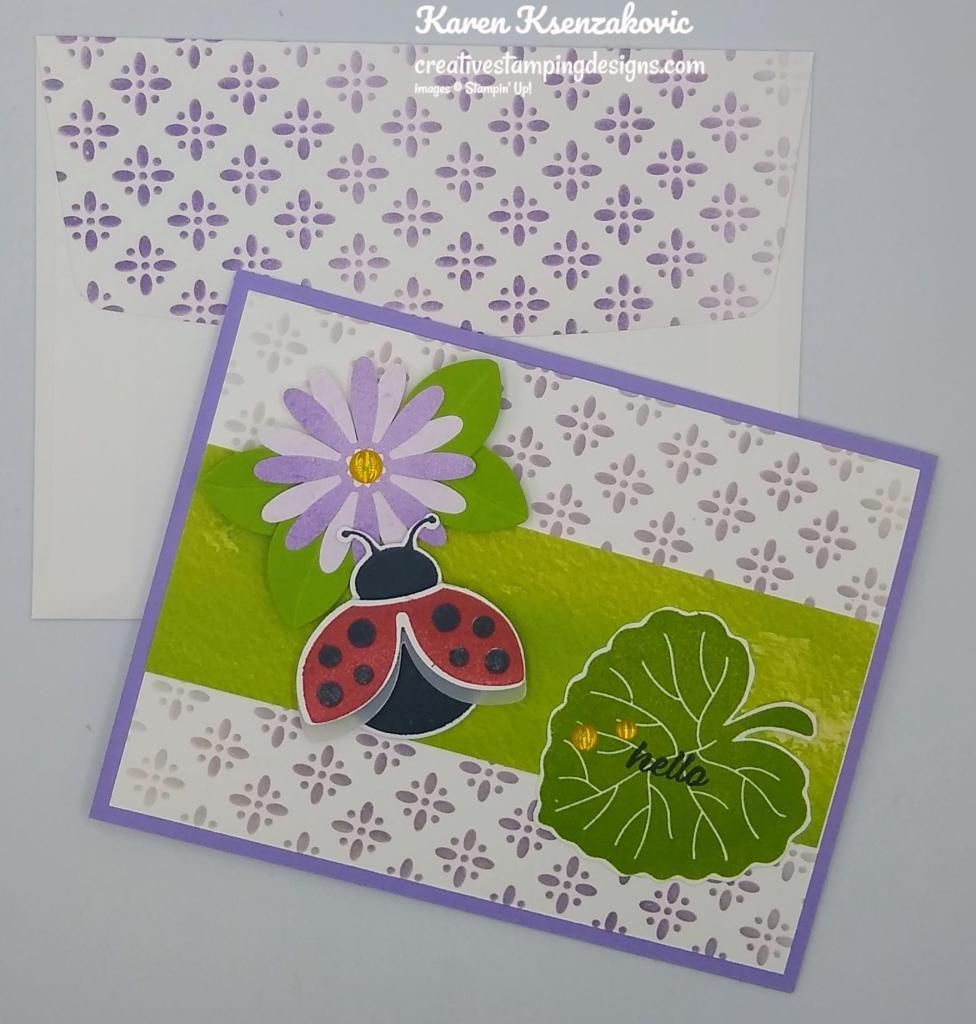
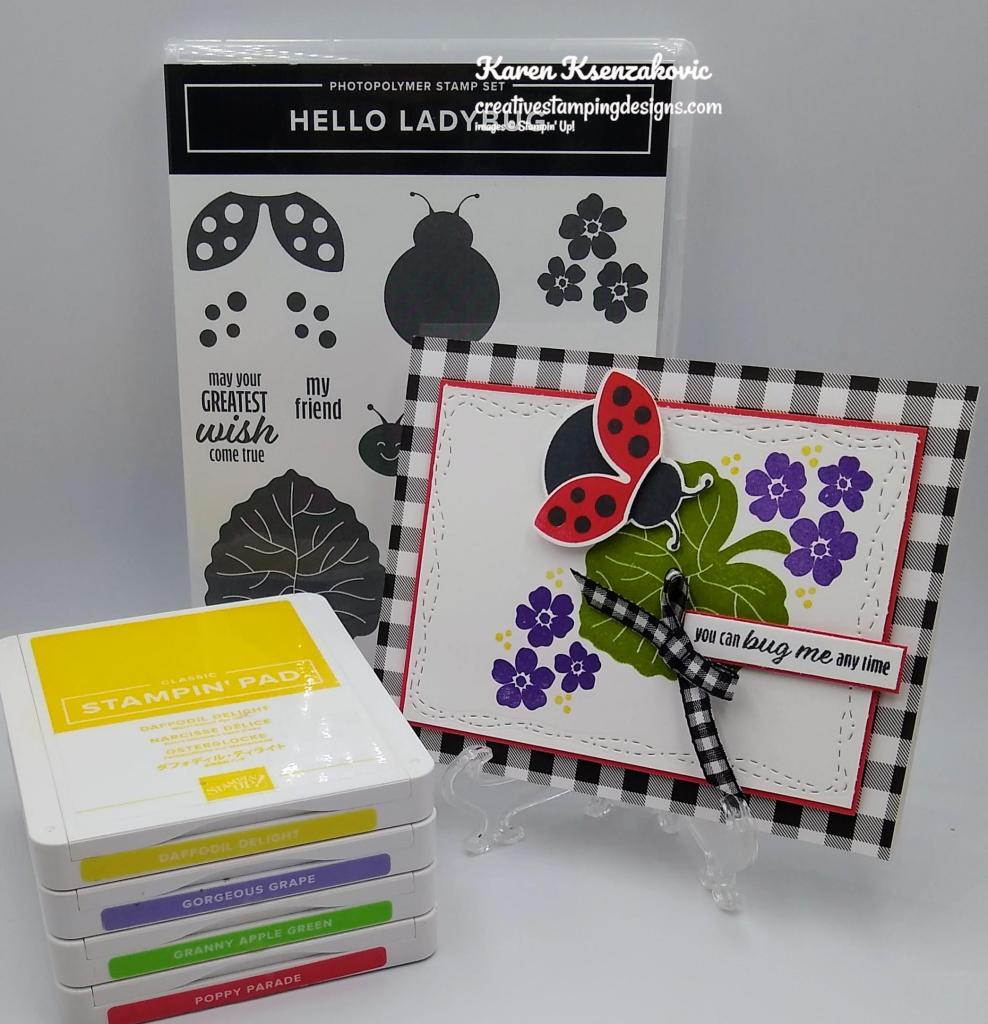
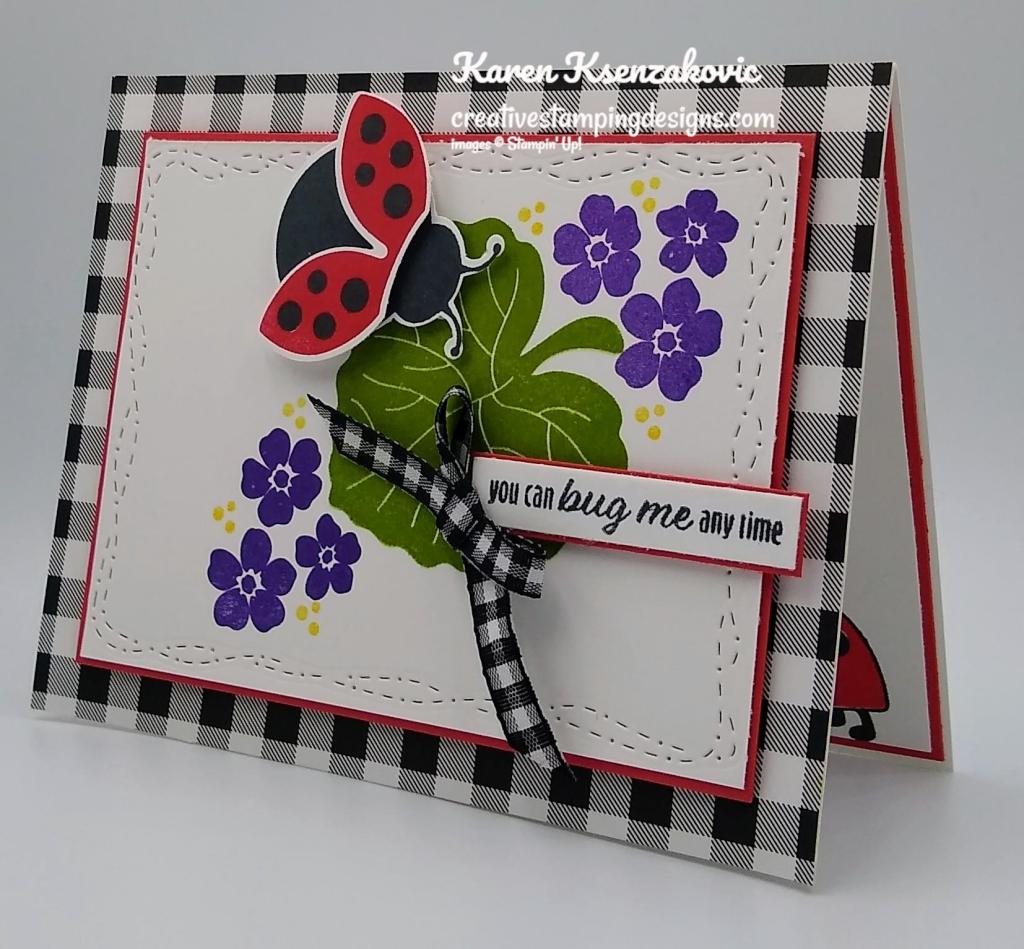
I used the Stampin’ Up! Hello Ladybug Photopolymer Stamp Set and the Artistic Mix Decorative Masks for my card today.
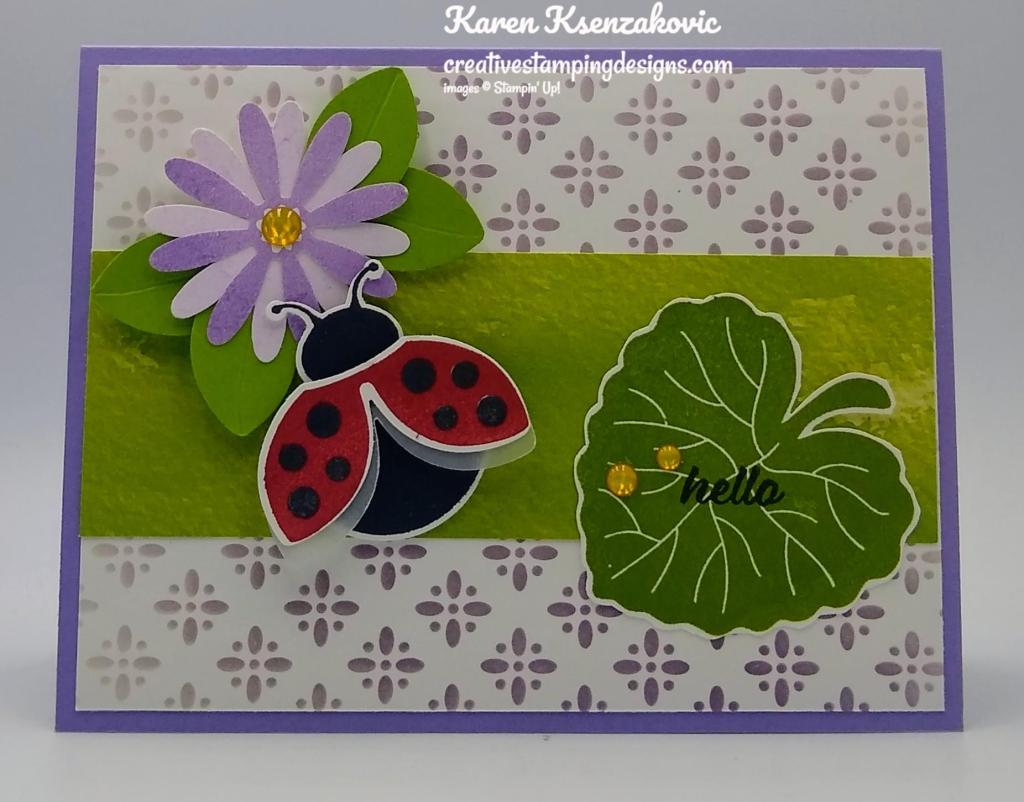
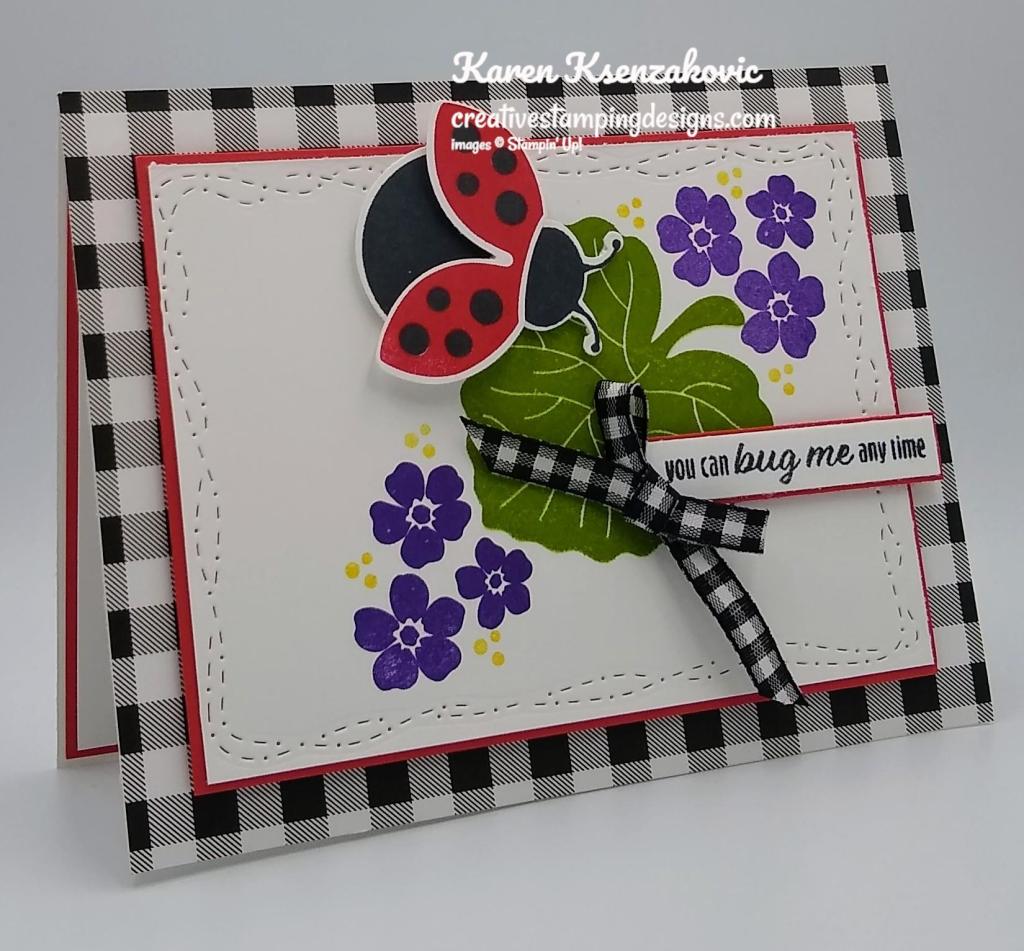
I started by using the Artistic Mix Decorative Masks and my Blending Brush and added Highland Heather Ink to a Basic White card front. I adhered a panel of Awash In Beauty Designer Series Paper to the card front using Stampin’ Seal. I adhered the card front to a Highland Heather card base.
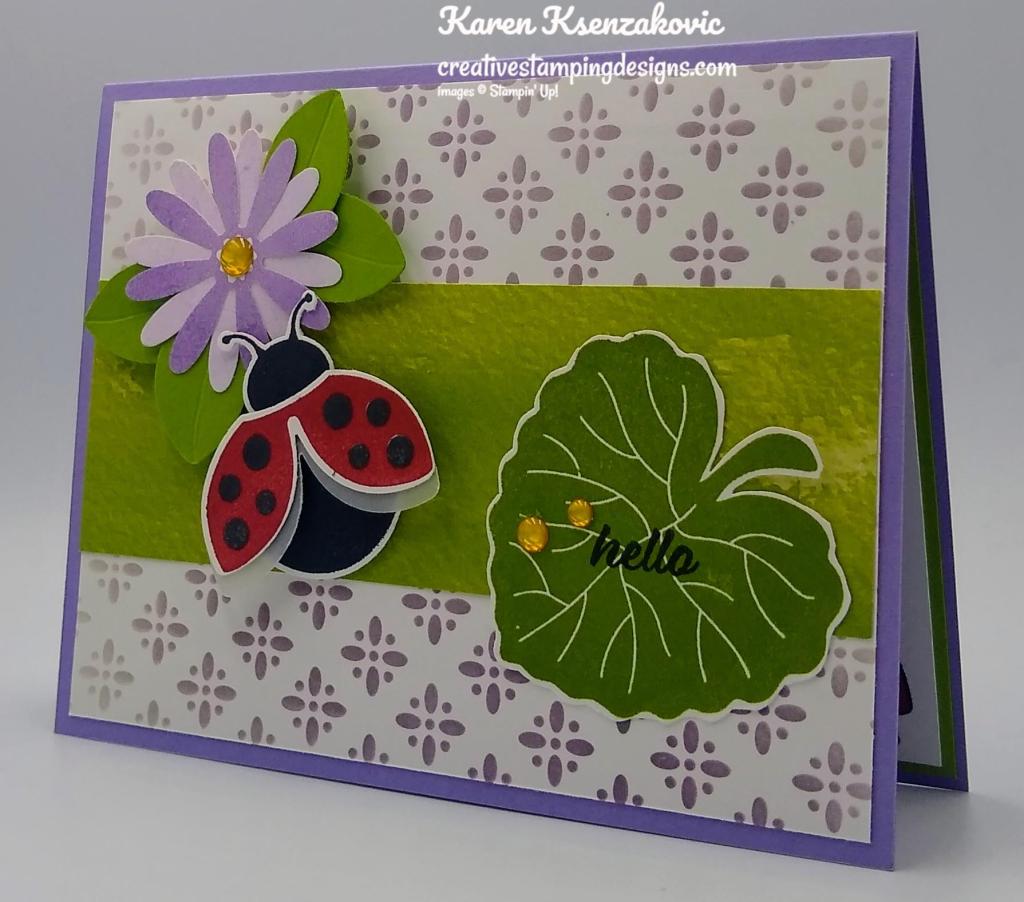
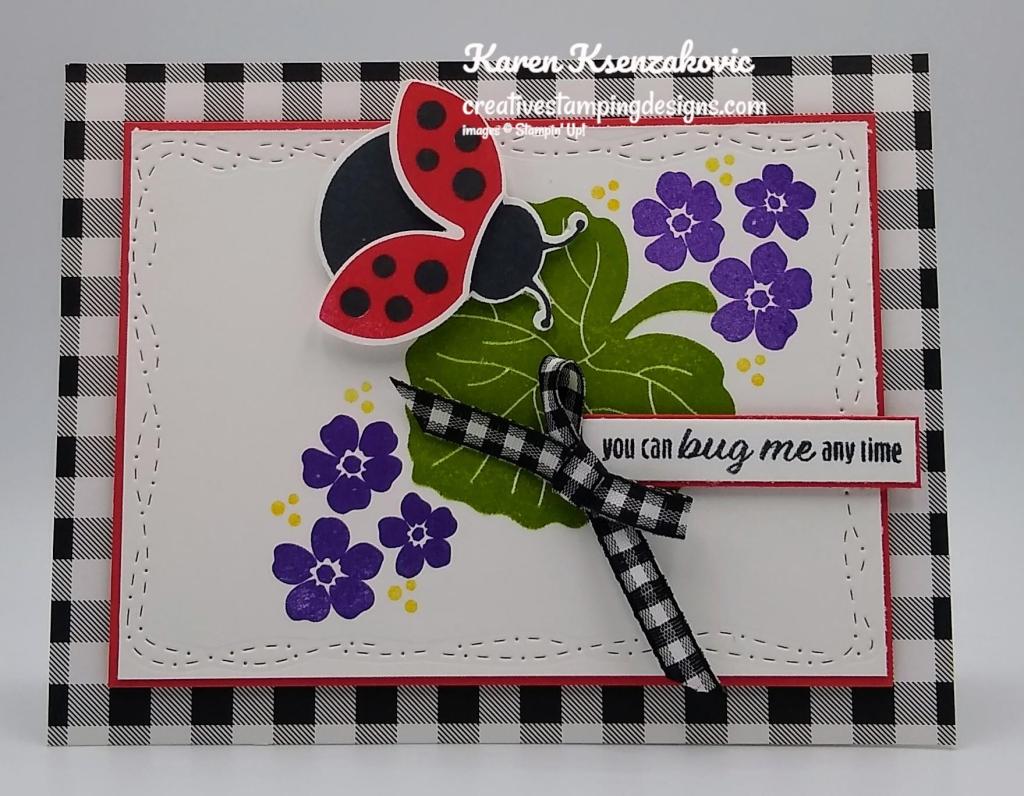
On a panel of Basic White cardstock, I stamped the large leaf image from the Hello Ladybug stamp set in Granny Apple Green Ink. I fussy cut the leaf using my Paper Snips. I stamped the sentiment from the Hello Ladybug stamp set on the leaf in Tuxedo Black Ink. I adhered the leaf to the card front using Multipurpose Liquid Glue.
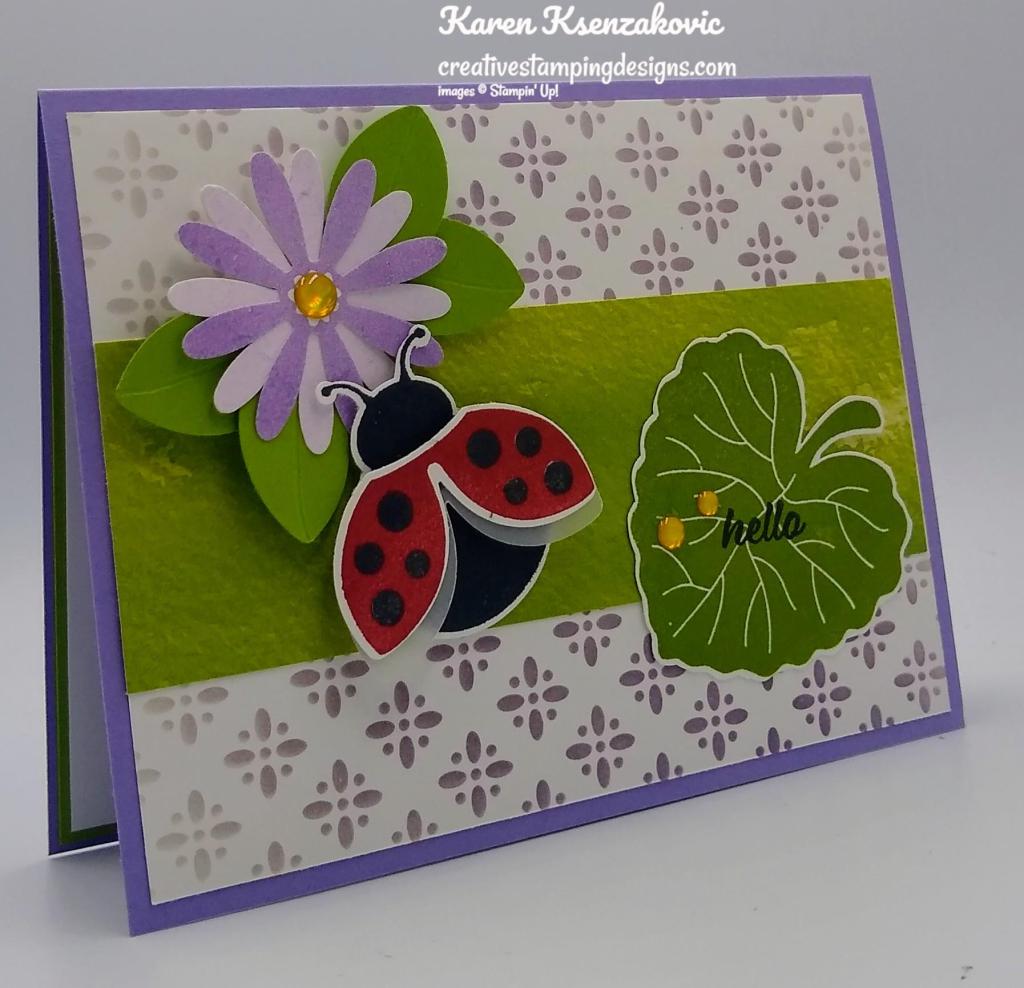
On the panel of Basic White cardstock, I stamped the ladybug body and wings from the Hello Ladybug stamp set in Tuxedo Black and Real Red Inks. On the panel of Basic White cardstock I stamped the daisy image from the Hello Ladybug stamp set in Highland Heather Ink one in full strength and one stamped off. I punched the ladybug body and wings out using the Ladybug Builder Punch. I punched the daisies out using the Medium Daisy Punch. Using the Ladybug Builder Punch, I punched the wings from a panel of Vellum Paper and 2 from a panel of Granny Apple Green cardstock. I adhered the stamped wings to the Vellum wings using Stampin’ Seal. I adhered the wings to the ladybug body using Stampin’ Dimensionals. I adhered the 2 daisies together. I cut the Granny Apple Green wings in half and using my Bone Folder I scored the center of the wings and gave them a little fold. I adhered the leaves to the back of the daisy using Glue Dots. I adhered the daisy and ladybug to the card front using Stampin’ Dimensionals. I added a few Glossy Dots to the card front.

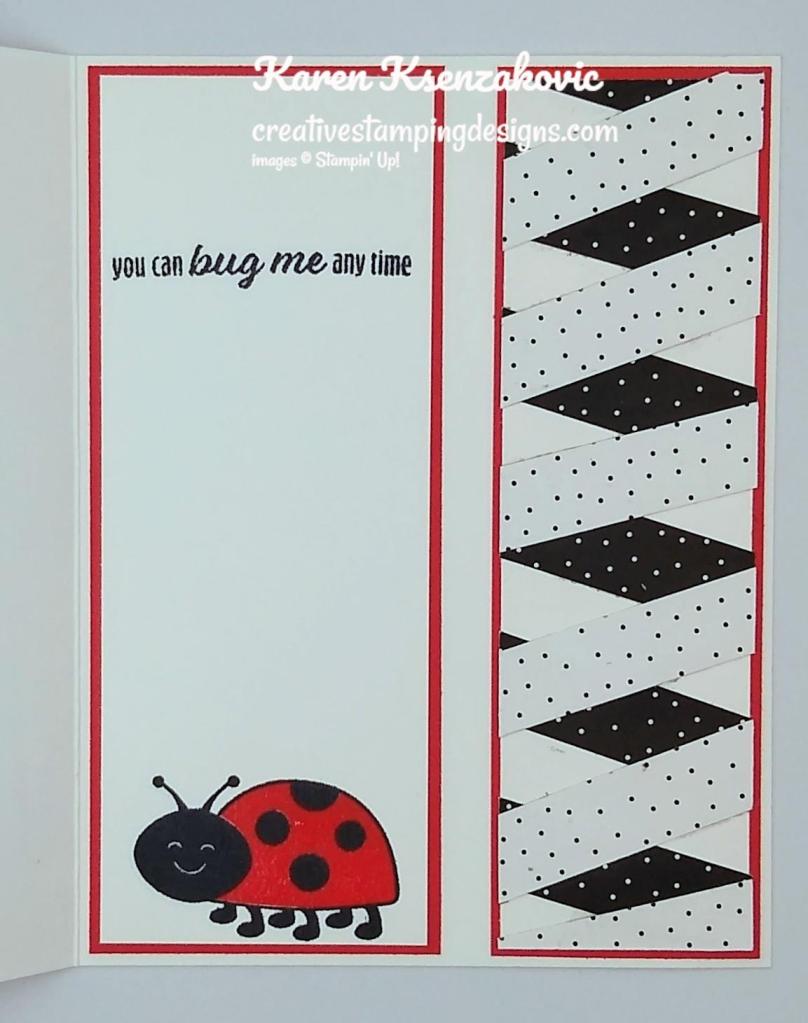
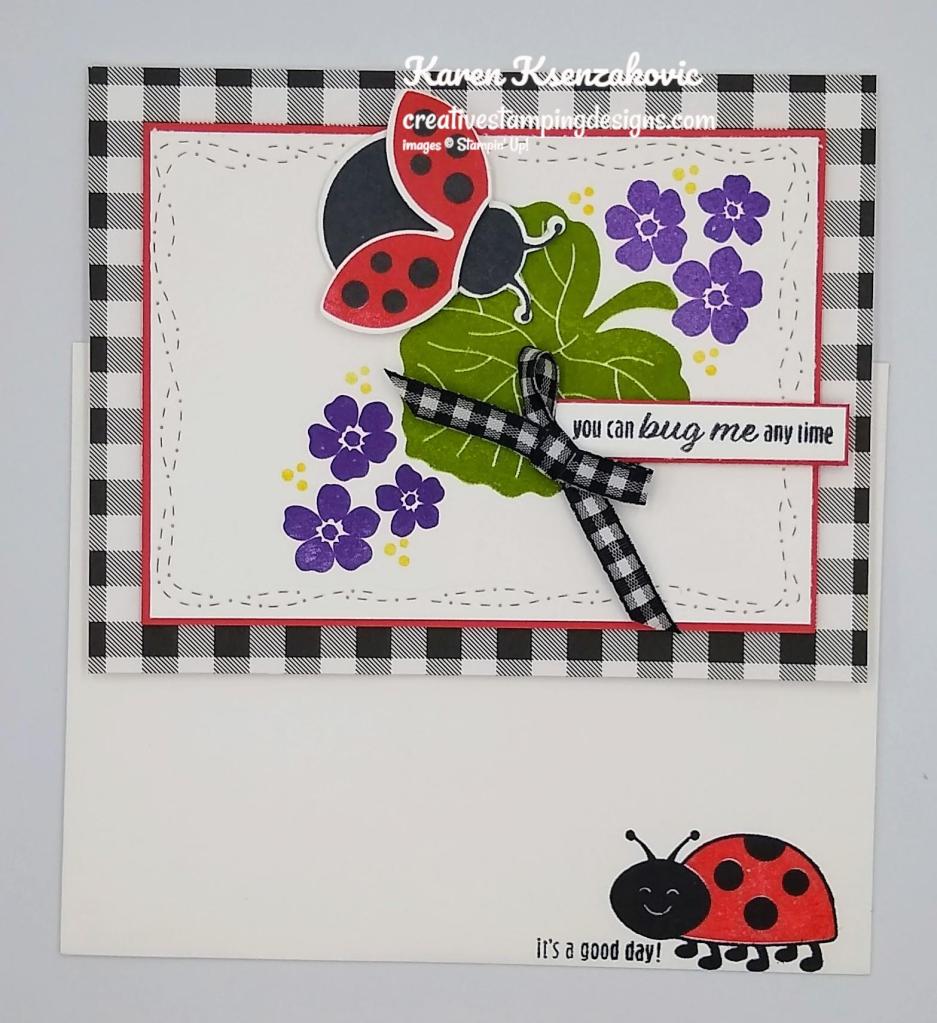
On the inside I stamped the leaf image from the Hello Ladybug stamp set in Granny Apple Green, stamping off once on scrap paper, on a Basic White panel. I stamped the ladybug image from the Hello Ladybug stamp set on the bottom of the panel in Real Red and Tuxedo Black Ink. I stamped the sentiment from the Hello Ladybug stamp set in Tuxedo Black Ink on the leaf. I adhered the Basic White panel to a Granny Apple Green mat and then to the inside of the Highland Heather card base.

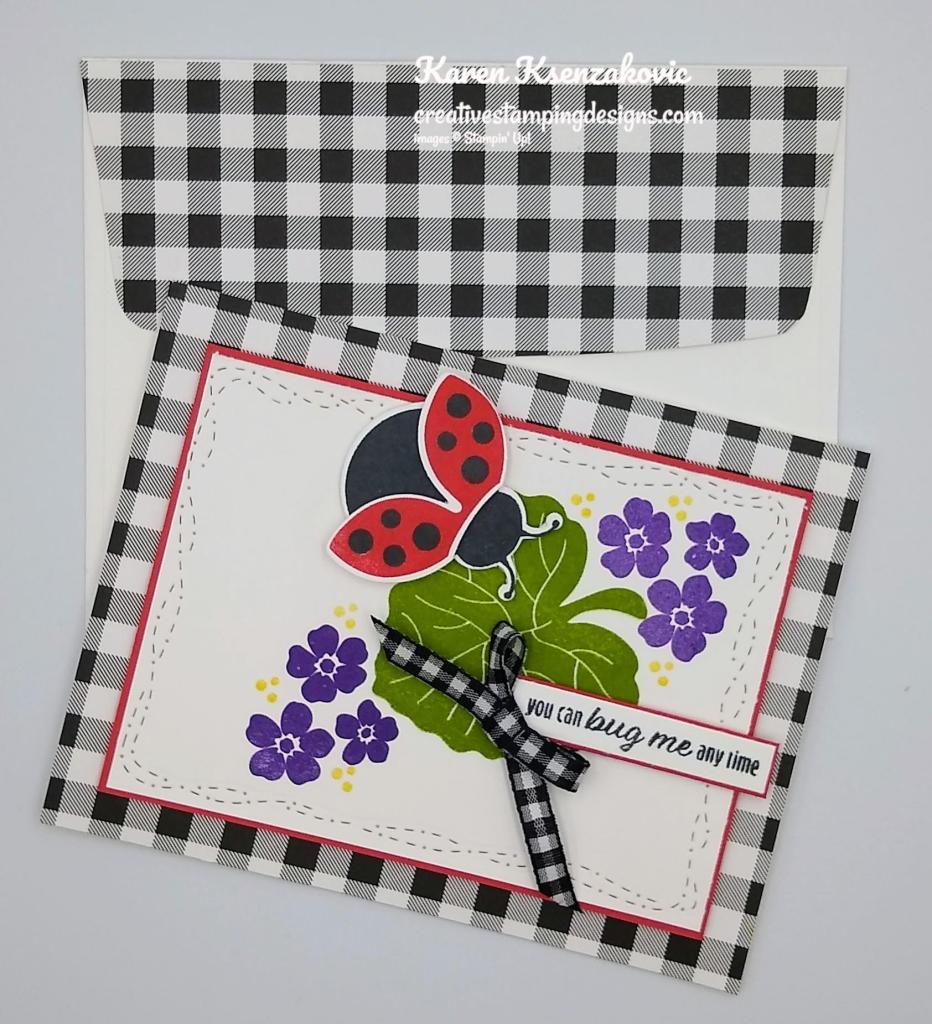
To finish my card, I decorated a Basic White Medium Envelope. I stamped the ladybug image from the Hello Ladybug stamp set in Real Red and Tuxedo Black Inks on the envelope front. Using the Artistic Mix Decorative Masks, I used my Blending Brush and added some Highland Heather Ink on the envelope flap.
Thank you for stopping by my blog today. I hope you liked my card and will give it a try. Happy Stamping!!
*********************************************************************************************************
If you need any stamping supplies, I’d love to be your Demonstrator. Just click HERE to go directly to my online store or drop me an email if you have any questions.
MY CURRENT HOST CODE IS: RGVNBY93
Use this host code when placing an order with me. When you order $50 or greater you will receive a free gift from me! If your order is over $150, please do not use this code, but you’ll still get the free gift. The free gift is your choice of any 1 item valued up to $10.00 from the 2021-2022 Annual Catalog or the January – June 2022 Mini Catalog! For any orders $50 or more I will also send you my monthly class tutorials. Click HERE or go to my Customer Rewards for more details and to see what this month’s tutorials are.
Please remember to use my current Host Code and make sure that you can see my name on the final checkout page listed as your Demonstrator when you order so that you know that you’re ordering with me and you’ll get my rewards!
Happy Stamping, Karen
*********************************************************************************************************
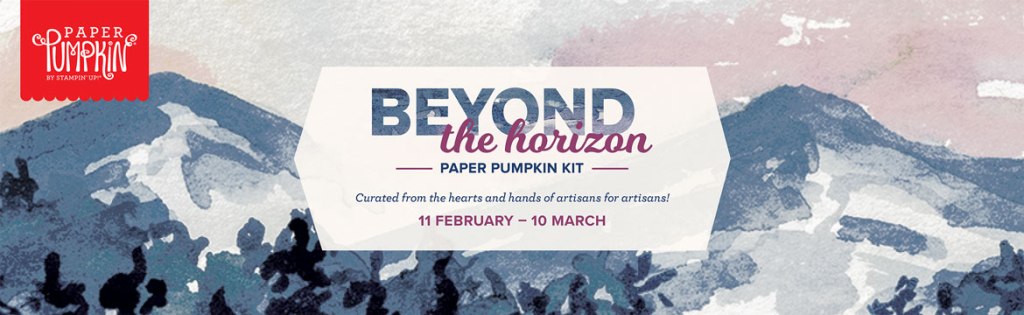
Sending Good Thoughts
Subscribe June 11 – July 10
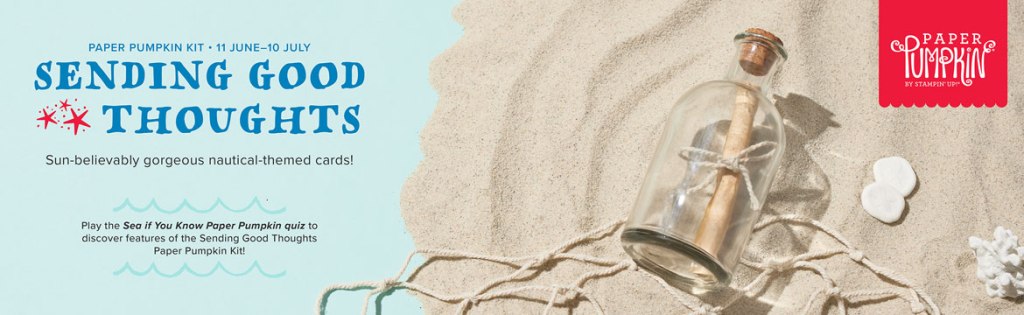
“Seas” the day and set sail with across the ocean the Sending Good Thoughts Paper Pumpkin Kit! With beautifully designed nautical imagery, a fun message in a bottle motif, and sentiments that are “shore” to please, this month’s kit is full of warmth and fun.
Each kit contains enough supplies to create 9 cards—3 each of 3 daring designs—and 9 coordinating envelopes. This month’s Paper Pumpkin kit will have your loved ones feeling sand-tastic!
We also have a special game for you to play—take part in the Sea if You Know Paper Pumpkin quiz to learn more about Paper Pumpkin and this month’s kit! Plus, subscribers to the Sending Good Thoughts Paper Pumpkin Kit will be entered to win a 1-month prepaid Paper Pumpkin code!
Play the Sea if You Know Paper Pumpkin quiz and share it with your friends! Good luck!
This kit includes:
- Sending Good Thoughts Photopolymer Stamp Set
- Bermuda Bay Classic Stampin’ Spot®
- Printed dry-embossed card bases
- Printed envelopes
- Printed die cuts
- Twine
- Mini glue dots
- Dimensionals
Card size: 4-1/4″ x 5-1/2″ (10.8 x 14 cm)
Coordinating Stampin’ Up! colors: Balmy Blue, Basic Gray, Bermuda Bay, Fresh Freesia, Pacific Point, Poppy Parade
Subscribe to the July Paper Pumpkin Kit between 11 June and 10 July at paperpumpkin.com!
Note: Supplies may be limited toward the end of the subscription period.
*********************************************************************************************************

If you join during Sale-a-bration you will receive this awesome Making Plans Collection absolutely free. It includes a July 2022-December 2023 Making Plans Planner including an 8″ X 9 1/2″ Faux Leather Carrying Case, 5 1/2″ X 8 1/2″ Planer Pages, Monthly Divider Pages and Sticker Sheets. It also includes 3 – Creative Journals that are 5 3/4″ X 8″ and a Making Plans Photopolymer Stamp Set. Contact me for more information at creativestampingdesigns@gmail.com. I’d love to have you on my team. You can join as a hobby demonstrator just to enjoy the discount for yourself. No obligations to sell, hold classes or have a blog.
*********************************************************************************************************
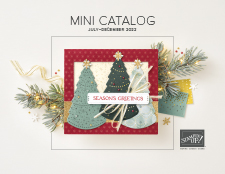
To kick off the new July-December 2022 Mini Catalog I’m offering
DOUBLE CREATIVE STAMPING DESIGNS REWARDS
starting today until Sunday July 10,2022 @11:59pm ET
How My Rewards Work:
- For each $50 that you order from my online store (before Tax, S & H) and when you add my current Host Code, you will earn 2 Rewards. Orders of $49.99 or below DO NOT earn any rewards.
- $50 = 2 Rewards, $100 = 4 Rewards, $150 = 6 Rewards etc.
- When you have earned 8 Rewards you will get a FREE product order valued up to $40.00, your choice and mailed directly to you!
- You also earn my monthly Online Class Tutorial with projects that are exclusive to my classes!
- For any order $50 or more you will also receive 1 free gift from me valued up to $10.
HAVE FUN SHOPPING!!
*********************************************************************************************************
July-December 2022 Mini Catalog is Now Live
Today starts the January-June 2022 Mini Catalog. If you would like to be a customer of mine and would like a copy or the catalog in your hands, just drop me a line at creativestampingdesigns@gmail.com and I will get one in the mail to you ASAP. Click Here for a printable PDF of the Mini Catalog.
*********************************************************************************************************
Sale-a-bration Going On Now!!!
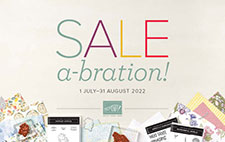
TODAY is the start of Sale-a-bration. This is my 2nd most favorite time of Stampin’ Up! because you get to earn FREE products. There are 7 wonderful stamp sets and 4 gorgeous packs of Designer Series Paper. You can earn all of these FREE with qualifying orders. Who doesn’t like FREE?????? Click Here for a printable PDF of the brochure.
When you are placing your order, don’t forget to use my Current Host Code RGVNBY93 for all orders under $150.
*********************************************************************************************************
Card stock cuts for this project:
- Basic White Cardstock 2 – 4″ X 5 1/4″ (card front & inner liner), 2″ X 4″ (daisies), 3 1/2″ X 4″ (ladybug & leaf)
- Granny Apple Green Cardstock 2″ X 2″ (wings for leaves), 4 1/8″ X 5 3/8″ (inner liner mat)
- Highland Heather Cardstock 8 1/2″ X 5 1/2″ (card base scored & folded at 4 1/4″)
- Awash In Beauty Designer Series Paper 1 3/4″ X 5 1/4″ (card front panel)
- Vellum Paper 2″ X 1″ (wings)
*********************************************************************************************************
Product List
")


 Designer Series Paper")


")


 Designer Series Paper")


 Host Designer Series Paper")


 Gingham Ribbon")


