

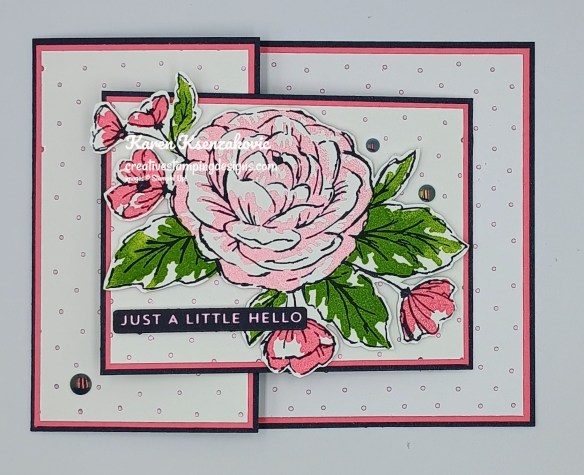
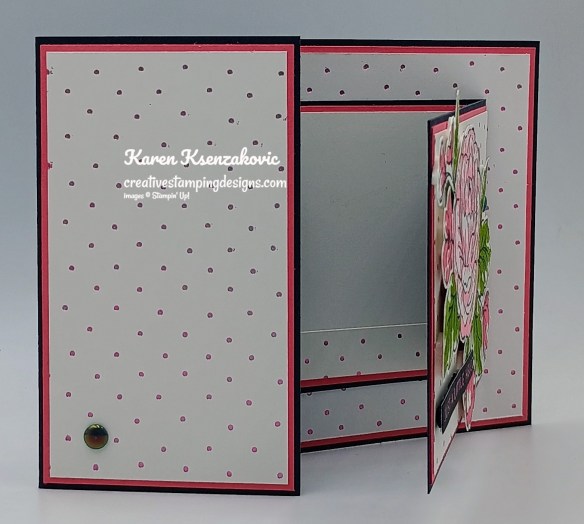
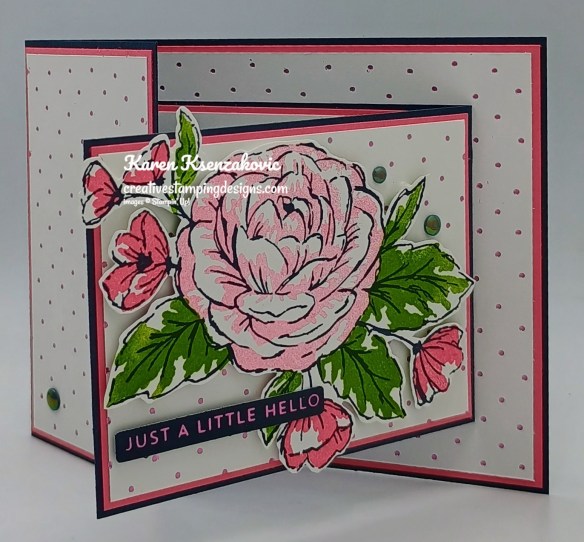
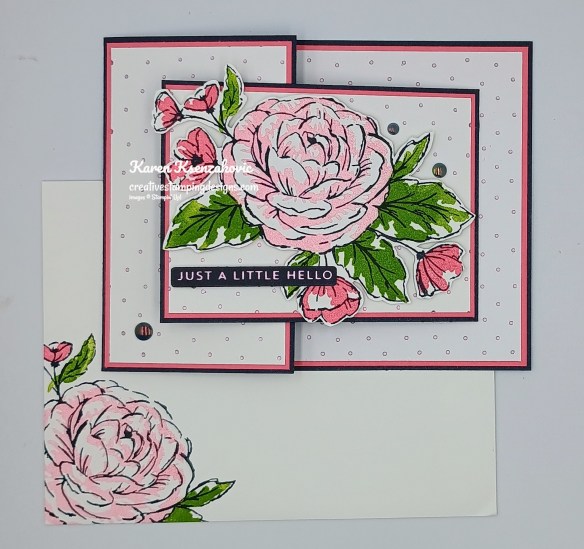
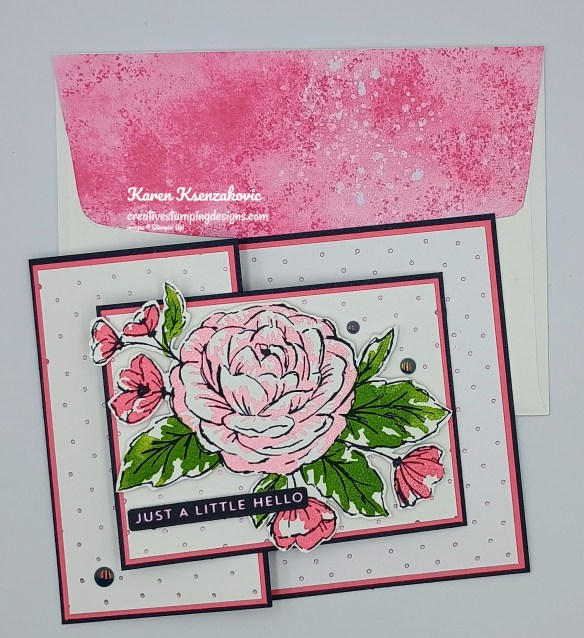
Good Thursday morning stamping friends welcome to our Happy Inkin’ Thursday Blog Hop. If you are starting with me, thank you, I hope you will stop by everyone’s blog to see the beautiful projects they have created this week. If you are hopping over from Mary’s blog, thank you for stopping by. This week we have a Color Challenge to work with. If you’d like to see a quick video on how I made this card, Click Here to go to my Instagram Reels. Here is my card using this week’s color.
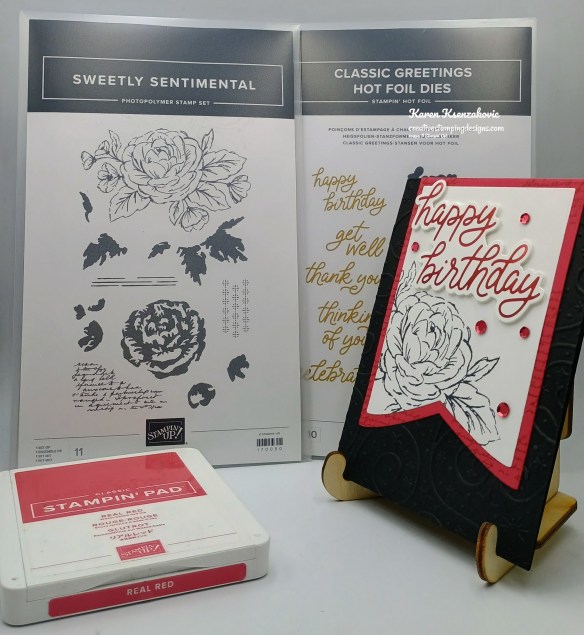
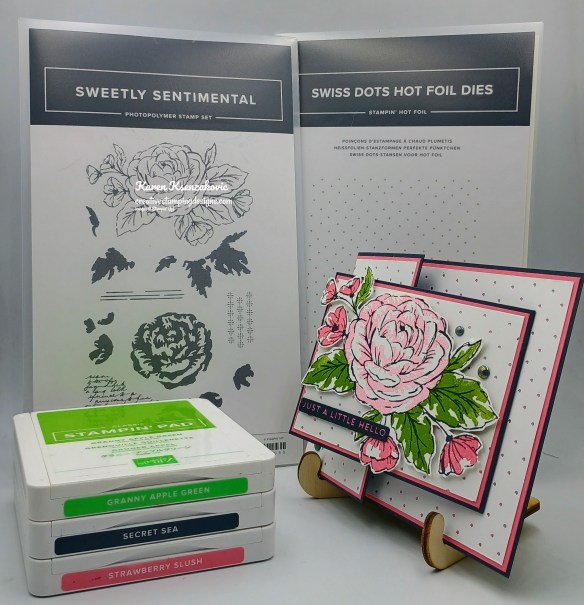
I used the Stampin’ Up! Sweetly Sentimental Stamp Set, Stampin’ Up! Classic Greetings Hot Foil Dies, Party Banner Dies and Swirls of Magic Embossing Folder for my card today.
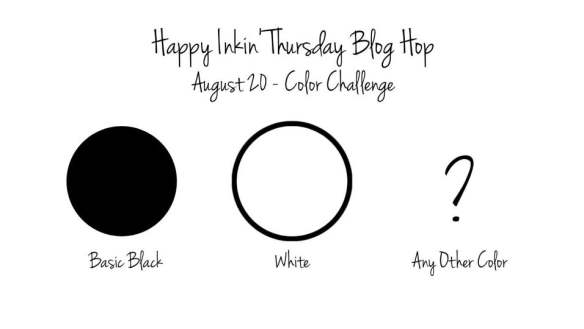
These are our colors for this week.
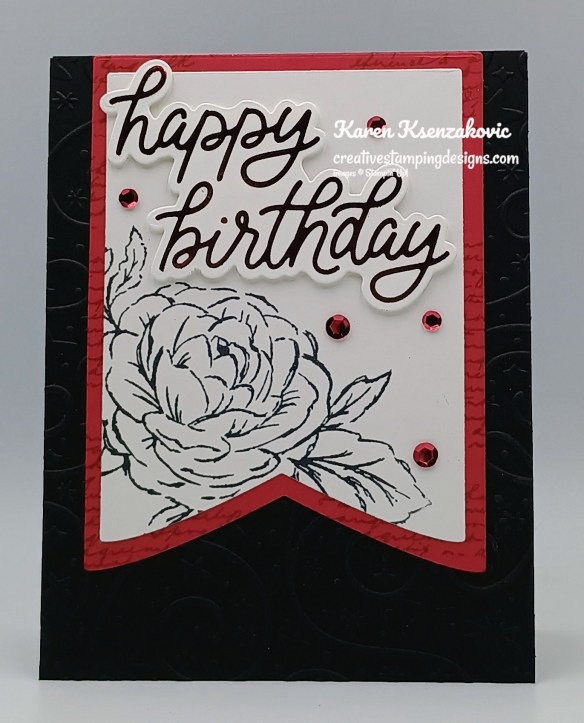
Emboss a panel of Basic Black using the Swirls of Magic EF. Adhere the embossed panel to a Basic Black card base,

Using the 7th & 8th from largest Party Banner Dies, cut panels of Real Red and Basic White. On the Real Red banner, stamp the script image from the Sweetly Sentimental stamp set in Real Red Ink. On the bottom of the Basic White banner, stamp the large floral image from the Sweetly Sentimental stamp set in Black Ink. Adhere the Basic White banner to the Real Red banner. Adhere the layered banner to the Basic Black card base.

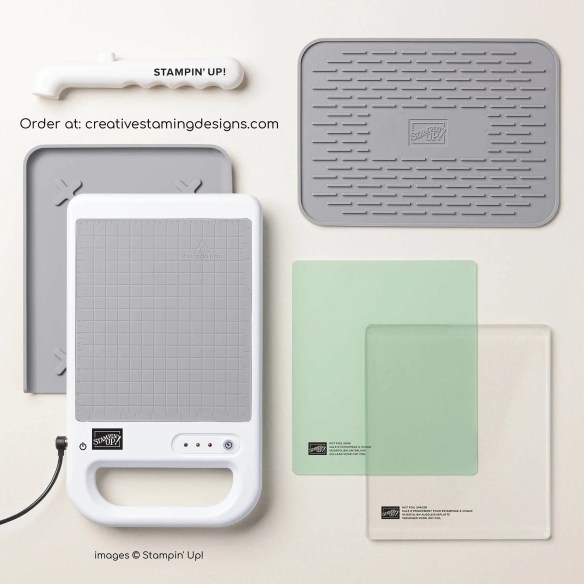
Following the directions from the Stampin’ Hot Foil System, using the new Red Foil (available Sept 1), foil the sentiment using the Classic Greetings Hot Foil Dies. Cut the sentiment out using the Classic Greetings Hot Foil Dies. Adhere the sentiment to the top of the banner using Stampin’ Dimensionals. Add a few Adhesive-Backed Sparkle Sequins (available Sept 1) to the card front.

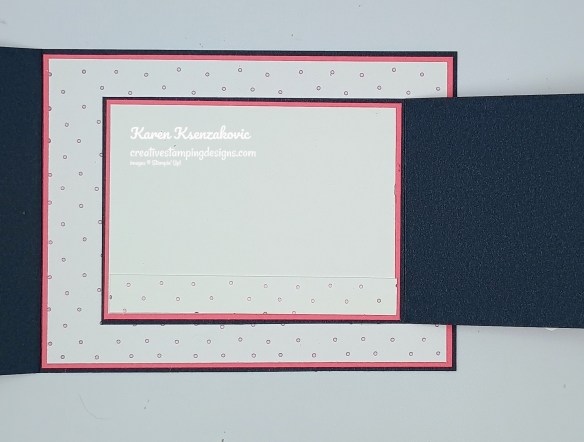
Emboss the top of a panel of Basic White using the Swirls of Magic EF. Following the Stampin’ Hot Foil System, foil the sentiment from Classic Greetings Hot Foil Dies using the Red Foil. Cut the sentiment out using the Classic Greetings Hot Foil Dies. Adhere the sentiment at the bottom of the embossed portion of the Basic White panel. Stamp the floral image from the Sweetly Sentimental stamp set in Black Ink on the bottom of the panel. Adhere the Basic White panel to a Real Red mat then to the inside of the Basic Black card base.
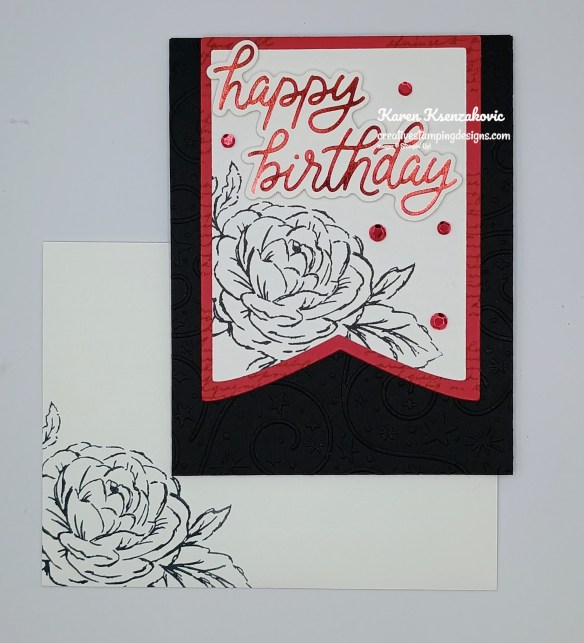
Decorate a Basic White Medium Envelope to complete the card. Stamp the floral image from the Sweetly Sentimental stamp set in Black Ink on the envelope front and flap.

Thank you for stopping by my blog today. Now that you’ve seen my card, let’s get on with the hop! Click the next button below to hop over to see what Tara has created. Happy Hopping

Just in case you get lost along the way, here is a list of the team members involved in the hop today.
Karen Ksenzakovic You Are Here
********************************************************************************************************
If you need any stamping supplies, I’d love to be your Demonstrator. Just click HERE to go directly to my online store or drop me an email if you have any questions.
*********************************************************************************************************
Double Stampin’ Rewards from Stampin’ Up! on all orders of $20+ Aug 19-21
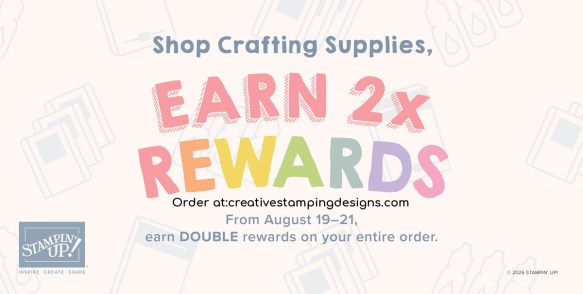
Stampin’ Up! announced that they’re offering DOUBLE Stampin’ Rewards on all orders of $20+ placed between August 19-21!!
Here are the details:
- Sales Period: August 19–21
- Ordering Deadline: August 21, 2026, at 11:59 p.m. (MT)
- Earn double Stampin’ Rewards (2x Rewards) for 3 days only, starting August 19 and ending August 21. That means 20% instead of the standard 10%! All orders qualify once the Stampin’ Rewards threshold of $20 is met. Some exclusions apply (see the next bullet point).
- This offer applies to ALL products except for existing Paper Pumpkin subscriptions.
- To participate, you must have a Stampin’ Up! account and be opted in to the Stampin’ Rewards program.
Head over to the online store from August 19-21 and get DOUBLE Stampin’ Rewards from Stampin’ Up! on your order of $20+!!
*********************************************************************************************************
15% Off Select Designer Series Paper & Cardstock – August 4-31
Are you looking for the perfect card stock or Designer Series Paper for your next project? Stampin’ Up! has got you covered! Starting August 4, enjoy 15% off select Designer Series Paper and card stock. Stock up on your favorites or explore new colors and patterns during this sale!
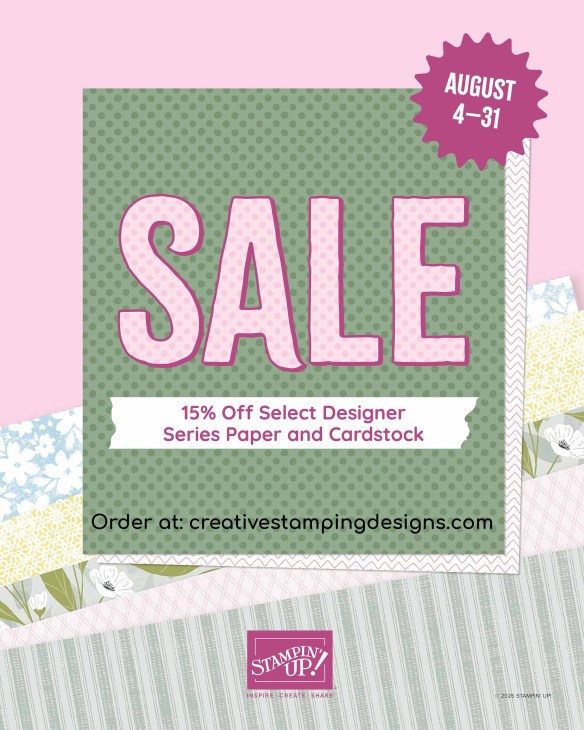
Here are the sale details:
- Sales Period: August 4–31
- Ordering Deadline: August 31, 2026, at 11:59 p.m. (MT)
- While supplies last.
- You’ll find all qualifying items in one convenient location once the sale begins on August 4—it will be located in the “Designer Series Paper and Cardstock Sale” page in the online store.
Head over to my Online Store beginning August 4 to shop the sale!!
*********************************************************************************************************
Card stock cuts for this project:
- Basic Black Cardstock 4 1/4″ x 11″ (card base scored & folded at 5 1/2″), 4 1/4″ x 5 1/2″ (card front)
- Basic White Cardstock 3 1/2″ x 4″ (banner), 4″ x 5″ (sentiments), 3 3/4″ x 5″ (liner liner)
- Real Red Cardstock 4″ x 5″ (banner), 4″ x 5 1/4″ (mat)
*********************************************************************************************************
Product List
![Sweetly Sentimental Photopolymer Stamp Set [ 170050 ]](https://assets1.tamsnetwork.com/images/EC042017NF/170050s.jpg "Sweetly Sentimental Photopolymer Stamp Set [ 170050 ]")
![Classic Greetings Hot Foil Dies [ 170042 ]](https://assets1.tamsnetwork.com/images/EC042017NF/170042s.jpg "Classic Greetings Hot Foil Dies [ 170042 ]")
![Basic Black 8-1/2" X 11" Cardstock [ 121045 ]](https://assets1.tamsnetwork.com/images/EC042017NF/121045s.jpg "Basic Black 8-1/2\" X 11\" Cardstock [ 121045 ]")
![Basic White 8 1/2" X 11" Cardstock [ 166780 ]](https://assets1.tamsnetwork.com/images/EC042017NF/166780s.jpg "Basic White 8 1/2\" X 11\" Cardstock [ 166780 ]")
![Real Red 8-1/2" X 11" Cardstock [ 102482 ]](https://assets1.tamsnetwork.com/images/EC042017NF/102482s.jpg "Real Red 8-1/2\" X 11\" Cardstock [ 102482 ]")
![Real Red Classic Stampin' Pad [ 147084 ]](https://assets1.tamsnetwork.com/images/EC042017NF/147084s.jpg "Real Red Classic Stampin' Pad [ 147084 ]")
![Party Banners Dies [ 165264 ]](https://assets1.tamsnetwork.com/images/EC042017NF/165264s.jpg "Party Banners Dies [ 165264 ]")
![Swirls Of Magic Embossing Folder [ 168179 ]](https://assets1.tamsnetwork.com/images/EC042017NF/168179s.jpg "Swirls Of Magic Embossing Folder [ 168179 ]")
![Basic White Medium Envelopes [ 159236 ]](https://assets1.tamsnetwork.com/images/EC042017NF/159236s.jpg "Basic White Medium Envelopes [ 159236 ]")
![Stampin' Cut & Emboss Machine [ 149653 ]](https://assets1.tamsnetwork.com/images/EC042017NF/149653s.jpg "Stampin' Cut & Emboss Machine [ 149653 ]")
![Stampin' Hot Foil System Na & Craft Class [ 170009 ]](https://assets1.tamsnetwork.com/images/EC042017NF/170009s.jpg "Stampin' Hot Foil System Na & Craft Class [ 170009 ]")
![Mini Glue Dots [ 103683 ]](https://assets1.tamsnetwork.com/images/EC042017NF/103683s.jpg "Mini Glue Dots [ 103683 ]")
![Multipurpose Liquid Glue [ 110755 ]](https://assets1.tamsnetwork.com/images/EC042017NF/110755s.jpg "Multipurpose Liquid Glue [ 110755 ]")
![Stampin' Dimensionals [ 104430 ]](https://assets1.tamsnetwork.com/images/EC042017NF/104430s.jpg "Stampin' Dimensionals [ 104430 ]")
![Stampin' Seal [ 152813 ]](https://assets1.tamsnetwork.com/images/EC042017NF/152813s.jpg "Stampin' Seal [ 152813 ]")
![Paper Trimmer [ 152392 ]](https://assets1.tamsnetwork.com/images/EC042017NF/152392s.jpg "Paper Trimmer [ 152392 ]")
![Bone Folder [ 102300 ]](https://assets1.tamsnetwork.com/images/EC042017NF/102300s.jpg "Bone Folder [ 102300 ]")
![Detail Scissors [ 170902 ]](https://assets1.tamsnetwork.com/images/EC042017NF/170902s.jpg "Detail Scissors [ 170902 ]")
![Take Your Pick [ 144107 ]](https://assets1.tamsnetwork.com/images/EC042017NF/144107s.jpg "Take Your Pick [ 144107 ]")




![Sweetly Sentimental Bundle (English) [ 170053 ]](https://assets1.tamsnetwork.com/images/EC042017NF/170053s.jpg "Sweetly Sentimental Bundle (English) [ 170053 ]")
![Sweetly Sentimental Hot Foil Dies (English) [ 170052 ]](https://assets1.tamsnetwork.com/images/EC042017NF/170052s.jpg "Sweetly Sentimental Hot Foil Dies (English) [ 170052 ]")
![Secret Sea 8 1/2" X 11" Cardstock [ 165624 ]](https://assets1.tamsnetwork.com/images/EC042017NF/165624s.jpg "Secret Sea 8 1/2\" X 11\" Cardstock [ 165624 ]")
![Strawberry Slush 8 1/2" X 11" Cardstock [ 165625 ]](https://assets1.tamsnetwork.com/images/EC042017NF/165625s.jpg "Strawberry Slush 8 1/2\" X 11\" Cardstock [ 165625 ]")
![Secret Sea 12" X 12" (30.5 X 30.5 Cm) Two Tone Cardstock [ 166709 ]](https://assets1.tamsnetwork.com/images/EC042017NF/166709s.jpg "Secret Sea 12\" X 12\" (30.5 X 30.5 Cm) Two Tone Cardstock [ 166709 ]")
![2025–2027 In Color™ 6" X 6" (15.2 X 15.2 Cm) Designer Series Paper [ 165300 ]](https://assets1.tamsnetwork.com/images/EC042017NF/165300s.jpg "2025–2027 In Color™ 6\" X 6\" (15.2 X 15.2 Cm) Designer Series Paper [ 165300 ]")
![Granny Apple Green Stampin' Pad [ 147095 ]](https://assets1.tamsnetwork.com/images/EC042017NF/147095s.jpg "Granny Apple Green Stampin' Pad [ 147095 ]")
![Secret Sea Classic Stampin' Pad [ 165285 ]](https://assets1.tamsnetwork.com/images/EC042017NF/165285s.jpg "Secret Sea Classic Stampin' Pad [ 165285 ]")
![Strawberry Slush Classic Stampin' Pad [ 165286 ]](https://assets1.tamsnetwork.com/images/EC042017NF/165286s.jpg "Strawberry Slush Classic Stampin' Pad [ 165286 ]")
![Swiss Dots Hot Foil Die [ 170075 ]](https://assets1.tamsnetwork.com/images/EC042017NF/170075s.jpg "Swiss Dots Hot Foil Die [ 170075 ]")
![Light Pink Stampin' Hot Foil Rolls [ 170068 ]](https://assets1.tamsnetwork.com/images/EC042017NF/170068s.jpg "Light Pink Stampin' Hot Foil Rolls [ 170068 ]")
![Silver Stampin' Hot Foil Rolls [ 170067 ]](https://assets1.tamsnetwork.com/images/EC042017NF/170067s.jpg "Silver Stampin' Hot Foil Rolls [ 170067 ]")
![2025–2027 In Color™ Flat Pearls [ 165192 ]](https://assets1.tamsnetwork.com/images/EC042017NF/165192s.jpg "2025–2027 In Color™ Flat Pearls [ 165192 ]")


