Good Wednesday morning stamping friends. I hope you are all having a wonderful week. We’re halfway through and on our way to the weekend.
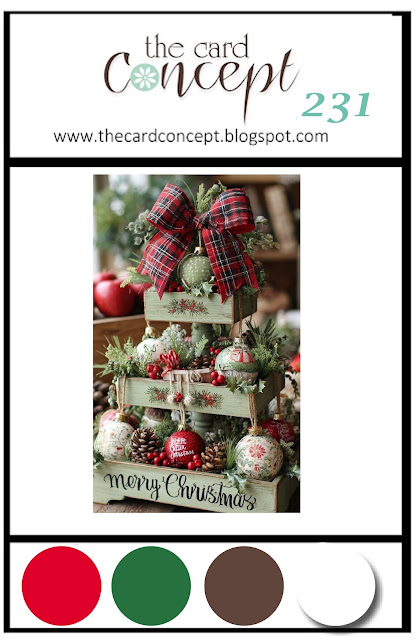
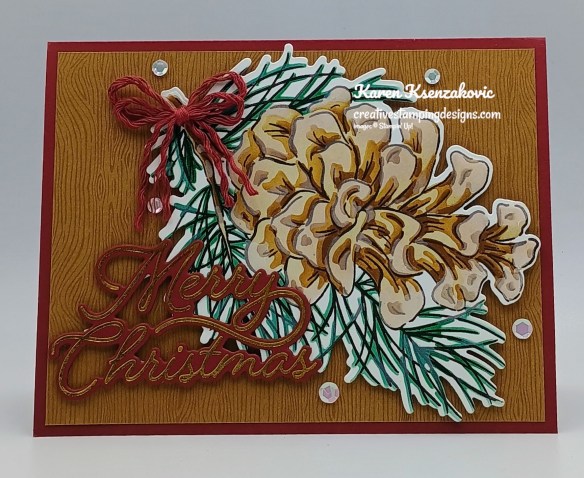
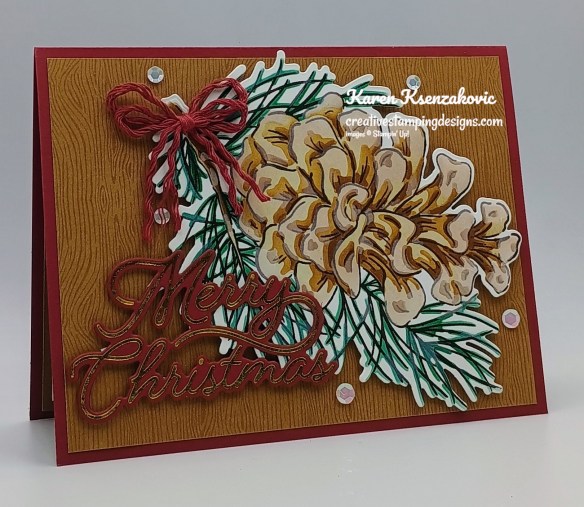
The Card Concepts is back with their Inspiration/Color Challenges and I hope you will join in. The inspiration photo #231 is Merry Christmas. If you’d like to see a quick video of how I made this card, Click Here to go to my Instagram Reels. Here’s my card for today.
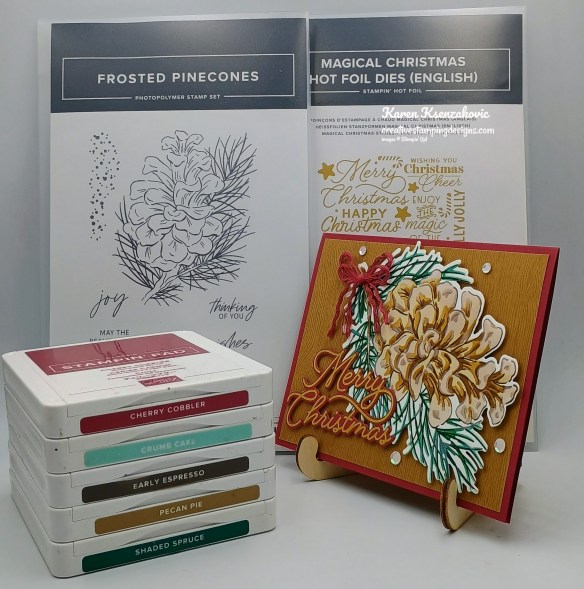
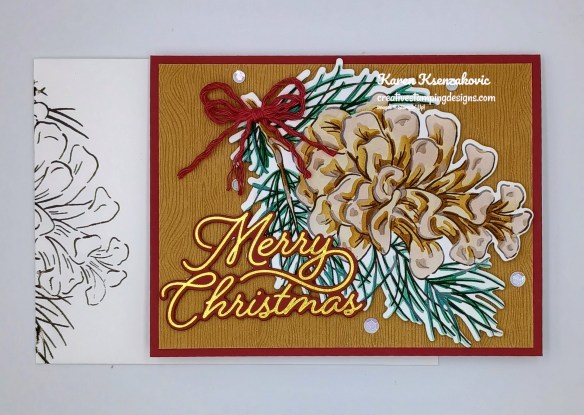
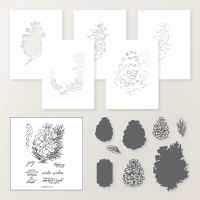
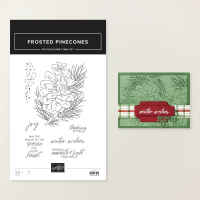
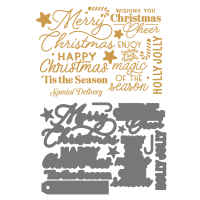
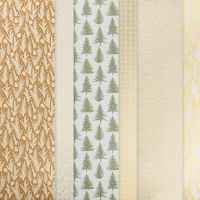
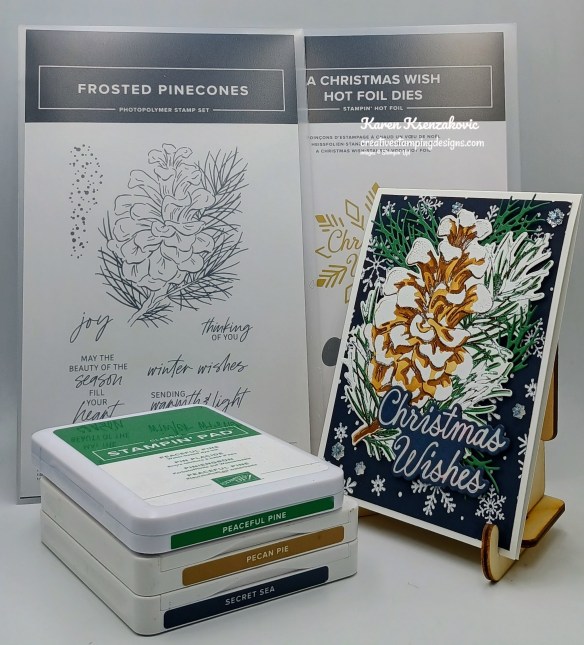
I used the Stampin’ Up! Frosted Pinecones Bundle along with the Stampin’ Up! Magical Christmas Hot Foil Dies and Wood Grain Wonder Designer Series Paper for my card today. I was inspired by the pinecones and colors in the photo for my clean & layered card.
I hope you will take a moment to visit The Card Concepts and join us for our challenge #231. How are you inspired by the photos?
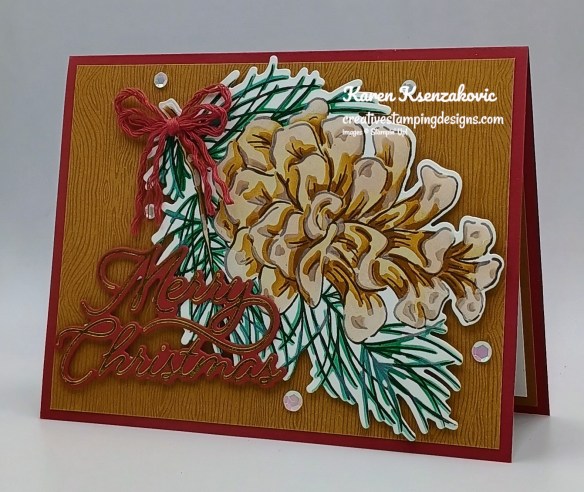
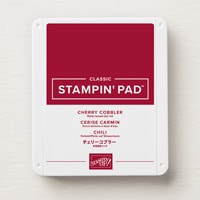
Adhere a panel of Wood Grain Wonders DSP to a Cherry Cobbler card base.
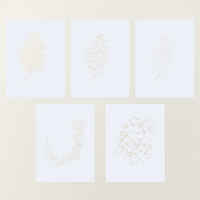
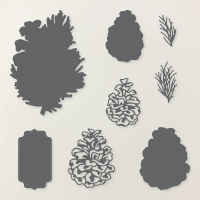
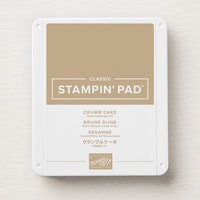
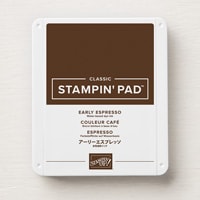
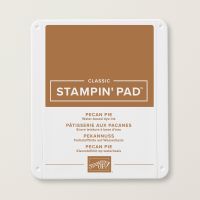
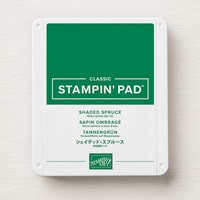
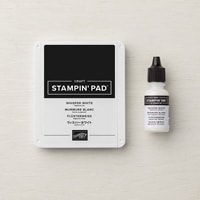
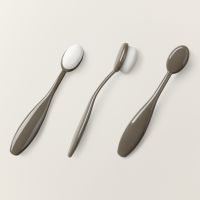
Stamp the pinecone image from the Frosted Pinecones stamp set in Early Espresso Ink on a panel of Basic White. Using the Frosted Pinecones Decorative Masks add Crumb Cake Ink with a Blending Brush using Mask #1. Add Pecan Pie Ink using a Blending Brush with Masks #2 & #3. Add Shaded Spruce Ink with a Blending Brush using Mask #4. Use Craft White Ink with a Blending Brush with Mask #5. Cut the image out using the Frosted Pinecones Dies. Adhere the pinecone image to the card front with Stampin’ Dimensionals.
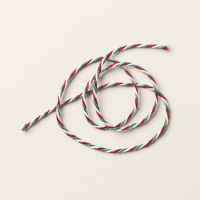
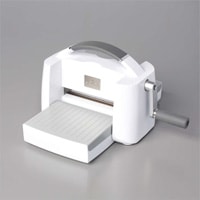
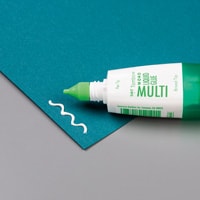
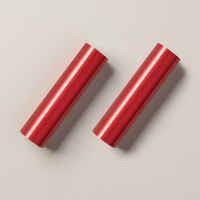
Following the directions from the Stampin’ Hot Foil System, foil the sentiments from the Magical Christmas Hot Foil Dies on a panel of Cherry Cobbler with Gold Foil. Cut the sentiments out using the Magical Christmas Dies. Adhere the sentiment to the card front. Remove the Cherry Cobbler from a piece of Multicolor Christmas Baker’s Twine and tie a double bow. Adhere the bow to the pinecone with a Glue Dot. Add a few Adhesive-Backed Sparkle Sequins to the card front.
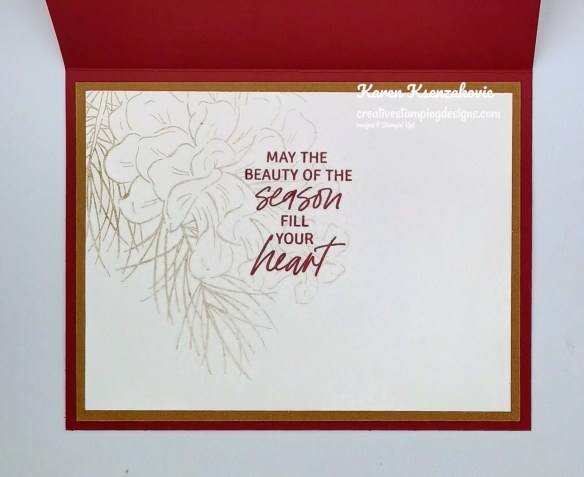
Stamp the sentiment from Frosted Pinecones stamp set in Cherry Cobbler Ink on a panel of Basic White. Stamp the pinecone image from Frosted Pinecones stamp set in Crumb Cake Ink, stamping off 2 times on scrap paper, over the sentiment. Adhere the Basic White panel to a Pecan Pie mat then to the inside of the cherry Cobbler card base.
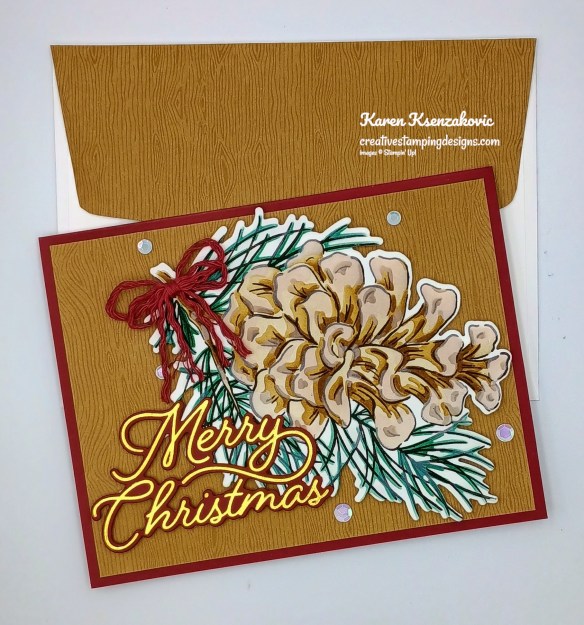
Decorate a Basic White Medium Envelope to complete your card. Stamp the pinecone image from Frosted Pinecones stamp set in Early Espresso Ink on the envelope front. Adhere a panel of Wood Grain Wonder DSP to the envelope flap.
Thank you for stopping by my blog today. I hope you like the card and will give it a try. Happy Stamping!!
If you need any stamping supplies, I’d love to be your Demonstrator. Just click HERE to go directly to my online store or drop me an email if you have any questions.
Good Sunday morning stamping friends. I hope you are all having a great weekend. It’s supposed to be rainy and in the 60’s today. Good day to stay in and work on cards.
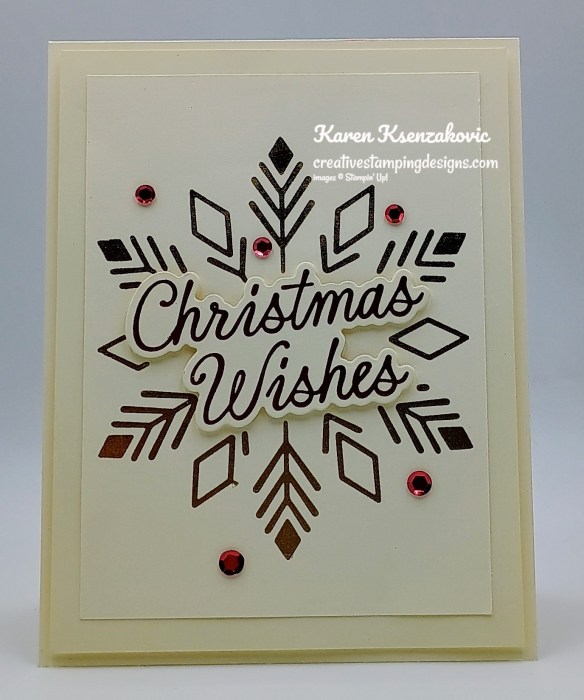
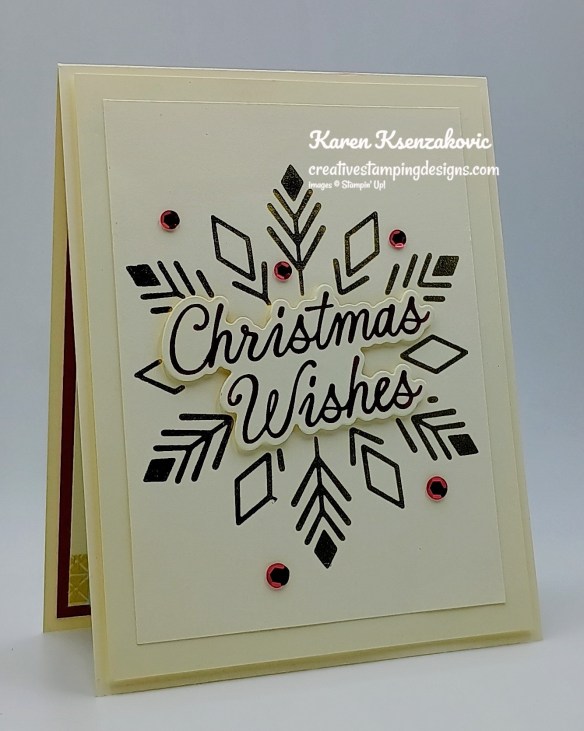
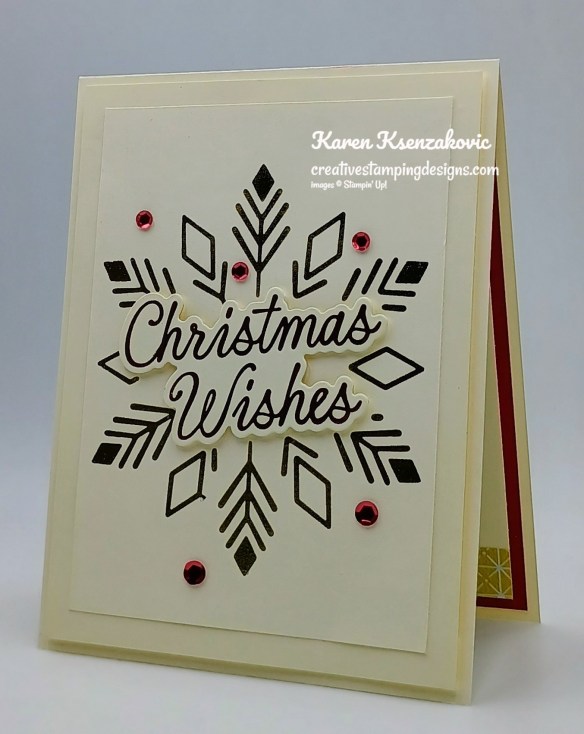
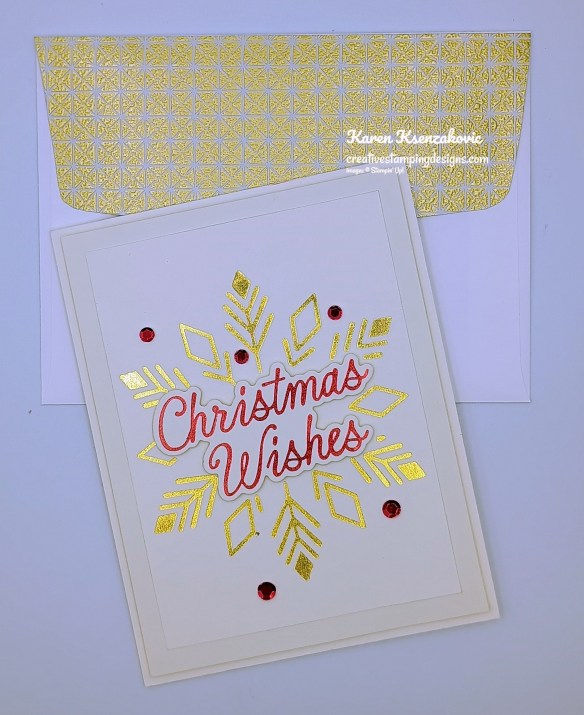
I was playing with the Hot Foil System for today’s card. If you’d like to see a quick video on how I made this card, Click Here to go to my Instagram Reels. Here is my card for today.
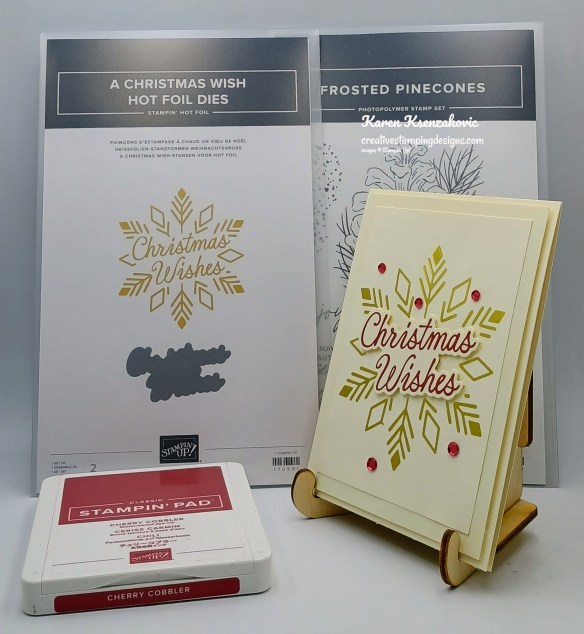
I used the Stampin’ Up! A Christmas Wish Hot Foil Dies and Stampin’ Up! Frosted Pinecones Stamp Set along with the Neutral Noel specialty Designer Series Paper for my card today.
Following the directions for the Hot Foil System, use Gold Foil with the snowflake die from A Christmas Wish Hot Foil Dies on a panel of Very Vanilla.
Adhere the foiled panel to a Very Vanilla mat. Adhere the layered panel to a Very Vanilla card base with Stampin’ Dimensionals.
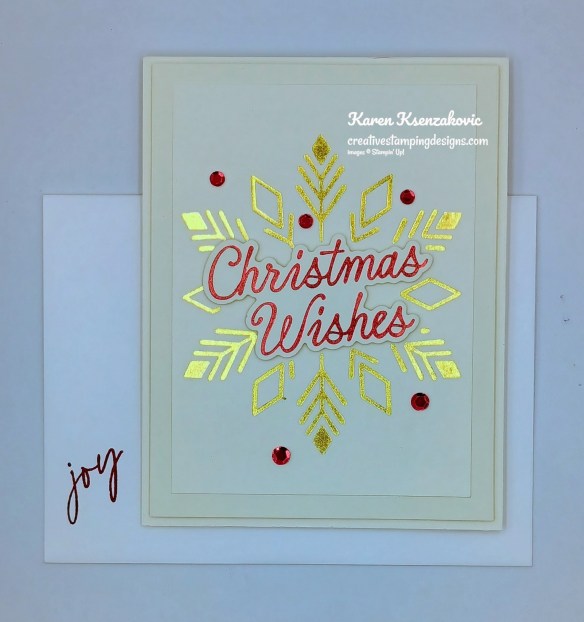
Using Red Foil, following the Hot Foil System, on a small panel of Very Vanilla, foil the sentiment from A Christmas Wish Hot Foil Dies. Cut the sentiment out using A Christmas Wish Hot Foil Dies. Adhere the foiled die cut sentiment to the card front with Stampin’ Dimensionals. Add a few Adhesive-Backed Sparkle Sequins to the card front.
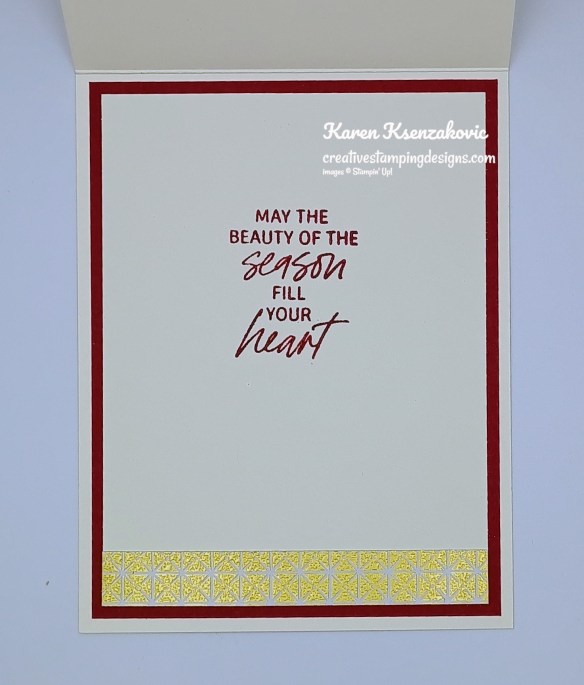
Stamp the sentiment from Frosted Pinecones stamp set in Cherry Cobbler Ink on a panel of Very Vanilla. Adhere a panel of Neutral Noel DSP to the bottom of the panel. Adhere the Very Vanilla panel to a Cherry Cobbler mat then to the inside of the Very Vanilla card base.
Decorate a Basic White Medium Envelope to finish your card. Stamp the sentiment from Frosted Pinecones stamp set in Cherry Cobbler Ink on the envelope front. Adhere a panel of Neutral Noel DSP to the envelope flap.
Thank you for stopping by my blog today. I hope you like the card and will give it a try. Happy Stamping!!
If you need any stamping supplies, I’d love to be your Demonstrator. Just click HERE to go directly to my online store or drop me an email if you have any questions.
It’s time again. I’ve seen all that beautiful Designer Series Paper, Ribbon and Embellishments from the November Online Exclusives and you’re going to love it. My November Online Exclusive Product Shares are open for ordering. You can order just the DSP/Two-Tone cardstock share, just the Ribbon/Embellishment share, or you can have it all in a Bundle!!
November Online Exclusive Product Shares Open for Ordering!!
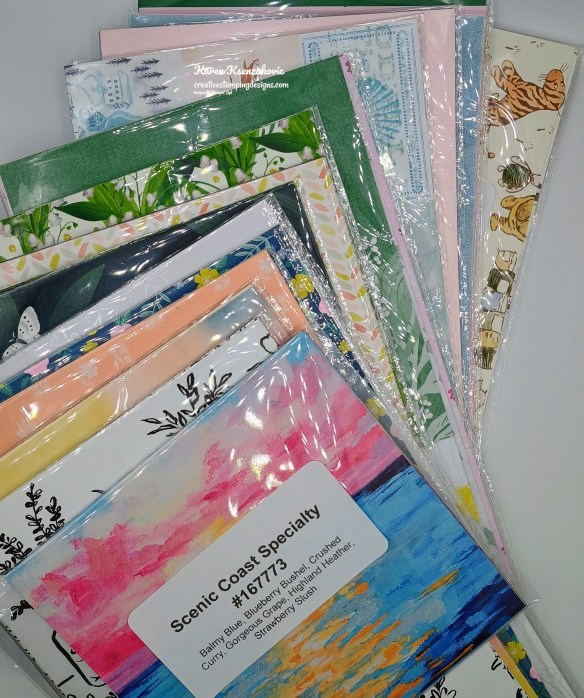
I’m offering a Designer Series PaperShare/Two-Tone Cardstock Share, Ribbon Share & Embellishment Share from the November 2026 Online Exclusives and I’d love to have you join!! I’m placing my share order early on November 3rd and I’m going to use the expedited shipping option so I should be able to have the shares cut, bundled and back out to you by the week of November 9th. Wouldn’t you love to have all of the gorgeous new Designer Series Papers from the upcoming November 2026 Online Exclusives? What is a Paper Share you ask? It’s a sample of each of the new Designer Series Papers/Two-Tone Cardstock from the Online Exclusives. Shares give you a good working sample of all of the papers so that you can decide which ones to order in full packs! If you were to purchase all of the DSP/Two-Tone from the Online Exclusives, it would cost you $135.00 plus shipping.
New Designer Series Paper Share/Two-Tone Cardstock – $15.00 plus $10.00 for
How my shares work: I order full packs of all of the Designer Series Papers listed below, I cut them into 6″ X 6″ pieces (or 6″ X 12″ pieces for double shares) and give you one panel of each design from each pack on the list. I pack up the paper in a cellophane bag with labels listing the Name, Item # and Colors in the pack and mail it back out to you just as quickly as I can!
New Designer Series Paper/Two-Tone Cardstock Share – $15.00 plus $10.00 for shipping
You will receive one 6×6 sheet of each design from the following DSP packs (the number after the name indicates how many 6×6 sheets of that paper pack you will receive):
A Time to Remember Two-Tone (4)
Cottage Keepsakes Two-Tone (6)
Country Cottage (6)
Gold Striped Vellum Specialty (2)
Kraft Specialty (2)
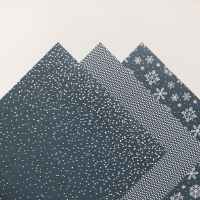
Old Olive & Secret Sea Mulberry Specialty (3)
Painted Collage (6)
Somewhere in Time (6)
Spring Textured Metallic Specialty (3)
Textured Canvas Specialty (2)
Truly Timeless Specialty (3)
In all, you’ll receive 43 – 6” x 6” sheets of designer or specialty paper!
Double Designer Series Paper/Two-Tone Share – $30.00 Plus $10.00 Shipping
If you’d like double shares of the Designer Series Paper/Two-Tone cardstock, I’m offering those too! I’ll cut the 12″ x 12″ sheets into 6″ × 12″ so that you’ll be able to get 3 full A2 size card fronts from each sheet.
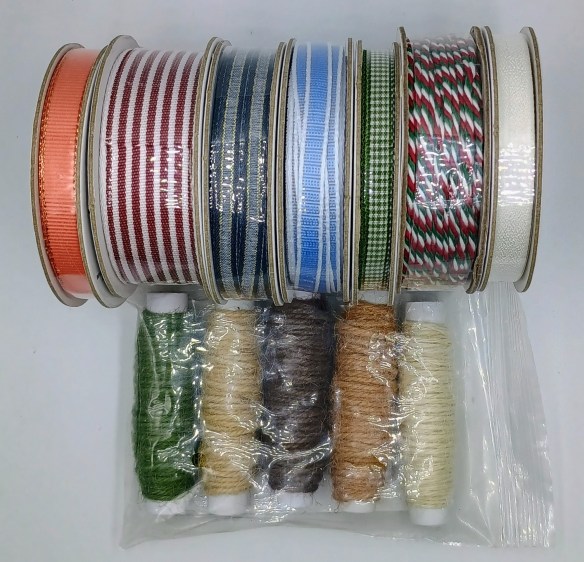
Ribbon/Embellishment Share – $10.00 plus $7.00 Shipping
All ribbons will come individually wrapped and labeled with the name and number of the product.
1/4 of a Roll of each:
Basic Black 1/4″ Satin Ribbon
Crumb Cake 1/4″ Lacelet Trim
Embellishments You will receive:
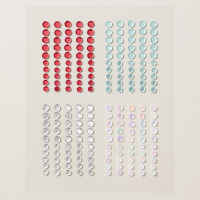
Cottage Charm Adhesive-Backed Sequins (24)
Mosaic Adhesive-Back Dots (24)
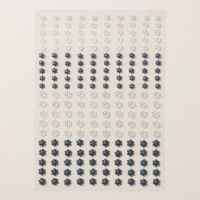
Pearl Adhesive-Back Faceted Dots (24)
If you’d like a double Ribbon/Embellishment share, I’m offering those too! You’ll get 1/2 spool of each ribbon and 48 of each embellishment
Double Share of the Ribbon/Embellishments – $20.00 plus $7.00 Shipping
Do you want it ALL?? Why not do a bundle savings?
Bundle Savings:
Single Designer Series Paper/Two-Tone Cardstock & Single Ribbon/Embellishment Share $23.75 + $10 shipping
Anyone is welcome to join in my shares (please note, I can only ship to addresses within the US). To make ordering the shares a little easier, I have created a form for you to submit, that way you can order any combination of shares you want. I will send out PayPal Invoices by October 31st and they will be due by November 2nd.
Very Vanilla Cardstock 4 1/4″ x 11″ (card base scored & folded at 5 1/2″)4″ x 5 1/4″ (mat), 3 1/2″ x 4 3/4″ (artwork), 2 1/2″ x 3 1/4″ (sentiment), 3 3/4″ x 5″ (inner liner)
Neutral Noel Specialty Designer Series Paper 1/2″ x 3 3/4″ (inner liner), 2 1/4″ x 6″ (envelope)
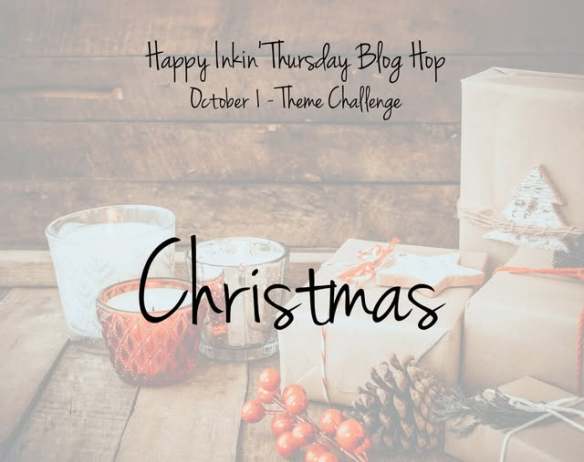
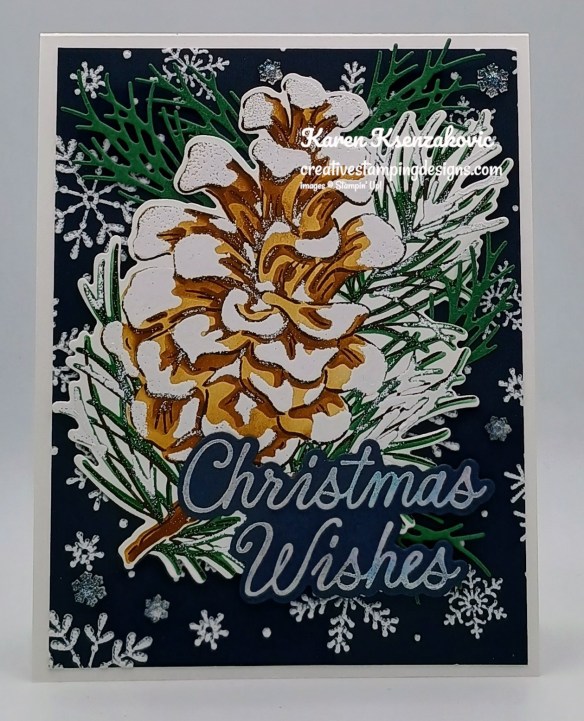
Good Thursday morning stamping friends welcome to our Happy Inkin’ Thursday Blog Hop. If you are starting with me, thank you, I hope you will stop by everyone’s blog to see the beautiful projects they have created this week. If you are hopping over from Mary’s blog, thank you for stopping by. This week we have a Theme Challenge to work with. Here is my card using this week’s theme.
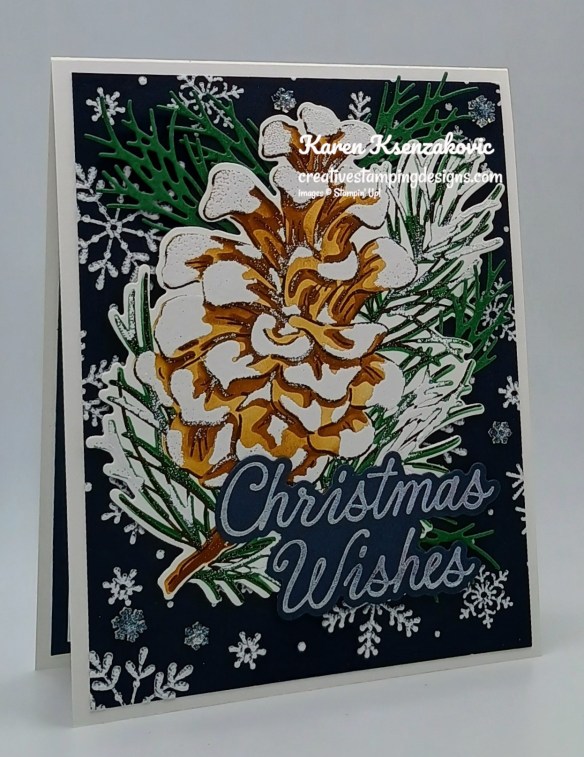
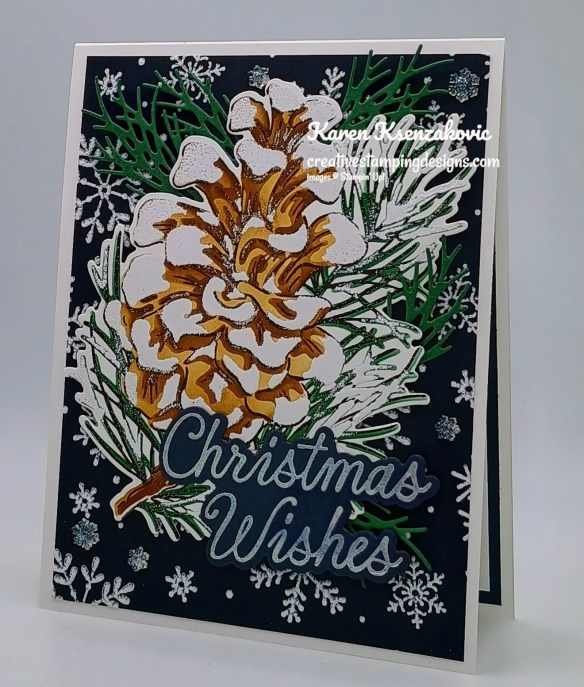
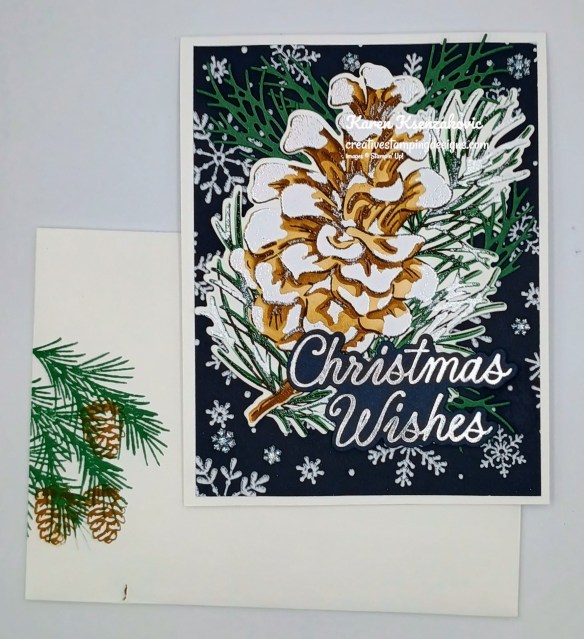
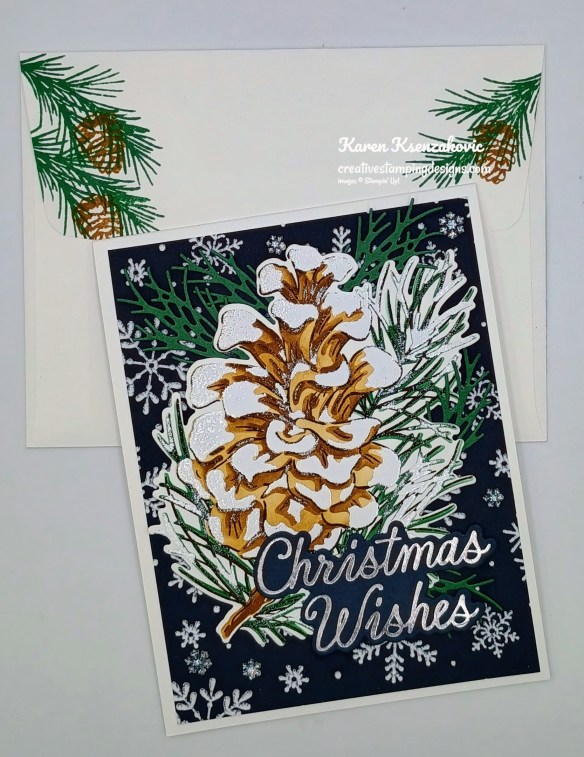
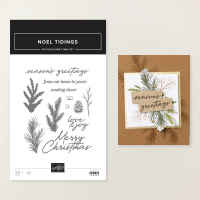
I used the Stampin’ Up! Frosted Pinecones Bundle, Winter Dreams Specialty Designer Series Paper, Stampin’ Up! A Christmas Wish Hot Foil Dies and Stampin’ Up! Noel Tidings Stamp Set for my card today.
Although I’m not quite ready, this is our theme for this week 😉
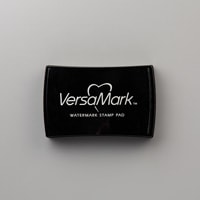
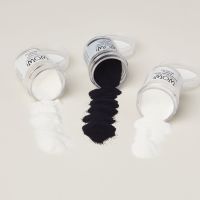
Stamp the large pinecone image from the Frosted Pinecones stamp set in Early Espresso Ink on a panel of Basic White. Using the Frosted Pinecones Decorative Masks and Small Blending Brushes, add Pecan Pie Ink for Masks 1,2 & 3. Add Peaceful Pine Ink for Mask #4. Use Versamark Ink for Mask #5, then sprinkled the image with White Embossing Powder and set it using the Heat Tool. Using the Frosted Pinecones Dies, cut the large pinecone image out along with a few pine boughs from a panel of Peaceful Pine.
Following the directions for the Hot Foil System, use the Silver Opal Foil for the sentiment from A Christmas Wish Hot Foil Dies. Cut the sentiment out using A Christmas Wish Dies.
Adhere a panel of Winter Dreams DSP to a Basic White Thick card base. Adhere the pinecone image to the card front with Stampin’ Dimensionals. Add the die cut Pine Boughs behind the pinecone. Adhere the sentiment to the card front with Stampin’ Dimensionals. Add a few Adhesive-Backed Snowflakes to the card front.
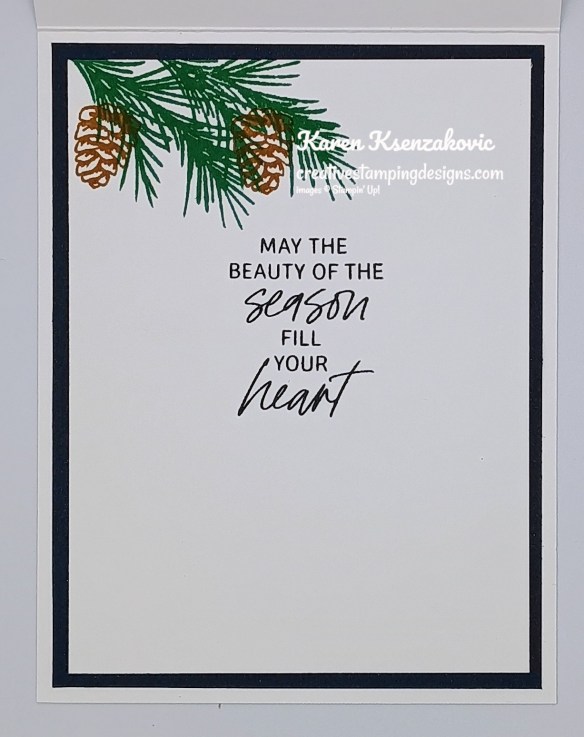
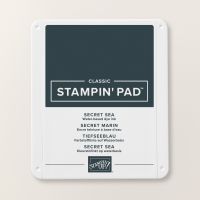
Stamp the sentiment from Frosted Pinecones stamp set in Secret Sea Ink on a panel of Basic White. Stamp the pine bough image from the Noel Tidings stamp set in Peaceful Pine Ink on the top of the panel. Stamp the pinecone image from the Noel Tidings stamp set in Pecan Pie Ink on the pine boughs. Adhere the Basic White panel to a Secret Sea mat then to the inside of the Basic White Thick card base.
Decorate a Basic White Medium Envelope to complete your card. Stamp the pine bough image from the Noel Tidings stamp set in Peaceful Pine Ink on the envelope front and flap. Stamp the pinecone image from the Noel Tidings stamp set in Pecan Pie Ink on the pine bough images.
Thank you for stopping by my blog today. Now that you’ve seen my card, let’s get on with the hop! Click the next button below to hop over to see what Tara has created. Happy Hopping
Just in case you get lost along the way, here is a list of the team members involved in the hop today.
If you need any stamping supplies, I’d love to be your Demonstrator. Just click HERE to go directly to my online store or drop me an email if you have any questions.