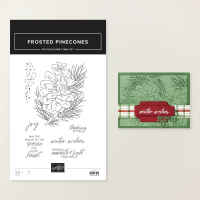
Stampin’ Up! Frosted Pinecones for The Card Concepts

Good Wednesday morning stamping friends. I hope you are all having a wonderful week. We’re halfway through and on our way to the weekend.

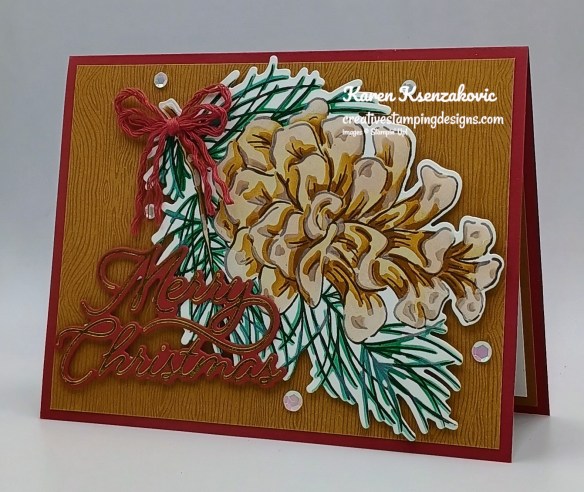
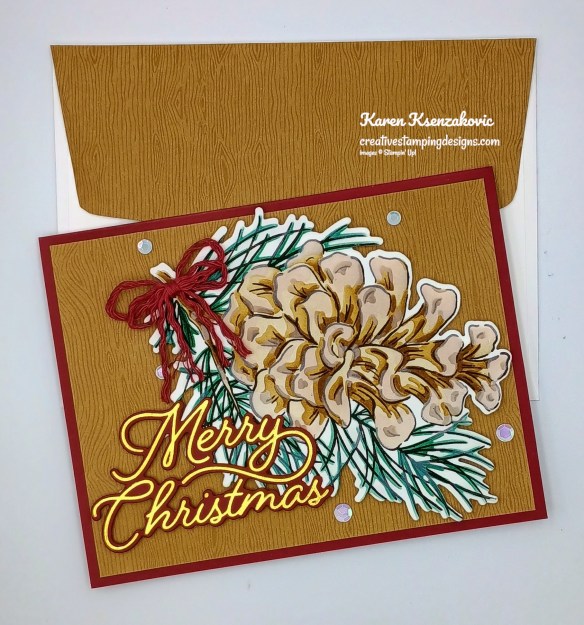
The Card Concepts is back with their Inspiration/Color Challenges and I hope you will join in. The inspiration photo #231 is Merry Christmas. If you’d like to see a quick video of how I made this card, Click Here to go to my Instagram Reels. Here’s my card for today.
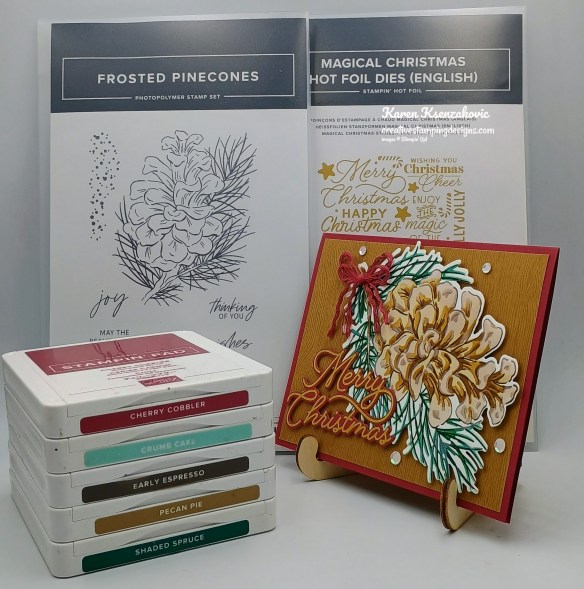
Stampin' Up! Frosted Pinecones Magical Christmas 1 creativestampingdesigns.com

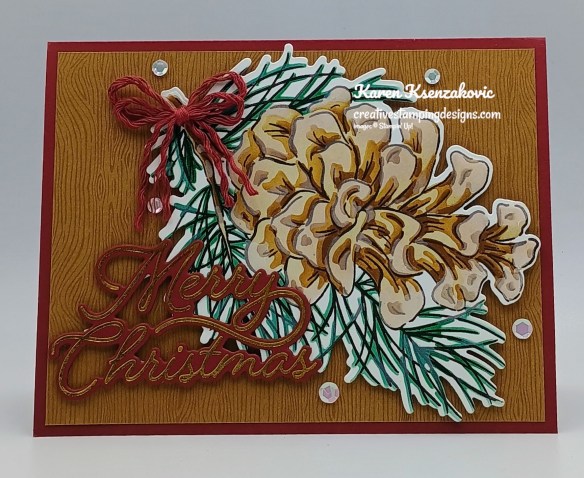
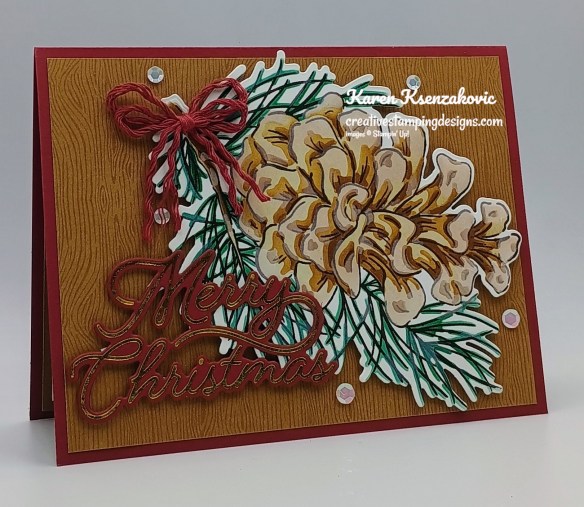
I used the Stampin’ Up! Frosted Pinecones Bundle along with the Stampin’ Up! Magical Christmas Hot Foil Dies and Wood Grain Wonder Designer Series Paper for my card today. I was inspired by the pinecones and colors in the photo for my clean & layered card.
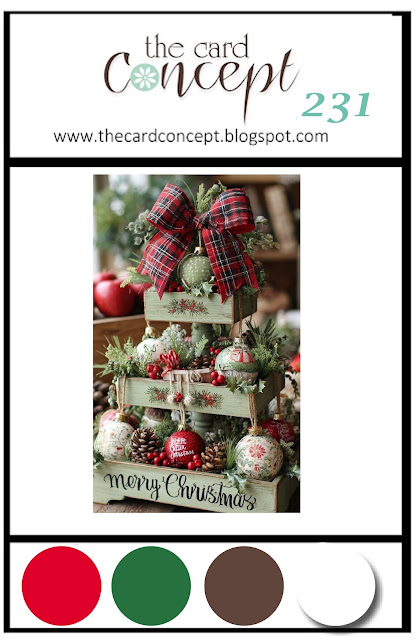
I hope you will take a moment to visit The Card Concepts and join us for our challenge #231. How are you inspired by the photos?
Stampin' Up! Frosted Pinecones Magical Christmas 2 creativestampingdesigns.com

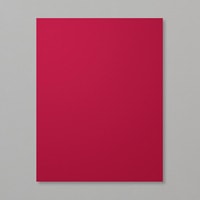
Adhere a panel of Wood Grain Wonders DSP to a Cherry Cobbler card base.
Stampin' Up! Frosted Pinecones Magical Christmas 3 creativestampingdesigns.com

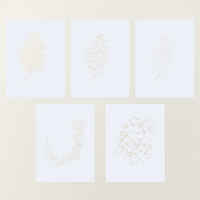
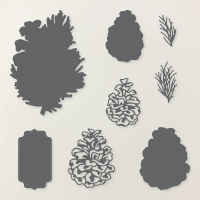
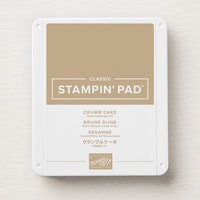
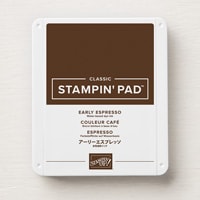
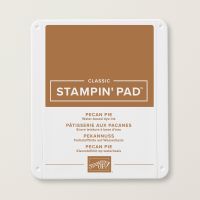
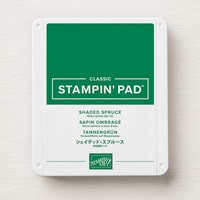
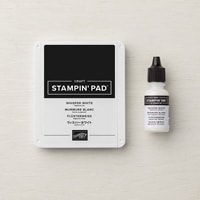
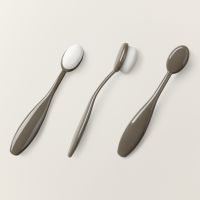
Stamp the pinecone image from the Frosted Pinecones stamp set in Early Espresso Ink on a panel of Basic White. Using the Frosted Pinecones Decorative Masks add Crumb Cake Ink with a Blending Brush using Mask #1. Add Pecan Pie Ink using a Blending Brush with Masks #2 & #3. Add Shaded Spruce Ink with a Blending Brush using Mask #4. Use Craft White Ink with a Blending Brush with Mask #5. Cut the image out using the Frosted Pinecones Dies. Adhere the pinecone image to the card front with Stampin’ Dimensionals.
Stampin' Up! Frosted Pinecones Magical Christmas 4 creativestampingdesigns.com

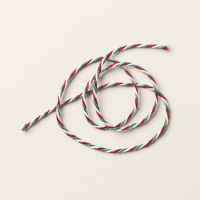
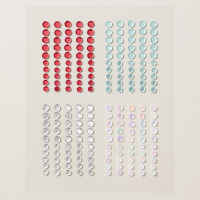
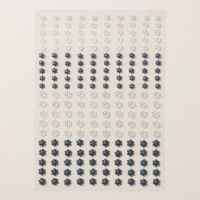
Following the directions from the Stampin’ Hot Foil System, foil the sentiments from the Magical Christmas Hot Foil Dies on a panel of Cherry Cobbler with Gold Foil. Cut the sentiments out using the Magical Christmas Dies. Adhere the sentiment to the card front. Remove the Cherry Cobbler from a piece of Multicolor Christmas Baker’s Twine and tie a double bow. Adhere the bow to the pinecone with a Glue Dot. Add a few Adhesive-Backed Sparkle Sequins to the card front.
Stampin' Up! Frosted Pinecones Magical Christmas 5 creativestampingdesigns.com

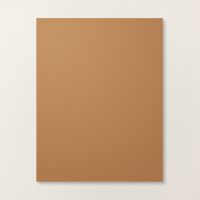
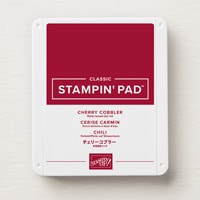
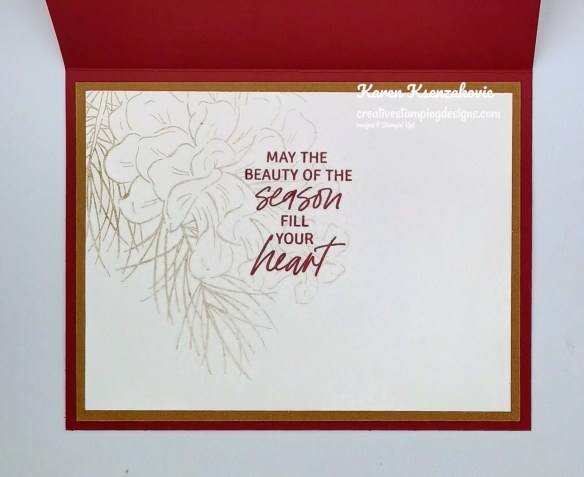
Stamp the sentiment from Frosted Pinecones stamp set in Cherry Cobbler Ink on a panel of Basic White. Stamp the pinecone image from Frosted Pinecones stamp set in Crumb Cake Ink, stamping off 2 times on scrap paper, over the sentiment. Adhere the Basic White panel to a Pecan Pie mat then to the inside of the cherry Cobbler card base.
Stampin' Up! Frosted Pinecones Magical Christmas 6 creativestampingdesigns.com

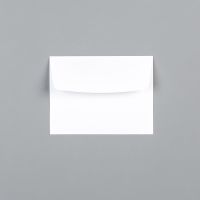
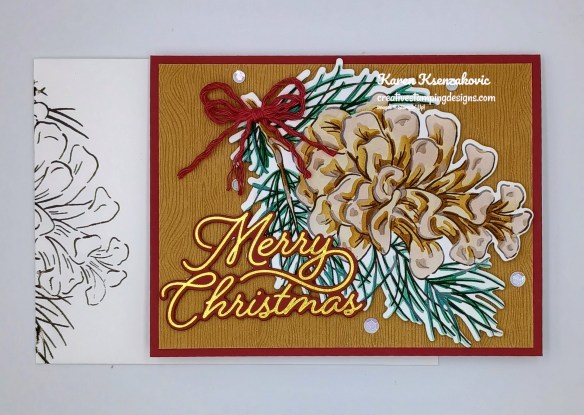
Decorate a Basic White Medium Envelope to complete your card. Stamp the pinecone image from Frosted Pinecones stamp set in Early Espresso Ink on the envelope front. Adhere a panel of Wood Grain Wonder DSP to the envelope flap.
Stampin' Up! Frosted Pinecones Magical Christmas 7 creativestampingdesigns.com

Thank you for stopping by my blog today. I hope you like the card and will give it a try. Happy Stamping!!

*********************************************************************************************************

If you need any stamping supplies, I’d love to be your Demonstrator. Just click HERE to go directly to my online store or drop me an email if you have any questions.

*********************************************************************************************************

Card stock cuts for this project:

  • Basic White Cardstock4″ x 5 1/4″ (artwork), 3 3/4″ x 5″ (inner liner)
  • Cherry Cobbler Cardstock 5 1/2″ x 8 1/2″ (card base scored at 4 1/4″), 4″ x 5 1/4″ (sentiment)
  • Pecan Pie Cardstock 4″ x 5 1/4″ (mat)
  • Wood Grain Wonder Designer Series Paper 4″ x 5 1/4″ (card front), 2 1/4″ x 6″ (envelope)

*********************************************************************************************************

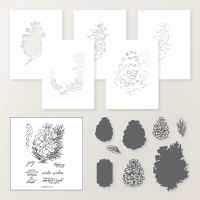
Product List
Stampin’ Up! Frosted Pinecones for The Happy Inkin’ Thursday Blog Hop

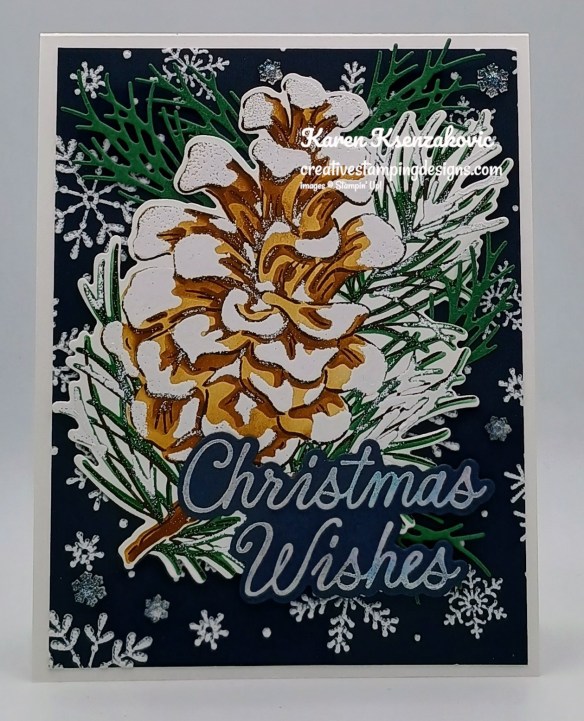
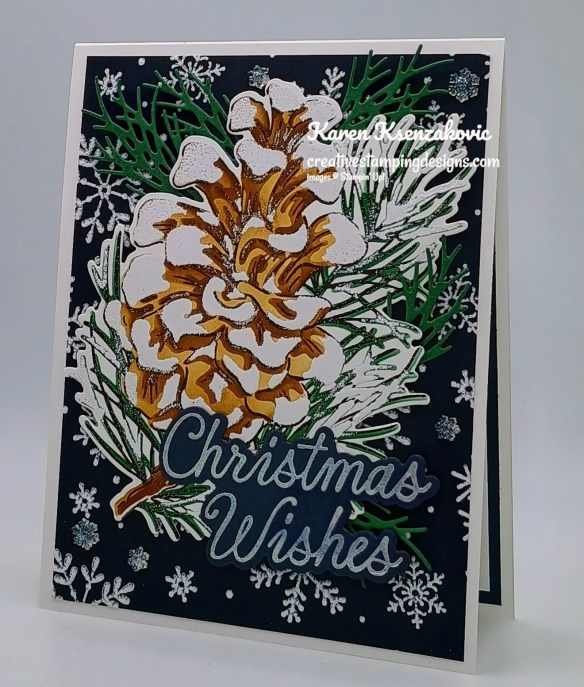
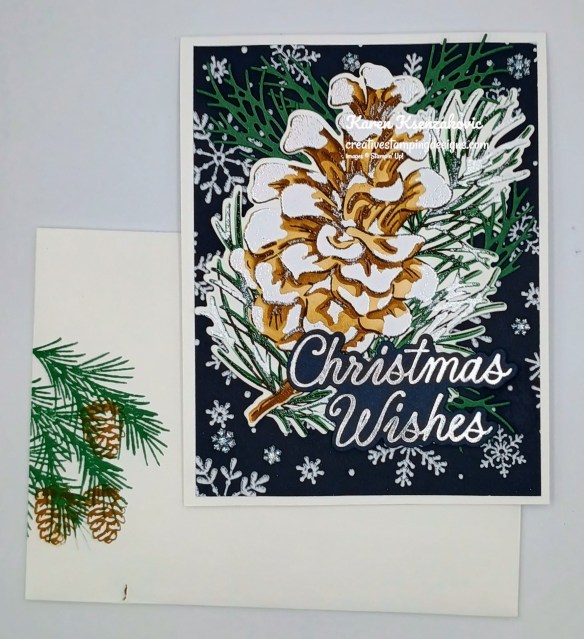
Good Thursday morning stamping friends welcome to our Happy Inkin’ Thursday Blog Hop. If you are starting with me, thank you, I hope you will stop by everyone’s blog to see the beautiful projects they have created this week. If you are hopping over from Mary’s blog, thank you for stopping by. This week we have a Theme Challenge to work with. Here is my card using this week’s theme.

Stampin' Up! Frosted Pinecones Christmas Wish 1 creativestampingdesigns.com

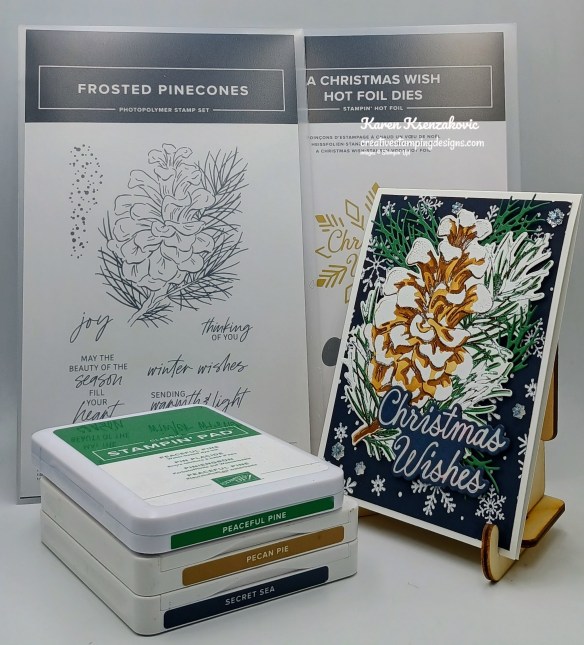
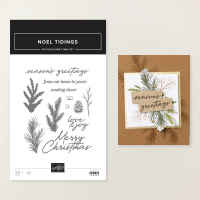
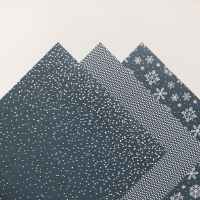
I used the Stampin’ Up! Frosted Pinecones Bundle, Winter Dreams Specialty Designer Series Paper, Stampin’ Up! A Christmas Wish Hot Foil Dies and Stampin’ Up! Noel Tidings Stamp Set for my card today.

Although I’m not quite ready, this is our theme for this week 😉

Stampin' Up! Frosted Pinecones Christmas Wish 2. creativestampingdesigns.com

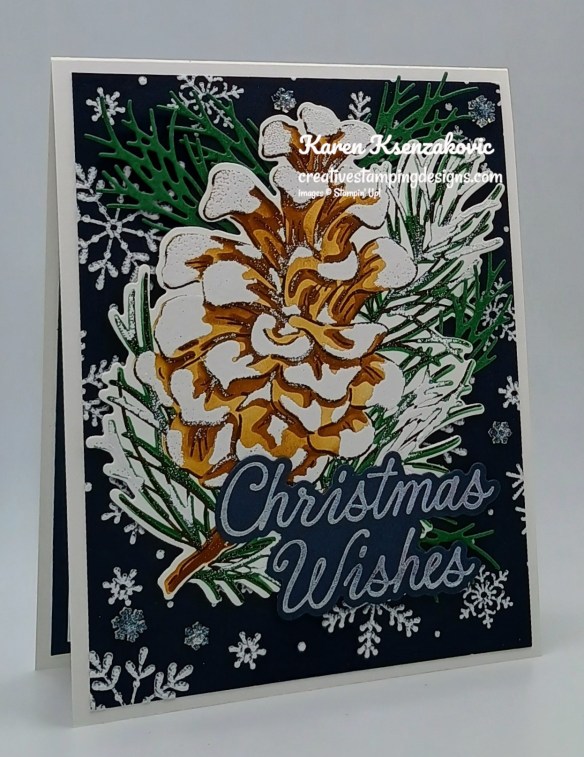
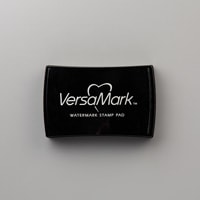
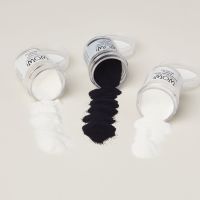
Stamp the large pinecone image from the Frosted Pinecones stamp set in Early Espresso Ink on a panel of Basic White. Using the Frosted Pinecones Decorative Masks and Small Blending Brushes, add Pecan Pie Ink for Masks 1,2 & 3. Add Peaceful Pine Ink for Mask #4. Use Versamark Ink for Mask #5, then sprinkled the image with White Embossing Powder and set it using the Heat Tool. Using the Frosted Pinecones Dies, cut the large pinecone image out along with a few pine boughs from a panel of Peaceful Pine.

Stampin' Up! Frosted Pinecones Christmas Wish 3 creativestampingdesigns.com

Following the directions for the Hot Foil System, use the Silver Opal Foil for the sentiment from A Christmas Wish Hot Foil Dies. Cut the sentiment out using A Christmas Wish Dies.

Stampin' Up! Frosted Pinecones Christmas Wish 4 creativestampingdesigns.com

Adhere a panel of Winter Dreams DSP to a Basic White Thick card base. Adhere the pinecone image to the card front with Stampin’ Dimensionals. Add the die cut Pine Boughs behind the pinecone. Adhere the sentiment to the card front with Stampin’ Dimensionals. Add a few Adhesive-Backed Snowflakes to the card front.

Stampin' Up! Frosted Pinecones Christmas Wish 5 creativestampingdesigns.com

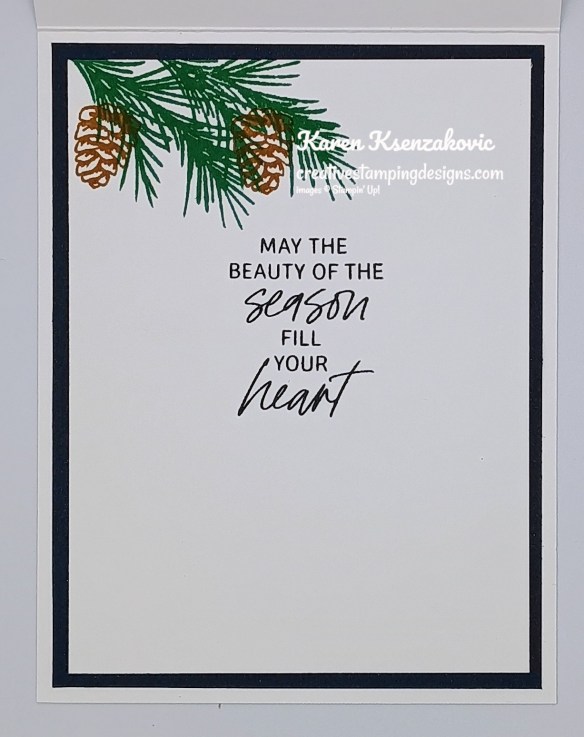
Stamp the sentiment from Frosted Pinecones stamp set in Secret Sea Ink on a panel of Basic White. Stamp the pine bough image from the Noel Tidings stamp set in Peaceful Pine Ink on the top of the panel. Stamp the pinecone image from the Noel Tidings stamp set in Pecan Pie Ink on the pine boughs. Adhere the Basic White panel to a Secret Sea mat then to the inside of the Basic White Thick card base.

Stampin' Up! Frosted Pinecones Christmas Wish 6 creativestampingdesigns.com

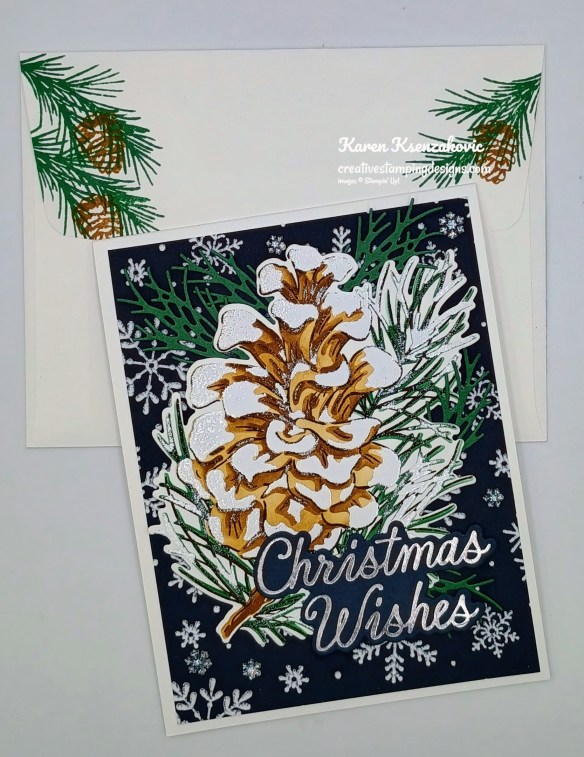
Decorate a Basic White Medium Envelope to complete your card. Stamp the pine bough image from the Noel Tidings stamp set in Peaceful Pine Ink on the envelope front and flap. Stamp the pinecone image from the Noel Tidings stamp set in Pecan Pie Ink on the pine bough images.

Stampin' Up! Frosted Pinecones Christmas Wish 7 creativestampingdesigns.com

Thank you for stopping by my blog today. Now that you’ve seen my card, let’s get on with the hop! Click the next button below to hop over to see what Tara has created. Happy Hopping

Just in case you get lost along the way, here is a list of the team members involved in the hop today.
Amy Koenders

Mary Deatherage

Karen Ksenzakovic You Are Here

Tara Carpenter

Terry Lynn Bright

Charlene Tackvic

********************************************************************************************************

If you need any stamping supplies, I’d love to be your Demonstrator. Just click HERE to go directly to my online store or drop me an email if you have any questions. 
*********************************************************************************************************

Card stock cuts for this project:

  • Basic White Cardstock 3 3/4″ x 5″ (inner linr)
  • Basic White Thick Cardstock 4 1/4″ x 11″ (card base scored & folded at 5 1/2″)
  • Peaceful Pine Cardstock 1 1/2″ x 5 1/12″ (die cuts)
  • Secret Sea Cardstock 2″ x 4″ (sentiment), 4″ x 5 1/4″ (mat)
  • Winter Dreams Specialty Designer Series Paper 4″ x 5 1/4″ (card front)

*********************************************************************************************************

Product List