
Good Saturday morning stamping friends, welcome to the weekend. I hope you have some fun plans in the works. We’re having a great time here at the retreat. Here’s a little peek at some of the little Pillow Gifts that were given amongst us Thursday when we arrived.
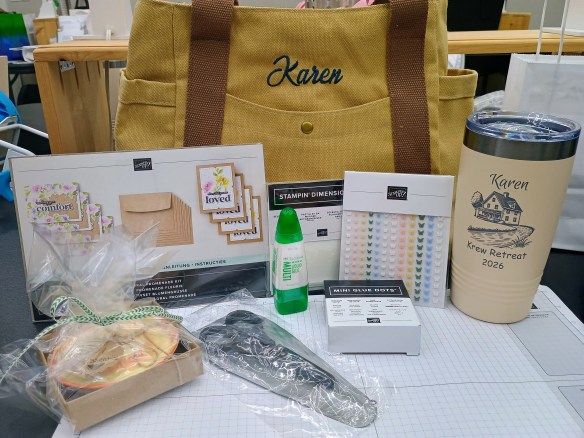
This personalized bag full of wonderful goodies was given to us from Mary and Amy.
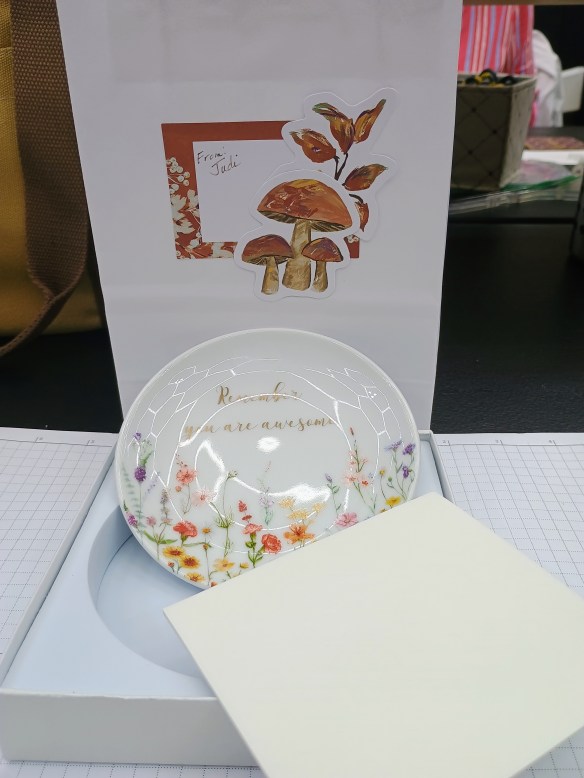
This beautiful trinket dish and dimensionals was from my favorite roomie and friend Judi.
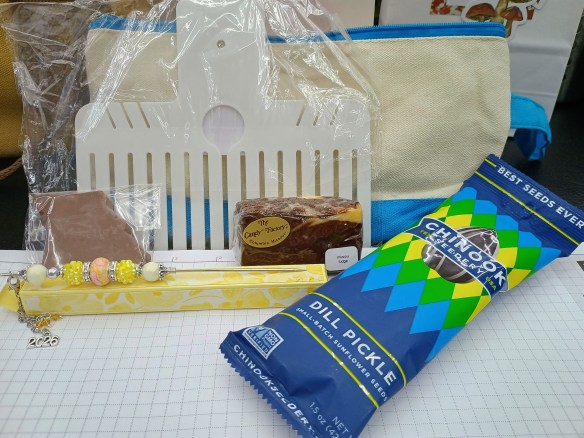
This cute bag with a bow maker, pick tool, MO chocolate, sunflower seeds and fudge was from my amazing friend Tara
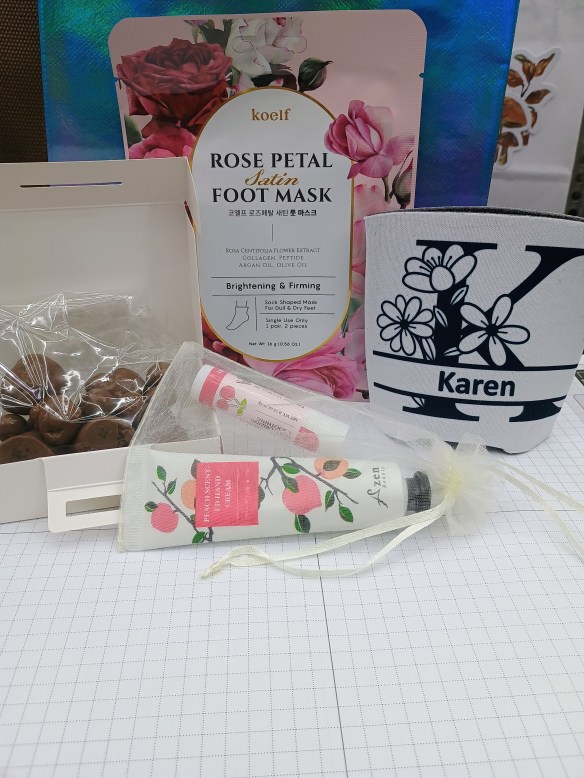
This cute bag from my downline and friend Charlene was filled with a Foot Mask, Lotion, Lip Balm, a homemade personalized cup cozy and box full of chocolates.
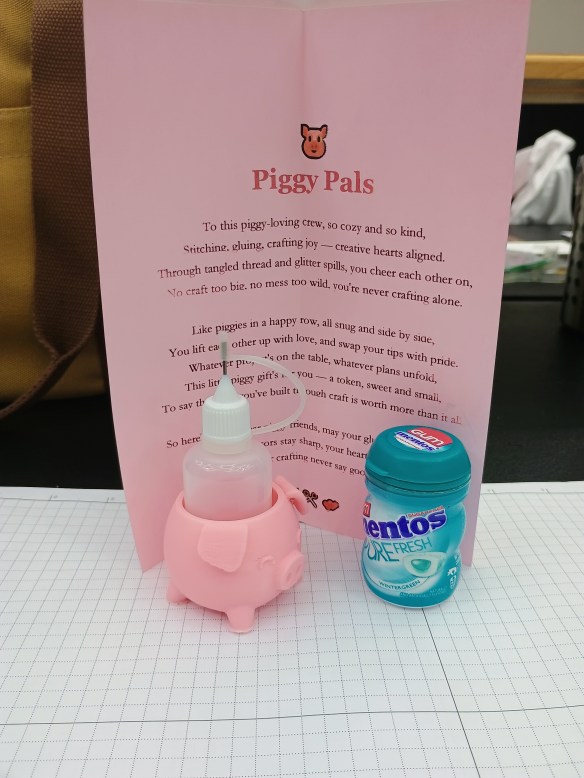
This adorable Piggy Glue Holder and container of mints was from my fun team member and friend Janet.
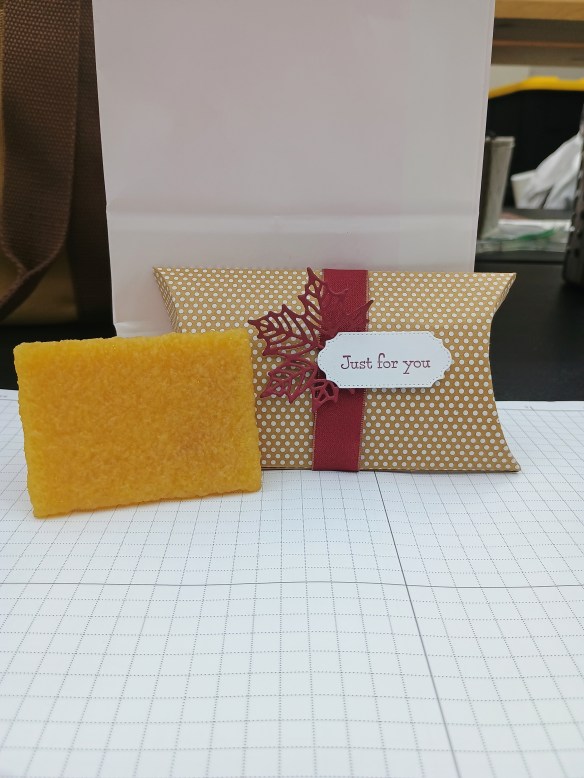
This cute homemade little box and Glue Eraser was from my team member and friend Karen
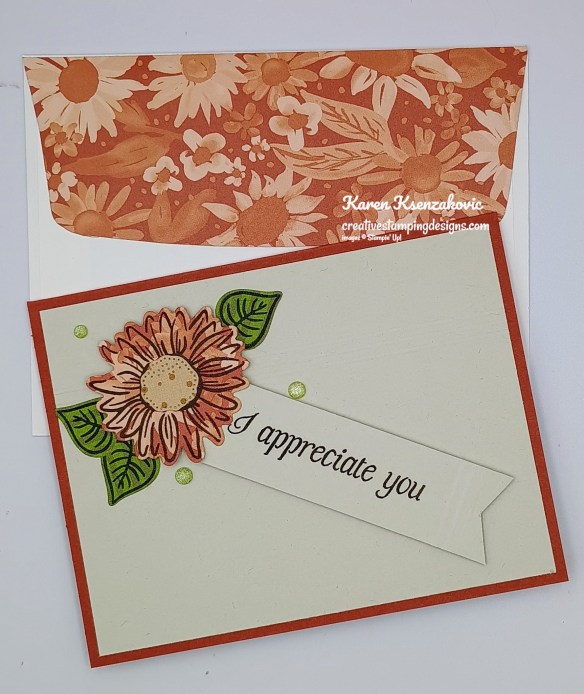
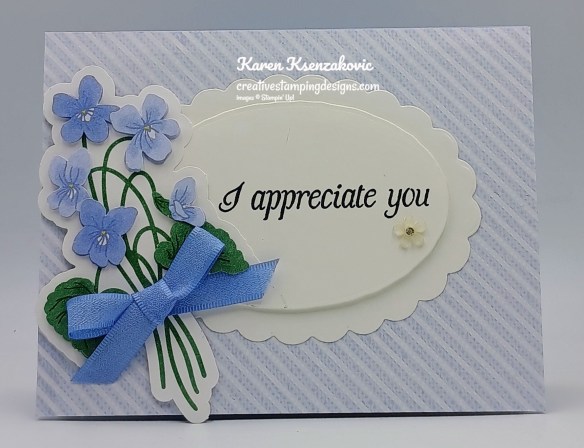
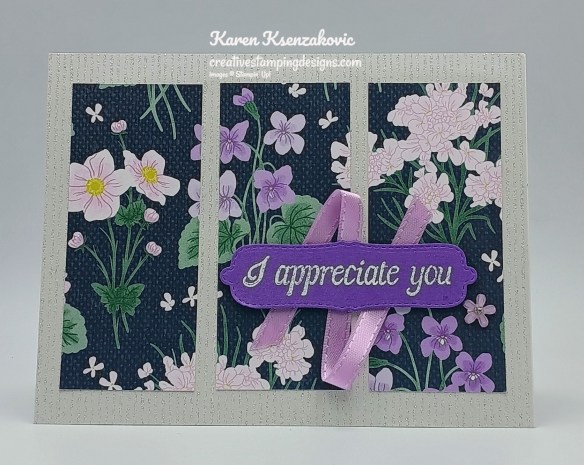
I have a quick card for you today using my favorite bundle and DSP. If you’d like to see a quick video on how I made this card, Click Here to go to my Instagram Reels. Here’s my card for today.
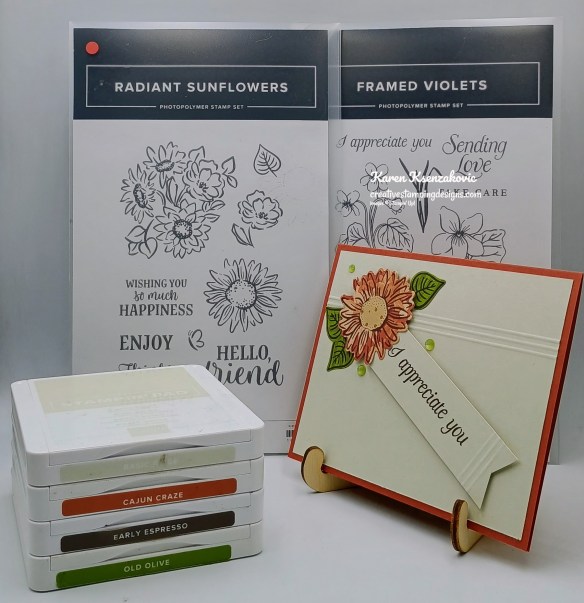
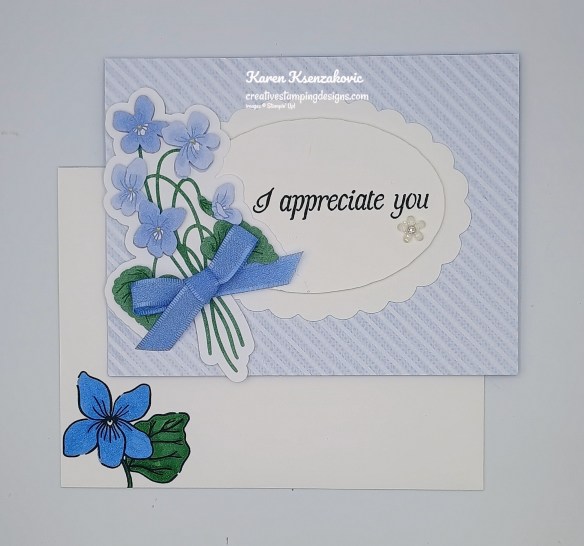
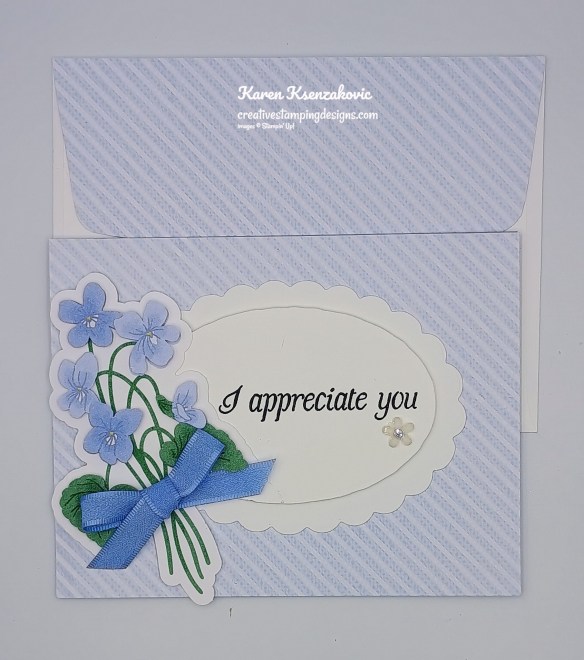
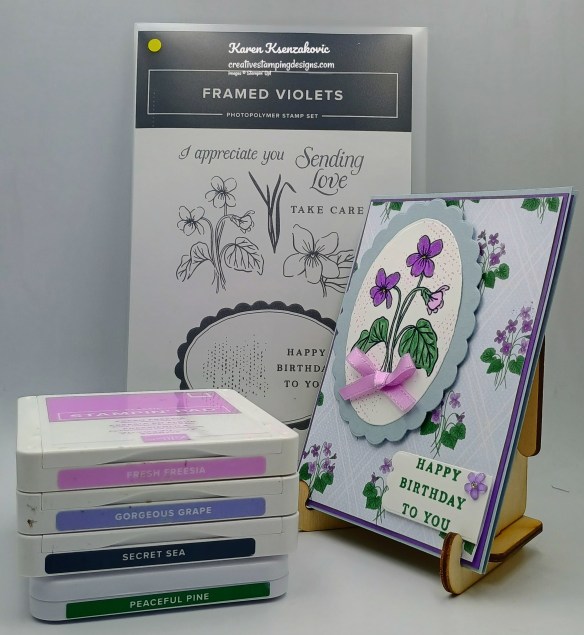
I used the Stampin’ Up! Framed Violets stamp set, Stampin’ Up! Radiant Sunflowers Stamp Set, and Sunflower Fields Designer Series Paper for my card today.
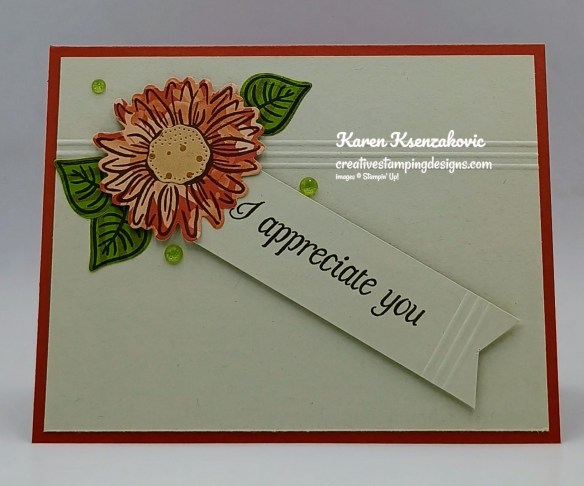
Score a panel of Basic Beige 3 times at 1″, 1 1/4″ & 1 1/2″ using the Simply Score. Adhere the scored Basic Beige panel to a Cajun Craze card base.
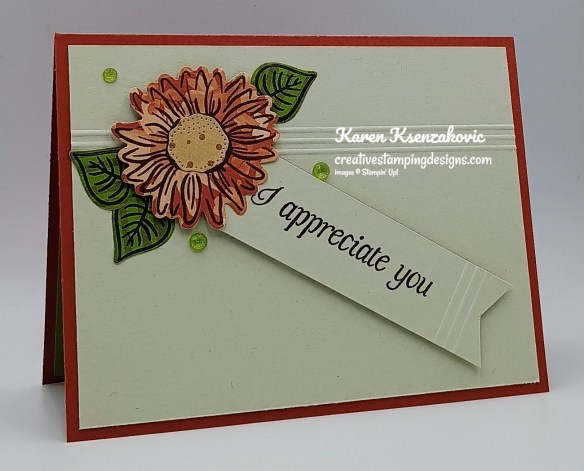
Stamp the sunflower image from the Radiant Sunflowers stamp set on a panel of Sunflower Fields DSP in Early Espresso Ink. Stamp the leaf image from Radiant Sunflowers stamp set in Early Espresso Ink on a panel of Sunflower Fields DSP 3 times. Using the Radiant Sunflowers Dies cut the images out and the flower center from another panel of Sunflower Fields DSP. Adhere the flower center to the flower. Adhere the flower to the card front with Stampin’ Dimensionals. Add the leaves under the flower.
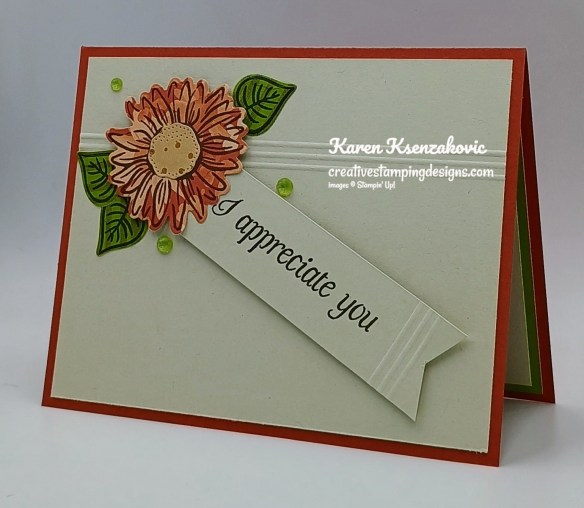
On a panel of Basic Beige, stamp the sentiment from the Framed Violets stamp set in Early Espresso Ink. Cut the end of the panel into a banner using Detail Scissors. Score 3 lines using the Simply Score on the end of the banner. Adhere the banner to the card front with Stampi’ Dimensionals. Add a few Radiant Gems to the card front.
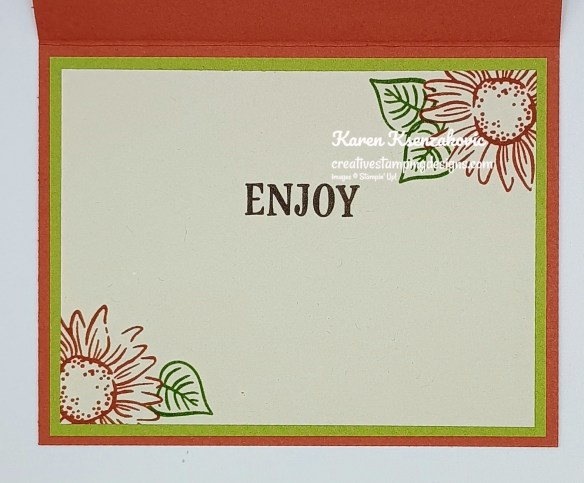
Stamp the sentiment from Radiant Sunflowers stamp set in Early Espresso Ink on a panel of Basic Beige. Stamp the sunflower image from Radiant Sunflowers stamp set in Cajun Craze Ink on the corners of the panel. Stamp the leaf image from Radiant Sunflowers stamp set in Old Olive Ink by the flowers. Adhere the Basic Beige panel to an Old Olive Two-Tone mat then to the inside of the Cajun Craze card base.
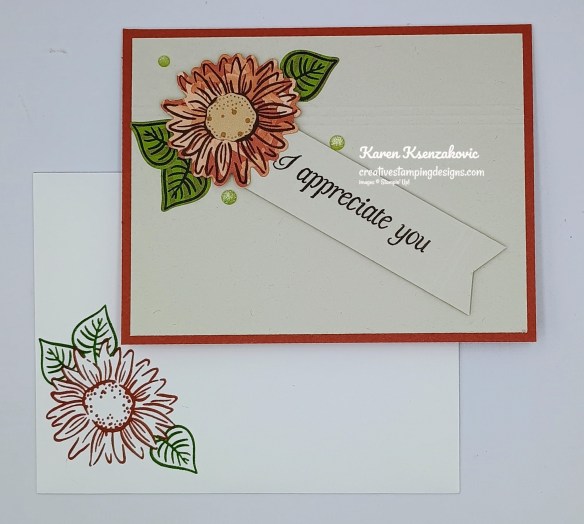
Decorate a Basic White Medium Envelope to finish your card. Stamp the sunflower image from the Radiant Sunflowers stamp set in Cajun craze Ink on the envelope front. Stamp the leaf image from the Radiant Sunflowers stamp set in Old Olive Ink around the flower. Adhere a panel of Sunflower Fields DSP to the envelope flap.
Thank you for stopping by my blog today. I hope you like the card and will give it a try. Happy Stamping!!
*********************************************************************************************************
If you need any stamping supplies, I’d love to be your Demonstrator. Just click HERE to go directly to my online store or drop me an email if you have any questions.
*********************************************************************************************************
New Stampin’ Up! Product of The Month

Every month Stampin’ Up! will release a new item that is only available for purchase once per account. These items will be limited quantity and are likely to sell out quickly—once they’re sold out, they’re gone for good!
September Product of the Month – Luxe Foliate Specialty Designer Series Paper

Luxe Foliage 12″ x 12″ (30.5 x 30.5 cm) Specialty Designer Series Paper (168599)
With Halloween and Christmas fast approaching, don’t forget to spend some time celebrating Cardsgiving—one of our favorite unofficial holidays centered around making and gifting cards. The Luxe Foliage Designer Series Paper is perfect for all your holiday needs and beyond, with shimmering foil and beautifully-designed details perfect for creating glimmering layers or fussy cutting shining images. Whether you’re making cards for a friend or planning a Cardsgiving celebration, this paper is sure to be the star of the show.
*********************************************************************************************************
Card stock cuts for this project:
- Basic Beige Cardstock 4″ x 5 1/4″ (card front), 1″ x 3 1/2″ (sentiment), 3 3/4″ x 5″ (inner liner)
- Cajun Craze Cardstock 5 1/2″ x 8 1/2″ (card base scored & folded at 4 1/4″)
- Sunflower Fields Designer Series Paper 2 1/4″ x 2 1/4″ (flower), 1″ xc 1″ (flower center), 1 1/4″ x 2 1/2″ (leaves), 2 1/4″ x 6″ (envelope)
- Old Olive Two-Tone Cardstock 4″ x 5 1/4″ (mat)
*********************************************************************************************************
Product List
![Framed Violets Photopolymer Stamp Set (English) [ 168187 ]](https://assets1.tamsnetwork.com/images/EC042017NF/168187s.jpg "Framed Violets Photopolymer Stamp Set (English) [ 168187 ]")
![Radiant Sunflowers Bundle (English) [ 168359 ]](https://assets1.tamsnetwork.com/images/EC042017NF/168359s.jpg "Radiant Sunflowers Bundle (English) [ 168359 ]")
![Radiant Sunflowers Photopolymer Stamp Set (English) [ 168352 ]](https://assets1.tamsnetwork.com/images/EC042017NF/168352s.jpg "Radiant Sunflowers Photopolymer Stamp Set (English) [ 168352 ]")
![Radiant Sunflowers Dies [ 168358 ]](https://assets1.tamsnetwork.com/images/EC042017NF/168358s.jpg "Radiant Sunflowers Dies [ 168358 ]")
![Basic Beige 8 1/2" X 11" Cardstock [ 164511 ]](https://assets1.tamsnetwork.com/images/EC042017NF/164511s.jpg "Basic Beige 8 1/2\" X 11\" Cardstock [ 164511 ]")
![Cajun Craze 8-1/2" X 11" Cardstock [ 119684 ]](https://assets1.tamsnetwork.com/images/EC042017NF/119684s.jpg "Cajun Craze 8-1/2\" X 11\" Cardstock [ 119684 ]")
![Sunflower Fields 12" X 12" (30.5 X 30.5 Cm) Designer Series Paper [ 168351 ]](https://assets1.tamsnetwork.com/images/EC042017NF/168351s.jpg "Sunflower Fields 12\" X 12\" (30.5 X 30.5 Cm) Designer Series Paper [ 168351 ]")
![Old Olive 12" X 12" (30.5 X 30.5 Cm) Two Tone Cardstock [ 166683 ]](https://assets1.tamsnetwork.com/images/EC042017NF/166683s.jpg "Old Olive 12\" X 12\" (30.5 X 30.5 Cm) Two Tone Cardstock [ 166683 ]")
![Cajun Craze Classic Stampin' Pad [ 147085 ]](https://assets1.tamsnetwork.com/images/EC042017NF/147085s.jpg "Cajun Craze Classic Stampin' Pad [ 147085 ]")
![Early Espresso Classic Stampin' Pad [ 147114 ]](https://assets1.tamsnetwork.com/images/EC042017NF/147114s.jpg "Early Espresso Classic Stampin' Pad [ 147114 ]")
![Old Olive Classic Stampin' Pad [ 147090 ]](https://assets1.tamsnetwork.com/images/EC042017NF/147090s.jpg "Old Olive Classic Stampin' Pad [ 147090 ]")
![Radiant Gems [ 168363 ]](https://assets1.tamsnetwork.com/images/EC042017NF/168363s.jpg "Radiant Gems [ 168363 ]")
![Basic White Medium Envelopes [ 159236 ]](https://assets1.tamsnetwork.com/images/EC042017NF/159236s.jpg "Basic White Medium Envelopes [ 159236 ]")
![Stampin' Cut & Emboss Machine [ 149653 ]](https://assets1.tamsnetwork.com/images/EC042017NF/149653s.jpg "Stampin' Cut & Emboss Machine [ 149653 ]")
![Simply Scored [ 122334 ]](https://assets1.tamsnetwork.com/images/EC042017NF/122334s.jpg "Simply Scored [ 122334 ]")
![Mini Glue Dots [ 103683 ]](https://assets1.tamsnetwork.com/images/EC042017NF/103683s.jpg "Mini Glue Dots [ 103683 ]")
![Multipurpose Liquid Glue [ 110755 ]](https://assets1.tamsnetwork.com/images/EC042017NF/110755s.jpg "Multipurpose Liquid Glue [ 110755 ]")
![Stampin' Dimensionals [ 104430 ]](https://assets1.tamsnetwork.com/images/EC042017NF/104430s.jpg "Stampin' Dimensionals [ 104430 ]")
![Stampin' Seal [ 152813 ]](https://assets1.tamsnetwork.com/images/EC042017NF/152813s.jpg "Stampin' Seal [ 152813 ]")
![Paper Trimmer [ 152392 ]](https://assets1.tamsnetwork.com/images/EC042017NF/152392s.jpg "Paper Trimmer [ 152392 ]")
![Bone Folder [ 102300 ]](https://assets1.tamsnetwork.com/images/EC042017NF/102300s.jpg "Bone Folder [ 102300 ]")
![Detail Scissors [ 170902 ]](https://assets1.tamsnetwork.com/images/EC042017NF/170902s.jpg "Detail Scissors [ 170902 ]")
![Take Your Pick [ 144107 ]](https://assets1.tamsnetwork.com/images/EC042017NF/144107s.jpg "Take Your Pick [ 144107 ]")

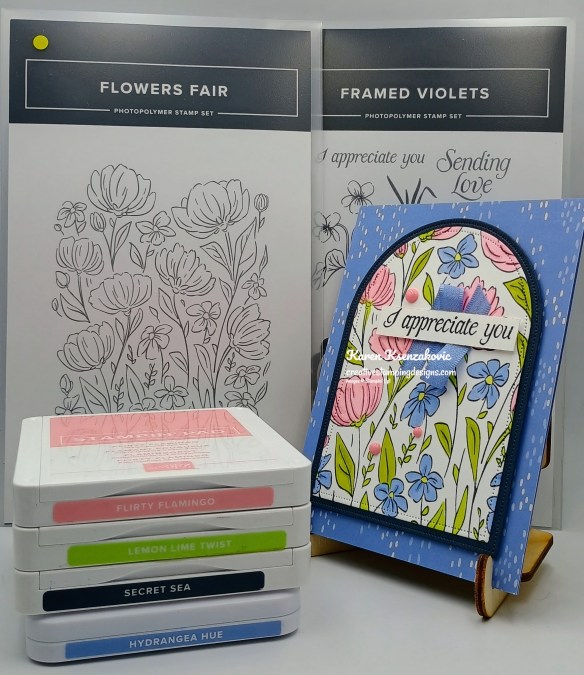


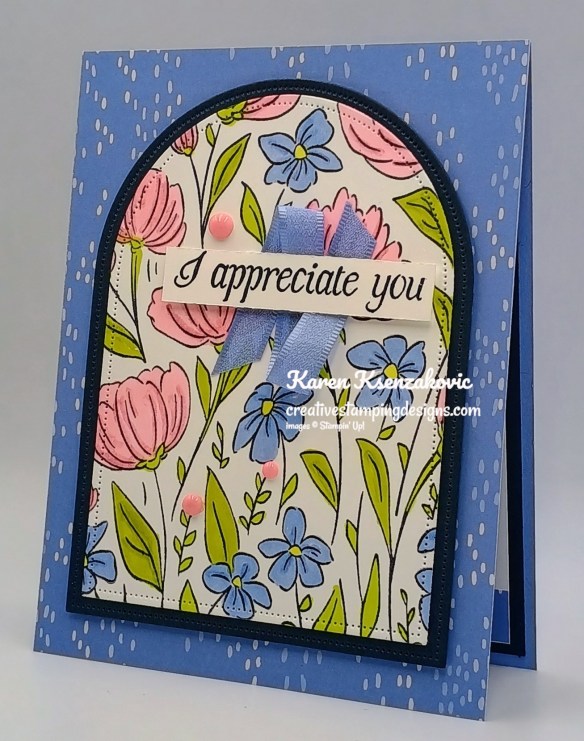
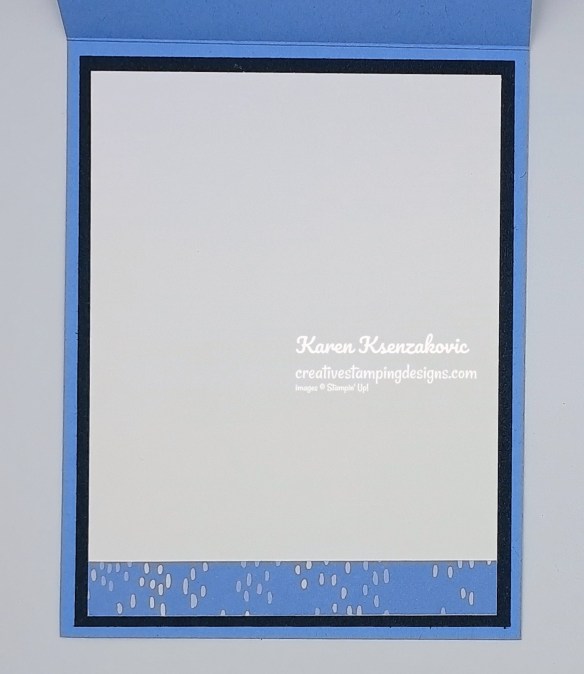

![Flowers Fair Photopolymer Stamp Set [ 167217 ]](https://assets1.tamsnetwork.com/images/EC042017NF/167217s.jpg "Flowers Fair Photopolymer Stamp Set [ 167217 ]")
![Basic White 8 1/2" X 11" Cardstock [ 166780 ]](https://assets1.tamsnetwork.com/images/EC042017NF/166780s.jpg "Basic White 8 1/2\" X 11\" Cardstock [ 166780 ]")
![Hydrangea Hue 8 1/2" X 11" Cardstock [ 167687 ]](https://assets1.tamsnetwork.com/images/EC042017NF/167687s.jpg "Hydrangea Hue 8 1/2\" X 11\" Cardstock [ 167687 ]")
![Secret Sea 8 1/2" X 11" Cardstock [ 165624 ]](https://assets1.tamsnetwork.com/images/EC042017NF/165624s.jpg "Secret Sea 8 1/2\" X 11\" Cardstock [ 165624 ]")
![Bloom Boutique 12" X 12" (30.5 X 30.5 Cm) Specialty Designer Series Paper [ 167637 ]](https://assets1.tamsnetwork.com/images/EC042017NF/167637s.jpg "Bloom Boutique 12\" X 12\" (30.5 X 30.5 Cm) Specialty Designer Series Paper [ 167637 ]")
![Secret Sea Classic Stampin' Pad [ 165285 ]](https://assets1.tamsnetwork.com/images/EC042017NF/165285s.jpg "Secret Sea Classic Stampin' Pad [ 165285 ]")
![Flirty Flamingo Stampin' Blends Combo Pack [ 154884 ]](https://assets1.tamsnetwork.com/images/EC042017NF/154884s.jpg "Flirty Flamingo Stampin' Blends Combo Pack [ 154884 ]")
![Hydrangea Hue Stampin’ Blends Combo Pack [ 167666 ]](https://assets1.tamsnetwork.com/images/EC042017NF/167666s.jpg "Hydrangea Hue Stampin’ Blends Combo Pack [ 167666 ]")
![Lemon Lime Twist Stampin’ Blends Combo Pack [ 161682 ]](https://assets1.tamsnetwork.com/images/EC042017NF/161682s.jpg "Lemon Lime Twist Stampin’ Blends Combo Pack [ 161682 ]")
![Lemon Lolly Stampin’ Blends Combo Pack [ 161673 ]](https://assets1.tamsnetwork.com/images/EC042017NF/161673s.jpg "Lemon Lolly Stampin’ Blends Combo Pack [ 161673 ]")
![Everyday Arches Dies [ 164629 ]](https://assets1.tamsnetwork.com/images/EC042017NF/164629s.jpg "Everyday Arches Dies [ 164629 ]")
![Array Of Dots [ 167559 ]](https://assets1.tamsnetwork.com/images/EC042017NF/167559s.jpg "Array Of Dots [ 167559 ]")
![Hydrangea Hue 3/8" (1 Cm) Bordered Ribbon [ 167549 ]](https://assets1.tamsnetwork.com/images/EC042017NF/167549s.jpg "Hydrangea Hue 3/8\" (1 Cm) Bordered Ribbon [ 167549 ]")



![Framed Violets Bundle (English) [ 168194 ]](https://assets1.tamsnetwork.com/images/EC042017NF/168194s.jpg "Framed Violets Bundle (English) [ 168194 ]")
![Framed Violets Dies [ 168193 ]](https://assets1.tamsnetwork.com/images/EC042017NF/168193s.jpg "Framed Violets Dies [ 168193 ]")
![Violet Dreams 12" X 12" (30.5 X 30.5 Cm) Specialty Designer Series Paper [ 168186 ]](https://assets1.tamsnetwork.com/images/EC042017NF/168186s.jpg "Violet Dreams 12\" X 12\" (30.5 X 30.5 Cm) Specialty Designer Series Paper [ 168186 ]")
![Hydrangea Hue 12" X 12" (30.5 X 30.5 Cm) Two Tone Cardstock [ 167696 ]](https://assets1.tamsnetwork.com/images/EC042017NF/167696s.jpg "Hydrangea Hue 12\" X 12\" (30.5 X 30.5 Cm) Two Tone Cardstock [ 167696 ]")
![Peaceful Pine Stampin’ Blends Combo Pack [ 167668 ]](https://assets1.tamsnetwork.com/images/EC042017NF/167668s.jpg "Peaceful Pine Stampin’ Blends Combo Pack [ 167668 ]")
![Adhesive Backed Blooms [ 168198 ]](https://assets1.tamsnetwork.com/images/EC042017NF/168198s.jpg "Adhesive Backed Blooms [ 168198 ]")

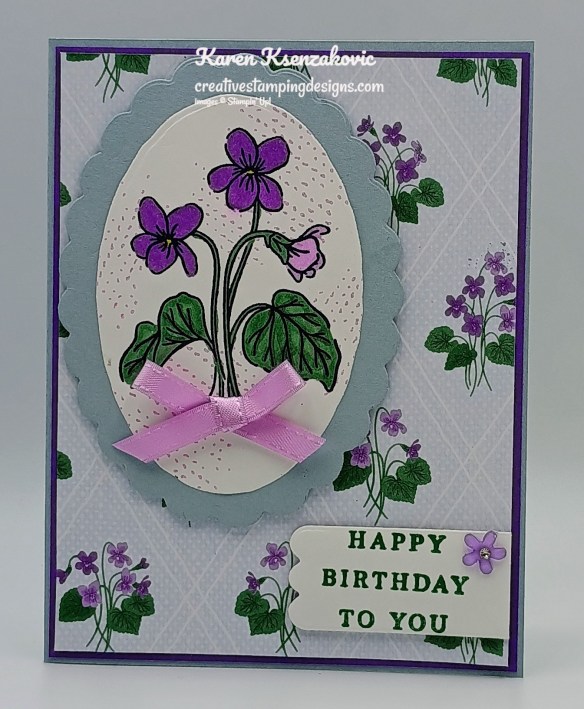
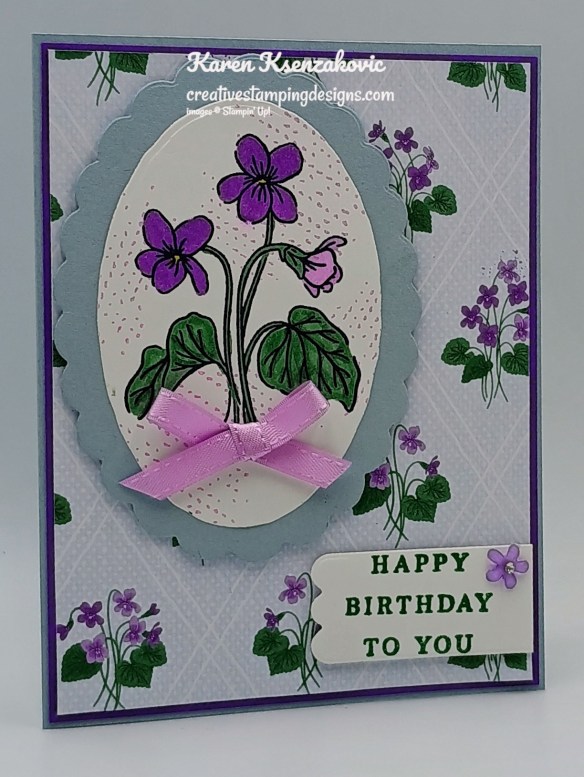
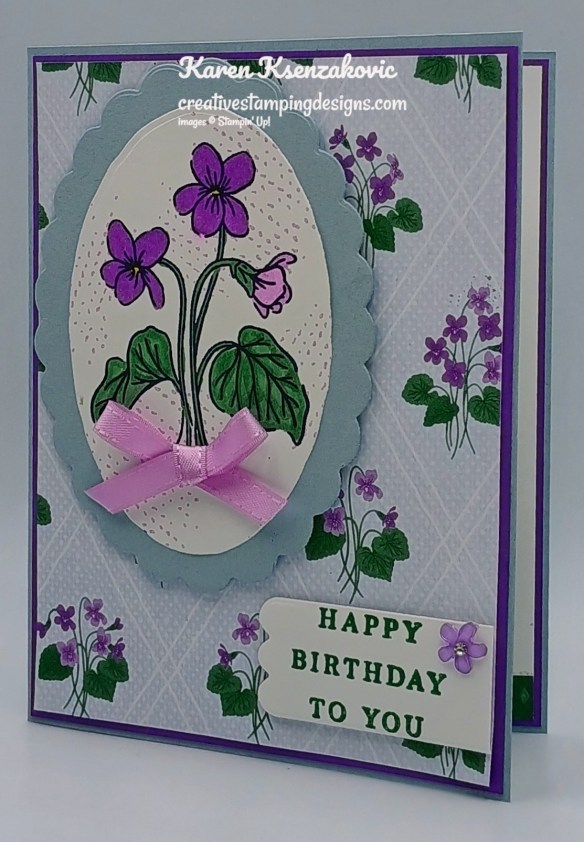
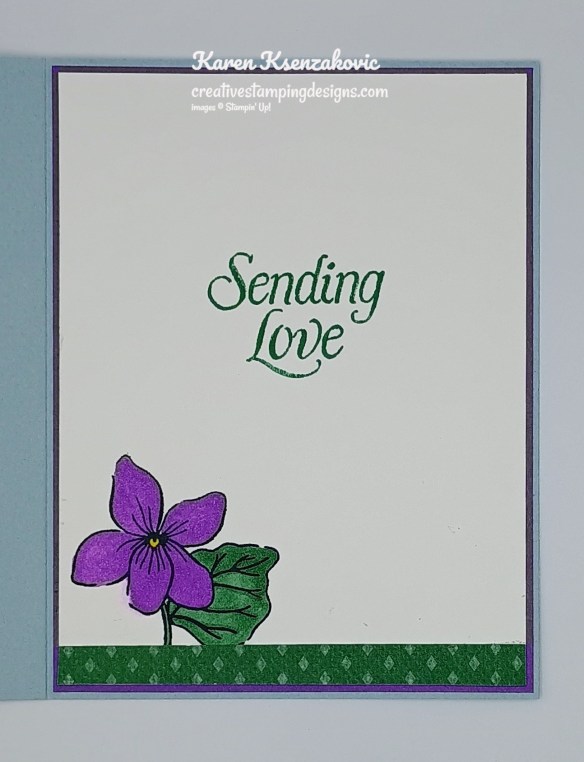

![Cloud Cover 8 1/2" X 11" Cardstock [ 165621 ]](https://assets1.tamsnetwork.com/images/EC042017NF/165621s.jpg "Cloud Cover 8 1/2\" X 11\" Cardstock [ 165621 ]")
![Gorgeous Grape 8-1/2" X 11" Cardstock [ 146987 ]](https://assets1.tamsnetwork.com/images/EC042017NF/146987s.jpg "Gorgeous Grape 8-1/2\" X 11\" Cardstock [ 146987 ]")
![Fresh Freesia Classic Stampin' Pad [ 155611 ]](https://assets1.tamsnetwork.com/images/EC042017NF/155611s.jpg "Fresh Freesia Classic Stampin' Pad [ 155611 ]")
![Darling Duckling Stampin’ Blends Combo Pack [ 165288 ]](https://assets1.tamsnetwork.com/images/EC042017NF/165288s.jpg "Darling Duckling Stampin’ Blends Combo Pack [ 165288 ]")
![Fresh Freesia Stampin' Blends Combo Pack [ 155518 ]](https://assets1.tamsnetwork.com/images/EC042017NF/155518s.jpg "Fresh Freesia Stampin' Blends Combo Pack [ 155518 ]")
![Highland Heather Stampin' Blends Combo Pack [ 154887 ]](https://assets1.tamsnetwork.com/images/EC042017NF/154887s.jpg "Highland Heather Stampin' Blends Combo Pack [ 154887 ]")
![Scalloped Blooms Dies [ 167646 ]](https://assets1.tamsnetwork.com/images/EC042017NF/167646s.jpg "Scalloped Blooms Dies [ 167646 ]")

![Basic White 8 1/2" X 11" Thick Cardstock [ 159229 ]](https://assets1.tamsnetwork.com/images/EC042017NF/159229s.jpg "Basic White 8 1/2\" X 11\" Thick Cardstock [ 159229 ]")
![Gorgeous Grape Classic Stampin' Pad [ 147099 ]](https://assets1.tamsnetwork.com/images/EC042017NF/147099s.jpg "Gorgeous Grape Classic Stampin' Pad [ 147099 ]")
![Small Blending Brushes [ 160518 ]](https://assets1.tamsnetwork.com/images/EC042017NF/160518s.jpg "Small Blending Brushes [ 160518 ]")
![Sweet Words & Labels Dies [ 167627 ]](https://assets1.tamsnetwork.com/images/EC042017NF/167627s.jpg "Sweet Words & Labels Dies [ 167627 ]")


