
Good Tuesday morning my stamping friends. I hope everyone’s week has started out good. Stampin’ Up! has added some additional items that you can earn for FREE with orders beginning at $50 during Sale-a-bration! You can see the new items Here.
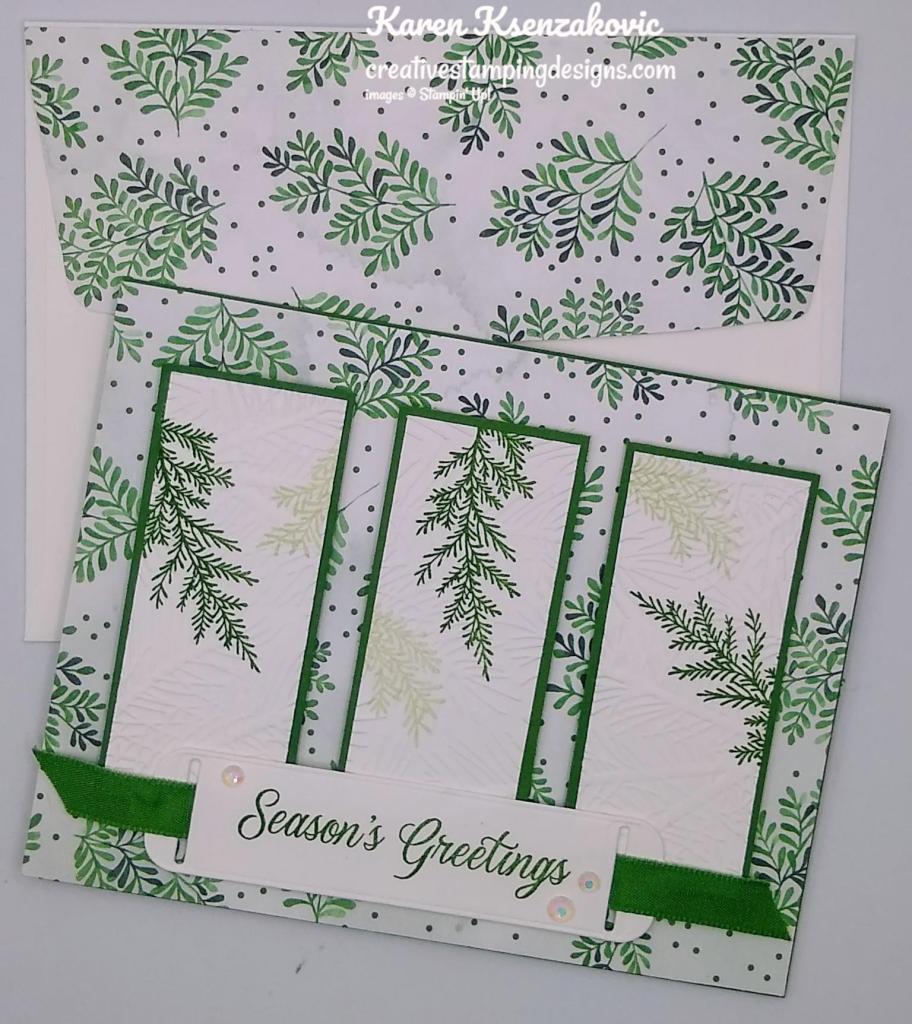
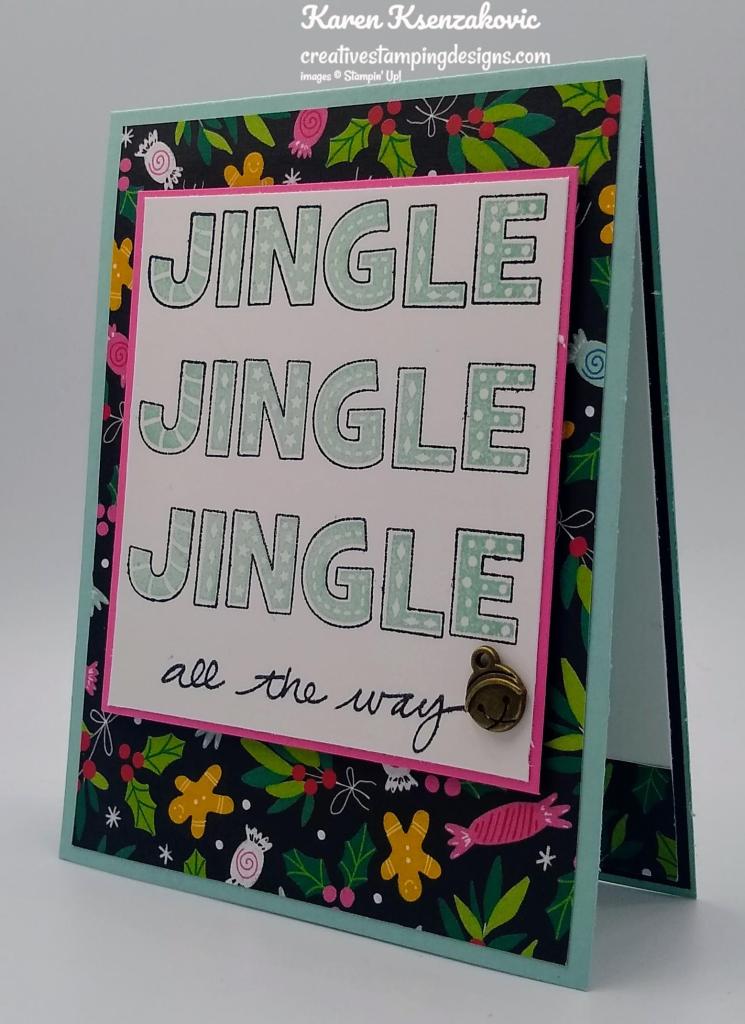
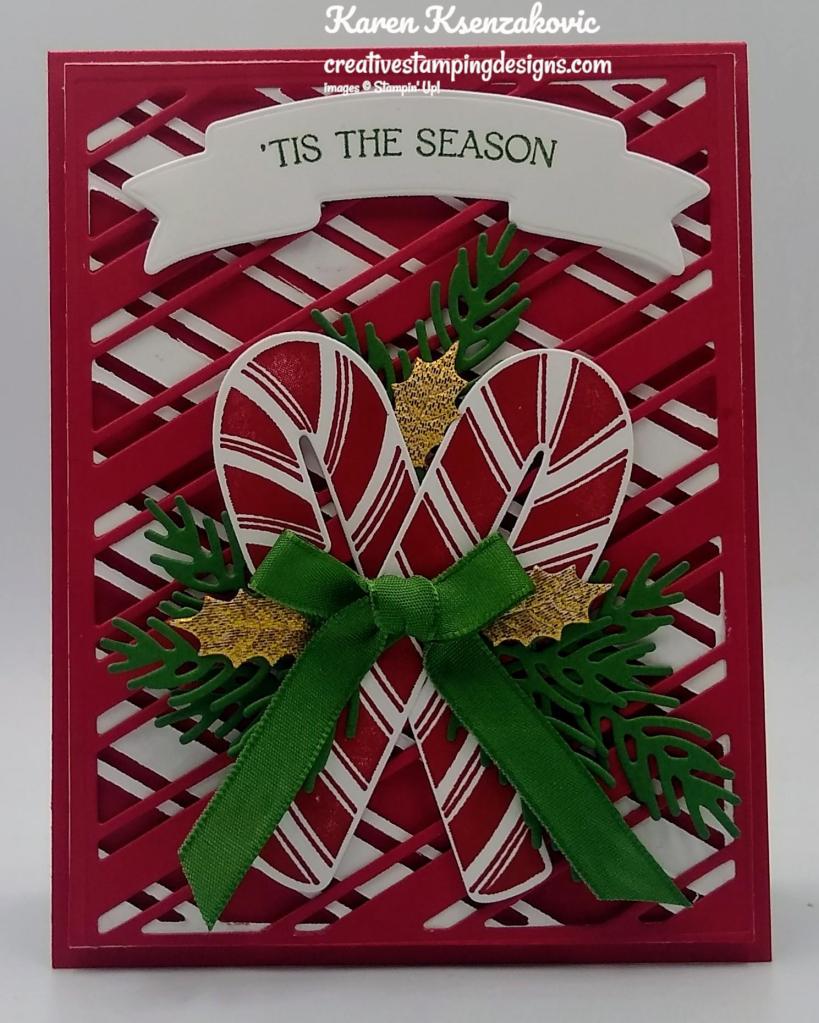
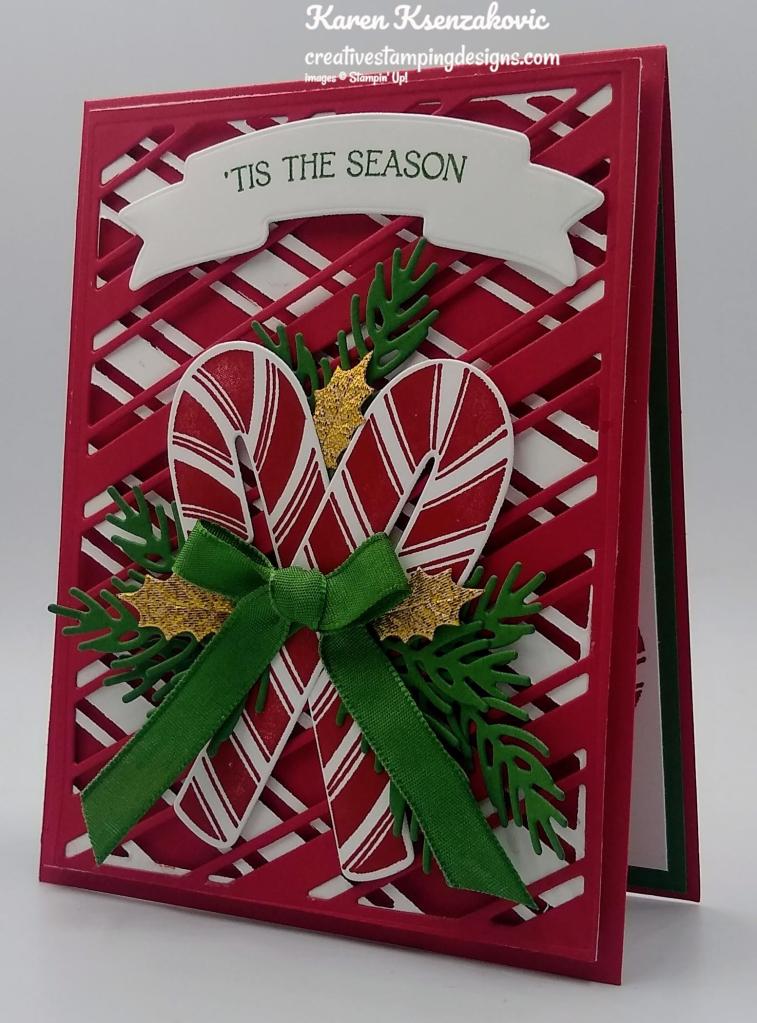
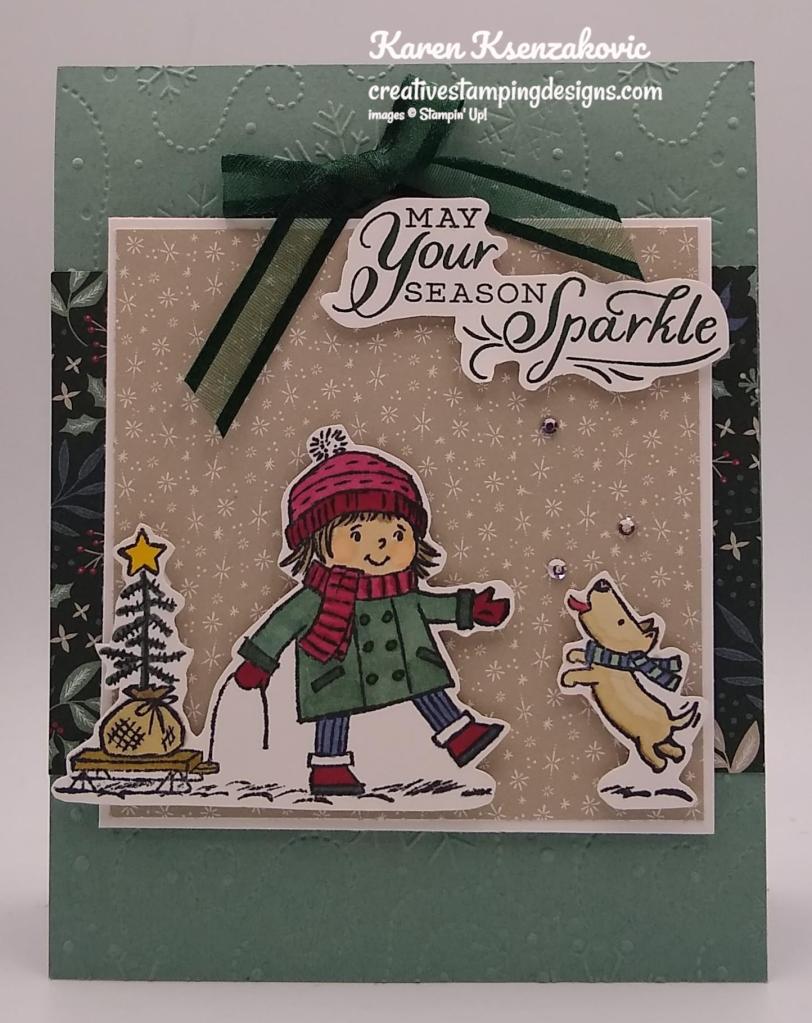
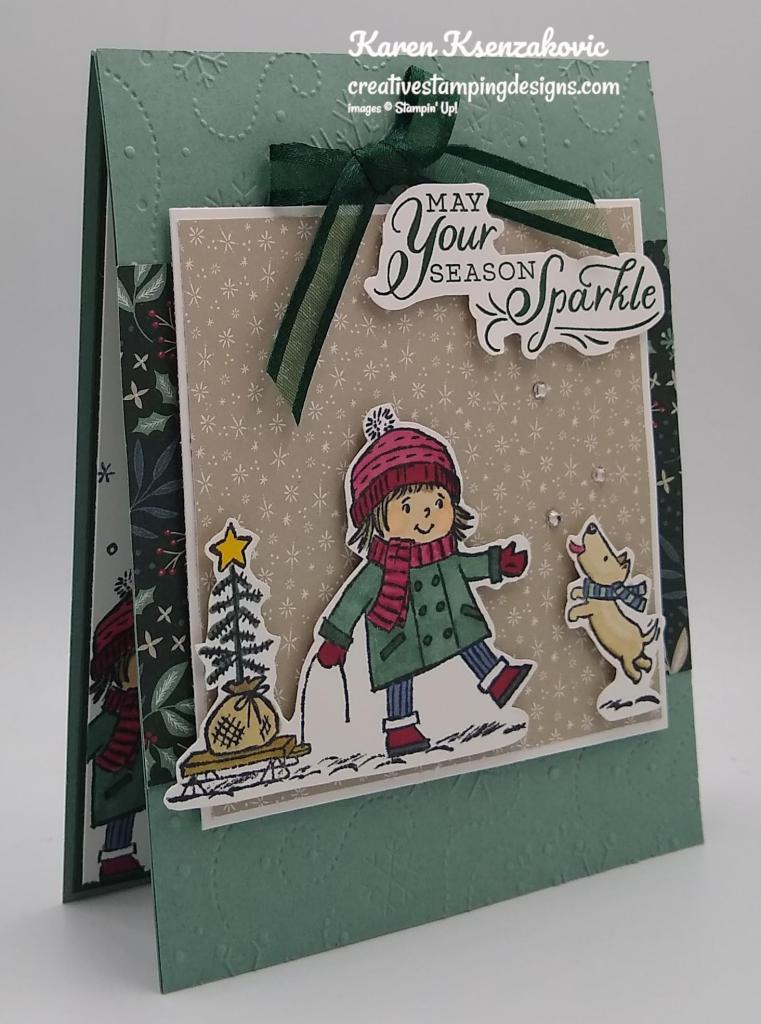
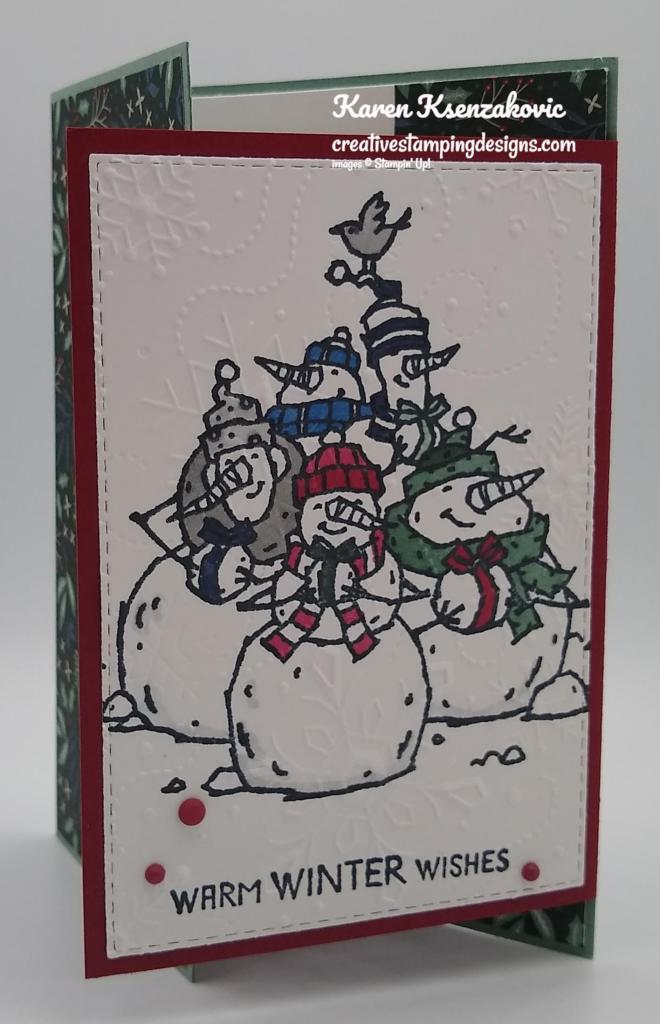
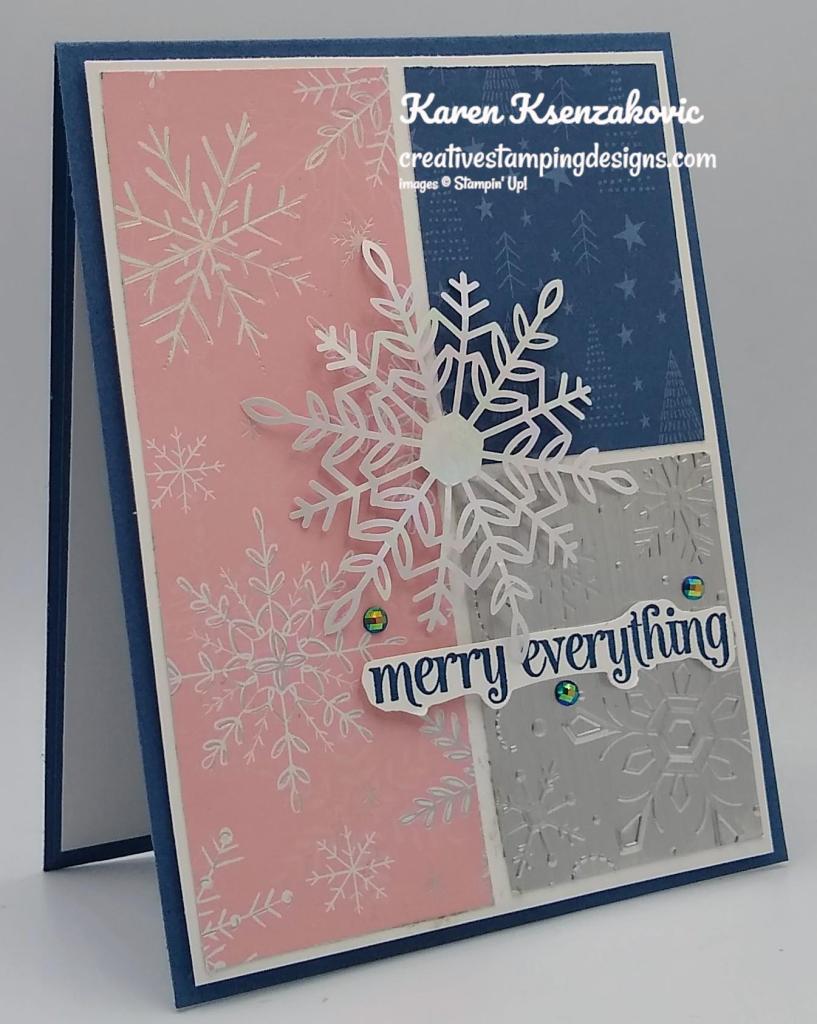
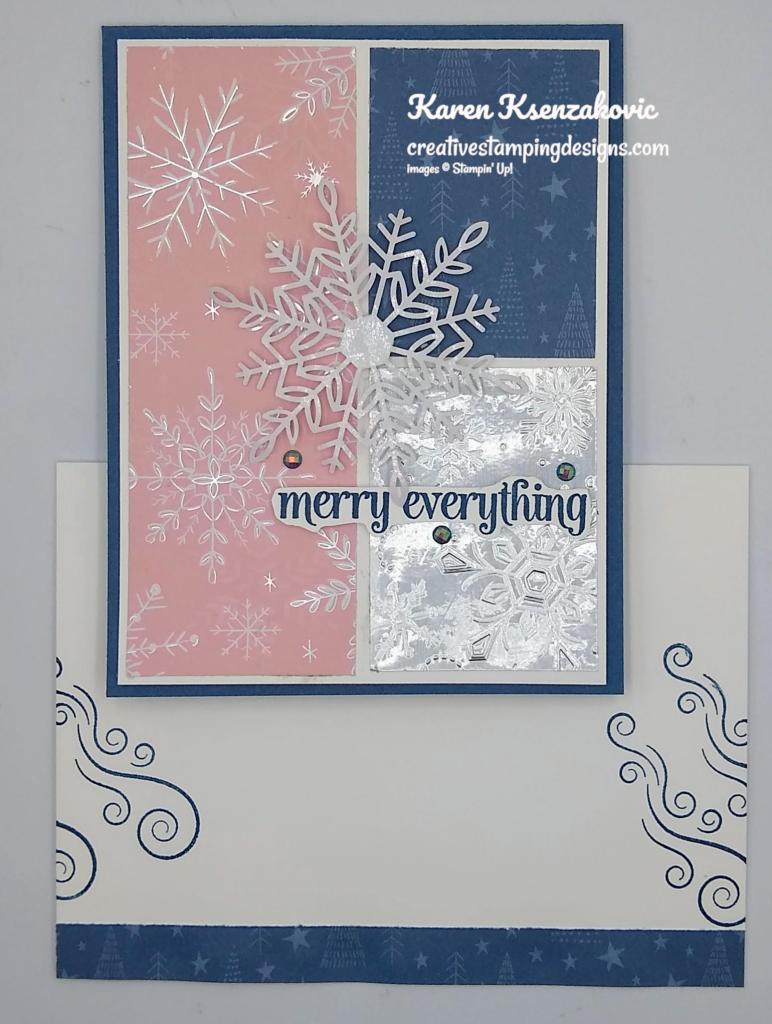
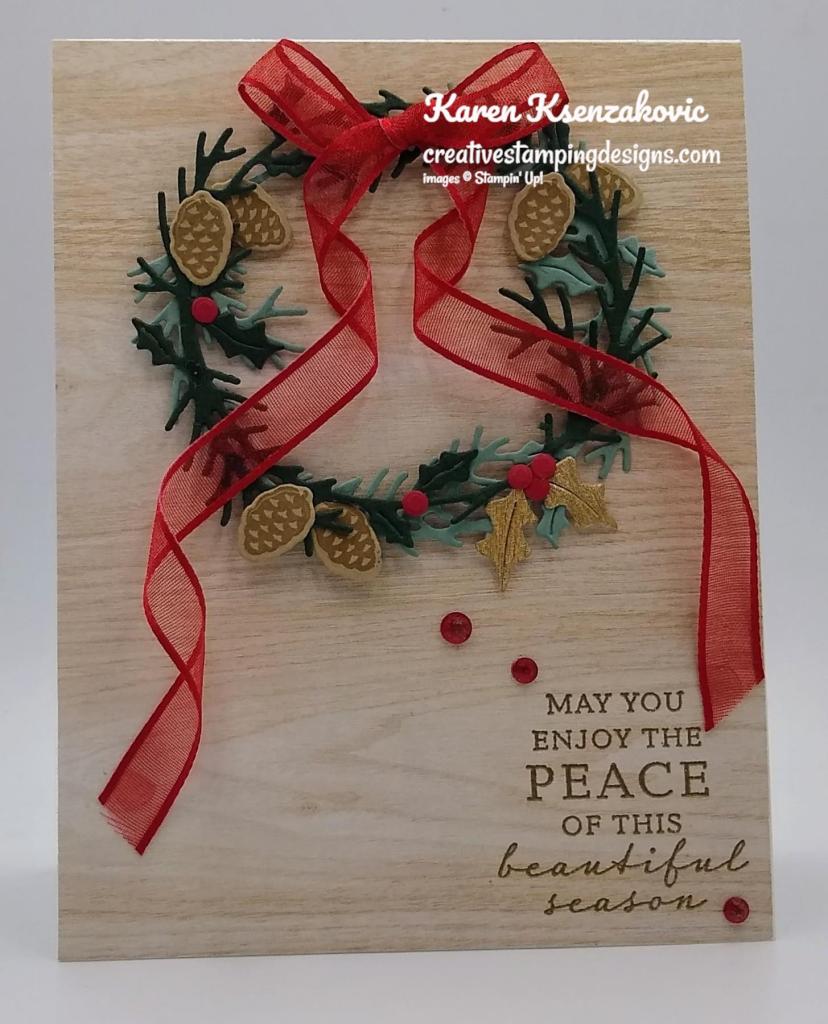
Today’s card is similar to one I did a while back at our monthly mystery stamping. One of the ladies that comes to my Stamp Camp Card Class asked if we could make that card, but since I’m doing a Christmas in July theme, I adjusted it to that. Here’s my card for today.
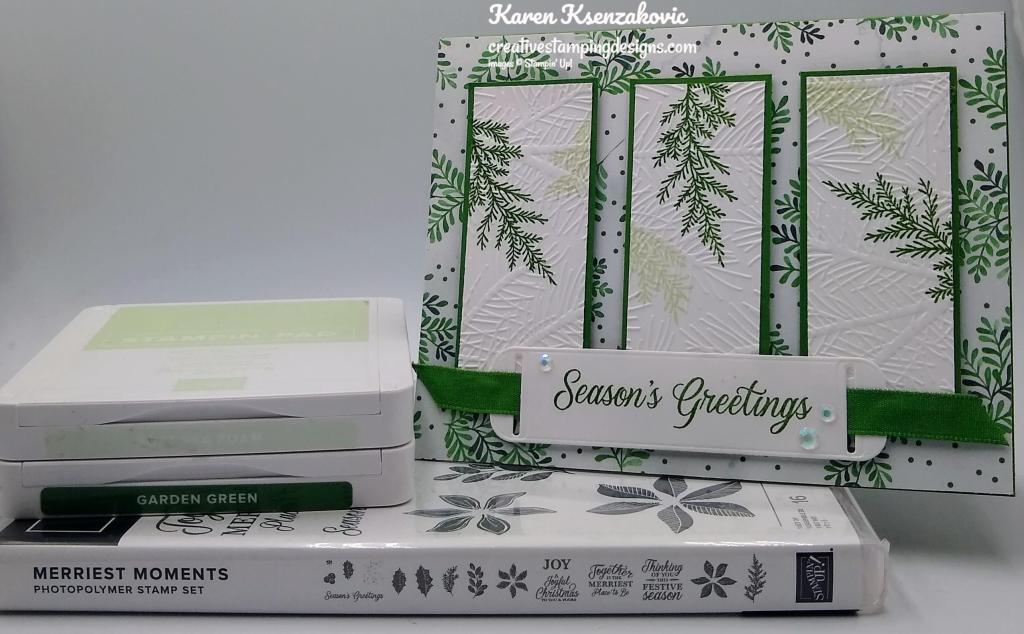
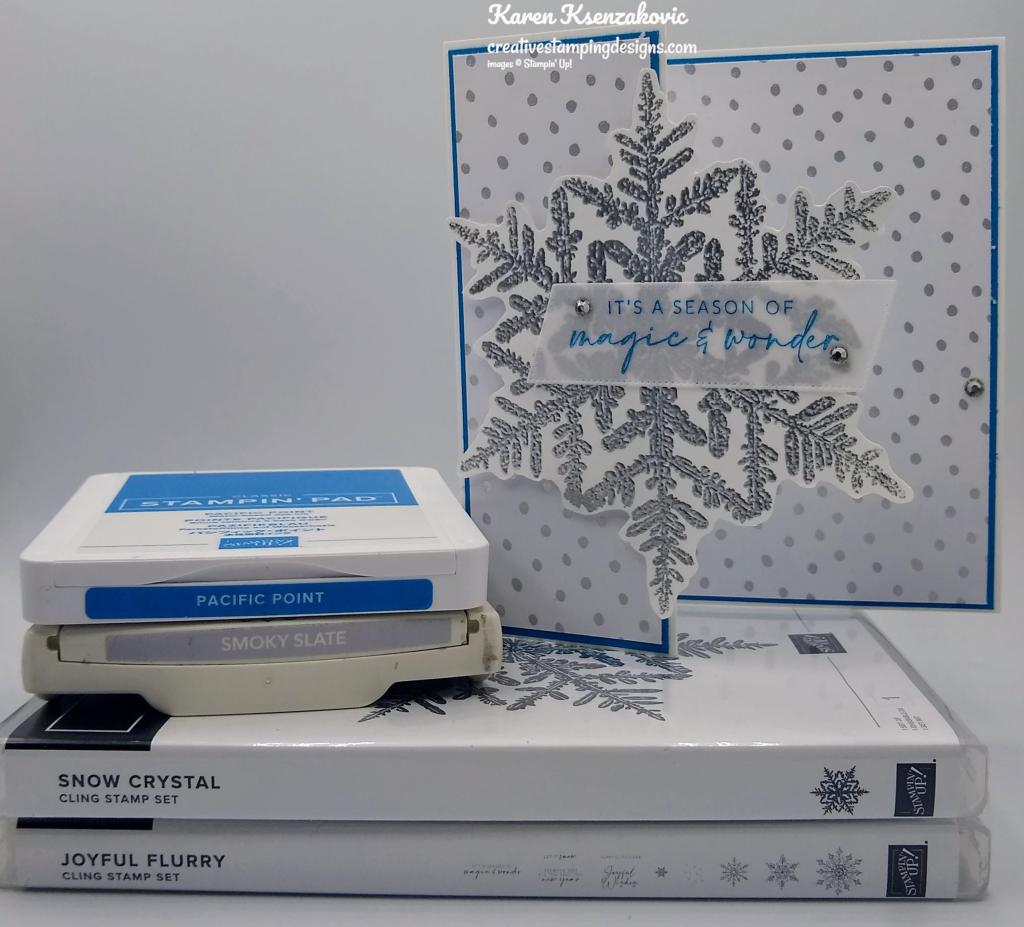
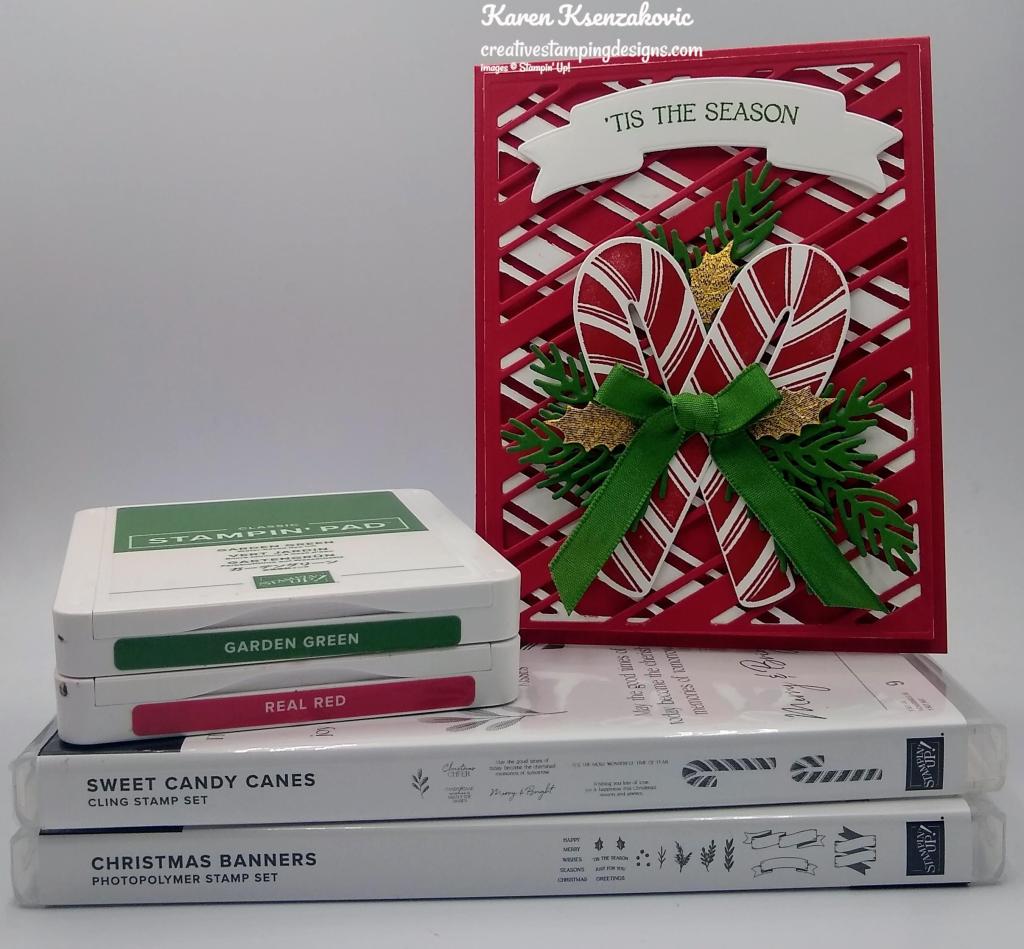
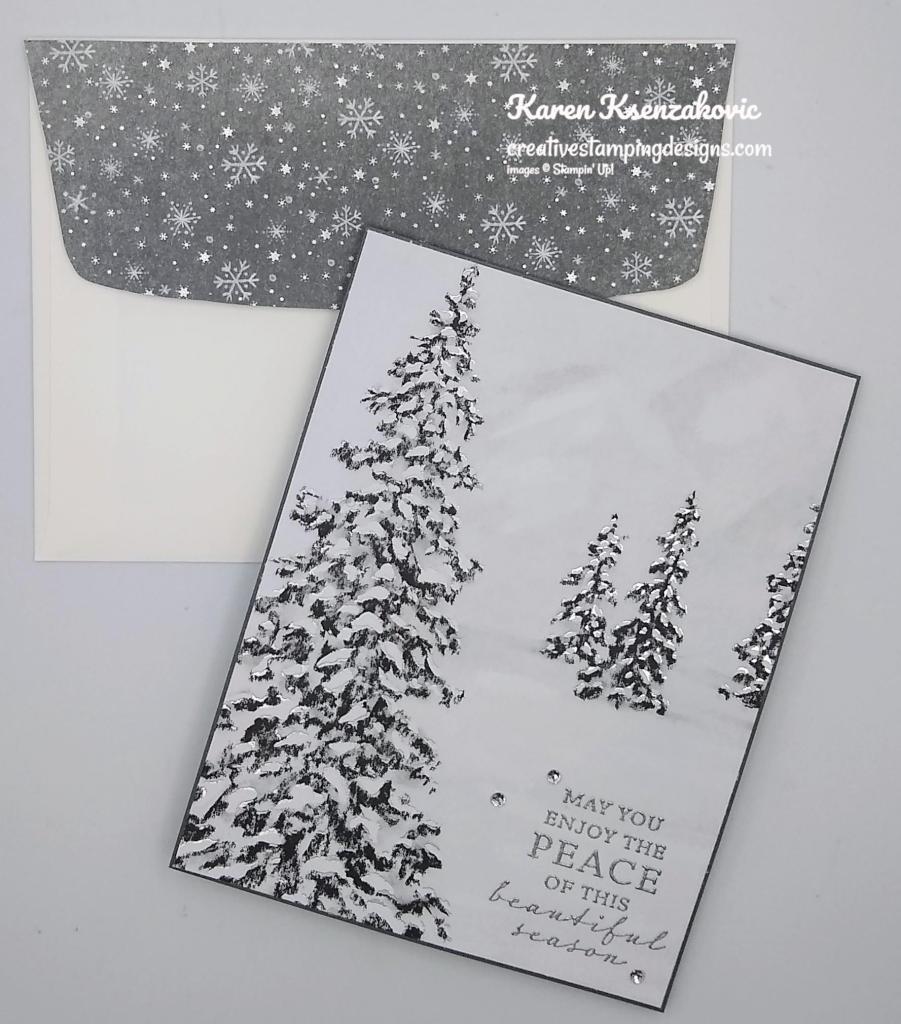
I used the Stampin’ Up! Merriest Moments Photopolymer Stamp Set along with the Painted Christmas Designer Series Paper for my card today.
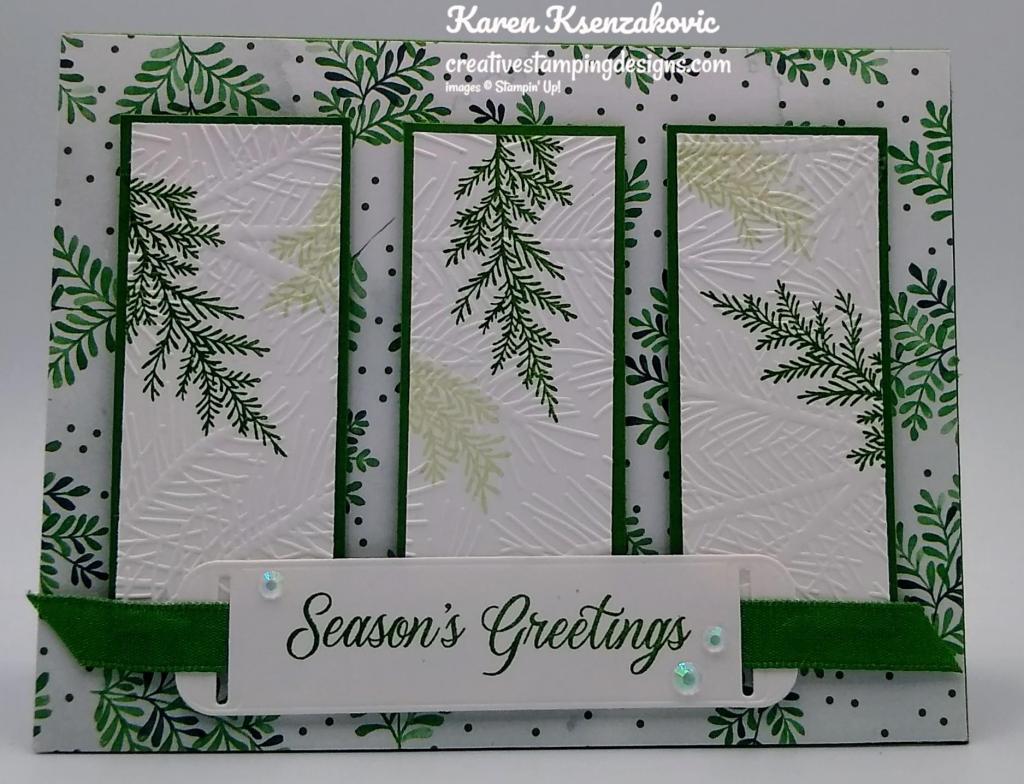
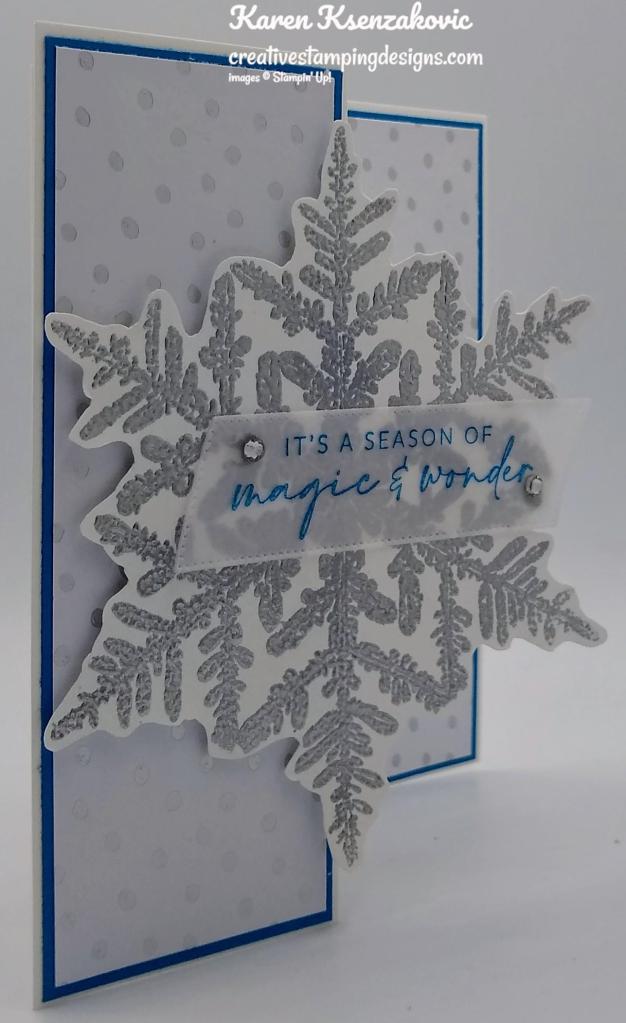
I started by adhering a panel of Painted Christmas DSP to a Garden Green card base. I stamped the pine boughs images from the Merriest Moments stamp set in Garden Green and Soft Sea Foam on 3 panels of Basic White cardstock.

I embossed the 3 panels using my Wintry 3D Embossing Folder. I adhered the embossed panels to Garden Green mats using Multipurpose Liquid Glue. I adhered the 3 layered panels to the card front using Stampin’ Dimensionals.

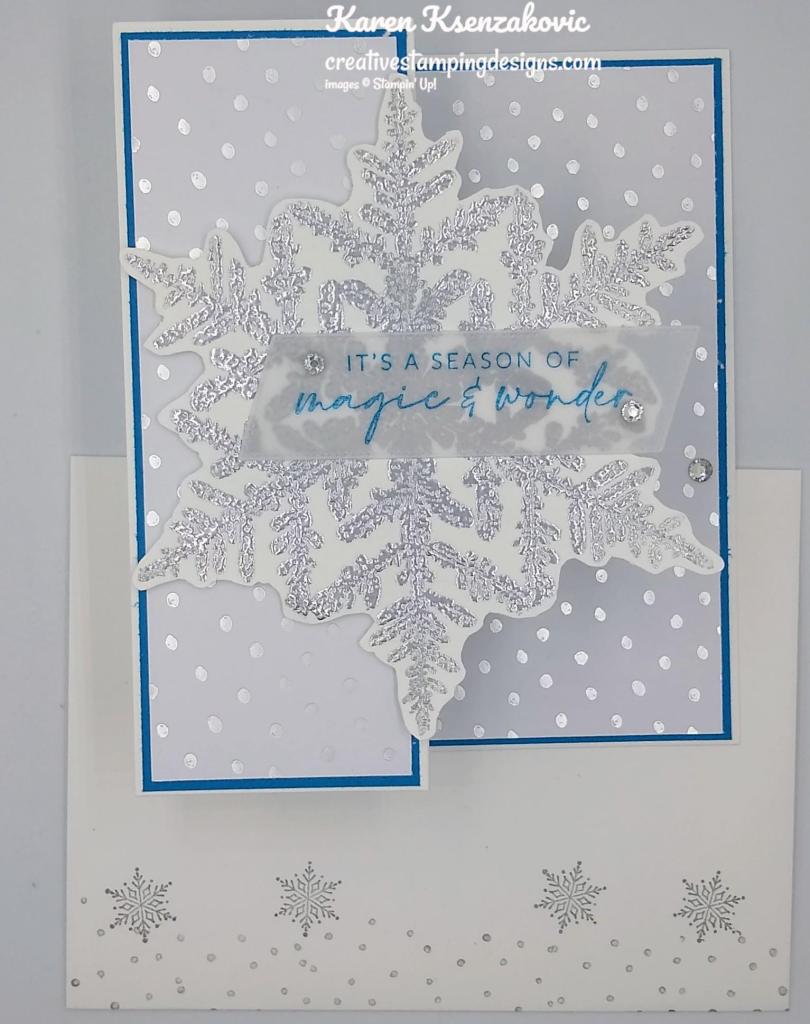
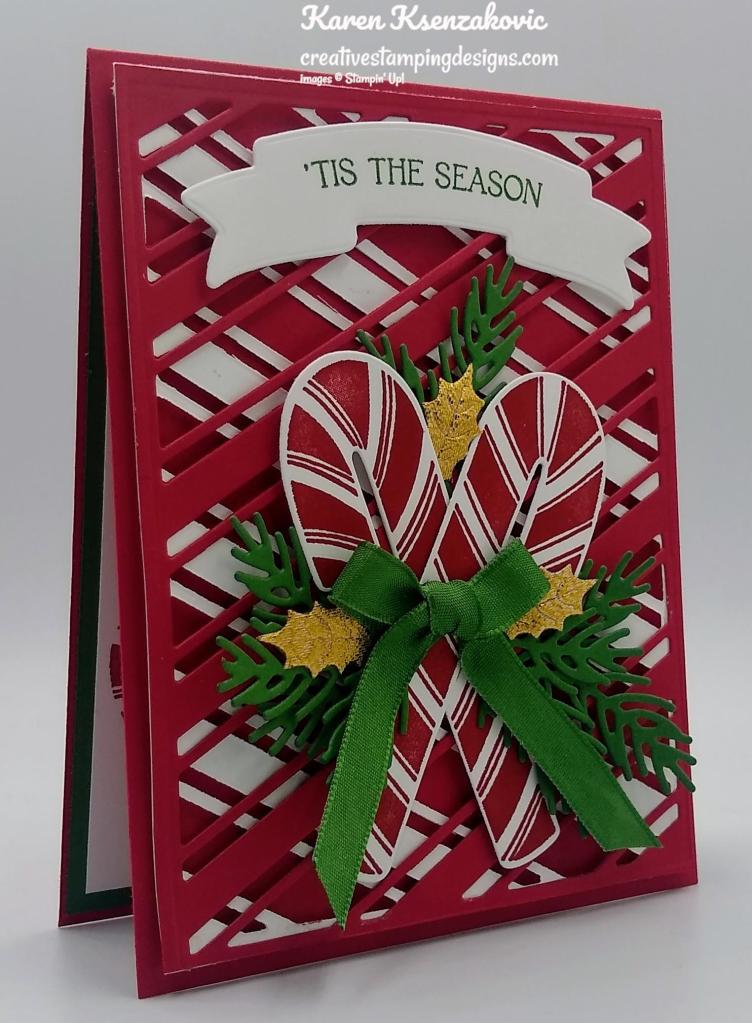
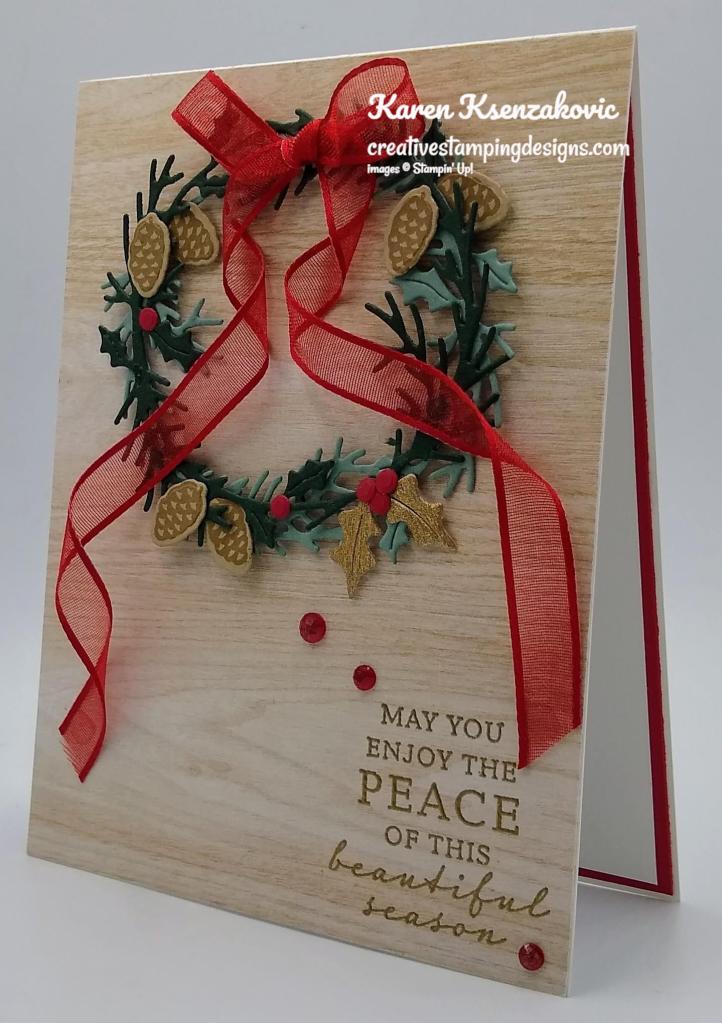
I stamped the sentiment from the Merriest Moments stamp set on a panel of Basic White cardstock in Garden Green Ink. I cut the sentiment out using my Seasonal Labels Dies. I threaded a piece of Garden Green ribbon from the Real Red and Garden Green 3/8″ Ribbon Combo Pack through the ends of the die cut sentiment. I adhered the sentiment to the card front using Stampin’ Dimensionals. I added a few Iridescent Rhinestones Basic Jewels to the card front.
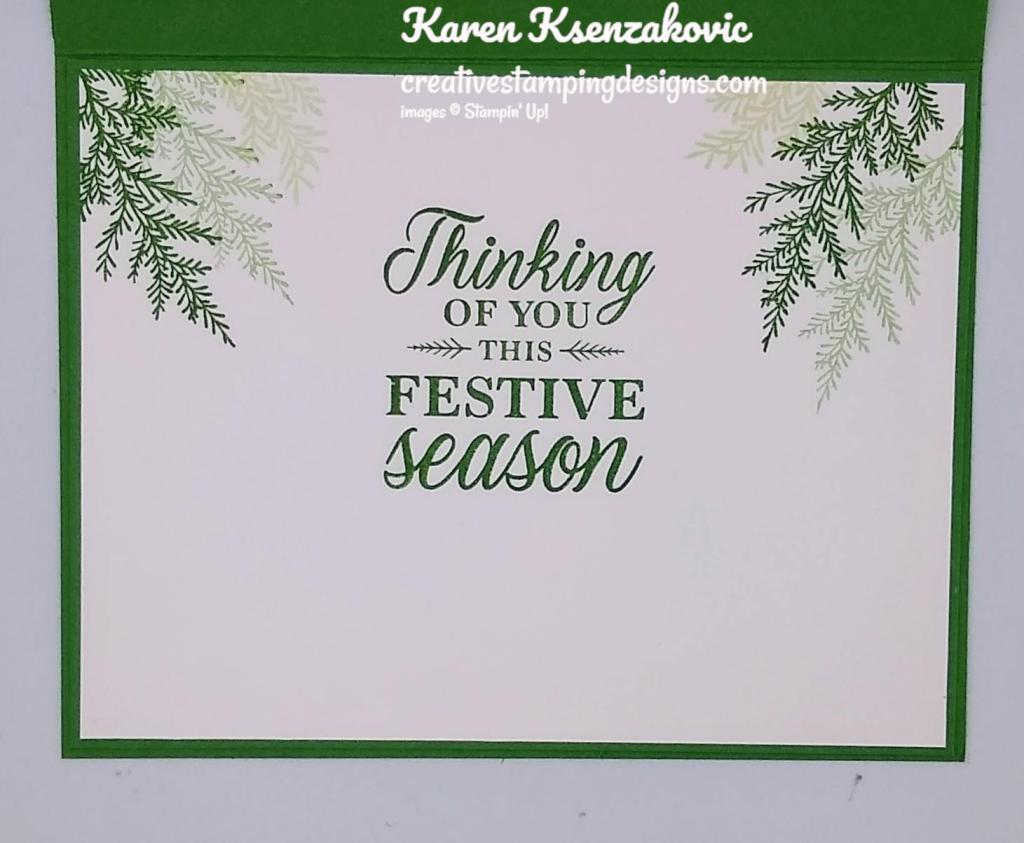
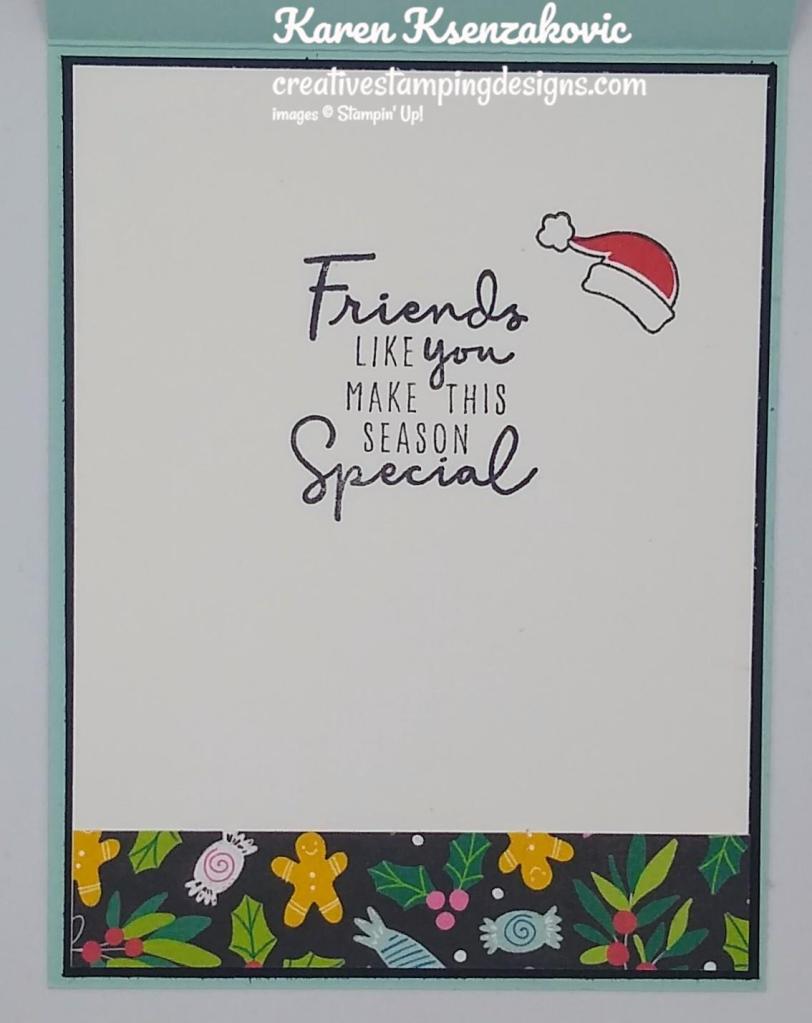
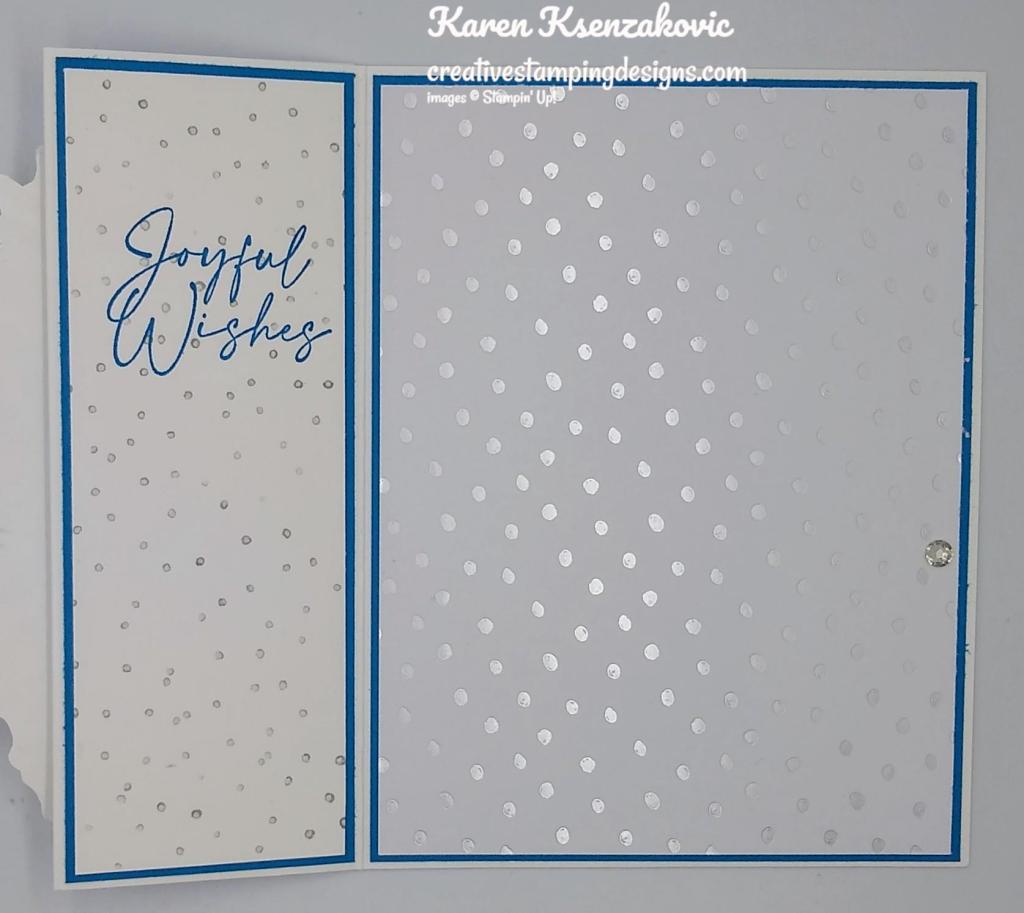
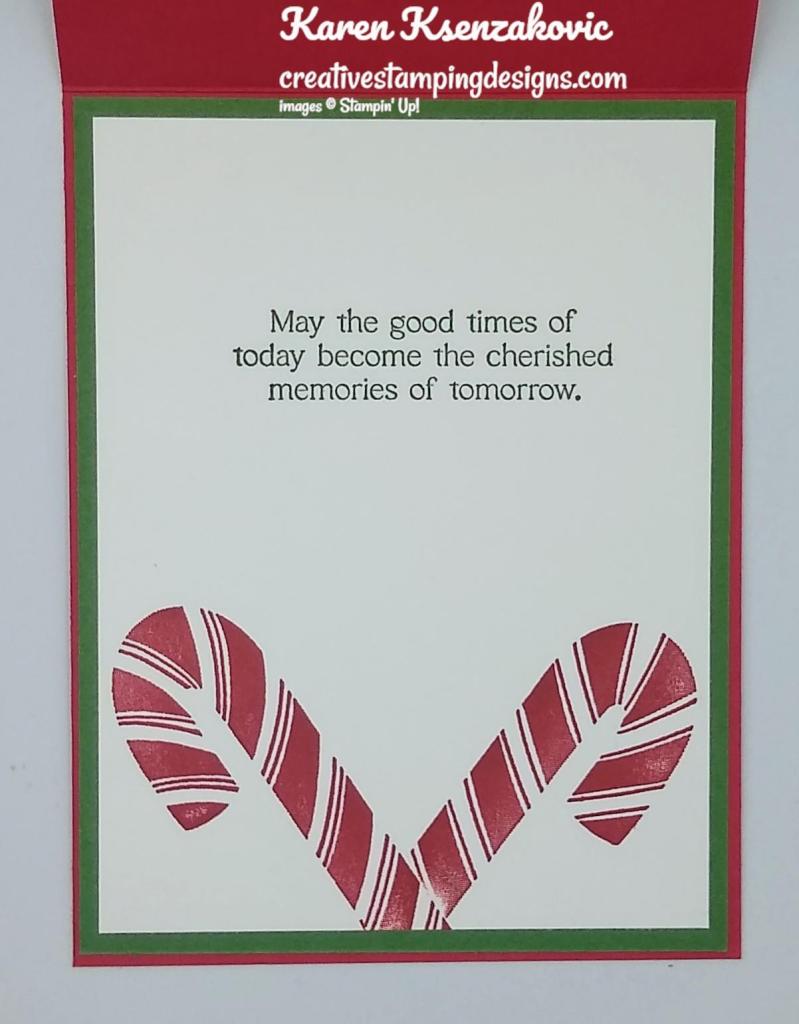
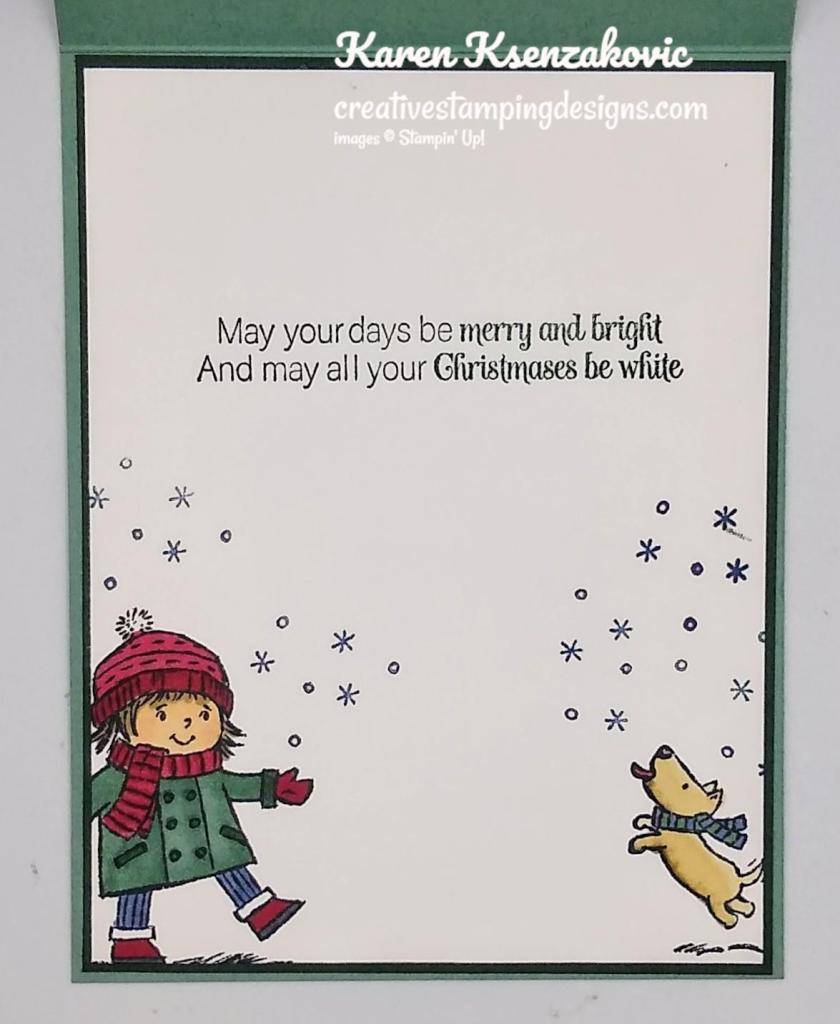
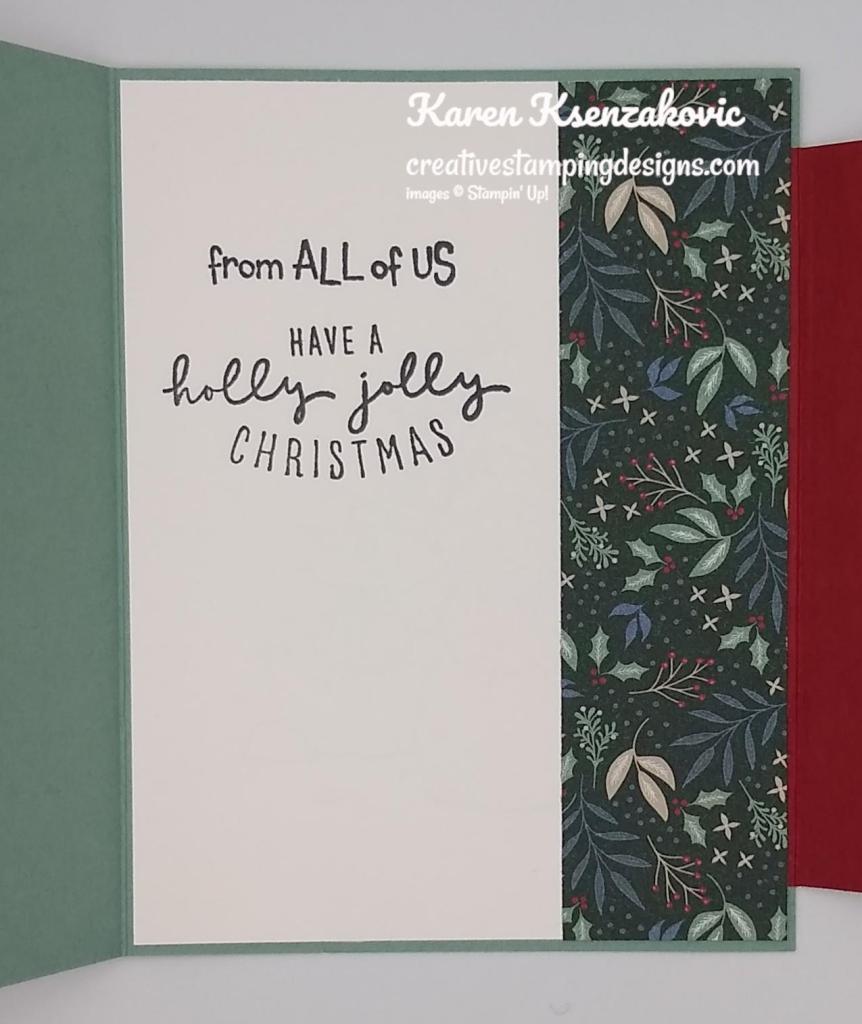
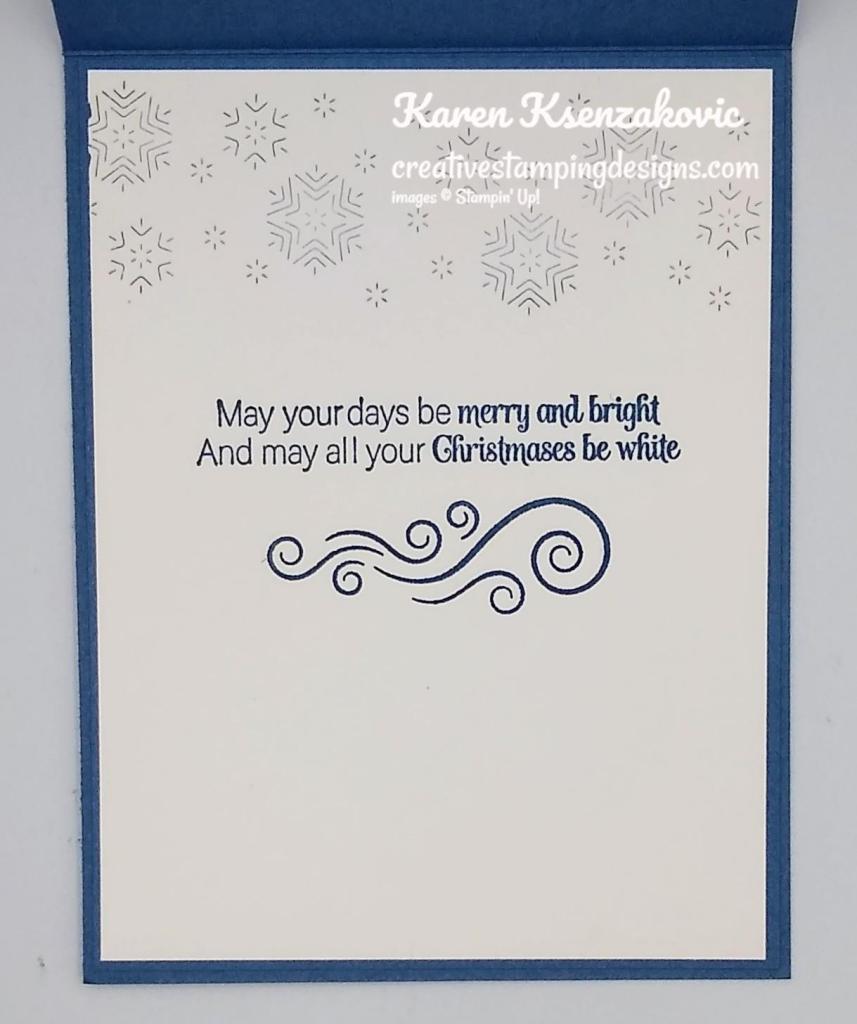
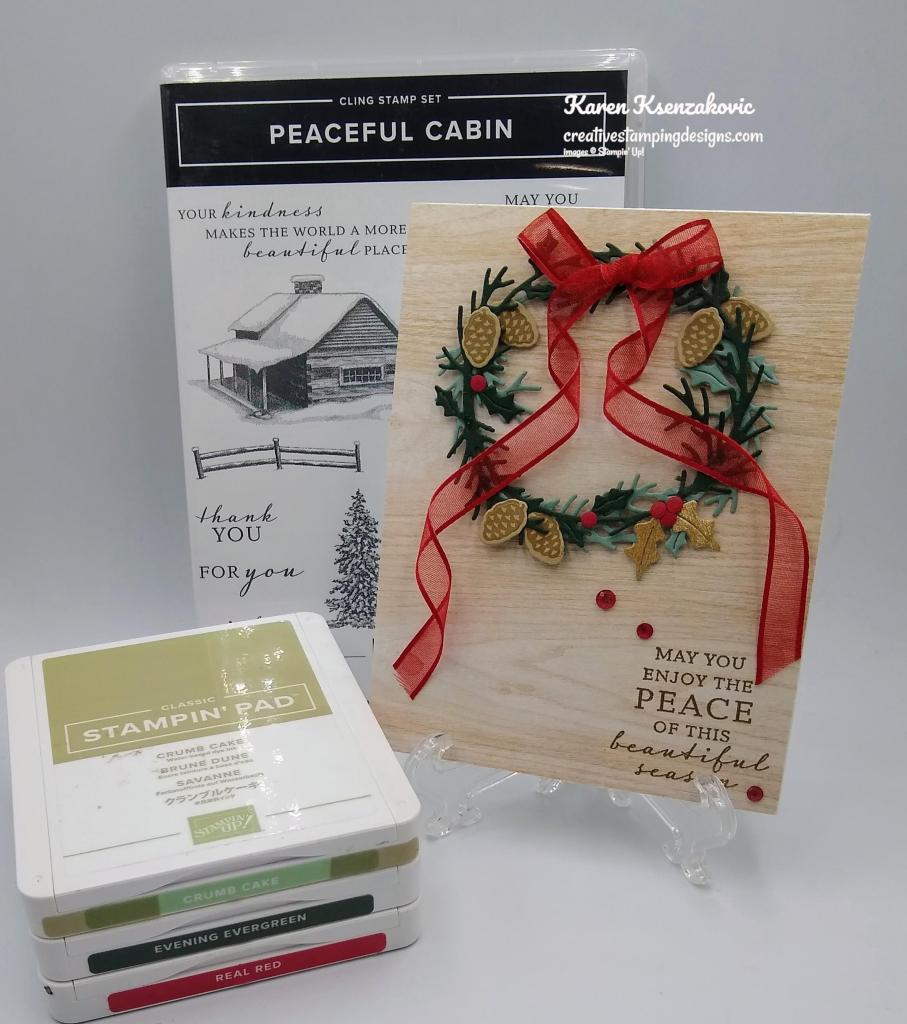
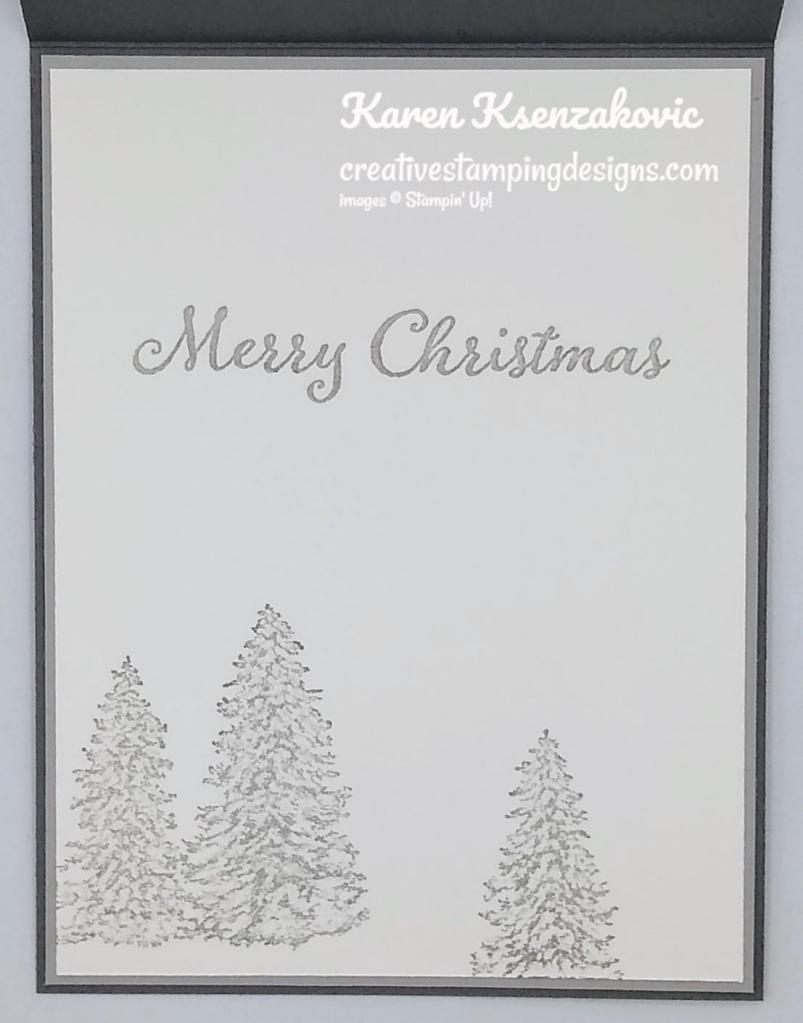
On the inside I stamped the sentiment from the Merriest Moments stamp set in Garden Green Ink on a Basic White panel. I stamped the pine bough images from the Merriest Moments stamp set in Garden Green Ink first full strength, then again without reinking and the smaller image in Soft Sea Foam Ink. I adhered the Basic Whtie panel to a Garden Green mat and then to the inside of the Garden Green card base.
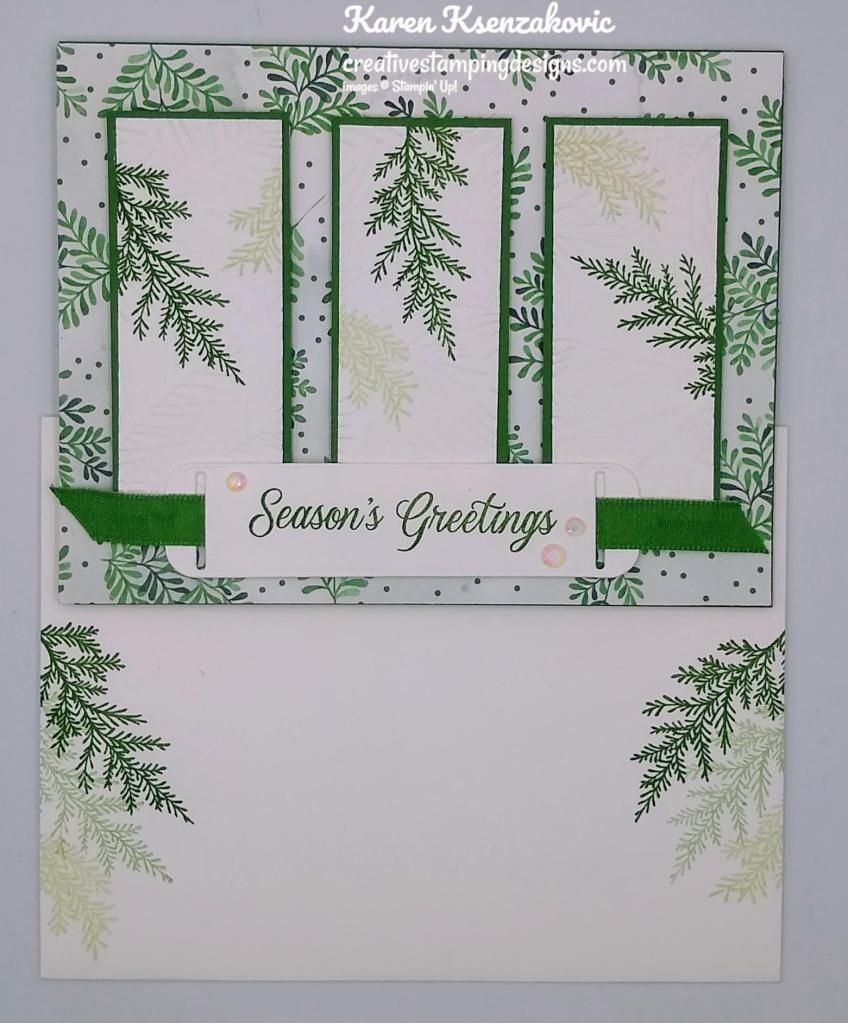
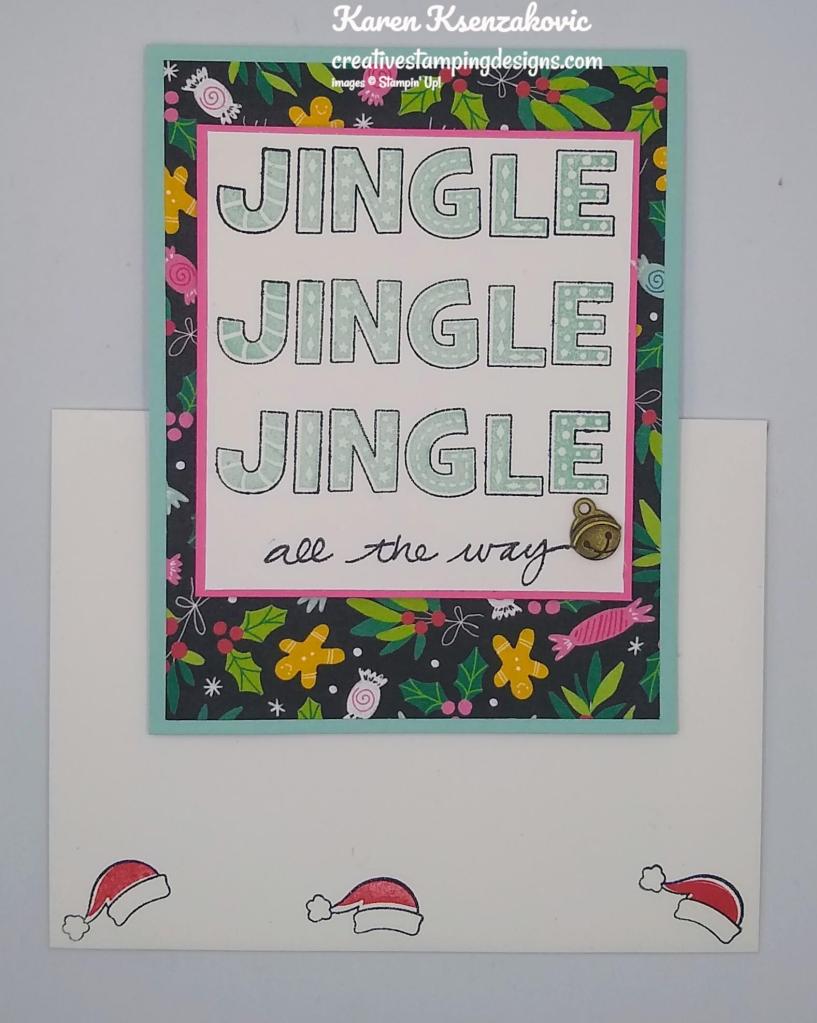
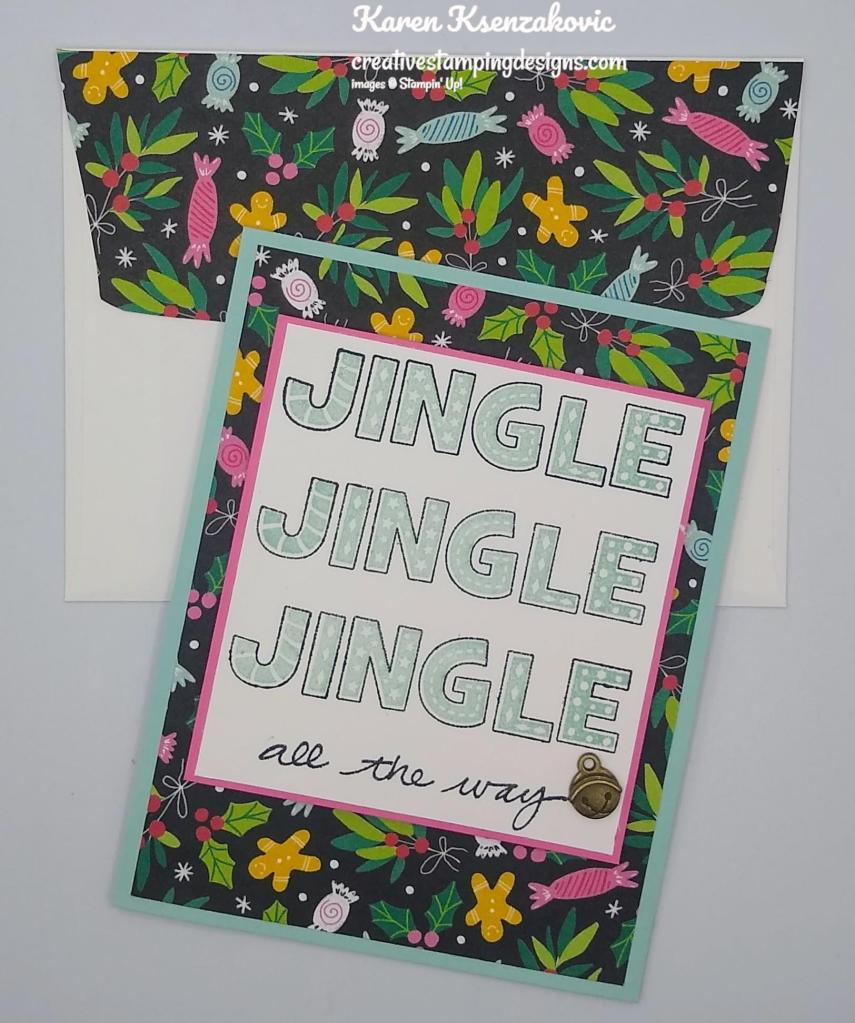
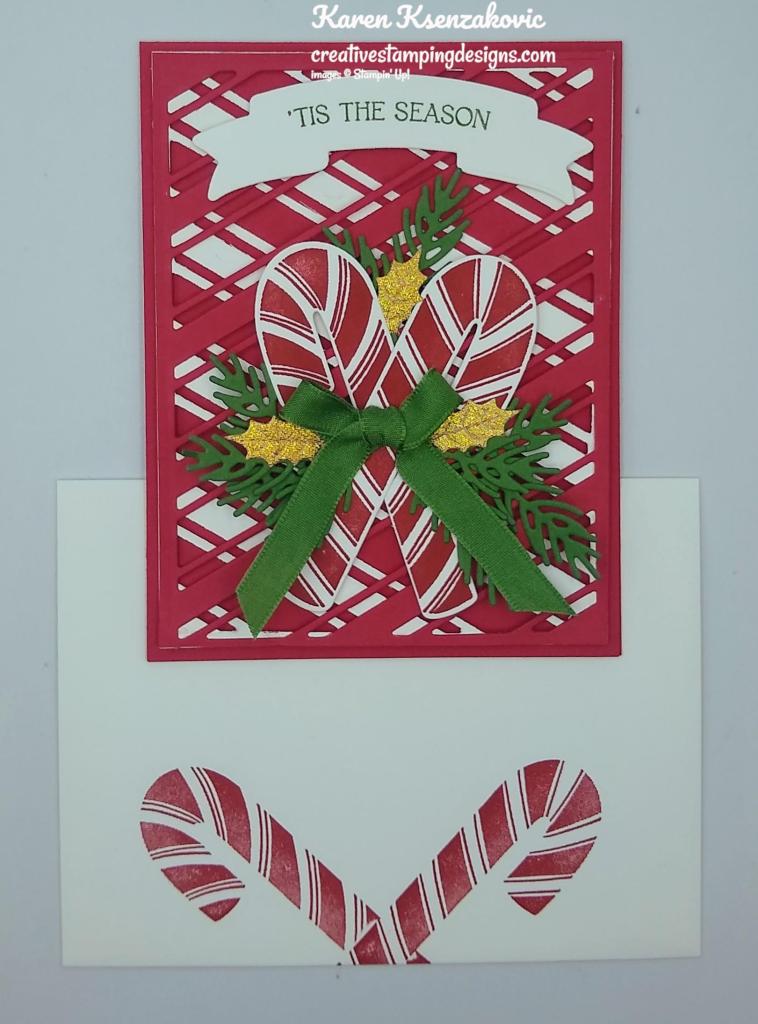
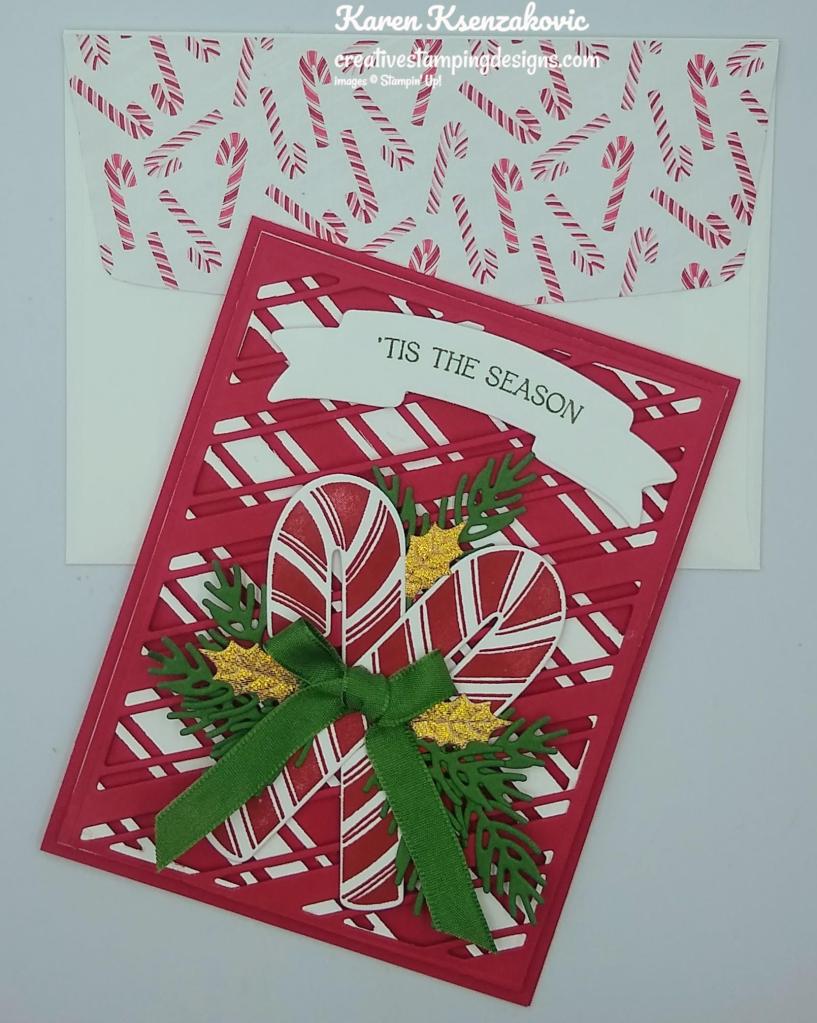
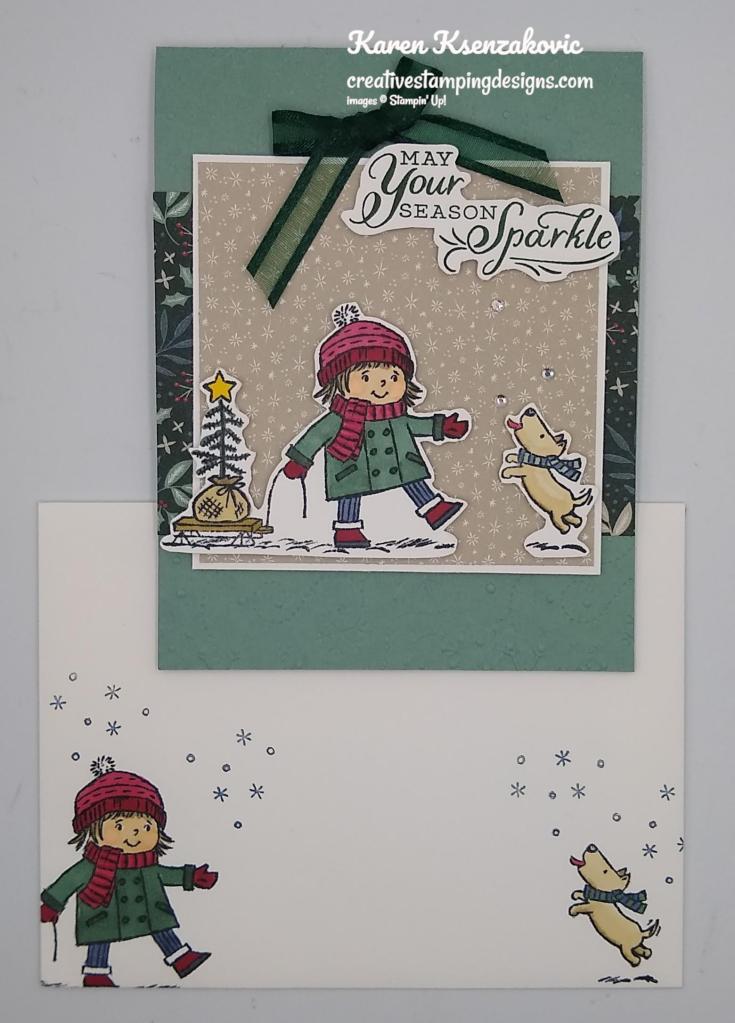
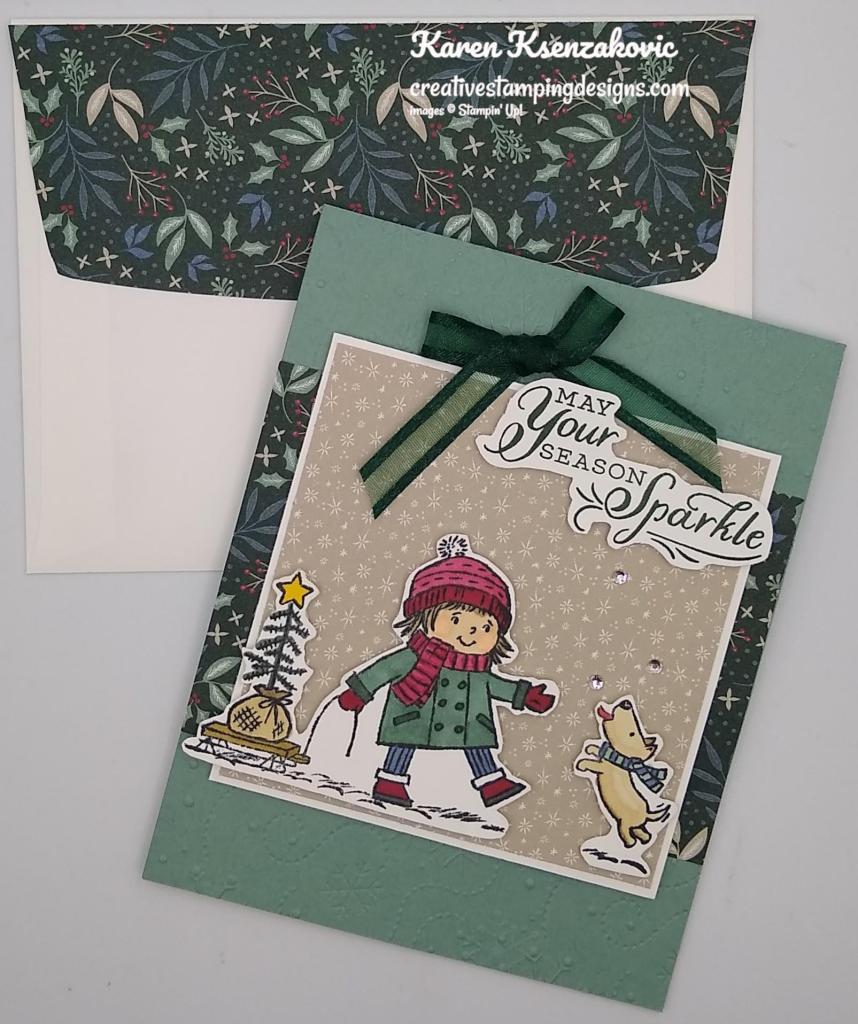
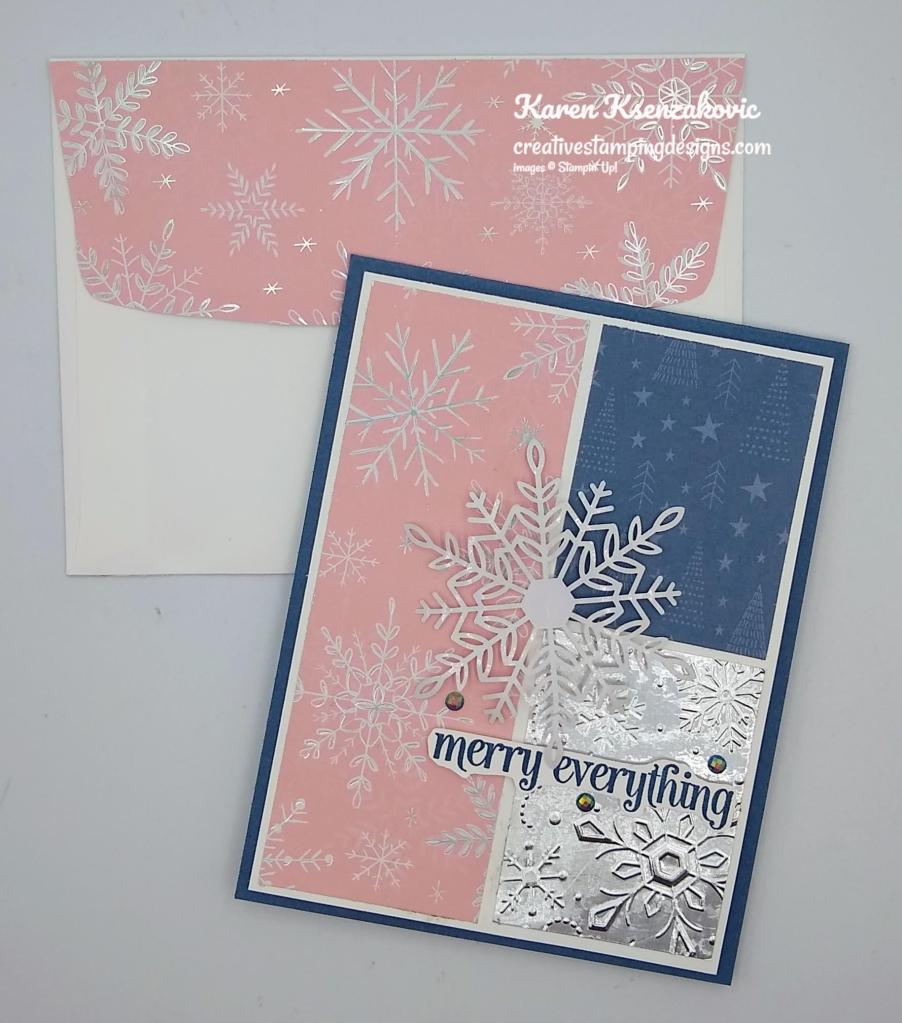
To finish my card, I decorated a Basic White Medium Envelope. I stamped the pine bough images from the Merriest Moments stamp set in Garden Green Ink on the envelope front first full strength, then again without reinking. I stamped the smaller pine bough image from the Merriest Moments stamp set in Soft Sea Foam Ink below the larger pine bough image. I adhered a panel of Painted Christmas DSP to the envelope flap.
Thank you for stopping by my blog today. I hope you liked my card and will give it a try. Happy Stamping!!
*********************************************************************************************************
If you need any stamping supplies, I’d love to be your Demonstrator. Just click HERE to go directly to my online store or drop me an email if you have any questions.
MY CURRENT HOST CODE IS: QY4S2TZX
Use this host code when placing an order with me. When you order $50 or greater you will receive a free gift from me! If your order is over $150, please do not use this code, but you’ll still get the free gift. The free gift is your choice of any 1 item valued up to $10.00 from the 2021-2022 Annual Catalog or the January – June 2022 Mini Catalog! For any orders $50 or more I will also send you my monthly class tutorials. Click HERE or go to my Customer Rewards for more details and to see what this month’s tutorials are.
Please remember to use my current Host Code and make sure that you can see my name on the final checkout page listed as your Demonstrator when you order so that you know that you’re ordering with me and you’ll get my rewards!
Happy Stamping, Karen
*********************************************************************************************************
The Back To School Sales Tax Holiday is going on until August. For those of you living in Alabama, Arkansas, Florida, Illinois, Massachusetts, Mississippi, Missouri, New Mexico, Ohio, Puerto Rico, South Carolina, Tennessee, Texas, Virginia and West Virginia…you’ve got sales tax holidays coming up!! 8 states start this week, be sure to check the list.

The good news is that some items in the Stampin’ Up! Catalogs qualify for the sales tax holidays! The list of sales tax holidays by state and items in that state that qualify Here on a printable PDF. Check it out to see when your state has the Sales Tax Holiday.
*********************************************************************************************************
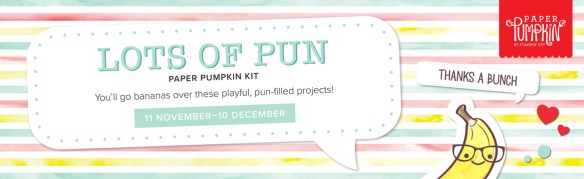
Sweet Sunflowers
Subscribe July 11 – August 10

Here comes the sun(flower) for a crafting experience you won’t forget! The Sweet Sunflowers Paper Pumpkin Kit has so much in store—elegant watercolor designs hand-crafted by our in-house artists, TWO Classic Stampin’ Spots for a Two-Step stamping experience, and the all-new twist technique to make your floral designs come alive with depth and detail!
And the August Paper Pumpkin Kit includes the Gold Foil Honeycomb Sheets as a FREE gift that will add the perfect golden accent to any card or project. We can’t wait to see the bee-utiful projects you’ll create!
Item Number: 161120
This kit includes:
- All the supplies you need to create 9 cards: 3 each of 3 designs; and coordinating envelopes.
- An all-occasion stamp set to express words of gratitude, friendship, greetings and beautiful wildflower designed images.
- Specialty Vellum honeycomb shape pre-cut pieces.
- 2 Classic Stampin’ Spots (Crushed Curry and Soft Suede) for a Two-Step stamping experience with a twist!
- Paper pieces and embellishments with watercolor designs and images.
- Mini Stampin’ Dimensionals.
- FREE GIFT: 8 Gold Foil Honeycomb Sheets
Completed card size: 5-1/2″ x 4-1/4″ (14 x 10.8 cm)
Coordinating Stampin’ Up! colors: Blackberry Bliss, Crushed Curry, Evening Evergreen, Melon Mambo, Mossy Meadow, Night of Navy, Pumpkin Pie, Soft Suede
Subscribe to the July Paper Pumpkin Kit between 11 July and 10 August at paperpumpkin.com!
Note: Supplies may be limited toward the end of the subscription period.
*********************************************************************************************************

If you join during Sale-a-bration you will receive this awesome Making Plans Collection absolutely free. It includes a July 2022-December 2023 Making Plans Planner including an 8″ X 9 1/2″ Faux Leather Carrying Case, 5 1/2″ X 8 1/2″ Planer Pages, Monthly Divider Pages and Sticker Sheets. It also includes 3 – Creative Journals that are 5 3/4″ X 8″ and a Making Plans Photopolymer Stamp Set. Contact me for more information at creativestampingdesigns@gmail.com. I’d love to have you on my team. You can join as a hobby demonstrator just to enjoy the discount for yourself. No obligations to sell, hold classes or have a blog.
*********************************************************************************************************
Card stock cuts for this project:
- Basic White Cardstock 3 – 1 1/4″ X 3″ (card front panels), 1 1/4″ x 4″ (sentiment), 4″ X 5 1/4″ (inner liner)
- Garden Green Cardstock 8 1/2″ x 5 1/2″ (card base scores & folded at 4 1/4″), 3 – 1 3/8″ x 3 1/8″ (card front panel mats), 4 1/8″ X 5 3/8″ (inner liner mat)
- Painted Christmas Designer Series Paper 4 1/4″ X 5 1/2″ (card front), 2 1/4″ x 6″ (envelope)
*********************************************************************************************************
Product List
")


 Designer Series Paper")


 Ribbon Combo Pack")


")
")


 Designer Series Paper")


")
")


 Designer Series Paper")


")


")
")

")
")


 Designer Series Paper")


")


 Designer Series Paper")


 Open Weave Ribbon")


")


")


 Specialty Designer Series Paper")
 Specialty Pack")


")
")

")


 Metallic Specialty Paper")


 Sheer Ribbon")


 Specialty Designer Series Paper")

