
Good Friday morning my stamping friends welcome to my Fun Fold Friday. How was everyone’s week? Does anyone have plans for the weekend? I’ll be at work all day tomorrow and Sunday is our quarterly in person meeting.
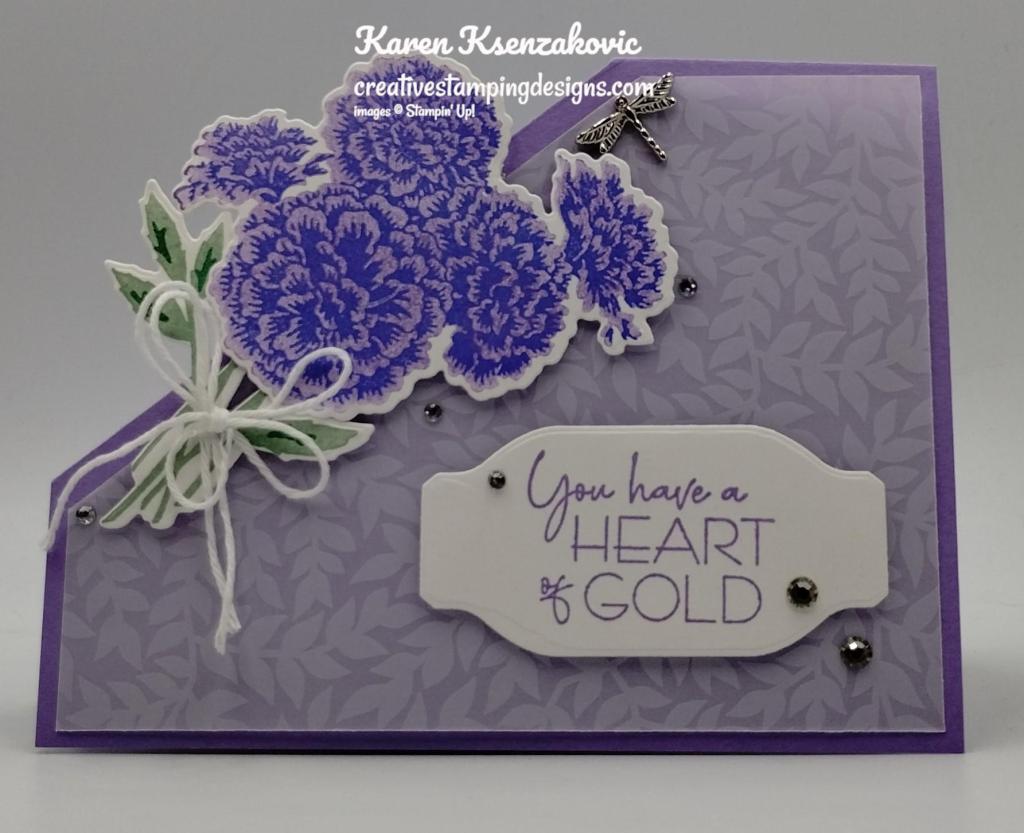
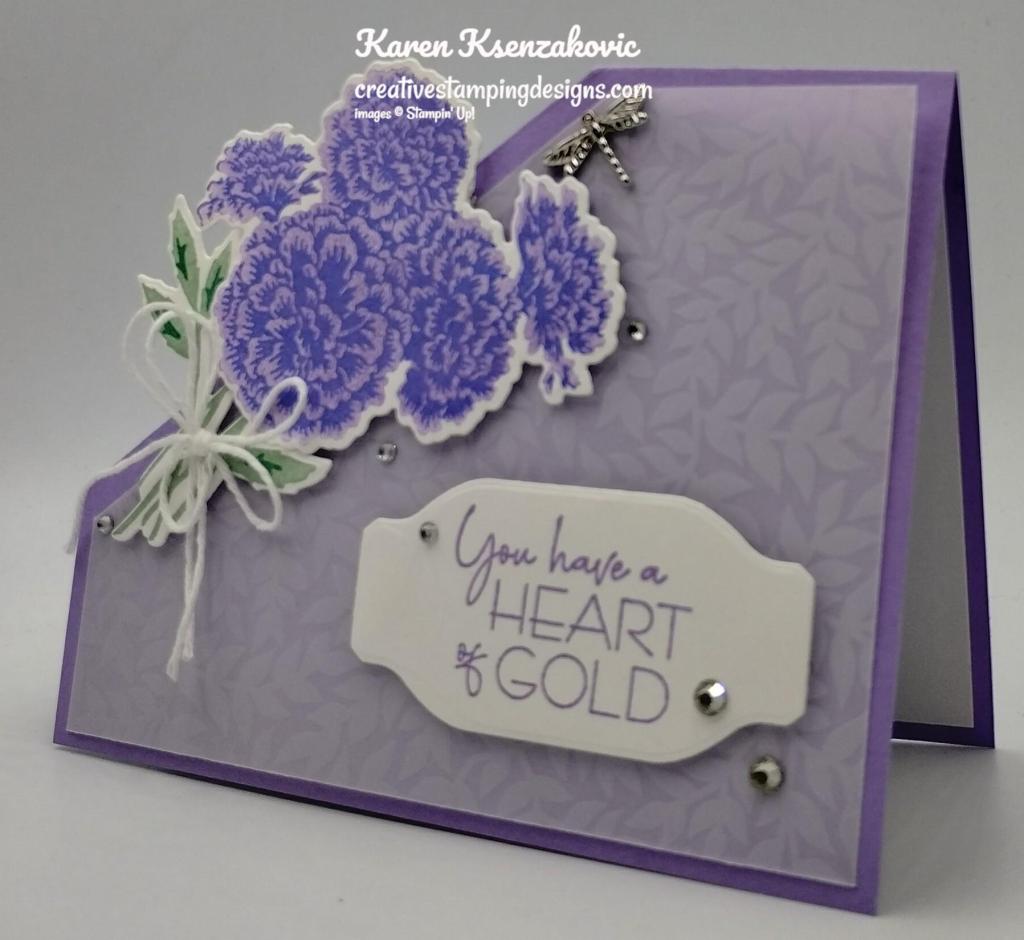
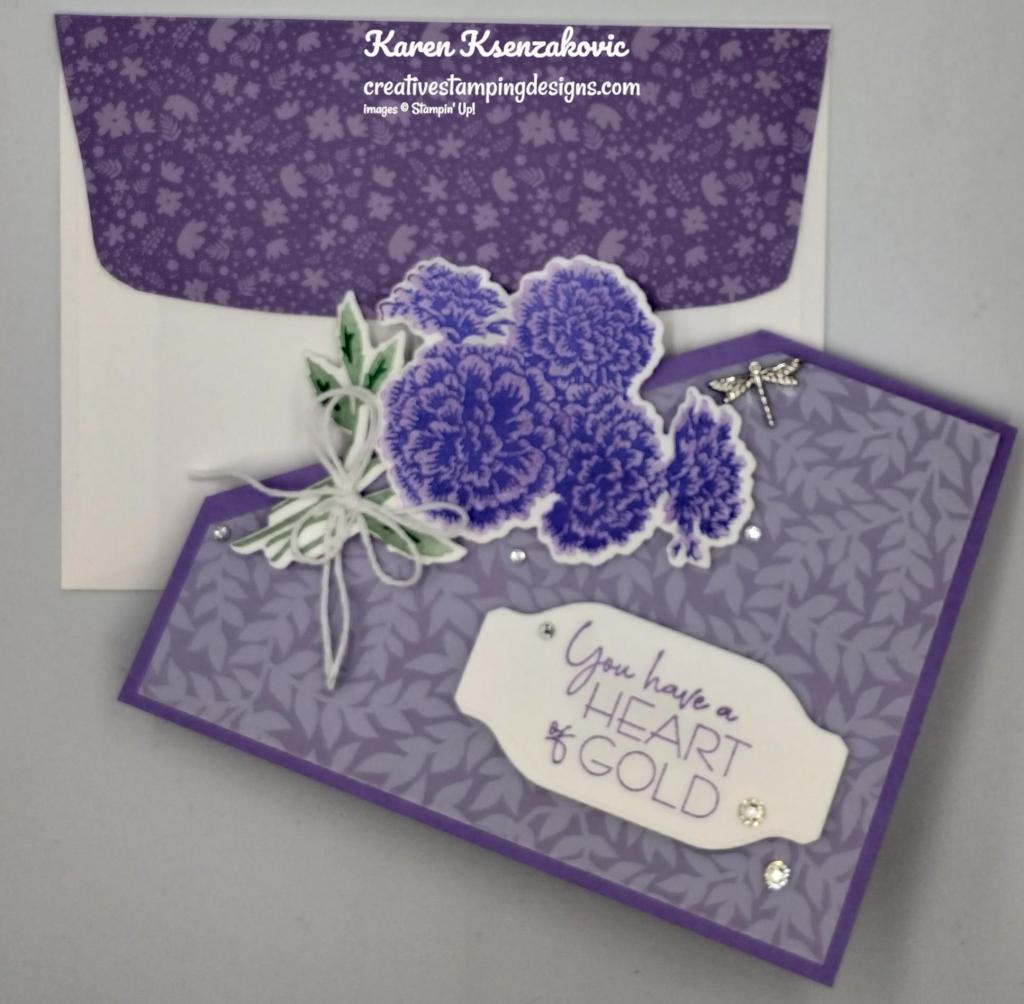
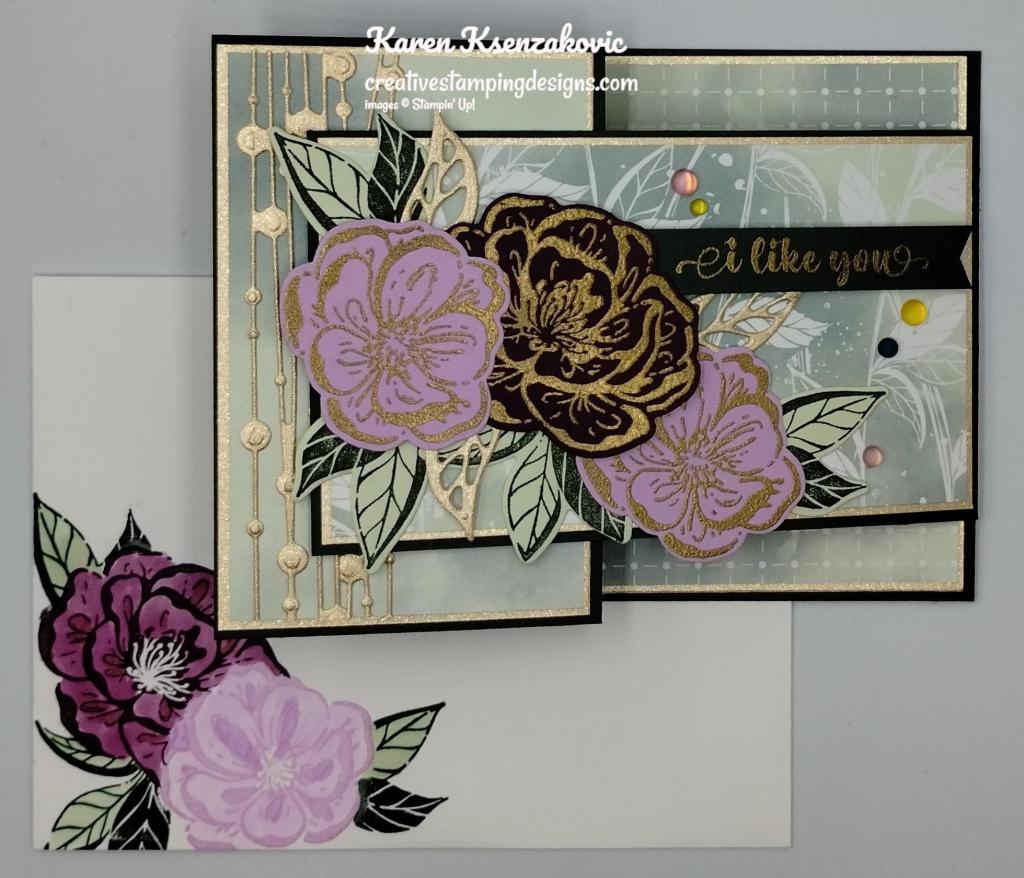
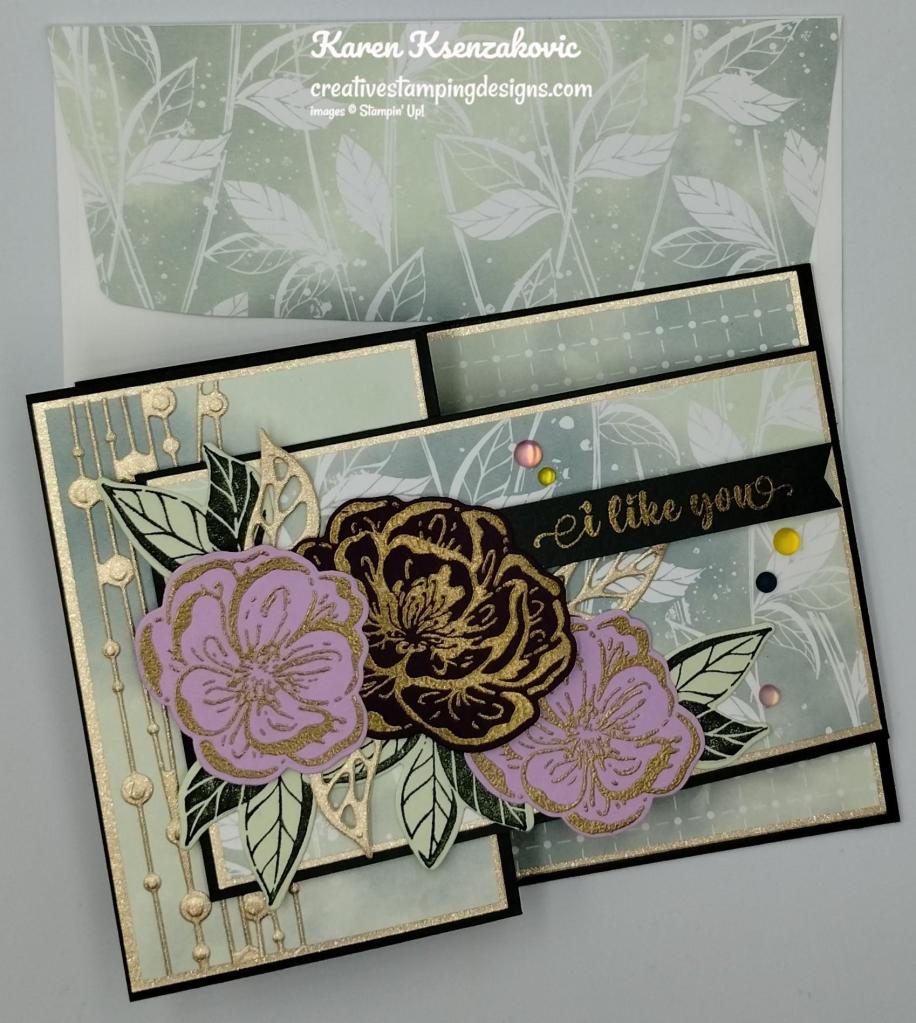
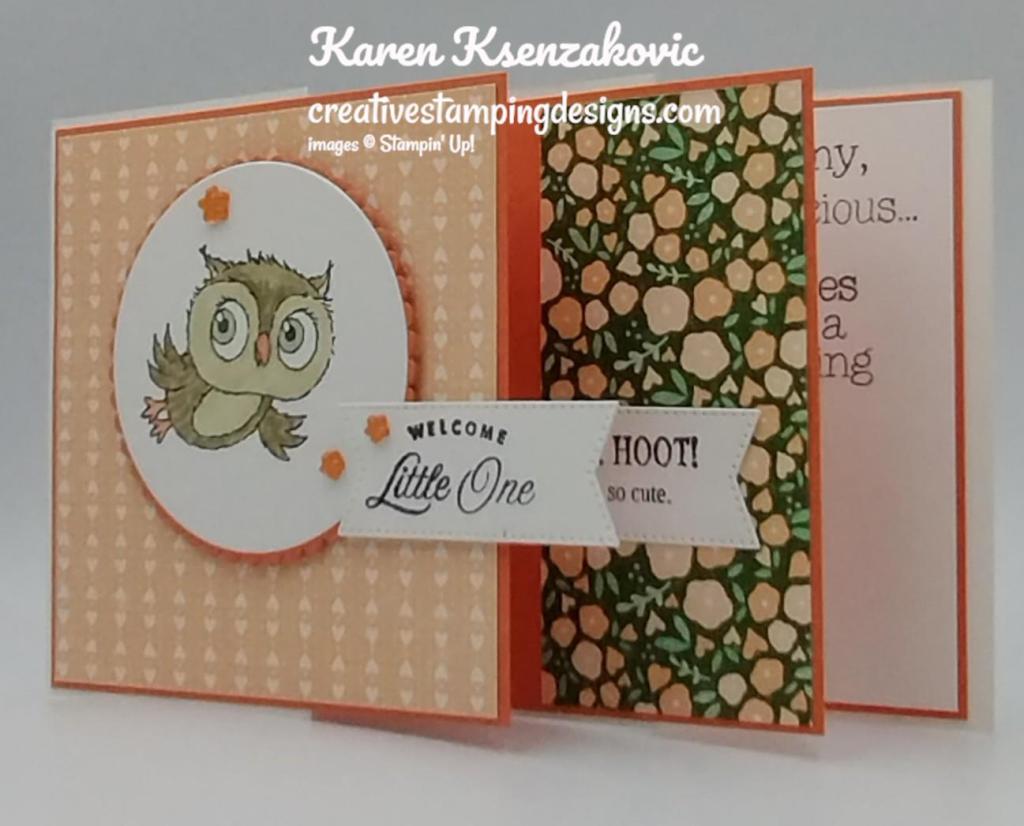
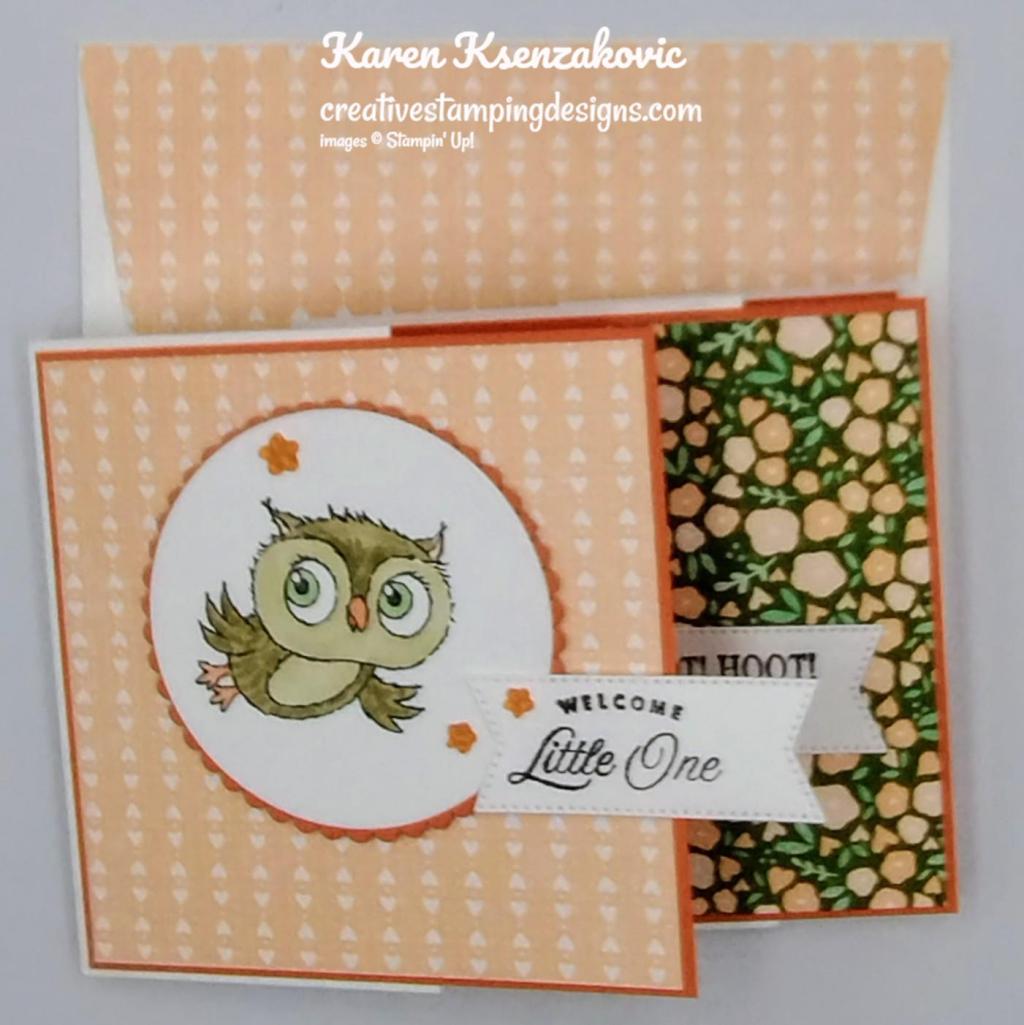
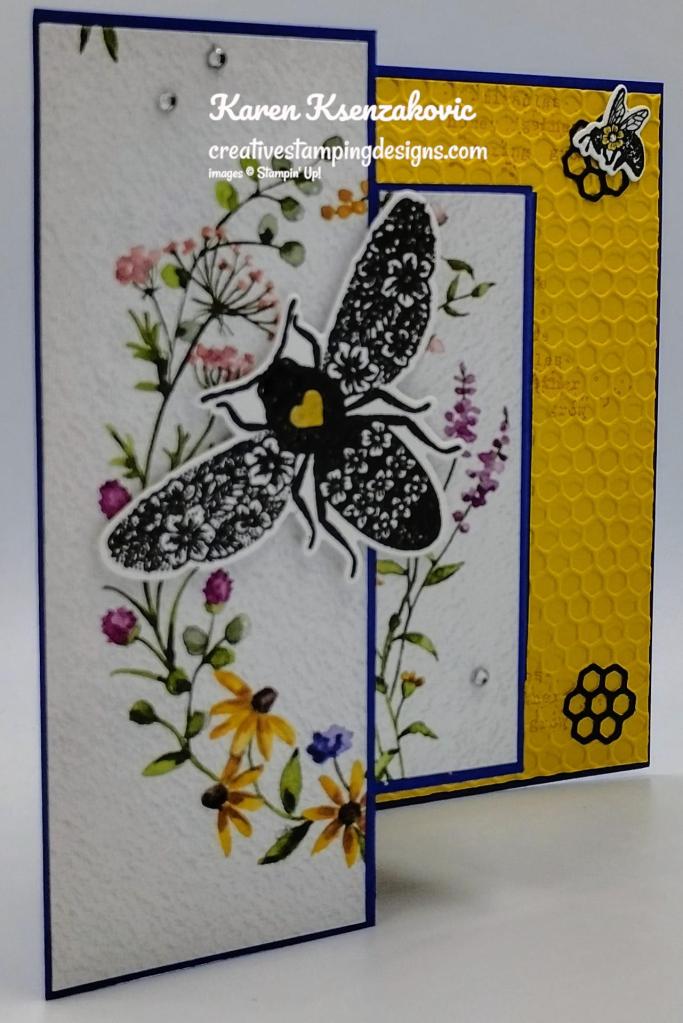
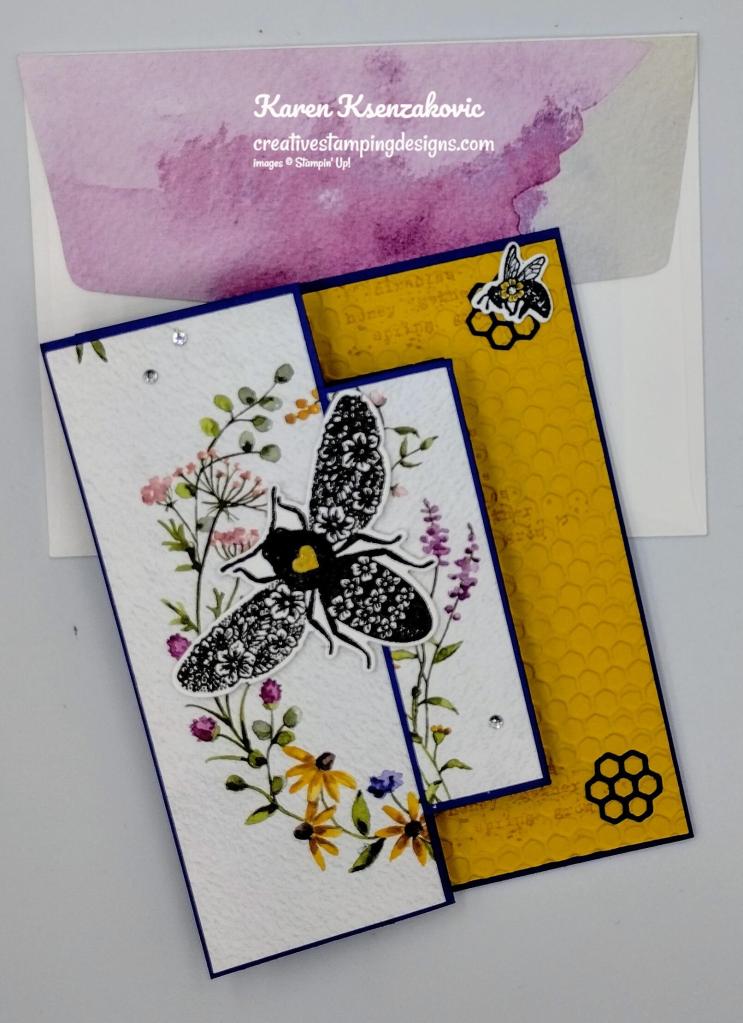
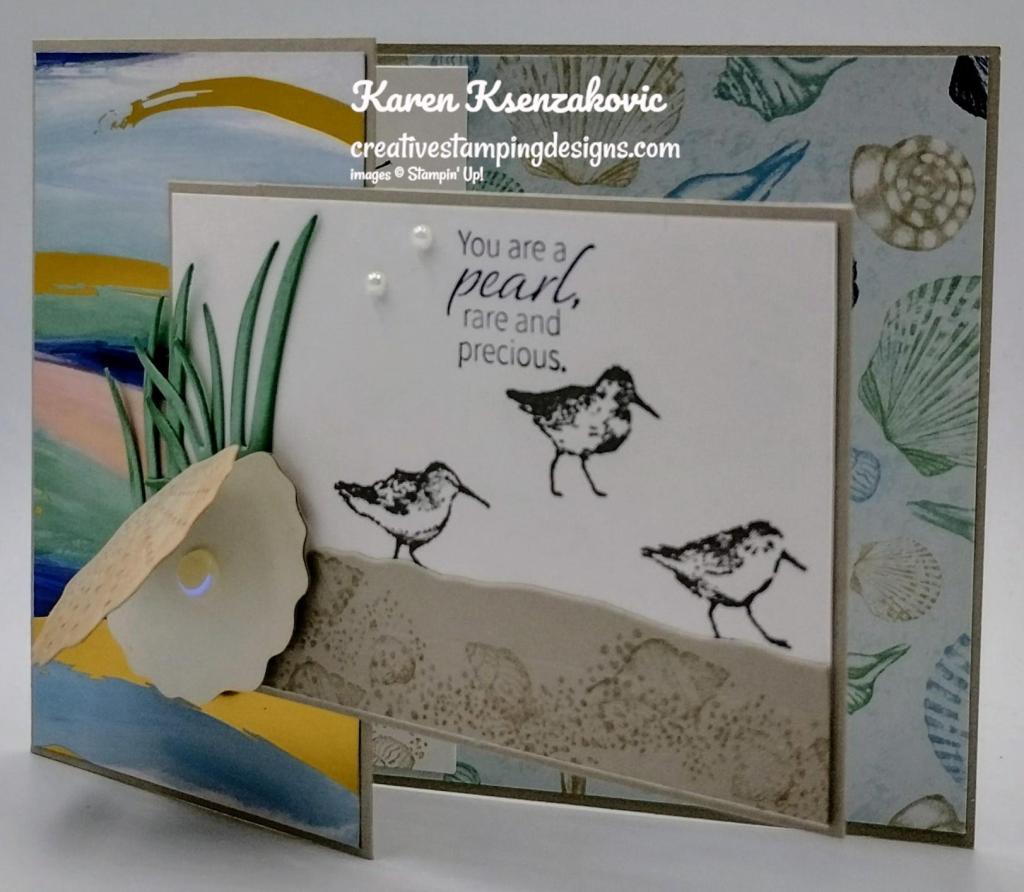
Today’s card I made on my Facebook Live video on Wednesday. If you were able to join me or watched the replay, thank you. If you’d like to watch my video and stamp along, the measurements are below along with the links to my Facebook page and my YouTube channel. Here is my card for today.
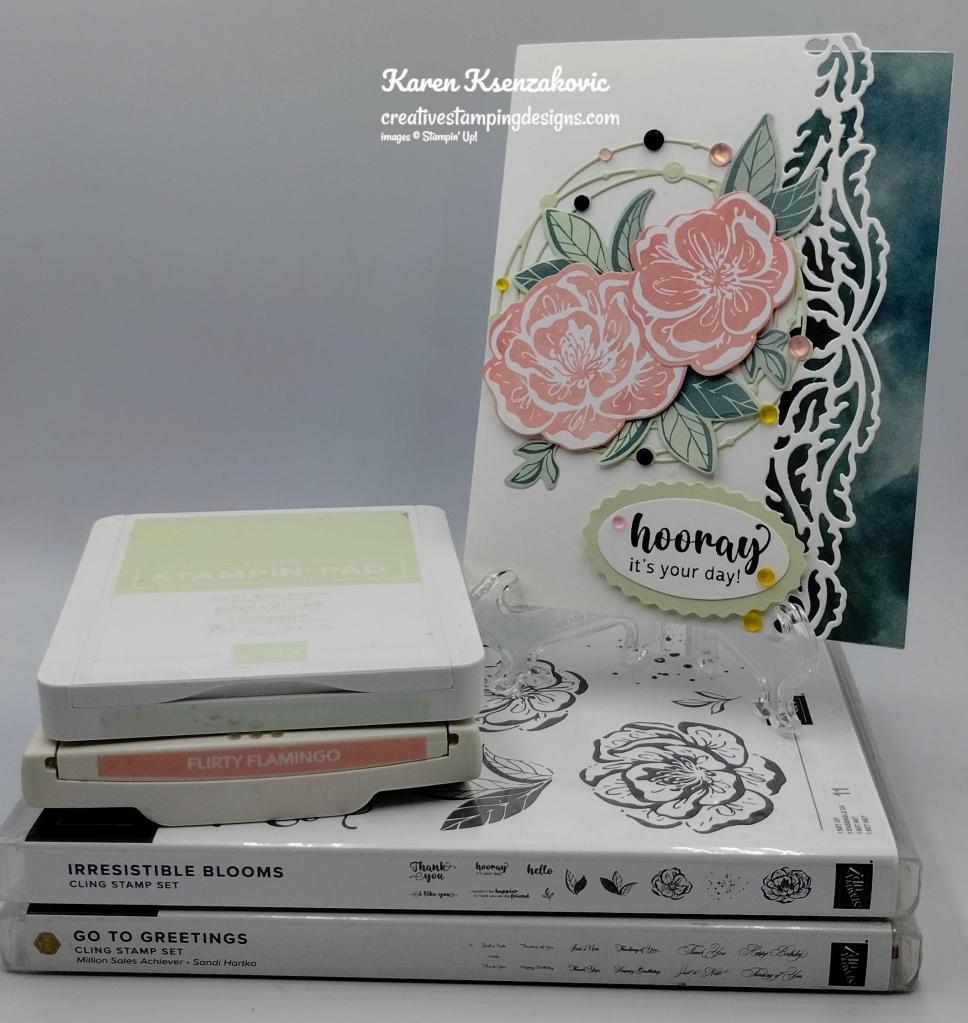
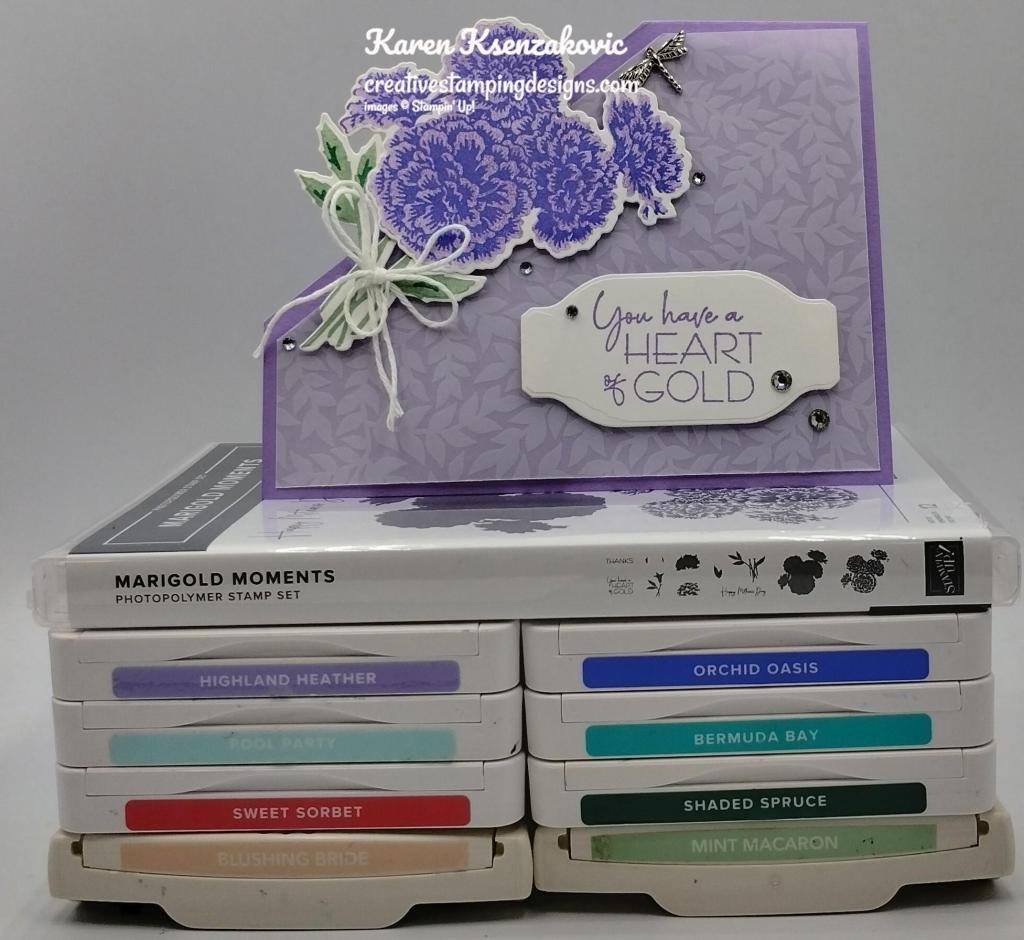
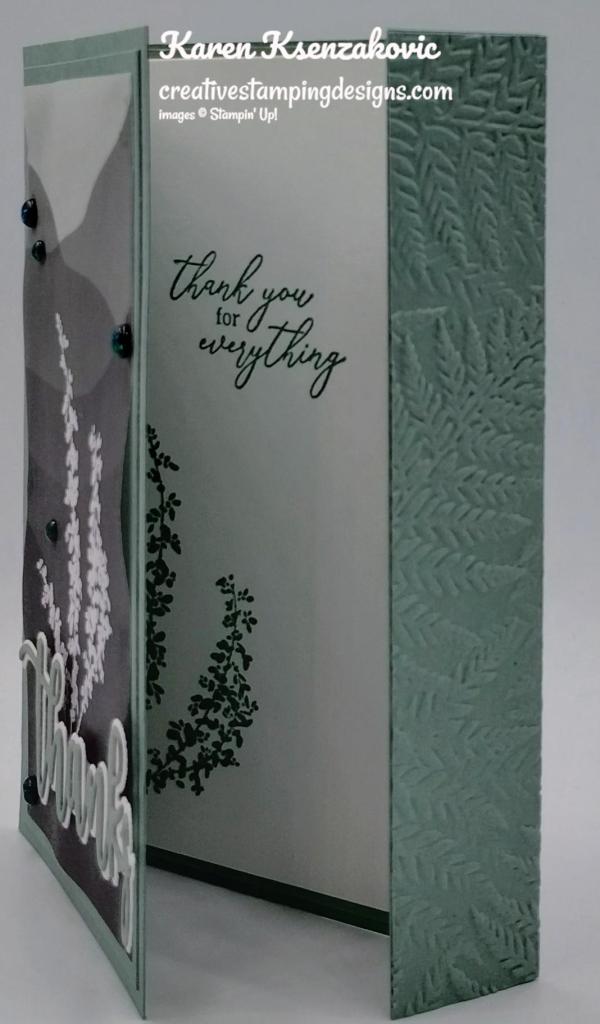
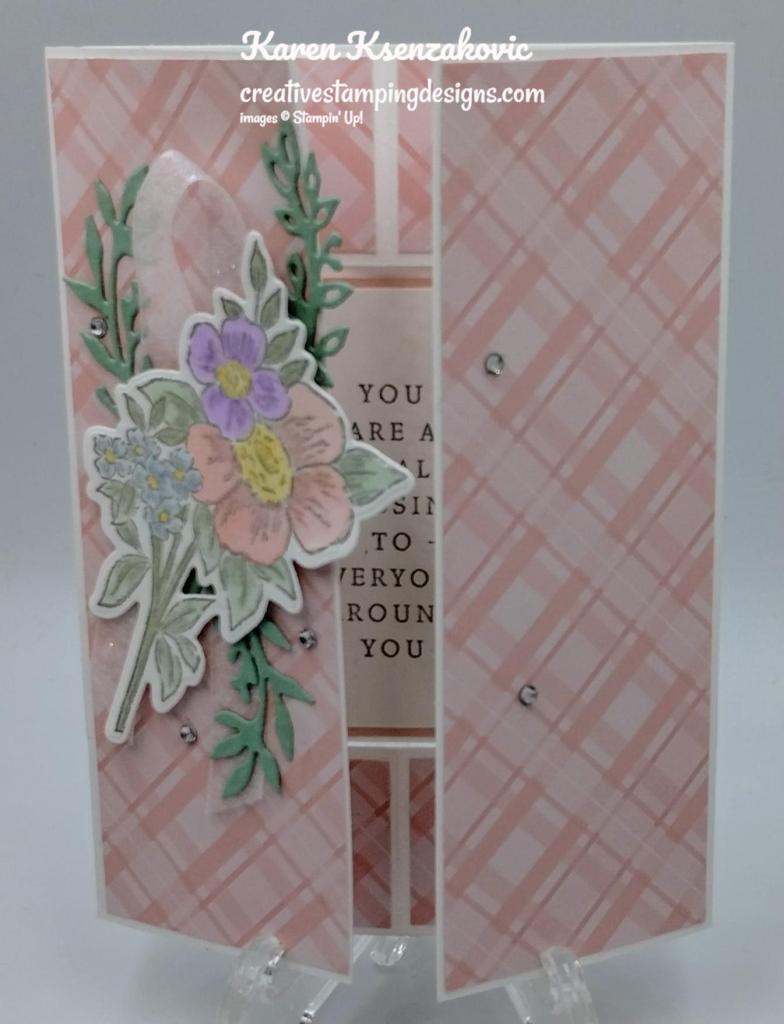
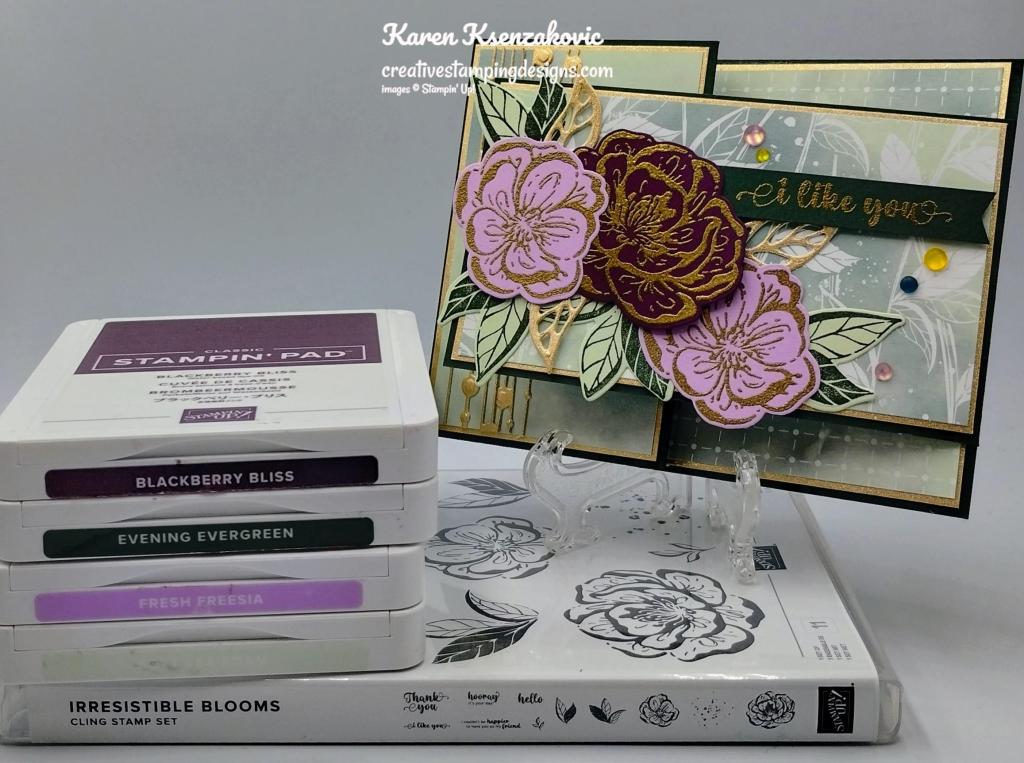
I used the Stampin’ Up! Irresistible Blooms Bundle along with the Stampin’ Up! Go To Greetings Cling Stamp Set, Hello Irresistible 6 X 6 Designer Series Paper and the Elegant Borders Dies for my card today. All the items except for the Go To Greetings set are Online Exclusive products. These items are not and will not be in any of the catalogs, they are only available to see and purchase on the Online Store.

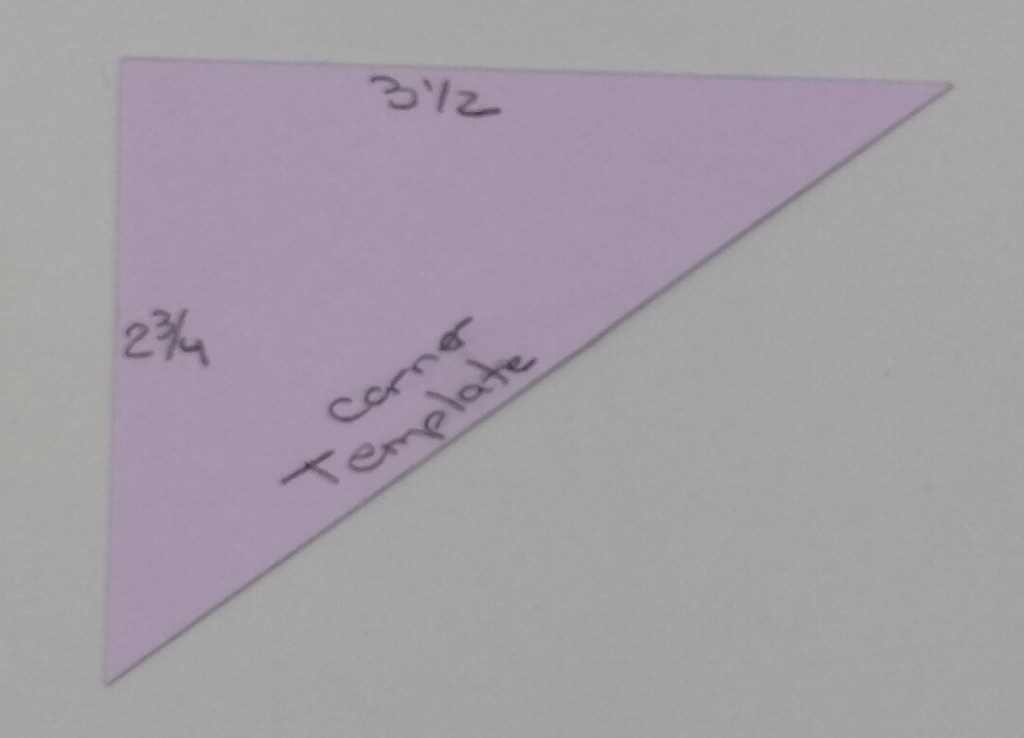
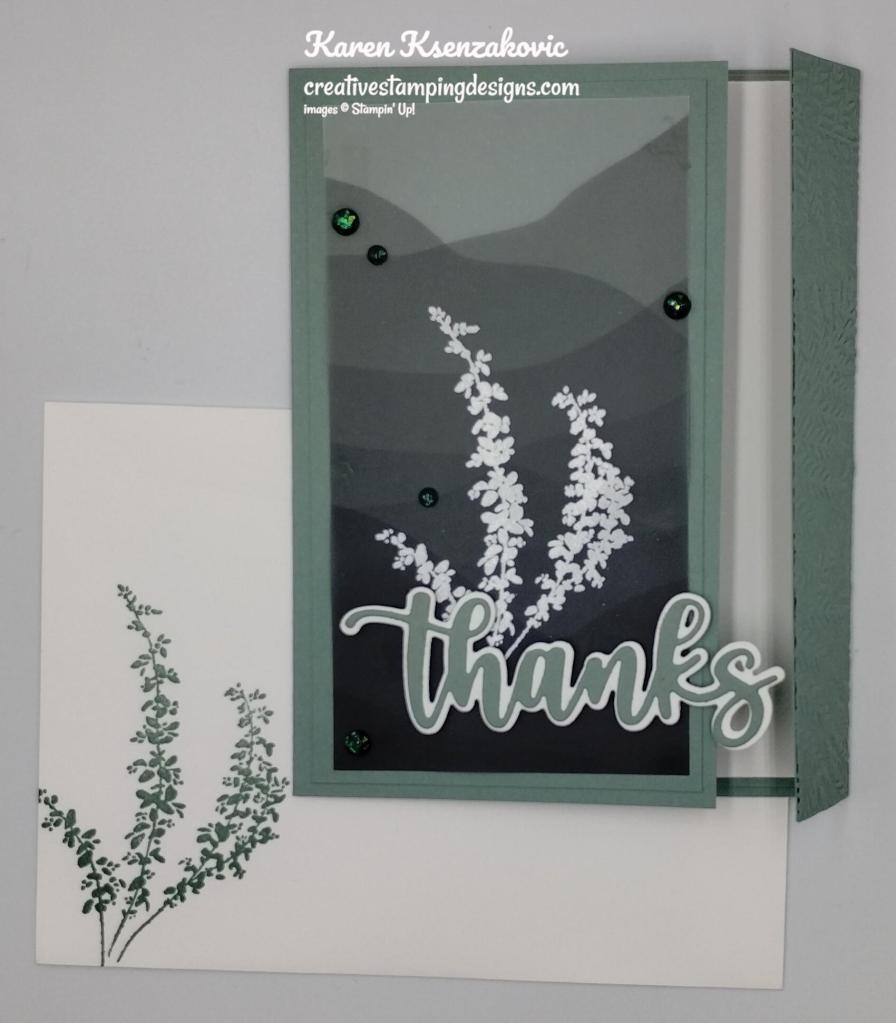
I started with a Thick Basic White card base and cut the front of the card base using one of the Elegant Borders Dies. I cut the dotted circle die from the Irresistible Blooms Dies from a panel of Soft Sea Foam cardstock. I adhered the dotted circle to the front of the card base using small amounts of Multipurpose Liquid Glue.

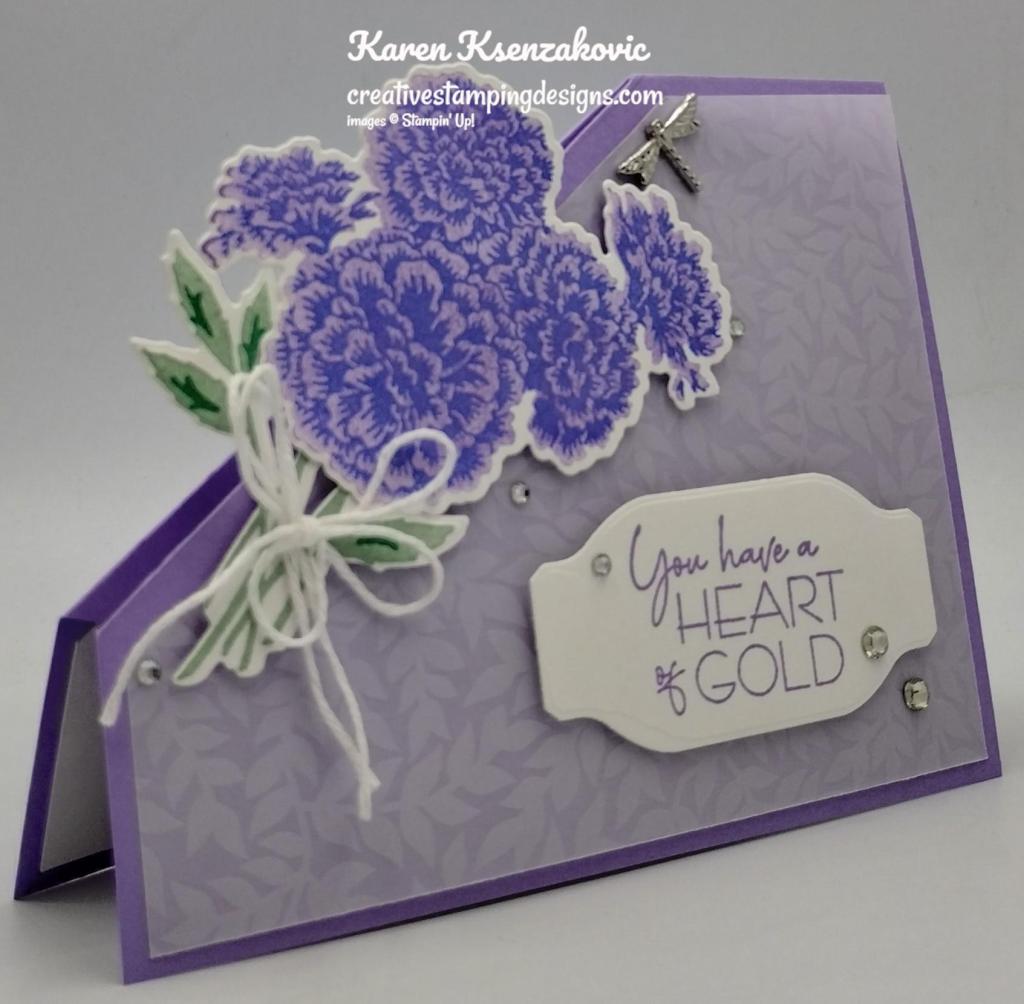
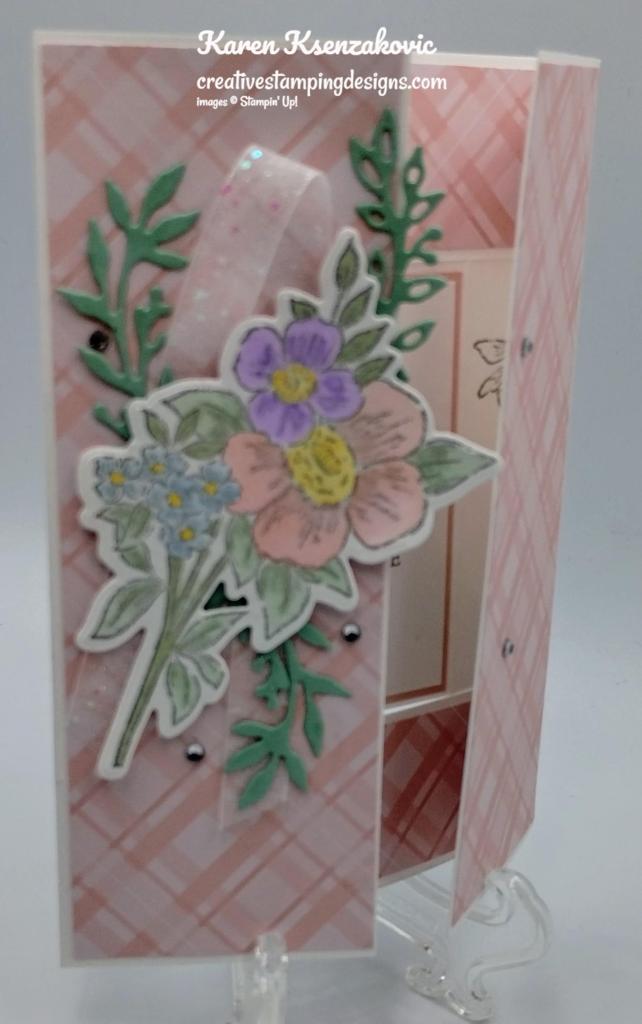
Using the Irresistible Blooms Dies, I cut the flowers and leaves from panels of Hello Irresistible DSP. I adhered the flowers to the card front using Stampin’ Dimensionals. I adhered the leaves under the flowers using Multipurpose Liquid Glue.
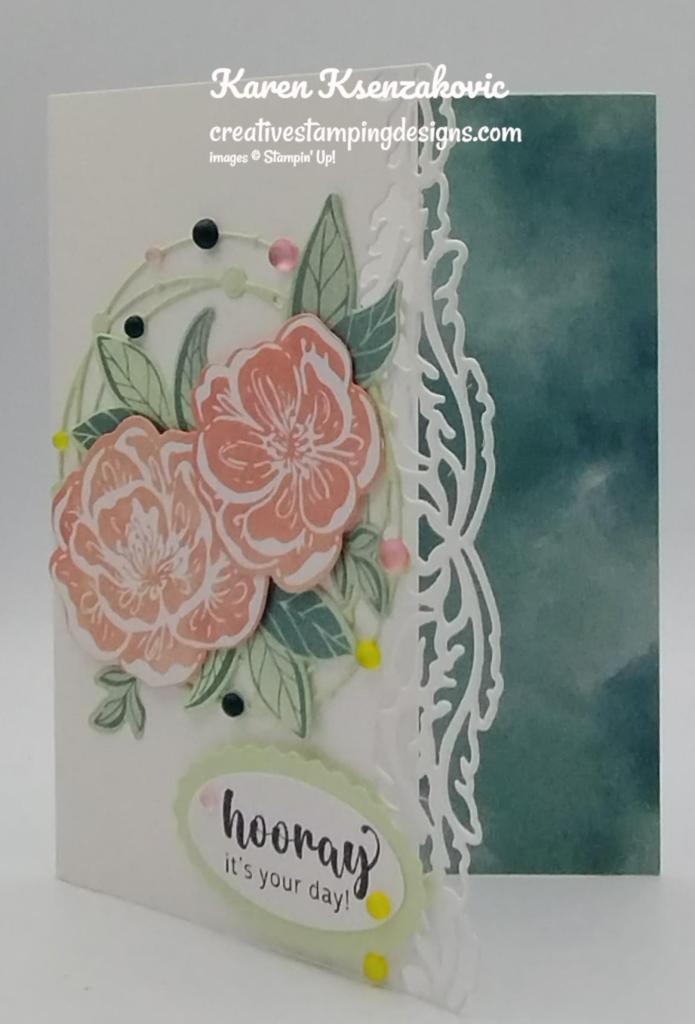
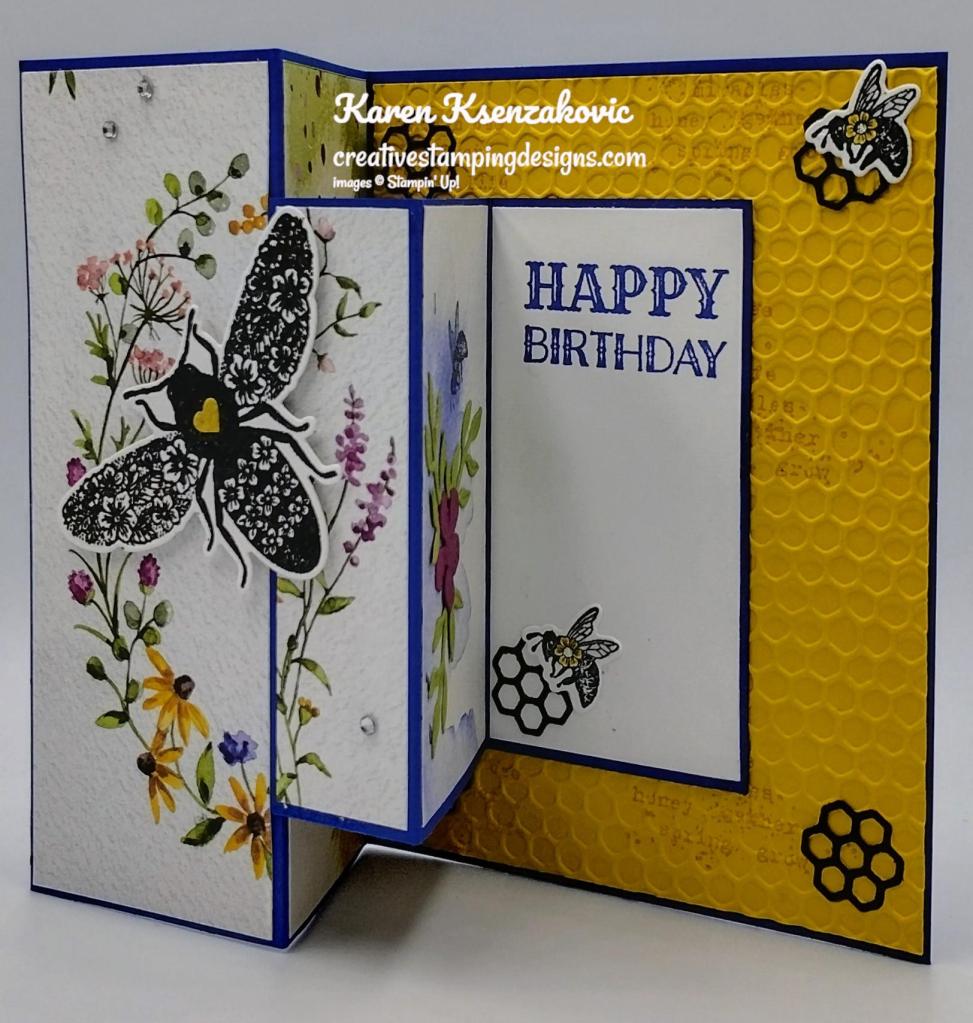
I stamped the sentiment from the Stampin’ Up! Irresistible Blooms Cling Stamp Set on a panel of Basic White cardstock in Tuxedo Black Ink. I cut the sentiment out using the Double Oval Punch. From a panel of Soft Sea Foam cardstock, I punched out the scalloped oval using the Double Oval Punch. I adhered the sentiment to the scalloped oval using Stampin’ Seal. I adhered the sentiment to the card front using Stampin’ Dimensionals. I added Loose Frosted Dots using tiny amounts of Multipurpose Liquid Glue.
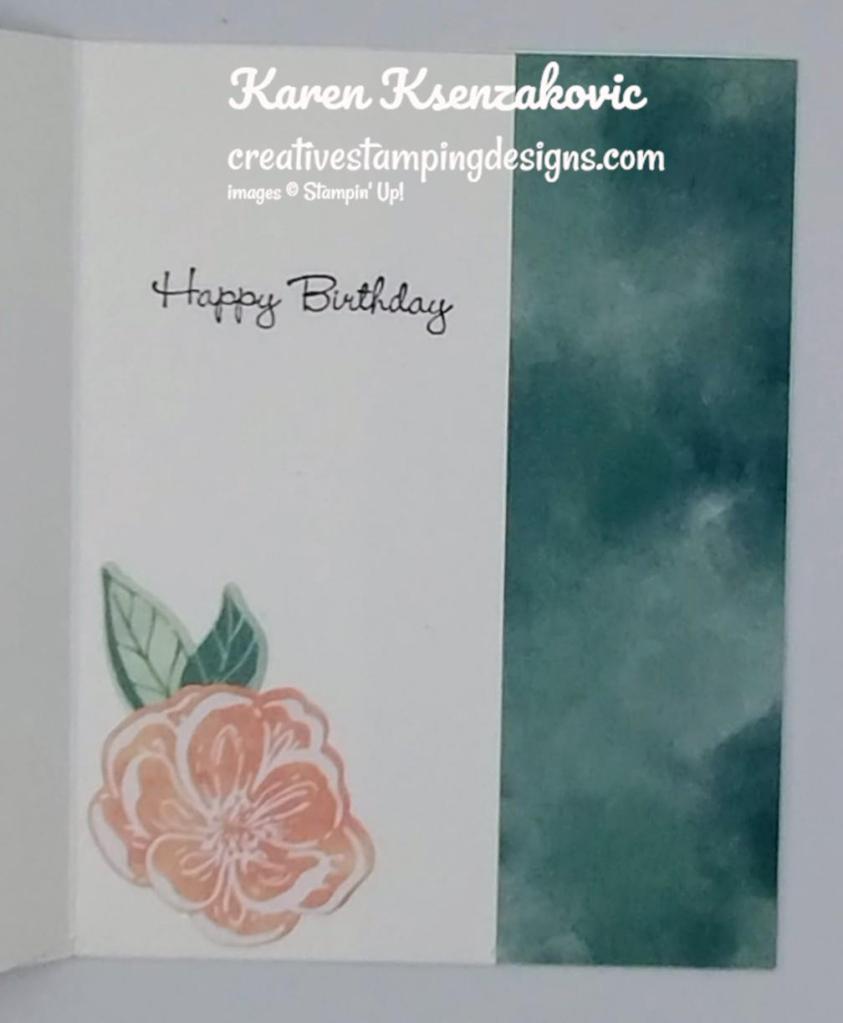
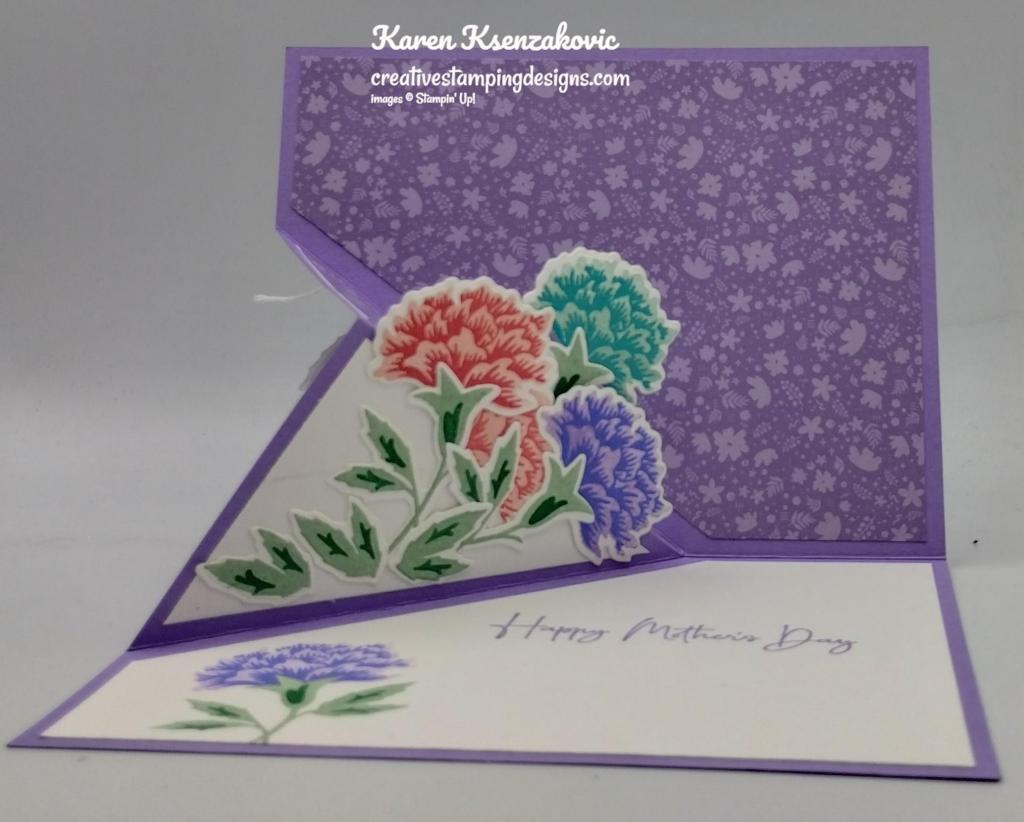
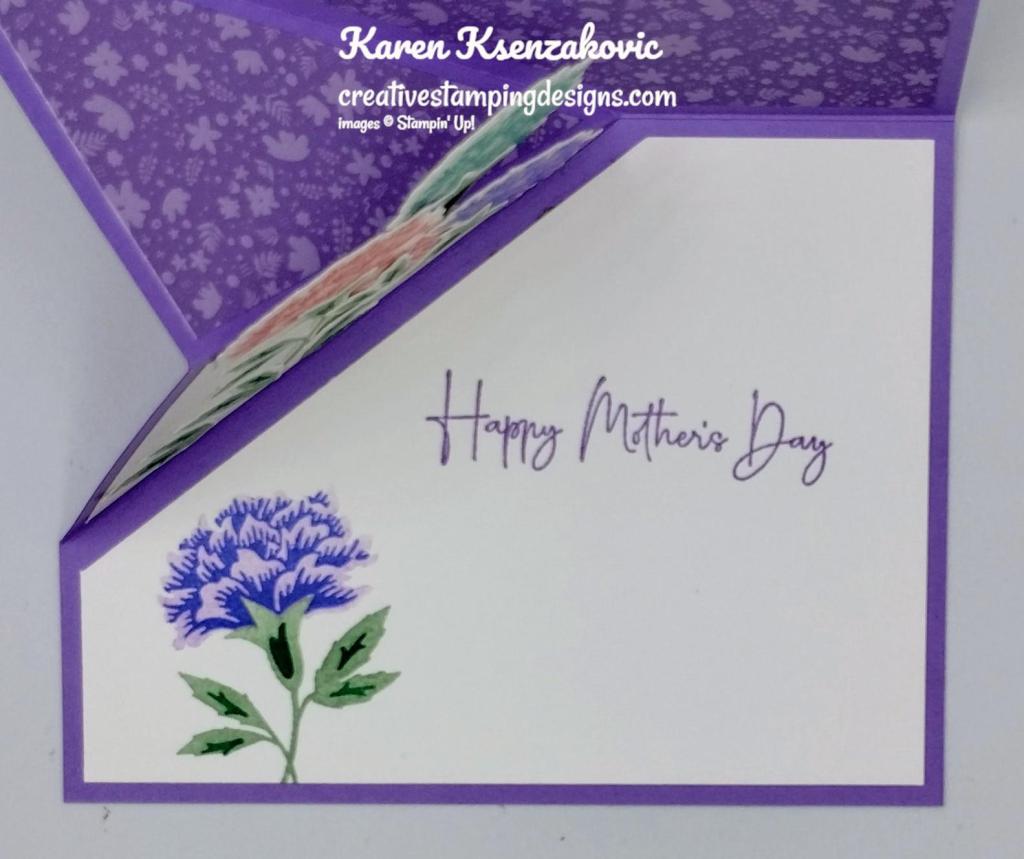
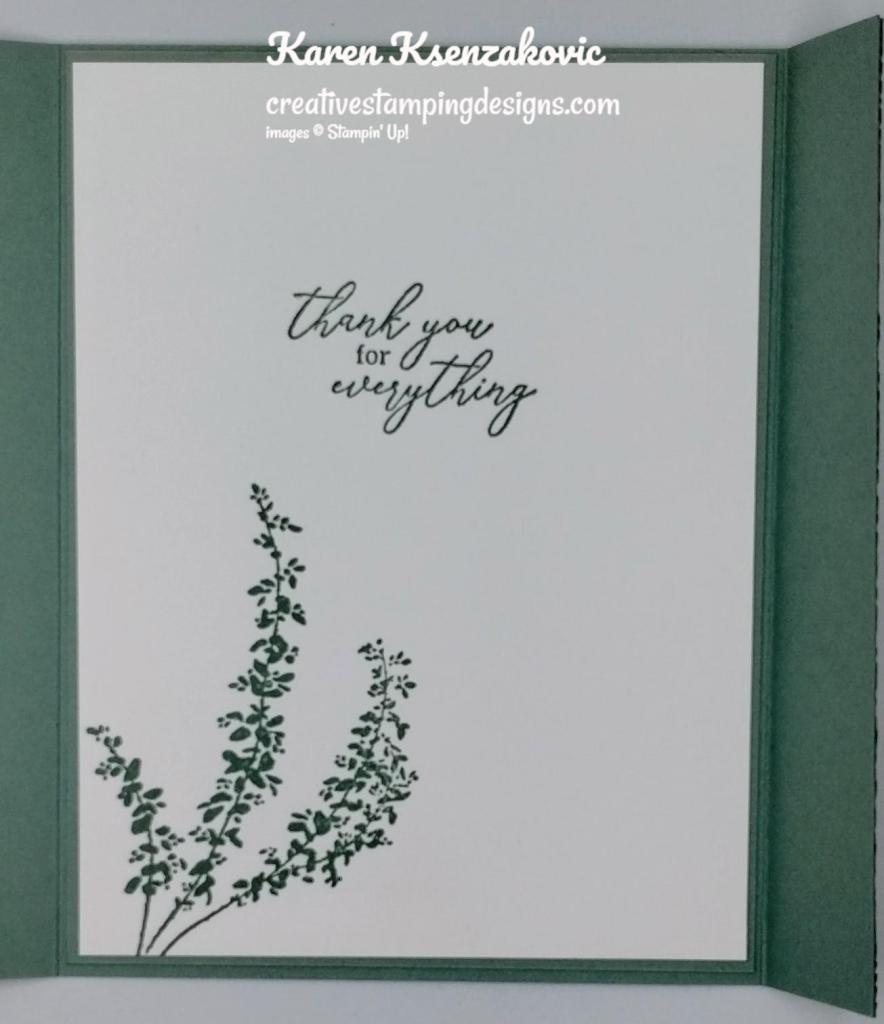
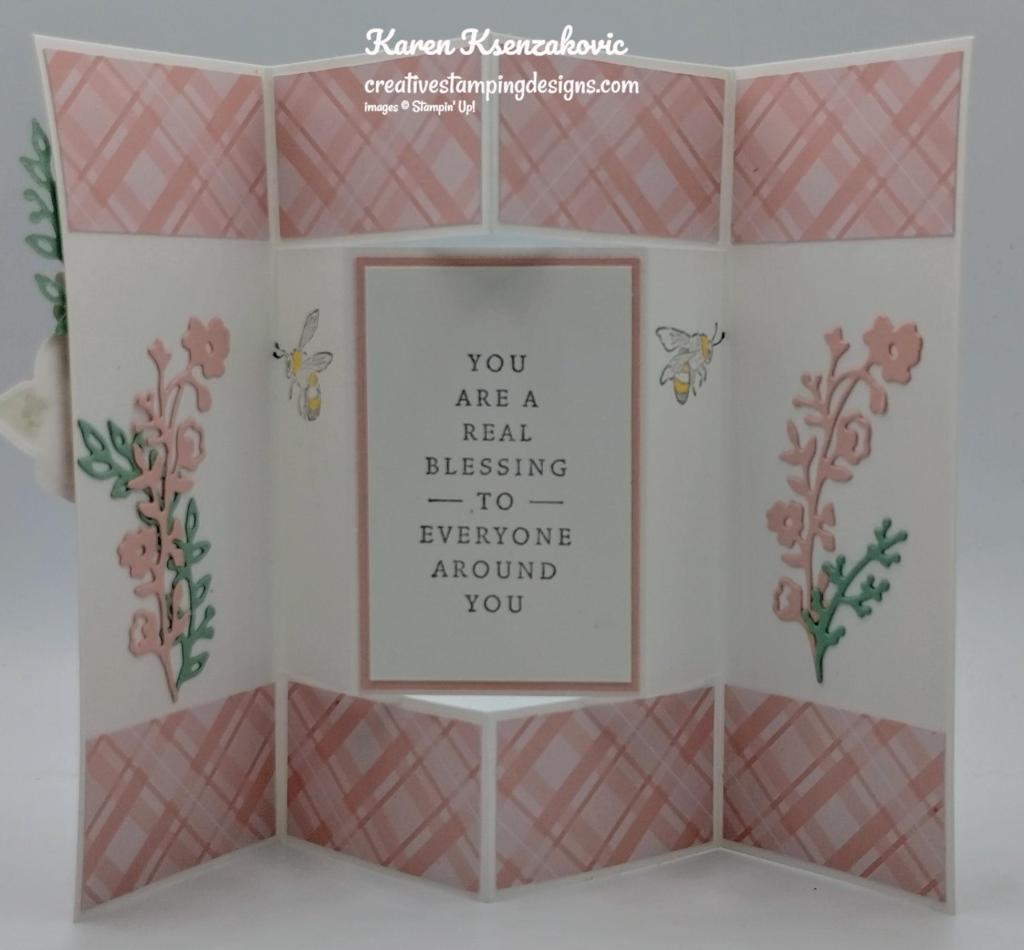
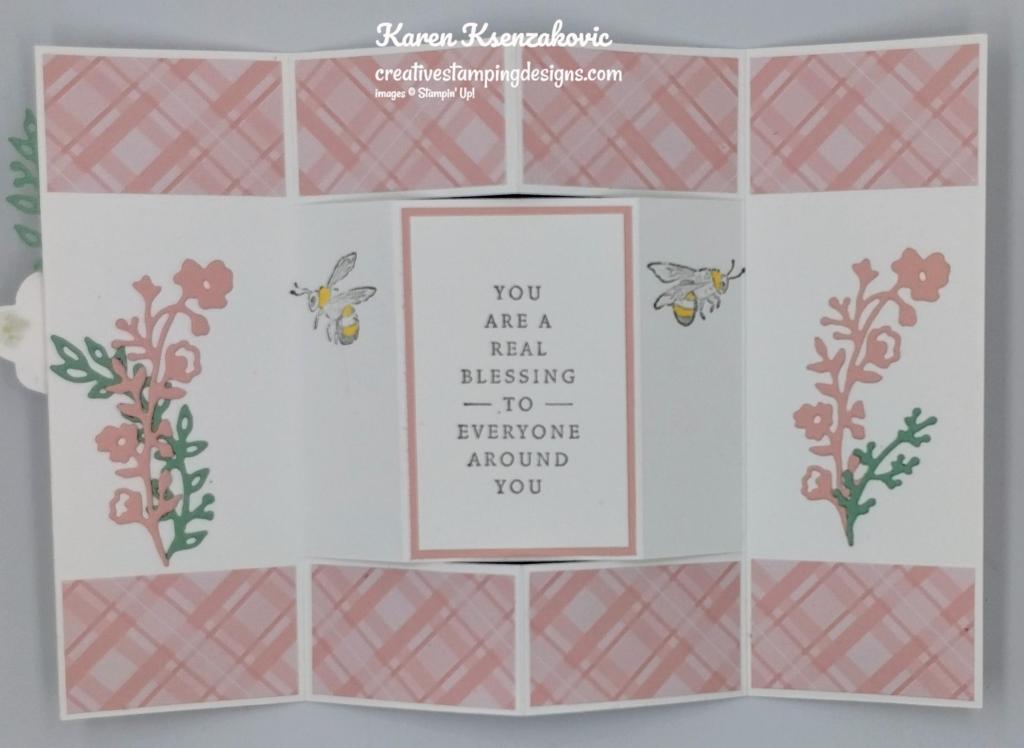
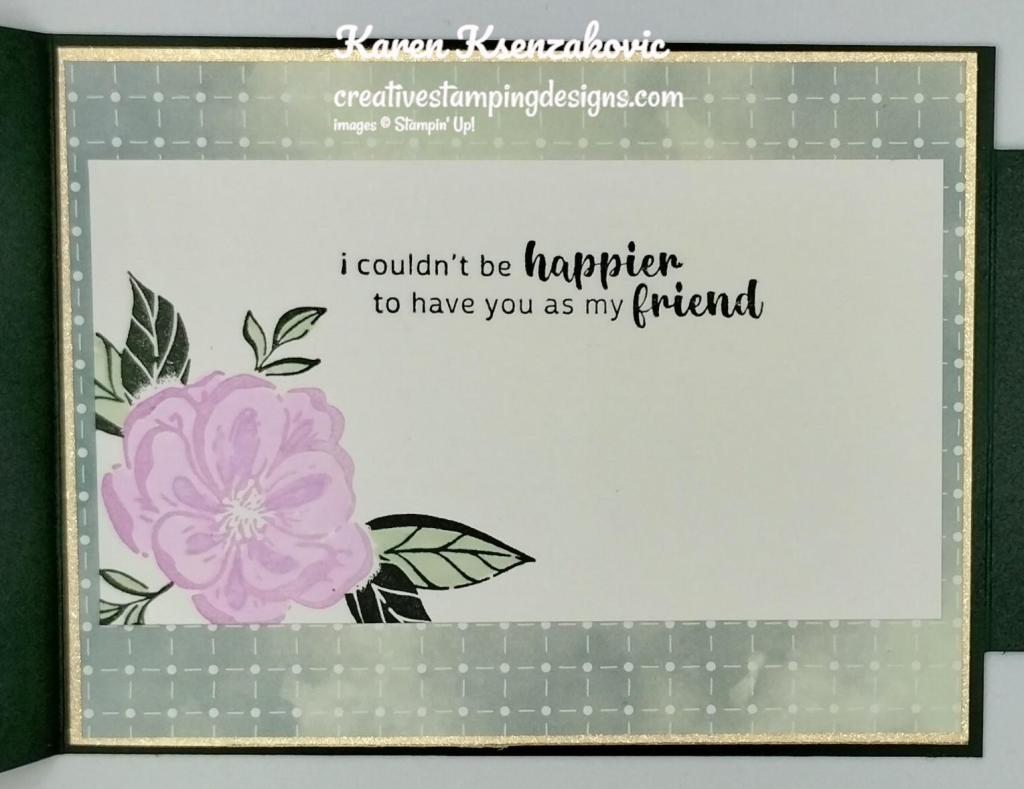
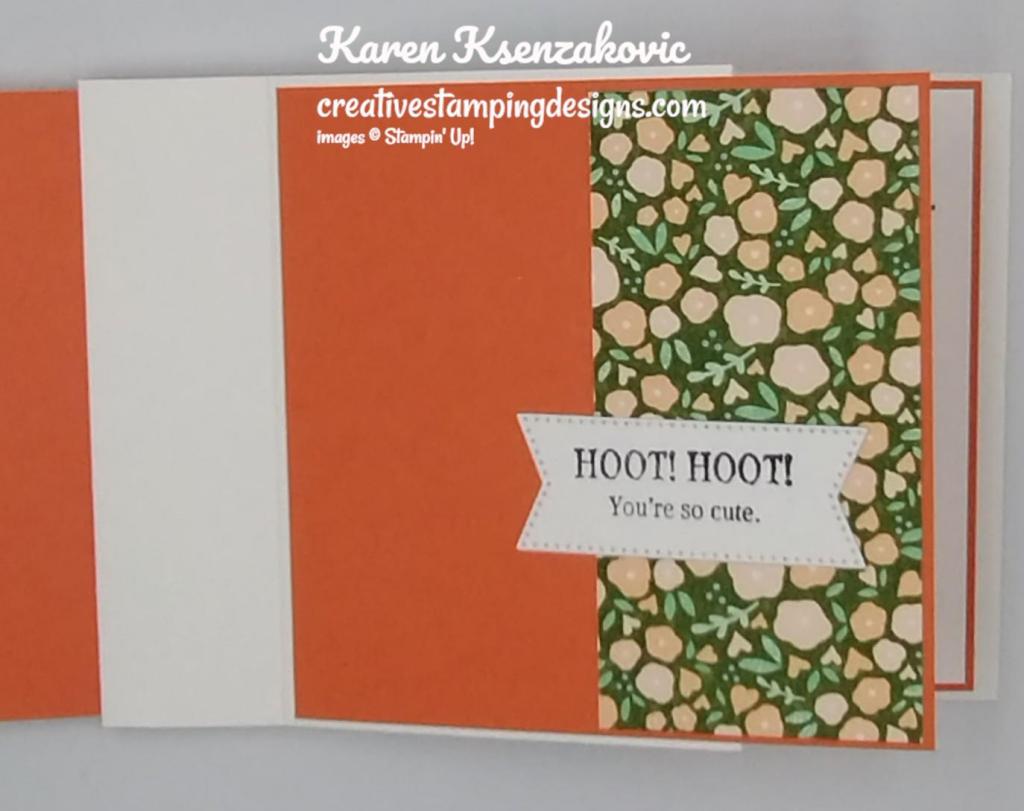
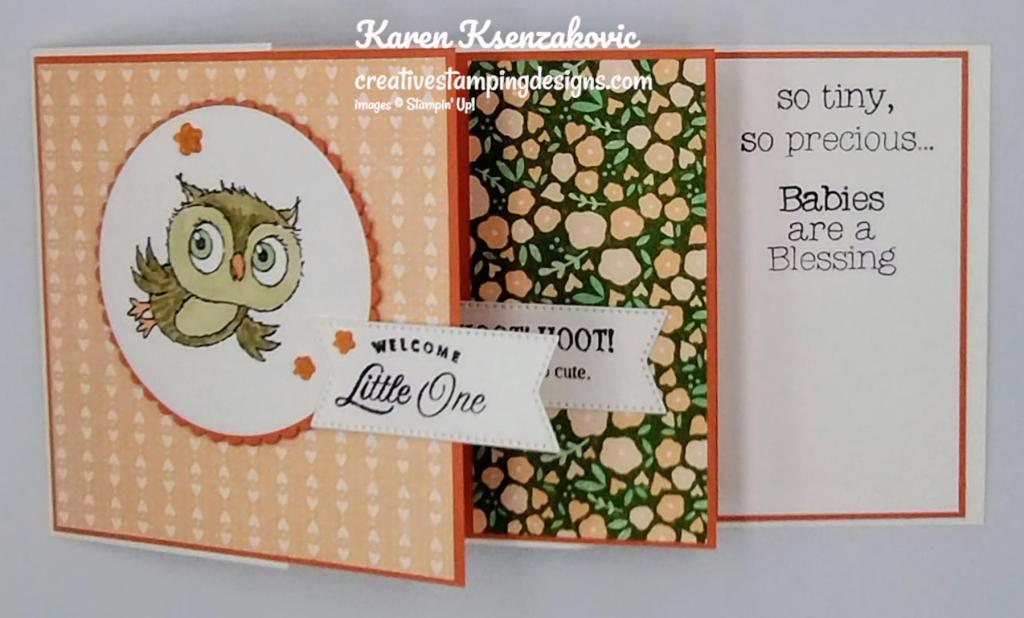
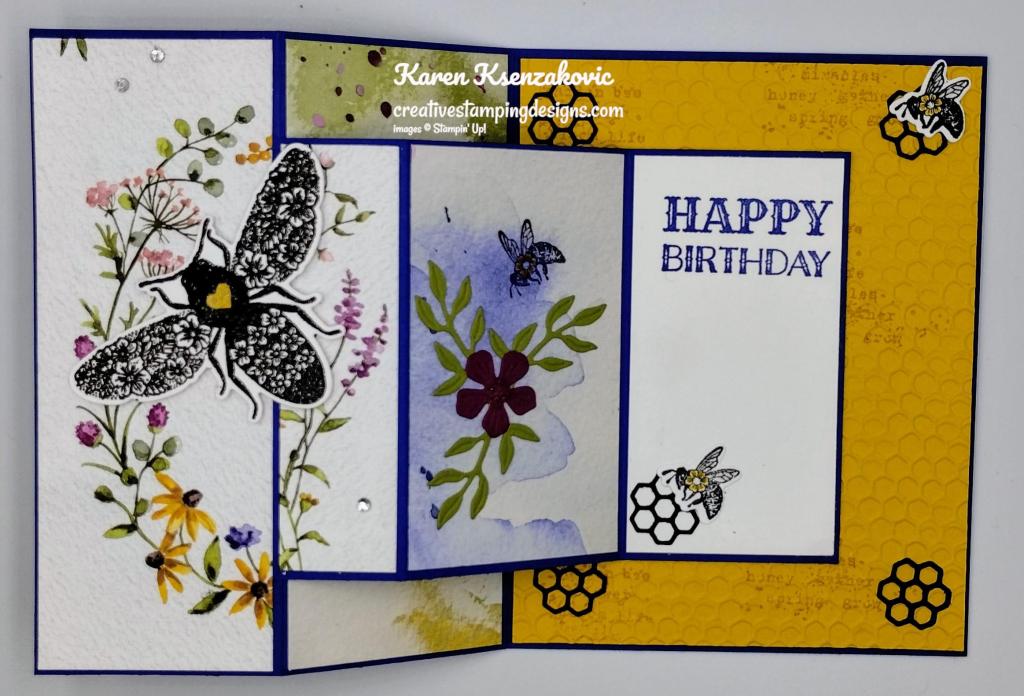
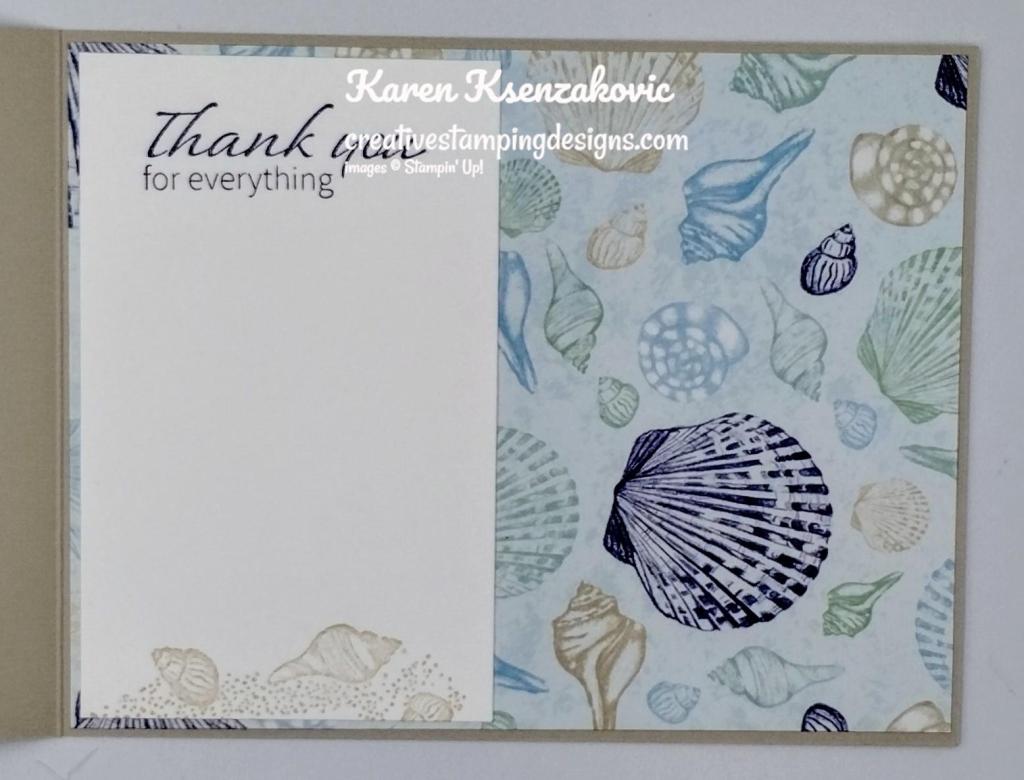
On the inside right of the card base I adhered a panel of Hello Irresistible DSP. On a panel of Basic White cardstock, I stamped the sentiment from the Go To Greetings stamp set in Tuxedo Black Ink. I adhered another die cut flower and leave from the Hello Irresistible DSP to the bottom of the panel using Multipurpose Liquid Glue. I adhered the Basic White panel to the inside of the Thick Basic White card base.

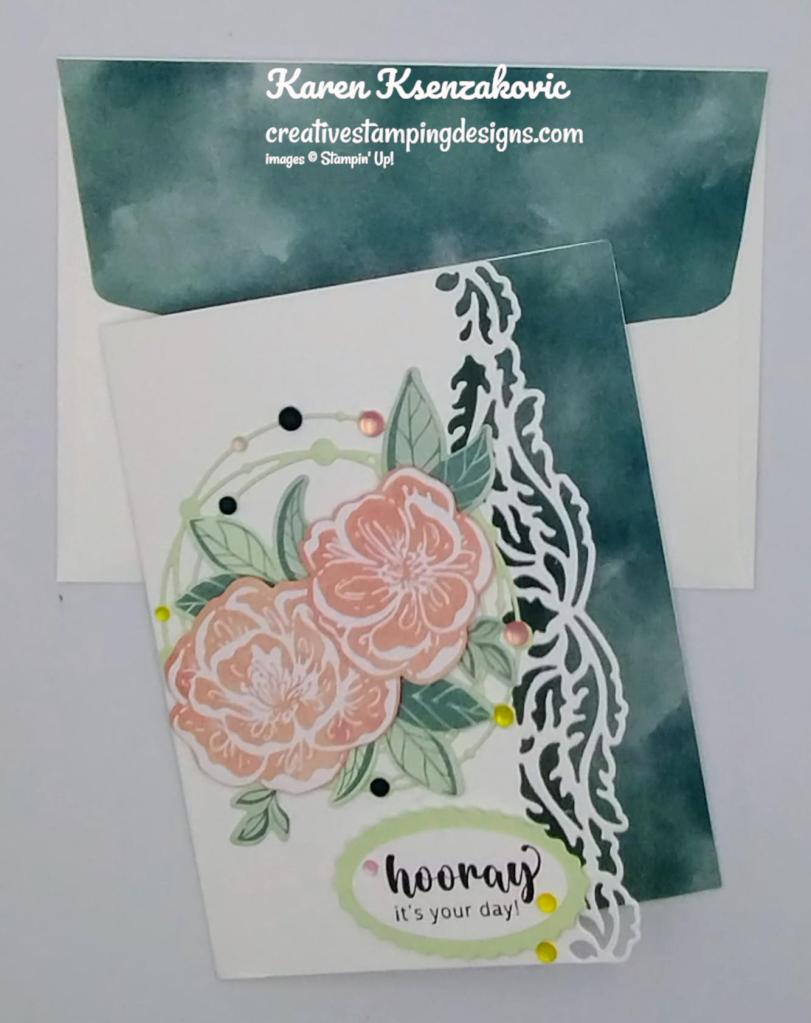
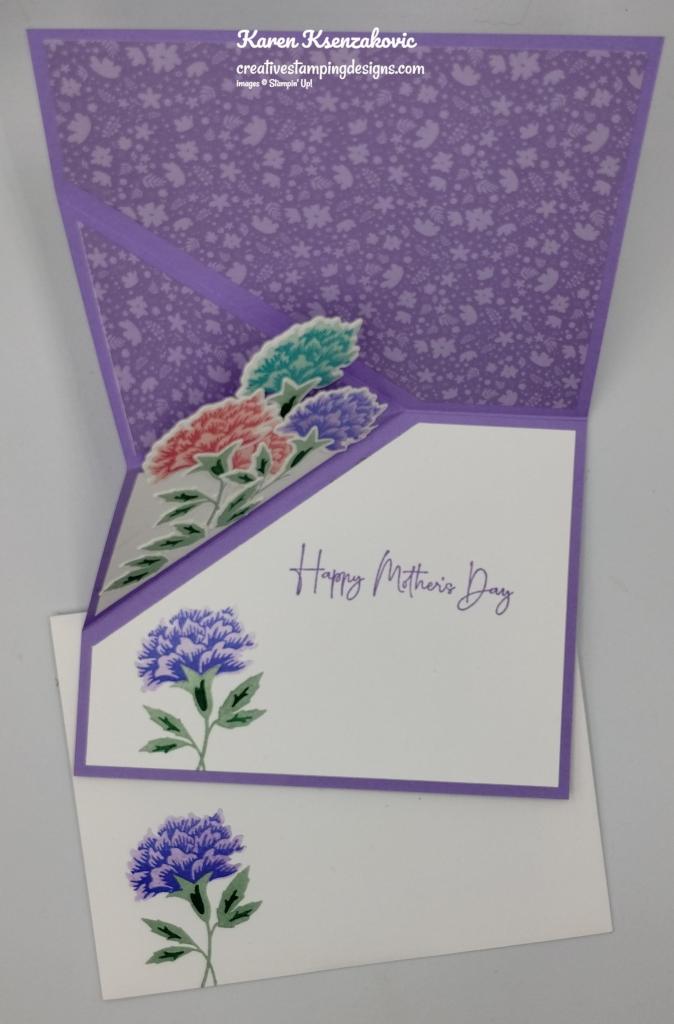
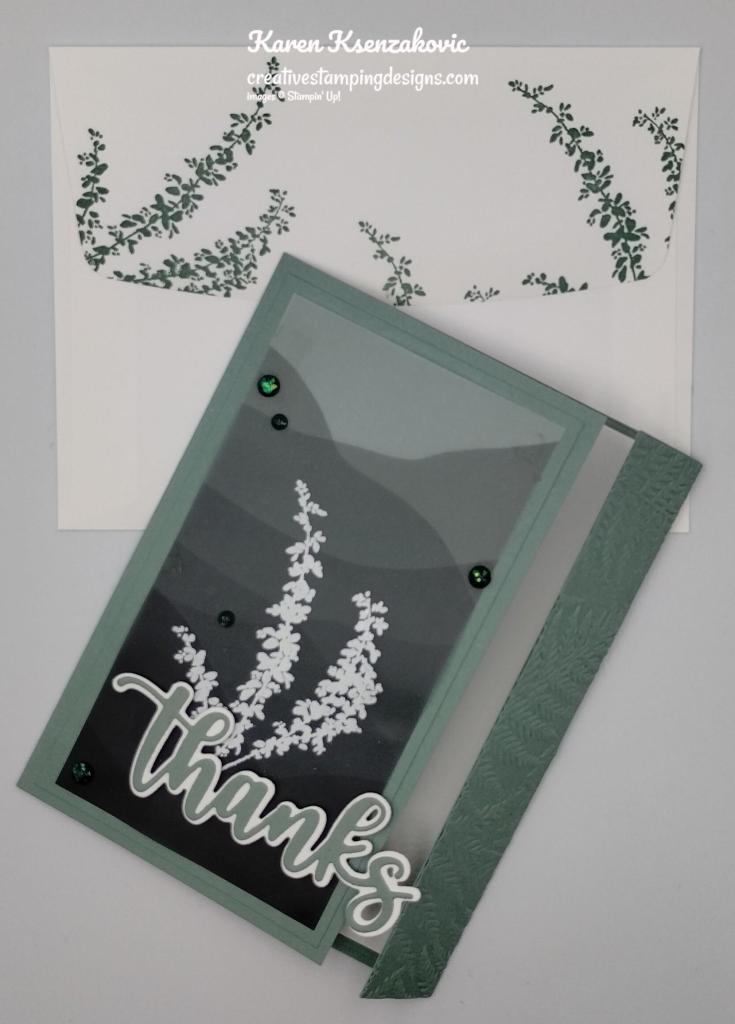
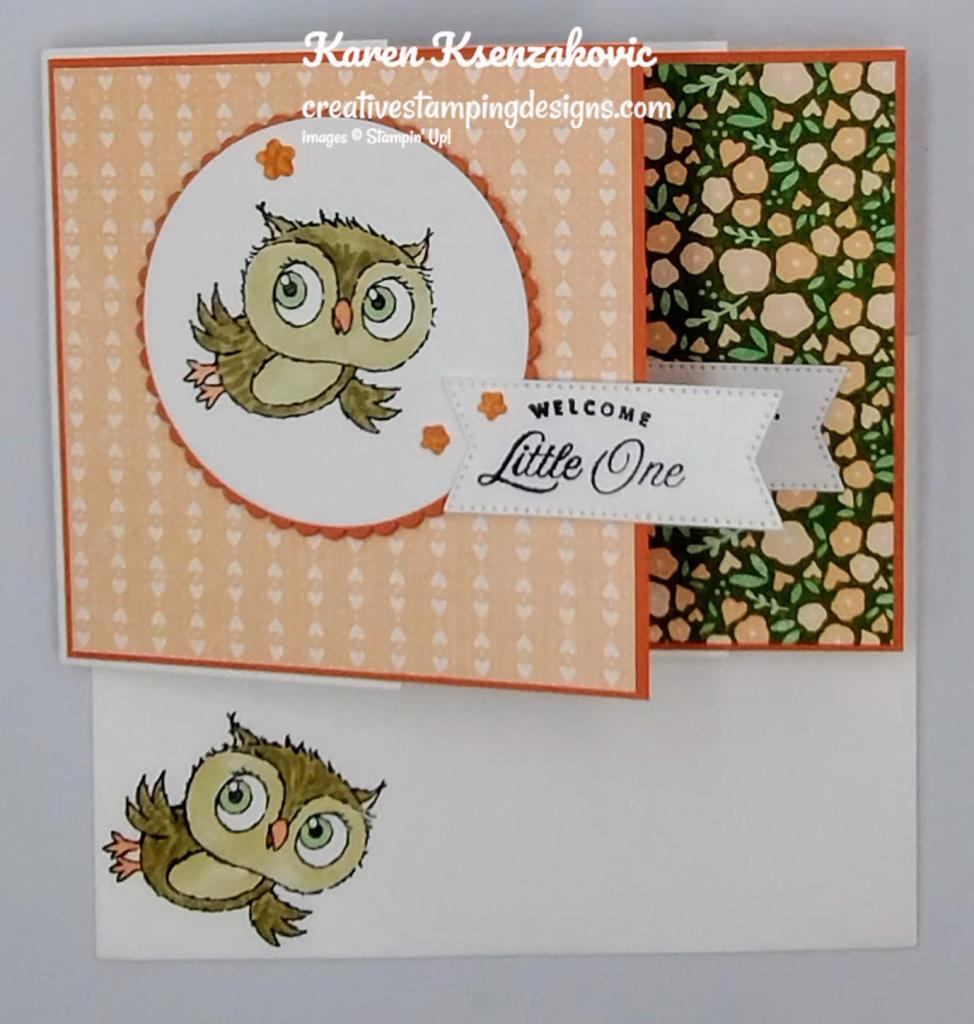
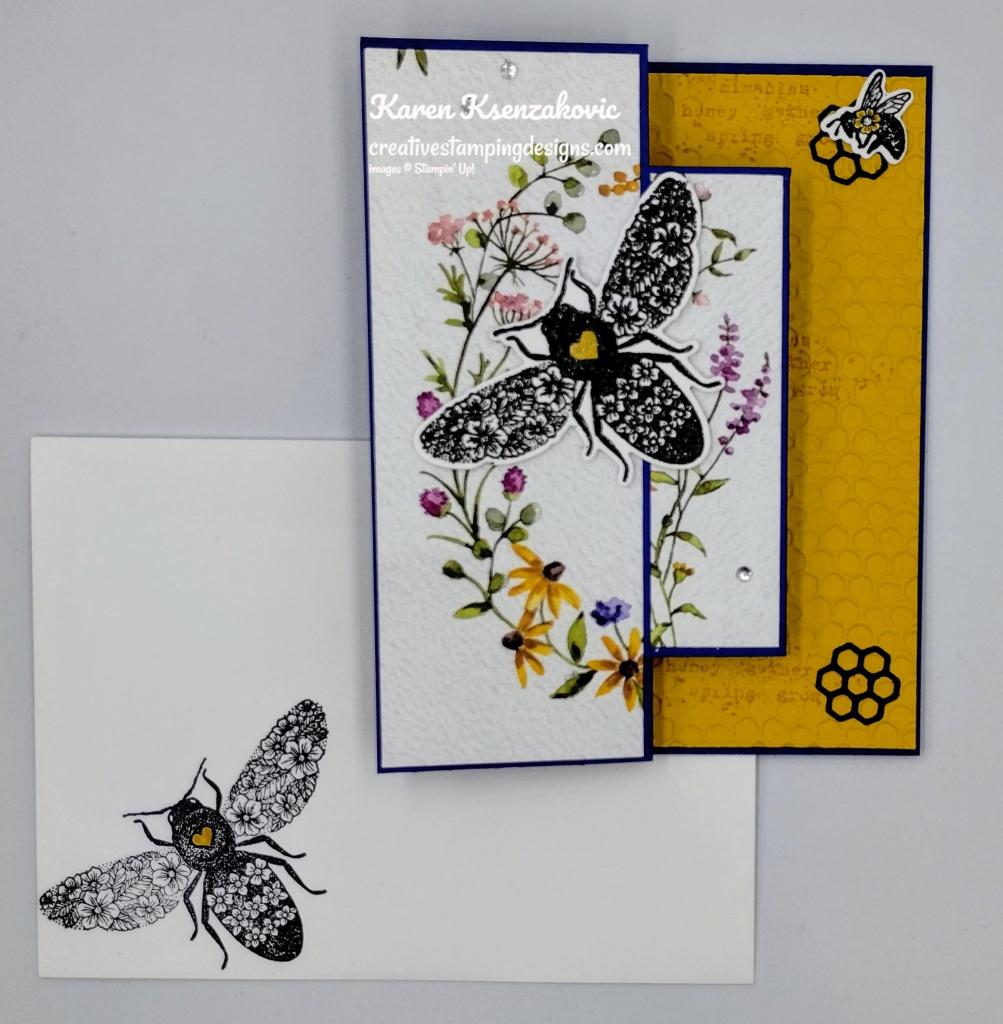
To finish my card, I decorated a Basic White Medium Envelope. I stamped the larger flower image from the Irresistible Blooms stamp set in Flirty Flamingo Ink on the envelope front. I stamped the leaf images from the Irresistible Bloom stamp set in Soft Sea Foam Ink by the flower. I adhered a panel of Hello Irresistible DSP to the envelope flap.
Thank you for stopping by my blog today. I hope you liked my card and will give it a try. I hope you will CASE this card and please feel free to post it in the comments of my Facebook page under my post. I’d love to see your take on the card. The list of measurements are below if you’d like to stamp along while watching the video. You can watch my video on my Facebook page Here.
You can also view the video on my YouTube channel Here. If you watch this on my YouTube channel, please remember to subscribe so that you will get notified when a new video goes live. I’m hoping to start doing YouTube lives soon, thanks to all that have subscribed. Happy Stamping!!
*********************************************************************************************************
If you need any stamping supplies, I’d love to be your Demonstrator. Just click HERE to go directly to my online store or drop me an email if you have any questions.
MY CURRENT HOST CODE IS: 7KF3QB4G
Use this host code when placing an order with me. When you order $50 or greater you will receive a free gift from me! If your order is over $150, please do not use this code, but you’ll still get the free gift. The free gift is your choice of any 1 item valued up to $10.00 from the 2022-2023 Annual Catalog or the January-April 2023 Mini Catalog! Unfortunately, packs of cardstock are no longer an option for a free gift. Shipping has become too expensive to ship and it’s costing me as much to ship as the cardstock costs. For any orders $50 or more I will also send you my monthly class tutorials. Click HERE or go to my Customer Rewards for more details and to see what this month’s tutorials are.
Please remember to use my current Host Code and make sure that you can see my name on the final checkout page listed as your Demonstrator when you order so that you know that you’re ordering with me, and you’ll get my rewards!
Happy Stamping, Karen
*********************************************************************************************************
In response to changing policies at Stampin’ Up – I’m adjusting my Ordering Gift policy as well. I’m having to get a little more tough on the adding of Host codes when you place your order thru my Online Store.
Not to worry – you’re still going to get that $10 ordering gift for orders of $50 (before shipping & tax) or greater. And the gift is still any 1 SU! product up to that $10 value – which includes some of our fun Host Sets!
But – if you DO NOT use the Host code for your orders of less than $150 (this is the RETAIL total before Shipping & Handling), then you’ll have two options:
- You’ll need to call Stampin’ Up! (1-800-Stamp-Up) and ask them to add it for you. They’re very helpful and will get it done quickly! OR….
- If your order was over the $50 threshold but under $150, then…you’ll forfeit that $10 ordering gift and rewards – this is the Bummer Option – and I REALLY don’t want to do this, SO please remember to add my Current Host Code.
*********************************************************************************************************
Retirement List Updated

I’ve updated my retirement list. Did you miss out on a Sale-a-bration item that you really wanted. Visit my Retirement Sale List Here.
*********************************************************************************************************
Online Exclusives Now Available

Now available Stampin’ Up! Online Exclusive Products. Click Here for a printable PDF flyer with the items that will be available. There is so much more than what is on the flyer though. You’ll want to go to my Online Store to see it all.
*********************************************************************************************************
The Colorful Kaleidoscope Kit Now Available
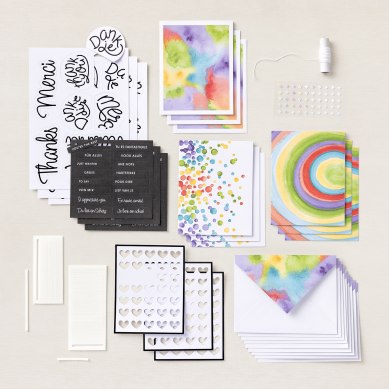
Get ready for the latest addition to the Kits Collection by Stampin’ Up! The Colorful Kaleidoscope Kit is filled with geometric shapes and unique kaleidoscopic patterns. It’s time to give a card that no one will forget!
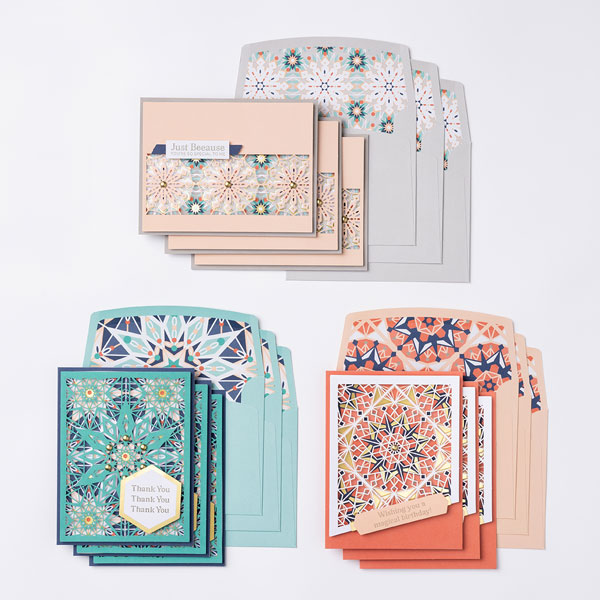
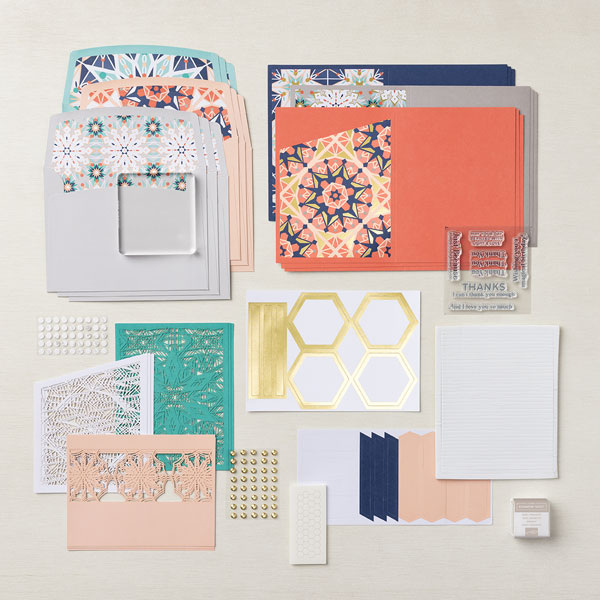
This kit includes:
- 9 full-size cards, 3 each of 3 designs, measuring 4-1/4″ x 5-1/2″ (10.8 x 14 cm) and 9 coordinating envelopes.
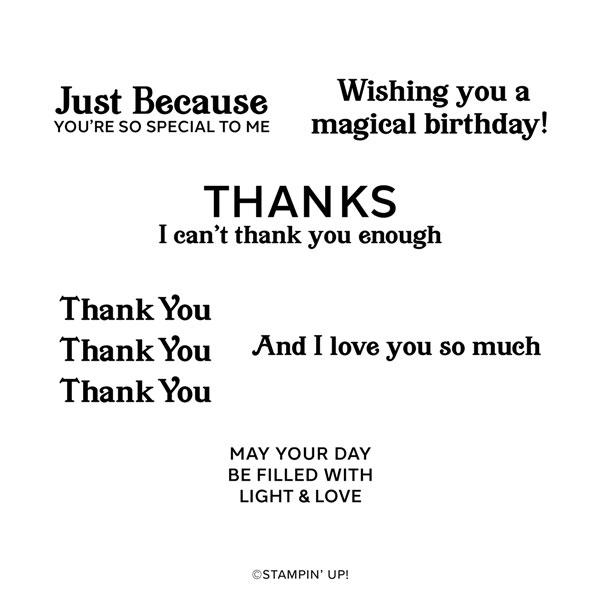
- One photopolymer stamp set with all-occasion sentiments that go beyond the basics.
- One Gray Granite Stampin’ Spot.
- 9 peek-through laser cuts that can easily be layered to create a kaleidoscopic effect.
- Precut die cuts that are lined with gold foil, perfect for all your stamped sentiments.
- Mini Stampin’ Dimensionals, Tear & Tape Adhesive, and Foam Adhesive Strips.
- Gold, pearlized embellishments.
- The coordinating colors are Bermuda Bay, Calypso Coral, Gray Granite, Night of Navy, and Petal Pink.
- Each project takes less than 60 minutes to complete.
Item #161804 $23.00 USD
*********************************************************************************************************
Ten Years Of Growth
Subscribe February 11 – March 10

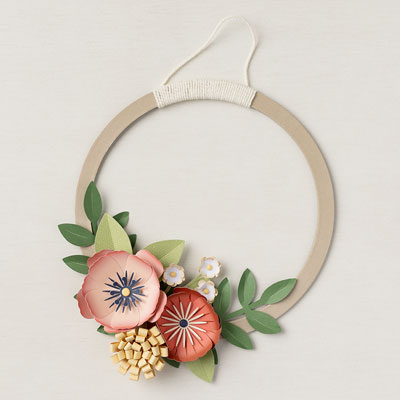
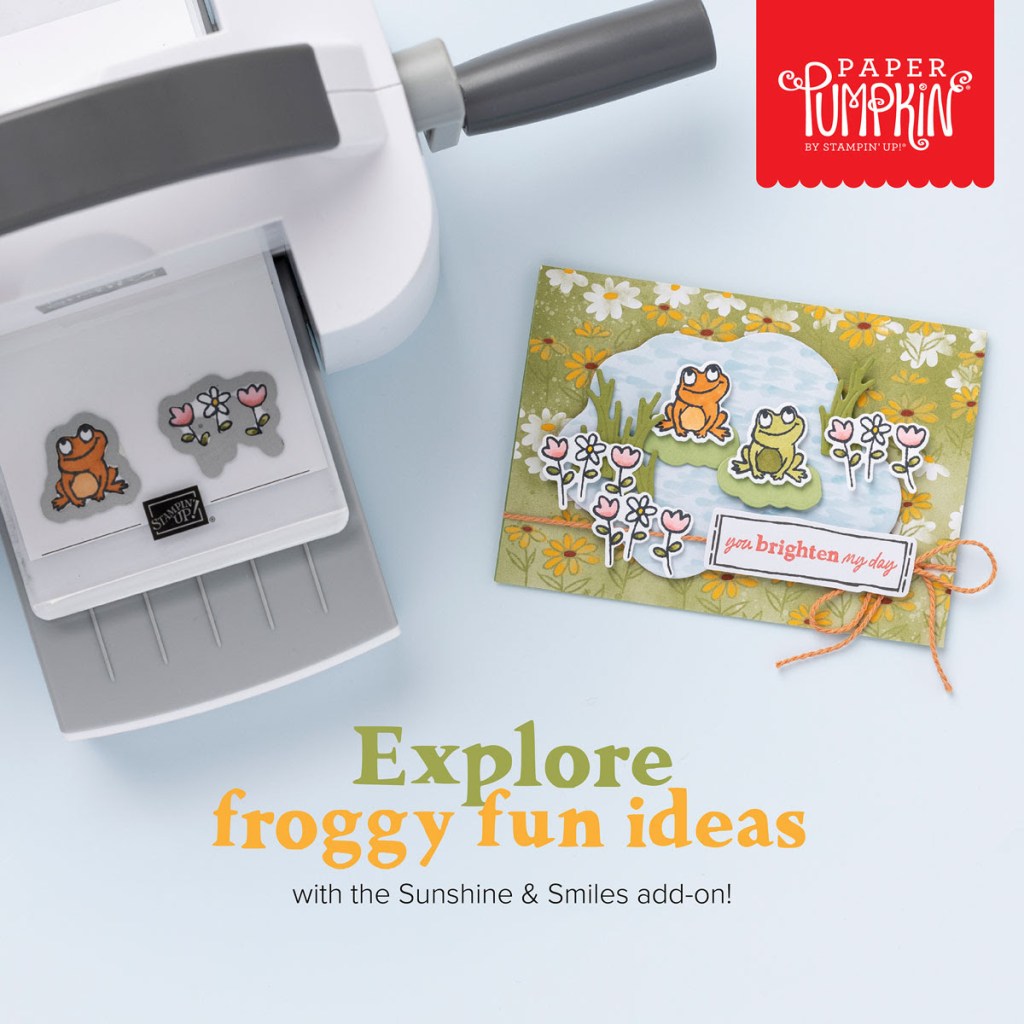
It’s Paper Pumpkin’s 10-year anniversary and we want to celebrate how much we’ve grown! This month’s kit is all about happy greetings, organic and botanical designs digitally painted by our in-house artists, along with all-occasion sentiments to celebrate the happy moments in life and recognize the people around you who help you grow!
And as part of our anniversary celebration, the March Paper Pumpkin Kit includes a FREE GIFT featuring a plant and pot builder to make all your projects plant-astic!
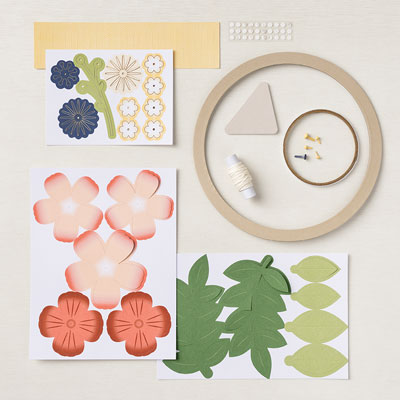
This kit includes:
- All the supplies you need to create 9 cards: 3 each of 3 designs; and coordinating envelopes.
- An all-occasion stamp set to recognize the people in your life who help you grow with greetings and beautiful botanical images.
- 1 Polished Pink Classic Stampin’ Spot
- Paper pieces and embellishments with digitally-painted designs and images.
- Mini Stampin’ Dimensionals.
- 1 FREE additional stamp set, which includes a plant and pot builder to make plant-astic projects!
Completed card size: 5-1/2″ x 4-1/4″ (14 x 10.8 cm)
Coordinating Stampin’ Up! colors: Shaded Spruce, Garden Green, Coastal Cabana, Orchid Oasis, Fresh Freesia, Polished Pink, Crumb Cake
Subscribe to the March Paper Pumpkin Kit between 11 February 2023 and 10 March 2023 by clicking here!
Note: Supplies may be limited toward the end of the subscription period.
*********************************************************************************************************
Card stock cuts for this project:
- Basic White Cardstock 1 1/4″ X 1 2/4″ (sentiment), 2 1/2″ X 5 1/2″ (inner liner)
- Basic White Thick Cardstock 8 1/2″ X 5 1/2″ (card base scored & folded at 4 1/4″)
- Soft Sea Foam Cardstock 3 3/4″ X 3 3/4″ (dotted circle die), 1 3/4″ X 2 1/4″ (scalloped oval)
- Hello Irresistible 6 X 6 Designer Series Paper 2 1/2″ X 5 1/2″ (inner liner panel), panel for flower and leave die cuts, 2 1/4″ X 6″ (envelope flap)
*********************************************************************************************************
Product List
")
")

")


 Designer Series Paper")


")
")


 Specialty Designer Series Paper")
 Designer Series Paper")


")
")
 Vellum")


")
")


")
")


 Designer Series Paper")


")
")

")


 Glittered Organdy Ribbon")


 Paper Pack")


")

 Designer Series Paper")


")
")
")
 Designer Series Paper")


")
")


 Designer Series Paper")


")
")


 Specialty Designer Series Paper")


