
Good Sunday morning stamping friends. I hope you are having a great weekend. Does anyone have off tomorrow?
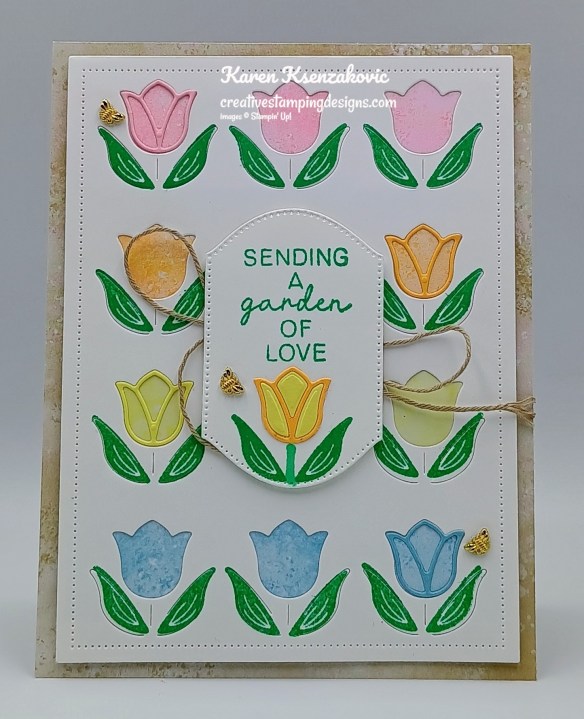
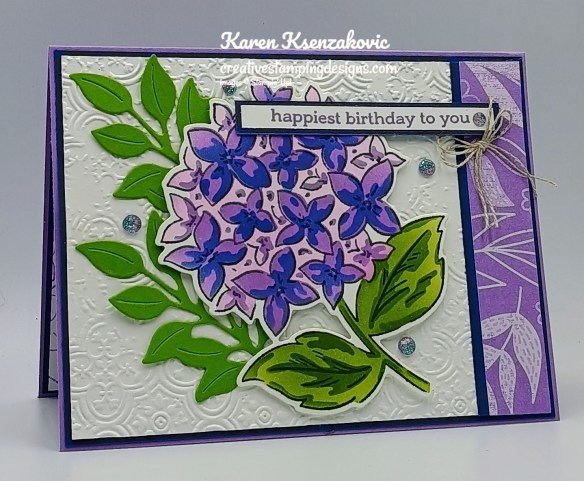
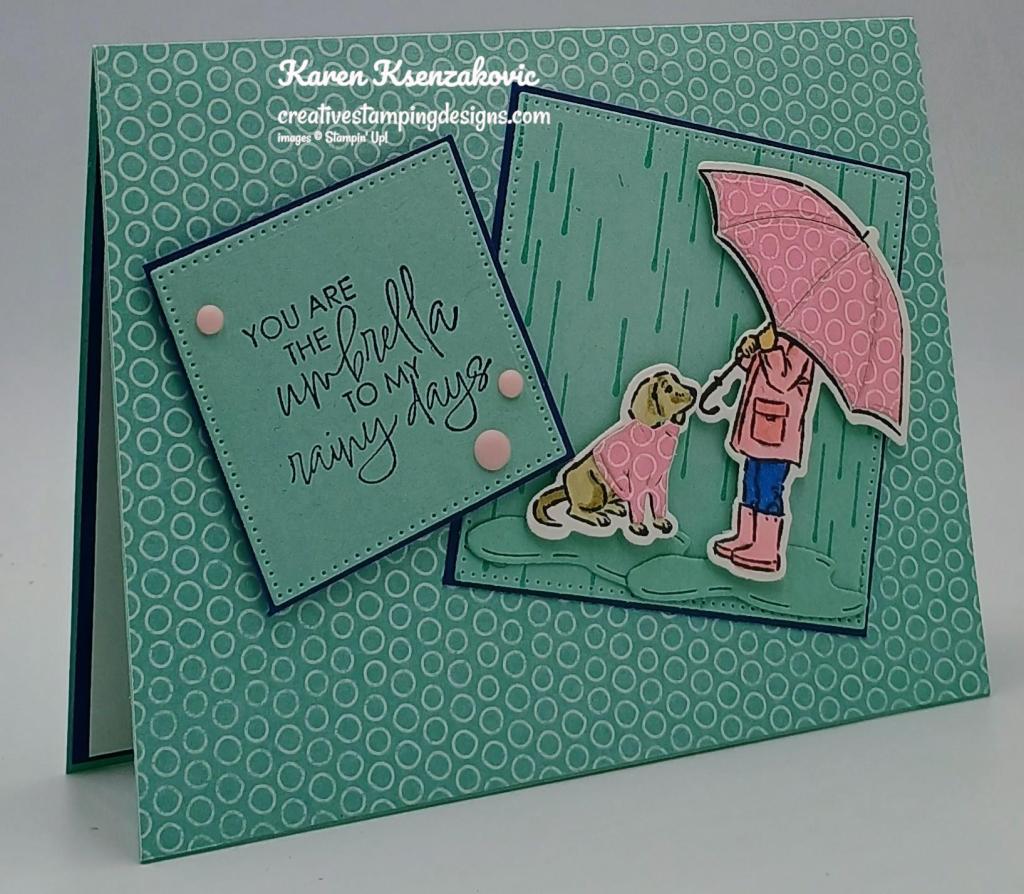
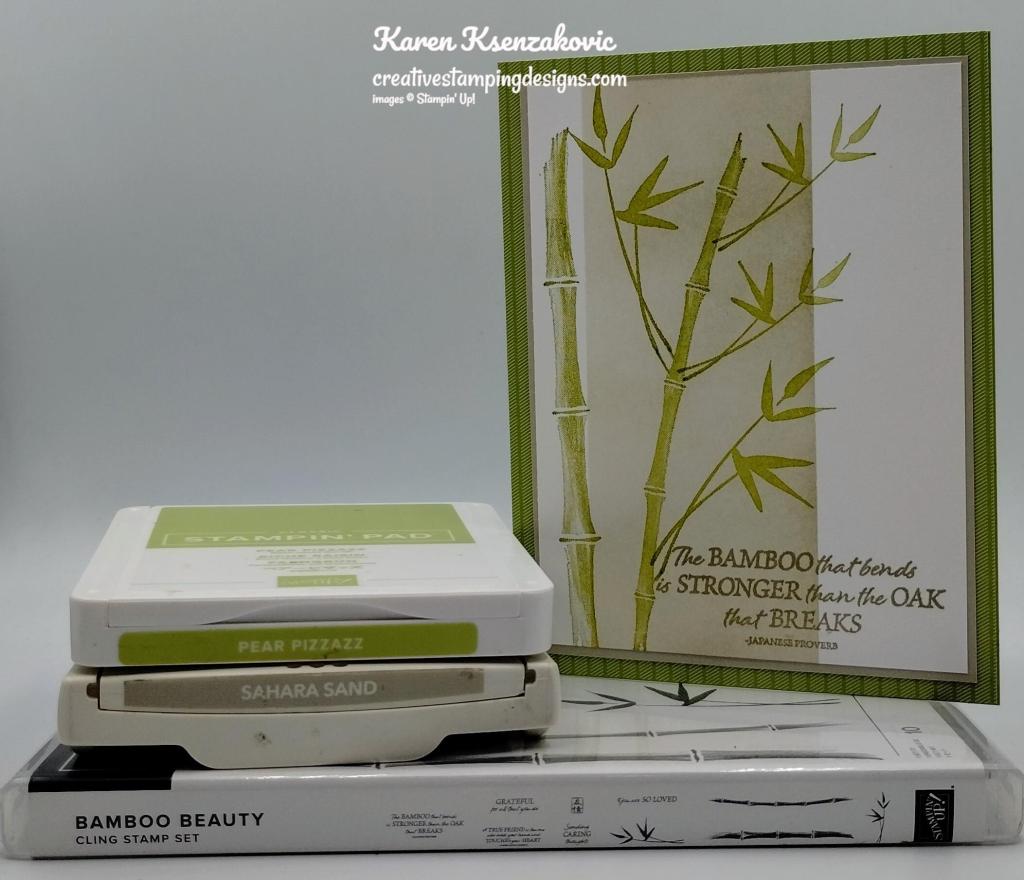
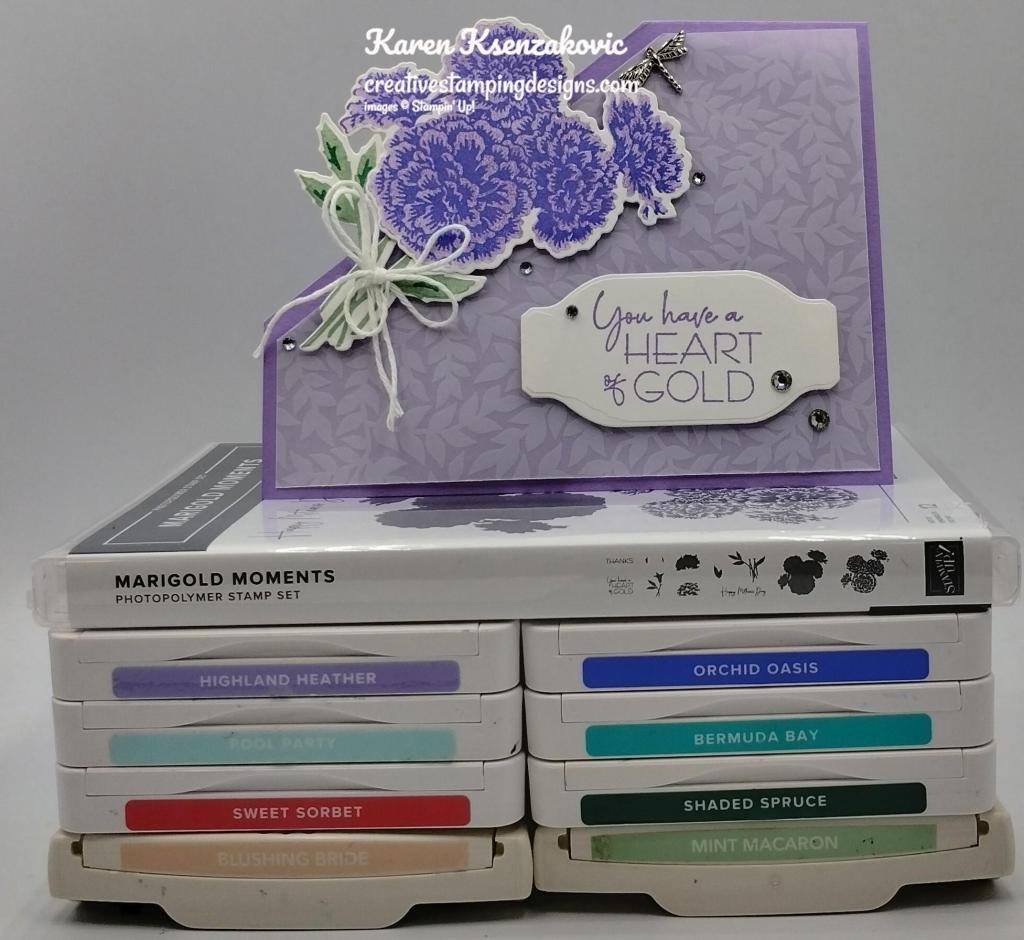
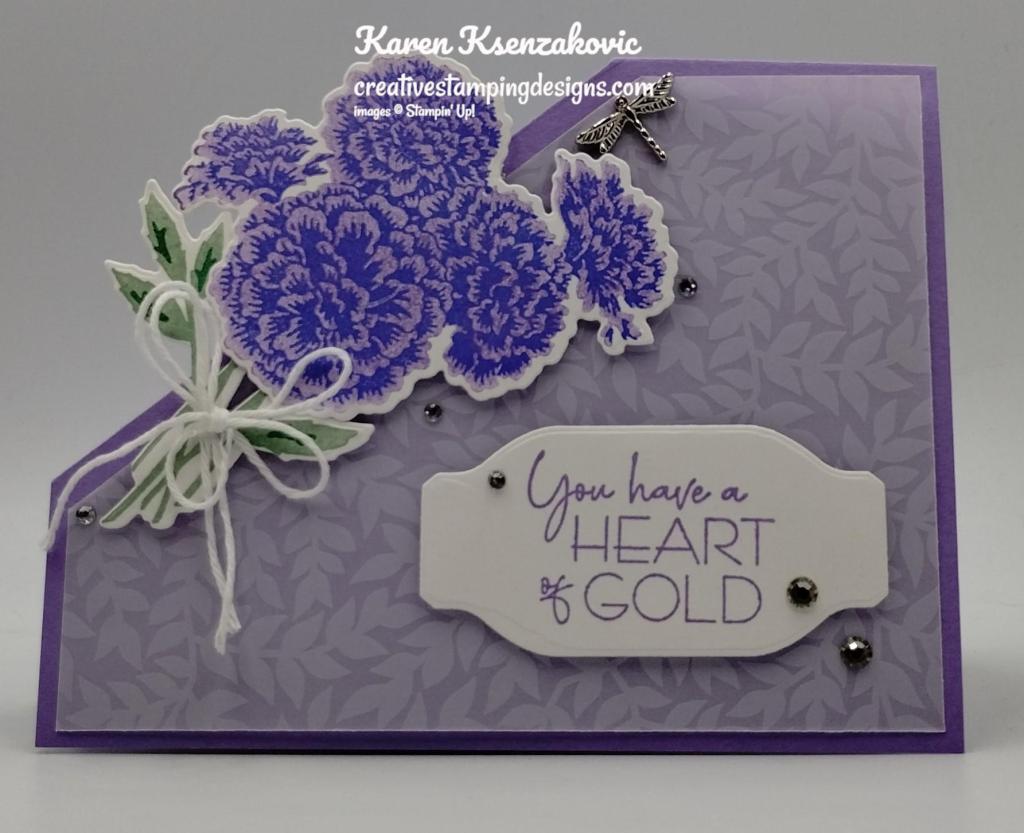
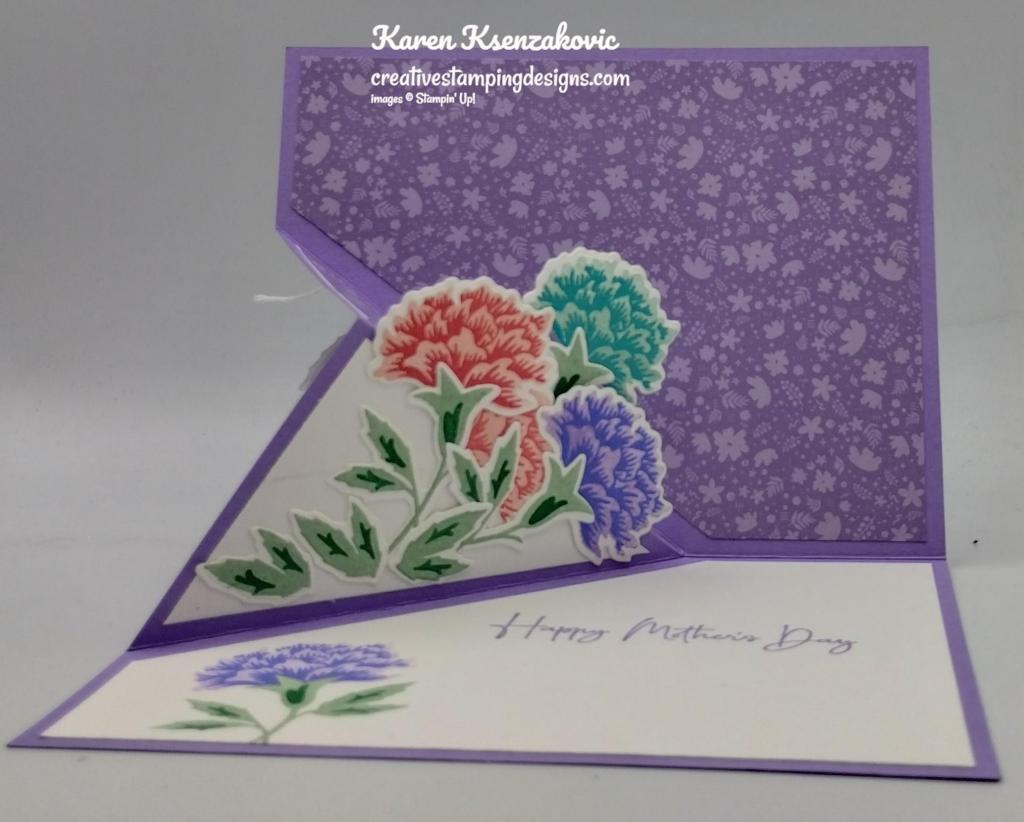
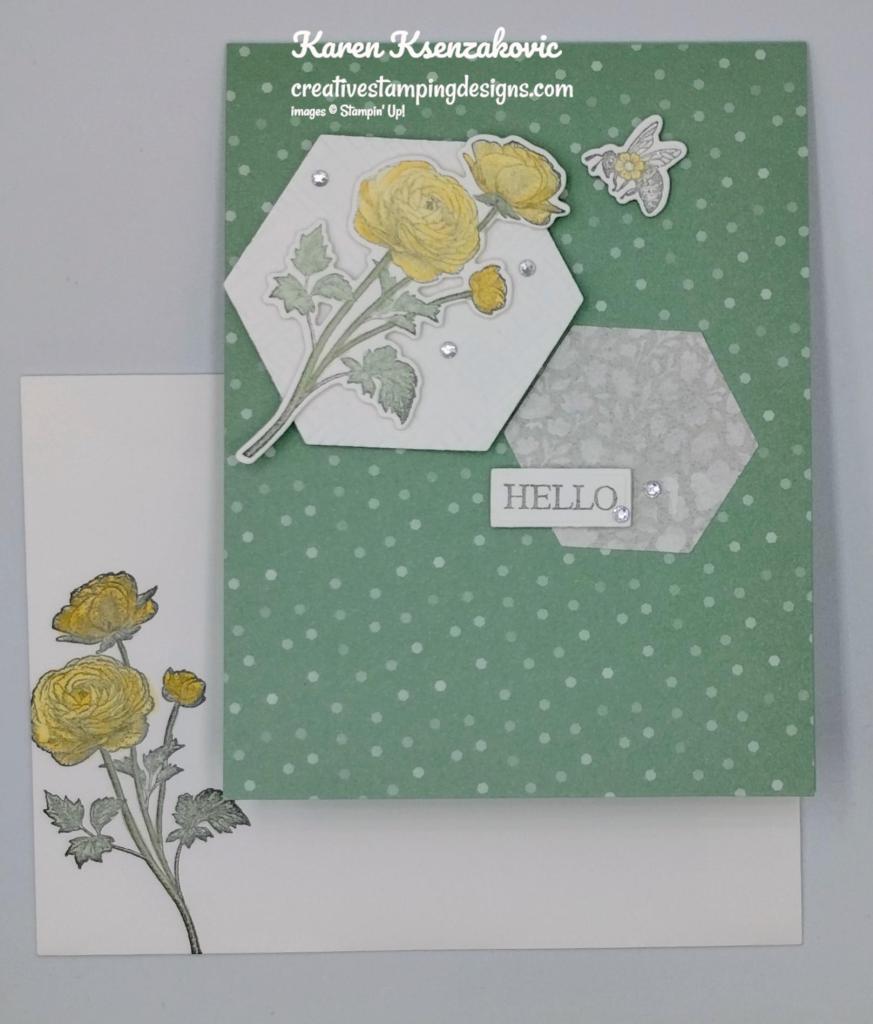
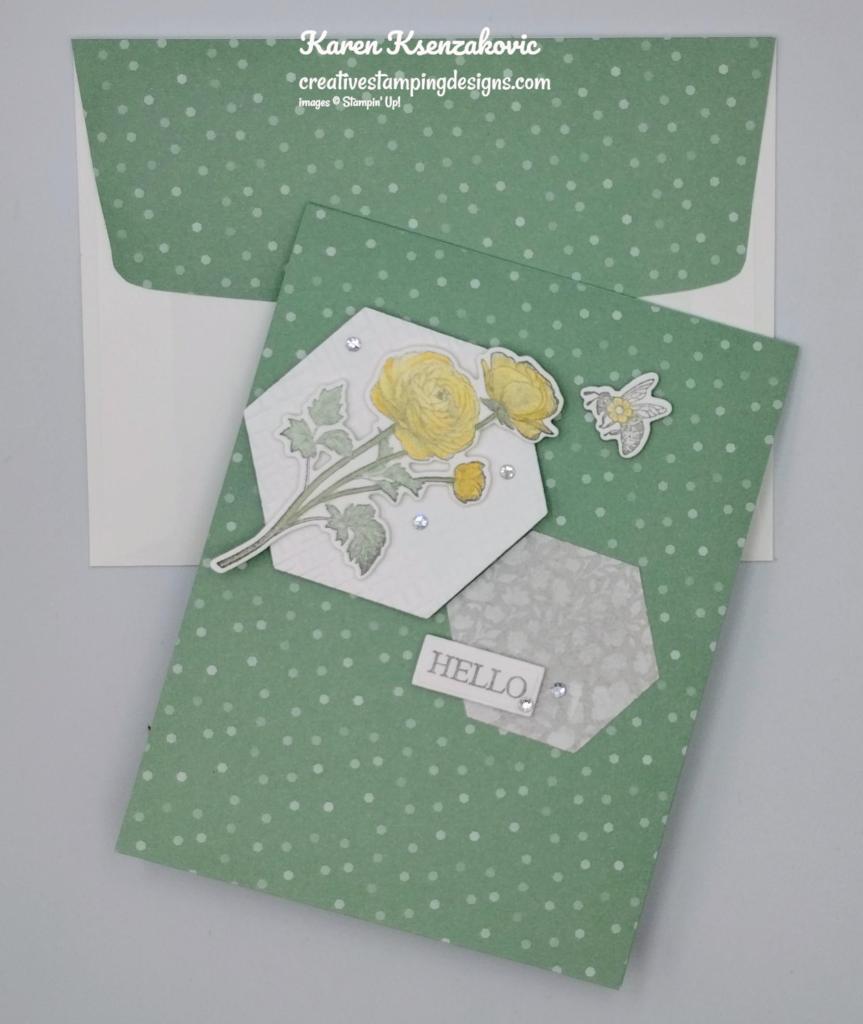
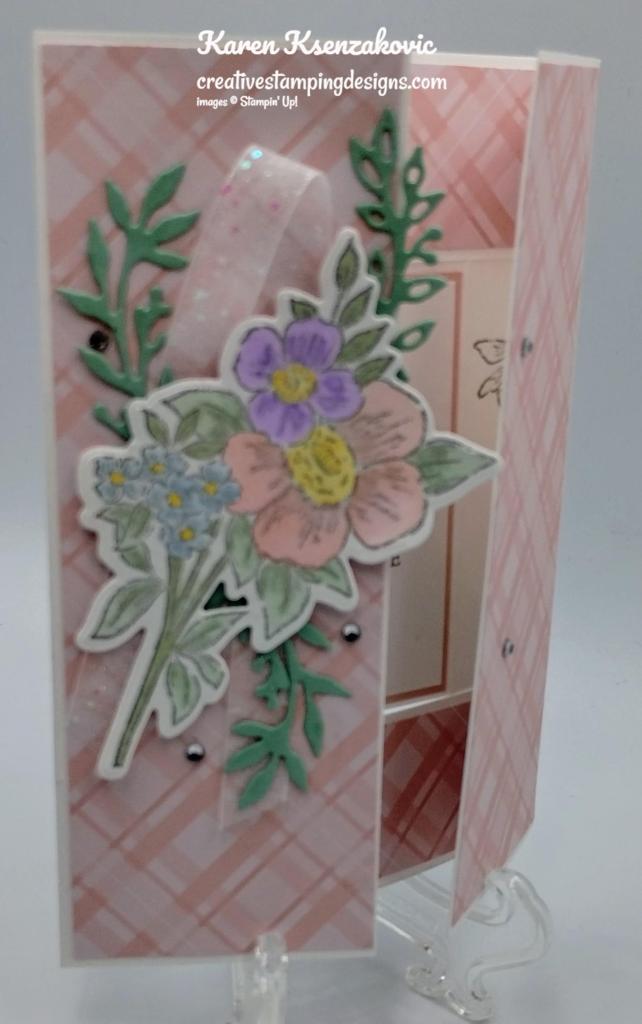
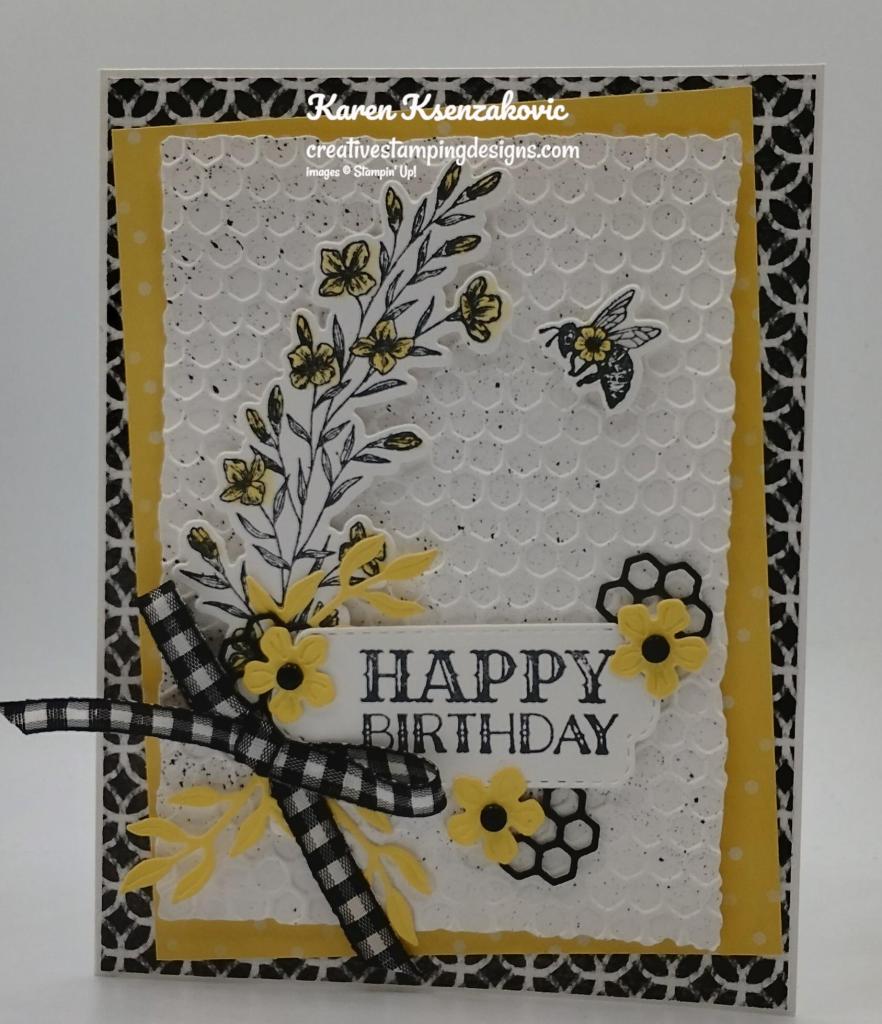
Today’s card uses one of my favorite bundles from the January – April 2026 mini catalog. I think this is one of my most used sets. If you’d like to see a quick video on how I made this card, Click Here to go to my Instagram Reels. Here is my card for today.
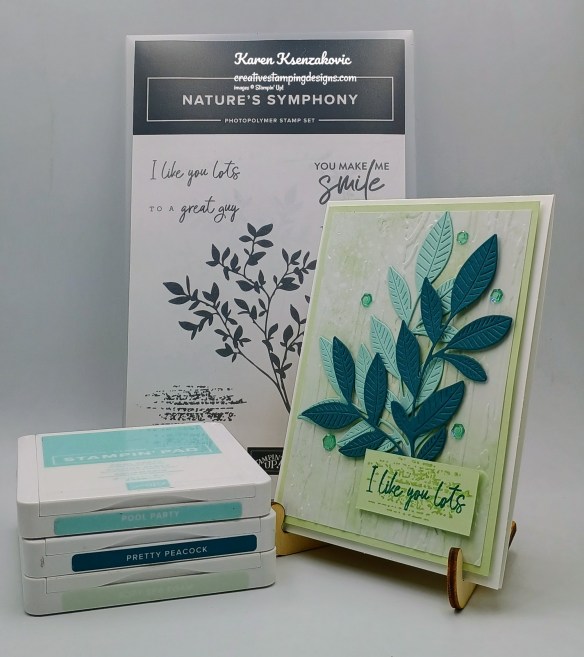
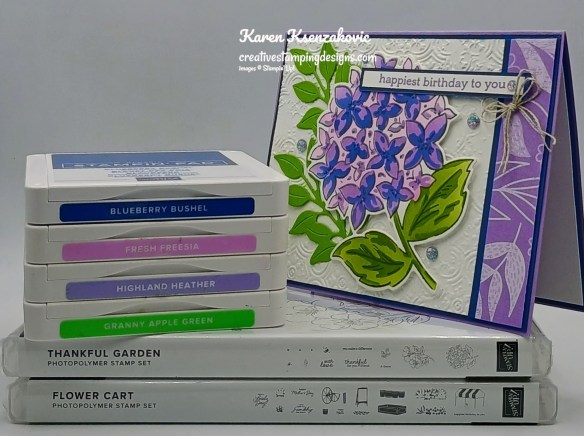
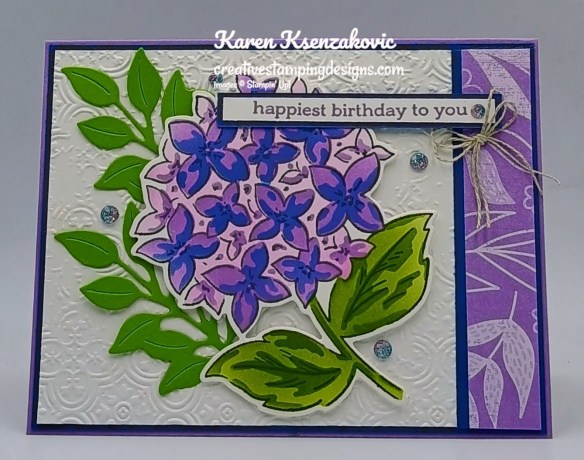
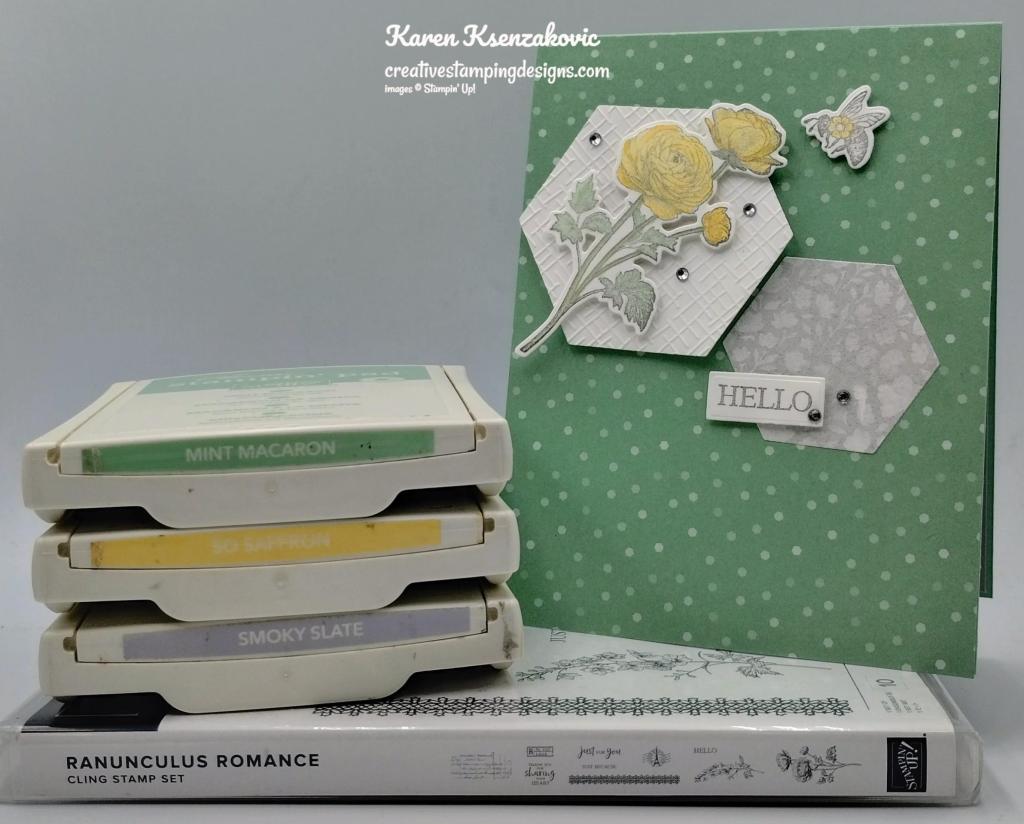
I used the Stampin’ Up! Nature’s Symphony Bundle along with the Birch Wood 3D Embossing Folder and Subtles 6 x 6 Designer Series Paper for my card today.
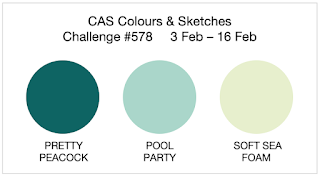
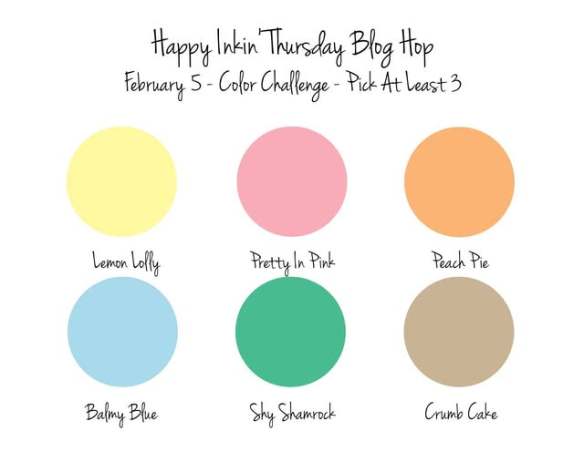
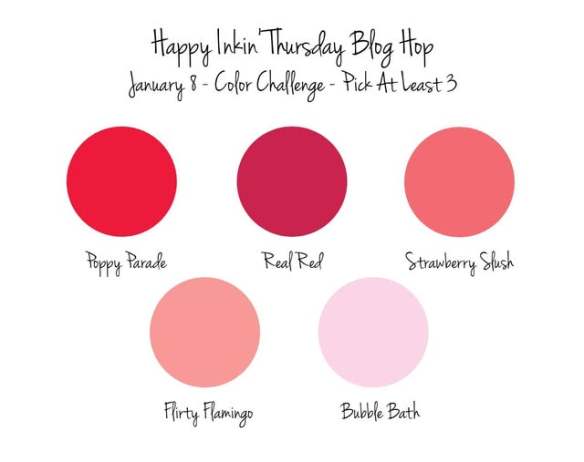
My colors are from CAS Colours & Sketches Challenge #578
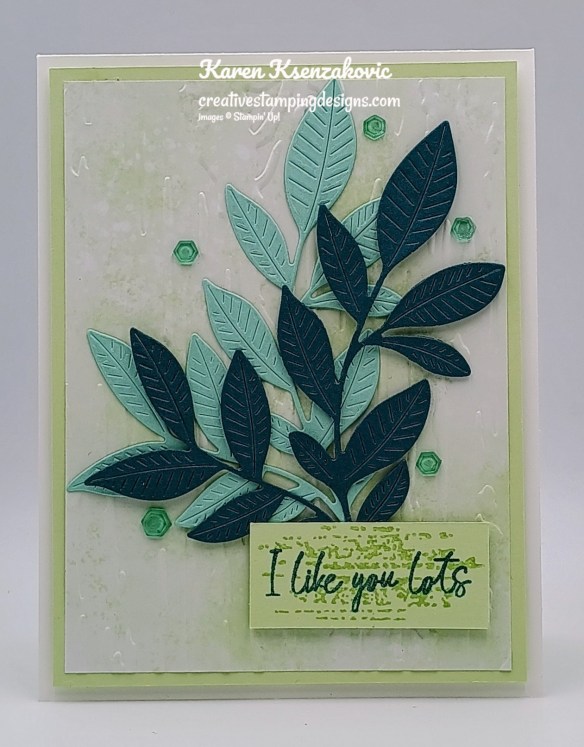
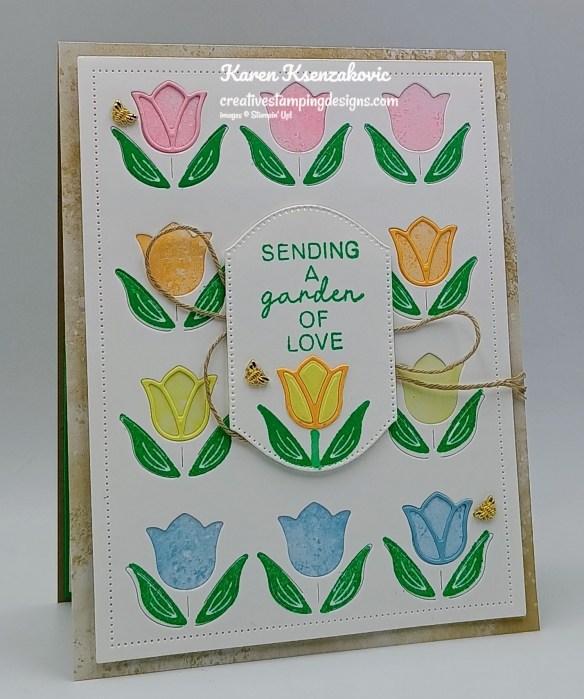
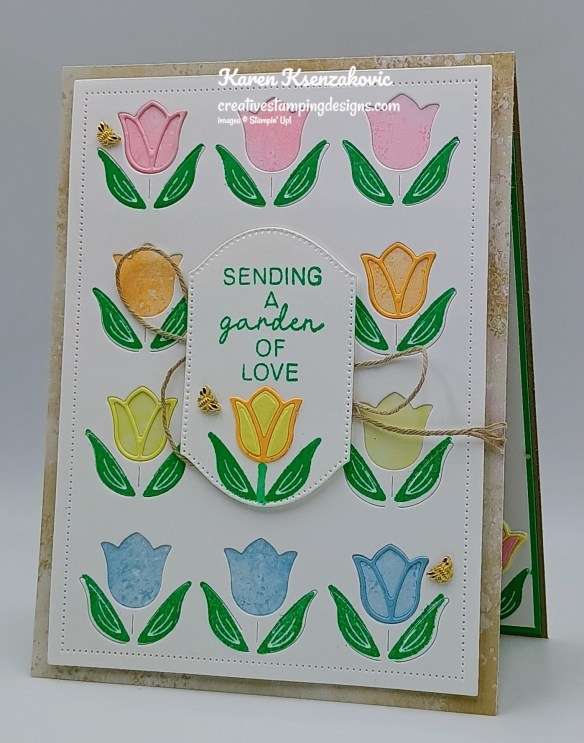
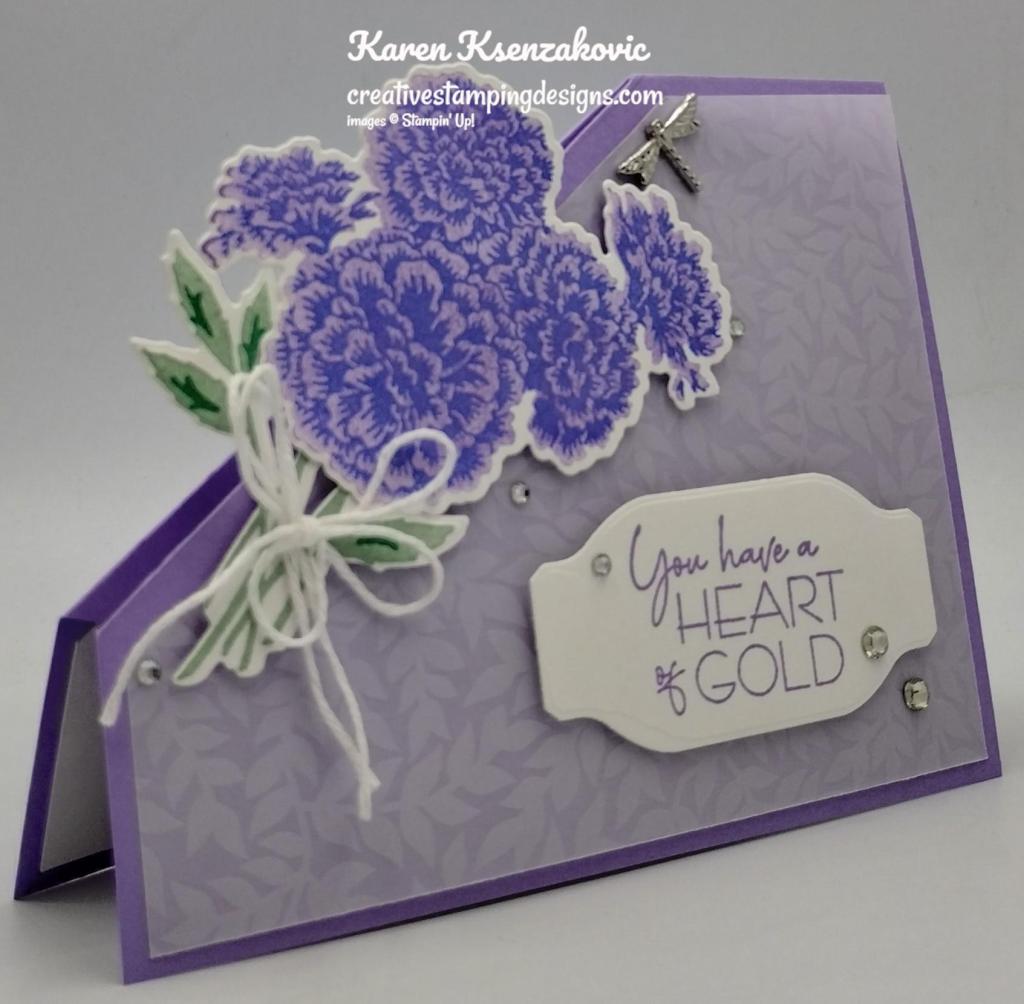
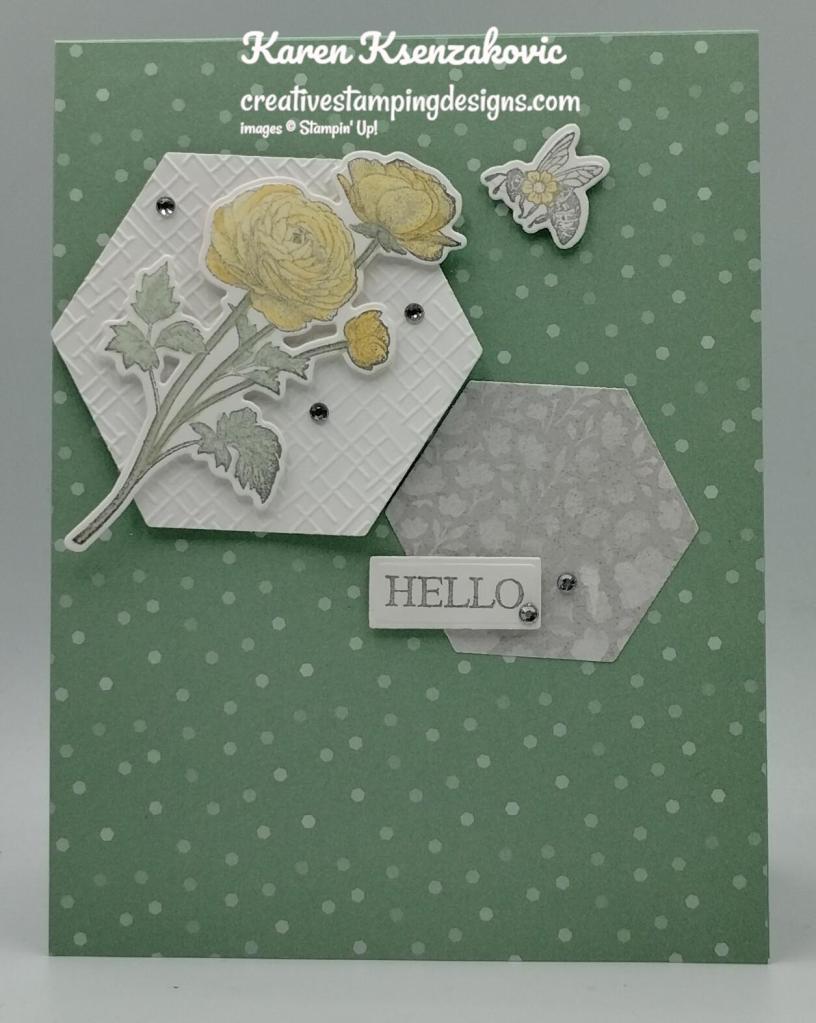
Emboss a panel of Subtle DSP using the Birch Wood EF. Adhere the embossed panel to a Soft Sea Foam mat. Adhere the layered panel to a Basic White Thick card base with Stampin’ Dimensionals.
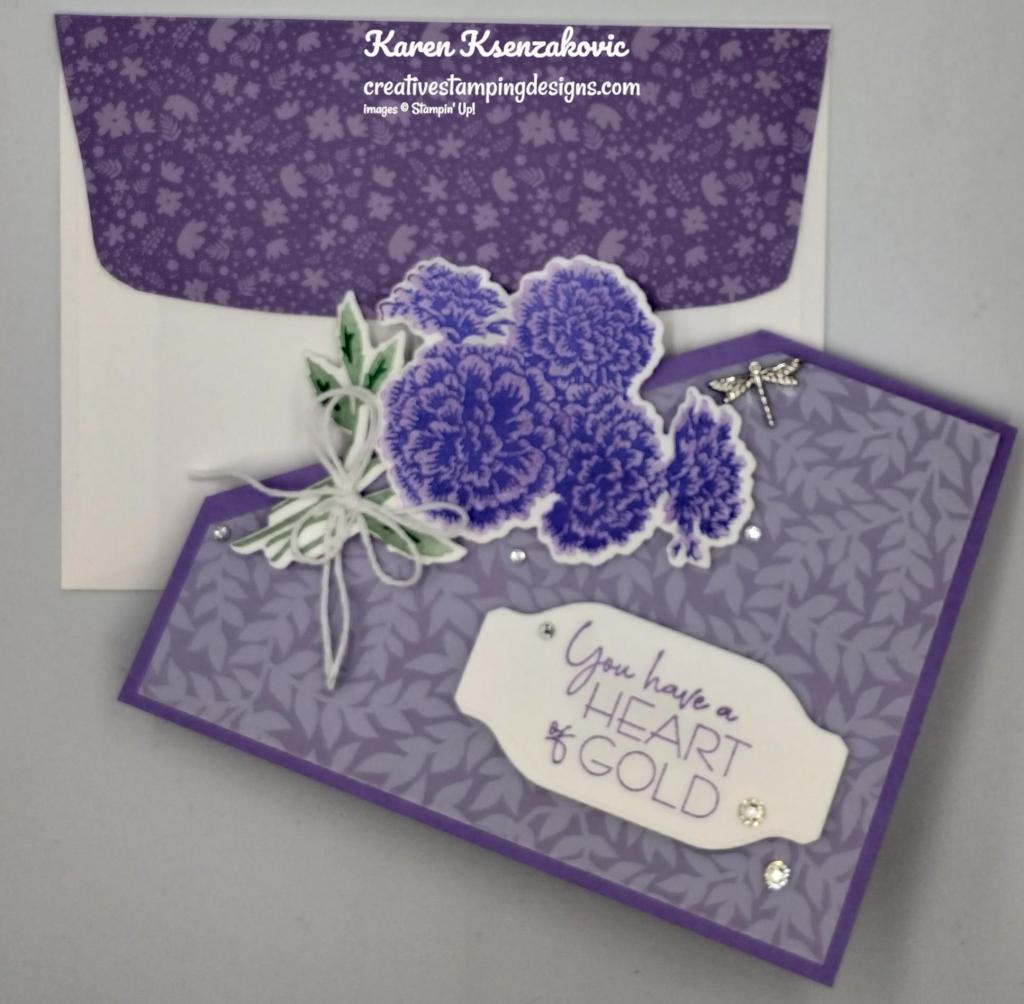
Using the Nature’s Symphony Dies, cut the large leaf die from panels of Pool Party and Pretty Peacock. Adhere the Pool Party die cut leaf to the card front with Glue Dots. Adhere the Pretty Peacock die cut leaf to the card front with Stampin’ Dimensionals.
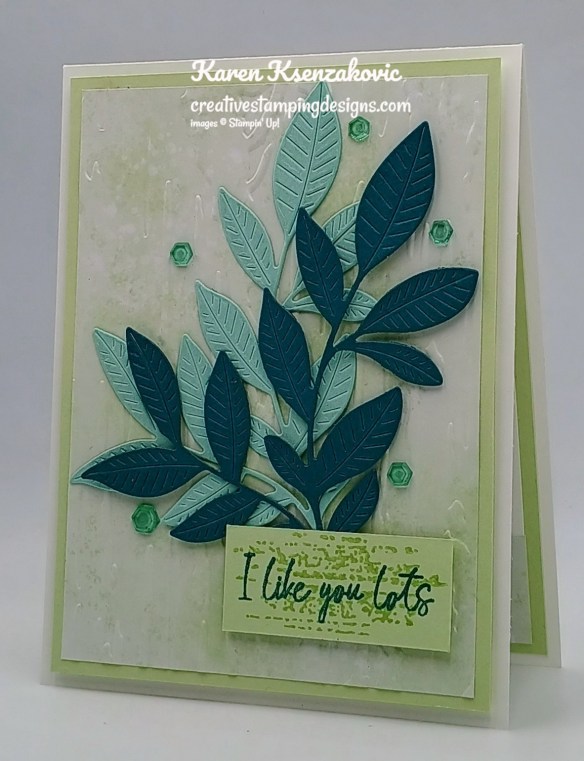
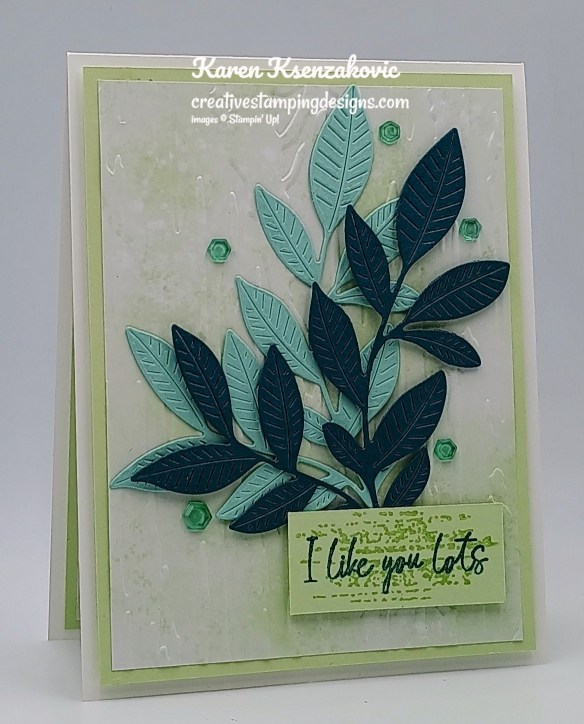
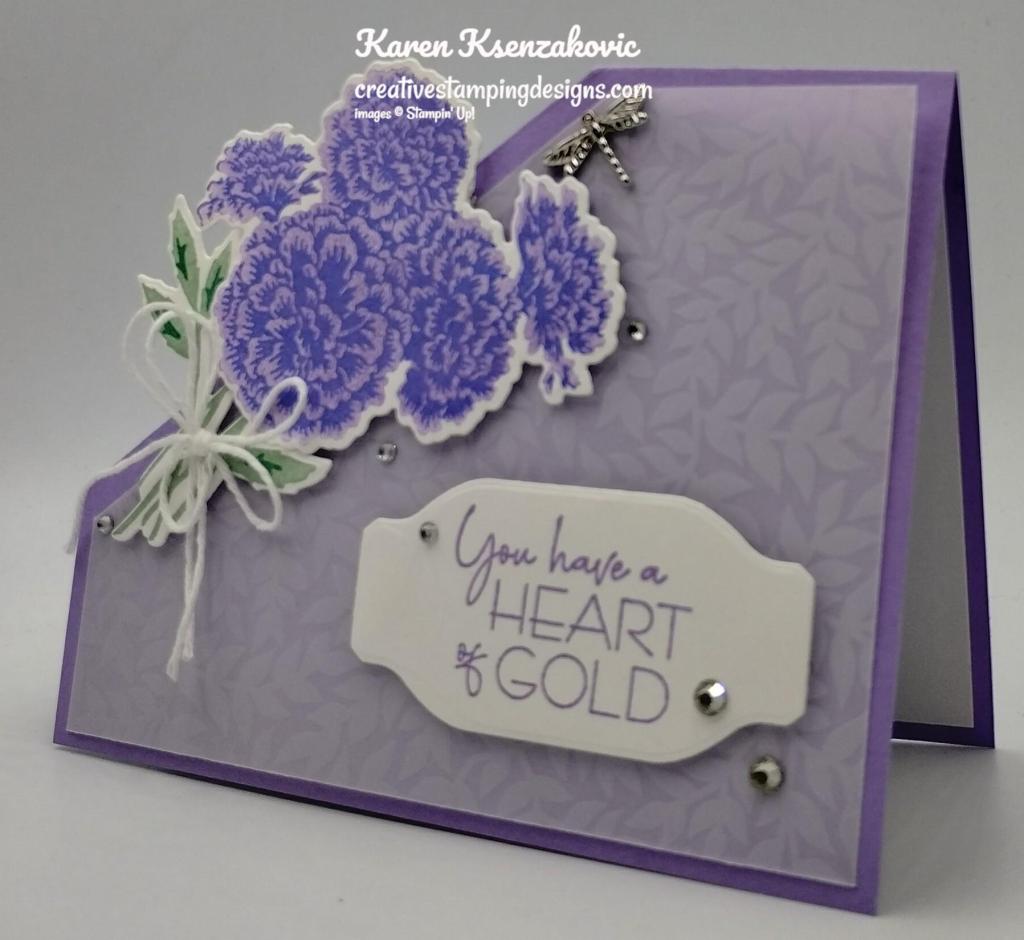
On a panel of Soft Sea Foam, stamp the woodgrain image from the Nature’s Symphony stamp set in Sodt Sea Foam Ink. Stamp the sentiment from Nature’s Symphony stamp set in Pretty Peacock Ink over the woodgrain image. Adhere the sentiment to the card front with Stampin’ Dimensionals. Add a few Shades of Greens Hexagons to the card front.
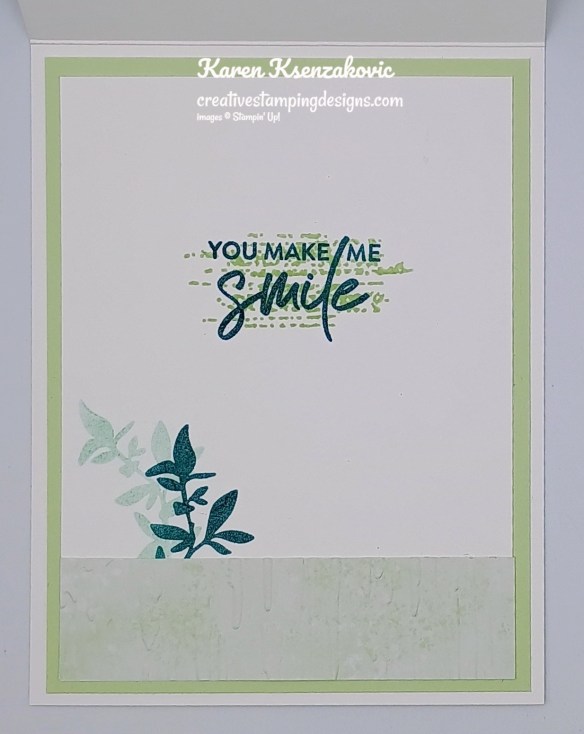
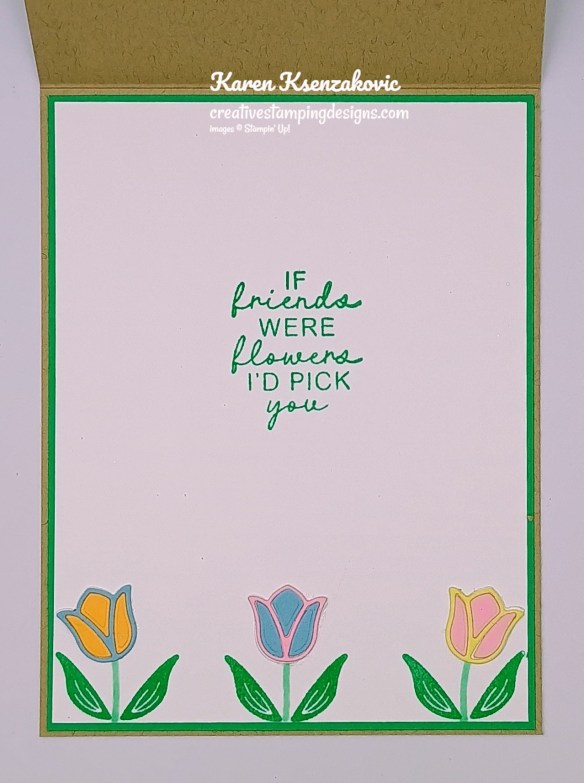
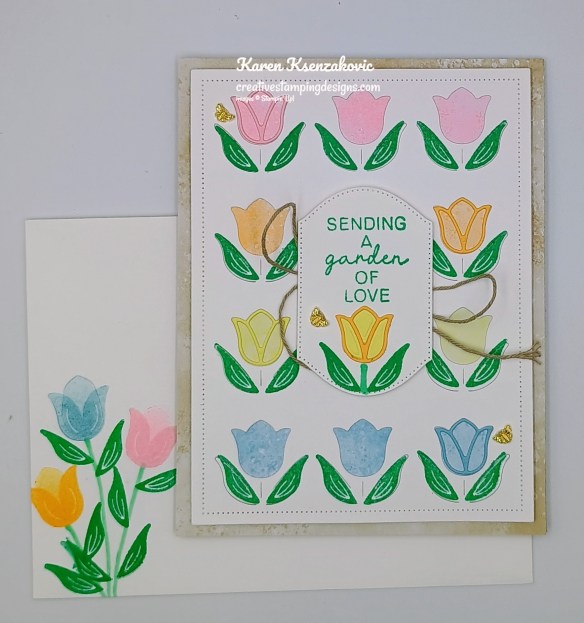
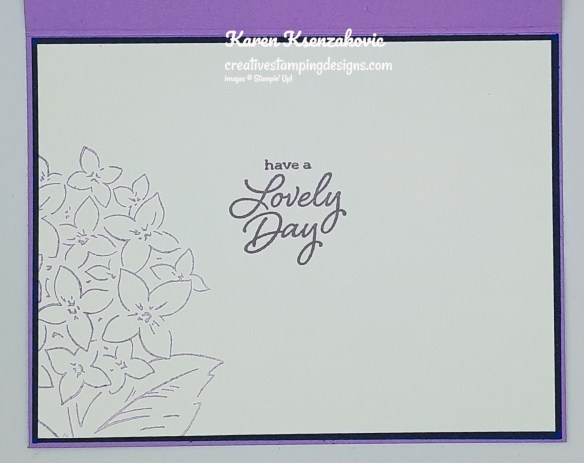
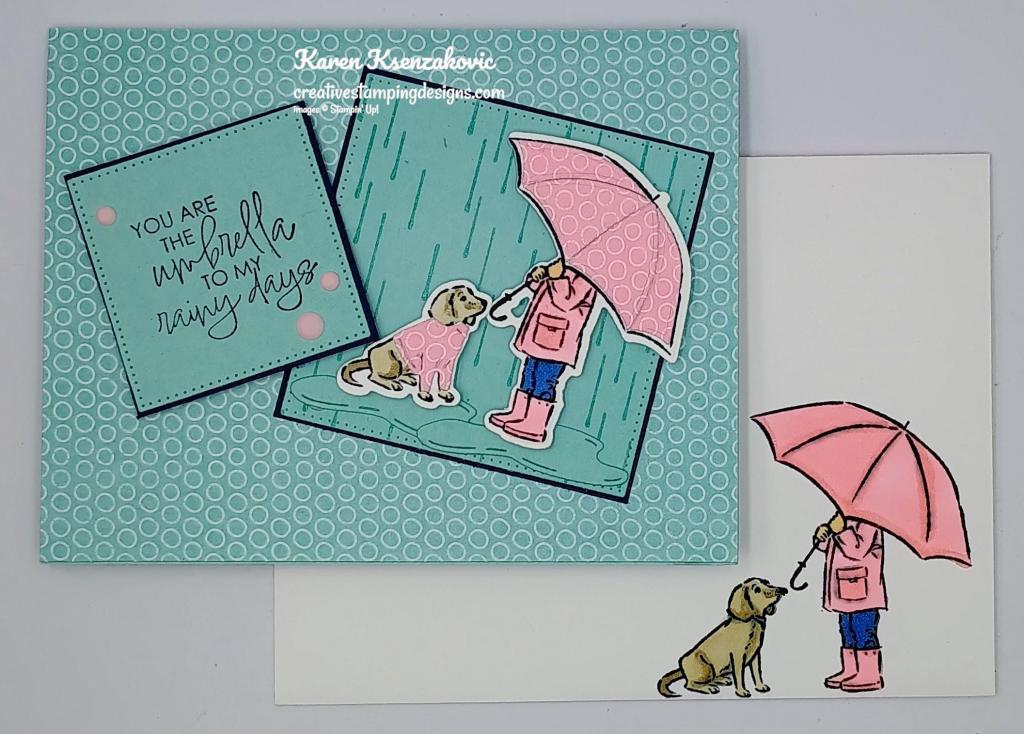
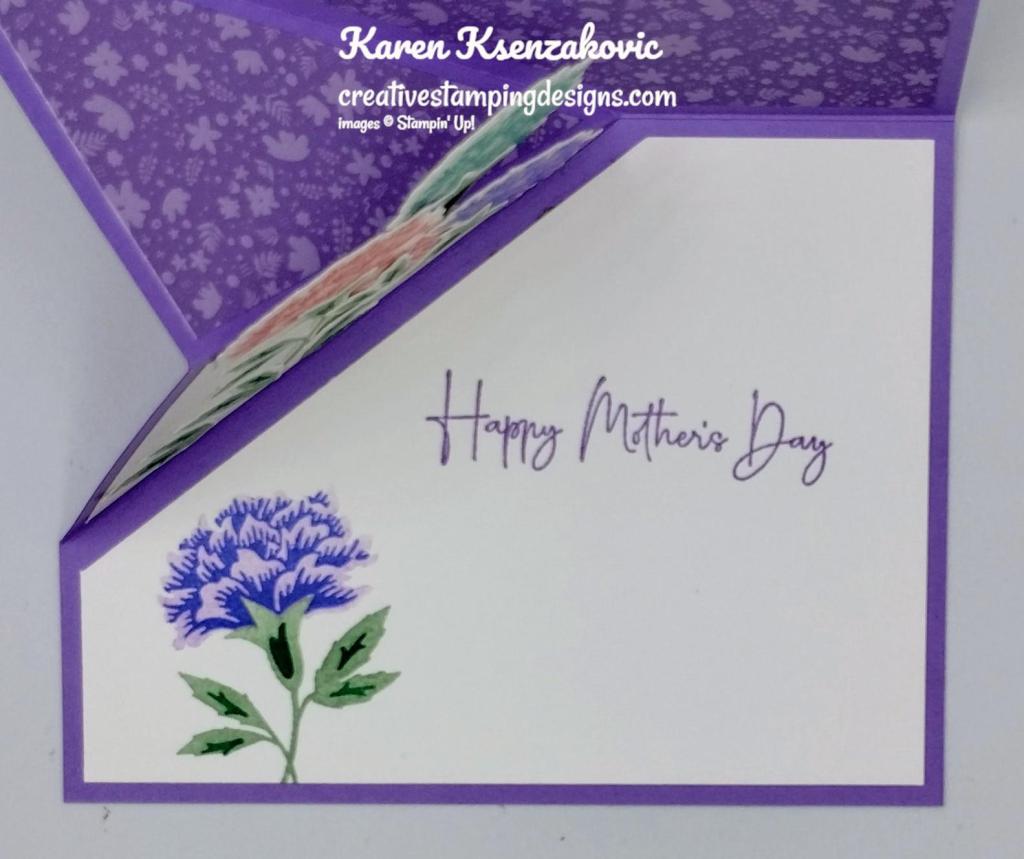
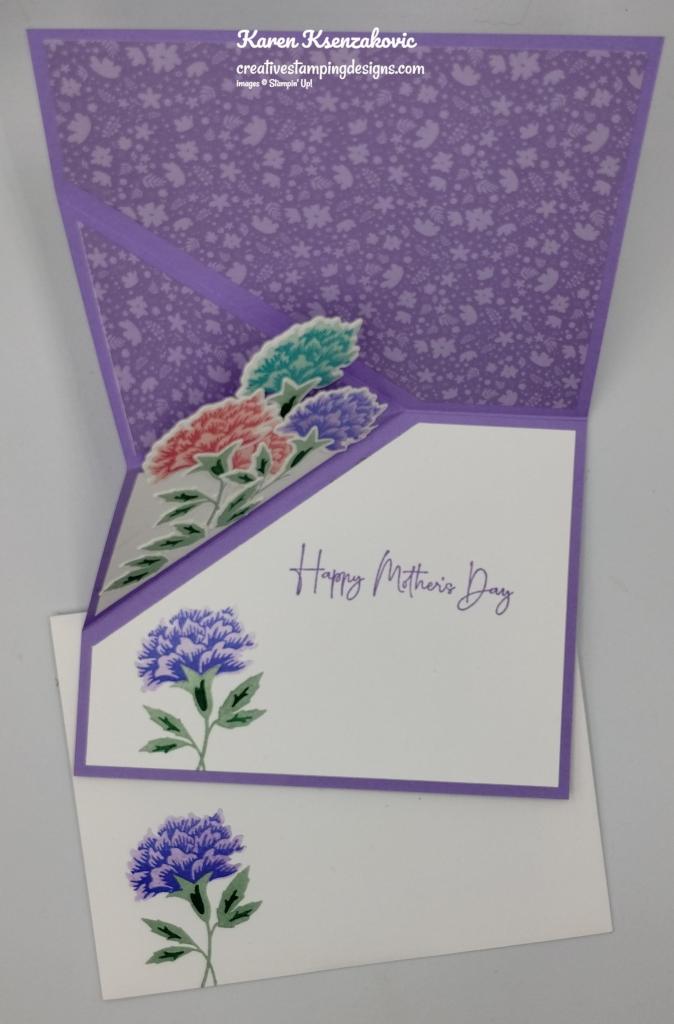
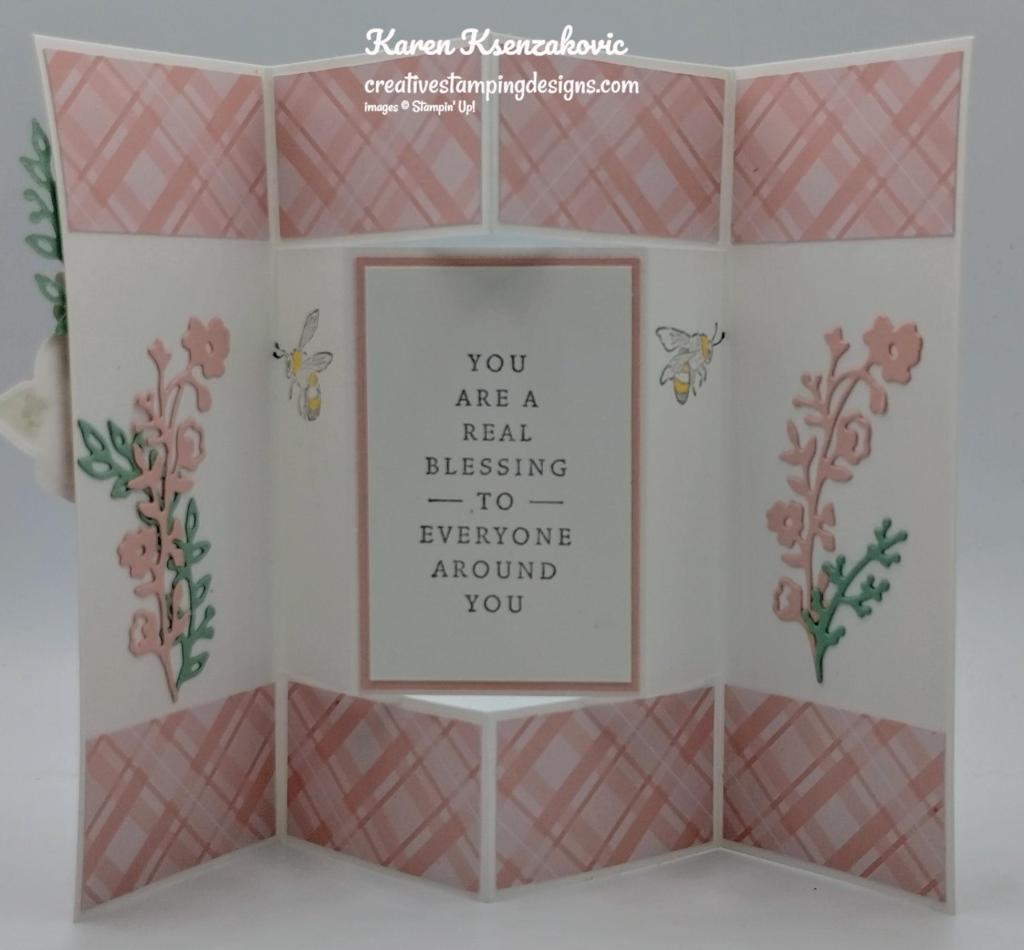
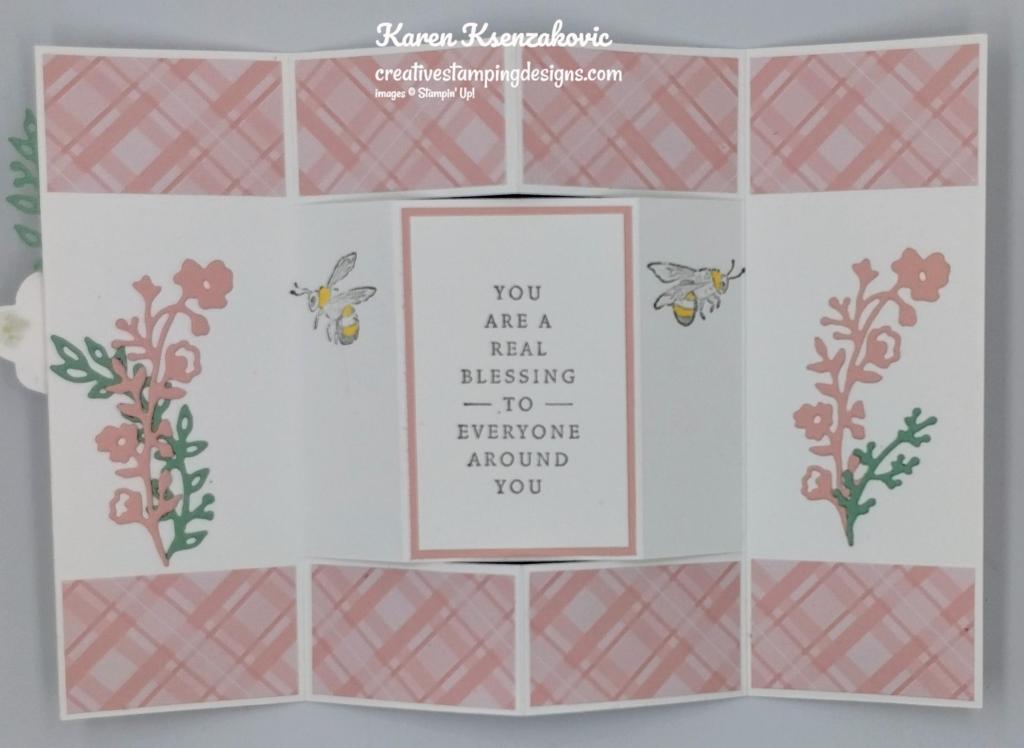
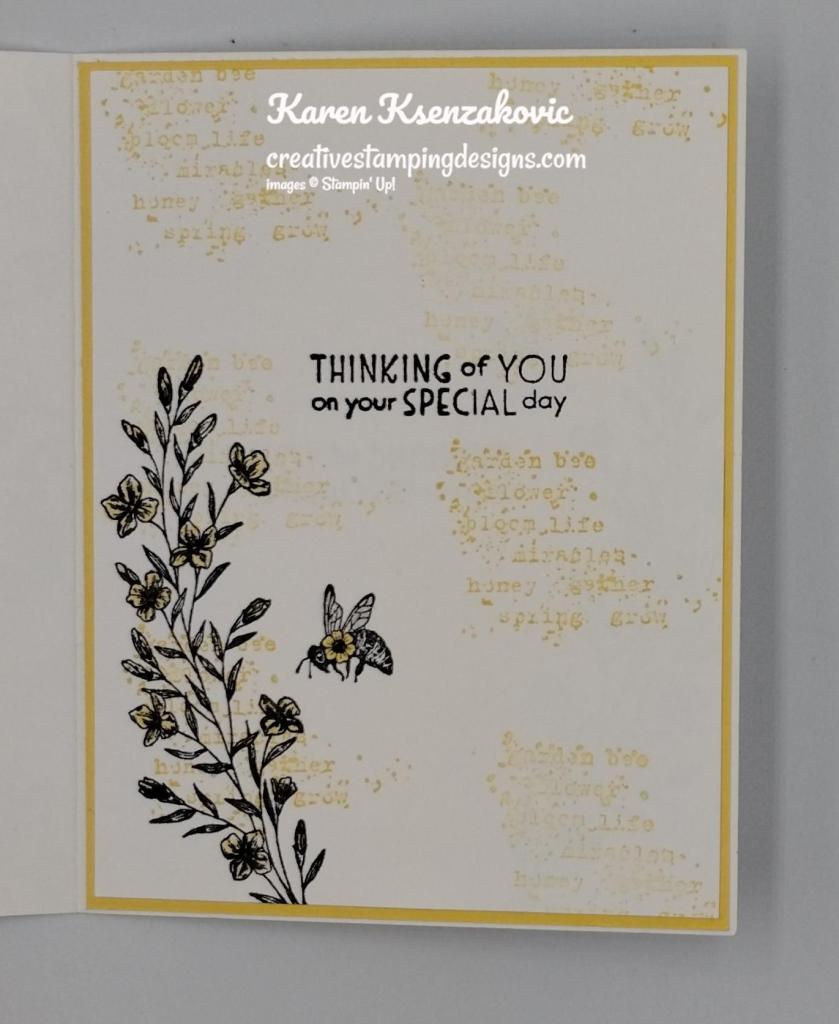
Stamp the sentiment from the Nature’s Symphony stamp set in Pretty Peacock Ink on a panel of Basic White. Stamp the woodgrain image from the Nature’s Symphony stamp set in Soft Sea Foam Ink over the sentiment. Stamp the small leaf image from Nature’s Symphony stamp set in Pool Party and Pretty Peacock Inks on the bottom of the panel. Adhere a panel of Subtle DSP to the bottom of the panel. Adhere the Basic White panel to a Soft Sea Foam mat then to the inside of the Basic White Thick card base.
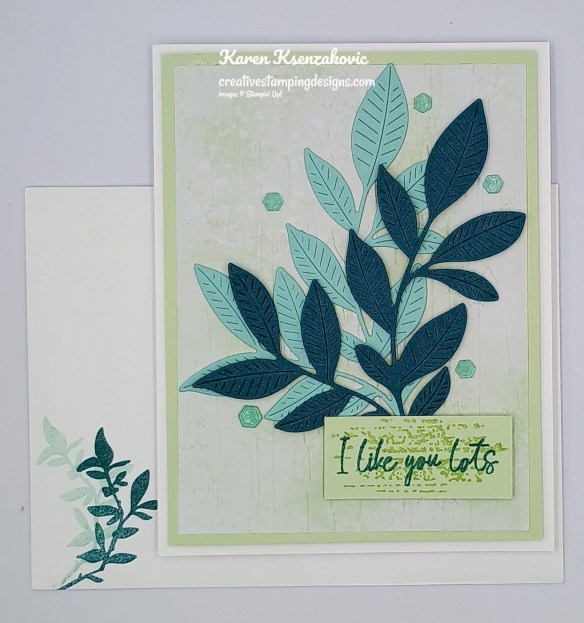
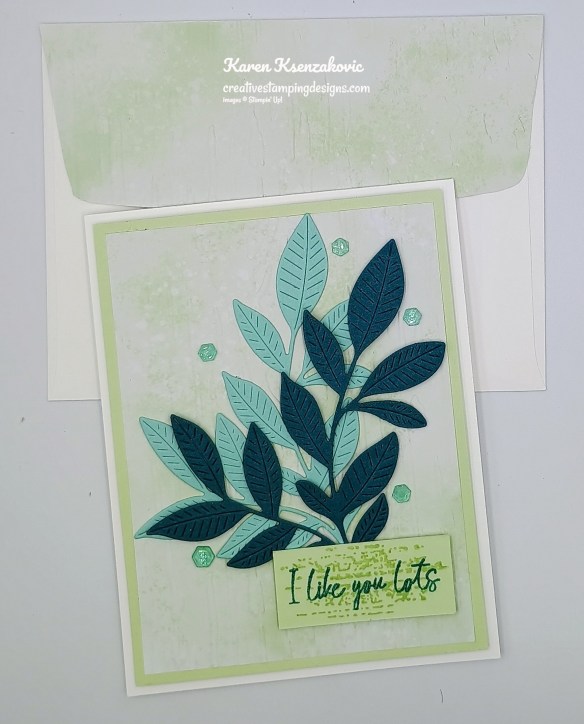
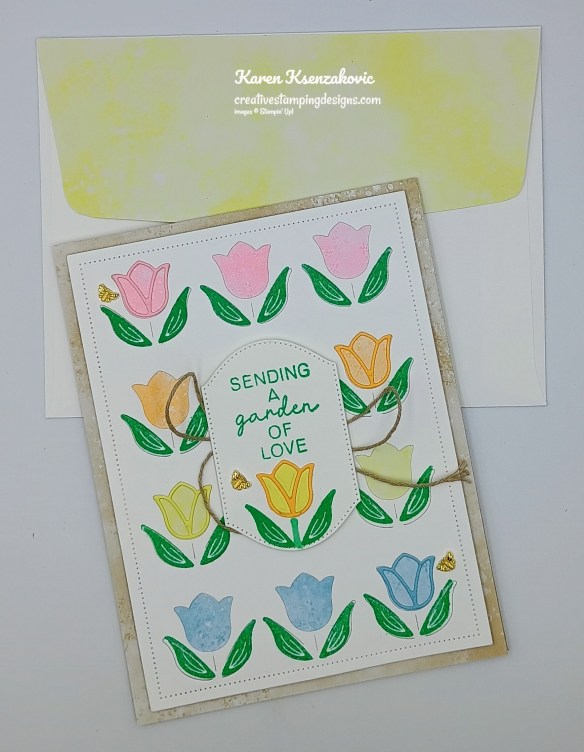
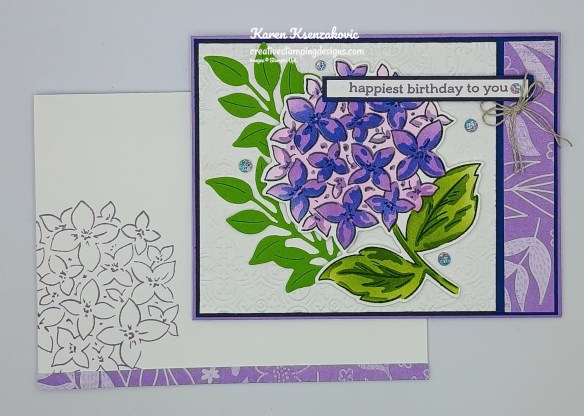
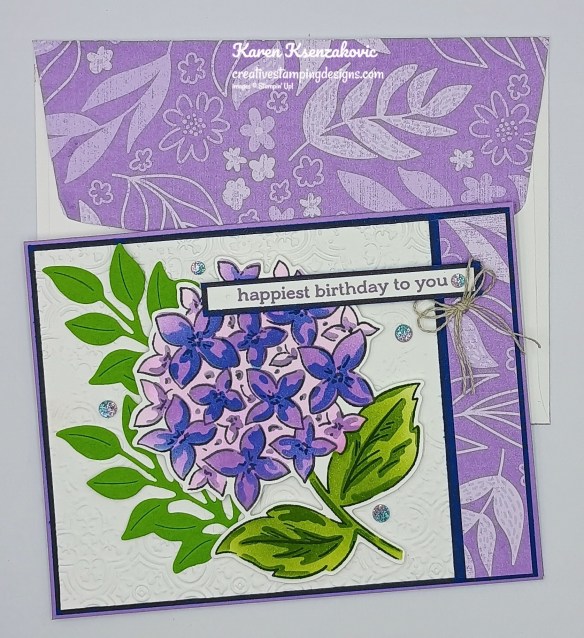
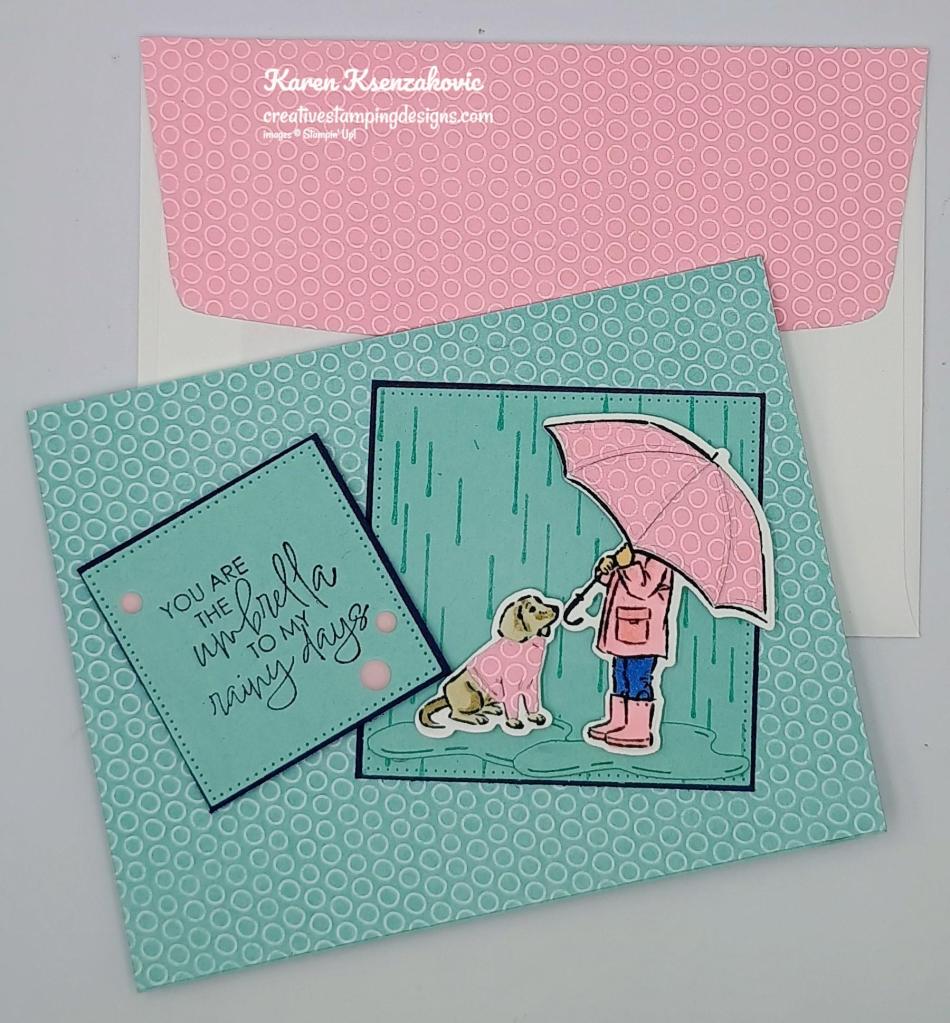
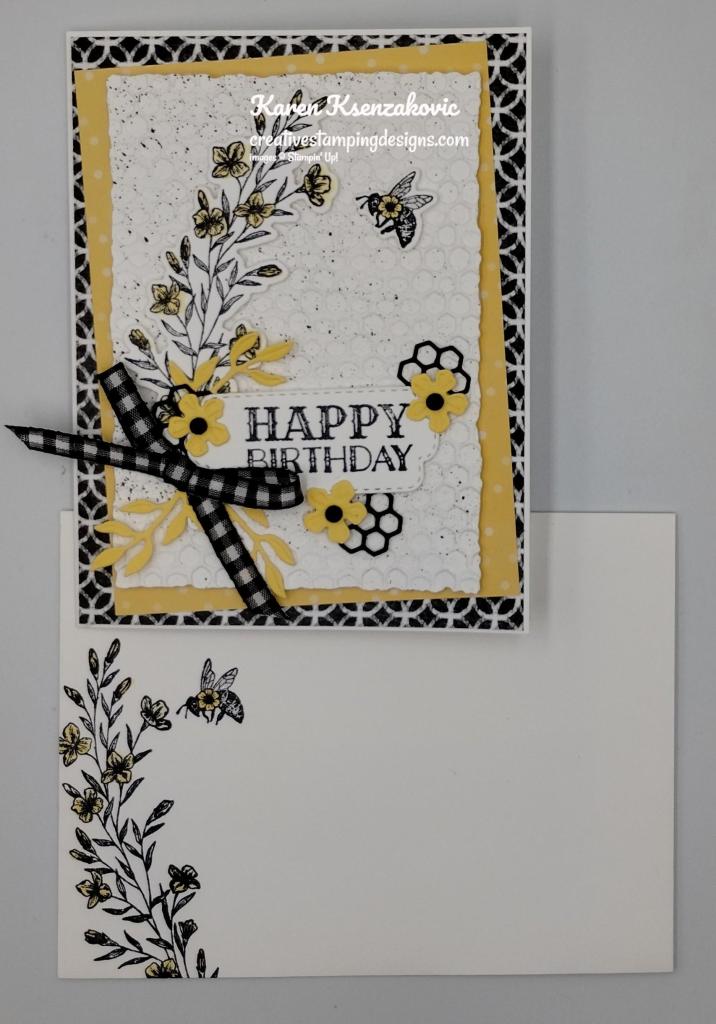
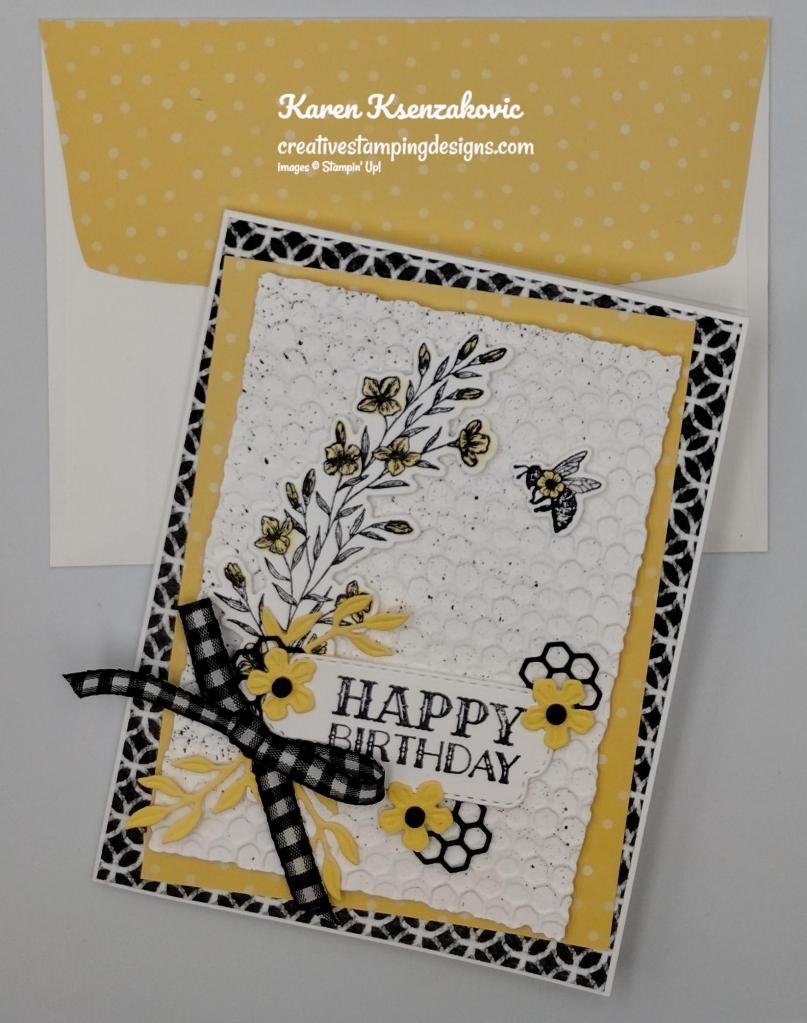
Decorate a Basic White Medium Envelope to finish your card. Stamp the small leaf image from Nature’s Symphony stamp set in Pool Party and Pretty Peacock Inks on the envelope front. Emboss the panel of Subtle DSP using the Birch Wood EF and adhere the embossed panel to the envelope flap.
Thank you for stopping by my blog today. I hope you like the card and will give it a try. Happy Stamping!!
*********************************************************************************************************
If you need any stamping supplies, I’d love to be your Demonstrator. Just click HERE to go directly to my online store or drop me an email if you have any questions.
*********************************************************************************************************
LAST DAY to Register for February’s Online Fun Fold Class

It’s time to cash in those Bonus Coupons (starting February 3), so Tara Carpenter and I are offering a Free Online Zoom Class for February. We will be creating 6 different Fun Fold cards; we’re hoping to show you how easy some fun folds can be. This class will be FREE with a $50 purchase from my Online Store. We will not be sharing the products we are using since the cards we make live will most likely be using new products that will be available in March (a week after the class).
The class requirements:
- Visit my Online Store and place a $50 or more order before tax and shipping and after coupon codes.
- Once you have made the purchase, fill out the Google Form HERE and submit.
What you will receive:
- Zoom class with complete step by step instructions to complete each card as we go.
- PDF with detailed directions and photos
- A Link to the recorded class after we are done so you can watch it again and make more cards.
A week before the class I will send you the complete PDF of the cards so you can cut all your cardstock gather your supplies, so you are ready to go. We will NOT be cutting cardstock or doing any die cutting live since all the cards will be different. Everyone’s cards will be unique since you will pick which color cardstock and ink you want to use along with the Designer Series Paper, Ribbon & Embellishments for each card.
The class will be held on Sunday February 22nd from 1pm – 4pm Eastern Time via Zoom. This will allow everyone all over the United States to participate live!
I will email you the Zoom link to the class a day before the event.
Click Here to Register.
Deadline to sign up is Sunday February 15th at 5pm ET
*********************************************************************************************************
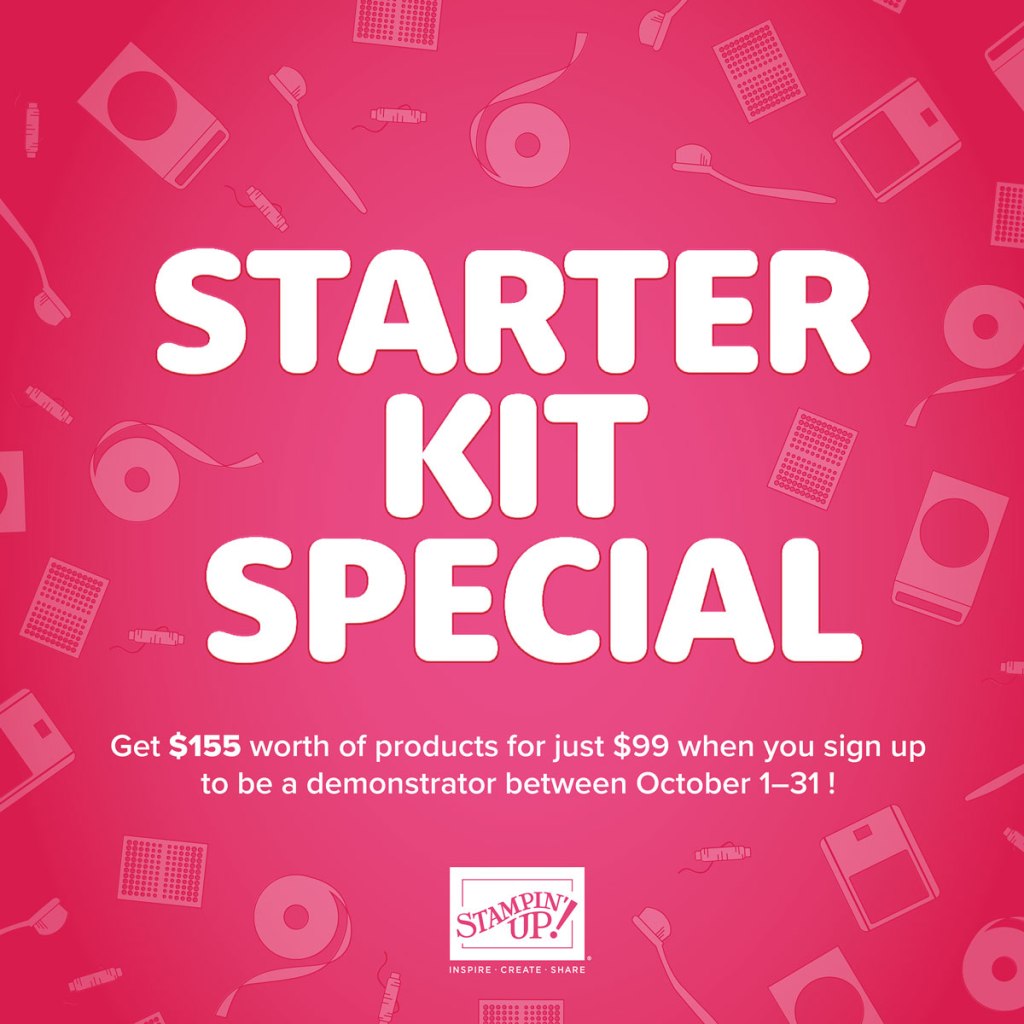
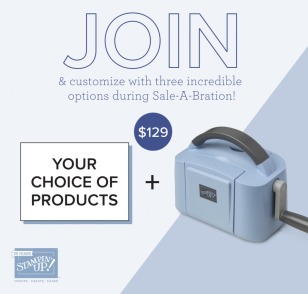
February 3 – March 2 – Stampin’ Up! Joining Special – Free Positioning Tool
Stampin’ Up! announced an amazing new tool that will be available for FREE with the purchase of a Starter Kit between February 3-March 2!! Anyone that purchases the Starter Kit during the promotion will get the awesome new Stampin’ Positioner with their Starter Kit absolutely FREE!!
Here are the Starter Kit promotion details:
- Promotion Period: February 3–March 2
- New team members who purchase their Starter Kit February 3–March 2 will also receive our new Stampin’ Positioner*.
- New demonstrators who submit their Independent Demonstrator Agreement (IDA) before February 3 or after March 2 will not be eligible for this offer.
- Joining deadline: March 2, 2026, at 11:59 p.m. (MT)
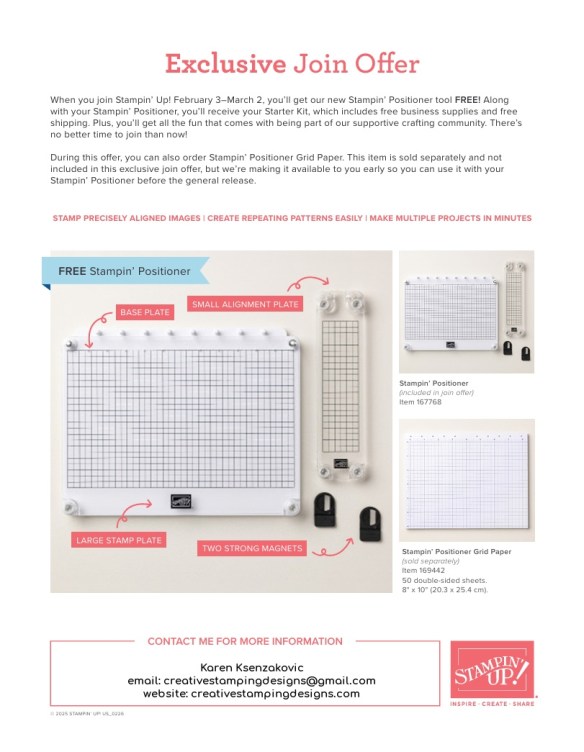
*What’s the Stampin’ Positioner?
It’s Stampin’ Up!’s new stamping alignment tool that makes stamping easier and more accurate. It allows you to stamp precisely aligned images, create repeating patterns and Two-Step Stampin’ images easily, and make multiple projects in minutes.
Stampin’ Positioner Grid Paper will also be available for to order but it is not included as part of this exclusive join offer.
A few other things to know:
- The Stampin’ Positioner WILL be available for purchase by everyone at a later date. We have not been given any details on when that will be.
- The Stampin’ Positioner is available for a limited time for current Demonstrators to purchase.
You can read more details about the joining offer on this PDF (click the image to open a full-size printable PDF):
We’d love to have you join our team!! Once you join, you get at least a 20% discount on all of your Stampin’ Up! purchases and you get to preorder from the upcoming catalogs and promotions!! You can attend the Stampin’ Up! events too. There’s never an obligation to sell, you can join to enjoy the discount for yourself. Contact me if you have any questions and we can talk. I’d love to have you on my team. I’d be more than happy to answer any of your questions, contact me at creativestampingdesigns@gmail.com
You can read a bit more information about the benefits of being a Demonstrator and a part of our team here. When you’re ready to join, you can get started here. Let me know if you have any questions.
*********************************************************************************************************
Redeem Those Bonus Days Coupons February 3 – 28

- Redemption Period: February 3–28, 2026
- There is no limit to the number of coupon codes you can redeem on an order during the redemption period. If you’re redeeming multiple codes, you must put a space between each code.
- You may only redeem coupon codes one time. You cannot redeem them after February 28.
- You can redeem Bonus Days coupon codes for month-to-month Paper Pumpkin subscriptions and new prepaid subscriptions.
- Some restrictions apply. Coupons can’t be redeemed towards Starter Kits and you cannot use them on exchanges.
- Redemption period ends: February 28, 2026, at 11:59 p.m. (MT)
*********************************************************************************************************
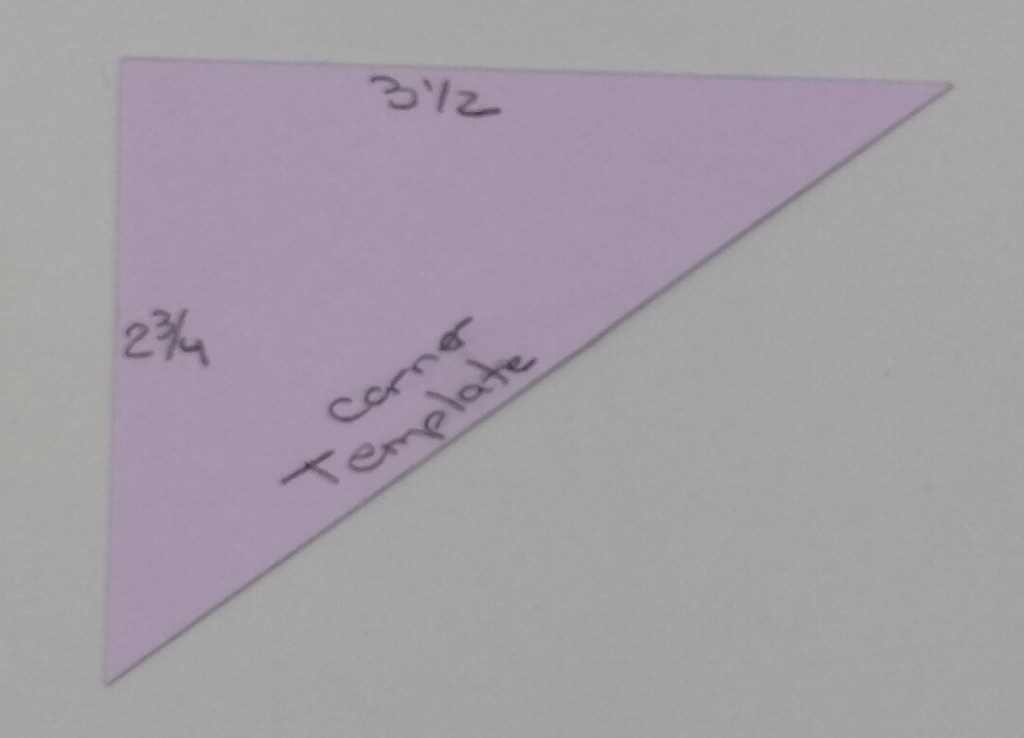
Card stock cuts for this project:
- Basic White Cardstock 3 3/4″ x 5″(inner linr)
- Thick Basic White 4 1/4″ x 11″(card base scored & folded at 5 1/2″)
- Pool Party Cardstock 3″ x 4″(die cut)
- Pretty Peacock Cardstock 3″ x 4″ (die cut)
- Soft sea Foam Cardstock (2) – 4″ x 5 1/4″(card front & inner liner mats)
- Subtle 6 x 6 Designer Series Paper 3 3/4″ x 5″(card front), 1″ x 3 3/4″(inner liner), 2 1/4″ x 6″(envelope flap)
*********************************************************************************************************
Product List
![Nature's Symphony Bundle (English) [ 166926 ]](https://assets1.tamsnetwork.com/images/EC042017NF/166926s.jpg "Nature's Symphony Bundle (English) [ 166926 ]")
![Nature's Symphony Photopolymer Stamp Set (English) [ 166919 ]](https://assets1.tamsnetwork.com/images/EC042017NF/166919s.jpg "Nature's Symphony Photopolymer Stamp Set (English) [ 166919 ]")
![Nature's Symphony Dies [ 166925 ]](https://assets1.tamsnetwork.com/images/EC042017NF/166925s.jpg "Nature's Symphony Dies [ 166925 ]")
![Basic White 8 1/2" X 11" Cardstock [ 166780 ]](https://assets1.tamsnetwork.com/images/EC042017NF/166780s.jpg "Basic White 8 1/2\" X 11\" Cardstock [ 166780 ]")
![Basic White 8 1/2" X 11" Thick Cardstock [ 159229 ]](https://assets1.tamsnetwork.com/images/EC042017NF/159229s.jpg "Basic White 8 1/2\" X 11\" Thick Cardstock [ 159229 ]")
![Pool Party 8-1/2" X 11" Cardstock [ 122924 ]](https://assets1.tamsnetwork.com/images/EC042017NF/122924s.jpg "Pool Party 8-1/2\" X 11\" Cardstock [ 122924 ]")
![Pretty Peacock 8-1/2" X 11" Cardstock [ 150880 ]](https://assets1.tamsnetwork.com/images/EC042017NF/150880s.jpg "Pretty Peacock 8-1/2\" X 11\" Cardstock [ 150880 ]")
![Soft Sea Foam 8-1/2" X 11" Cardstock [ 146988 ]](https://assets1.tamsnetwork.com/images/EC042017NF/146988s.jpg "Soft Sea Foam 8-1/2\" X 11\" Cardstock [ 146988 ]")
![Subtles 6" X 6" (15.2 X 15.2 Cm) Designer Series Paper [ 165306 ]](https://assets1.tamsnetwork.com/images/EC042017NF/165306s.jpg "Subtles 6\" X 6\" (15.2 X 15.2 Cm) Designer Series Paper [ 165306 ]")
![Pool Party Classic Stampin' Pad [ 147107 ]](https://assets1.tamsnetwork.com/images/EC042017NF/147107s.jpg "Pool Party Classic Stampin' Pad [ 147107 ]")
![Pretty Peacock Classic Stampin’ Pad [ 150083 ]](https://assets1.tamsnetwork.com/images/EC042017NF/150083s.jpg "Pretty Peacock Classic Stampin’ Pad [ 150083 ]")
![Soft Sea Foam Classic Stampin' Pad [ 147102 ]](https://assets1.tamsnetwork.com/images/EC042017NF/147102s.jpg "Soft Sea Foam Classic Stampin' Pad [ 147102 ]")
![Birch Wood 3 D Embossing Folder [ 164069 ]](https://assets1.tamsnetwork.com/images/EC042017NF/164069s.jpg "Birch Wood 3 D Embossing Folder [ 164069 ]")
![Shades Of Green Hexagons [ 165233 ]](https://assets1.tamsnetwork.com/images/EC042017NF/165233s.jpg "Shades Of Green Hexagons [ 165233 ]")
![Basic White Medium Envelopes [ 159236 ]](https://assets1.tamsnetwork.com/images/EC042017NF/159236s.jpg "Basic White Medium Envelopes [ 159236 ]")


![Tear & Tape Adhesive [ 154031 ]](https://assets1.tamsnetwork.com/images/EC042017NF/154031s.jpg "Tear & Tape Adhesive [ 154031 ]")

![Take Your Pick [ 144107 ]](https://assets1.tamsnetwork.com/images/EC042017NF/144107s.jpg "Take Your Pick [ 144107 ]")


![Sunshine & Tulips Bundle (English) [ 166866 ]](https://assets1.tamsnetwork.com/images/EC042017NF/166866s.jpg "Sunshine & Tulips Bundle (English) [ 166866 ]")
![Sunshine & Tulips Photopolymer Stamp Set (English) [ 166859 ]](https://assets1.tamsnetwork.com/images/EC042017NF/166859s.jpg "Sunshine & Tulips Photopolymer Stamp Set (English) [ 166859 ]")
![Sunshine & Tulips Dies [ 166865 ]](https://assets1.tamsnetwork.com/images/EC042017NF/166865s.jpg "Sunshine & Tulips Dies [ 166865 ]")
![Balmy Blue 8-1/2" X 11" Cardstock [ 146982 ]](https://assets1.tamsnetwork.com/images/EC042017NF/146982s.jpg "Balmy Blue 8-1/2\" X 11\" Cardstock [ 146982 ]")
![Crumb Cake 8-1/2" X 11" Cardstock [ 120953 ]](https://assets1.tamsnetwork.com/images/EC042017NF/120953s.jpg "Crumb Cake 8-1/2\" X 11\" Cardstock [ 120953 ]")
![Lemon Lolly 8 1/2" X 11" Cardstock [ 161720 ]](https://assets1.tamsnetwork.com/images/EC042017NF/161720s.jpg "Lemon Lolly 8 1/2\" X 11\" Cardstock [ 161720 ]")
![Peach Pie 8 1/2" X 11" Cardstock [ 163799 ]](https://assets1.tamsnetwork.com/images/EC042017NF/163799s.jpg "Peach Pie 8 1/2\" X 11\" Cardstock [ 163799 ]")
![Pretty In Pink 8 1/2" X 11" Cardstock [ 163793 ]](https://assets1.tamsnetwork.com/images/EC042017NF/163793s.jpg "Pretty In Pink 8 1/2\" X 11\" Cardstock [ 163793 ]")
![Shy Shamrock 8 1/2" X 11" Cardstock [ 163795 ]](https://assets1.tamsnetwork.com/images/EC042017NF/163795s.jpg "Shy Shamrock 8 1/2\" X 11\" Cardstock [ 163795 ]")
![Neutrals 6" X 6" (15.2 X 15.2 Cm) Designer Series Paper [ 165303 ]](https://assets1.tamsnetwork.com/images/EC042017NF/165303s.jpg "Neutrals 6\" X 6\" (15.2 X 15.2 Cm) Designer Series Paper [ 165303 ]")
![2024–2026 In Color™ 6" X 6" (15.2 X 15.2 Cm) Designer Series Paper [ 165299 ]](https://assets1.tamsnetwork.com/images/EC042017NF/165299s.jpg "2024–2026 In Color™ 6\" X 6\" (15.2 X 15.2 Cm) Designer Series Paper [ 165299 ]")
![Balmy Blue Classic Stampin' Pad [ 147105 ]](https://assets1.tamsnetwork.com/images/EC042017NF/147105s.jpg "Balmy Blue Classic Stampin' Pad [ 147105 ]")
![Peach Pie Classic Stampin Pad [ 163810 ]](https://assets1.tamsnetwork.com/images/EC042017NF/163810s.jpg "Peach Pie Classic Stampin Pad [ 163810 ]")
![Pretty In Pink Classic Stampin Pad [ 163807 ]](https://assets1.tamsnetwork.com/images/EC042017NF/163807s.jpg "Pretty In Pink Classic Stampin Pad [ 163807 ]")
![Shy Shamrock Classic Stampin Pad [ 163808 ]](https://assets1.tamsnetwork.com/images/EC042017NF/163808s.jpg "Shy Shamrock Classic Stampin Pad [ 163808 ]")
![Shy Shamrock Stampin’ Blends Combo Pack [ 163825 ]](https://assets1.tamsnetwork.com/images/EC042017NF/163825s.jpg "Shy Shamrock Stampin’ Blends Combo Pack [ 163825 ]")
![Baker's Twine Essentials Pack [ 155475 ]](https://assets1.tamsnetwork.com/images/EC042017NF/155475s.jpg "Baker's Twine Essentials Pack [ 155475 ]")
![Tiny Bee Trinkets [ 164714 ]](https://assets1.tamsnetwork.com/images/EC042017NF/164714s.jpg "Tiny Bee Trinkets [ 164714 ]")


![Basic Black 8-1/2" X 11" Cardstock [ 121045 ]](https://assets1.tamsnetwork.com/images/EC042017NF/121045s.jpg "Basic Black 8-1/2\" X 11\" Cardstock [ 121045 ]")
![Brights 6" X 6" (15.2 X 15.2 Cm) Designer Series Paper [ 165301 ]](https://assets1.tamsnetwork.com/images/EC042017NF/165301s.jpg "Brights 6\" X 6\" (15.2 X 15.2 Cm) Designer Series Paper [ 165301 ]")
![Regals 6" X 6" (15.2 X 15.2 Cm) Designer Series Paper [ 165304 ]](https://assets1.tamsnetwork.com/images/EC042017NF/165304s.jpg "Regals 6\" X 6\" (15.2 X 15.2 Cm) Designer Series Paper [ 165304 ]")
![2025–2027 In Color™ 6" X 6" (15.2 X 15.2 Cm) Designer Series Paper [ 165300 ]](https://assets1.tamsnetwork.com/images/EC042017NF/165300s.jpg "2025–2027 In Color™ 6\" X 6\" (15.2 X 15.2 Cm) Designer Series Paper [ 165300 ]")
![Bubble Bath Classic Stampin' Pad [ 161664 ]](https://assets1.tamsnetwork.com/images/EC042017NF/161664s.jpg "Bubble Bath Classic Stampin' Pad [ 161664 ]")
![Poppy Parade Classic Stampin' Pad [ 119782 ] (Retired)](https://assets1.tamsnetwork.com/images/EC042017NF/119782s.jpg "Poppy Parade Classic Stampin' Pad [ 119782 ] (Retired)")
![Tuxedo Black Memento Ink Pad [ 132708 ]](https://assets1.tamsnetwork.com/images/EC042017NF/132708s.jpg "Tuxedo Black Memento Ink Pad [ 132708 ]")
![Strawberry Slush 3/8" (1 Cm) Faux Linen Ribbon [ 165274 ]](https://assets1.tamsnetwork.com/images/EC042017NF/165274s.jpg "Strawberry Slush 3/8\" (1 Cm) Faux Linen Ribbon [ 165274 ]")
![Dear Dots [ 165848 ]](https://assets1.tamsnetwork.com/images/EC042017NF/165848s.jpg "Dear Dots [ 165848 ]")


")


 Designer Series Paper")


")

 Designer Series Paper")


")


 Designer Series Paper")


")
")


 Specialty Designer Series Paper")


")

")
")


 Designer Series Paper")


")
")

")


 Glittered Organdy Ribbon")


 Designer Series Paper")


 Gingham Ribbon")


