Good Sunday morning my stamping friends and Happy Independence Day!! Hope you have some fun plans for today. I’m having a relaxing day at home, no plans here.
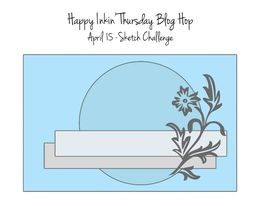
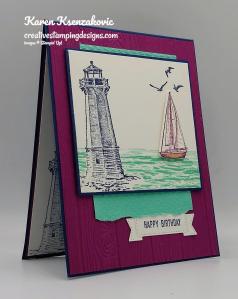
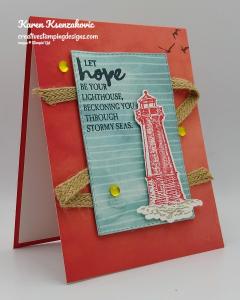
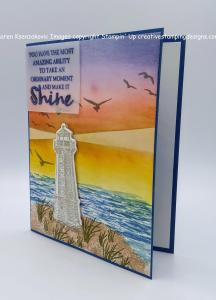
Today’s card is a similar design that I did this past week, I just change the image and paper a little. This is one we will probably be making at my class on Tuesday night. I had one person ask for a nautical card, one ask for a sympathy and one ask to use a specific stamp set. So I used all 3 suggestions in 1 card. Here’s my card for today.
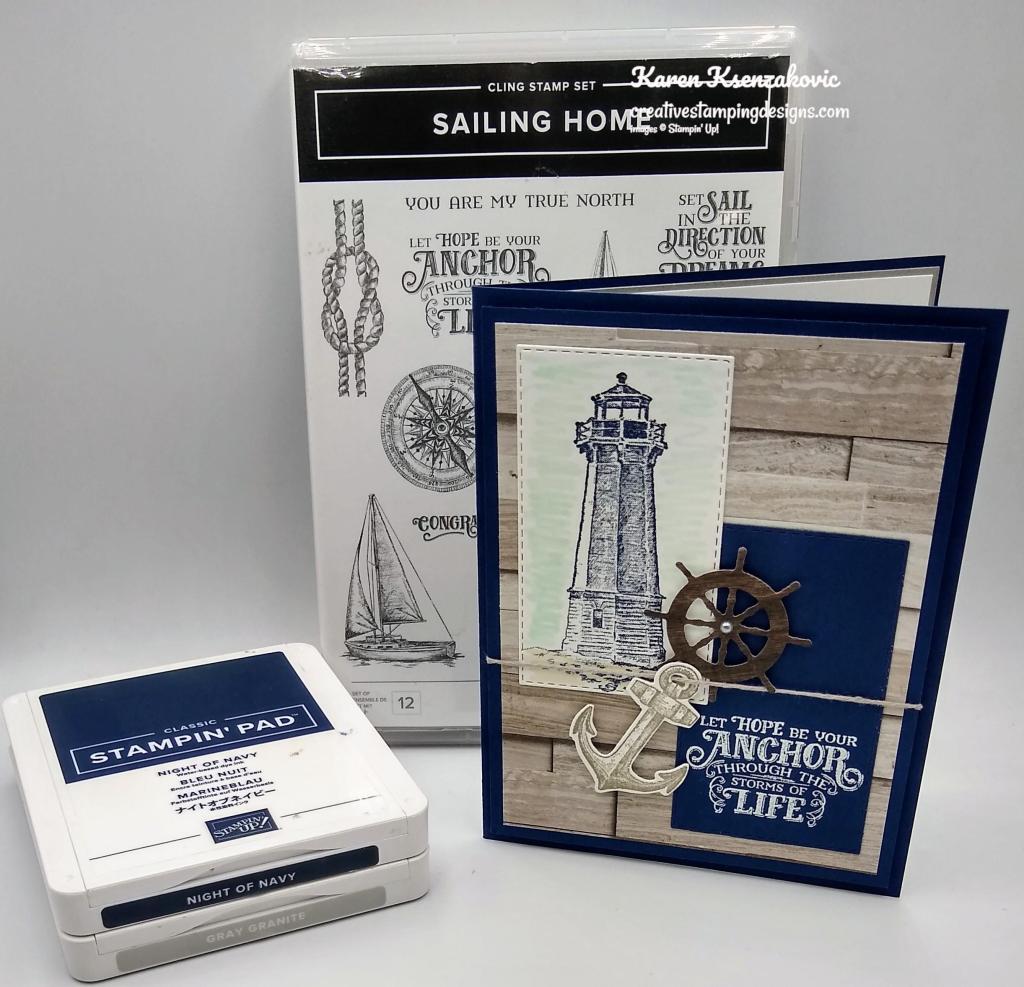
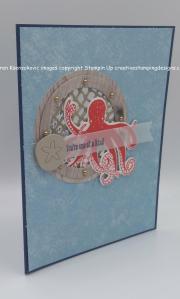
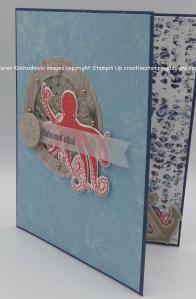
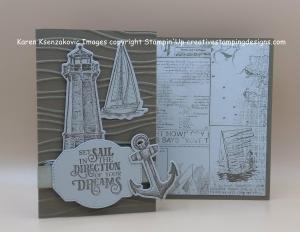
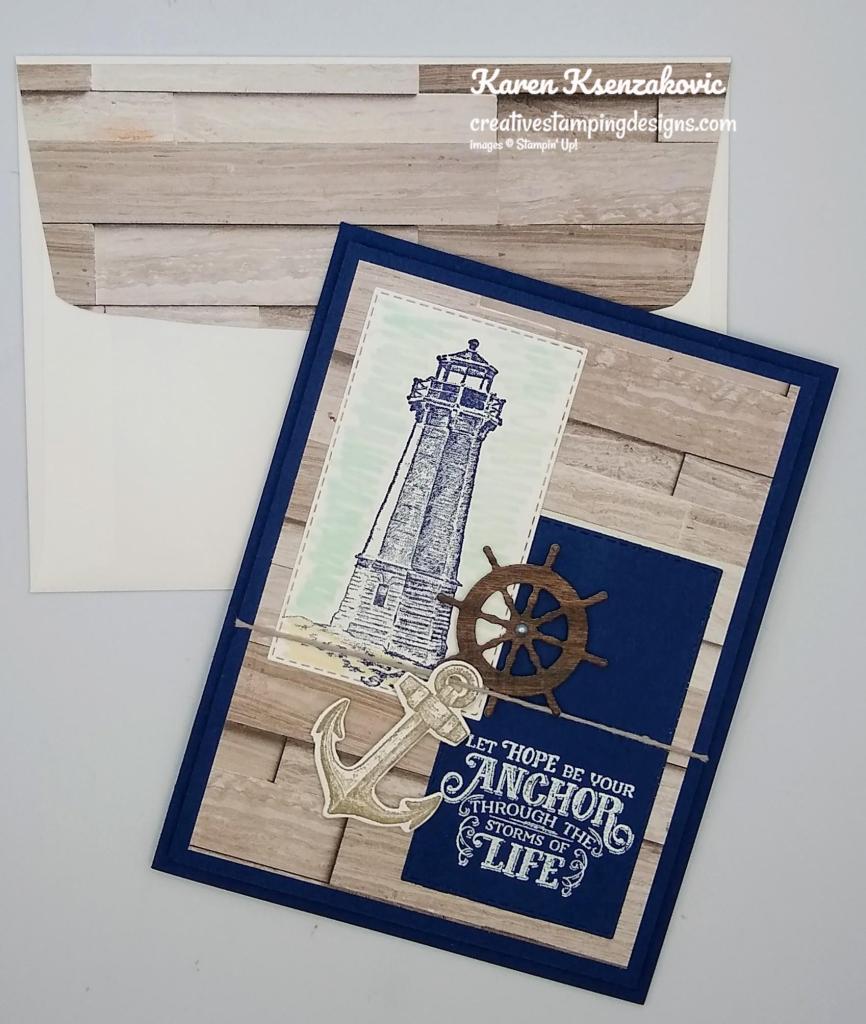
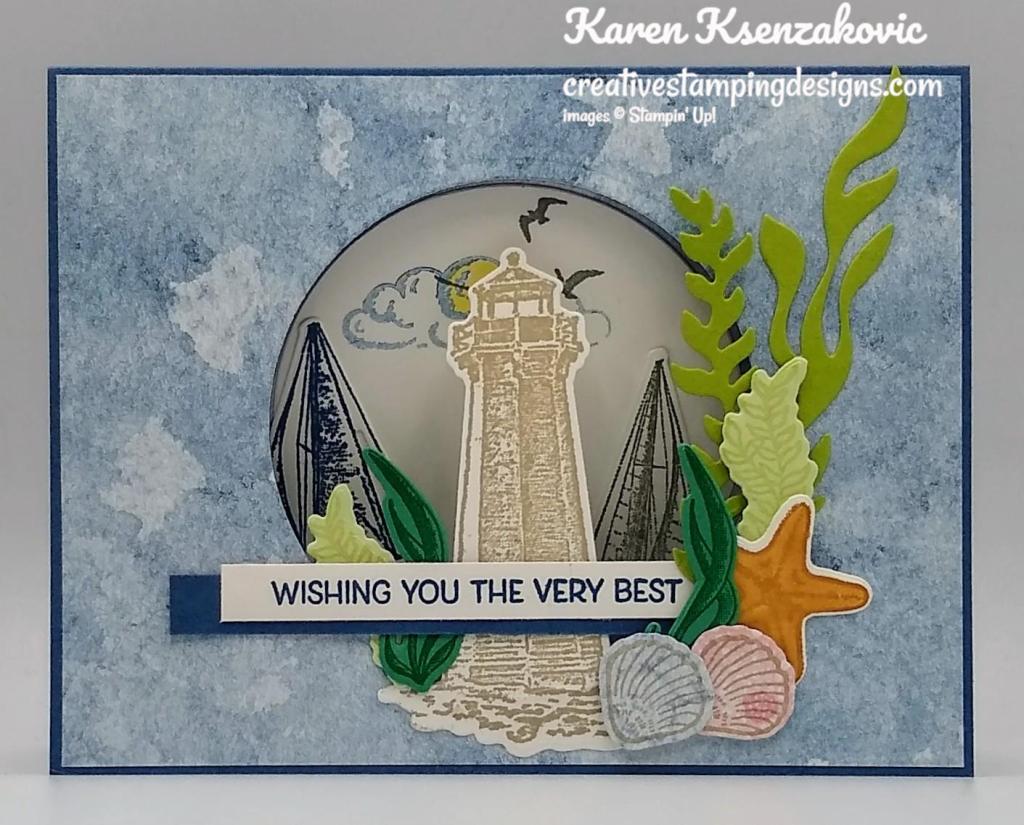
I used the Stampin’ Up! Sailing Home Cling Stamp Set along with the In Good Taste Designer Series Paper for my card today.

I started by adhering a panel of In Good Taste DSP to a Night of Navy mat using Stampin’ Seal.
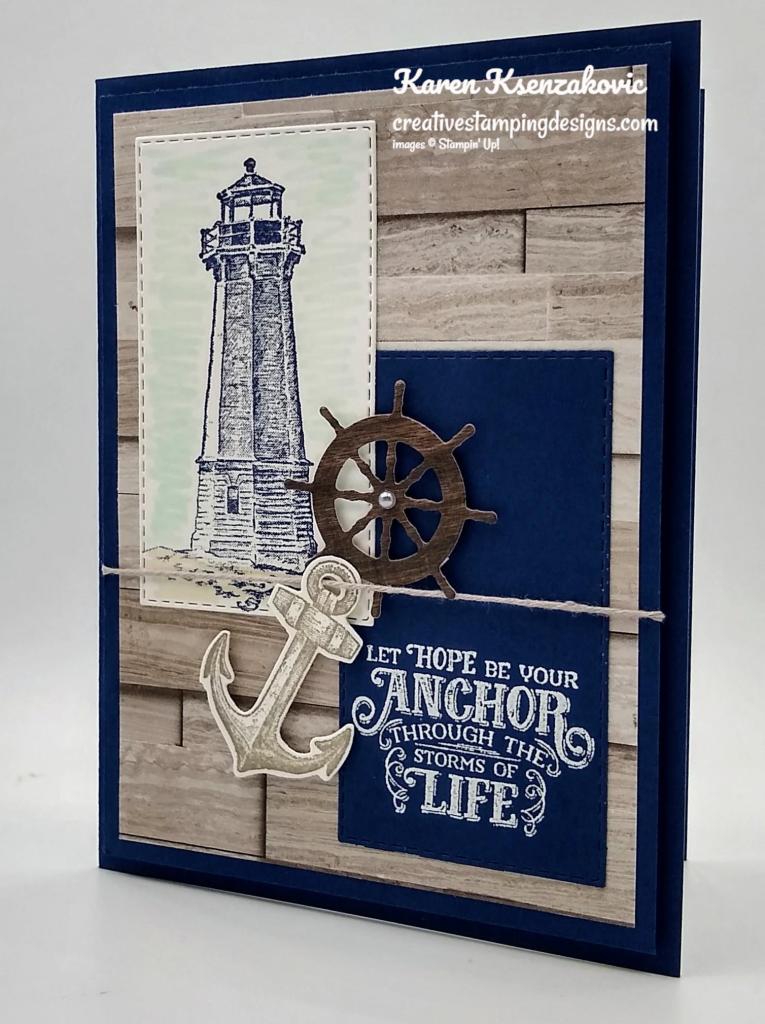
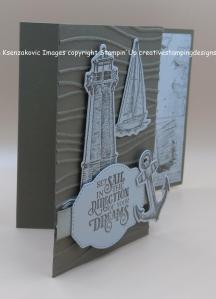
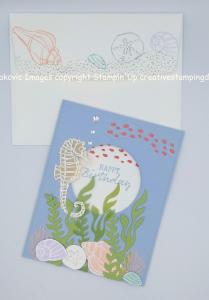
On a panel of Night of Navy cardstock I stamped the sentiment form the Sailing Home stamp set in Versamark Ink. I immediately sprinkled it with White Stampin’ Emboss Powder and set it using my Heat Tool. I cut the sentiment out using the 3rd from the smallest Stitched Rectangle Dies, with the sentiment on the very bottom. I adhered the sentiment to the card front using Stampin’ Seal.
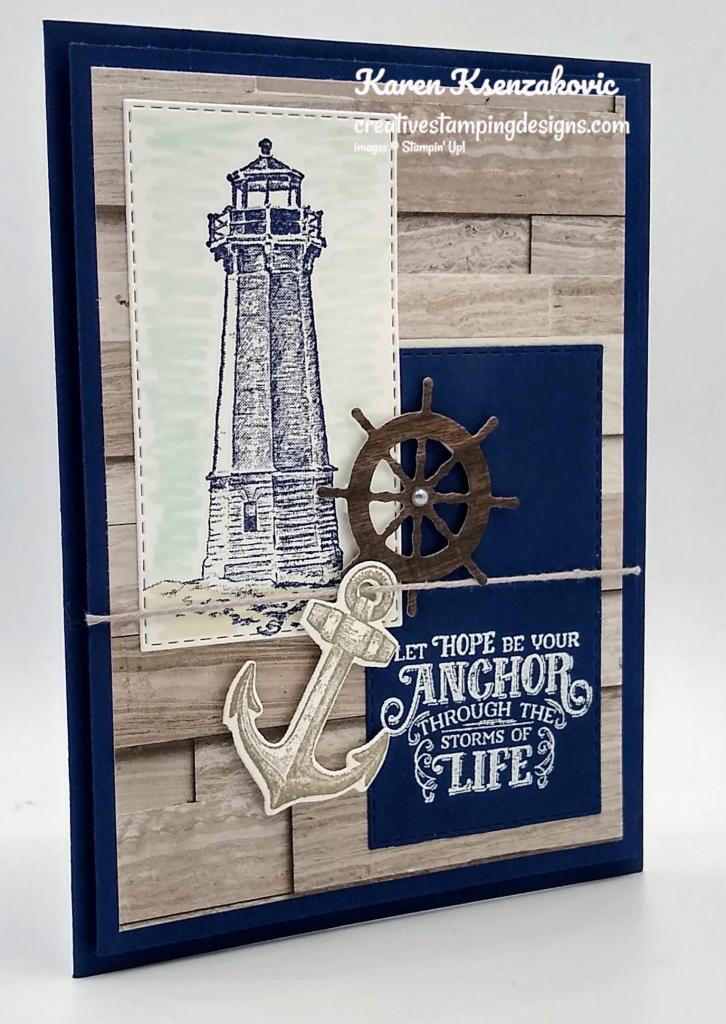
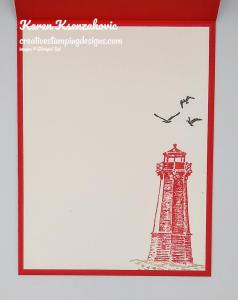
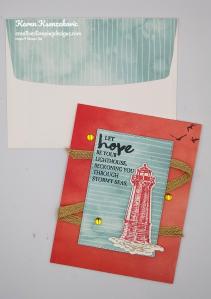
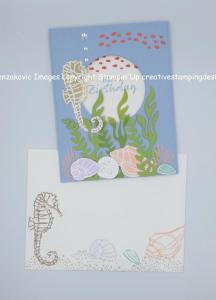
I cut a panel of Basic White cardstock using the 3rd from the smallest Stitched Rectangle Die. I stamped the lighthouse image from the Sailing Home stamp set in Night of Navy Ink, stamping off once, on the bottom of the panel. Using my Pool Party Stampin’ Blends Markers, I added a little color around the lighthouse image. I added a little color for the sand on the bottom of the image using my Crumb Cake Stampin’ Blends Markers. I adhered the panel to the card front using Multipurpose Liquid Glue. I stamped the anchor image from the Sailing Home stamp set on a panel of Basic White cardstock in Gray Granite Ink and cut the image out using my Smooth Sailing Dies. I cut the helm die from the Smooth Sailing Dies, from a scrap of In Good Taste DSP and adhered it to the card front using Stampin’ Dimensionals. I added a silver Metallic Pearl to the center of the helm. I threaded a piece of Gray Granite Bakers Twine, from the Bakers Twine Essential Pack, through the top of the anchor and wrapped it around the card front and tied a knot in the back. I adhered the card front to a Night of Navy card base using Stampin’ Dimensionals.
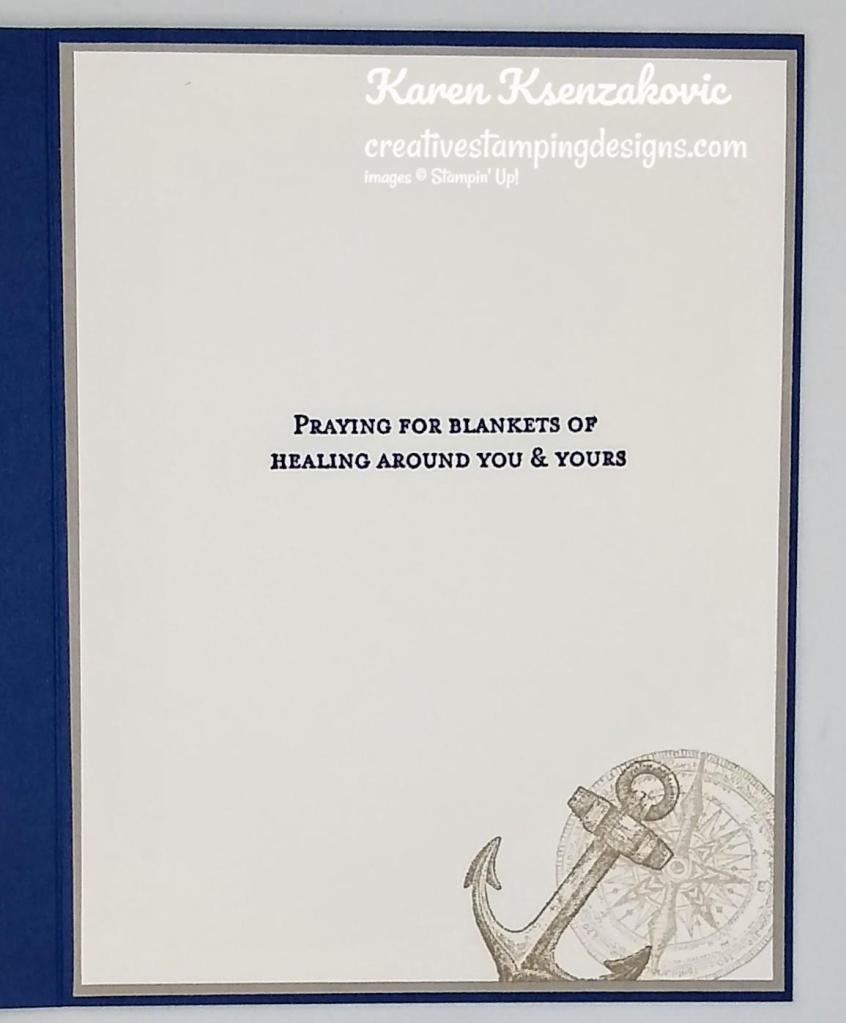
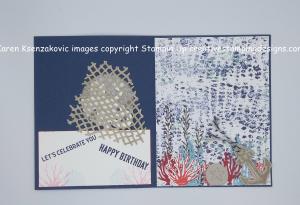
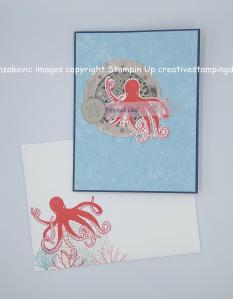
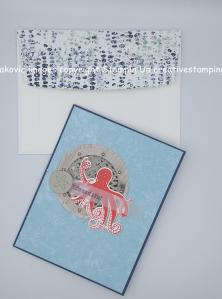
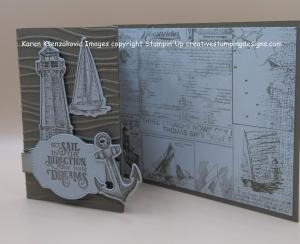
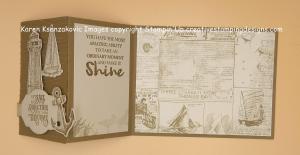
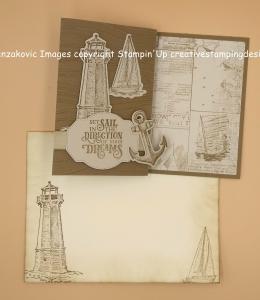
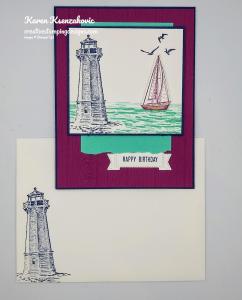
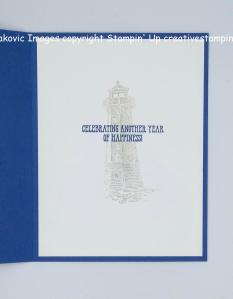
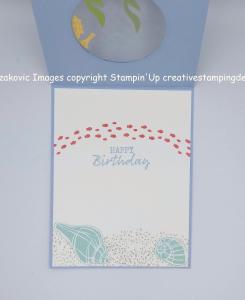
On the inside I stamped the sentiment from the Stampin’ Up! Through It Together Cling Stamp Set in Night of Navy Ink on a Basic White panel. I stamped the compass image from the Sailing Home stamp set in Gray Granite Ink, stamping off once, on the bottom of the panel. I stamped the anchor image from the Sailing Home stamp set in Gray Granite Ink on top of the compass image. I adhered the Basic White panel to a Gray Granite mat using Stampin’ Seal and then to the inside of the Night of Navy card base using Multipurpose Liquid Glue.
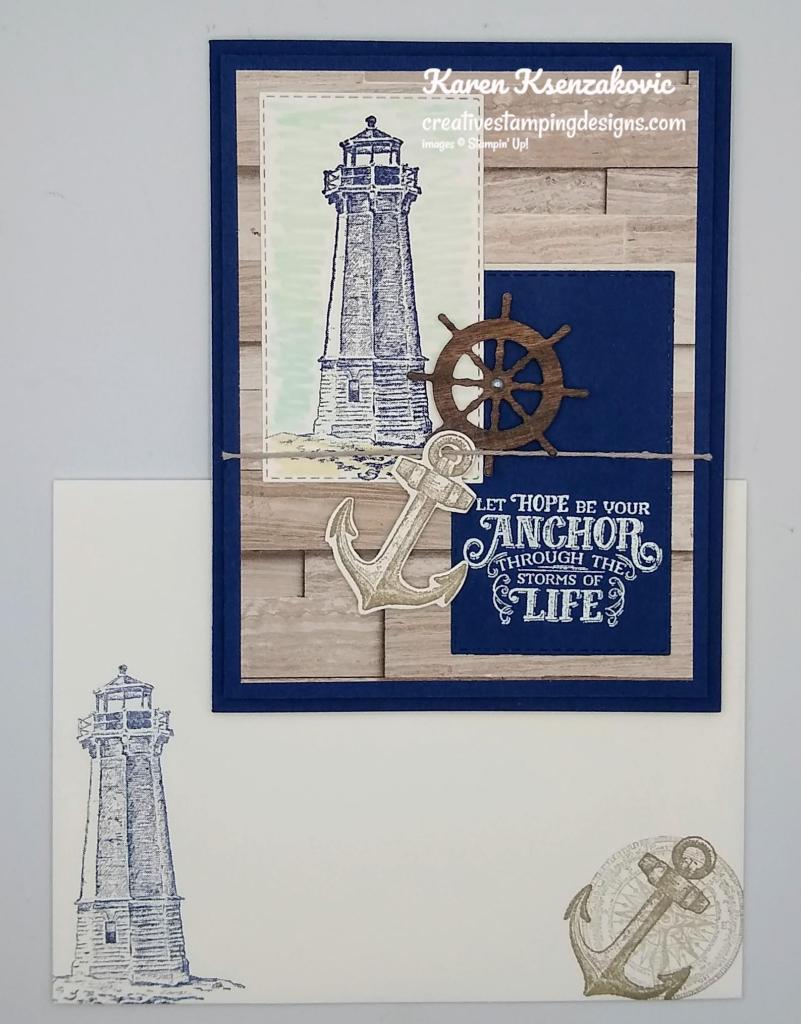
To finish my card I decorated a Basic White Medium Envelope. I stamped the lighthouse image from the Sailing Home stamp set in Night of Navy Ink, stamping off once. I stamped the compass image from the Sailing Home stamp set in Gray Granite Ink, stamping off once on the envelope front and the anchor image in Gray Granite Ink on top of the compass. I adhered a panel of In Good Taste DSP to the envelope flap.
Thank you for stopping by my blog today. I hope you like my card and will give it a try. Hope you all enjoy your 4th of July festivities and if you have off tomorrow, enjoy your day off. Happy Stamping!!
*********************************************************************************************************
If you need any stamping supplies, I’d love to be your Demonstrator. Just click HERE to go directly to my online store or drop me an email if you have any questions.
MY CURRENT HOST CODE IS: CEWAN9UD
Use this host code when you order $50 or greater and receive a free gift from me! If your order is over $150, please do not use this code, but you’ll still get the free gift. The free gift is your choice of any 1 item valued up to $10.00 from the 2020-2021 Annual Catalog or the January-June 2021 Mini Catalog! For any orders $50 or more I will also send you my monthly class tutorials. Click HERE or go to my Customer Rewards for more details and to see what this months tutorials are.
Please remember to use my current Host Code and make sure that you can see my name on the final checkout page listed as your Demonstrator when you order so that you know that you’re ordering with me and you’ll get my rewards!
Happy Stamping, Karen!
*********************************************************************************************************

SAVE 15% ON DESIGNER SERIES PAPER JULY 1 – AUGUST 2!
We all love gorgeous Designer Series Paper, and during this incredible sale, you can enjoy a 15% discount on select papers from the 2021–2022 Annual Catalog! July is a great time to stock up and save on some of Stampin’ Up!’s most popular paper designs!
PROMOTION DETAILS:
- Sales Period: July 1 – August 2
- All order types qualify for this promotion.
- There is no limit to how many packages of Designer Series Paper may be purchased during this promotion.
- Only select Designer Series Papers are available at a 15% discount during this promotion.
- Orders must be placed—and closed—during the promotion period for the 15% discount to apply.
- Designer Series Paper ordered as part of a Starter Kit or with Stampin’ Rewards qualify for the 15% discount.
- Order Deadline: August 2, 2021 at 11:59 PM (MT)
Click on image below for a printable PDF of the Sale Designer Series Papers

*********************************************************************************************************
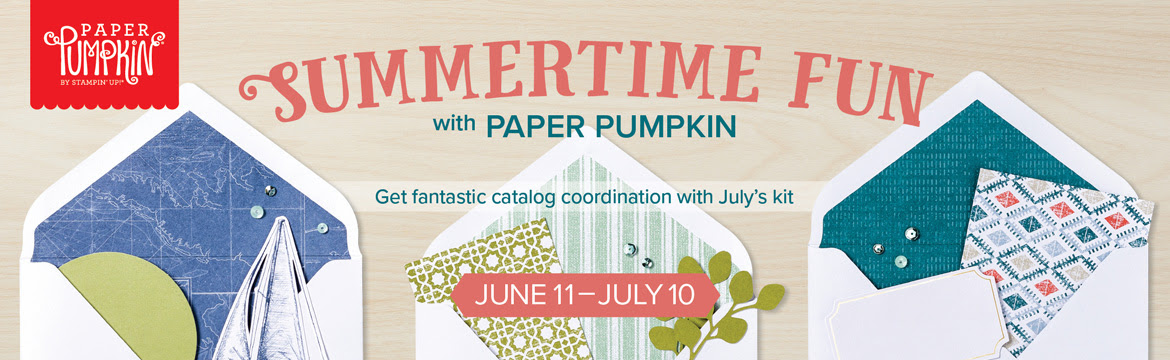
The Adventure Begins
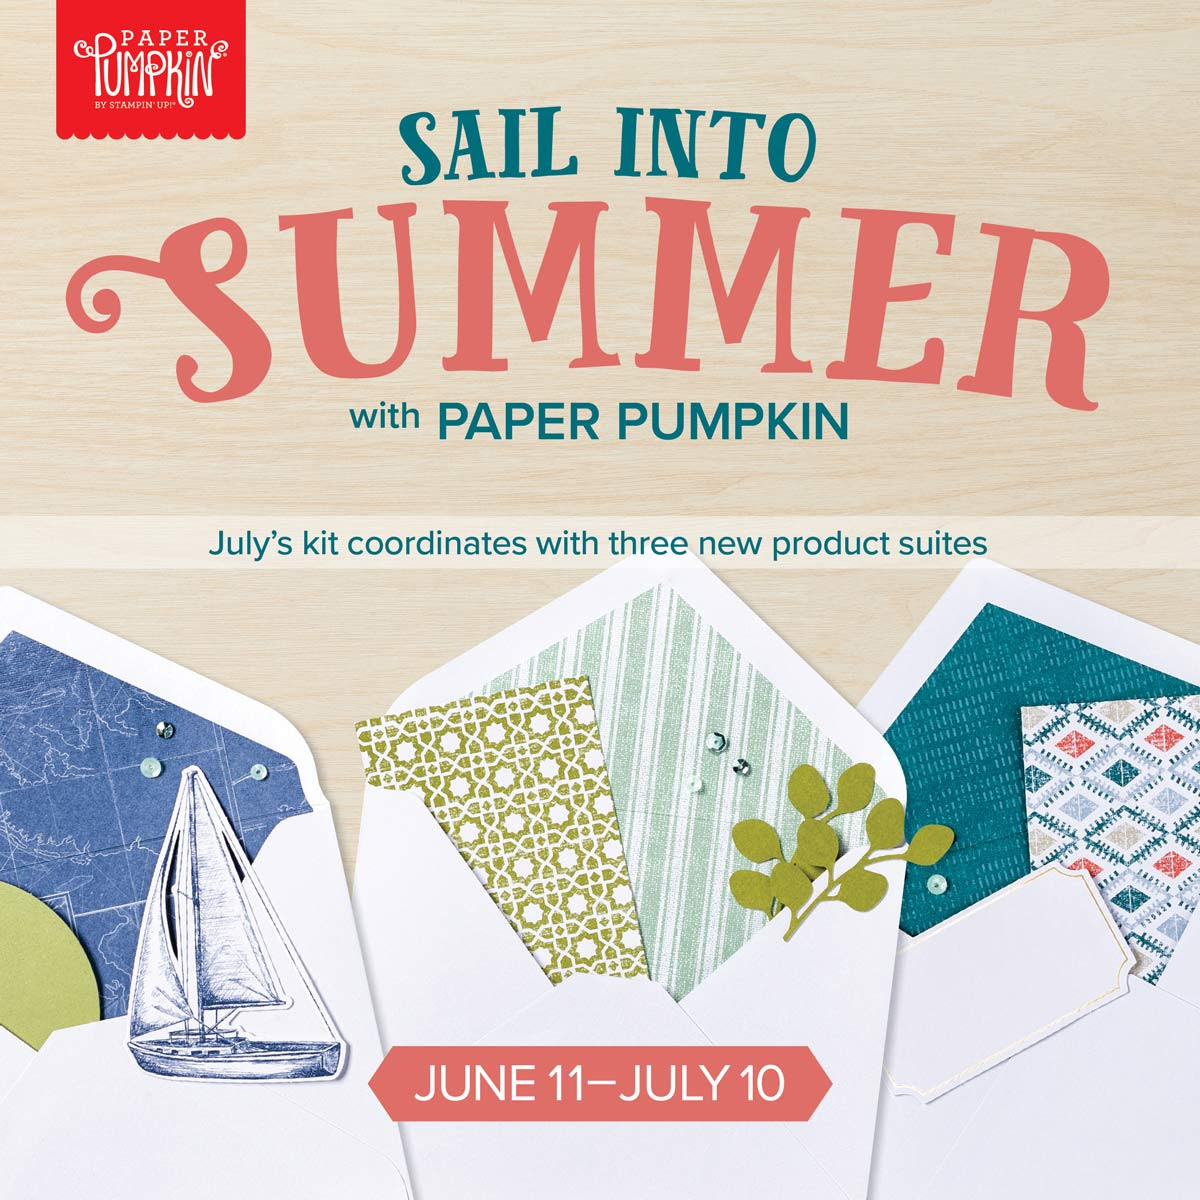
Subscribe June 11 – July 10
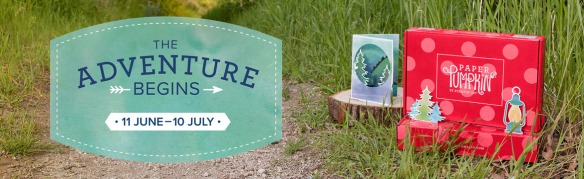
Life is full of big adventures that are best experienced together! This month’s The Adventure Begins Paper Pumpkin Kit helps you celebrate those exciting new chapters in the most creative of ways with enough supplies to create twelve motivating cards—plus coordinating envelopes—all featuring the exciting colors of nature.
Like the still moments before a great adventure, the kit’s designs contain a quiet energy that hint at all the grand possibilities of what is yet to come. Share this kit with your family and friends about to embark on a new journey and make connections while you explore and discover new levels of your creativity!
Details
- Contains enough supplies to create twelve cards and coordinating envelopes.
- Card size: 4-1/4” x 5-1/2” (10.8 x 14cm)
- Envelope size: 4-1/2” x 5-3/4” (11.4 x 14.6 cm)
- Comes with a Stampin’ Spot plus an exclusive Stamp Set.
- Includes inspirational sentiments and adventure-themed imagery featuring these nature-inspired coordinating colors: Basic Black, Basic White, Bermuda Bay, Crushed Curry, Early Espresso, Flirty Flamingo, Garden Green, Granny Apple Green, Mango Melody, Night of Navy.
Subscribe to the July 2021 Paper Pumpkin Kit between 11 June and 10 July at paperpumpkin.com!
Note: Supplies may be limited toward the end of the subscription period.
*********************************************************************************************************
Card stock cuts for this project:
- Basic White Cardstock 2 1/4″ x 4″ (artwork), 1 1/2″ X 2″ (anchor), 4″ X 5 1/4″ (inner liner)
- Gray Granite Cardstock 4 1/8″ X 5 3/8″ (inner liner mat)
- Night of Navy Cardstock 8 1/2″ X 5 1/2″ (card base scored and folded at 4 1/4″), 4″ X 5 1/4″ (card front mat), 2 1/4″ X 4″ (sentiment)
- In Good Taste Designer Series Paper 3 3/4″ X 5″ (card front), 1 1/2″ X 1 1/2″ (helm), 2 1/2″ X 6″ (envelope flap)
*********************************************************************************************************
Product List

")


")


")


 Braided Burlap Trim")


 Vellum Cardstock")