Stampin’ Up! Festive Cheer for The Happy Inkin’ Thursday Blog Hop

Good Thursday morning stamping friends welcome to our Happy Inkin’ Thursday Blog Hop. If you are starting with me, thank you, I hope you will stop by everyone’s blog to see the beautiful projects they have created this week. If you are hopping over from Mary’s blog, thank you for stopping by. This week we have a Sketch Challenge to work with. If you’d like to see a quick video on how I made this card, Click Here to go to my Instagram Reels. Here is my card using this week’s sketch.
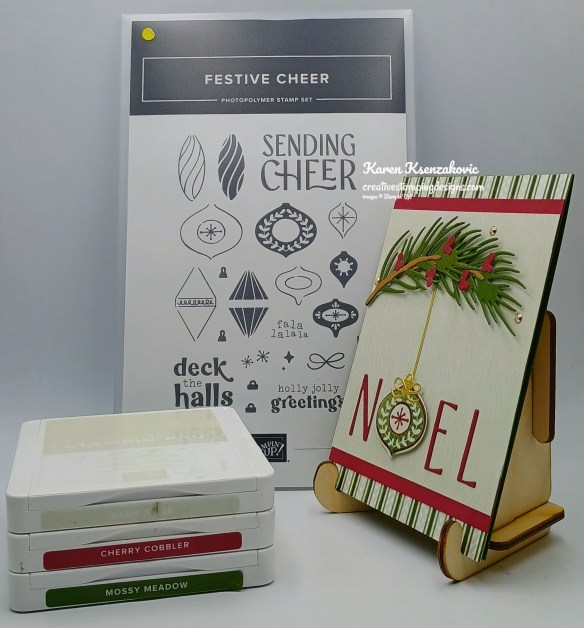
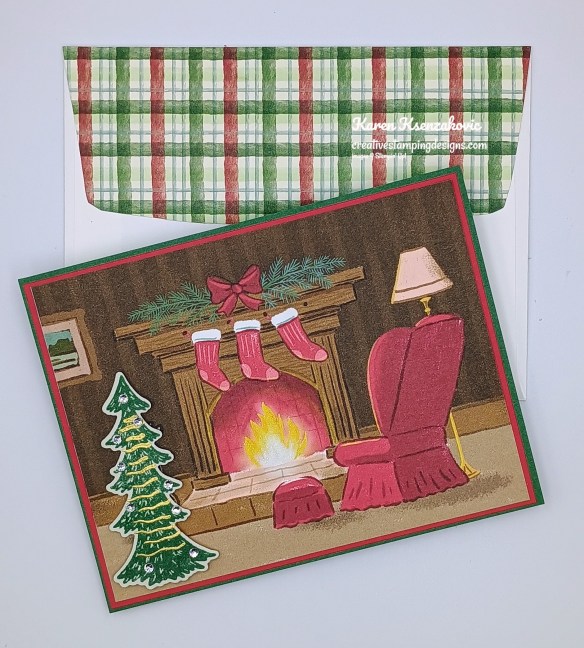
Stampin' Up! Festive Cheer Noel 1 creativestampingdesigns.com

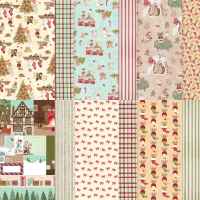
I used the Stampin’ Up! Festive Cheer Bundle, A Little Christmas Designer Series Paper and Wood grain Wonders Designer Series Paper for my card today.
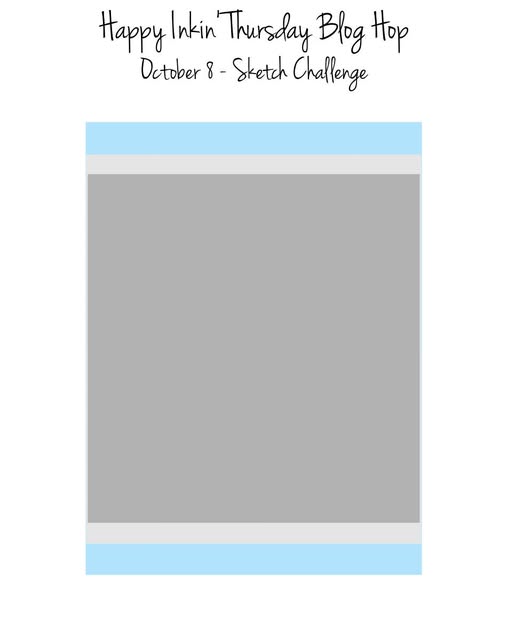
This is our sketch for this week.
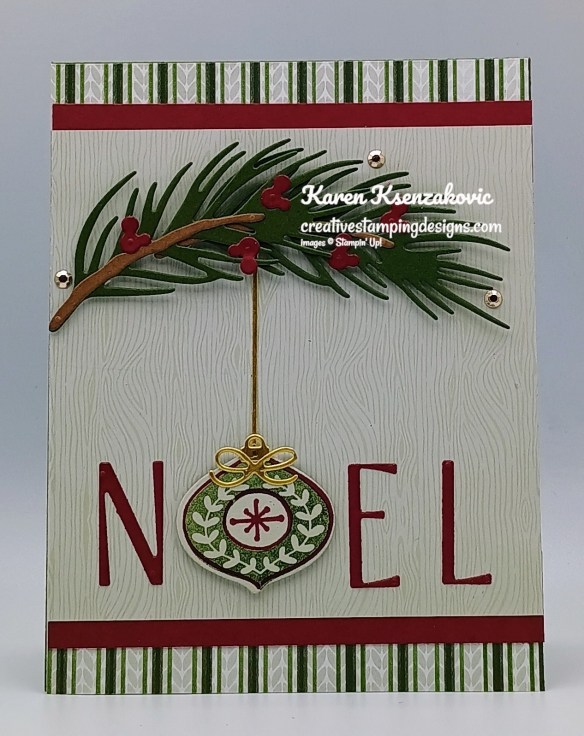
Stampin' Up! Festive Cheer Noel 2 creativestampingdesigns.com

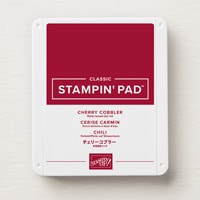
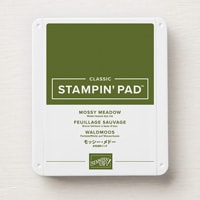
Adhere a panel of A Little Christmas DSP to a Mossy Meadow card base. Adhere 2 strips of Cherry Cobbler to the topo and bottom of a Wood Grain Wonders DSP panel. Adhere the layered panel to the card front.
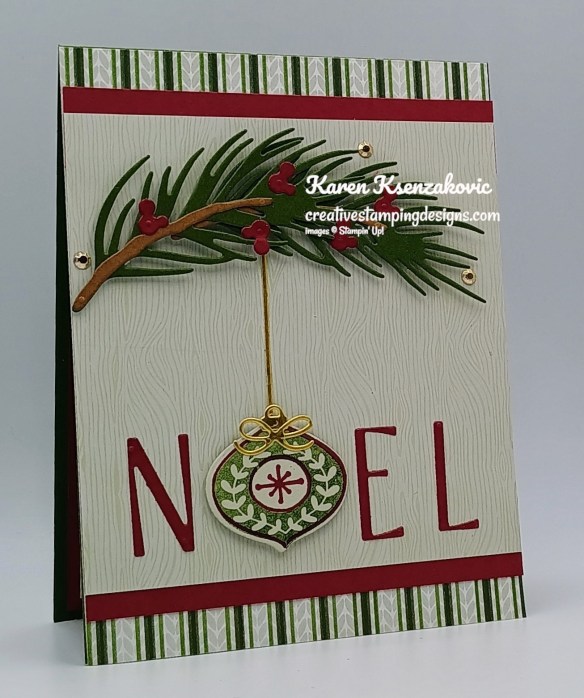
Stampin' Up! Festive Cheer Noel 3 creativestampingdesigns.com

Stamp the outline ornament image from Festive Cheer stamp set in Cherry Cobbler Ink on a panel of Basic Beige. Stamp the solid ornament image from Festive Cheer stamp set in Mossy Meadow Ink, stamping off once on scrap paper, over the outlined image. Using the Festive Cheer Dies, cut the ornament, cut 2 pine boughs from a panel of Mossy Meadow, 2 branches from a panel of Pecan Pie, the sentiment and berries from a panel of Cherry Cobbler, the ornament hanger, bow and string from a panel of Gold Foil.
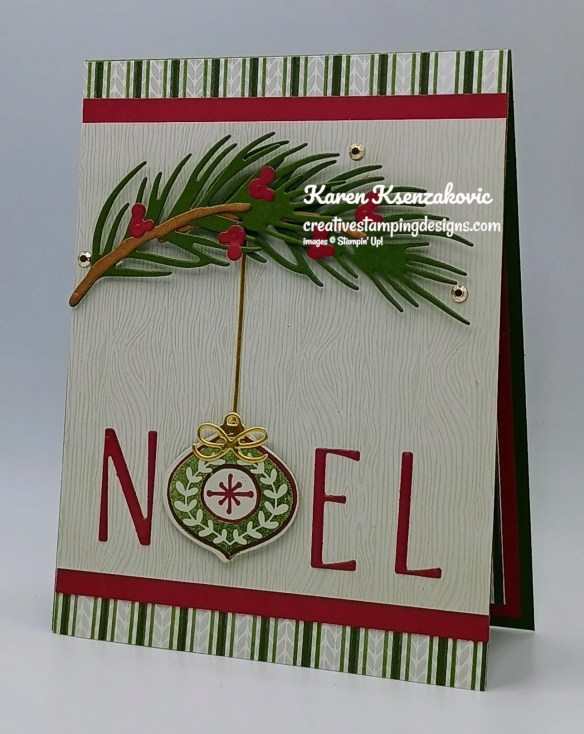
Stampin' Up! Festive Cheer Noel 4 creativestampingdesigns.com

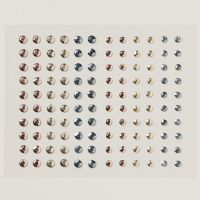
Adhere the branches and berries to the pine boughs, then adhere the pine boughs to the card front with Stampin’ Dimensionals. Adhere the sentient to the card front. Adhere the ornament hanger and bow to the ornament. Adhere the ornament between the sentiment with Stampin’ Dimensionals. Adhere the string from the pine bough to the ornament. Add a few Adhesive-Backed Metallic Gems to the card front.
Stampin' Up! Festive Cheer Noel 5 creativestampingdesigns.com

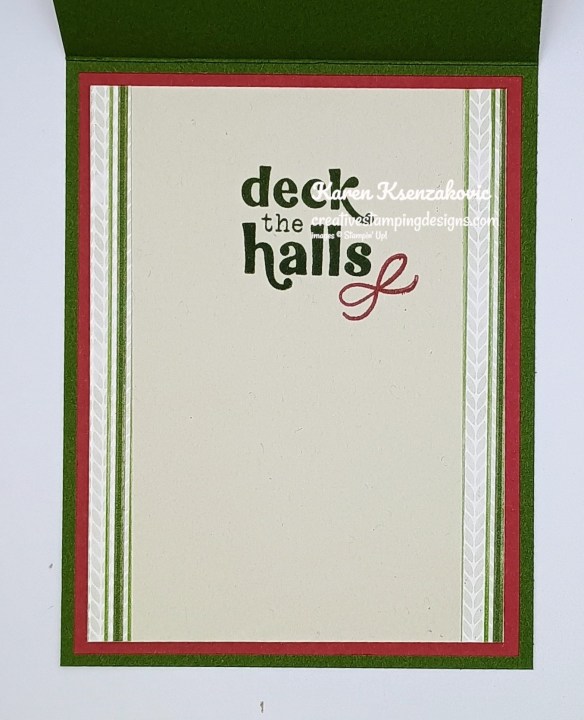
Stamp the sentiment from Festive Cheer stamp set in Mossy Meadow Ink to a panel of Basic Beige. Stamp the bow image from Festive Cheer stamp set by the sentiment n Cherry Cobbler Ink. Adhere 2 panels of A Little Christmas DSP to either side of the Basic Beige panel. Adhere the Basic Beige panel to a Cherry Cobbler mat then to the inside of the Mossy Meadow card base.
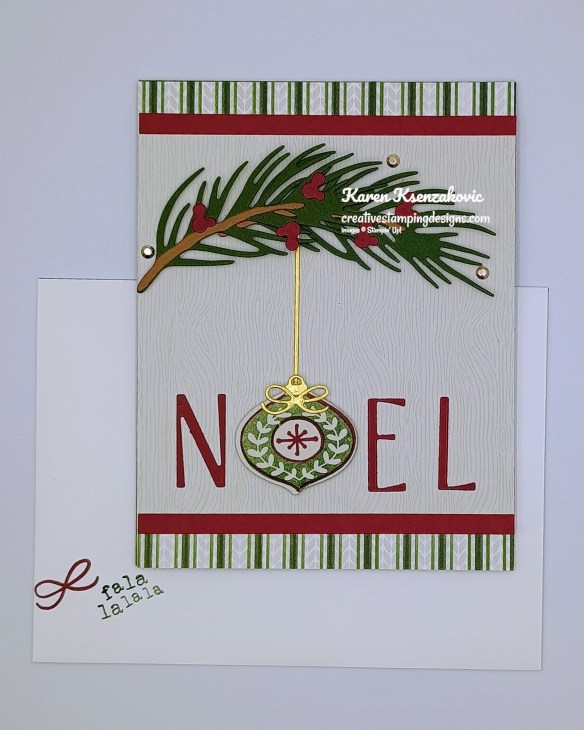
Stampin' Up! Festive Cheer Noel 6 creativestampingdesigns.com

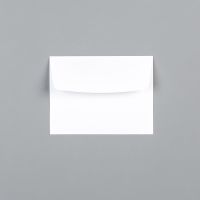
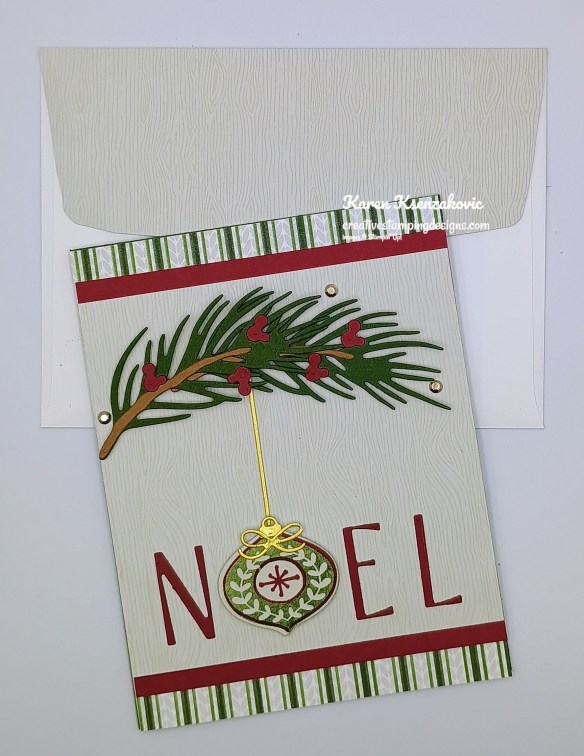
Decorate a Basic White Medium Envelope to complete your card. Stamp the bow image from Festive Cheer stamp set in Cherry Cobbler Ink on the envelope front. Stamp the sentiment from Festive Cheer stamp set in Mossy Meadow Ink on the envelope front. Adhere a panel of Wood Grain Wonders DSP to the envelope flap.
Stampin' Up! Festive Cheer Noel 7 creativestampingdesigns.com

Thank you for stopping by my blog today. Now that you’ve seen my card, let’s get on with the hop! Click the next button below to hop over to see what Tara has created. Happy Hopping

Just in case you get lost along the way, here is a list of the team members involved in the hop today.

Amy Koenders

Mary Deatherage

Karen Ksenzakovic You Are Here

Tara Carpenter

Terry Lynn Bright

Charlene Tackvic

********************************************************************************************************

If you need any stamping supplies, I’d love to be your Demonstrator. Just click HERE to go directly to my online store or drop me an email if you have any questions. 

*********************************************************************************************************

Card stock cuts for this project:

  • Basic Beige Cardstock 1 3/4″ x 2″ (die cut), 3 3/4″ x 5″ inner liner)
  • Cherry Cobbler Cardstock (2) 3/4″ x 4 1/4″ (card front panels), 1 1/2″ x 3″ (die cuts), 4″ x 5 1/4″ (mat)
  • Mossy Meadow Cardstock 4 1/4″ x 11″ (card base scored & folded at 5 1/2″), 3 1/4″ x 3 1/2″ (die cuts)
  • Pecan Pie Cardstock 1″ x 3″ (die cuts)
  • A Little Christmas Designer Series Paper 4 1/4″ x 5 1/2″ (card front)
  • Wood Grain Wonders Designer Series Paper 4 1/4″ x 4 1/4″ (card front panel), 2 1/4″ x 6″ (envelope)
  • Gold Foil Sheet 1″ x 2 1/2″ (die cuts)

*********************************************************************************************************

Product List

Stampin’ Up! Holly Jolly Branches for Fun Fold Friday

Good Friday morning stamping friends, welcome to my fun fold Friday. I hope you all had a wonderful week and are looking forward to the weekend. It’s been a crazy busy week here for me. I’m looking forward to being home all day today alone hopefully getting things done.

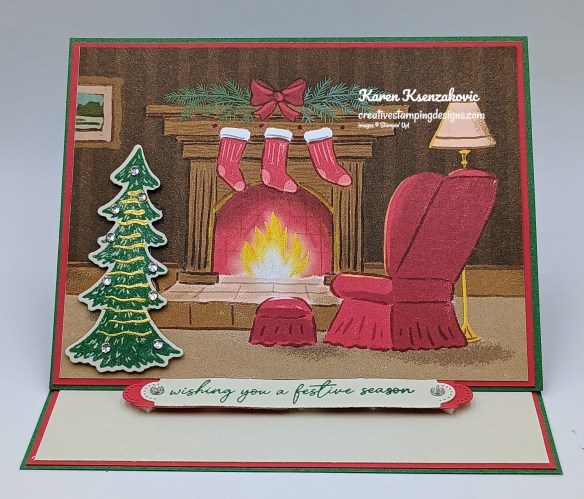
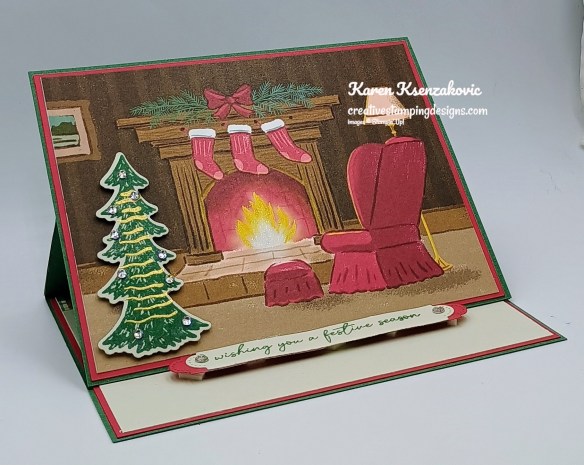
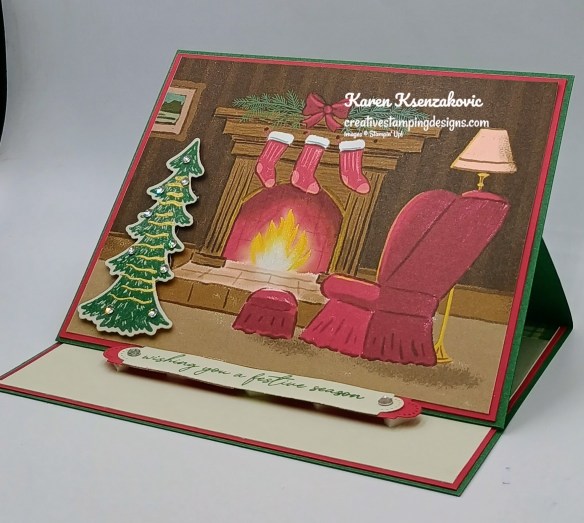
Today’s card is totally focusing on the DSP. If you’d like to see a quick video on how I made this card, Click Here to go to my Instagram Reels. Here is my card for today.

Stampin' Up! Holly Jolly Branches Fun Fold 1 cretivestampingdesigns.com

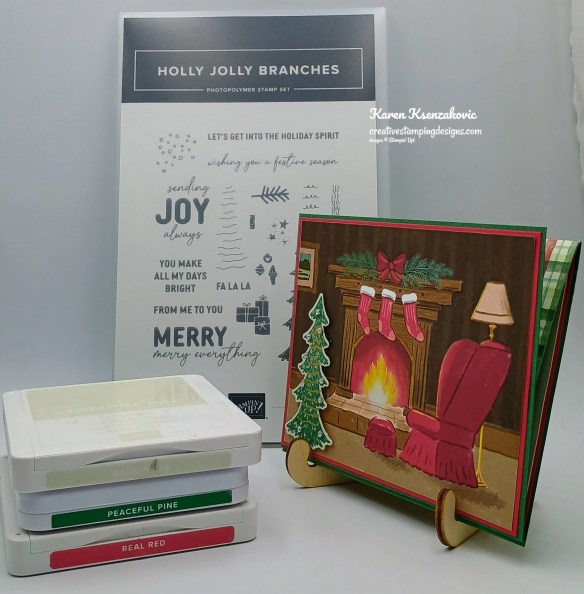
I used the Stampin’ Up! Holly Jolly Branches Bundle and A Little Christmas Designer Series Paper for my card today.

Stampin' Up! Holly Jolly Branches Fun Fold 2 cretivestampingdesigns.com

Adhere a panel of A Little Christmas DSP to a Real Red Mat. Adhere the layered panel to a Peaceful Pine panel.

Stampin' Up! Holly Jolly Branches Fun Fold 3 cretivestampingdesigns.com

Adhere a panel of A Little Christmas DSP to the top section of the Peaceful Pine card base. Adhere the layered panel to the bottom section of a Peaceful Pine card base.

Stampin' Up! Holly Jolly Branches Fun Fold 4 cretivestampingdesigns.com

On a panel of Basic Beige, stamp the tree image from Holly Jolly Branches stamp set in Peaceful Pine Ink. Stamp the garland image from Holly Jolly Branches stamp set in Versamark Ink. Sprinkle the image with Gold Embossing Powder and set it with the Heat Tool. Cut the image out using the Holly Jolly Branches Dies. Adhere the tree to the card front with Stampin’ Dimensionals. Add Rhinestone Basic Jewels to the tree.

Stampin' Up! Holly Jolly Branches Fun Fold 5 cretivestampingdesigns.com

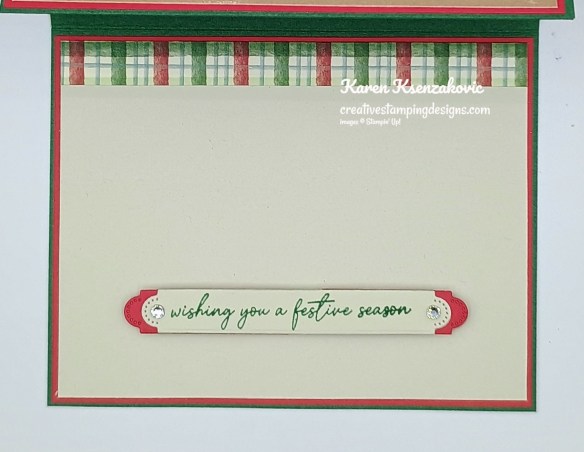
Adhere a panel of A Little Christmas DSP to the top of a panel of Basic Beige. On a panel of Basic Beige, stamp the sentiment from Holly Jolly Branches stamp set in Peaceful Pine Ink. Cut the sentiment out with the Holly Jolly Branches Dies. Cut a panel of Real Red using the same die from the Holly Jolly Branches Dies. Cut the die cut in half with Detail Scissors and adhere it to the back of the sentiment. Adhere the sentiment towards the bottom of the Basic Beige panel with a double stack of Stampin’ Dimensionals. This will be the easel mechanism. Add a couple Rhinestone Basic Jewels to the sentiment.

Stampin' Up! Holly Jolly Branches Fun Fold 6 cretivestampingdesigns.com

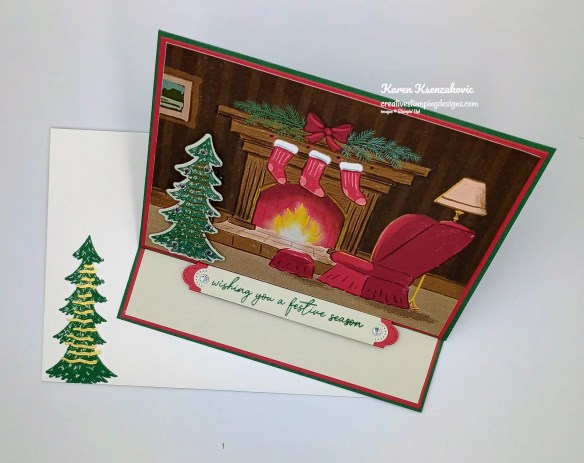
Decorate a Basic Whtie Medium Envelope to finish your card. Stamp the tree image from the Holly Jolly Branches stamp set in Peaceful Pine Ink on the envelope front. Stamp the garland image in Versamark Ink over the tree and sprinkle it with Gold Embossing Powder then set it with the Heat Tool. Adhere a panel of A Little Christmas DSP to the envelope flap.

Stampin' Up! Holly Jolly Branches Fun Fold 7 cretivestampingdesigns.com

Thank you for stopping by my blog today. I hope you like the card and will give it a try. Happy Stamping!!

*********************************************************************************************************

If you need any stamping supplies, I’d love to be your Demonstrator. Just click HERE to go directly to my online store or drop me an email if you have any questions.
*********************************************************************************************************

Joining Offer October 6 – 31 Limited Time Only

When you join as a demonstrator in October, you’ll get $50 in Stampin’ Rewards along with the $125 coupon code!
You’ll also enjoy all the perks that come with being a demonstrator, like a 15–20% product discount, early access to the latest products and catalogs, the opportunity to earn a modest commission, the chance to attend incredible training and crafting events, and so much more!

Here are the details:

  • Promotion Period: October 6–31, 2026 (note that this does not start until October 6)
  • Ordering Deadlines:  October 31, 2026, at 11:59 p.m. (MT)
  • New team members who join between October 6–31 will receive $50 in Stampin’ Rewards in their Stampin’ Up! account immediately after signing up as a demonstrator.  These rewards are only available for three months after their sign-up date.
  • New demonstrators who submit their Independent Demonstrator Agreement (IDA) before October 6 or after October 31 will not be eligible for this offer.

I’d love for you to join my team. Contact me at creativestampingdesigns@gmail.com and we can talk. I can answer any questions you might have. You can also find more details Here.

*********************************************************************************************************

New Stampin’ Up! Product of The Month

Every month Stampin’ Up! will release a new item that is only available for purchase once per account. These items will be limited quantity and are likely to sell out quickly—once they’re sold out, they’re gone for good!

September Product of the Month – Luxe Foliate Specialty Designer Series Paper

Luxe Foliage 12″ x 12″ (30.5 x 30.5 cm) Specialty Designer Series Paper (168599)

With Halloween and Christmas fast approaching, don’t forget to spend some time celebrating Cardsgiving—one of our favorite unofficial holidays centered around making and gifting cards. The Luxe Foliage Designer Series Paper is perfect for all your holiday needs and beyond, with shimmering foil and beautifully-designed details perfect for creating glimmering layers or fussy cutting shining images. Whether you’re making cards for a friend or planning a Cardsgiving celebration, this paper is sure to be the star of the show.

Available Starting October 6!!!

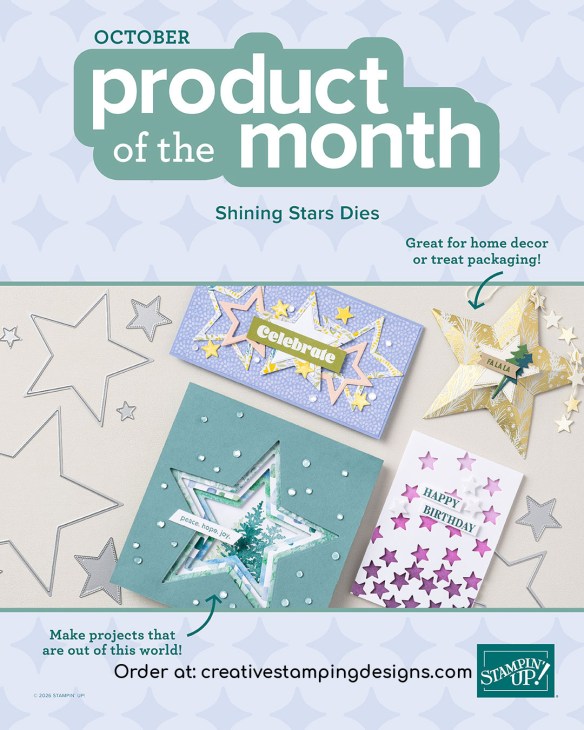
Stampin’ Up! gave us an early peek at the upcoming October Product Of the Month!  It’s a set dies called Shining Stars Dies!  The big die set with 23 dies!  

This die set will be available beginning October 6 for $5 with an order of $75+ placed through the Stampin’ Up! online store.

*********************************************************************************************************

Card stock cuts for this project:

  • Basic Beige Cardstock 2″ x 3″ (die cut), 4″ x 5 1/4″ (inner liner), 1″ x 3 3/4″ (sentiment)
  • Peaceful Pine Cardstock 5 1/2″ x 8 1/12″ (card base scored & folded at 2 1/8″ & 4 1/4″), 4 1/4″ x 5 1/2″ (card front)
  • Real Red Cardstock (2) 4 1/8″ x 5 3/8″ (mats), 1″ x 3 3/4″ (mat)
  • A Little Christmas Designer Series Paper 4″ x 5 1/4″ (card front), 2 1/8″ x 5 1/2″ (card base panel), 1/2″ x 5 1/4″ (inner liner), 2 1/4″ x 6″ (envelope)

*********************************************************************************************************

Product List