
Good Monday morning stamping friends, welcome to a new week. How way your weekend? Did you go to see fireworks on the 4th? We did and we were a LOT closer than I expected. They sent up a test, and it was right over my head. It was and awesome display.
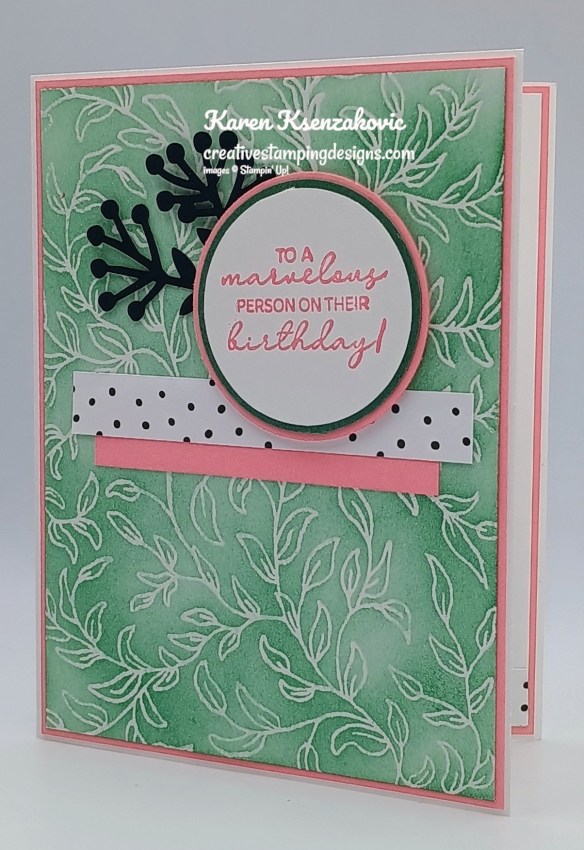
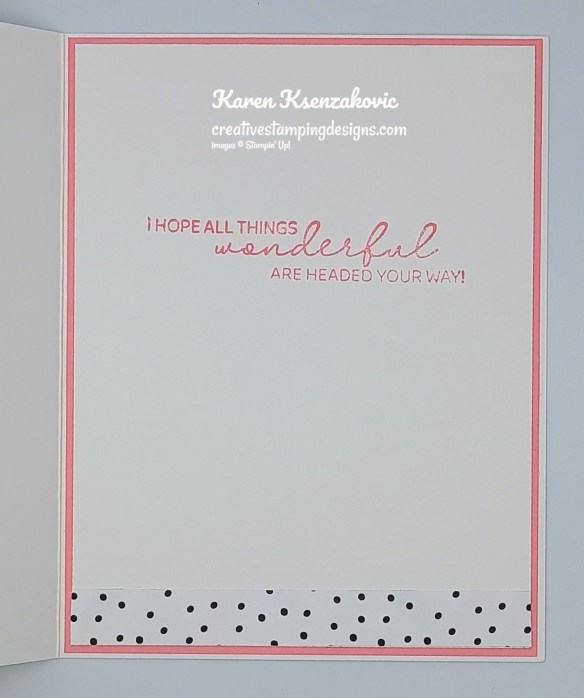
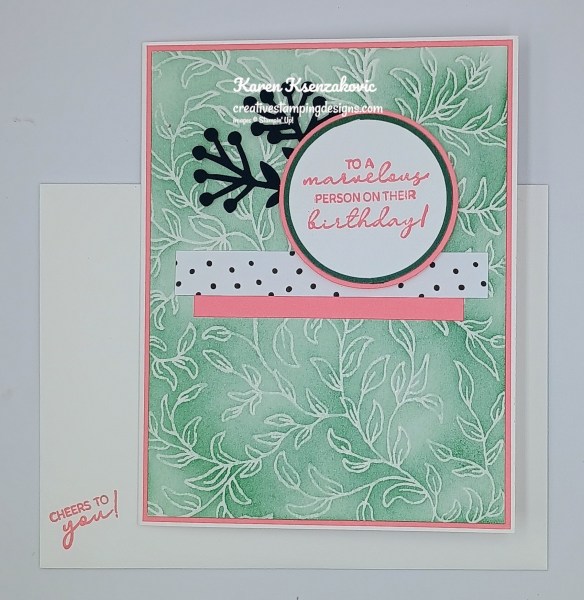
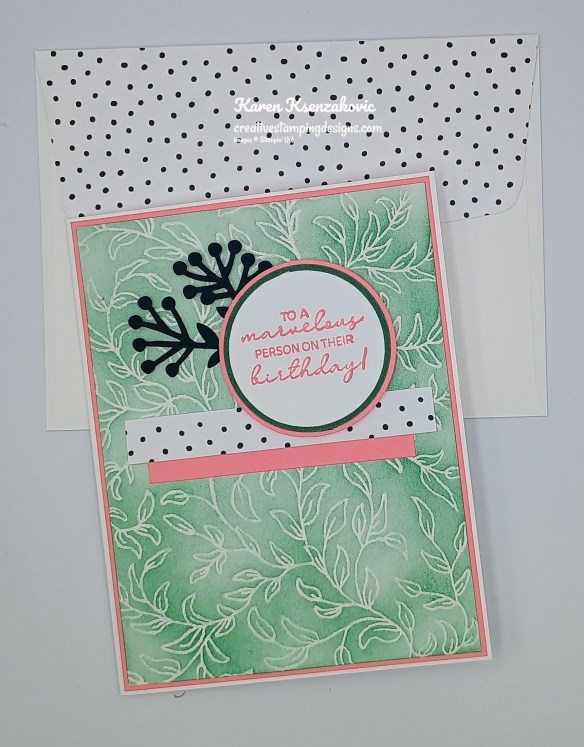
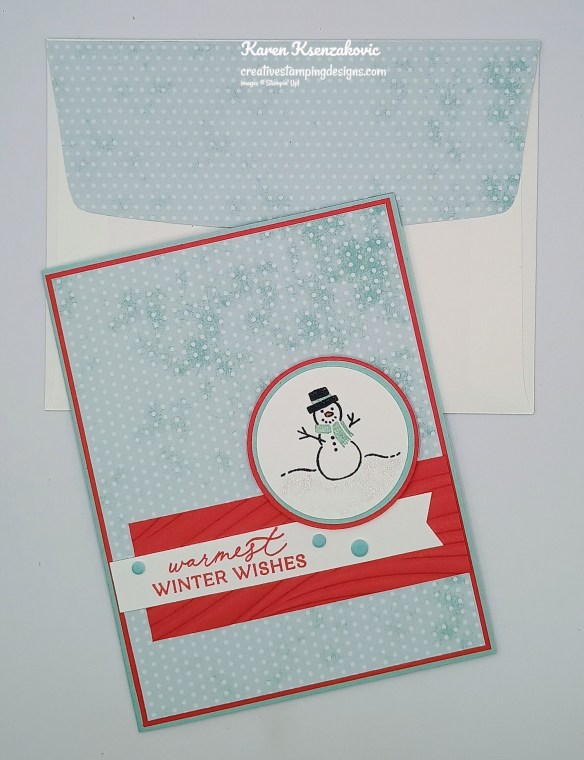
I have a super simple card for you today. I needed a card where a lot of people could sign inside. Here’s my card for today.

I used the Stampin’ Up! Sunset Coast Stamp Set, Beautiful Gallery 6 x 6 Designer Series Paper and Circle Punches.
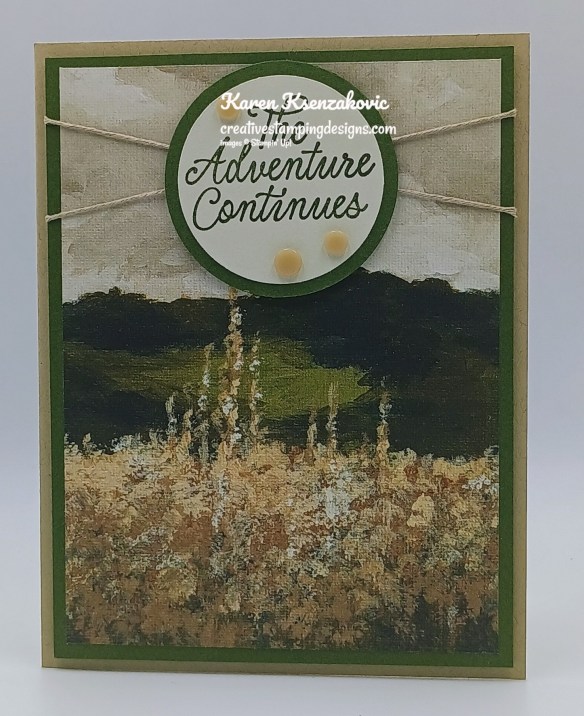
Adhere a panel of Beautiful Gallery DSP to a Mossy Meadow mat. Wrap a piece of Crumb Cake Baker’s Twine around the layered panel 2 times and tie a knot in the back.
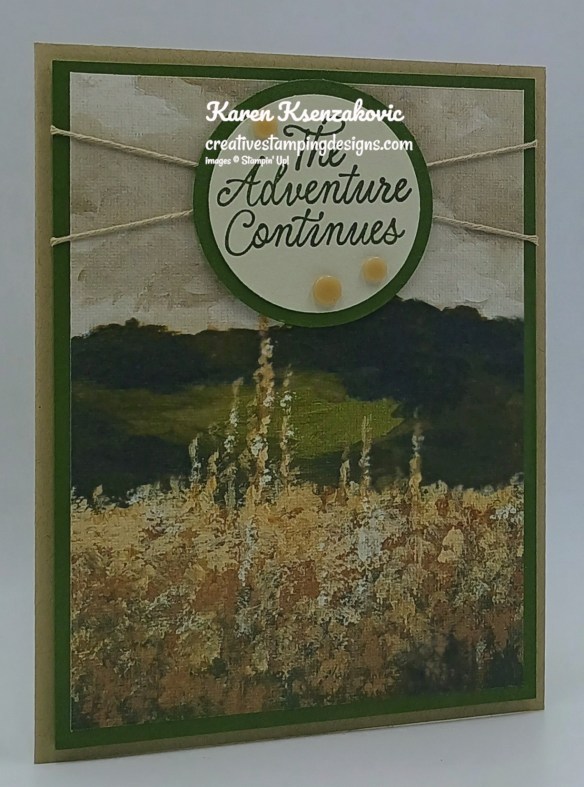
Adhere the layered panel to a Crumb Cake card base with Stampin’ Dimensionals. On a panel oof Basic Beige, stamp the sentiment from Sunset Coast stamp set in Mossy Meadow Ink. Cut the sentiment out using the 1 3/4″ Circle Punch. Cut a circle out of a panel of Mossy Meadow using the 2″ Circle Punch. Adhere the sentiment to the mat.
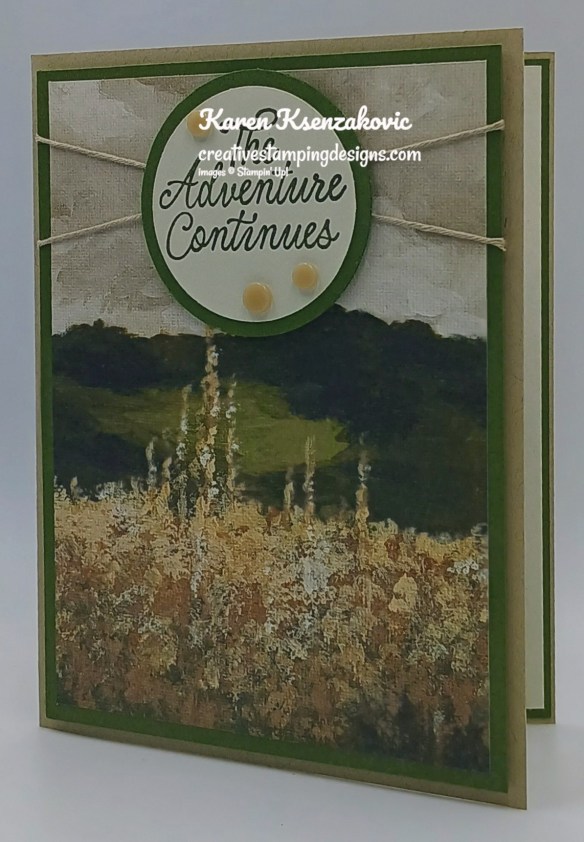
Adhere the layered sentiment to the card front over the baker’s twine with Stampin’ Dimensionals. Add a few Natural Matte Dots to the card front.
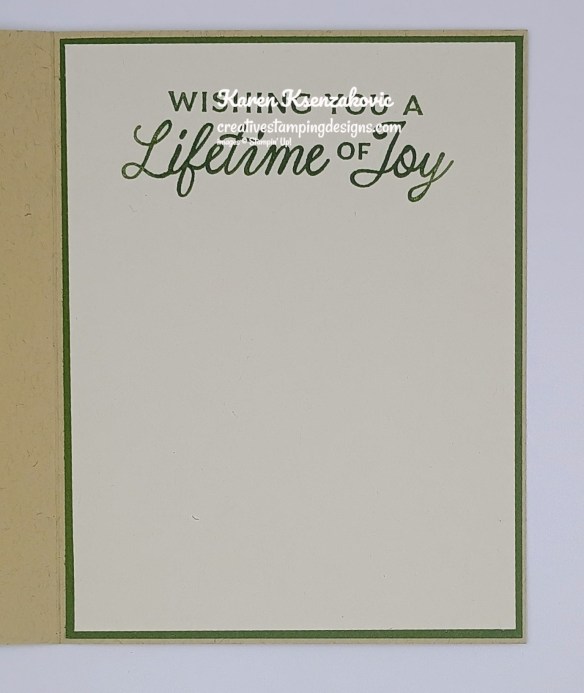
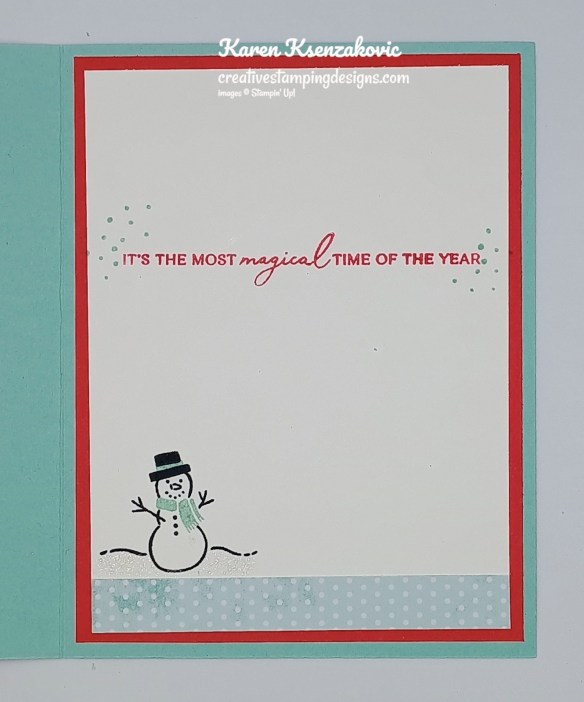
Stamp the sentiment from Sunset Coast stamp set in Mossy Meadow Ink on the top of a Basic Beige panel. Adhere the Basic Beige panel to a Mossy Meadow mat then to the insdie of a Crumb Cake card base.
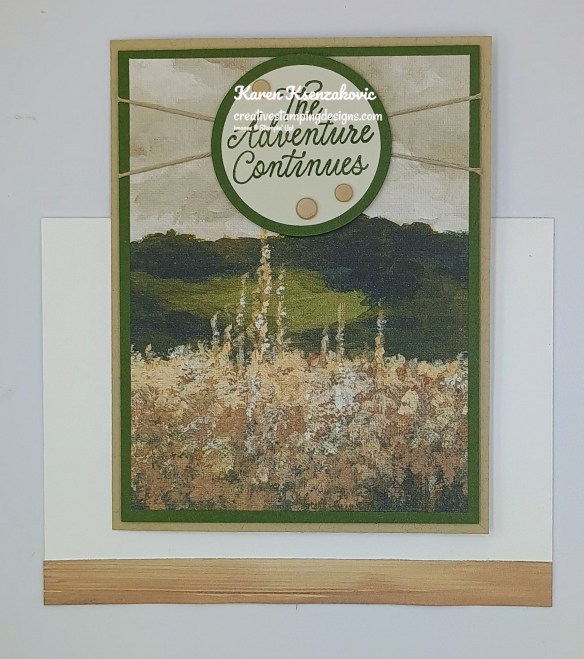
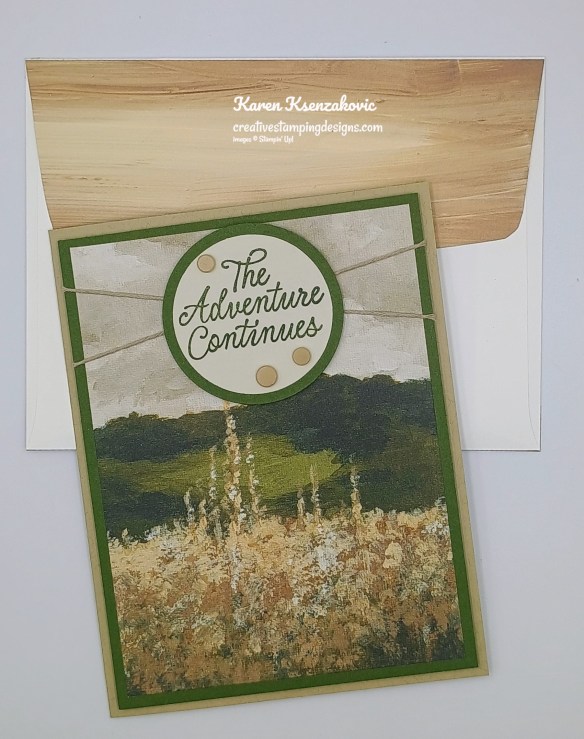
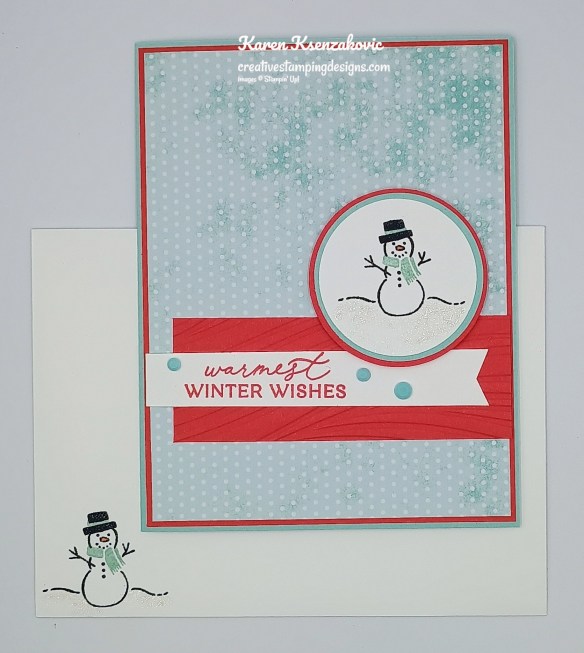
Decorate a Basic White Medium Envelope to finish your card. Adhere a strip of Beautiful Gallery DSP to the envelope front and a panel to the envelope flap.
Thank you for stopping by my blog today. I hope you like the card and will give it a try. Happy Stamping!!
*********************************************************************************************************
If you need any stamping supplies, I’d love to be your Demonstrator. Just click HERE to go directly to my online store or drop me an email if you have any questions.
*********************************************************************************************************
Double Creative Stamping Designs Rewards
The new July 2026 Online Exclusives are now available to order. I’m offering Double Creative Stamping Designs Rewards. THAT’S 2X THE REWARDS FOR YOU FROM ME through Tuesday July 7 for all orders over $50 (before tax & shipping)!! How does this work? For a $50 you’ll earn 2 rewards, $100 you’ll earn 4 rewards, $150 you’ll earn 6 rewards, etc. Hurry over to my Online Store and get those orders in for those July Online Exclusives and earn those Double Rewards!!
*********************************************************************************************************
How would you like to get some of my retired products for FREE?

July 1 – 7 you get to pick some of my retired items for FREE with an order on my Online Store. There’s no limit to how much you can order or get for free.
Here’s How it Works:
- You place your order in my Online Store Here
- Once your order is placed and you get a confirmation you will need to visit my blog Here and click on Retirement Sale List
- You can pick Bundles, Stamp Sets, Embossing Folders or DSP that total the Sub Total or less of your order before tax and after any discounts.
- Fill out my Google Form with your full name and address and list the products you would like. The forms come to me in time order so it will be first come first serve. I will pull the products that you would like, and I’ll email you if something is gone. I’m going to try to remove them from the list as quickly as possible
- I will pay for the SHIPPING of the retired products if you place an order through my Online Store Only.
- I will try to get as much as possible shipped out by the weekend.
- Feel free to contact me with any questions. Please note that the free items are gently used and may have stains. If you are not sure what the sets are, you can do a Google search or search my blog for cards that I made with them.
*********************************************************************************************************
Register for Pretty Poinsettia Christmas in July Online Class Ends Friday
Tara and I are teaming up to offer a Christmas in July Online Class featuring the Stampin’ Up! Pretty Poinsettia Bundle and 2026-2028 In-Color Gingham Gallery DSP. To ensure we can get the products for you the sign-up time is very short. We want to ensure that we are able to get the embossing folders for everyone and the bundle if you wish to order it. We are offering the bundle to you at an additional 10% discount (see price on form). We will be creating 6 different cards during the class including 2 Fun Fold cards. Click Here to register.
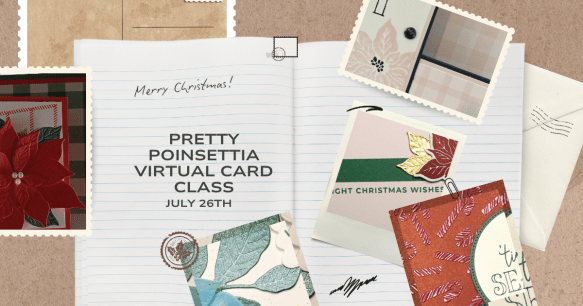
The class fee includes:
- Stampin’ Up! Iridescent Pearls Basic Jewels (full pack)
- Seasonal Cheer Mini Embossing Folder
- Pre-cut card kits to complete each card
- Zoom class with complete instructions to complete each card
During sign up you will have the option to add additional items to your order that you can take advantage of at no additional shipping cost. These items are optional, however if you want to recreate the cards you will need them. If you’ve attended a previous class, you were given a discount code, there is a spot to put that code on the form and the discount only applies to the products that you check off that you wish to purchase, not the class. Since the Pretty Poinsettia Bundle is already discounted, the discount does not apply to that.
The class will be held Sunday July 26th from 1 to 4 pm Eastern Time via Zoom. This allows anyone in the United States to participate live! Can’t join us live… no worries, we will record the session so it can be replayed at any time.
I will email written directions that will include directions, cardstock cuts as well as photos to help you create each card.
Class Cost $40 + $10 (Shipping)
Additional purchased items will be included in the above shipping price. I will invoice you through PayPal and invoices must be paid by July 10th to insure I can get the products. Sign up by Clicking Here.
Deadline: Friday July 10th
*********************************************************************************************************
Card stock cuts for this project:
- Basic Beige Cardstock 2 1/4″ x 2 1/4″(sentiment), 3 3/4″ x 5″(inner liner)
- Crumb Cake Cardstock 5 1/2″ x 8 1/2″(card base scored & folded at 4 1/4″)
- Mossy Meadow Cardstock 4″ x 5 1/4″(mat), 2 1/2″ x 2 1/2″ (sentiment mat), 4 1/8″ x 5 3/8″(mat)
- Beautiful Gallery 6 x 6 Designer Series Paper 3 3/4″ x 5″(card front), 1/2″ x 6″ & 2 1/4″ x 6″(envelope)
*********************************************************************************************************
Product List
![Sunset Coast Photopolymer Stamp Set (English) [ 167775 ]](https://assets1.tamsnetwork.com/images/EC042017NF/167775s.jpg "Sunset Coast Photopolymer Stamp Set (English) [ 167775 ]")
![Basic Beige 8 1/2" X 11" Cardstock [ 164511 ]](https://assets1.tamsnetwork.com/images/EC042017NF/164511s.jpg "Basic Beige 8 1/2\" X 11\" Cardstock [ 164511 ]")
![Crumb Cake 8-1/2" X 11" Cardstock [ 120953 ]](https://assets1.tamsnetwork.com/images/EC042017NF/120953s.jpg "Crumb Cake 8-1/2\" X 11\" Cardstock [ 120953 ]")
![Mossy Meadow 8-1/2" X 11" Cardstock [ 133676 ]](https://assets1.tamsnetwork.com/images/EC042017NF/133676s.jpg "Mossy Meadow 8-1/2\" X 11\" Cardstock [ 133676 ]")
![Beautiful Gallery 6" X 6" (15.2 X 15.2 Cm) Designer Series Paper [ 165196 ]](https://assets1.tamsnetwork.com/images/EC042017NF/165196s.jpg "Beautiful Gallery 6\" X 6\" (15.2 X 15.2 Cm) Designer Series Paper [ 165196 ]")
![Mossy Meadow Classic Stampin' Pad [ 147111 ]](https://assets1.tamsnetwork.com/images/EC042017NF/147111s.jpg "Mossy Meadow Classic Stampin' Pad [ 147111 ]")
![1-3/4" (4.4 Cm) Circle Punch [ 119850 ]](https://assets1.tamsnetwork.com/images/EC042017NF/119850s.jpg "1-3/4\" (4.4 Cm) Circle Punch [ 119850 ]")
![2" (5.1 Cm) Circle Punch [ 133782 ]](https://assets1.tamsnetwork.com/images/EC042017NF/133782s.jpg "2\" (5.1 Cm) Circle Punch [ 133782 ]")
![Baker's Twine Essentials Pack [ 155475 ]](https://assets1.tamsnetwork.com/images/EC042017NF/155475s.jpg "Baker's Twine Essentials Pack [ 155475 ]")
![Natural Matte Dots [ 167510 ]](https://assets1.tamsnetwork.com/images/EC042017NF/167510s.jpg "Natural Matte Dots [ 167510 ]")
![Basic White Medium Envelopes [ 159236 ]](https://assets1.tamsnetwork.com/images/EC042017NF/159236s.jpg "Basic White Medium Envelopes [ 159236 ]")
![Stampin' Cut & Emboss Machine [ 149653 ]](https://assets1.tamsnetwork.com/images/EC042017NF/149653s.jpg "Stampin' Cut & Emboss Machine [ 149653 ]")
![Mini Glue Dots [ 103683 ]](https://assets1.tamsnetwork.com/images/EC042017NF/103683s.jpg "Mini Glue Dots [ 103683 ]")
![Multipurpose Liquid Glue [ 110755 ]](https://assets1.tamsnetwork.com/images/EC042017NF/110755s.jpg "Multipurpose Liquid Glue [ 110755 ]")
![Stampin' Dimensionals [ 104430 ]](https://assets1.tamsnetwork.com/images/EC042017NF/104430s.jpg "Stampin' Dimensionals [ 104430 ]")
![Stampin' Seal [ 152813 ]](https://assets1.tamsnetwork.com/images/EC042017NF/152813s.jpg "Stampin' Seal [ 152813 ]")
![Paper Trimmer [ 152392 ]](https://assets1.tamsnetwork.com/images/EC042017NF/152392s.jpg "Paper Trimmer [ 152392 ]")
![Bone Folder [ 102300 ]](https://assets1.tamsnetwork.com/images/EC042017NF/102300s.jpg "Bone Folder [ 102300 ]")
![Take Your Pick [ 144107 ]](https://assets1.tamsnetwork.com/images/EC042017NF/144107s.jpg "Take Your Pick [ 144107 ]")


![Sending Salutations Photopolymer Stamp Set (English) [ 167857 ]](https://assets1.tamsnetwork.com/images/EC042017NF/167857s.jpg "Sending Salutations Photopolymer Stamp Set (English) [ 167857 ]")
![Basic White 8 1/2" X 11" Cardstock [ 166780 ]](https://assets1.tamsnetwork.com/images/EC042017NF/166780s.jpg "Basic White 8 1/2\" X 11\" Cardstock [ 166780 ]")
![Flirty Flamingo 8-1/2" X 11" Cardstock [ 141416 ]](https://assets1.tamsnetwork.com/images/EC042017NF/141416s.jpg "Flirty Flamingo 8-1/2\" X 11\" Cardstock [ 141416 ]")
![Peaceful Pine 8 1/2" X 11" Cardstock [ 167691 ]](https://assets1.tamsnetwork.com/images/EC042017NF/167691s.jpg "Peaceful Pine 8 1/2\" X 11\" Cardstock [ 167691 ]")
![Beautiful Ordinary Life 12" X 12" (30.5 X 30.5 Cm) Designer Series Paper [ 167553 ]](https://assets1.tamsnetwork.com/images/EC042017NF/167553s.jpg "Beautiful Ordinary Life 12\" X 12\" (30.5 X 30.5 Cm) Designer Series Paper [ 167553 ]")
![Flirty Flamingo Classic Stampin' Pad [ 147052 ]](https://assets1.tamsnetwork.com/images/EC042017NF/147052s.jpg "Flirty Flamingo Classic Stampin' Pad [ 147052 ]")
![Peaceful Pine Classic Stampin Pad [ 167679 ]](https://assets1.tamsnetwork.com/images/EC042017NF/167679s.jpg "Peaceful Pine Classic Stampin Pad [ 167679 ]")
![Blending Brushes [ 153611 ]](https://assets1.tamsnetwork.com/images/EC042017NF/153611s.jpg "Blending Brushes [ 153611 ]")
![Versamark Pad [ 102283 ]](https://assets1.tamsnetwork.com/images/EC042017NF/102283s.jpg "Versamark Pad [ 102283 ]")
![Basics Wow! Embossing Powder [ 165679 ]](https://assets1.tamsnetwork.com/images/EC042017NF/165679s.jpg "Basics Wow! Embossing Powder [ 165679 ]")
![Heat Tool (Us And Canada) [ 129053 ]](https://assets1.tamsnetwork.com/images/EC042017NF/129053s.jpg "Heat Tool (Us And Canada) [ 129053 ]")
![Floral Flight Accents [ 167558 ]](https://assets1.tamsnetwork.com/images/EC042017NF/167558s.jpg "Floral Flight Accents [ 167558 ]")
![1 7/8" (4.8 Cm) Circle Punch [ 165259 ]](https://assets1.tamsnetwork.com/images/EC042017NF/165259s.jpg "1 7/8\" (4.8 Cm) Circle Punch [ 165259 ]")

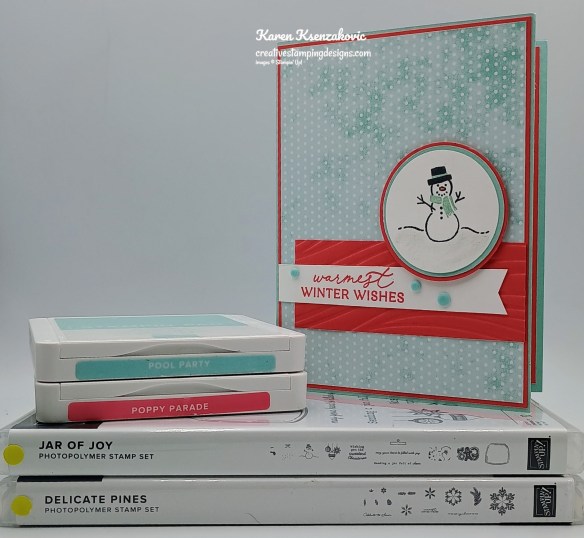
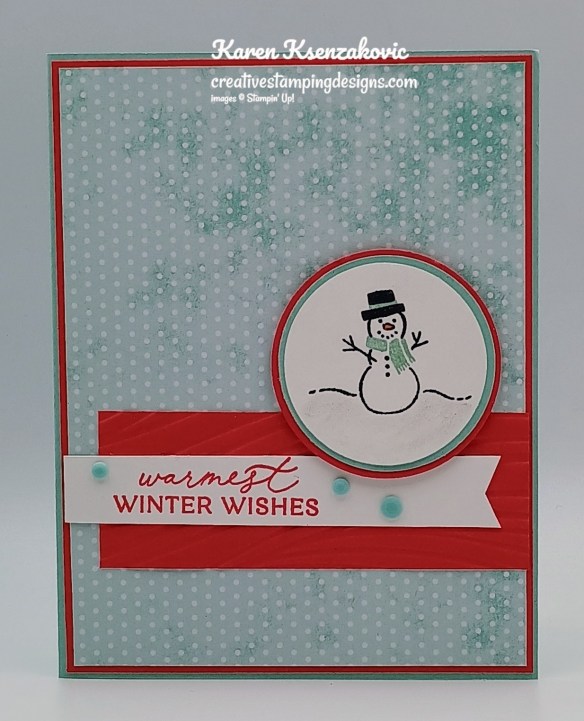
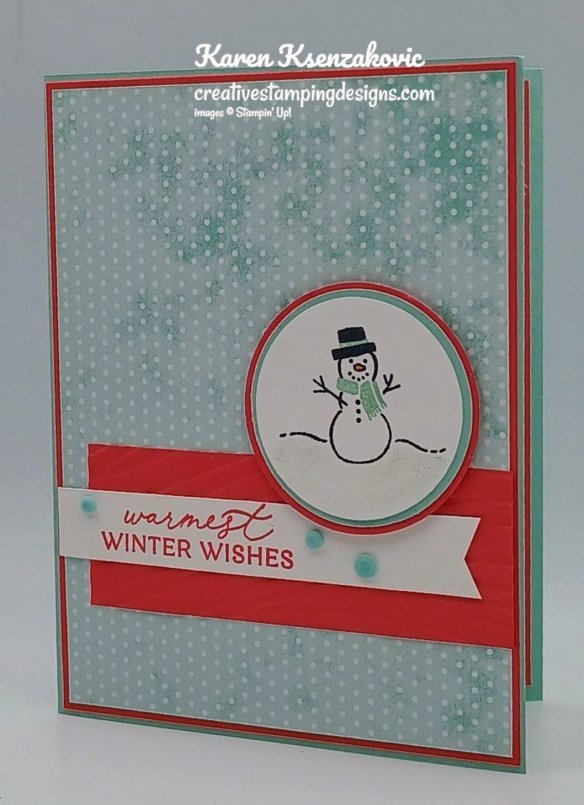
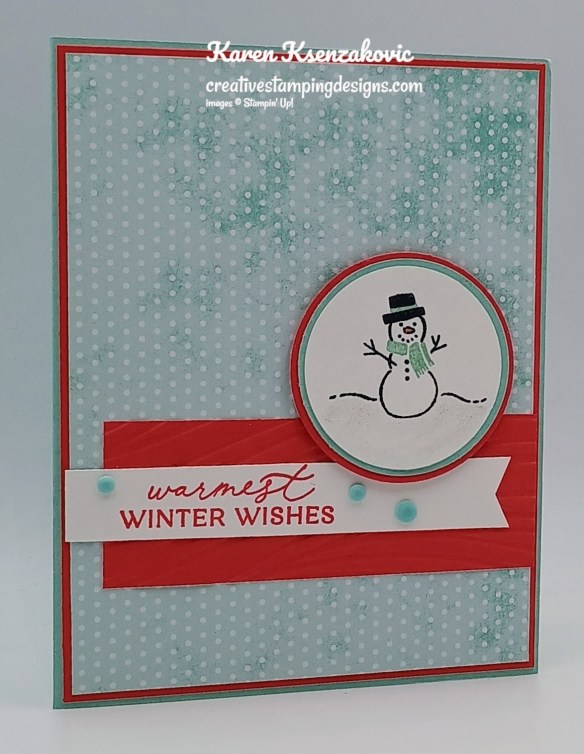
![Jar Of Joy Photopolymer Stamp Set (English) [ 166176 ]](https://assets1.tamsnetwork.com/images/EC042017NF/166176s.jpg "Jar Of Joy Photopolymer Stamp Set (English) [ 166176 ]")
![Delicate Pines Photopolymer Stamp Set (English) [ 166067 ]](https://assets1.tamsnetwork.com/images/EC042017NF/166067s.jpg "Delicate Pines Photopolymer Stamp Set (English) [ 166067 ]")
![Pool Party 8-1/2" X 11" Cardstock [ 122924 ]](https://assets1.tamsnetwork.com/images/EC042017NF/122924s.jpg "Pool Party 8-1/2\" X 11\" Cardstock [ 122924 ]")
![Poppy Parade 8-1/2" X 11" Cardstock [ 119793 ]](https://assets1.tamsnetwork.com/images/EC042017NF/119793s.jpg "Poppy Parade 8-1/2\" X 11\" Cardstock [ 119793 ]")
![North Pole Delivery 12" X 12" (30.5 X 30.5 Cm) Specialty Designer Series Paper [ 165837 ]](https://assets1.tamsnetwork.com/images/EC042017NF/165837s.jpg "North Pole Delivery 12\" X 12\" (30.5 X 30.5 Cm) Specialty Designer Series Paper [ 165837 ]")
![Pool Party Classic Stampin' Pad [ 147107 ]](https://assets1.tamsnetwork.com/images/EC042017NF/147107s.jpg "Pool Party Classic Stampin' Pad [ 147107 ]")
![Poppy Parade Classic Stampin' Pad [ 119782 ] (Retired)](https://assets1.tamsnetwork.com/images/EC042017NF/119782s.jpg "Poppy Parade Classic Stampin' Pad [ 119782 ] (Retired)")
![Tuxedo Black Memento Ink Pad [ 132708 ]](https://assets1.tamsnetwork.com/images/EC042017NF/132708s.jpg "Tuxedo Black Memento Ink Pad [ 132708 ]")
![Soft Waves 3 D Embossing Folder [ 164695 ]](https://assets1.tamsnetwork.com/images/EC042017NF/164695s.jpg "Soft Waves 3 D Embossing Folder [ 164695 ]")
![Clear Wink Of Stella Glitter Brush [ 141897 ]](https://assets1.tamsnetwork.com/images/EC042017NF/141897s.jpg "Clear Wink Of Stella Glitter Brush [ 141897 ]")
![Dear Dots [ 165848 ]](https://assets1.tamsnetwork.com/images/EC042017NF/165848s.jpg "Dear Dots [ 165848 ]")
![Adhesive Sheets [ 152334 ]](https://assets1.tamsnetwork.com/images/EC042017NF/152334s.jpg "Adhesive Sheets [ 152334 ]")


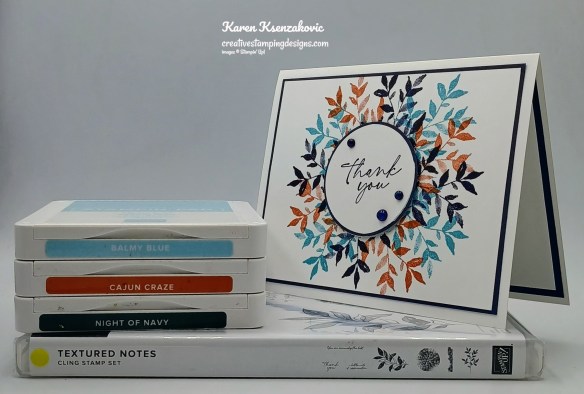
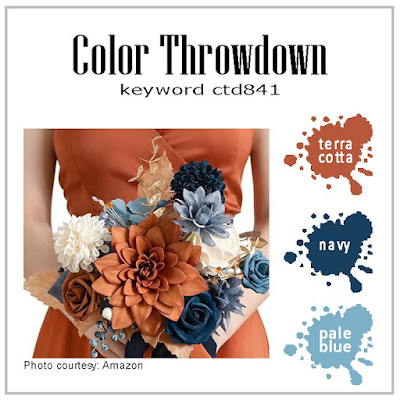
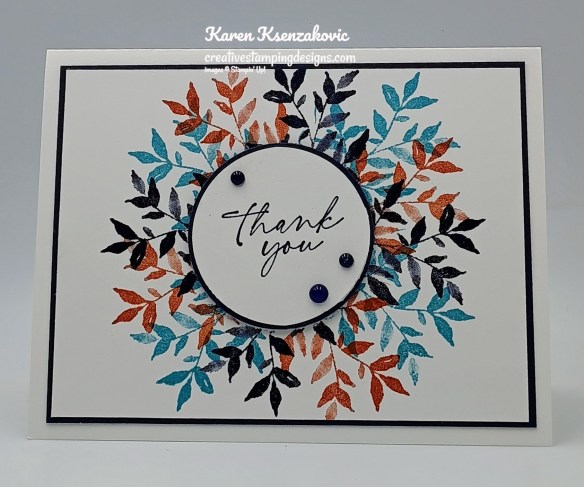
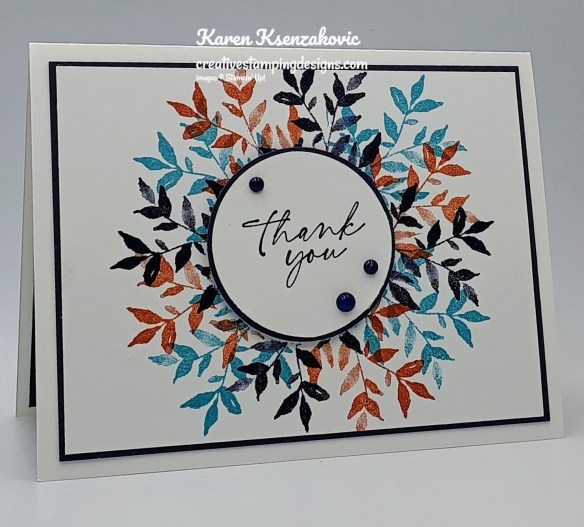
![Textured Notes Cling Stamp Set (English) [ 165548 ]](https://assets1.tamsnetwork.com/images/EC042017NF/165548s.jpg "Textured Notes Cling Stamp Set (English) [ 165548 ]")
![Basic White 8 1/2" X 11" Thick Cardstock [ 159229 ]](https://assets1.tamsnetwork.com/images/EC042017NF/159229s.jpg "Basic White 8 1/2\" X 11\" Thick Cardstock [ 159229 ]")
![Night Of Navy 8-1/2" X 11" Cardstock [ 100867 ]](https://assets1.tamsnetwork.com/images/EC042017NF/100867s.jpg "Night Of Navy 8-1/2\" X 11\" Cardstock [ 100867 ]")
![Balmy Blue Classic Stampin' Pad [ 147105 ]](https://assets1.tamsnetwork.com/images/EC042017NF/147105s.jpg "Balmy Blue Classic Stampin' Pad [ 147105 ]")
![Cajun Craze Classic Stampin' Pad [ 147085 ]](https://assets1.tamsnetwork.com/images/EC042017NF/147085s.jpg "Cajun Craze Classic Stampin' Pad [ 147085 ]")
![Night Of Navy Classic Stampin' Pad [ 147110 ]](https://assets1.tamsnetwork.com/images/EC042017NF/147110s.jpg "Night Of Navy Classic Stampin' Pad [ 147110 ]")
![Opal Rounds Assortment [ 163298 ]](https://assets1.tamsnetwork.com/images/EC042017NF/163298s.jpg "Opal Rounds Assortment [ 163298 ]")

 Creative Stamping Designs