
Good Friday morning my stamping friends welcome to my fun fold Friday. I hope you all had a good week. Do you have plans for the weekend yet? I’ll be at work all day tomorrow as usual. It’s supposed to be nice out, so maybe it will be super busy, and the day will just fly by.
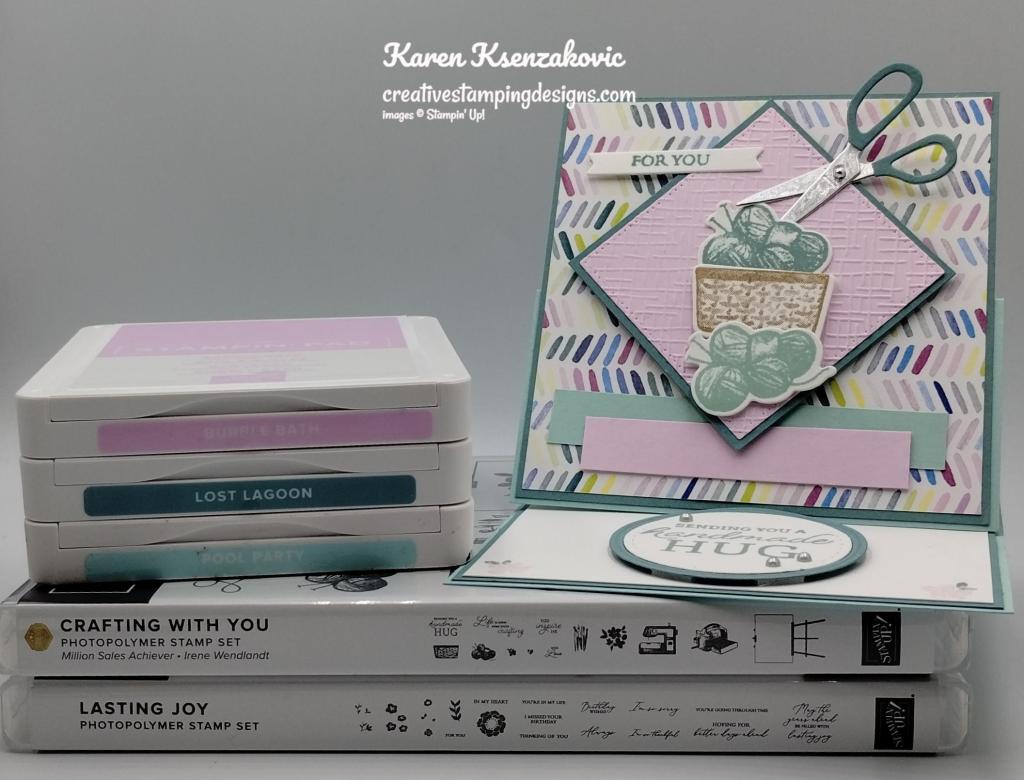
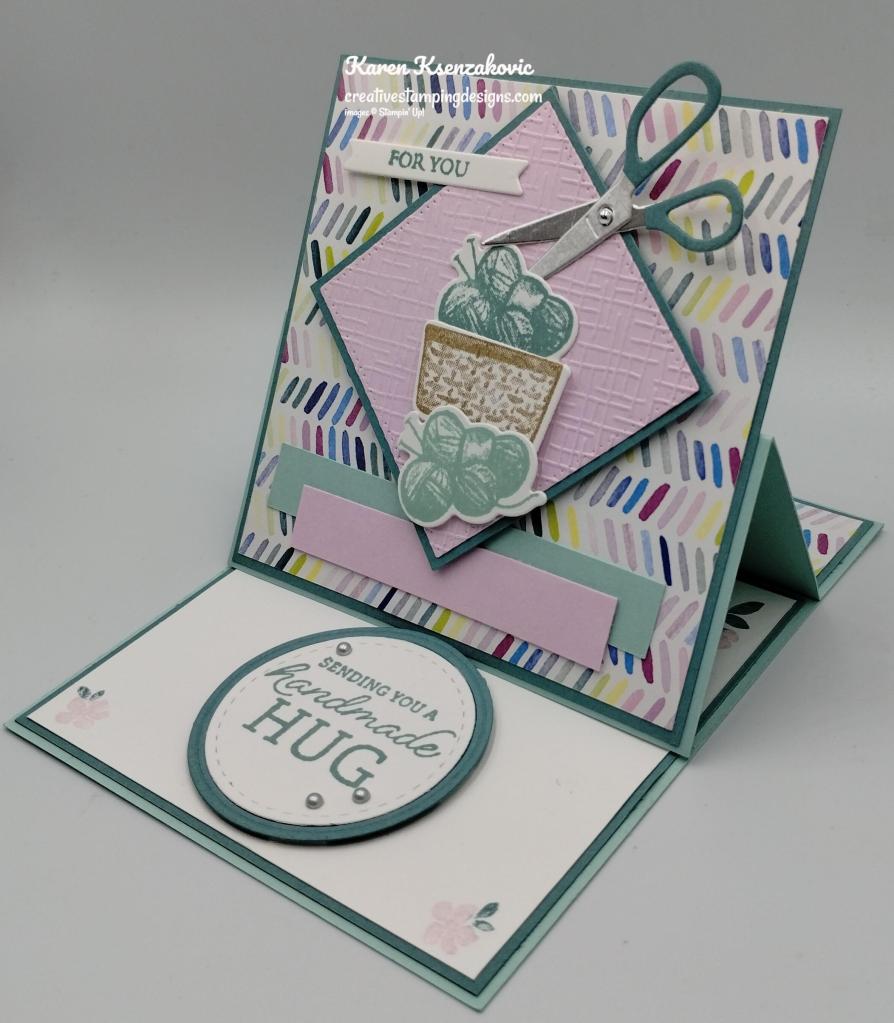
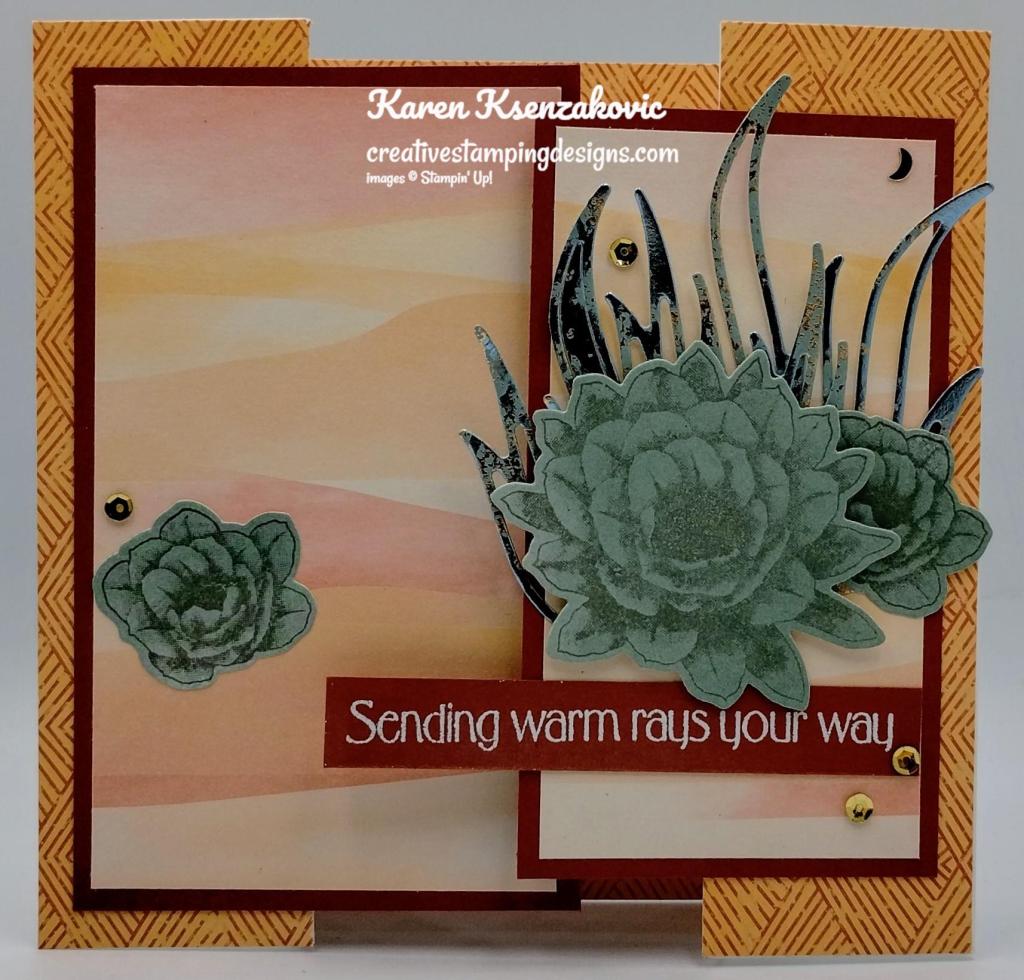
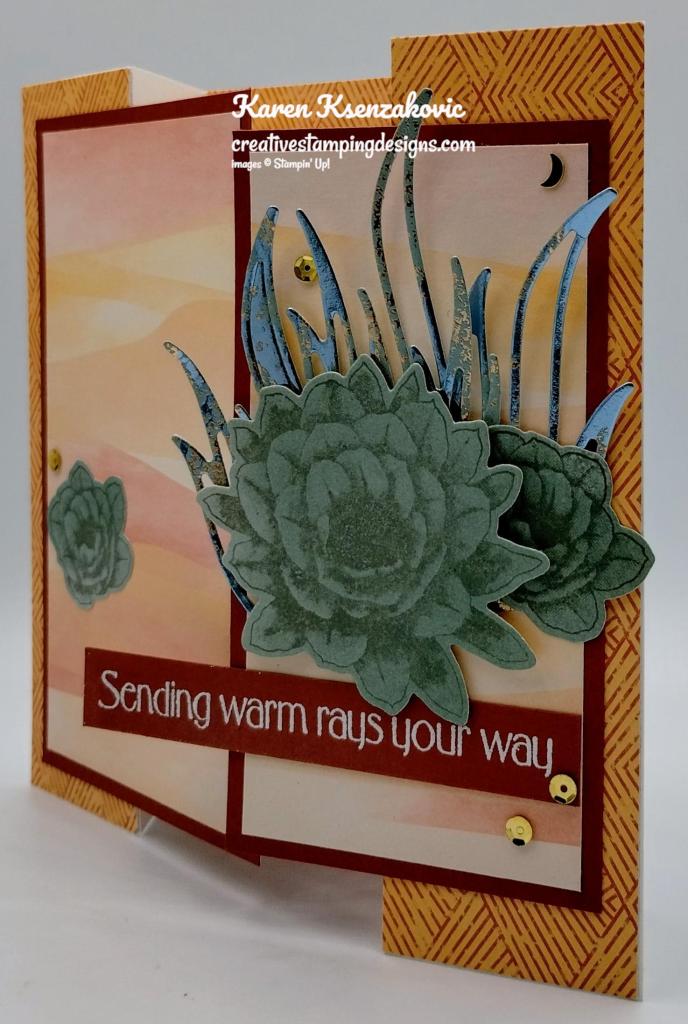
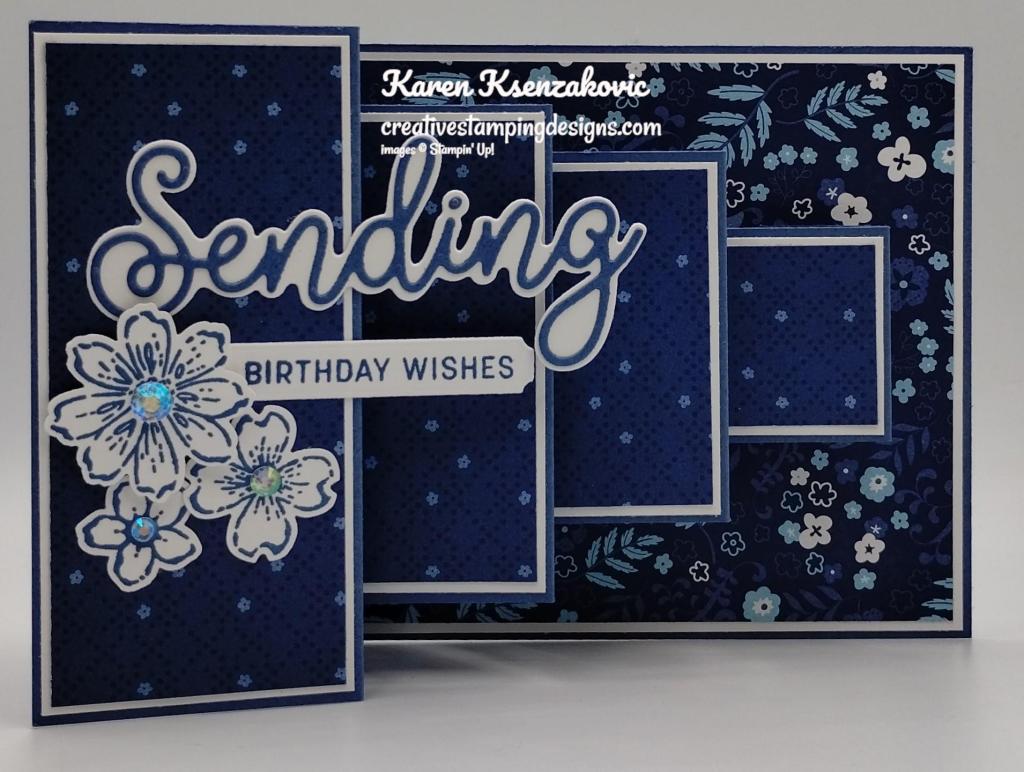
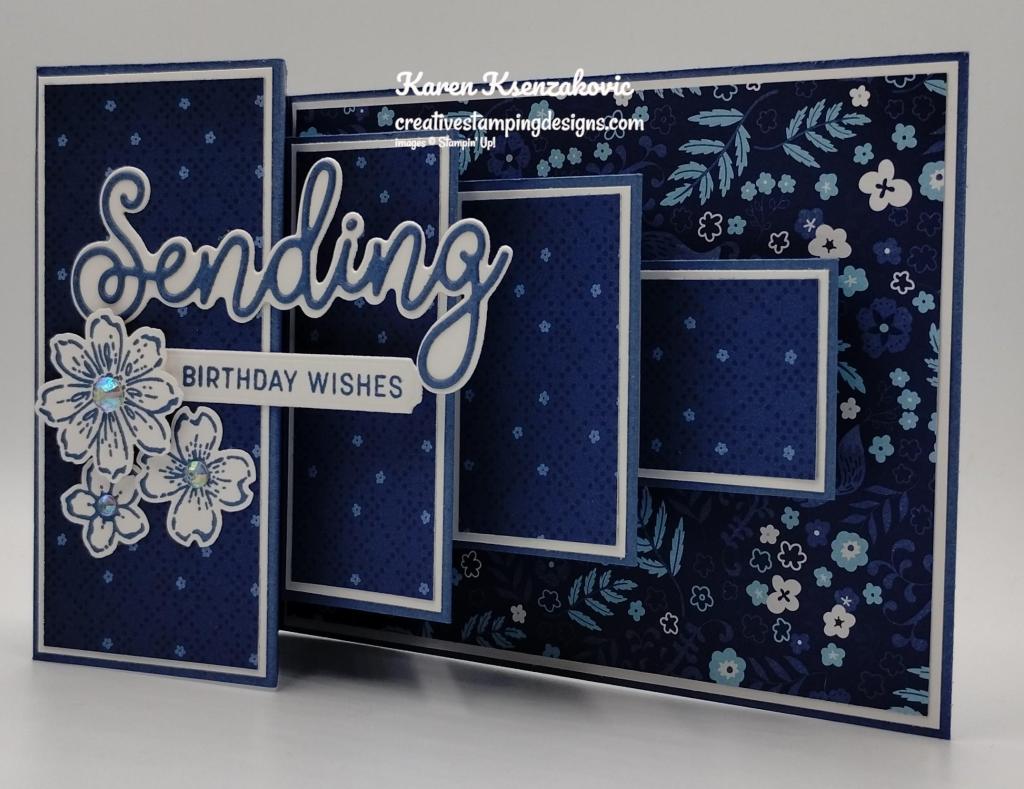
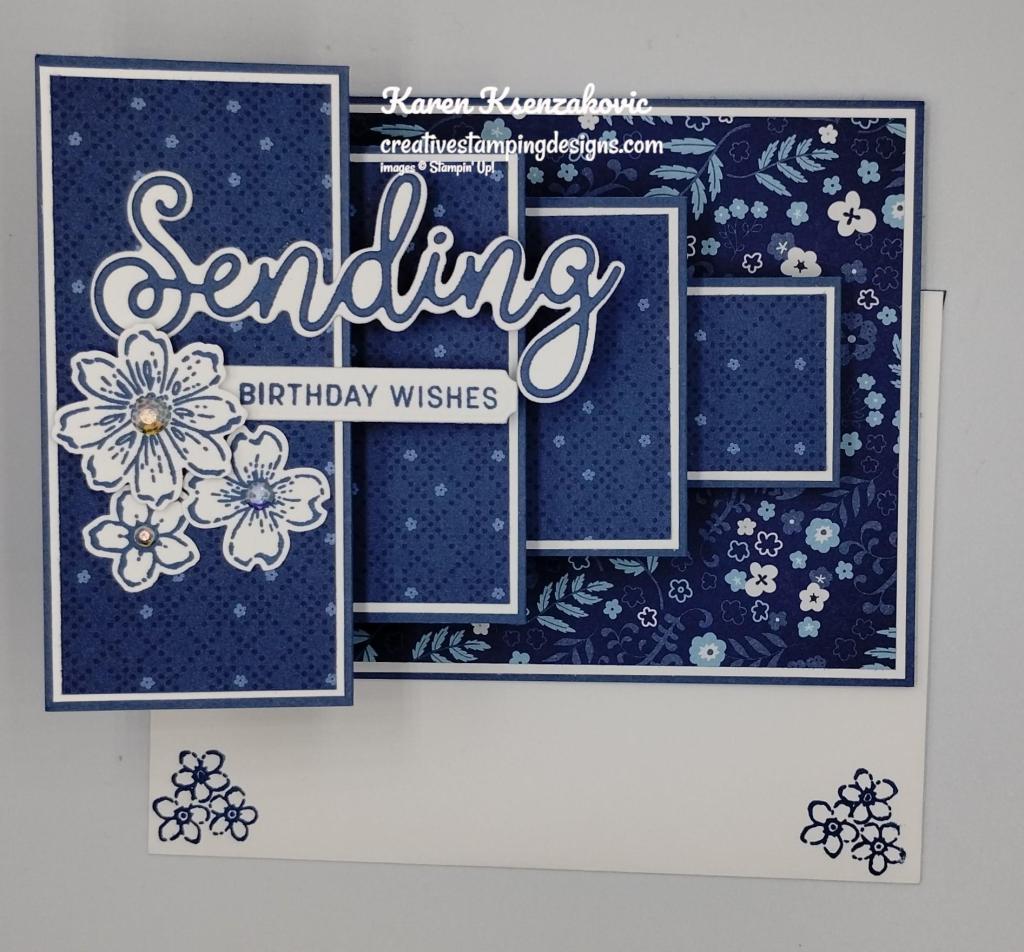
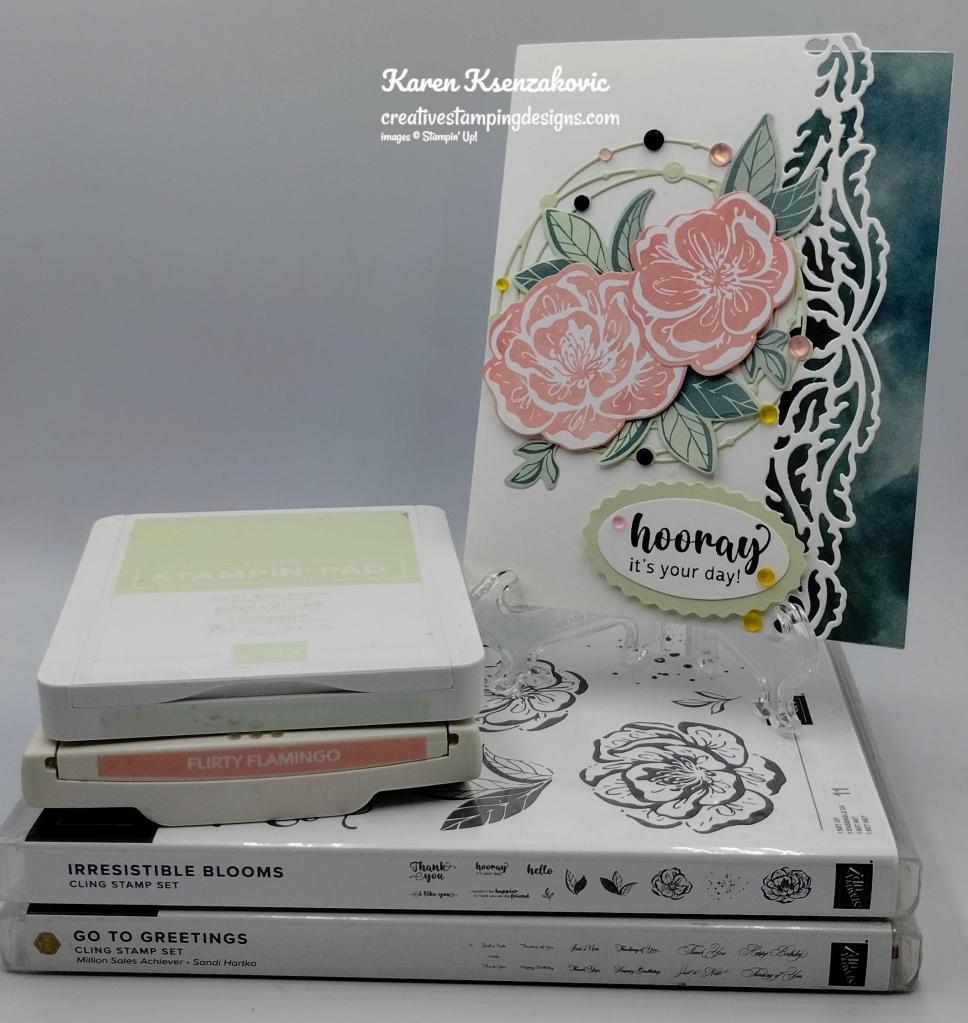
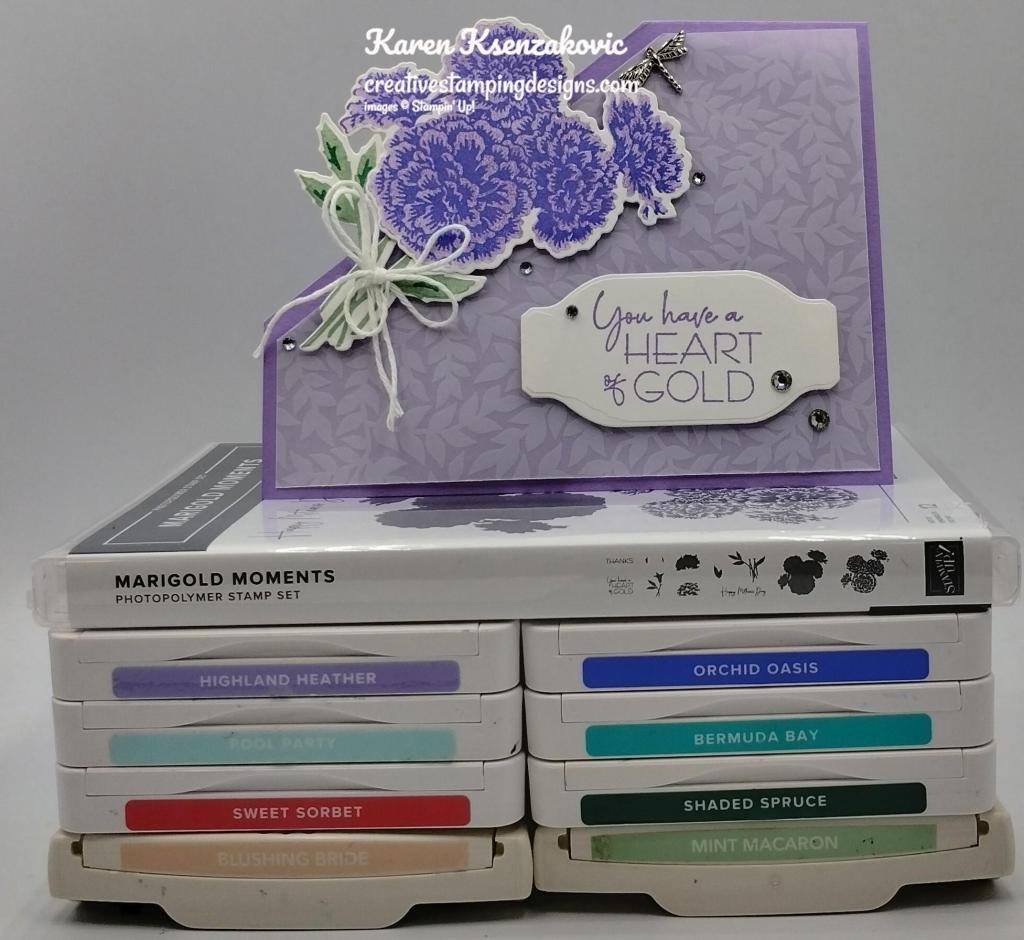
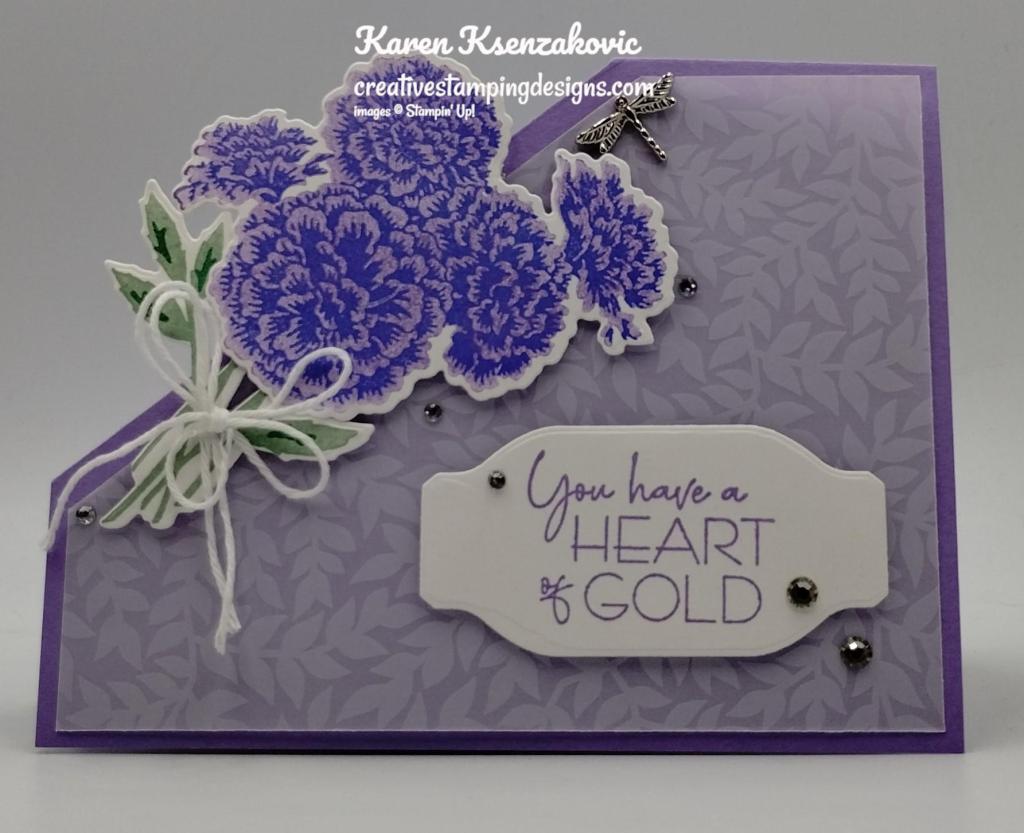
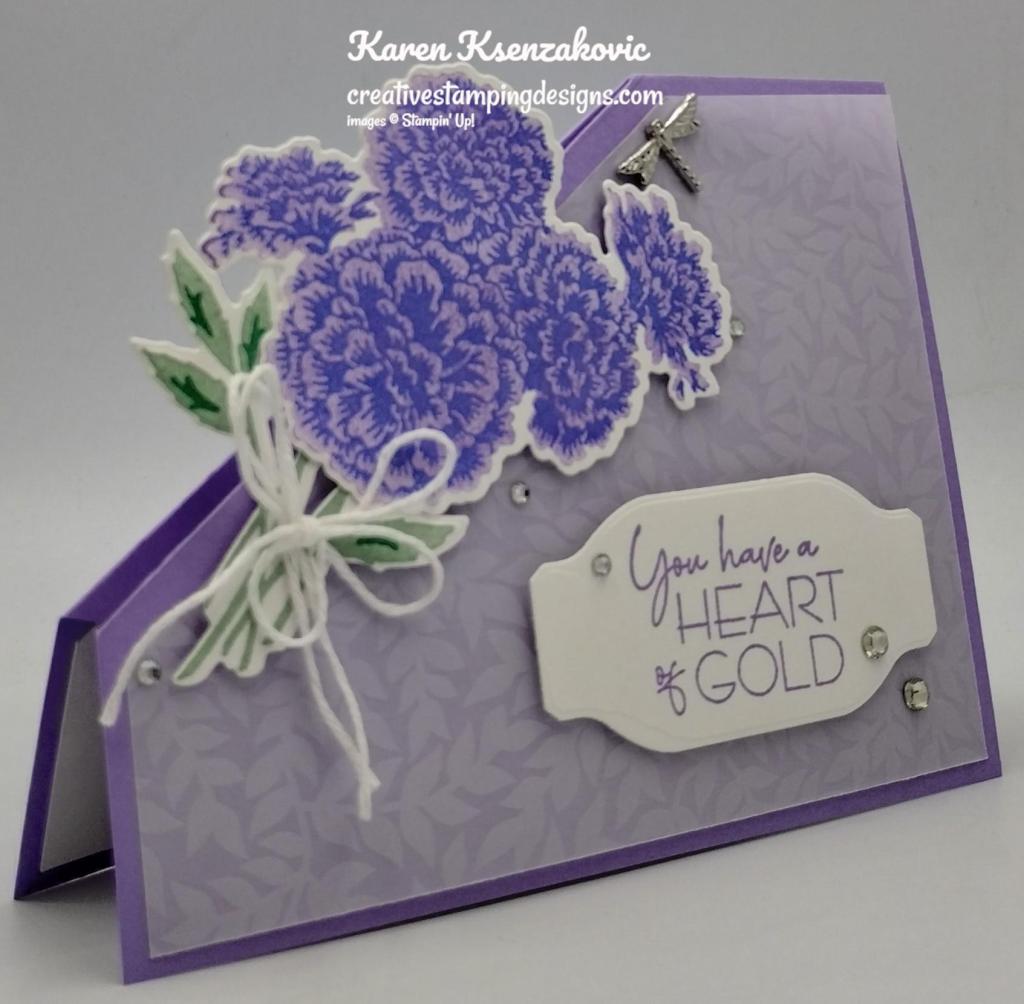
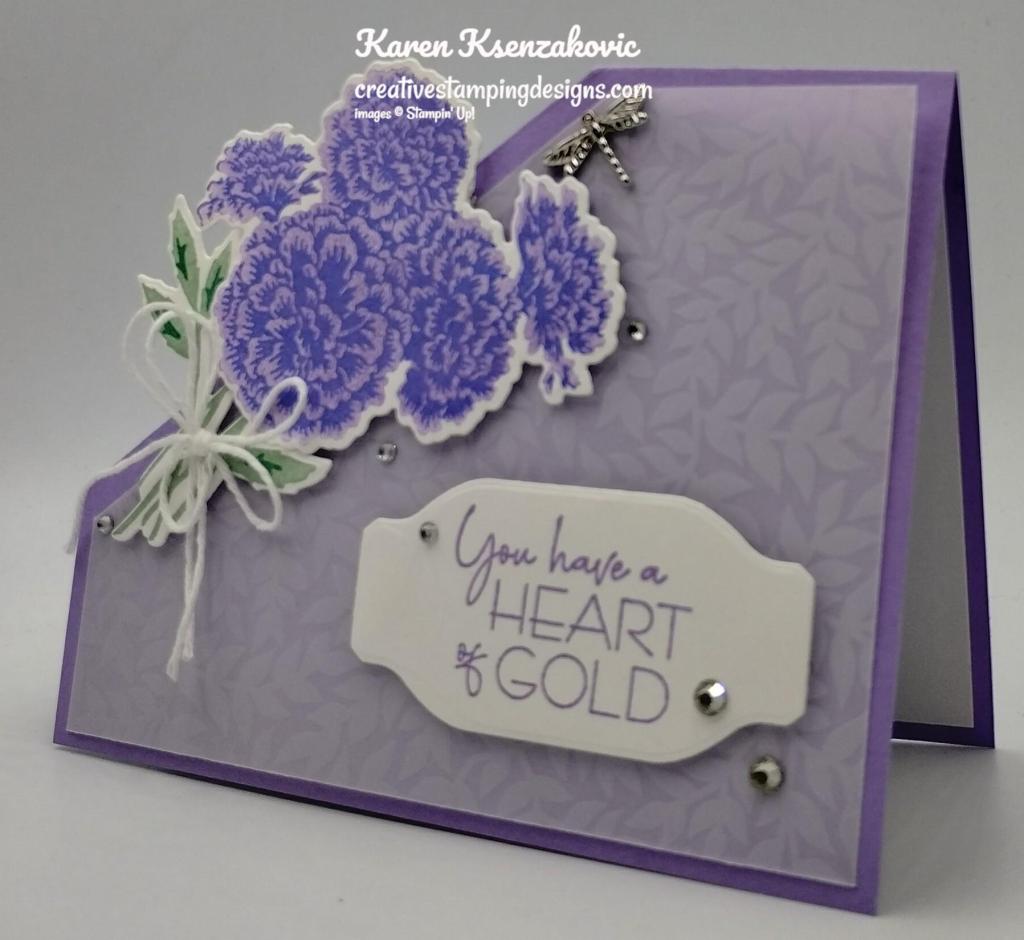
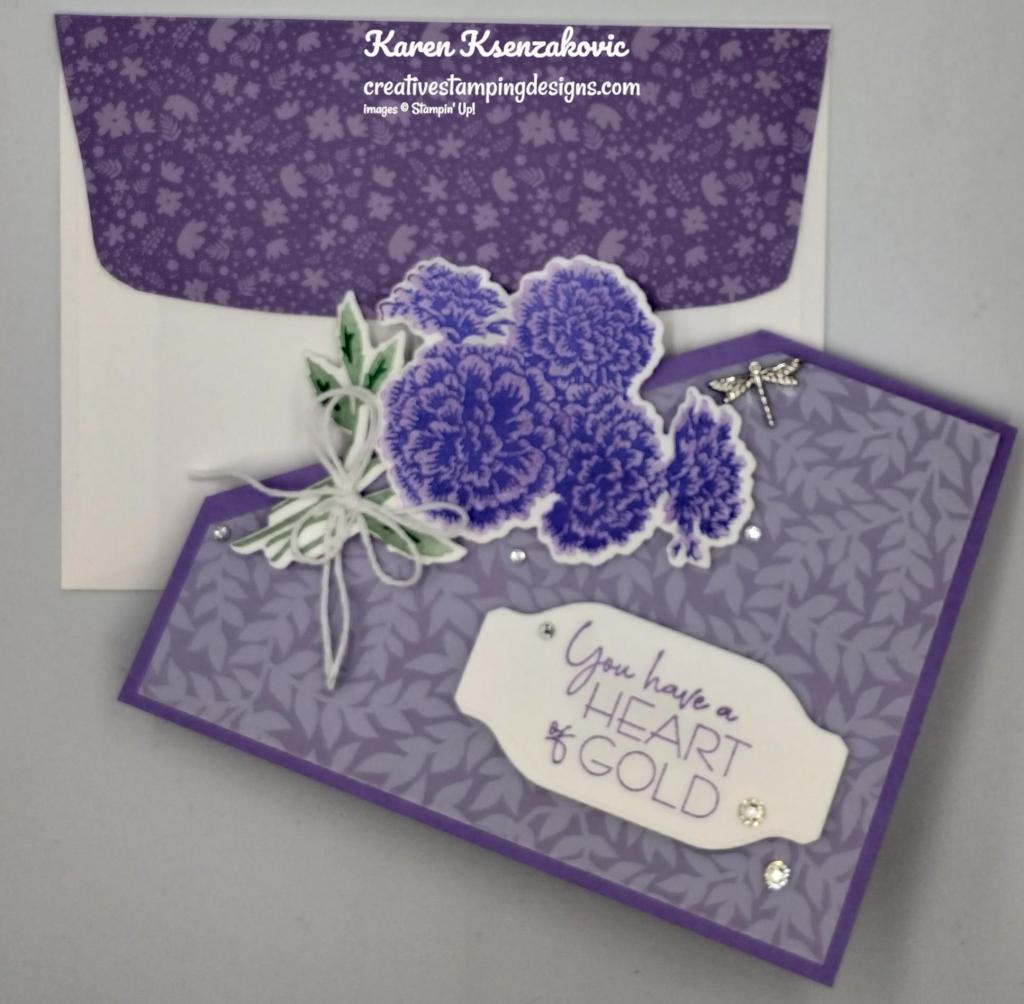
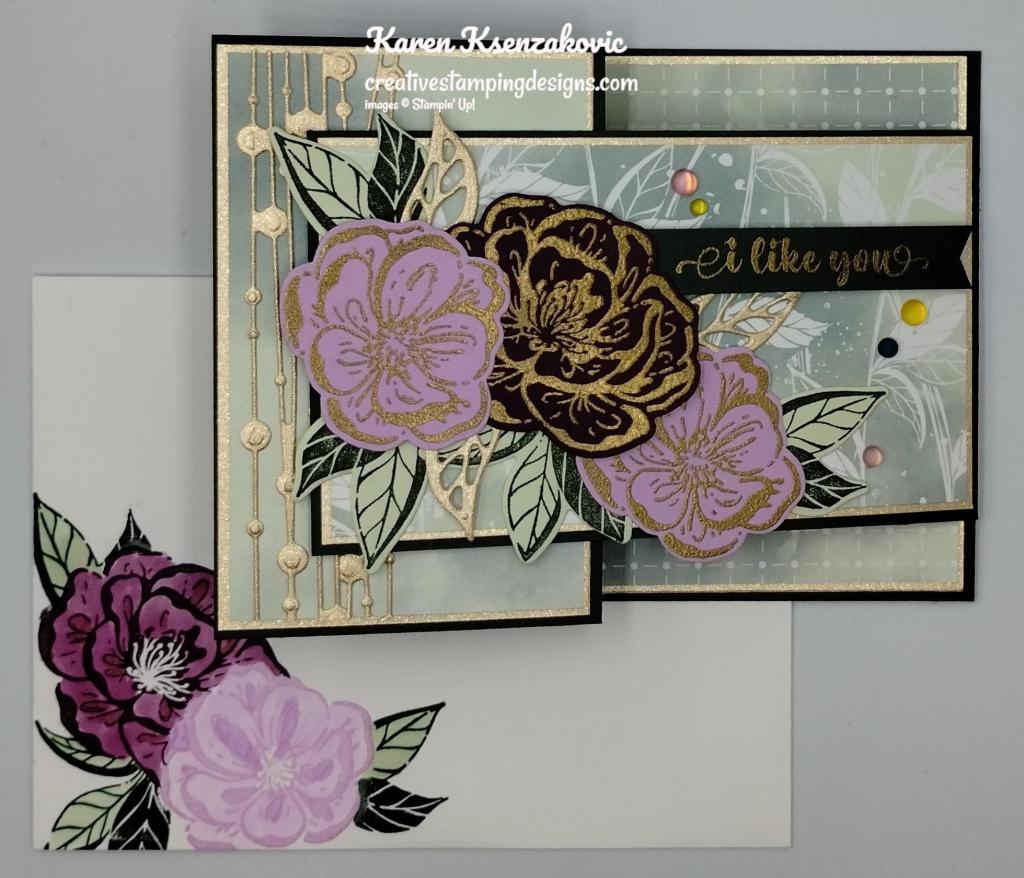
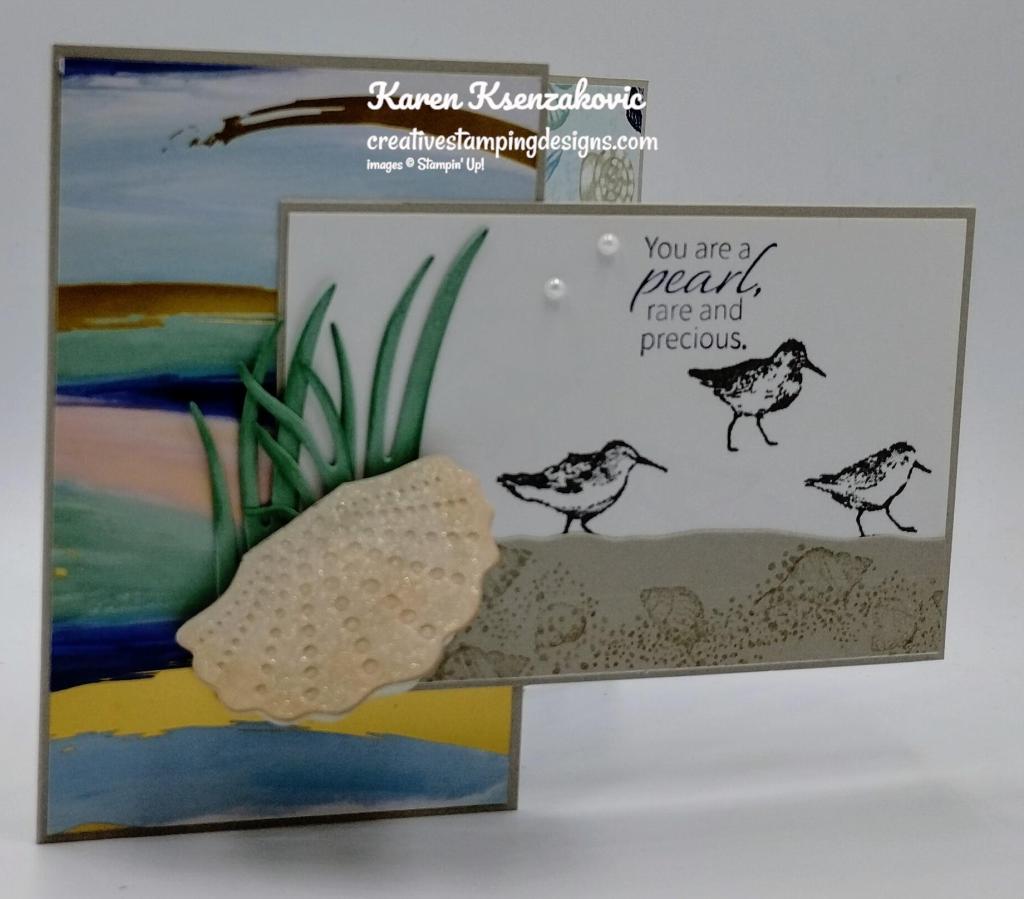
Today’s card I made on my Facebook Live video on Wednesday. If you were able to join me or watched the replay, thank you. If you’d like to watch my video and stamp along, the measurements are below along with the links to my Facebook page and my YouTube channel. This is not really a ‘fun fold’ card today, but I’m considering it a fancy ‘fold’. Here is my card for today.
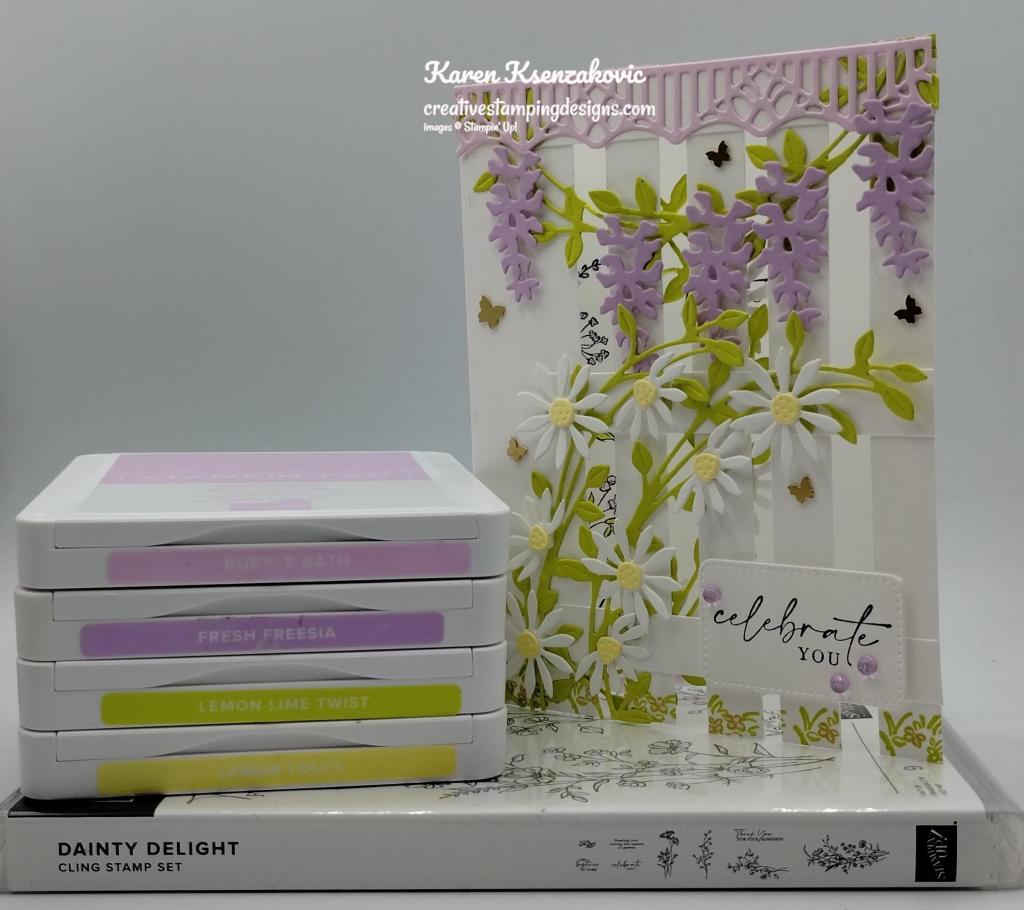
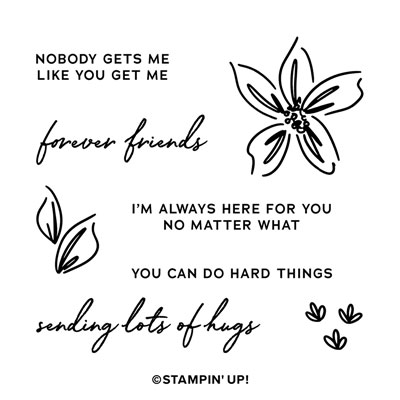
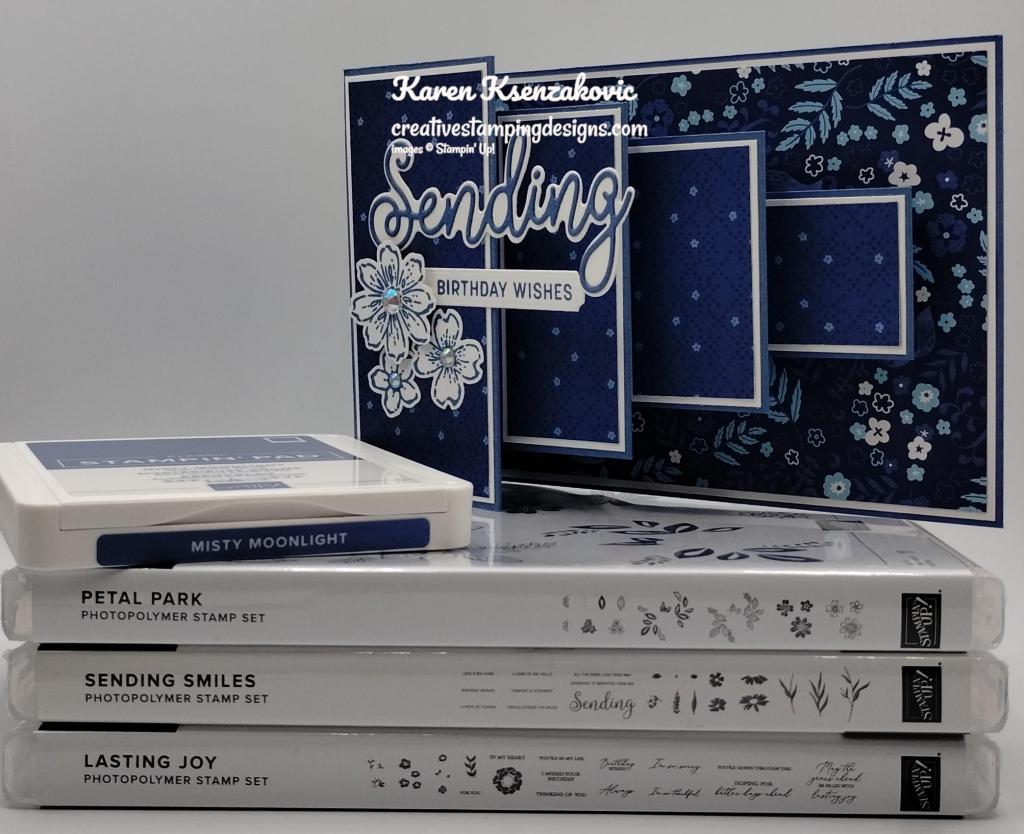
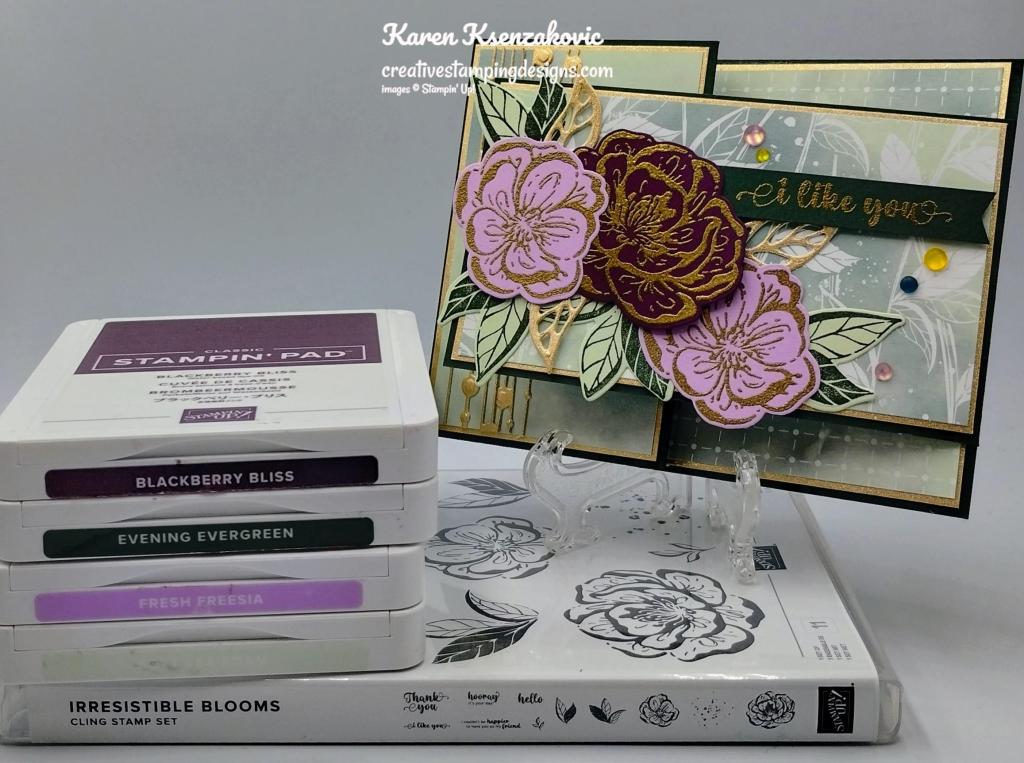
I used the Stampin’ Up! Dainty Delight Cling Stamp Set along with the Dainty Delight Dies, Lazy Days Dies and the new Nested Essentials Dies for my card today.

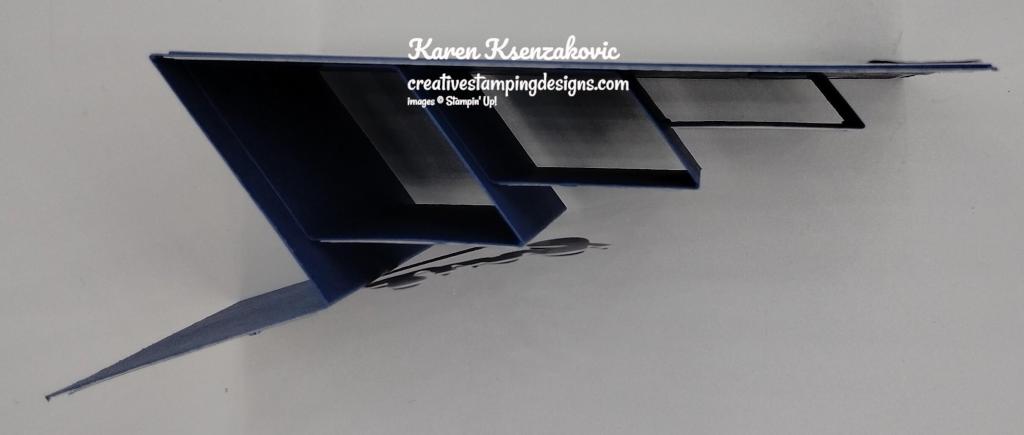
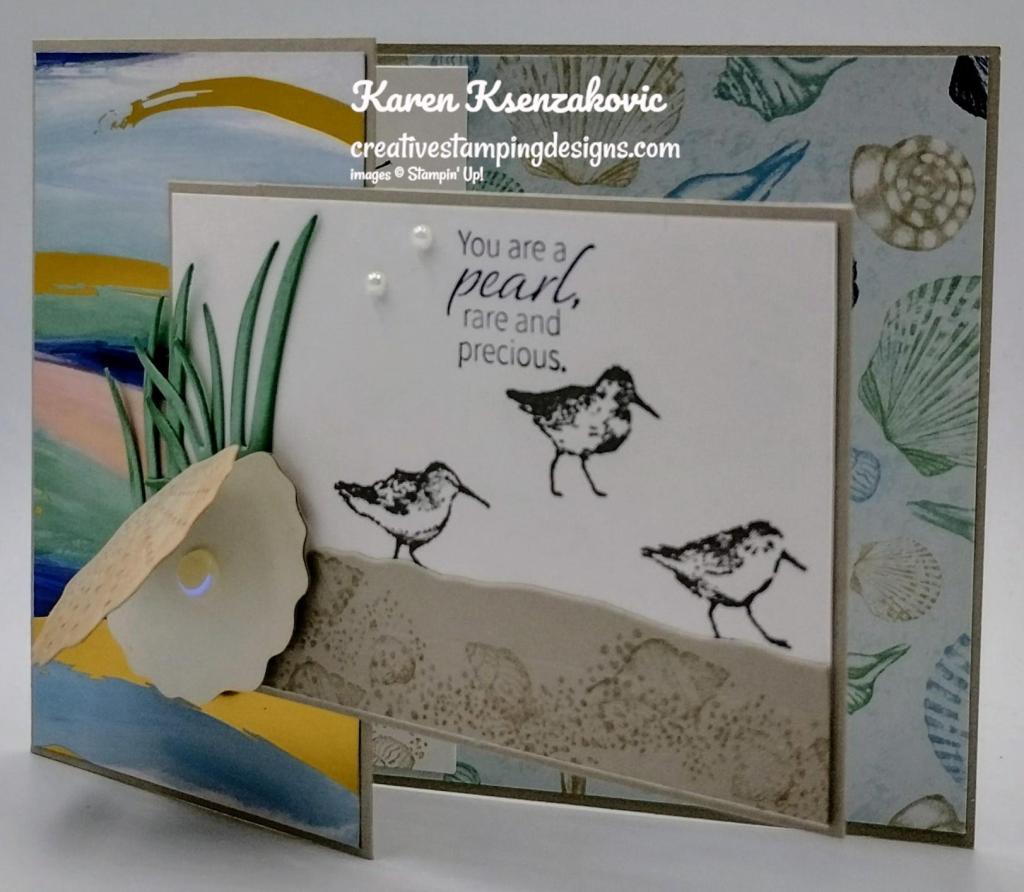
I started by stamping the small grass image from the Dainty Delight stamp set in Lemon Lime Twist Ink along the bottom front of the Basic White Thick card base. I opened the card base and cut 6 – 1/2″ strips from the front of the card base using my Paper Trimmer. I folded the card base and set 4 of the strips down lining them up evenly to make the fence. I placed a block on them to hold them in place to adhere them. I took 1 of the strips and adhered it towards the bottom using tiny drops of Multipurpose Liquid Glue. I then adhered the center strip the same way. I cut an extra strip of Basic White for the top and adhered it closer to the top the same way. I trimmed off the excess using Paper Snips.
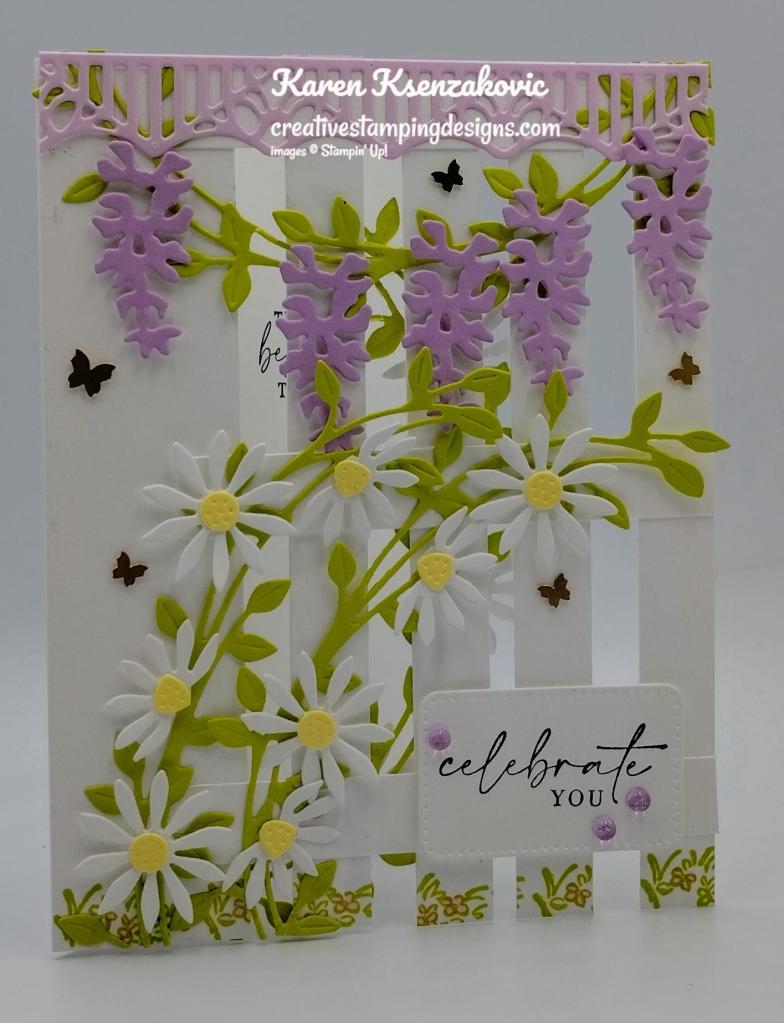
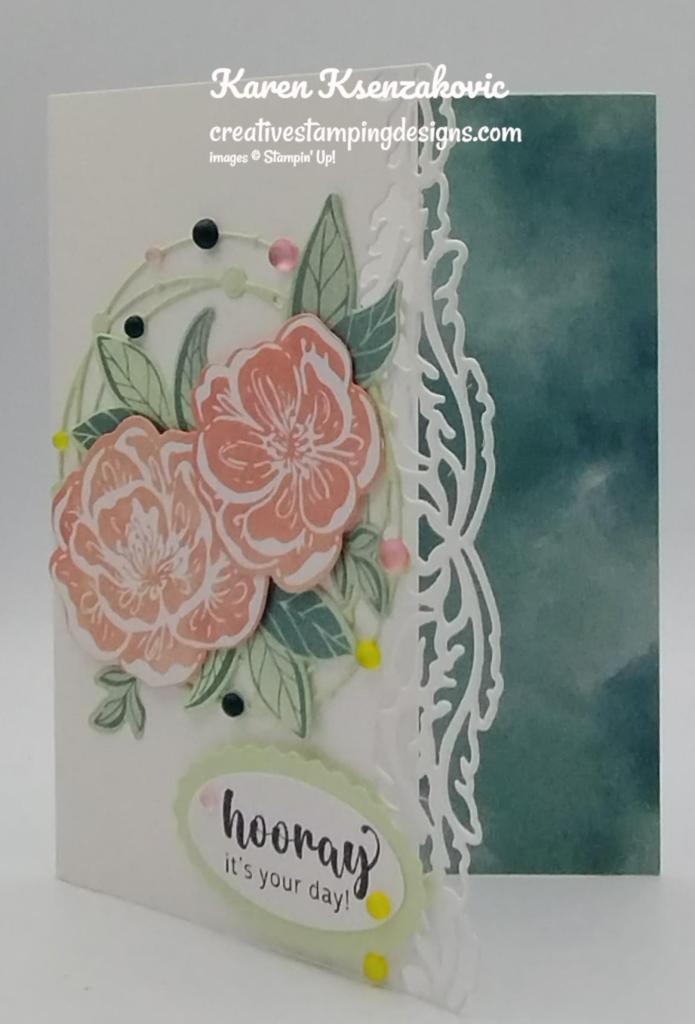
From a panel of Bubble Bath cardstock, I cut the porch top die from the Lazy Days Dies. From a panel of Lemon Lime Twist, I cut the vine from the Dainty Delight Dies. I adhered one of the vines to the top of the card front using small amounts of Multipurpose Liquid Glue on the leaves. I adhered the porch top die to the top of the card front. From a panel of Fresh Freesia cardstock, I cut 5 of the flower dies from the Dainty Delight Dies to make Wisteria. I adhered the flowers to the vine using Stampin’ Dimensionals. From a panel of Basic White I cut the 2 daisy dies from the Dainty Delight Dies. I cut the daisy centers from a panel of Lemon Lolly cardstock. I adhered the flower centers to the daisies using Glue Dots. I adhered 2 more of the vines to the card front. I adhered the daisies to the vines using Mini Stampin’ Dimensionals.

I stamped the sentiment from the Dainty Delight stamp set in Tuxedo Black Ink on a panel of Basic White. I cut the sentiment out using the smallest rectangle die from the Nested Essentials Dies. I adhered the sentiment to the card front using Stampin’ Dimensionals. I added some Brushed Brass Butterflies around the flowers and Tinsel Gems Three Pack to the sentiment.
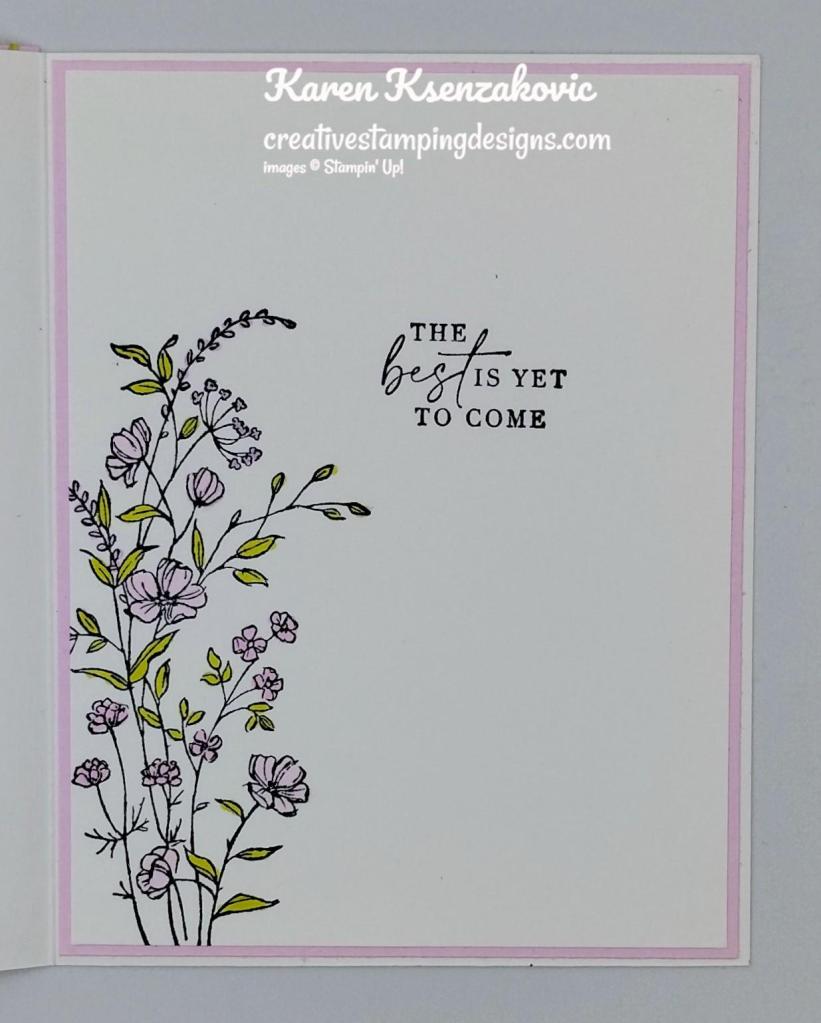
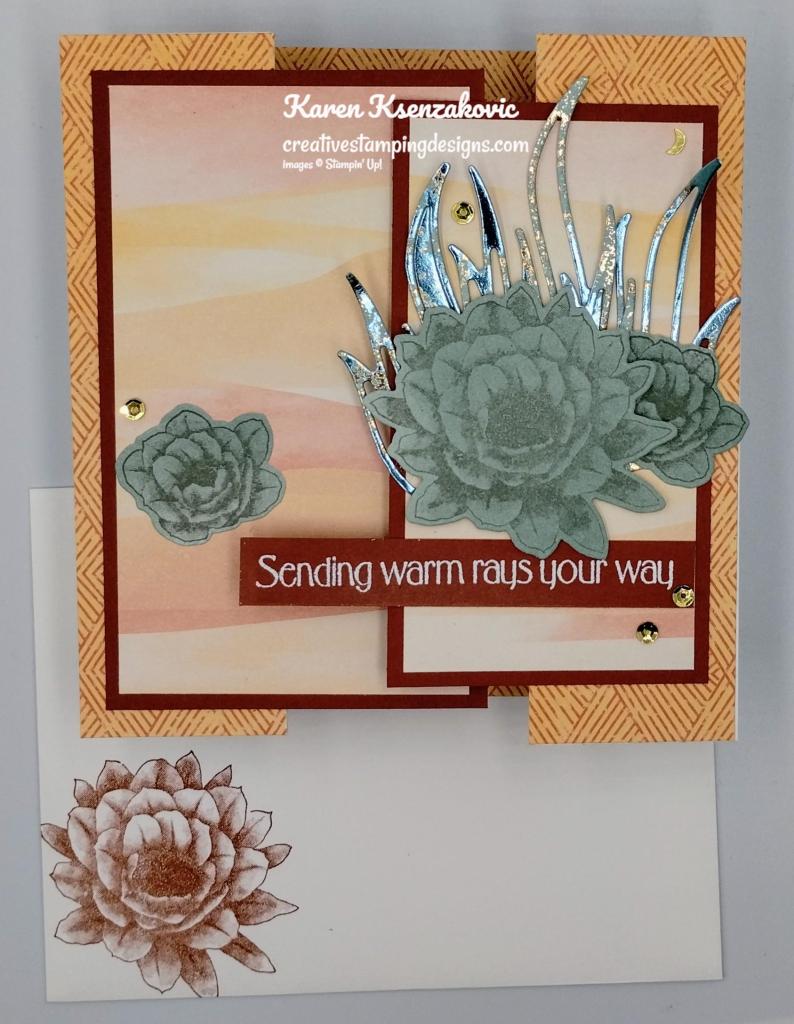
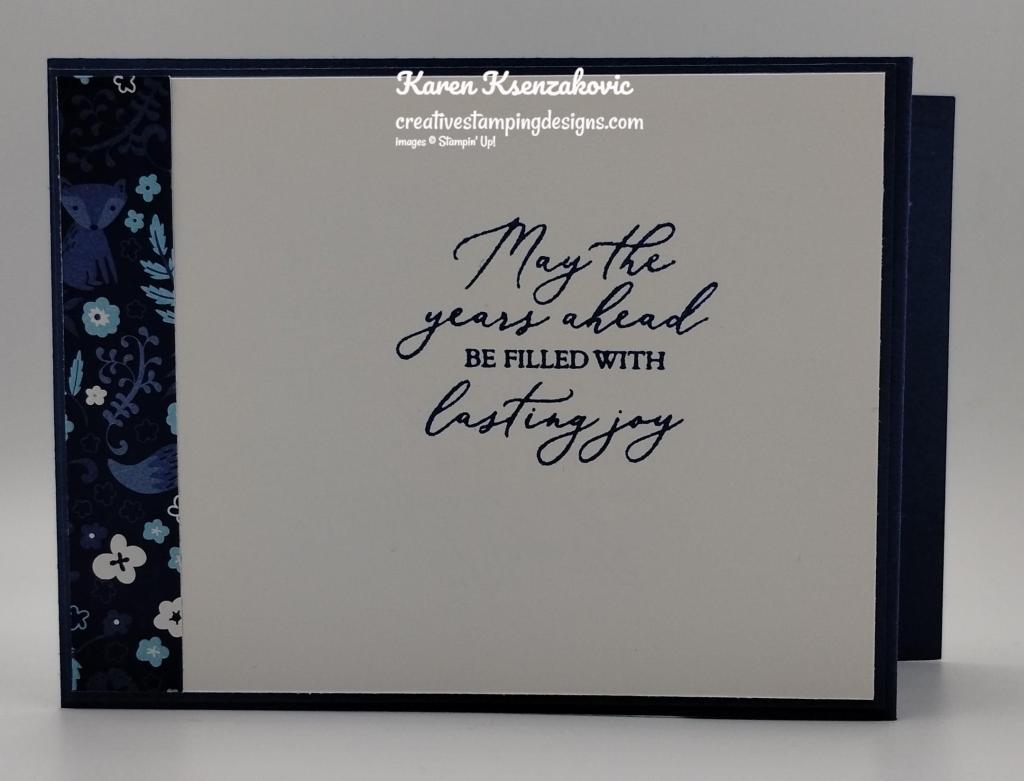
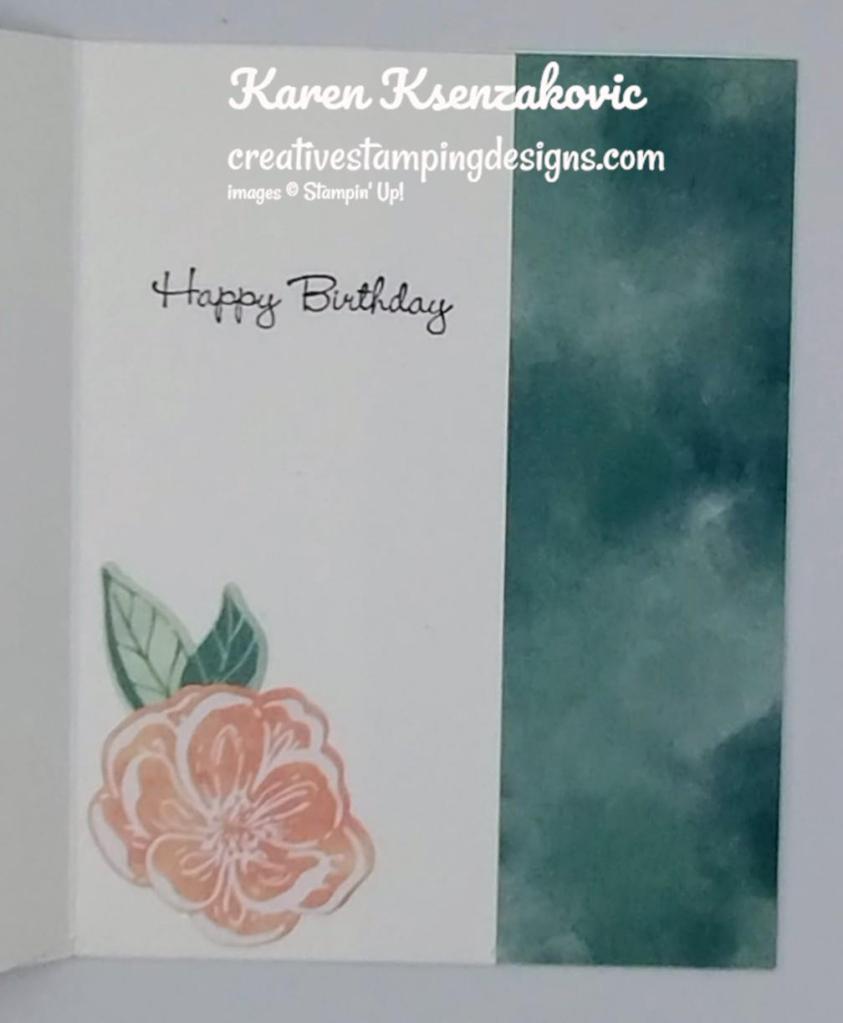
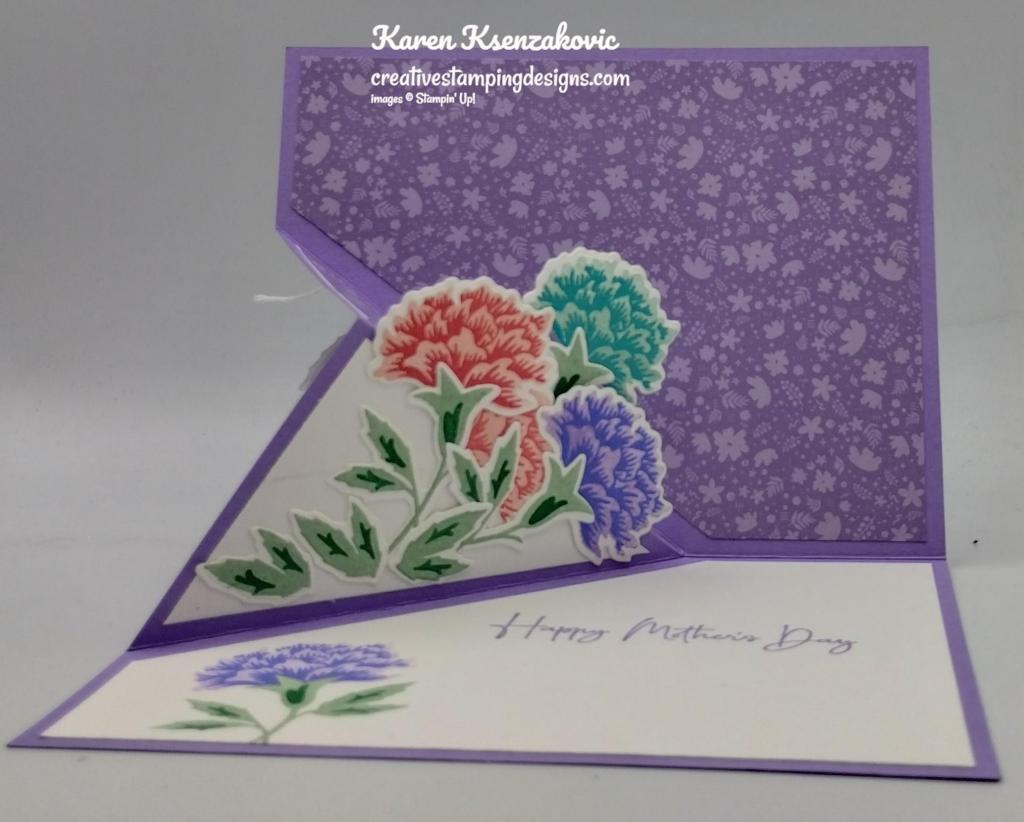
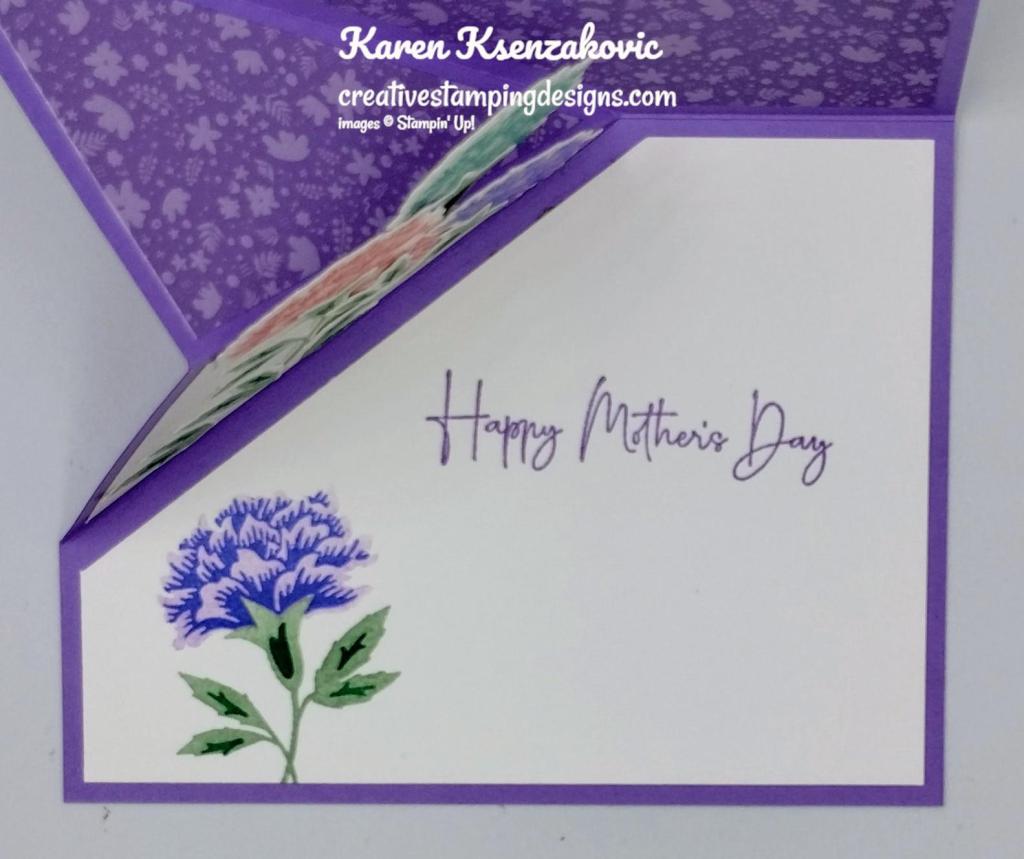
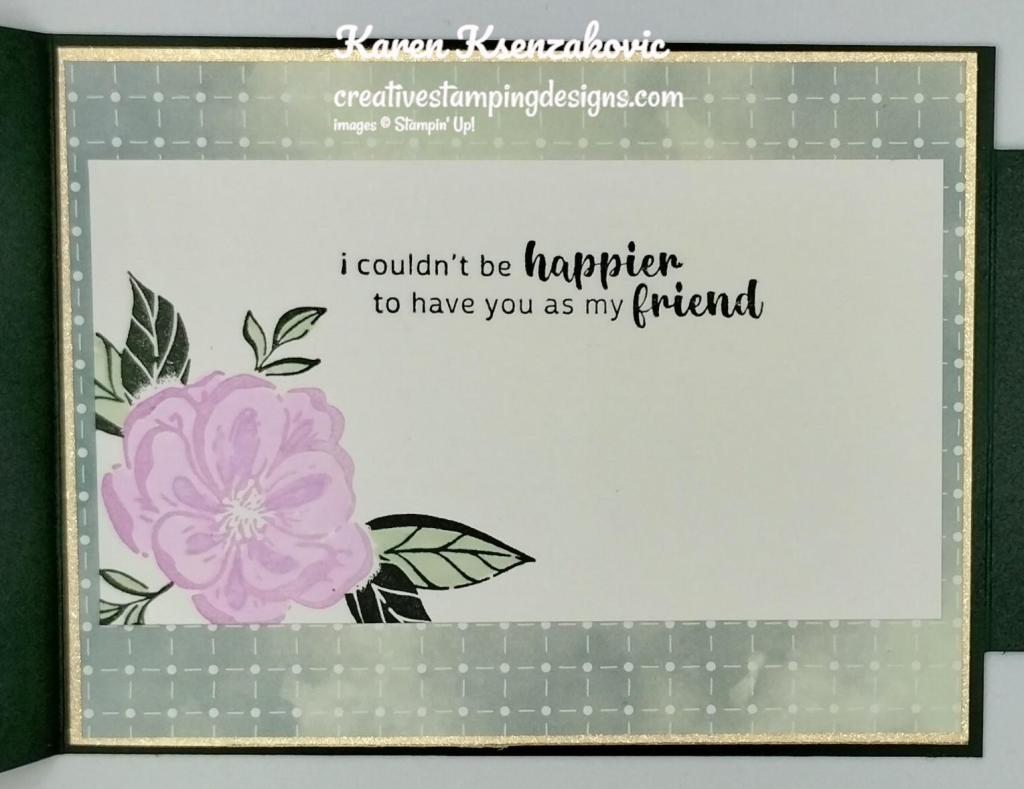
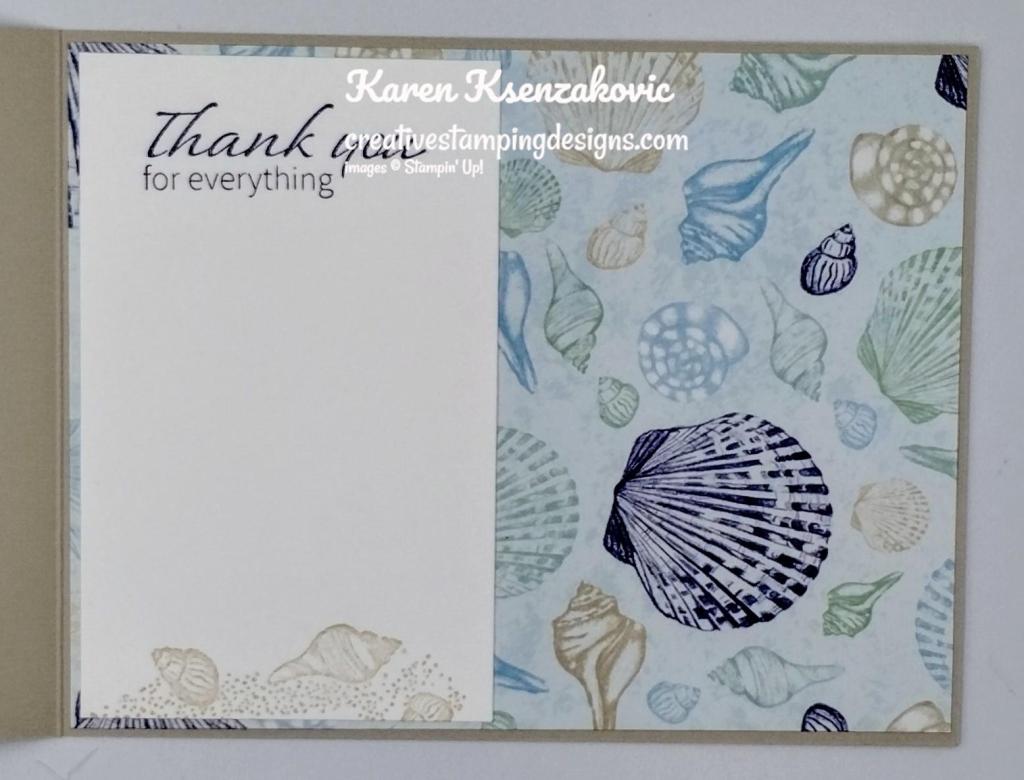
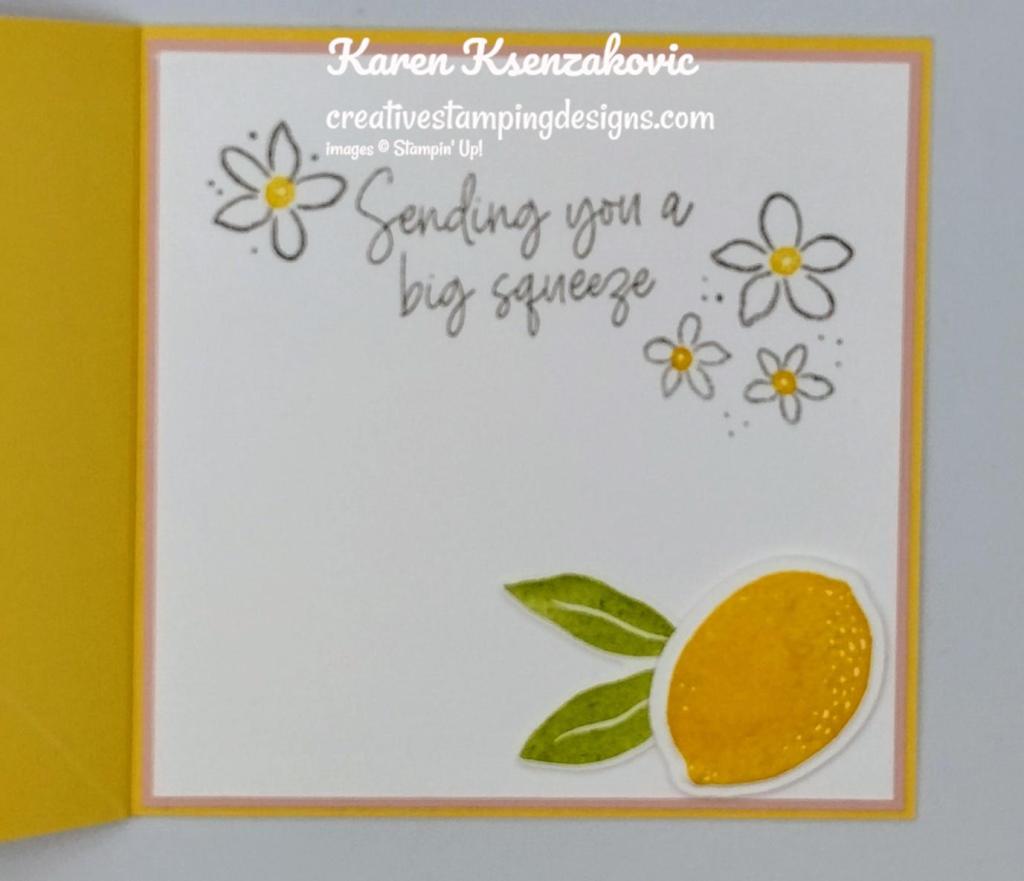
On the inside, I stamped the sentiment from Dainty Delight stamp set in Tuxedo Black Ink on a Basic White panel. I stamped the larger floral image from the Dainty Delight stamp set in Tuxedo Black Ink on the side of the panel. I colored the image in using Bubble Bath, Fresh Freesia and Lemon Lime Twist Stampin’ Blends Markers. I adhered the Basic Whtie panel to a Bubble Bath mat then to the inside of the Basic White Thick cardbase.
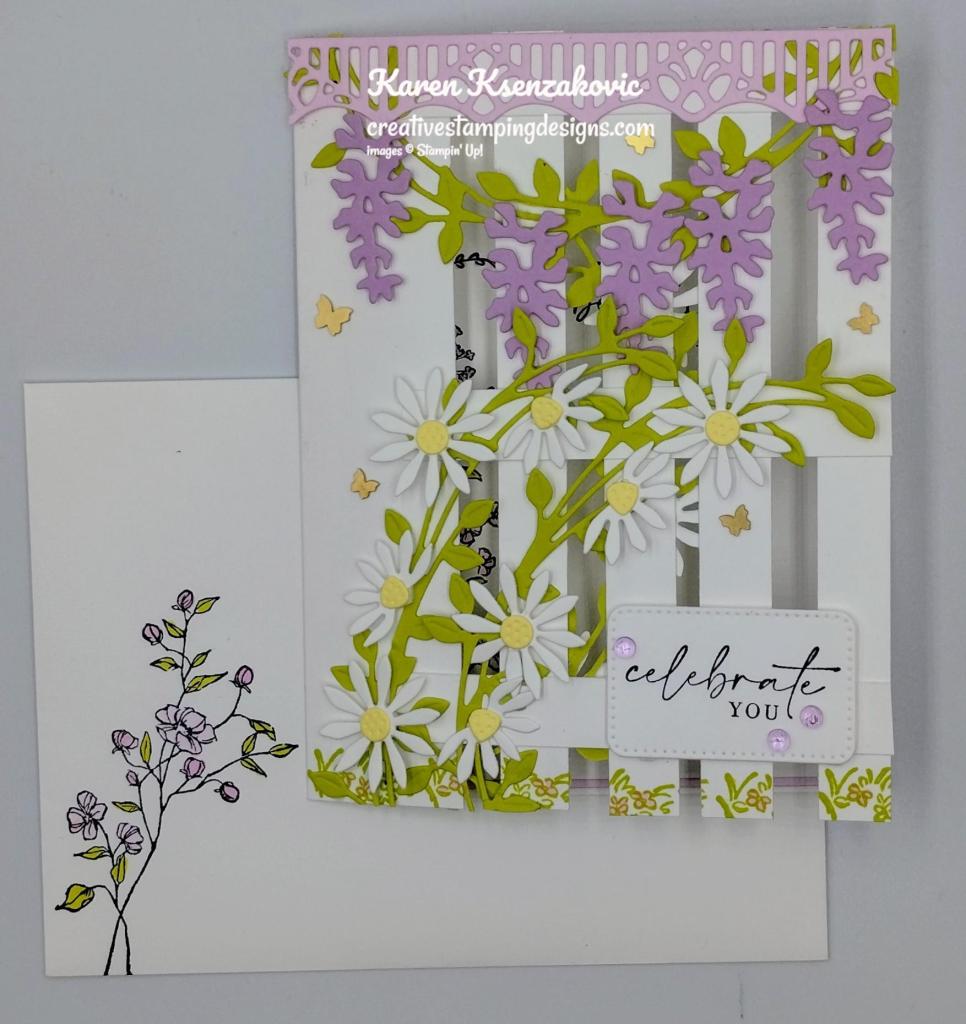
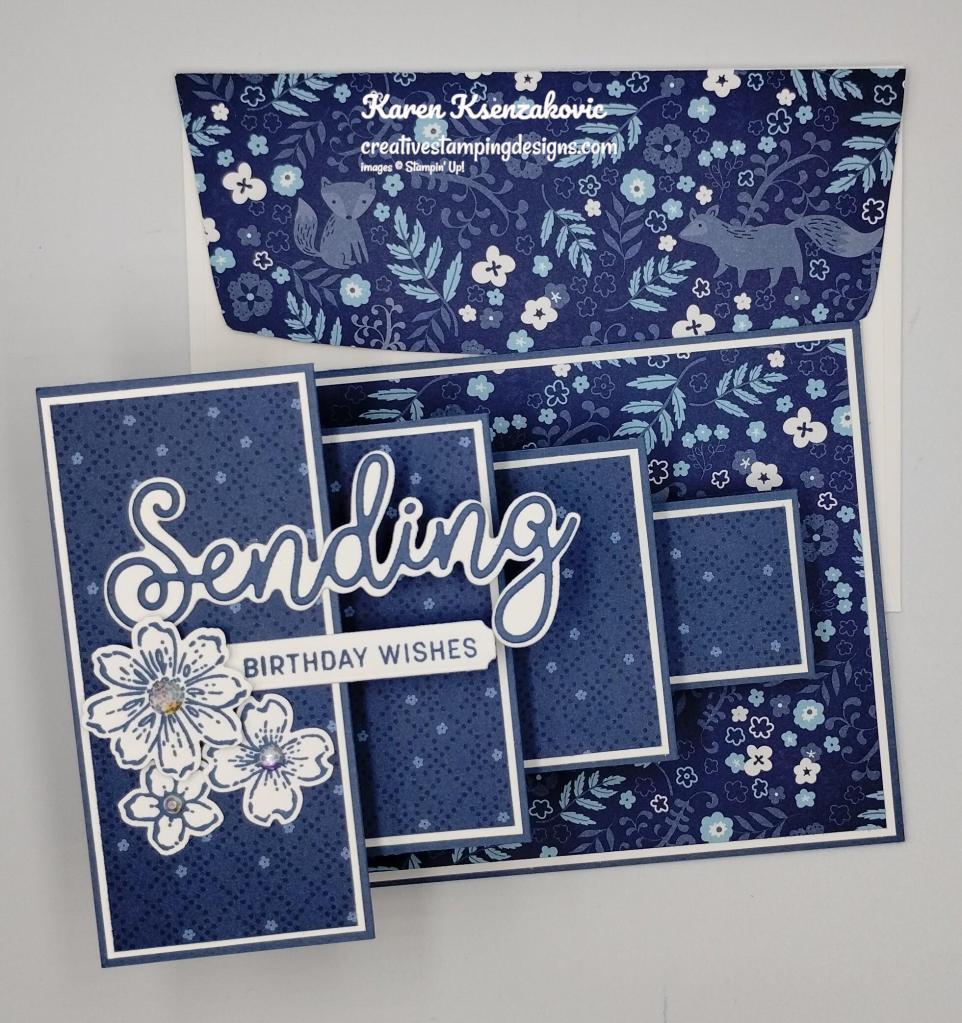
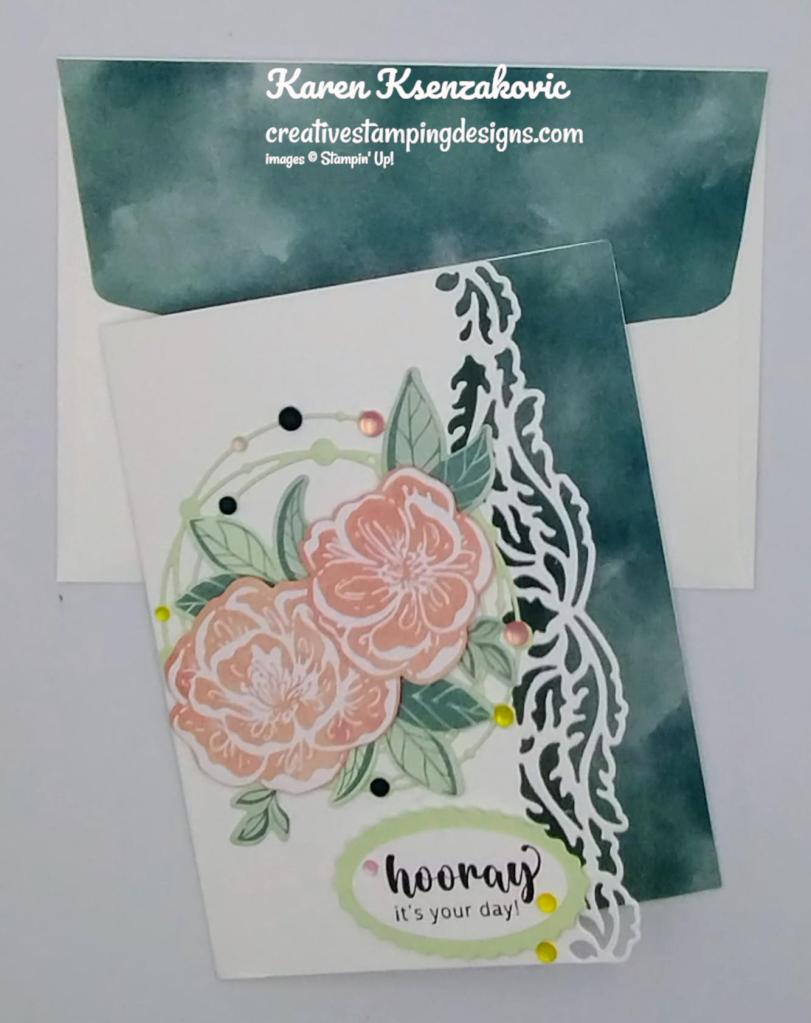
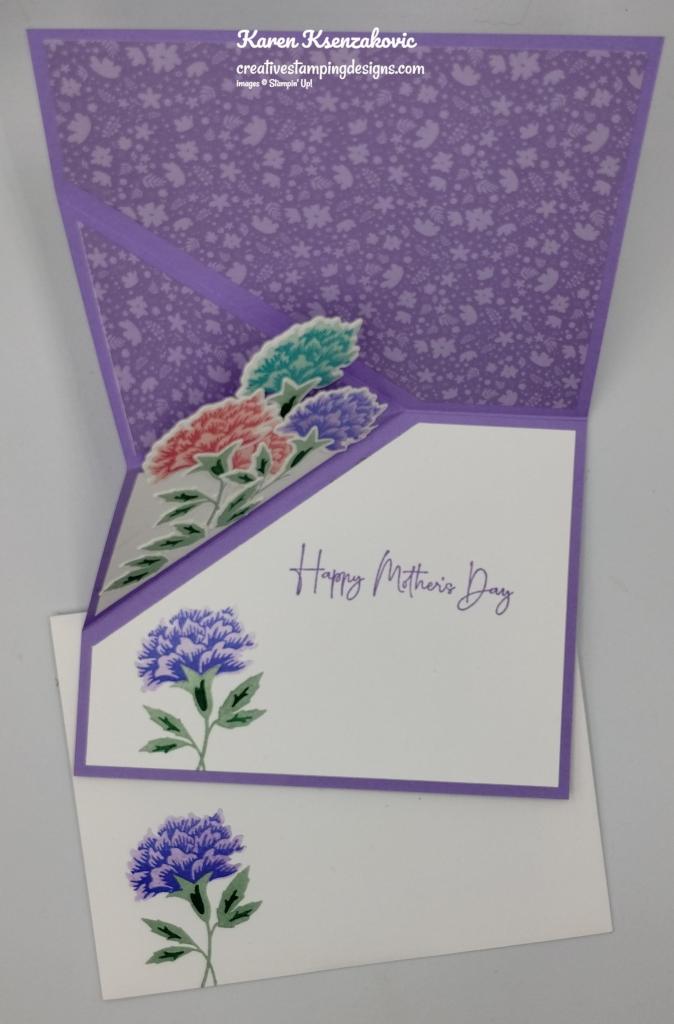
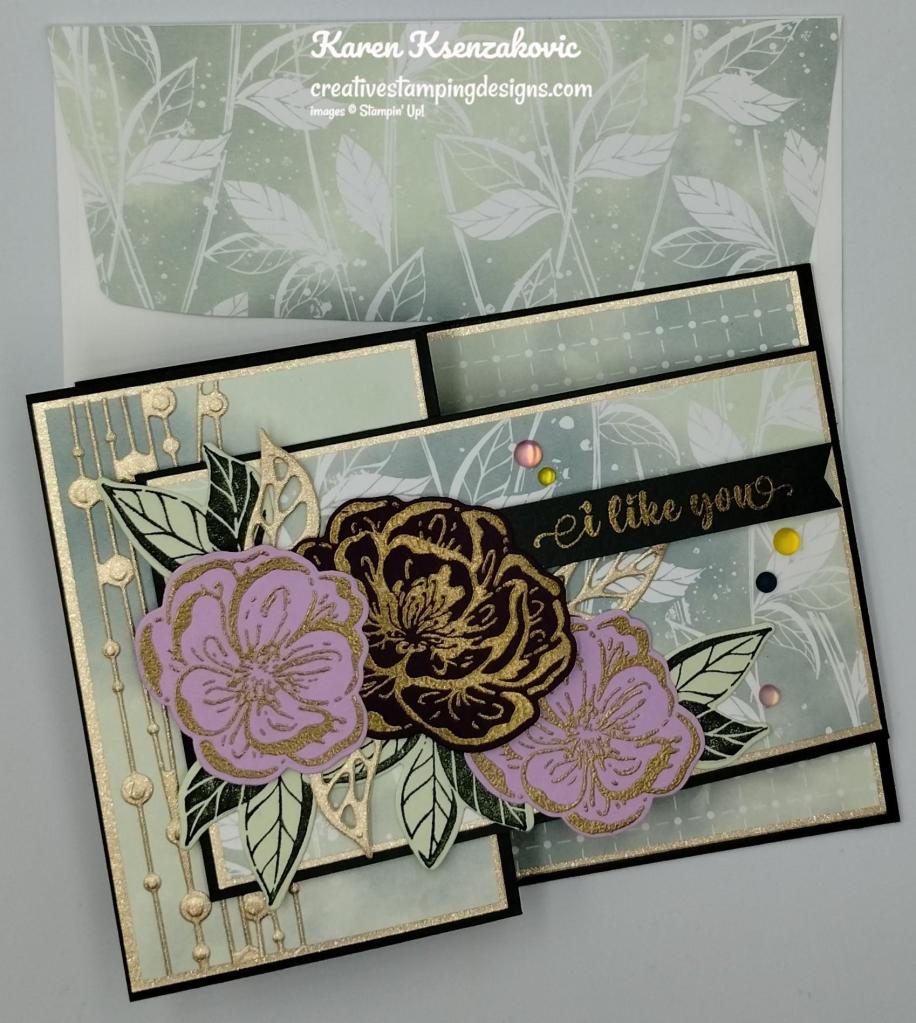
To finish my card, I decorated a Basic White Medium Envelope. I stamped the floral images from the Dainty Delight stamp set in Tuxedo Black Ink on the envelope front and flap. I colored the images using Bubble Bath, Fresh Freesia and Lemon Lime Twist Stampin’ Blends Markers.

Thank you for stopping by my blog today. I hope you liked my card and will give it a try. I hope you will CASE this card and please feel free to post it in the comments of my Facebook page under my post. I’d love to see your take on the card. The list of measurements are below if you’d like to stamp along while watching the video. You can watch my video on my Facebook page Here.
You can also view the video on my YouTube channel Here. If you watch this on my YouTube channel, please remember to subscribe so that you will get notified when a new video goes live. I’m hoping to start doing YouTube lives soon, thanks to all that have subscribed. Happy Stamping!!
*********************************************************************************************************
If you need any stamping supplies, I’d love to be your Demonstrator. Just click HERE to go directly to my online store or drop me an email if you have any questions.
MY CURRENT HOST CODE IS: BR9XGSTC
Use this host code when placing an order with me. When you order $50 or greater you will receive a free gift from me! If your order is over $150, please do not use this code, but you’ll still get the free gift. The free gift is your choice of any 1 item valued up to $10.00 from the 2022-2023 Annual Catalog or the January-April 2023 Mini Catalog! Unfortunately, packs of cardstock are no longer an option for a free gift. Shipping has become too expensive to ship and it’s costing me as much to ship as the cardstock costs. For any orders $50 or more I will also send you my monthly class tutorials. Click HERE or go to my Customer Rewards for more details and to see what this month’s tutorials are.
Please remember to use my current Host Code and make sure that you can see my name on the final checkout page listed as your Demonstrator when you order so that you know that you’re ordering with me, and you’ll get my rewards!
Happy Stamping, Karen
*********************************************************************************************************
In response to changing policies at Stampin’ Up – I’m adjusting my Ordering Gift policy as well. I’m having to get a little more tough on the adding of Host codes when you place your order thru my Online Store.
Not to worry – you’re still going to get that $10 ordering gift for orders of $50 (before shipping & tax) or greater. And the gift is still any 1 SU! product up to that $10 value – which includes some of our fun Host Sets!
But – if you DO NOT use the Host code for your orders of less than $150 (this is the RETAIL total before Shipping & Handling), then you’ll have two options:
- You’ll need to call Stampin’ Up! (1-800-Stamp-Up) and ask them to add it for you. They’re very helpful and will get it done quickly! OR….
- If your order was over the $50 threshold but under $150, then…you’ll forfeit that $10 ordering gift and rewards – this is the Bummer Option – and I REALLY don’t want to do this, SO please remember to add my Current Host Code.
*********************************************************************************************************
Welcome Inn
Subscribe May 11 – June 10

Show hospitality to all your guests with the Welcome Inn Paper Pumpkin Kit! This kit includes nine elegant and detailed cards—three each of three designs. Whether you’re hosting friends and family, or want to invite someone over, this kit has what you need to create sophisticated and elevated cards!
You can also pair this kit with a coordinating die add-on! (Available while supplies last. Stampin’ Cut & Emboss Machine sold separately). Keep reading to learn more!
The Welcome Inn Paper Pumpkin Kit perfectly coordinates with the Countryside Inn Suite Collection (item number 161474) from the 2023–2024 Annual Catalog! You can use the stamps and paper from both the suite and kit to create cards that are stylish and refined. You can create these elegant hospitality cards using the suite’s Countryside Inn 12″ x 12″ (30.5 x 30.5 cm) Designer Series Paper and the kit’s beautiful floral cards. There are endless creative possibilities of this kit and suite coordination!
This kit includes:
- All the supplies you’ll need to create 9 elegant and sophisticated cards—3 each of 3 designs—and 9 coordinating envelopes.
- A coordinating photopolymer stamp set with floral designs and friendly, hospitality-themed sentiments.
- A Night of Navy Stampin’ Spot and beautiful embellishments
- Lovely floral details and precut vases
Finished card size: 4-1/4″ x 5-1/2″ (10.8 x 14 cm)
Coordinating Stampin’ Up! colors: Balmy Blue, Boho Blue, Calypso Coral, Daffodil Delight, Early Espresso, Misty Moonlight, Night of Navy, Old Olive
Don’t forget! This kit perfectly coordinates with the Countryside Inn Suite Collection (Item number: 161474).
Subscribe to the May Paper Pumpkin Kit between 11 May 2023 and 10 June 2023 by clicking here!
Note: Supplies may be limited toward the end of the subscription period.
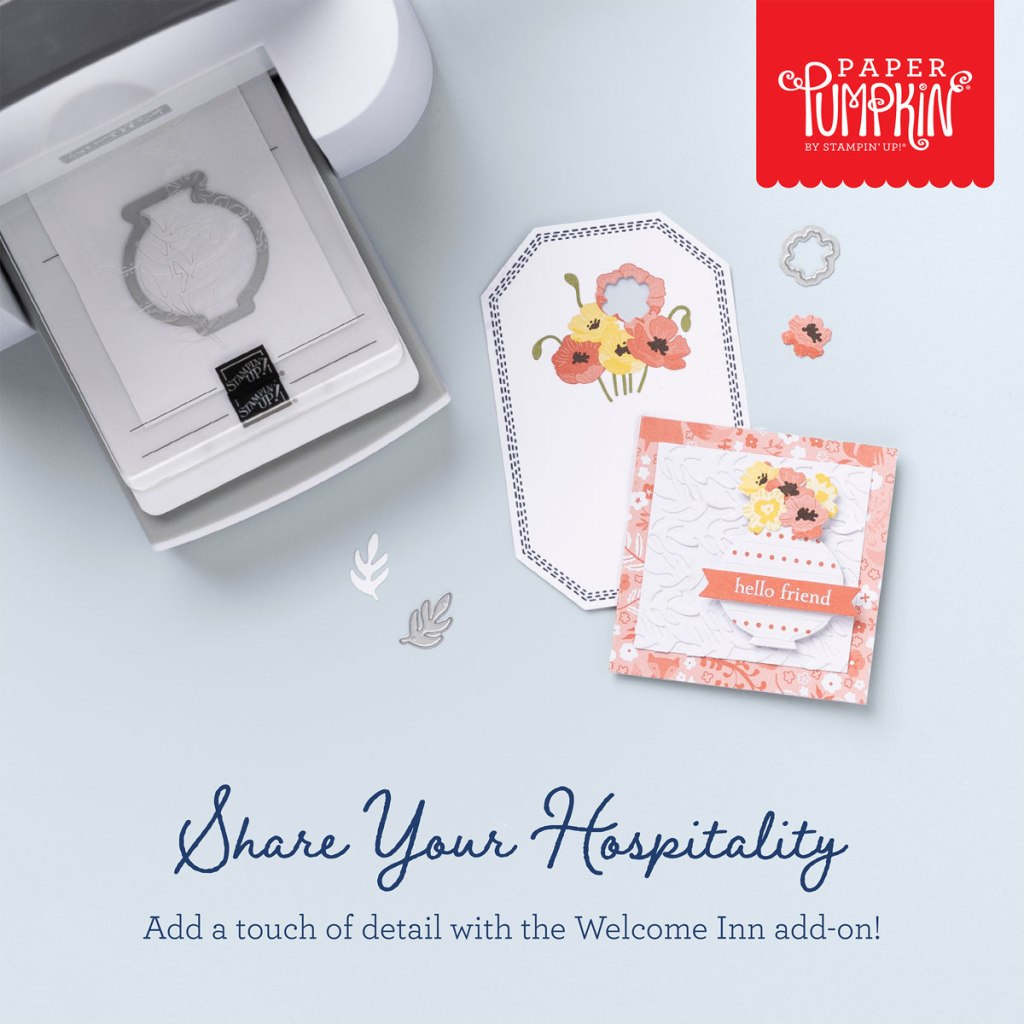
ADD-ON
Welcome Inn Dies (Available for purchase starting 11 May, while supplies last).
Item number: 163192
$6.00 USD / $8.25 CAD
This add-on includes:
- One coordinating vase die: 1-1/2″ x 1-1/2″ (3.8 x 3.8 cm)
- One coordinating flower die
- One beautiful leaf die
Note: Stampin’ Cut & Emboss Machine sold separately.
*********************************************************************************************************
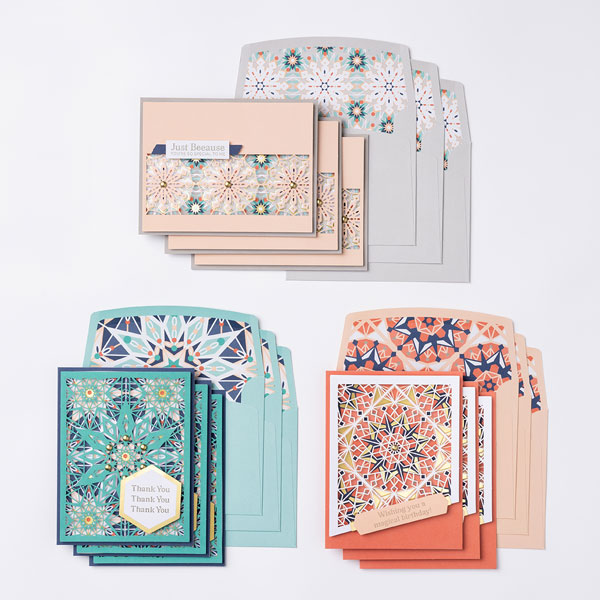
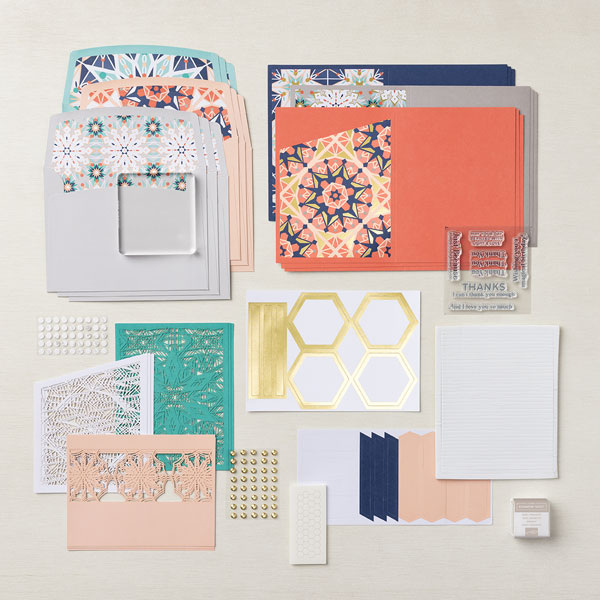
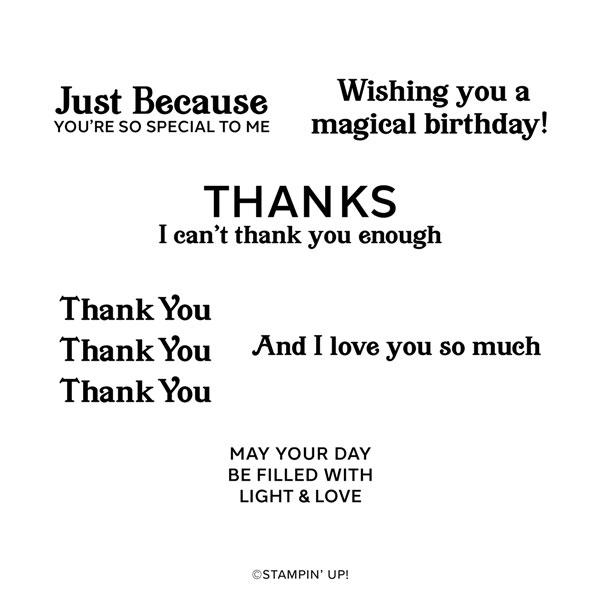
CONFETTI BIRTHDAY KIT
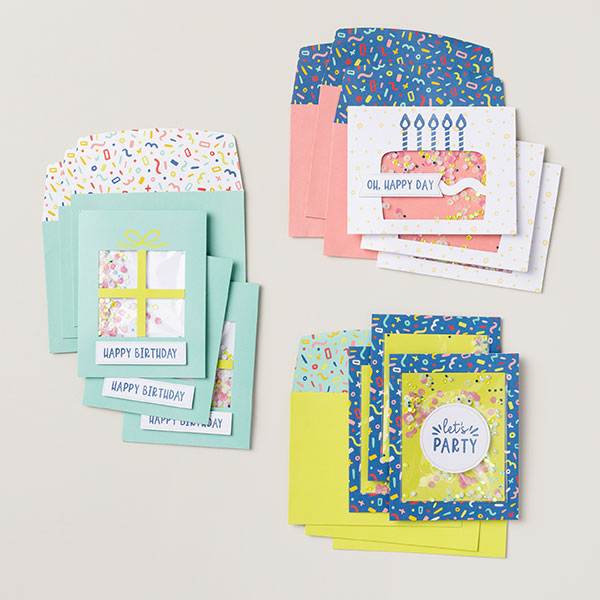

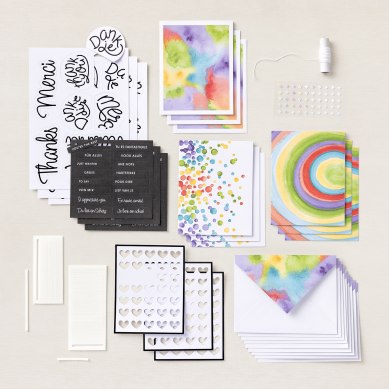
Shake up someone’s special day with a happy, handcrafted shaker card! The Confetti Birthday Kit, the newest addition to the Kits Collection by Stampin’ Up!, comes with everything you need to quickly create confetti shaker cards—a total of 9 cards in 3 lively designs. Celebrate in style with bright, bold colors, confetti, and birthday greetings full of joy!
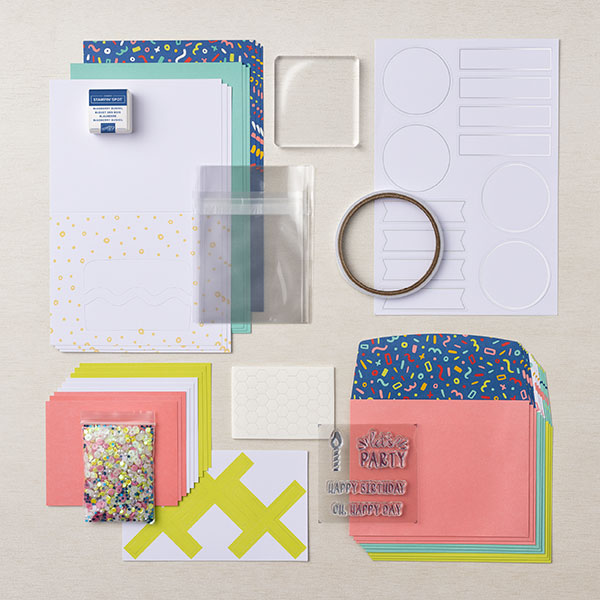
This month’s kit includes:
- Enough supplies to create 9 cards—3 each of 3 designs
- 9 coordinating envelopes
- Confetti Birthday photopolymer stamp set
- One Blueberry Bushel Ink Spot
- Printed card bases, card fronts, self-adhesive cellophane shaker bags, die-cut pieces, holographic foil labels, adhesive, embellishments, and a clear block
- Finished card size: 5-1/2″ x 4-1/4″ (14 x 10.8 cm)
- Coordinating colors: Blueberry Bushel, Coastal Cabana, Crushed Curry, Flirty Flamingo, Lemon Lime Twist, Poppy Parade
#162390 $23.00 USD
*********************************************************************************************************
New Branded Merchandise Available in the Stampin’ Up! Online Store
Stampin’ Up! has some new Branded Merchandise that you can pick up in the online store now! Check out the pretty new grid paper and the awesome decal!
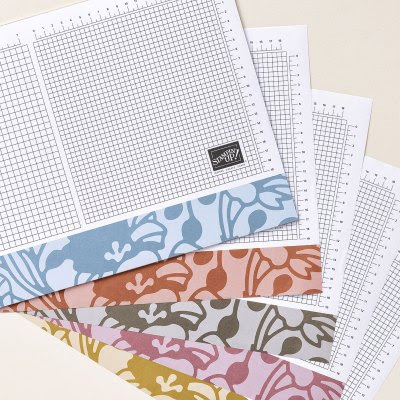
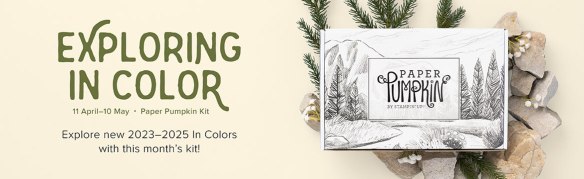
2023–2025 IN COLOR GRID PAPER
Keep your workspace clean and organized with the 2023–2025 In Color Grid Paper! This paper will protect your workspace when you craft while adding a fun pop of color. It has metric and imperial measurements on it to help you with alignment when crafting. Available while supplies last.
- Size: 11″ x 17″
- Includes imperial & metric measurements
- QTY: 25 Sheets per pack (5 sheets of 5 colors)
- Product colors: Boho Blue, Copper Clay, Moody Mauve, Pebbled Path, Wild Wheat
- Item number: 162439
- Price: $9.00

STAMPIN’ UP! LOGO VINYL DECAL
Show off your Stampin’ Up! spirit with the new Logo Vinyl Decal! Adhere the decal to a variety of clean surfaces. Put it on your water bottle, your computer, or even your car! Available while supplies last.
- 2 printed vinyl decals
- Sizes: 4-3/8″ x 6″ and 3-3/8″ x 4-1/2″
- Product colors: Basic White
- Item number: 162441
- Price: $6.00
You can see all of the branded merchandise in the online store Here.
*********************************************************************************************************
Card stock cuts for this project:
- Basic White Cardstock 2 1/4″ X 5 1/2″ (daisies), 1 1/2″ X 2″ (sentiment), 1/2″ X 5 1/2″ (extra strip)
- Basic White Thick Cardstock 8 1/2″ X 5 1/2″ (card base scored & folded at 4 1/4″)
- Bubble Bath Cardstock 1″ X 4 1/4″ (die cut panel), 4 1/8″ X 5 3/8″ (inner liner mat)
- Fresh Freesia Cardstock 2″ X 4″ (hanging flowers)
- Lemon Lime Twist Cardstock 5 1/2″ X 5 1/2″ (vines)
- Lemon Lolly cardstock 1″ X 2″ (daisy centers)
*********************************************************************************************************
Product List
")


")
")

")


 Designer Series Paper")
 Specialty Pack")


")
")


 Designer Series Paper")
 Specialty Designer Series Paper")


")


")


")
")
")


")
")

")

 Designer Series Paper")


")
")


 Specialty Designer Series Paper")
 Designer Series Paper")


")
")


 Designer Series Paper")


 Paper Pack")


")
")


 Specialty Designer Series Paper")


")
")


