Good Wednesday morning my stamping friends. How is everyone doing today? We’re halfway through the week and the weekend is right around the corner.
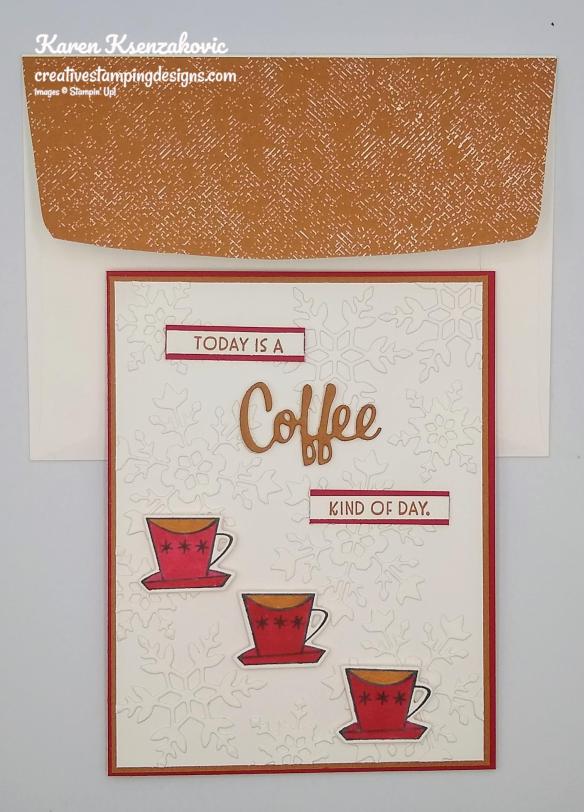
It’s time for another inspiration challenge for The Card Concepts. After taking a summer break, we’re back. Our 1st inspiration photo is Colorful Fall. Here is my card that I was inspired by the photo.

I used the Stampin’ Up! Gorgeous Leaves Bundle and the Stampin’ Up! Love of Leaves Photopolymer Stamp Set for my card today. I was inspired by the beautiful colors of the leaves for my clean and layered card.

I hope you will take a moment to visit The Card Concept and join us for our challenge #159. How are you inspired by this photo.

I started by randomly stamping the leaf images from the Stampin’ Up! Gorgeous Leaves Cling Stamp Set in Bumblebee, Cherry Cobbler and Fresh Freesia Inks on a Basic White panel. I stamped the splotch image from the Gorgeous Leaves stamp set in Soft Succulent Ink randomly on the panel.

I embossed the panel using my Timeworn Type 3D Embossing Folder. I adhered the panel to a Thick Basic White card base using Multipurpose Liquid Glue. Using my Intricate Leaves Dies I cut 1 branch from a panel of Soft Suede cardstock and 3 leaves from panels of Bumblebee, Cherry Cobbler and Fresh Freesia cardstock. I stamped the sentiment from the Love of Leaves stamp set on a panel of Basic White cardstock in soft Succulent Ink. I cut the sentiment out using my Hippo & Friends Dies.

I arranges the branch and leaves on the sentiment die cut and adhered them using Multipurpose Liquid Glue and Glue Dots. I adhered the sentiment to the card front using Stampin’ Dimensionals. I tied a small knot using the 3/8″ Soft Succulent Open Weave Ribbon and adhered it to the stems using a Glue Dot. I added a few Brushed Metallic Dots to the card front.

On the inside I stamped the sentiment from the Love of Leaves stamp set in Soft Succulent Ink on a Basic White panel. I stamped the leaves from the Gorgeous Leaves stamp set in Bumblebee, Cherry Cobbler and Fresh Freesia Ink around the top of the panel. I stamped the splotch image from the Gorgeous Leaves stamp set in Soft Succulent Ink, stamping off once, around the sentiment. I adhered the Basic White panel to the inside of the Thick Basic White card base using Stampin’ Seal.

To finish my card I stamped the leaves and splotch images from the Gorgeous Leaves stamp set in Bumblebee, Cherry Cobbler, Fresh Freesia and Soft Succulent Inks on the envelope front and flap.

Thank you for stopping by my blog today. I hope you liked my card and will give it a try. Happy Stamping!!
*********************************************************************************************************
Join me today at 4:00pm on my Facebook Live.

I’m planning to go live on my Facebook page with a project today at 4pm ET. Please join me if you can to see what card I will be making today.
*********************************************************************************************************
If you need any stamping supplies, I’d love to be your Demonstrator. Just click HERE to go directly to my online store or drop me an email if you have any questions.
MY CURRENT HOST CODE IS: JAK446GF
Use this host code when you order $50 or greater and receive a free gift from me! If your order is over $150, please do not use this code, but you’ll still get the free gift. The free gift is your choice of any 1 item valued up to $10.00 from the 2020-2021 Annual Catalog or the January-June 2021 Mini Catalog! For any orders $50 or more I will also send you my monthly class tutorials. Click HERE or go to my Customer Rewards for more details and to see what this months tutorials are.
Please remember to use my current Host Code and make sure that you can see my name on the final checkout page listed as your Demonstrator when you order so that you know that you’re ordering with me and you’ll get my rewards!
Happy Stamping, Karen!
*********************************************************************************************************
Awesome Joining Promotions Until September 30, 2021
There is an AWESOME joining promotion happening! If you purchase the Starter Kit between August 3 and September 30, you’ll get to pick a FREE bundle from this list!
- Frosted Gingerbread
- Christmas Season
- Christmas To Remember
- Whimsical Trees
- Peaceful Deer
- Sweet Little Stockings
- Penguin Place
- Peaceful Cabin
- Arctic Bears
- Beauty Of Tomorrow
- Gorgeous Leaves
- Nature’s Harvest
When you purchase the Starter Kit for $99 + taxes (if applicable), the kit ships for FREE and YOU get to pick $125 in Stampin’ Up! merchandise OF YOUR CHOICE. If you purchase the kit during Sale-a-bration, you’ll get an additional FREE bundle from the select twelve listed above (with a value up to $60.25!!) with your kit! A free bundle in addition to $125 in merchandise for $99, YES PLEASE!! You will also get a past Paper Pumpkin Kit and other supplies free in your kit.
If you are planning on placing an order of $100, you might really want to consider joining. This is such an awesome joining deal, you don’t want to pass it up. There is no obligation to sell, have workshops or do Facebook lives. You can join strictly to be a ‘hobby demonstrator’ and enjoy the 20% discount. I would love to have you on my team!!! You also get to enjoy all the demonstrator perks like early ordering, sneak peeks at what’s coming and best of all the events. Why wait, this is such a great sign up promotions, join now and be a part of our awesome Stampin’ Up! family!!!
If you have any questions about joining, please drop me a note at creativestampingdesigns@gmail.com, I’d love to talk with you about it! You can find more information about joining on my blog @ creativestampingdesigns.com
*********************************************************************************************************
Haunts & Harvest
Subscribe August 11 – September 10
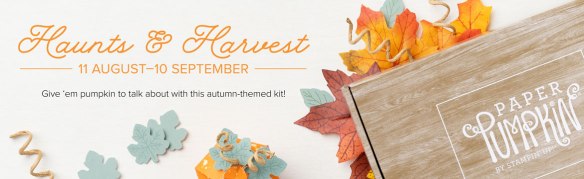
Hay, there! Experience everything the autumn season has to offer with the Haunts & Harvest Paper Pumpkin Kit! This month’s kit includes enough supplies to create 12 treat boxes—4 each of 3 designs. That means you can take your pick of apple, pumpkins, or jack-o-lantern treat boxes! Plus, the Paper Pumpkin box is designed to easily transform into a vintage wheelbarrow for you to display your harvest!
Whether you’re thinking about crisp red apples or you’re ready to carve some spooky jack-o-lanterns (or both!), the Haunts & Harvest Paper Pumpkin Kit—designed in a vivid fall palette—is a hands-on crafting experience for all autumn lovers!
Details:
- Kit contains enough supplies to create 12 treat packages—4 each of 3 designs. The all-inclusive kit includes printed die-cut boxes, die-cut sheets, adhesive, and more!
- Finished treat box size: 2-1/2″ x 2″ (6.4 x 5.1 cm)
- Includes an exclusive stamp set and a Classic Stampin’ Spot
- Coordinating colors: Basic Black, Pale Papaya, Poppy Parade, Pumpkin Pie, Soft Succulent
Subscribe to the September 2021 Paper Pumpkin Kit between 11 August and 10 September at paperpumpkin.com!
Note: Supplies may be limited toward the end of the subscription period.
*********************************************************************************************************
Card stock cuts for this project:
- Basic White Cardstock 4 1/8″ X 5 3/8″ (card front), 4″ X 5 1/4″ (inner liner)
- Basic White Thick Cardstock 4 1/4″ X 11″ (card base scored & folded at 5 1/2″)
*********************************************************************************************************
Product List