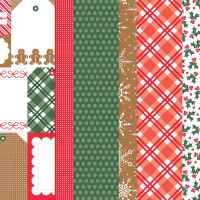
Stampin’ Up! Holly Jolly Branches Banners

Good Saturday morning stamping friends, welcome to the weekend. I hope you have some fun plans in the works. It’s Saturday so I’ll be at work all day.

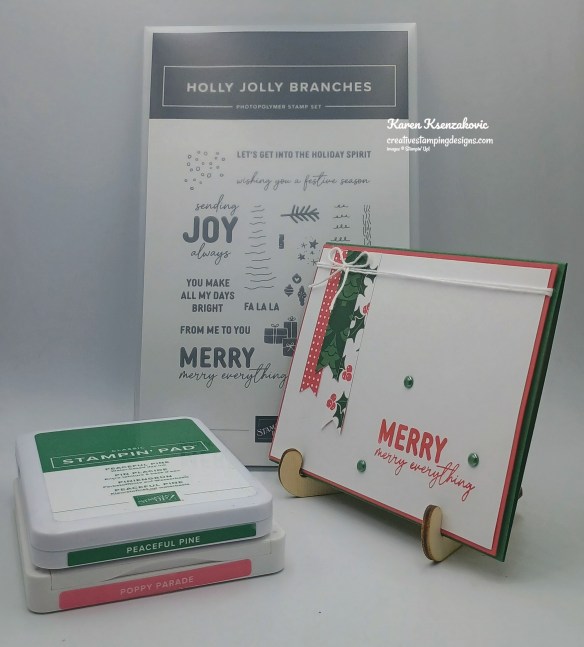
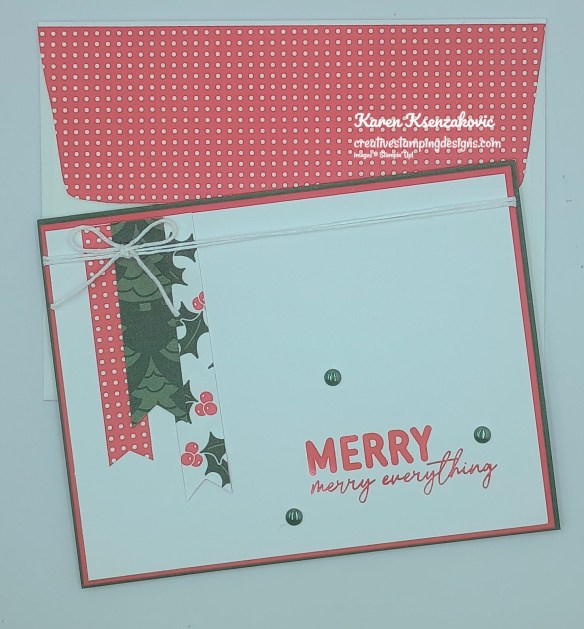
I have a CAS, quick and easy card for you today that’s great for using up some of those scraps sitting around. If you’d like to see a quick video on how I made this card, Click Here to go to my Instagram Reels. Here is my card for today.
Stampin' Up! Holly Jolly Branches Banners 1 creativestampingdesigns.com

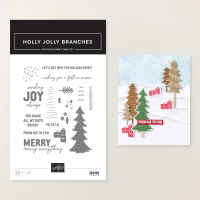
I used the Stampin’ Up! Holly Jolly Branches Stamp Set and Timeless Christmas Designer Series Paper for my card today.
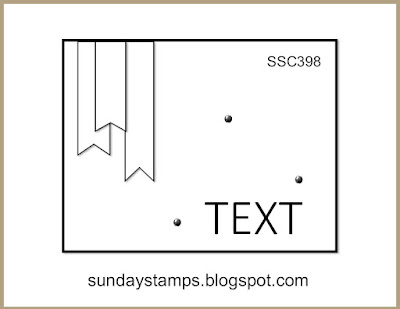
My design today is from Sunday Stamps Challenge #398, In The Corner.

I also joined in with the Inspire. Create. Challenge #228 Christmas Card
Stampin' Up! Holly Jolly Branches Banners 2 creativestampingdesigns.com

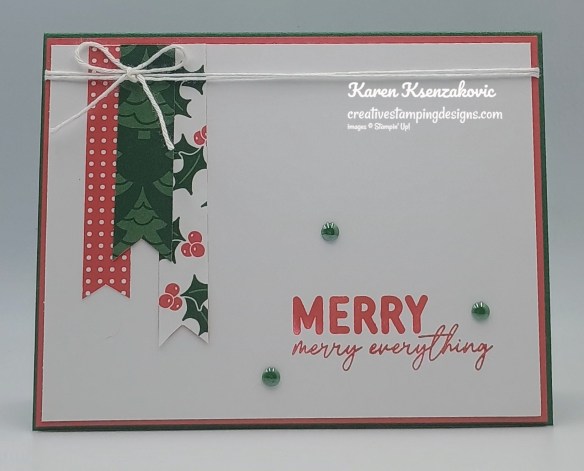
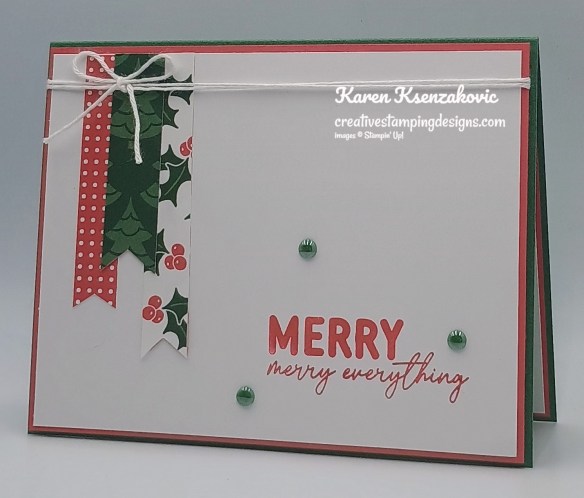
Cut 3 panels of Timeless Christmas DSP into banners using Detail Scissors.
Stampin' Up! Holly Jolly Branches Banners 3 creativestampingdesigns.com

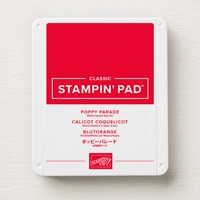
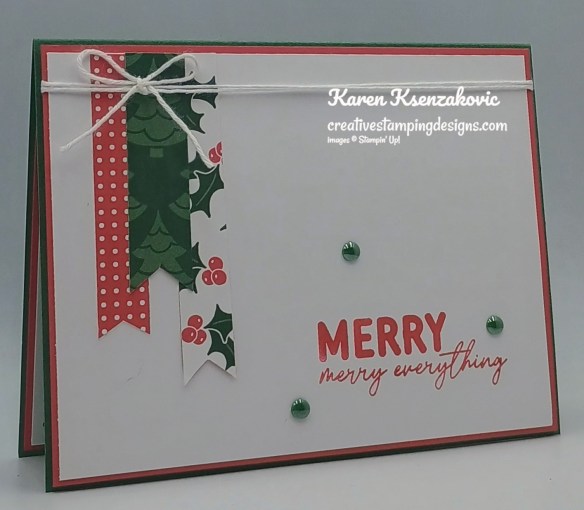
Stamp the sentiment from Holly Jolly Branches stamp set in Poppy Parade Ink on the bottom of a panel of Basic White. Adhere the Basic White panel to a Poppy Parde mat.
Stampin' Up! Holly Jolly Branches Banners 4 creativestampingdesigns.com

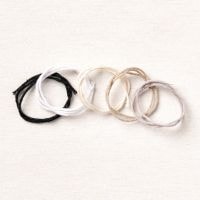
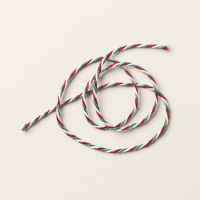
Adhere the 3 Timeless Christmas DSP banners to the top of the panel. Wrap a piece of White Baker’s Twine around the layered panel 2 times and tie a bow. Adhere the layered panel to a Peaceful Pine card base with Stampin’ Dimensionals. Add a few 2026-2028 In-Color Dots to the card front.
Stampin' Up! Holly Jolly Branches Banners 5 creativestampingdesigns.com

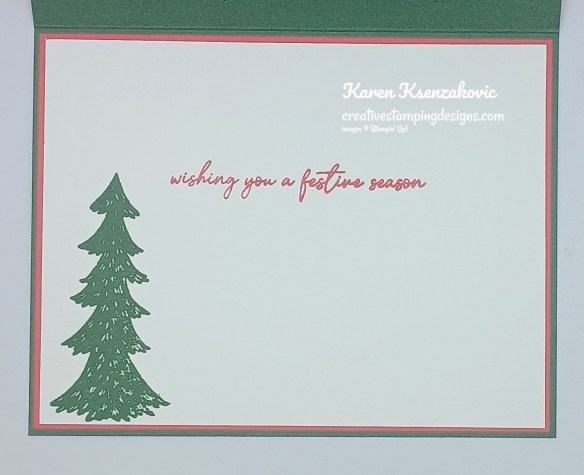
Stamp the sentiment from Holly Jolly Branches stamp set in Poppy Parade Ink on a panel of Basic White. Stamp the tree image from Holly Jolly Branches stamp set in Peaceful Pine Ink on the bottom of the panel. Adhere the Basic White panel to a Poppy Parade mat then to the inside of the Peaceful Pine card base.
Stampin' Up! Holly Jolly Branches Banners 6 creativestampingdesigns.com

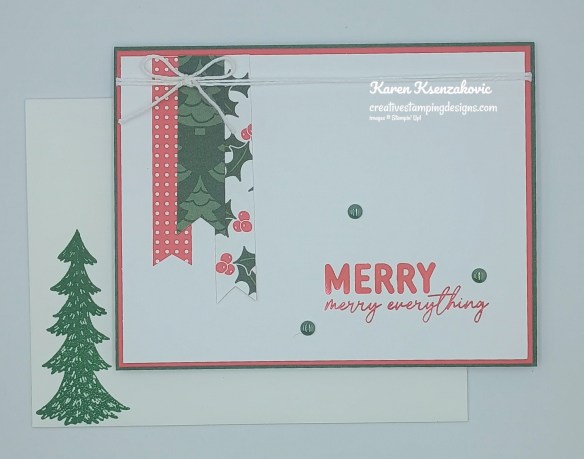
Decorate a Basic White Medium Envelope to finish your card. Stamp the tree image from Holly Jolly Branches stamp set in Peaceful Pine Ink on the envelope front. Adhere a panel of Timeless Christmas DSP to the envelope flap.
Stampin' Up! Holly Jolly Branches Banners 7 creativestampingdesigns.com

Thank you for stopping by my blog today. I hope you like the card and will give it a try. Happy Stamping!!

*********************************************************************************************************

If you need any stamping supplies, I’d love to be your Demonstrator. Just click HERE to go directly to my online store or drop me an email if you have any questions.

*********************************************************************************************************

Card stock cuts for this project:

  • Basic White Cardstock (2) 4″ x 5 1/4″ (card front & inner liner)
  • Peaceful Pine Cardstock 5 1/2″ x 8 1/2″ (card base scored at 4 1/4″)
  • Poppy Parade Cardstock (2) 4 1/8″ x 5 3/8″ (mats)
  • timeless Christmas Designer Series Paper 1/2″ x 2 3/4″, 1/2″ x 3 1/4″ & 5/8″ x 2 1/4″ (banners), 2 1/4′ x 6″ (envelope)

*********************************************************************************************************

Product List
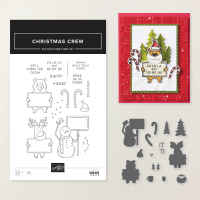
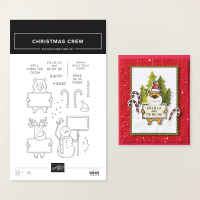
Stampin’ Up! Christmas Crew CAS

Good Wednesday morning stamping friends. How is everyone doing today? We’re halfway through the week and on our way to the weekend. Last night we had our stamp camp card class and we had such a good time. There was a lot of laughing going on, but everyone finished there cards pretty quickly.

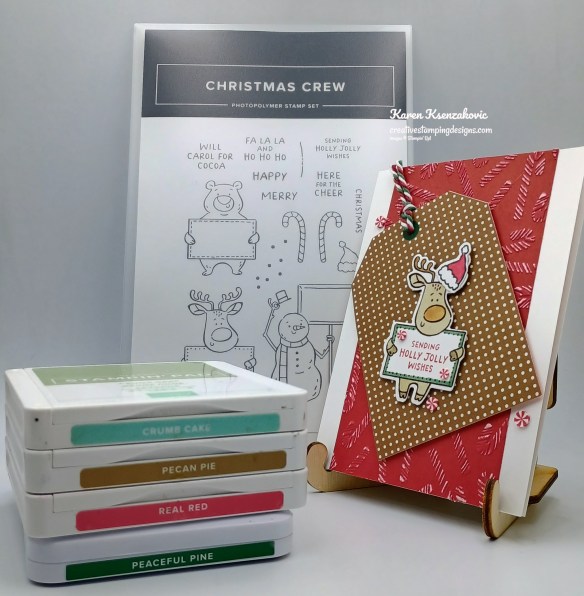
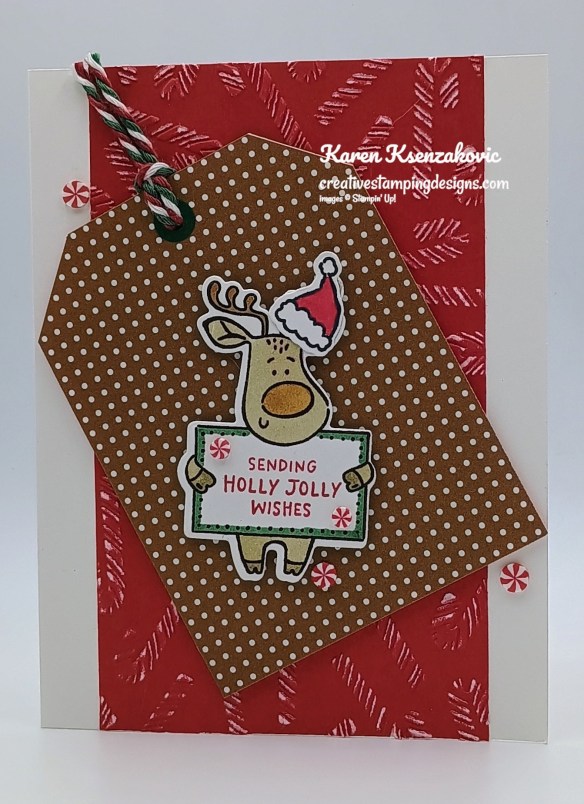
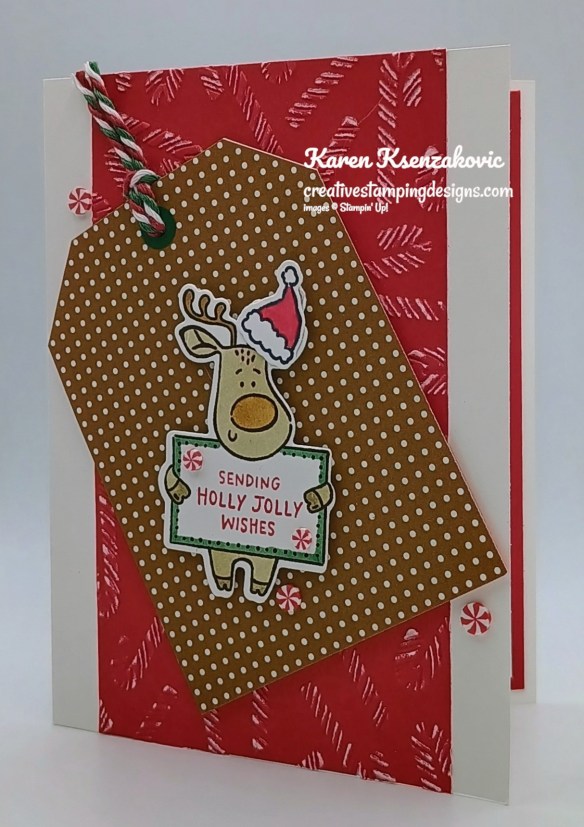
Today’s card uses one of my favorite bundles from the catalog and I kind of stuck with traditional Christmas colors. If you’d like to see a quick video on how I made this card, Click Here to go to my Instagram Reels. Here is my card for today.

Stampin' Up! Christmas Crew CAS 1 creativestampingdesigns.com

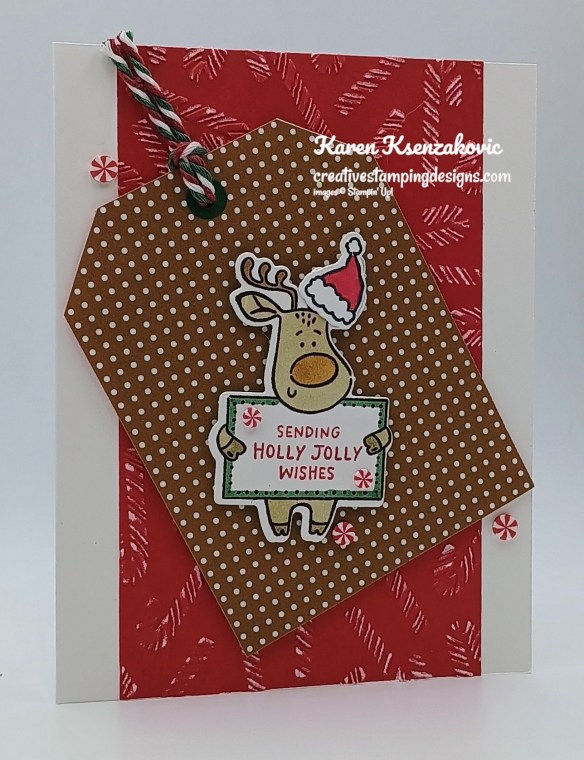
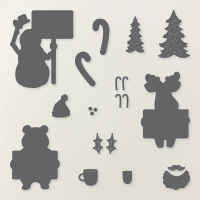
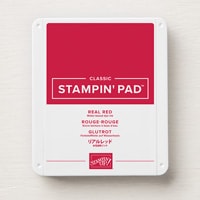
I used the Stampin’ Up! Christmas Crew Bundle, Timeless Christmas Designer Series Paper, Seasonal Cheer Mini Embossing Folders (on the Last Chance List) and Real Red Two-Tone Cardstock for my card today.

Stampin' Up! Christmas Crew CAS 2 creativestampingdesigns.com

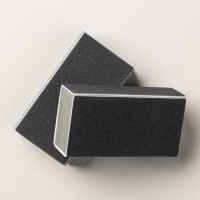
Emboss a panel of Real Red Two-Tone using the candy cane embossing folder from the Seasonal Cheer EF. Using the Sanding Block, rub over the embossed panel to bring out the white core. Adhere the embossed panel to the front of a Basic White Thick card base.

Stampin' Up! Christmas Crew CAS 3 creativestampingdesigns.com

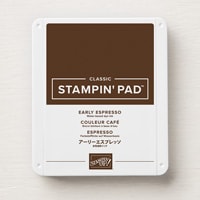
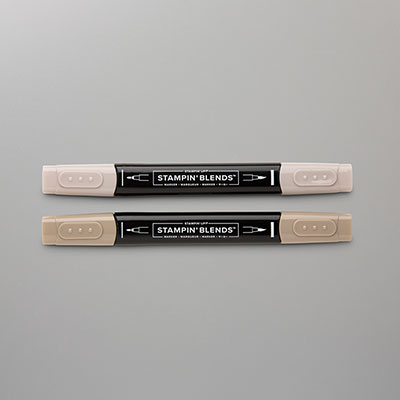
On a panel of Basic White, stamp the reindeer image from Christmas Crew stamp set in Early Espresso Ink. Stamp the Santa Hat image from Christmas Crew stamp set in Black Ink on the same panel. Stamp the sentiment from Christmas Crew stamp set in Real Red Ink inside the sign. Color the images with Crumb Cake, Peaceful Pine, Pecan Pie and Real Red Stampin’ Blends Markers. Cut the images out using the Christmas Crew Dies. Adhere the die cut Santa hat to the reindeer with a Glue Dot.

Stampin' Up! Christmas Crew CAS 4 creativestampingdesigns.com

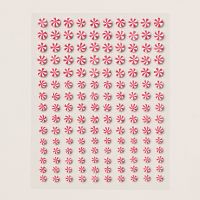
Cut a tag from the Timeless Christmas DSP. Punch a hole in the top using the Hole Punch Assortment. Thread a piece of Multicolor Christmas 3/16″ Baker’s Twine through the tag. Adhere the tag to the card front with Stampin’ Dimensionals. Adhere the die cut reindeer to the tag with Stampin’ Dimensionals. Add a few Real Red & White Adhesive-Backed Peppermints to the card front.

Stampin' Up! Christmas Crew CAS 5 creativestampingdesigns.com

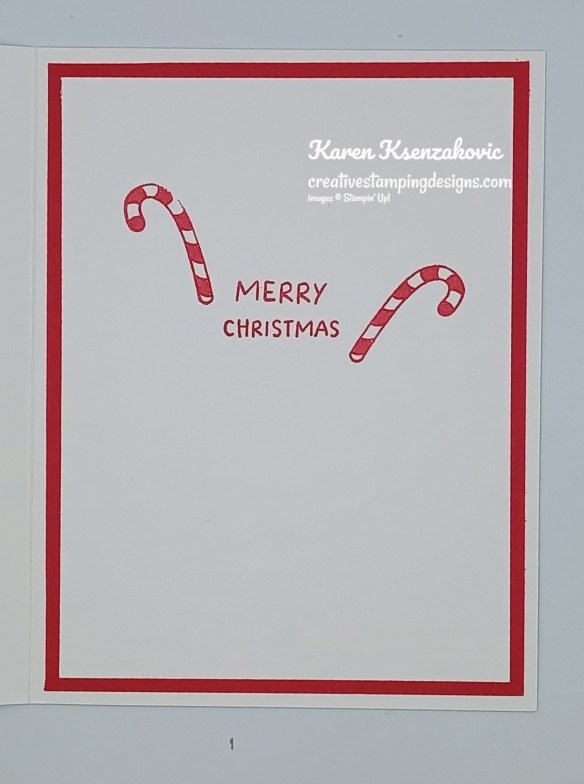
Stamp the sentiments from Christmas Crew stamp set in Real Red Ink on a panel of Basic White. Stamp the candy cane images from Christmas Crew stamp set in Real Red Ink on either side of the sentiment. Color the images with Real Red Stampin’ Blends Markers. Adhere the Basic White panel to a Real Red mat then to the inside of the Basic White Thick card base.

Stampin' Up! Christmas Crew CAS 6 creativestampingdesigns.com

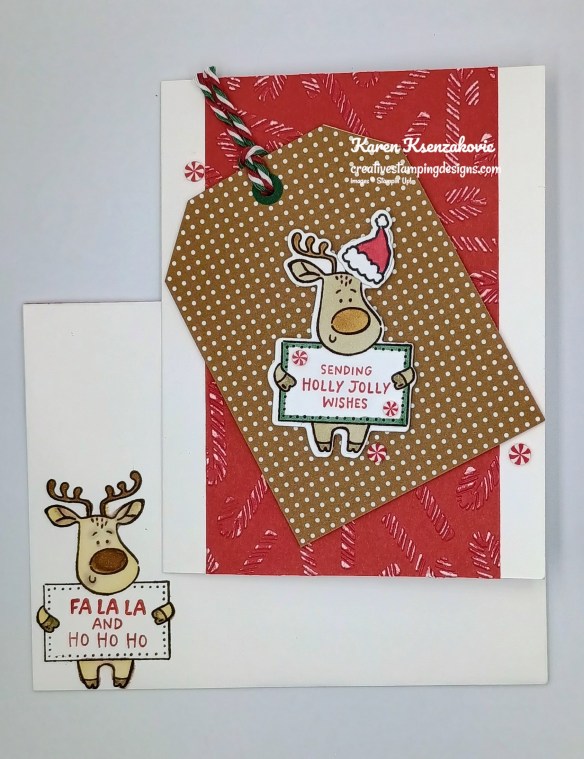
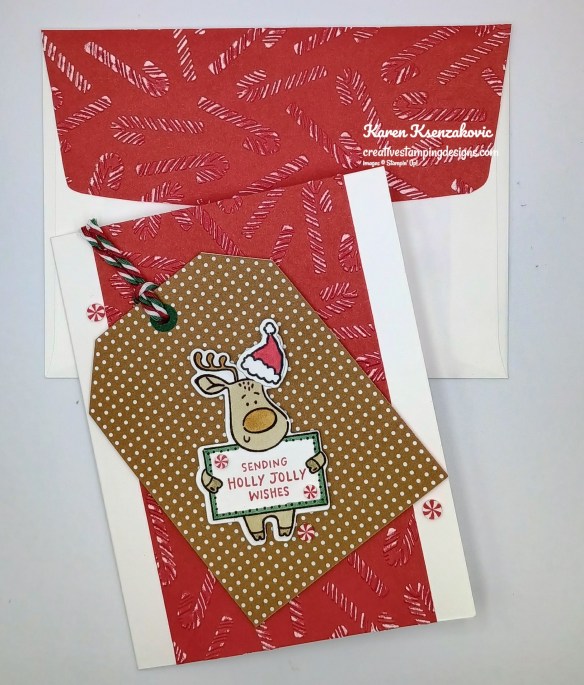
Decorate a Basic White Medium Envelope to finish the card. Stamp the reindeer image from the Christmas Crew stamp st on the envelope front in Early Espresso Ink. Stamp the sentiment from Christmas Crew stamp set on the reindeers sign in Real Red Ink. Color the image with Crumb Cake, Pecan Pie and Real Red Stampin’ Blends Markers. Adhere a panel of Real Red Two-Tone to the envelope flap, that was embossed with the Seasonal Cheer EF.

Stampin' Up! Christmas Crew CAS 7 creativestampingdesigns.com

Thank you for stopping by my blog today. I hope you like the card and will give it a try. Happy Stamping!!

*********************************************************************************************************

If you need any stamping supplies, I’d love to be your Demonstrator. Just click HERE to go directly to my online store or drop me an email if you have any questions.

*********************************************************************************************************

Card stock cuts for this project:

  • Basic White Cardstock2 1/2″ x 3″ (artwork), 3 3/4″ x 5″ (inner liner)
  • Basic Whtie Thick Cardstock 5 1/2″ x 8 1/2″ (card base scored @ 4 1/4″)
  • Real Red Cardstock 4″ x 5 1/4″ (mat)
  • Timeless Christmas Designer Series Paper tag
  • Real Red Two-Tone Cardstock 3 1/4″ x 5 1/2″ (card front panel), 2 1/4″ x 6″ (envelope)

*********************************************************************************************************

Product List

Stampin’ Up! Santa Hat for The Happy Inkin’ Thursday Blog Hop

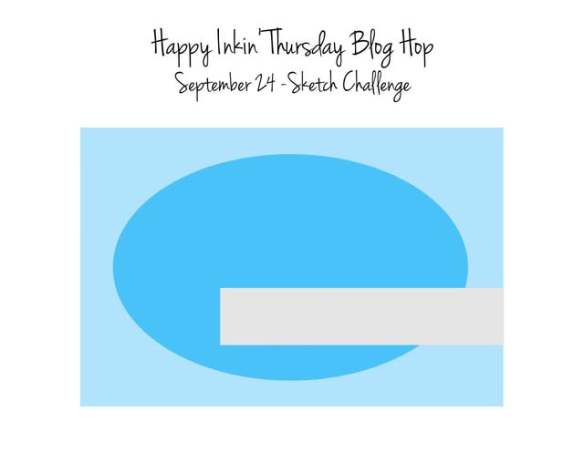
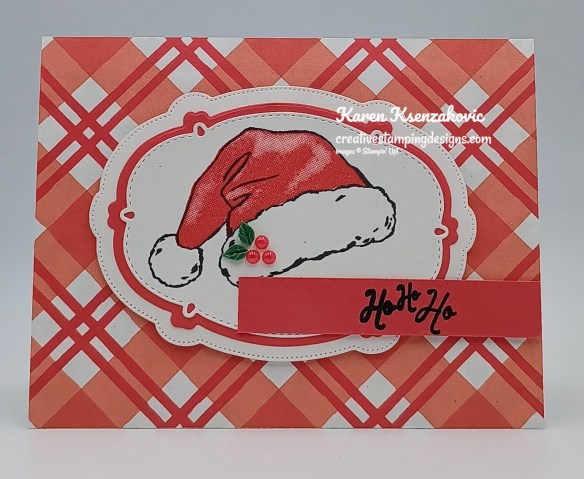
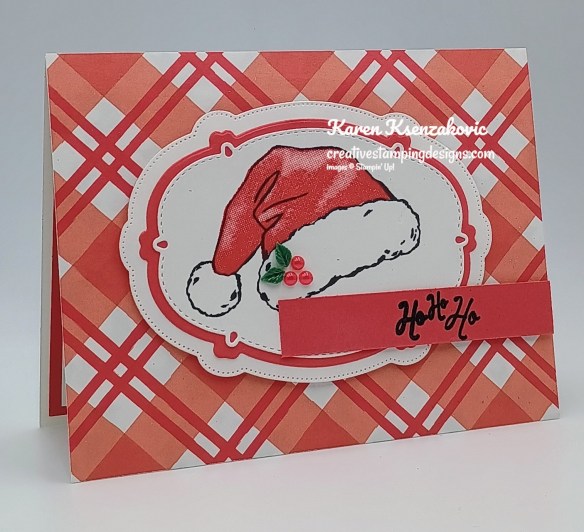
Good Thursday morning stamping friends welcome to our Happy Inkin’ Thursday Blog Hop. If you are starting with me, thank you, I hope you will stop by everyone’s blog to see the beautiful projects they have created this week. If you are hopping over from Mary’s blog, thank you for stopping by. This week we have a Sketch Challenge to work with. If you’d like to see a quick video on how I made this card, Click Here to go to my Instagram Reels. Here is my card using this week’s sketch.

Stampin' Up! Santa Hat HoHoHo1 creativestampingdesigns.com

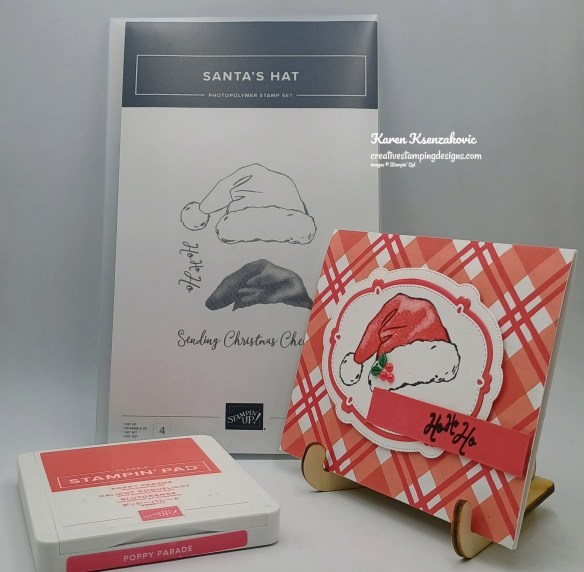
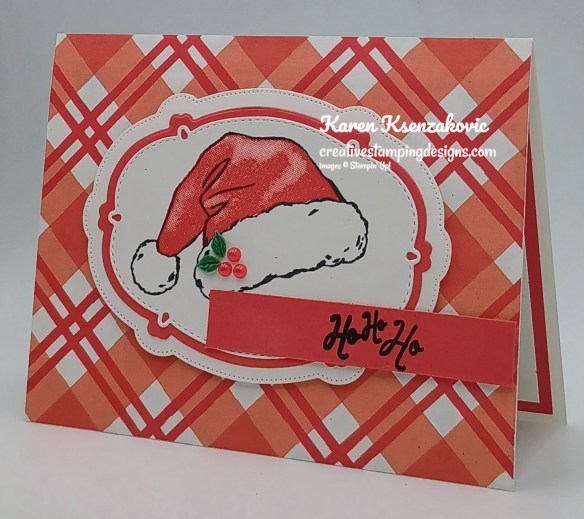
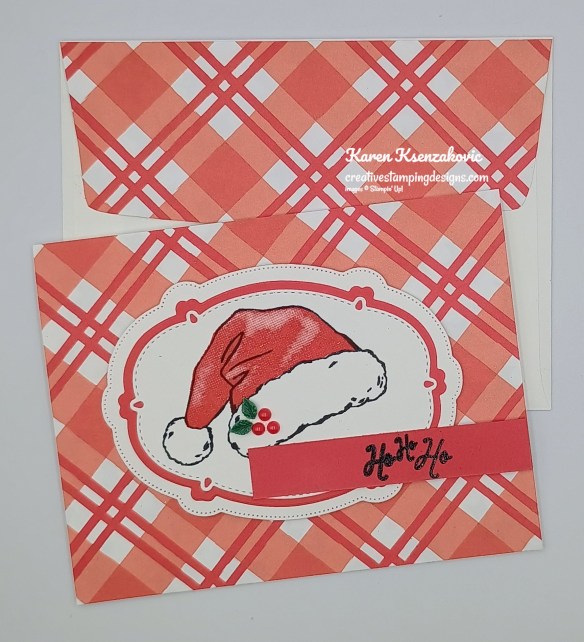
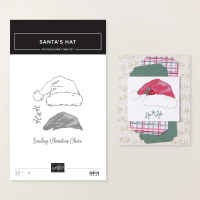
I used the Stampin’ Up! Santa Hat Stamp Set, Timeless Christmas Designer Series Paper and Sweet Words & Labels Dies for my card today.

This is our sketch for this week

Stampin' Up! Santa Hat HoHoHo2 creativestampingdesigns.com

Adhere a panel of Timeless Christmas DSP to a Basic White Thick card base. Cut a Basic White panel using the smaller and larger Sweet Words & Labels Dies. Cut a panel of Poppy Parade using the next middle Sweet Words & Labels Dies.

Stampin' Up! Santa Hat HoHoHo3 creativestampingdesigns.com

Stamp the details Santa hat image from the Santa Hat stamp set in Black Ink on the smallest die cut panel of Basic White. Stamp the solid hat image from the Santa Hat stamp set in Poppy Parade Ink. Adhere the Basic White die cut to the Poppy Parade die cut. Adhere the layered panel to the larger Basic White die cut.

Adhere the layered die cut panel to the card front with Stampin’ Dimensionals. Stamp the sentiment from the Santa Hat stamp set in Versamark Ink on the panel of Poppy Parade. Sprinkle the sentiment with Black Embossing Powder and set it with the Heat Tool. Adhere the sentiment to the card front with Stampin’ Dimensionals. Add an Adhesive-Backed Christmas Berries to the Santa hat.

Stampin' Up! Santa Hat HoHoHo5 creativestampingdesigns.com

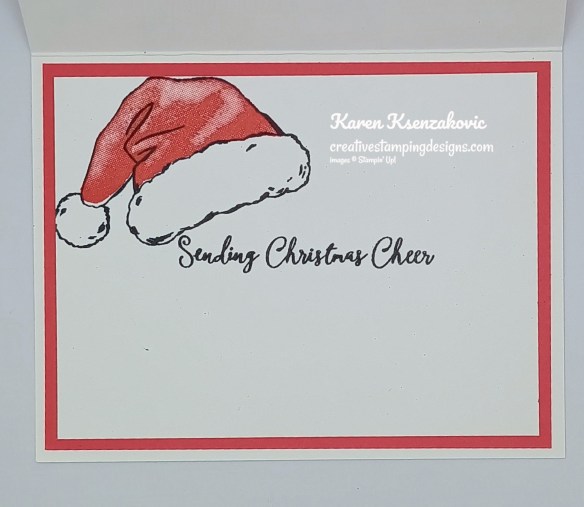
Stamp the sentiment from the Santa Hat stamp set in Black ink on a panel of Basic White. Stamp the detailed Santa hat image from the Santa Hat stamp set in Black Ink above the sentiment. Stamp the solid Santa hat image from the Santa Hat stamp set in Poppy Parade Ink. Adhere the Basic White panel to a Poppy Parade mat then to the inside of the Basic White Thick card base.

Stampin' Up! Santa Hat HoHoHo6 creativestampingdesigns.com

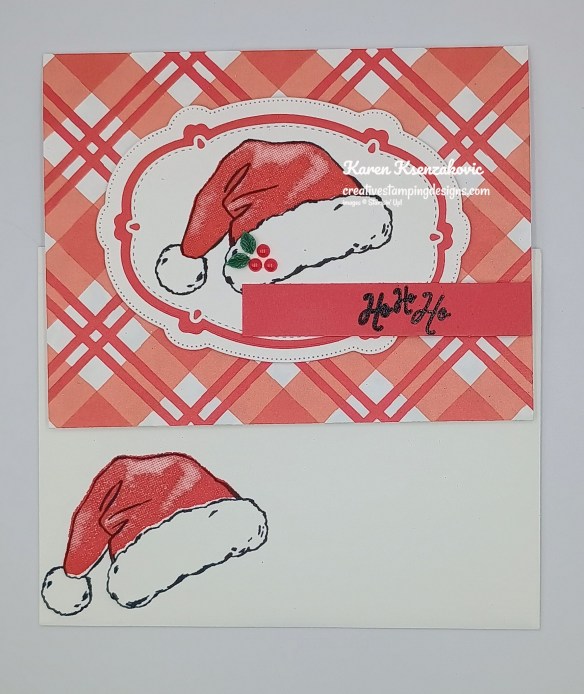
Decorate a Basic White Medium Envelope to complete your card. Stamp the detailed Santa hat image from the Santa Hat stamp set in Black Ink on the envelope front. Stamp the solid hat image in Poppy Parade Ink over the detailed image. Adhere a panel Timeless Christmas DSP to the envelope flap.

Stampin' Up! Santa Hat HoHoHo7 creativestampingdesigns.com

Thank you for stopping by my blog today. Now that you’ve seen my card, let’s get on with the hop! Click the next button below to hop over to see what Tara has created. Happy Hopping

Just in case you get lost along the way, here is a list of the team members involved in the hop today.

Amy Koenders

Mary Deatherage

Karen Ksenzakovic You Are Here

Tara Carpenter

Terry Lynn Bright

Charlene Tackvic

********************************************************************************************************

If you need any stamping supplies, I’d love to be your Demonstrator. Just click HERE to go directly to my online store or drop me an email if you have any questions. 
*********************************************************************************************************

Card stock cuts for this project:

  • Basic White Cardstock 3 1/2″ x 4 3/4″ (die cuts), 3 3/4″ x 5″ (inner liner)
  • Basic White Thick Cardstock 5 1/2″ x 8 1/2″ (card base scored & folded at 4 1/4″)
  • Poppy Parade Cardstock 3″ x 4 1/4″ (die cut)1/2″ x 3 1/4″ (sentiment), 4″ x 5 1/4″ (mat)
  • Timeless Christmas Designer Series Paper 4 1/4″ x 5 1/2″ (card front), 2 1/4″ x 6″ (envelope)

*********************************************************************************************************

Product List