
Good Wednesday morning stamping friends. We’re halfway through the week and on our way to the weekend. Yesterday before I took my daughter to lunch for her birthday, I treated her to a pedicure. We haven’t gone for one in about a year and I figured it was time.
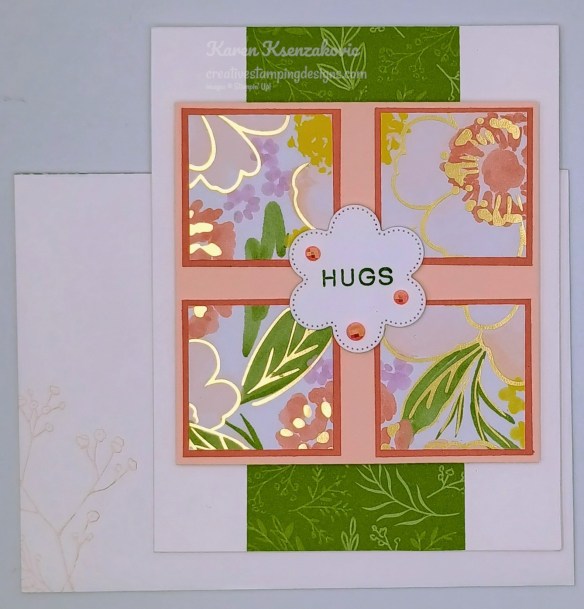
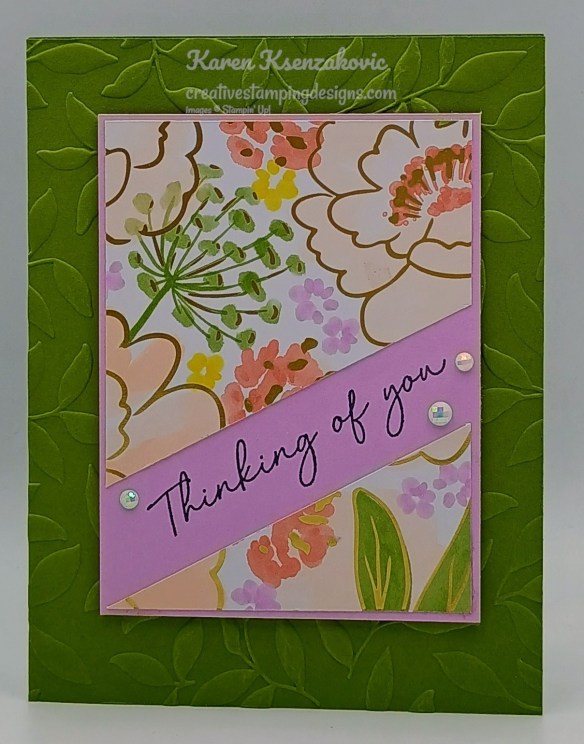
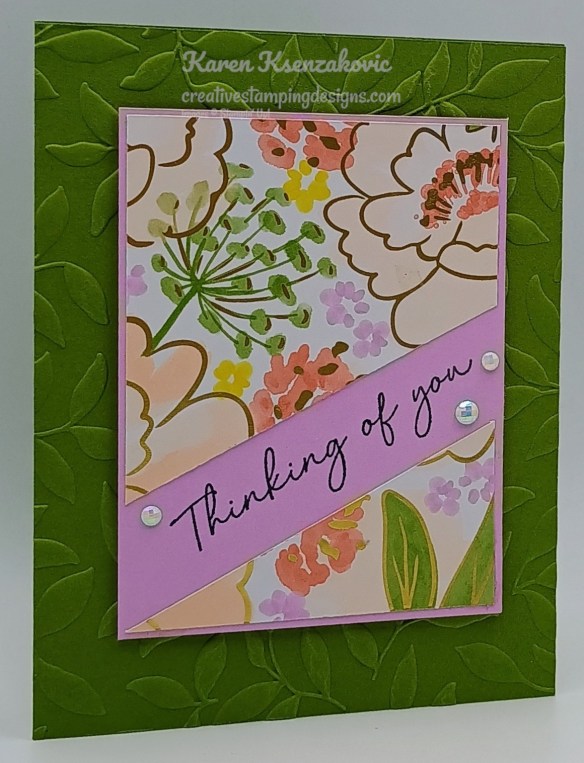
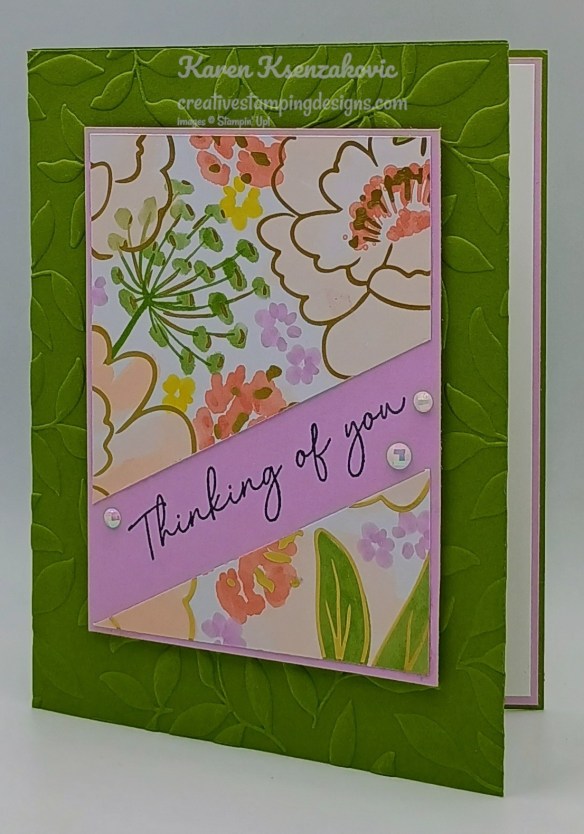
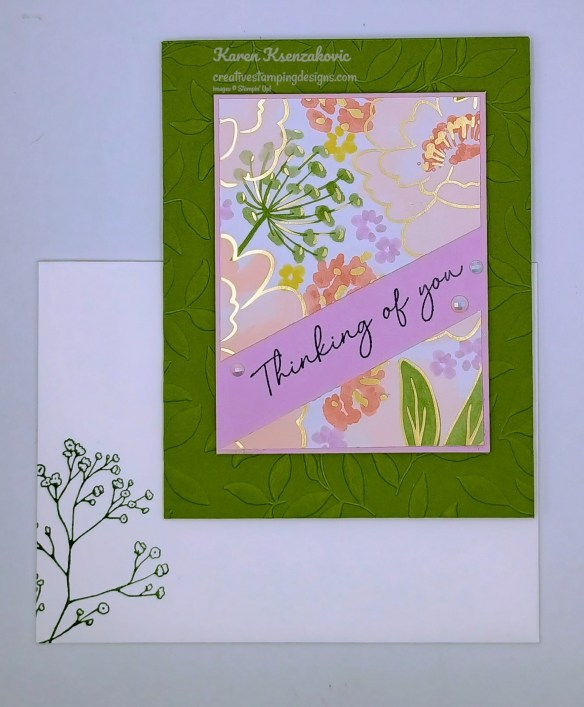
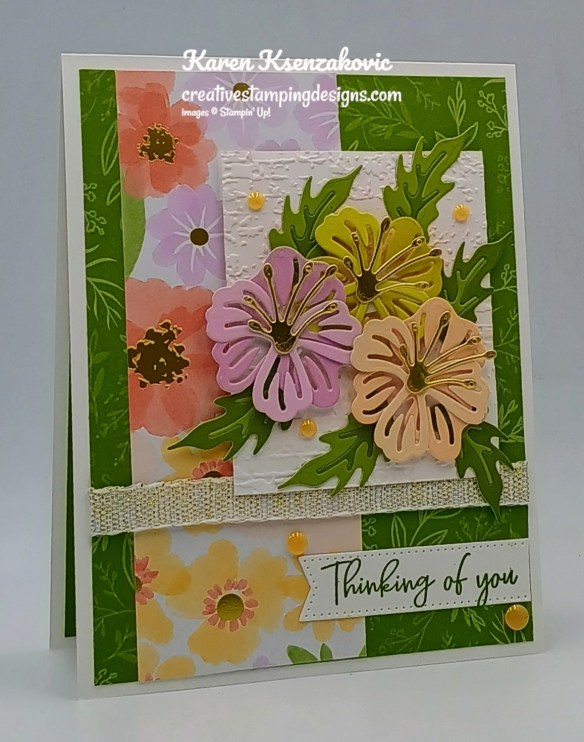
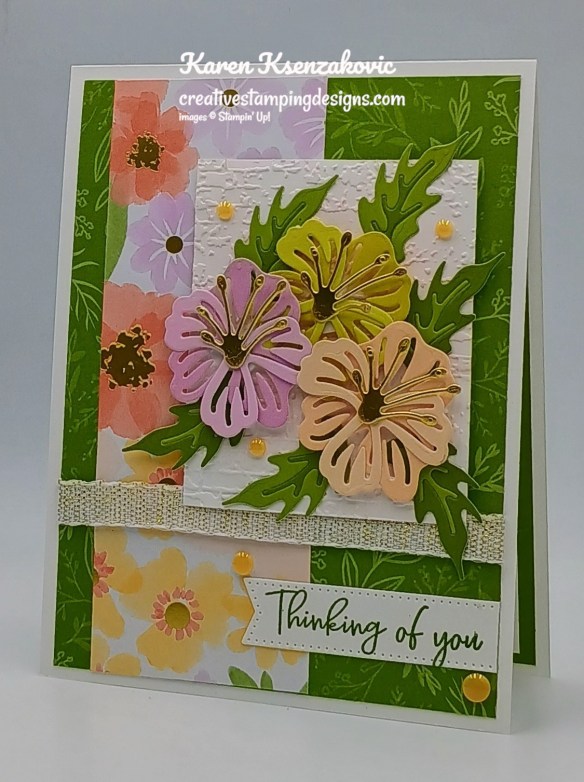
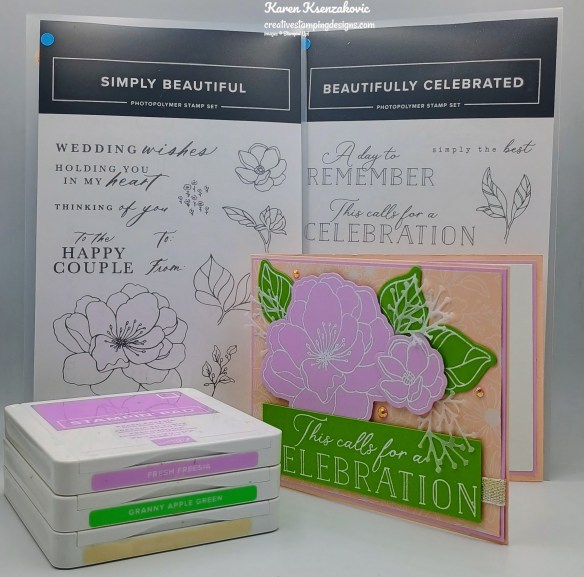
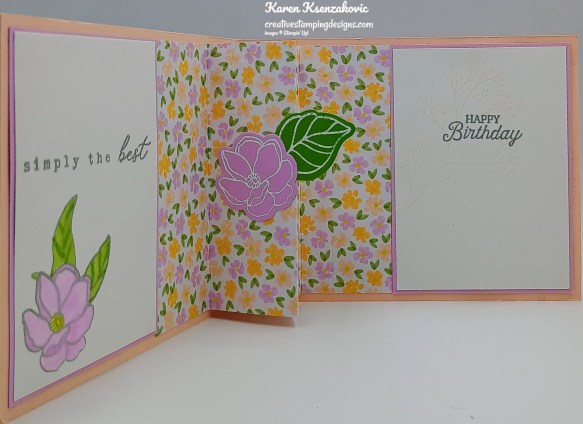
I have 1 more card for you this week using my favorite Go To bundle. These cards were all part of a One Sheet Wonder Series. Next week while I’m away, I’ll be featuring another set using different DSP but the same bundle. Here’s my card for today.
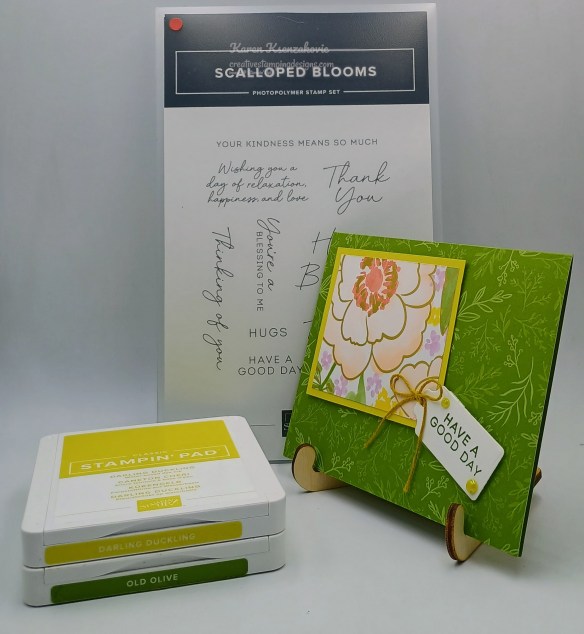
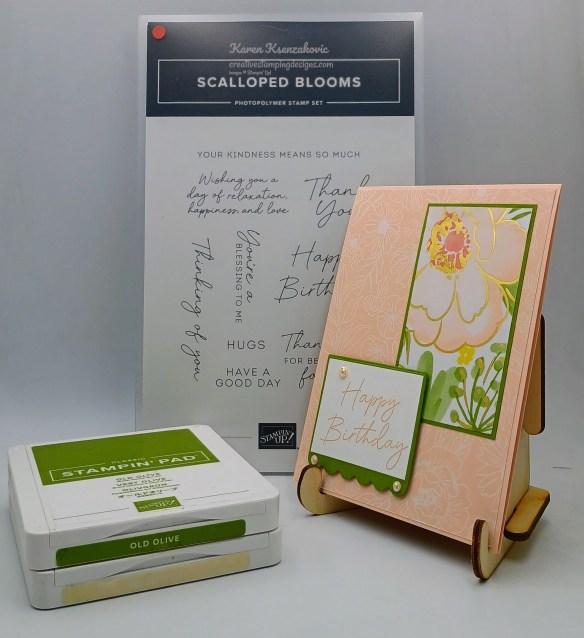
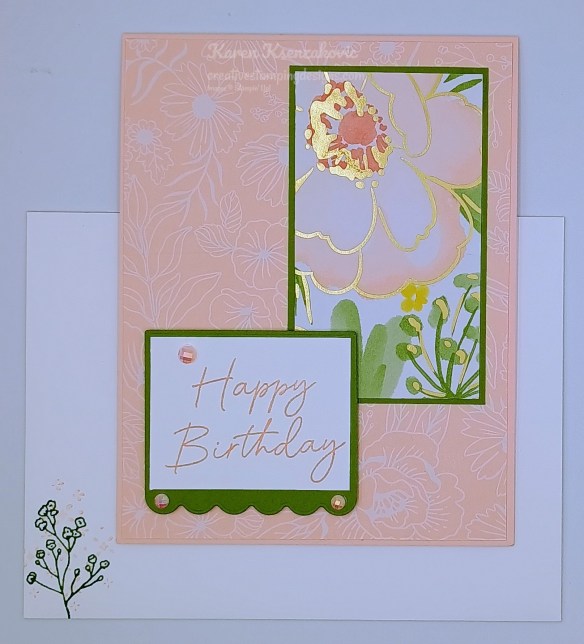
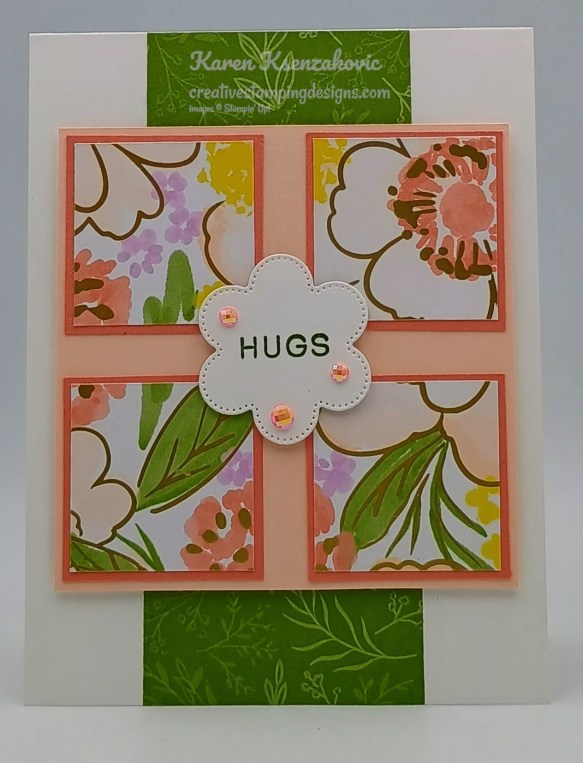
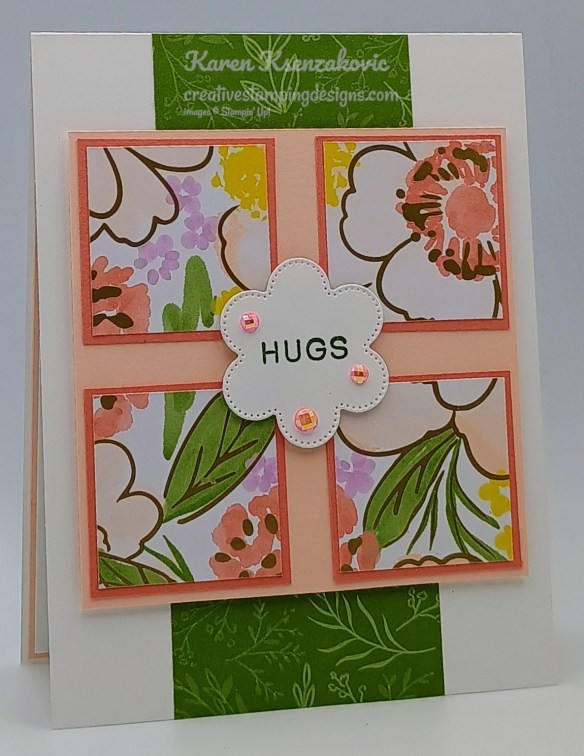
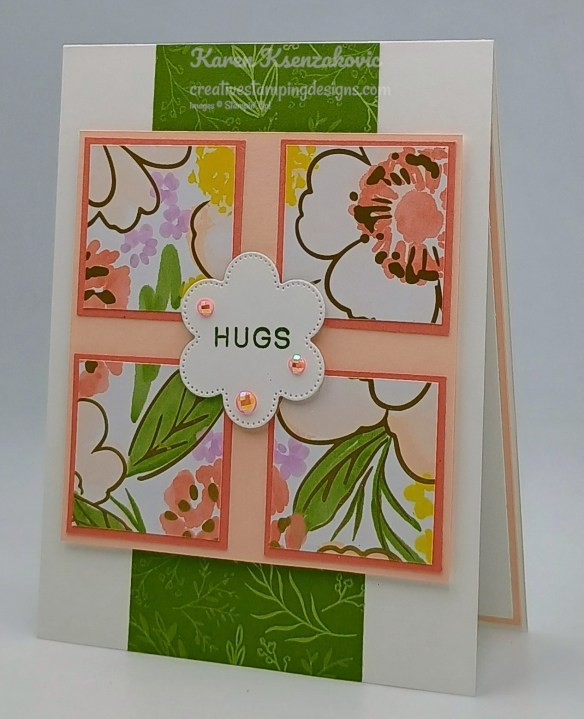
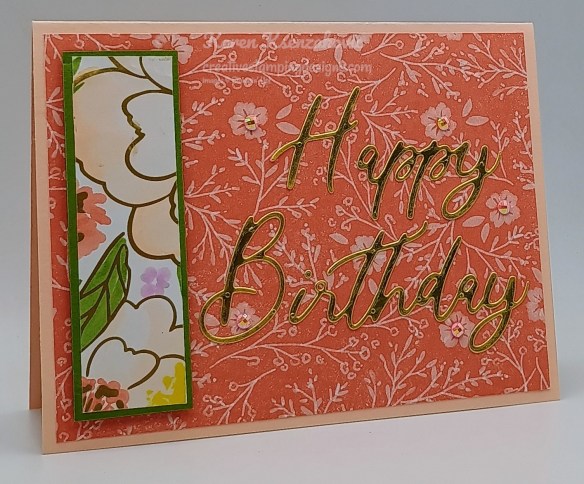
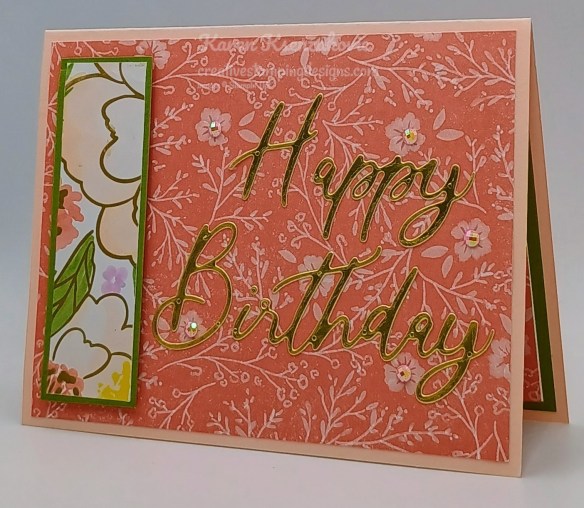
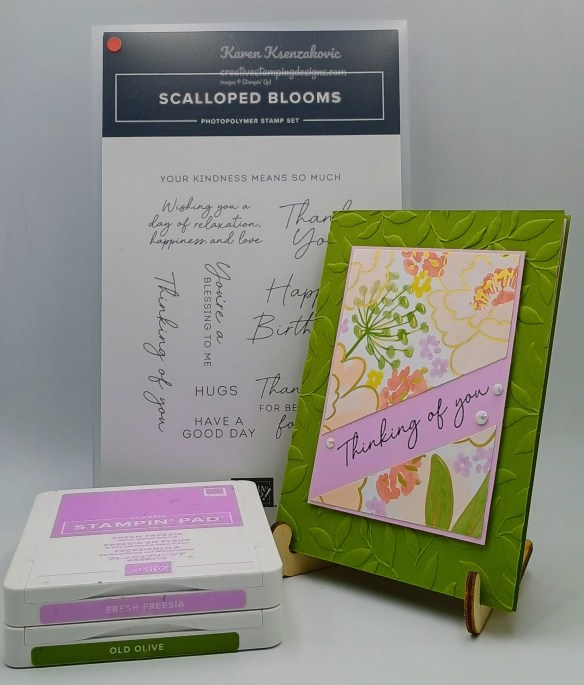
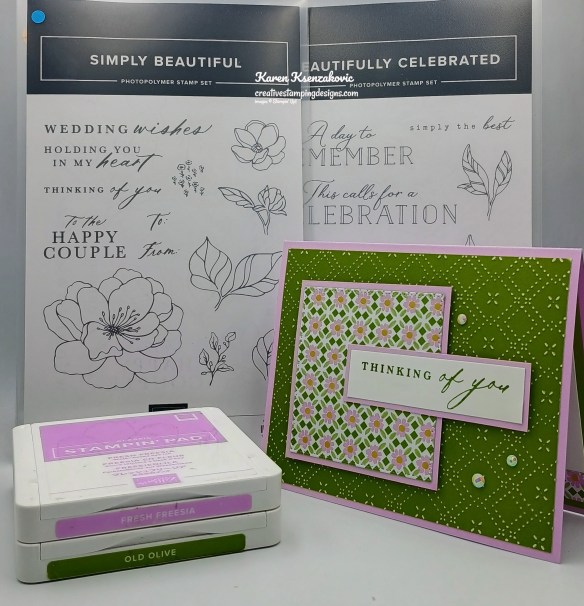
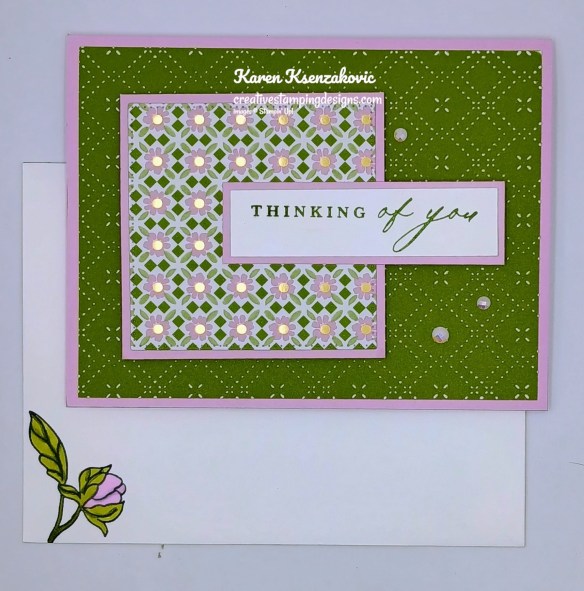
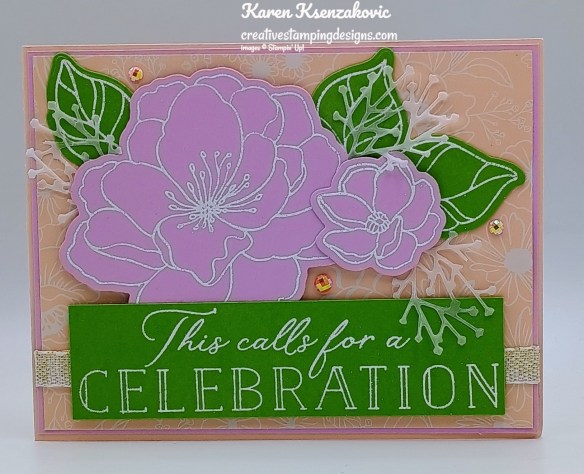
I used the Stampin’ Up! Scalloped Blooms Bundle, Lovely & Beautiful Specialty Designer Series Paper and Stampin’ Up! Beautifully Celebrated Stamp Set for my card today.
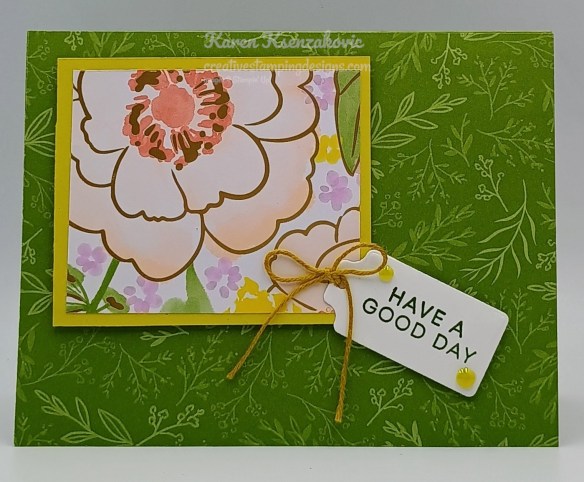
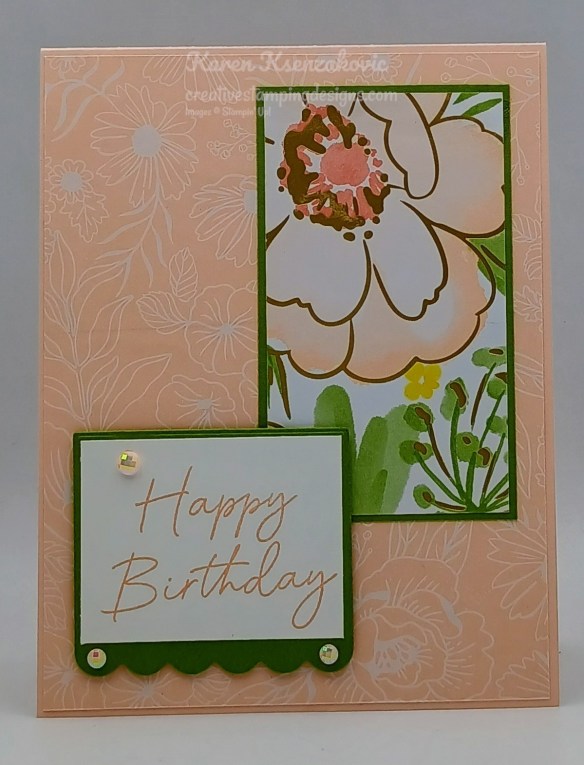
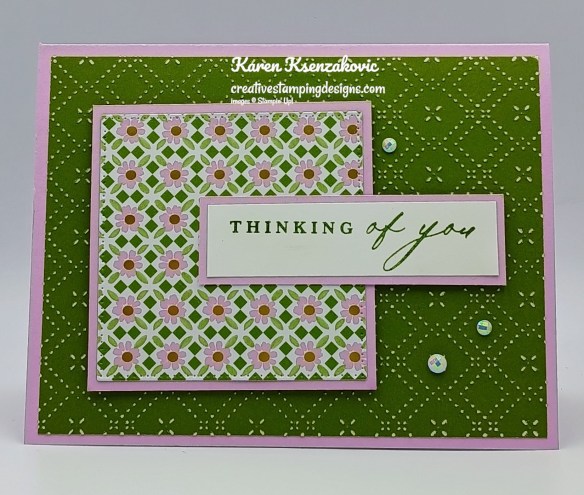
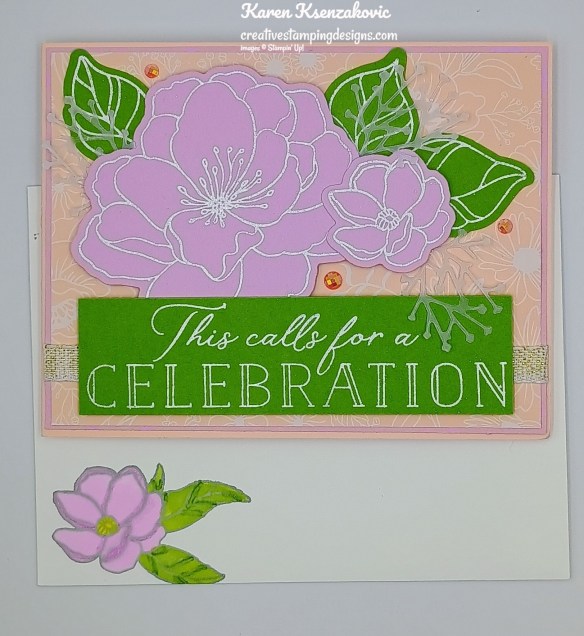
Adhere a panel of Lovely & Beautiful DSP to an Old Olive card base.
Adhere a smaller panel of Lovely & Beautiful DSP to a Darling Duckling mat. Adhere the layered panel to the card front.
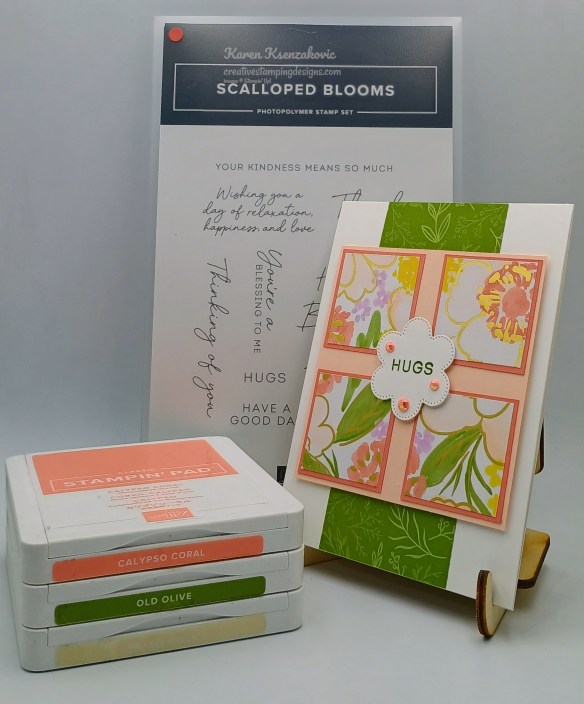
Stamp the sentiment from Scalloped Blooms stamp set in Old Olive Ink on a panel of Basic White. Cut the sentiment out using the Scalloped Blooms Dies. Using the Darling Duckling Stampin’ Blends Marker, color a piece of White Baker’s Twine. thread the twine through the tag and tie a bow. Adhere the sentiment to the card front with Stampin’ Dimensionals. Add a few 2025-2027 In-Color Flat Pearls to the card front.

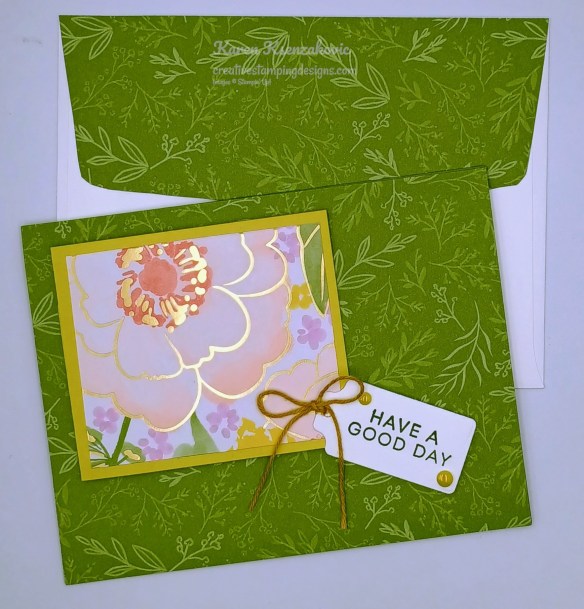
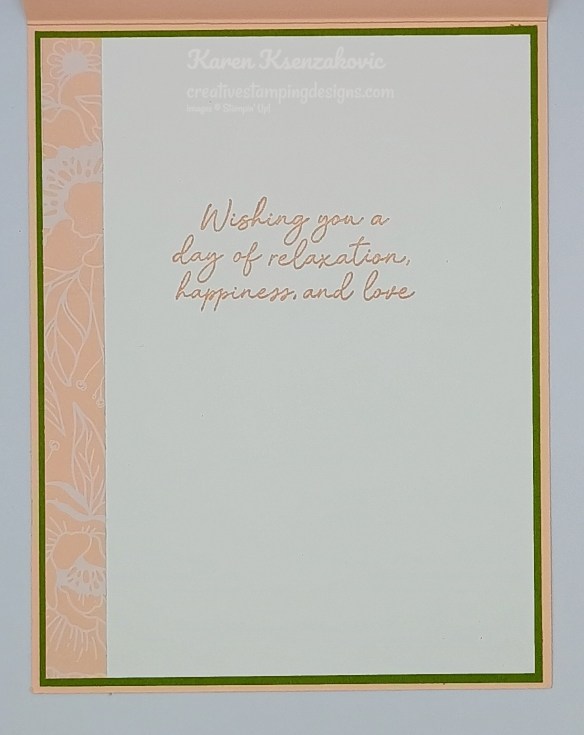
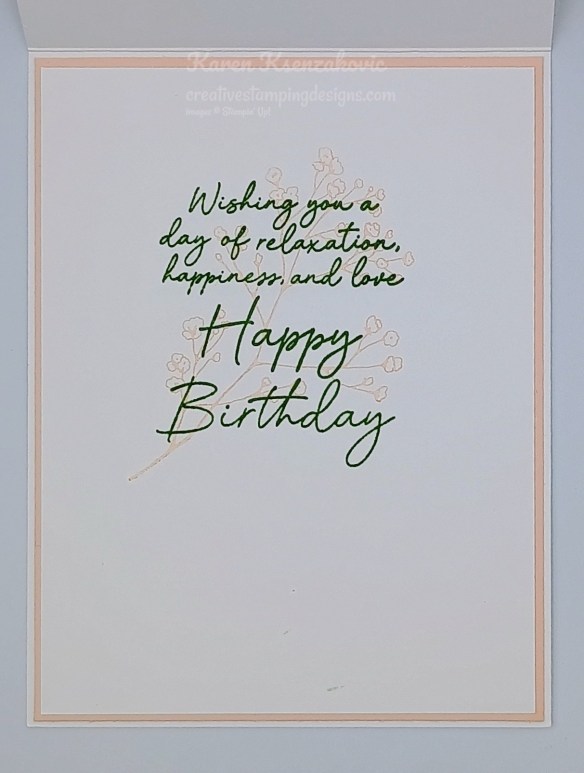
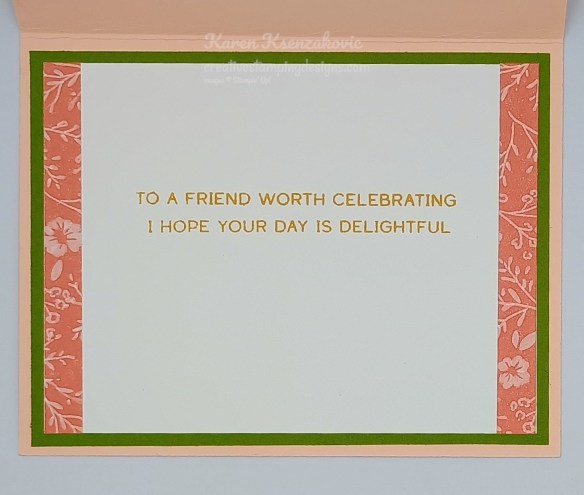
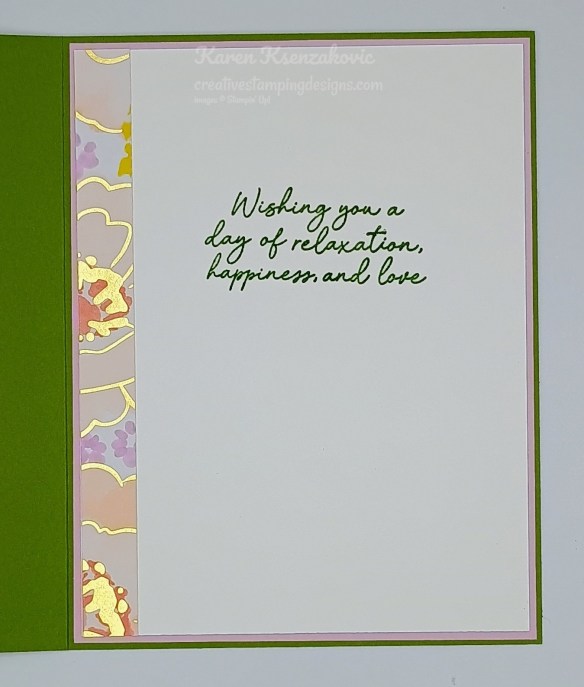
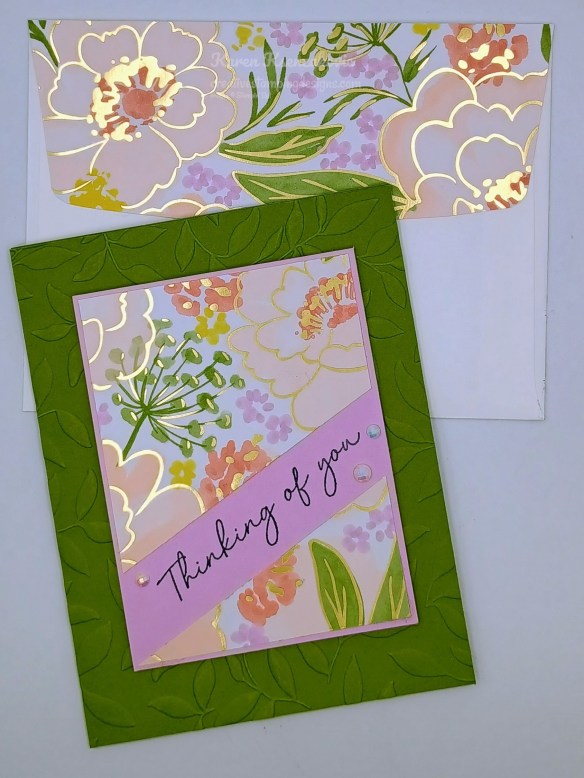
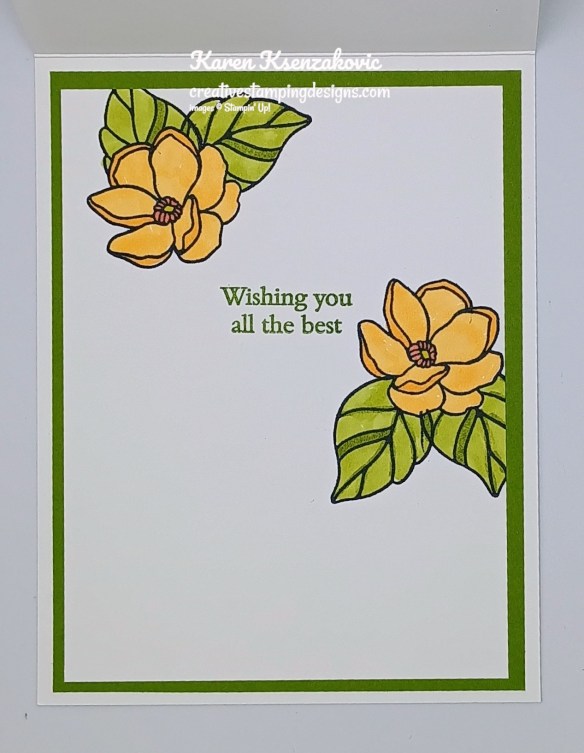
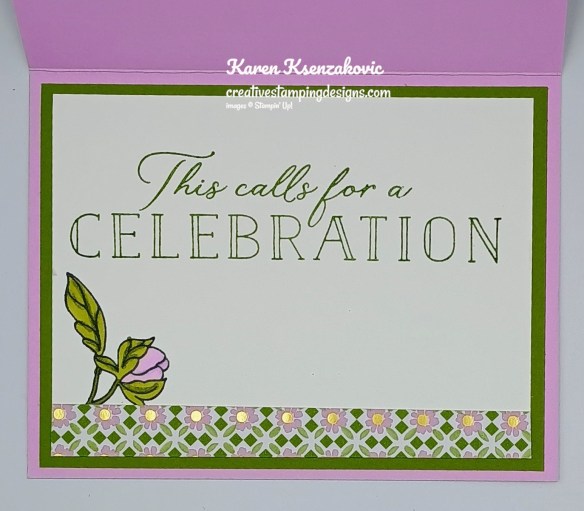
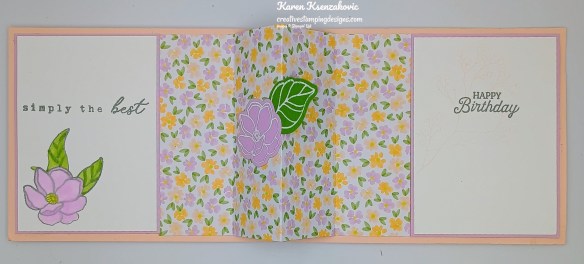
Stamp the sentiment from Scalloped Blooms stamp set in Old Olive Ink on a panel of Basic White. Stamp the small floral image from the Beautifully Celebrated stamp set in Darling Duckling & Old Olive Inks on the bottom of the panel. Adhere the Basic Whtie panel to a Darling Duckling mat then to the inside of the Old Olive card base.
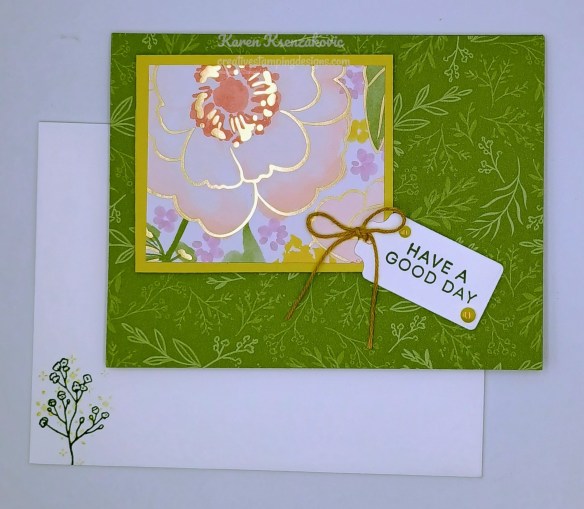
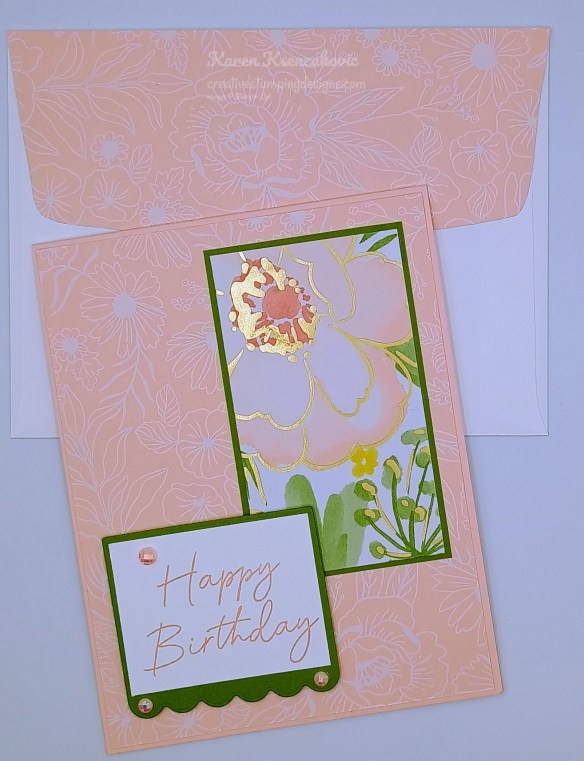
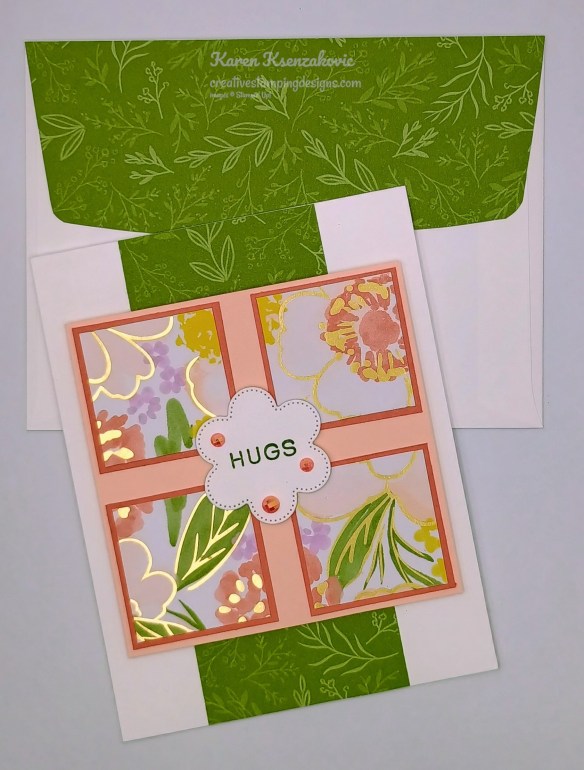
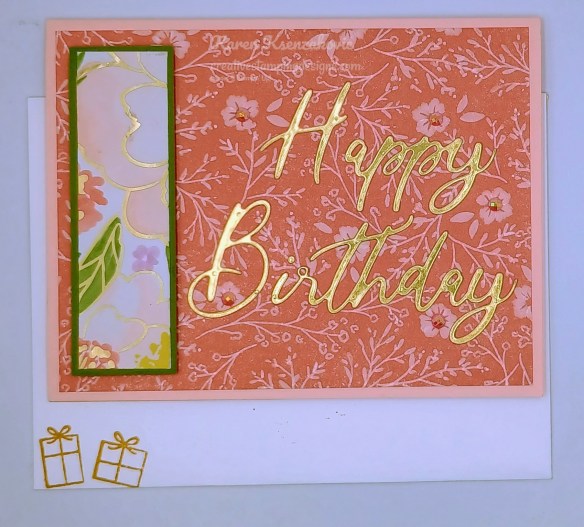
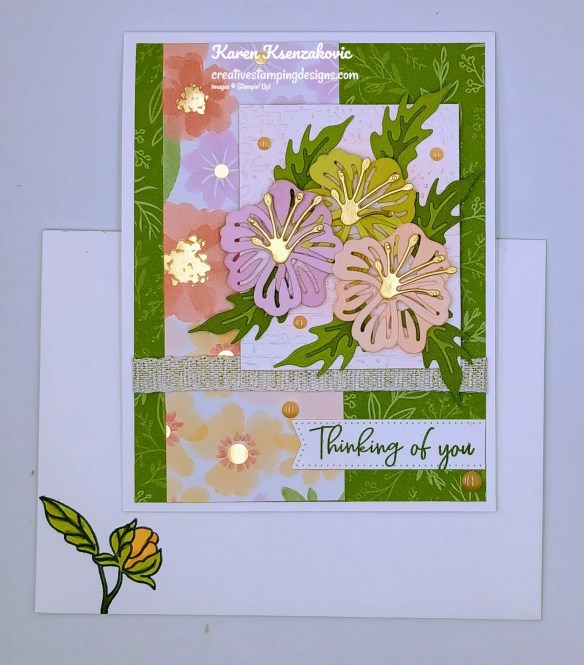
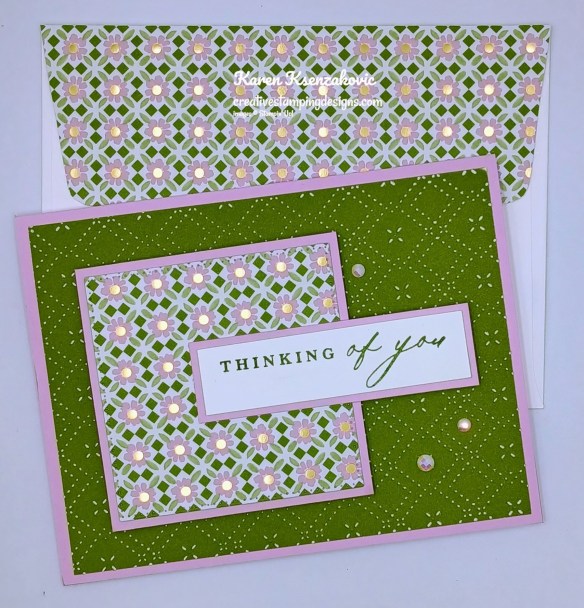
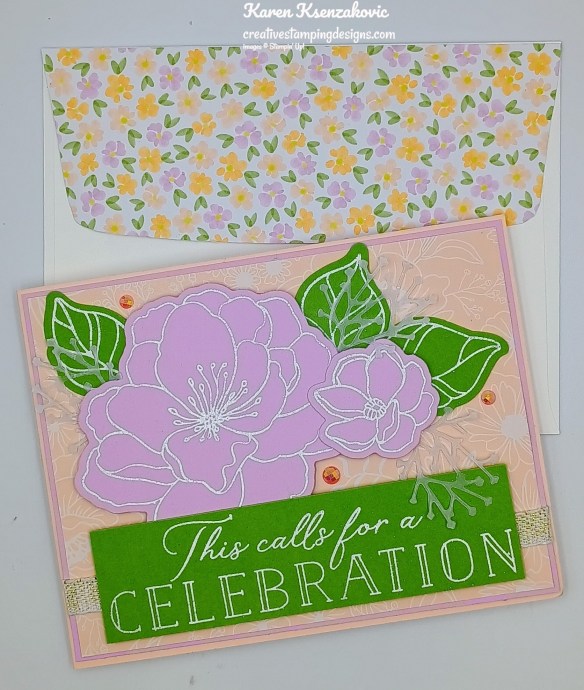
Decorate a Basic White Medium Envelope to finish your card. Stamp the small floral image from the Beautifully Celebrated stamp set in Darling Duckling and Old Olive Inks on the envelope front. Adhere a panel of Lovely & Beautiful DSP to the envelope flap,
Thank you for stopping by my blog today. I hope you like my card and will give it a try. Happy Stamping!!
*********************************************************************************************************
If you need any stamping supplies, I’d love to be your Demonstrator. Just click HERE to go directly to my online store or drop me an email if you have any questions.
*********************************************************************************************************
Scenic Coast Craft Class
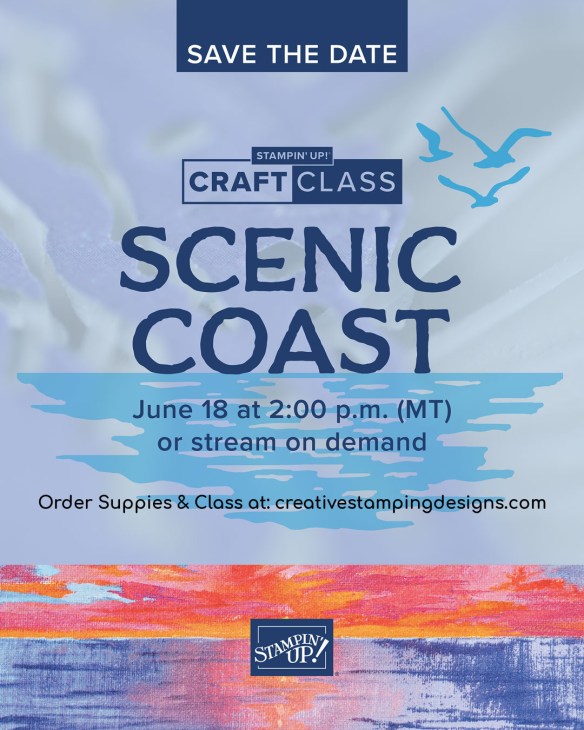
Stampin’ Up! is offering another Craft Class on June 18 (with replay available afterward if that date doesn’t work for your schedule!). This time there will be a focus on using those pretty papers!
Here are the details:
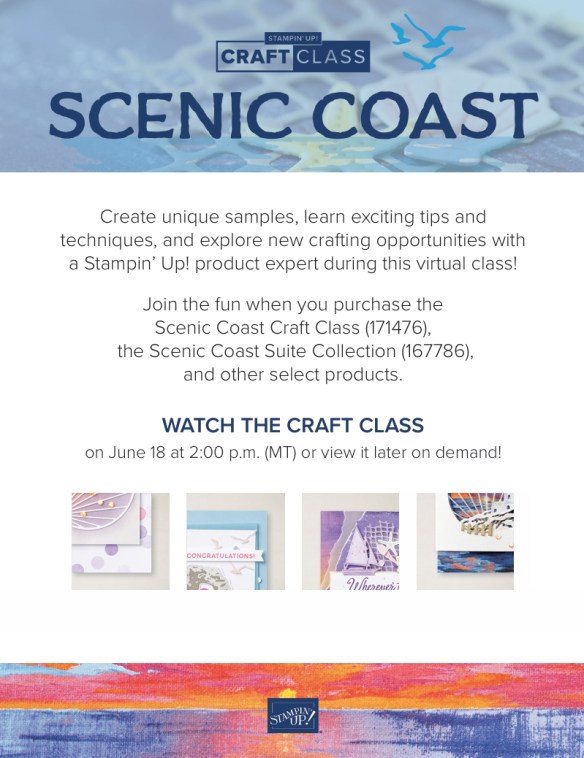
- Class: Scenic Coast Craft Class (171476)
- Class Price: $30 (Suite not included)
- Class Purpose: Explore the versatility of suites with four different paper crafting styles: shabby chic, artful, traditional and modern
- Product: Scenic Coast Suite Collection (167786)
- Available for Purchase: June 2
- Available for Streaming: June 18 at 2:00 p.m. (MT)
- The class will be available for purchase before and after it streams on June 18
- Where: An exclusive Facebook group
- Language: The class will be presented in English; attendees will have access to supply lists and project instructions in English, French, German, and Dutch
- Video on Demand: This class will be available as a video on demand with captions in English, French, German, and Dutch shortly after the event
You can download the flyer with the Craft Class details by clicking the image below:
You’ll be able to find the Craft Class in the Online Store beginning June 2 and you’ll be able to purchase it then!
*********************************************************************************************************
New Stampin’ Up! Product of The Month

Every month Stampin’ Up! will release a new item that is only available for purchase once per account. These items will be limited quantity and are likely to sell out quickly—once they’re sold out, they’re gone for good!
May Product of the Month is Berry Botanical Vellum 12″ x 12″ Specialty Designer Series Paper!
Add a fresh, artful touch to cards and paper crafts with Berry Botanical Vellum 12″ x 12″ (30.5 x 30.5 cm) Specialty Designer Series Paper. Hand-drawn patterns featuring polka dots, plaids, and berries make it easy to create custom designs with a playful, coordinated look.
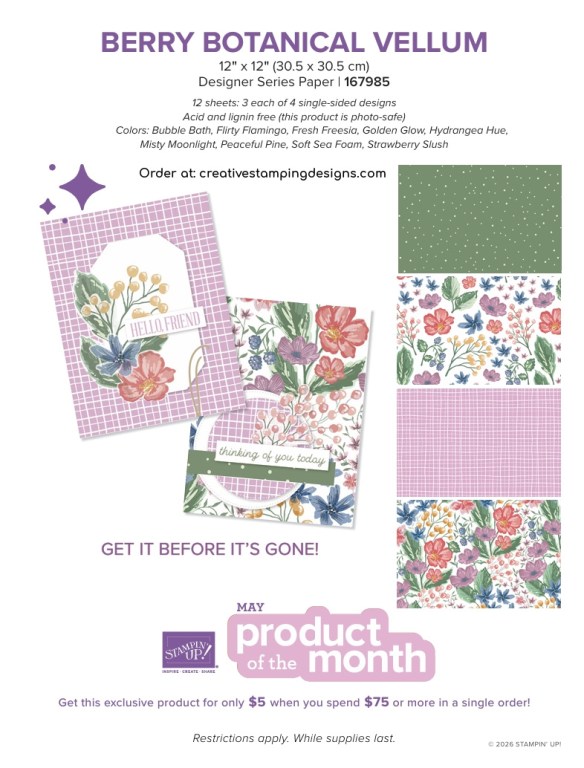
This vellum pack is available beginning May 5 for $5 with an order of $75+ while supplies last!
Stampin’ Up! also gave us a sneak peek at the June Product of the month! It’s a cute stamp set called Wild Bunch!
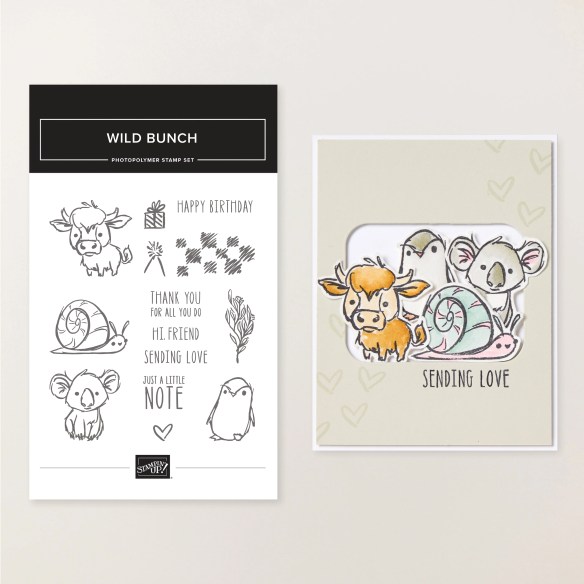
Wild Bunch Stamp Set
Adorable critters meet soft, watercolor-inspired style for projects packed with character. Layer the stamps to add depth and let your scenes unfold naturally.
*********************************************************************************************************
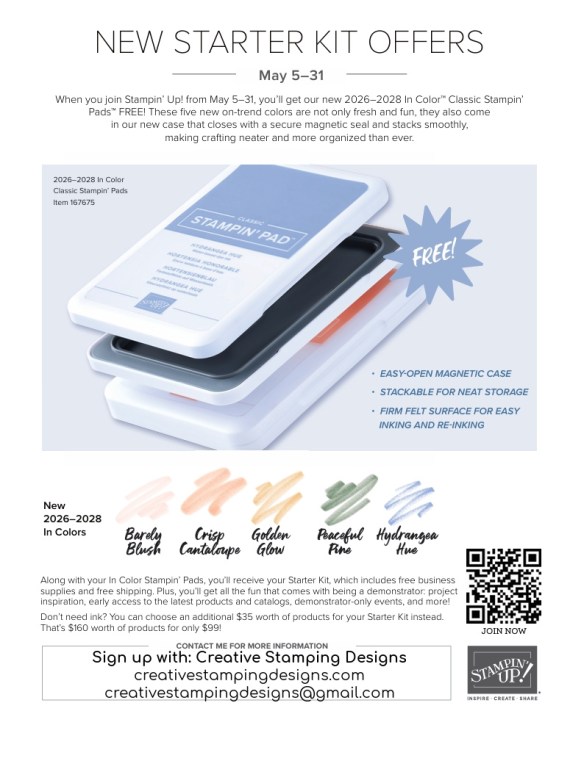
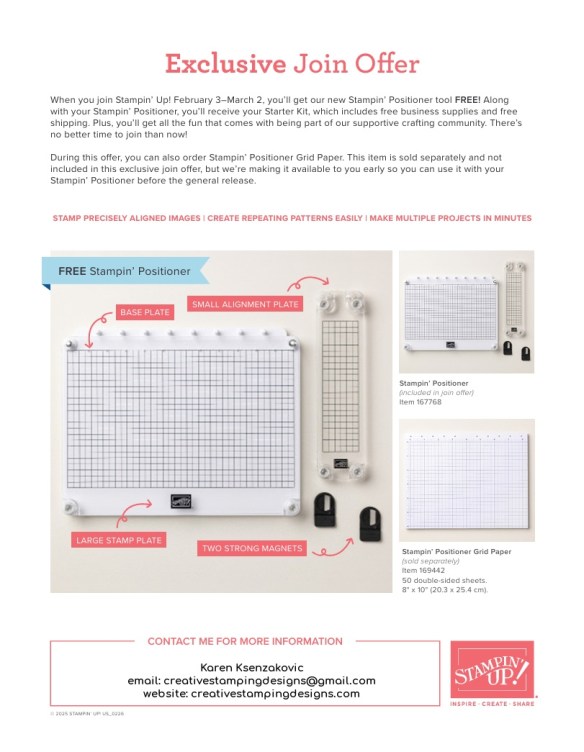
Final Days for Starter Kit Special – FREE In Color Ink Pads OR $35 Additional FREE Products In Your Starter Kit
Demonstrators are able to preview and preorder the new July Online Exclusives now. Did you know that you can put the July Online Exclusives in your Starter Kit? How would you like to get them at a discount too? I don’t know about you, but I LOVE discounts!!! When you purchase the Stampin’ Up! Starter Kit between May 5-31, you’ll get the new 2026–2028 In Color Stampin’ Pads FREE (that’s a $63 value) along with your Starter Kit! Or, if you’d rather have different products instead of ink pads, you can add an extra $35 worth of products to your Starter Kit!
Once you purchase the kit, you’ll enjoy all the perks that come with being a demonstrator, like a 20–25% product discount, early access to the latest products and catalogs, the chance to attend incredible training and crafting events, and so much more! Did you know that if Stampin’ Up! is having a sale, as a Demonstrator you get the additional discount on top of your 20-25% off? Also, as an extra little bonus for joining my team, you can attend all my Monthly Online Classes for FREE. There’s never an obligation to sell, you can join to enjoy the discount for yourself. Are you unsure and have questions? Contact me and we can talk. I’ll tell you exactly what to expect when you join.
Click the image below to open this flyer in full size.
Details:
- Promotion Period: May 5–31
- Promotion Ends: May 31 at 11:59 p.m. (MT)
- When you purchase the Starter Kit from May 5–31 you will be able to choose between these two offers:
- Free 2026–2028 In Color Stampin’ Pads plus the regular Starer Kit products (your choice of $125 in Stampin’ Up! merchandise) for just $99
- $160 worth of products in their Starter Kit for just $99 (that’s an extra $35 value!)
- New demonstrators who submit their Independent Demonstrator Agreement (IDA) before May 5 or after May 31 will not be eligible for these offers.
2 great joining offers…you can either choose to get the new In Color Ink Pads for free with your Starter Kit OR additional $35 in free merchandise with your Stater Kit!
Click Here to Sign Up!
*********************************************************************************************************
Card stock cuts for this project:
- Basic White Cardstock 1 1/2″ x 2 1/2″(sentiment), 3 3/4″ x 5″(inner liner)
- Darling Duckling Cardstock 2 3/4″ x 3 1/4″(mat), 4″ x 5 /4″(mat)
- Old Olive Cardstock 5 1/2″ x 8 1/2″(card base scored & folded at 4 1/4″)
- Lovely & Beautiful Specialty Designer Series Paper 4 1/4″ x 5 1/2″(card front), 2 1/2″ x 3″(card front panel), 2 1/4″ x 6″(envelope)
*********************************************************************************************************
Product List
![Scalloped Blooms Bundle (English) [ 167647 ]](https://assets1.tamsnetwork.com/images/EC042017NF/167647s.jpg "Scalloped Blooms Bundle (English) [ 167647 ]")
![Scalloped Blooms Photopolymer Stamp Set (English) [ 167639 ]](https://assets1.tamsnetwork.com/images/EC042017NF/167639s.jpg "Scalloped Blooms Photopolymer Stamp Set (English) [ 167639 ]")
![Scalloped Blooms Dies [ 167646 ]](https://assets1.tamsnetwork.com/images/EC042017NF/167646s.jpg "Scalloped Blooms Dies [ 167646 ]")
![Beautifully Celebrated Photopolymer Stamp Set (English) [ 166968 ]](https://assets1.tamsnetwork.com/images/EC042017NF/166968s.jpg "Beautifully Celebrated Photopolymer Stamp Set (English) [ 166968 ]")
![Basic White 8 1/2" X 11" Cardstock [ 166780 ]](https://assets1.tamsnetwork.com/images/EC042017NF/166780s.jpg "Basic White 8 1/2\" X 11\" Cardstock [ 166780 ]")
![Darling Duckling 8 1/2" X 11" Cardstock [ 165622 ]](https://assets1.tamsnetwork.com/images/EC042017NF/165622s.jpg "Darling Duckling 8 1/2\" X 11\" Cardstock [ 165622 ]")
![Old Olive 8-1/2" X 11" Cardstock [ 100702 ]](https://assets1.tamsnetwork.com/images/EC042017NF/100702s.jpg "Old Olive 8-1/2\" X 11\" Cardstock [ 100702 ]")
![Lovely & Beautiful 12" X 12" (30.5 X 30.5 Cm) Specialty Designer Series Paper [ 166957 ]](https://assets1.tamsnetwork.com/images/EC042017NF/166957s.jpg "Lovely & Beautiful 12\" X 12\" (30.5 X 30.5 Cm) Specialty Designer Series Paper [ 166957 ]")
![Darling Duckling Classic Stampin' Pad [ 165277 ]](https://assets1.tamsnetwork.com/images/EC042017NF/165277s.jpg "Darling Duckling Classic Stampin' Pad [ 165277 ]")
![Old Olive Classic Stampin' Pad [ 147090 ]](https://assets1.tamsnetwork.com/images/EC042017NF/147090s.jpg "Old Olive Classic Stampin' Pad [ 147090 ]")
![Darling Duckling Stampin’ Blends Combo Pack [ 165288 ]](https://assets1.tamsnetwork.com/images/EC042017NF/165288s.jpg "Darling Duckling Stampin’ Blends Combo Pack [ 165288 ]")
![Baker's Twine Essentials Pack [ 155475 ]](https://assets1.tamsnetwork.com/images/EC042017NF/155475s.jpg "Baker's Twine Essentials Pack [ 155475 ]")
![2025–2027 In Color™ Flat Pearls [ 165192 ]](https://assets1.tamsnetwork.com/images/EC042017NF/165192s.jpg "2025–2027 In Color™ Flat Pearls [ 165192 ]")
![Basic White Medium Envelopes [ 159236 ]](https://assets1.tamsnetwork.com/images/EC042017NF/159236s.jpg "Basic White Medium Envelopes [ 159236 ]")
![Stampin' Cut & Emboss Machine [ 149653 ]](https://assets1.tamsnetwork.com/images/EC042017NF/149653s.jpg "Stampin' Cut & Emboss Machine [ 149653 ]")
![Mini Glue Dots [ 103683 ]](https://assets1.tamsnetwork.com/images/EC042017NF/103683s.jpg "Mini Glue Dots [ 103683 ]")
![Multipurpose Liquid Glue [ 110755 ]](https://assets1.tamsnetwork.com/images/EC042017NF/110755s.jpg "Multipurpose Liquid Glue [ 110755 ]")
![Stampin' Dimensionals [ 104430 ]](https://assets1.tamsnetwork.com/images/EC042017NF/104430s.jpg "Stampin' Dimensionals [ 104430 ]")
![Stampin' Seal [ 152813 ]](https://assets1.tamsnetwork.com/images/EC042017NF/152813s.jpg "Stampin' Seal [ 152813 ]")
![Bone Folder [ 102300 ]](https://assets1.tamsnetwork.com/images/EC042017NF/102300s.jpg "Bone Folder [ 102300 ]")
![Take Your Pick [ 144107 ]](https://assets1.tamsnetwork.com/images/EC042017NF/144107s.jpg "Take Your Pick [ 144107 ]")
![Paper Trimmer [ 152392 ]](https://assets1.tamsnetwork.com/images/EC042017NF/152392s.jpg "Paper Trimmer [ 152392 ]")

![Petal Pink 8-1/2" X 11" Cardstock [ 146985 ]](https://assets1.tamsnetwork.com/images/EC042017NF/146985s.jpg "Petal Pink 8-1/2\" X 11\" Cardstock [ 146985 ]")
![Petal Pink Classic Stampin' Pad [ 147108 ]](https://assets1.tamsnetwork.com/images/EC042017NF/147108s.jpg "Petal Pink Classic Stampin' Pad [ 147108 ]")
![Pearlized Faceted Circles [ 166978 ]](https://assets1.tamsnetwork.com/images/EC042017NF/166978s.jpg "Pearlized Faceted Circles [ 166978 ]")

![Basic White 8 1/2" X 11" Thick Cardstock [ 159229 ]](https://assets1.tamsnetwork.com/images/EC042017NF/159229s.jpg "Basic White 8 1/2\" X 11\" Thick Cardstock [ 159229 ]")
![Calypso Coral 8-1/2" X 11" Cardstock [ 122925 ]](https://assets1.tamsnetwork.com/images/EC042017NF/122925s.jpg "Calypso Coral 8-1/2\" X 11\" Cardstock [ 122925 ]")

![Words & Wishes Bundle (English) [ 167897 ]](https://assets1.tamsnetwork.com/images/EC042017NF/167897s.jpg "Words & Wishes Bundle (English) [ 167897 ]")
![Words & Wishes Photopolymer Stamp Set (English) [ 167889 ]](https://assets1.tamsnetwork.com/images/EC042017NF/167889s.jpg "Words & Wishes Photopolymer Stamp Set (English) [ 167889 ]")
![Words & Wishes Dies (English) [ 167894 ]](https://assets1.tamsnetwork.com/images/EC042017NF/167894s.jpg "Words & Wishes Dies (English) [ 167894 ]")
![Gold Foil Sheets [ 132622 ]](https://assets1.tamsnetwork.com/images/EC042017NF/132622s.jpg "Gold Foil Sheets [ 132622 ]")
![Golden Glow Classic Stampin' Pad [ 167676 ]](https://assets1.tamsnetwork.com/images/EC042017NF/167676s.jpg "Golden Glow Classic Stampin' Pad [ 167676 ]")

![Fresh Freesia 8 1/2" X 11" Cardstock [ 155613 ]](https://assets1.tamsnetwork.com/images/EC042017NF/155613s.jpg "Fresh Freesia 8 1/2\" X 11\" Cardstock [ 155613 ]")
![Tuxedo Black Memento Ink Pad [ 132708 ]](https://assets1.tamsnetwork.com/images/EC042017NF/132708s.jpg "Tuxedo Black Memento Ink Pad [ 132708 ]")


![Friendly Foliage Photopolymer Stamp Set (English) [ 167021 ]](https://assets1.tamsnetwork.com/images/EC042017NF/167021s.jpg "Friendly Foliage Photopolymer Stamp Set (English) [ 167021 ]")
![Simply Beautiful Bundle (English) [ 166965 ]](https://assets1.tamsnetwork.com/images/EC042017NF/166965s.jpg "Simply Beautiful Bundle (English) [ 166965 ]")
![Simply Beautiful Photopolymer Stamp Set (English) [ 166958 ]](https://assets1.tamsnetwork.com/images/EC042017NF/166958s.jpg "Simply Beautiful Photopolymer Stamp Set (English) [ 166958 ]")
![Simply Beautiful Dies [ 166964 ]](https://assets1.tamsnetwork.com/images/EC042017NF/166964s.jpg "Simply Beautiful Dies [ 166964 ]")
![Darling Duckling 12" X 12" (30.5 X 30.5 Cm) Two Tone Cardstock [ 166707 ]](https://assets1.tamsnetwork.com/images/EC042017NF/166707s.jpg "Darling Duckling 12\" X 12\" (30.5 X 30.5 Cm) Two Tone Cardstock [ 166707 ]")
![Fresh Freesia 12" X 12" (30.5 X 30.5 Cm) Two Tone Cardstock [ 166666 ]](https://assets1.tamsnetwork.com/images/EC042017NF/166666s.jpg "Fresh Freesia 12\" X 12\" (30.5 X 30.5 Cm) Two Tone Cardstock [ 166666 ]")
![Old Olive 12" X 12" (30.5 X 30.5 Cm) Two Tone Cardstock [ 166683 ]](https://assets1.tamsnetwork.com/images/EC042017NF/166683s.jpg "Old Olive 12\" X 12\" (30.5 X 30.5 Cm) Two Tone Cardstock [ 166683 ]")
![Petal Pink 12" X 12" (30.5 X 30.5 Cm) Two Tone Cardstock [ 166689 ]](https://assets1.tamsnetwork.com/images/EC042017NF/166689s.jpg "Petal Pink 12\" X 12\" (30.5 X 30.5 Cm) Two Tone Cardstock [ 166689 ]")
![Exposed Brick 3 D Embossing Folder [ 161600 ]](https://assets1.tamsnetwork.com/images/EC042017NF/161600s.jpg "Exposed Brick 3 D Embossing Folder [ 161600 ]")
![Stylish Shapes Dies [ 159183 ]](https://assets1.tamsnetwork.com/images/EC042017NF/159183s.jpg "Stylish Shapes Dies [ 159183 ]")
![White With Gold 3/8" (1 Cm) Ribbon [ 166979 ]](https://assets1.tamsnetwork.com/images/EC042017NF/166979s.jpg "White With Gold 3/8\" (1 Cm) Ribbon [ 166979 ]")
![2024 2026 In Color™ Flat Pearls [ 165266 ]](https://assets1.tamsnetwork.com/images/EC042017NF/165266s.jpg "2024 2026 In Color™ Flat Pearls [ 165266 ]")


![Fresh Freesia Stampin' Blends Combo Pack [ 155518 ]](https://assets1.tamsnetwork.com/images/EC042017NF/155518s.jpg "Fresh Freesia Stampin' Blends Combo Pack [ 155518 ]")
![Old Olive Stampin' Blends Combo Pack [ 154892 ]](https://assets1.tamsnetwork.com/images/EC042017NF/154892s.jpg "Old Olive Stampin' Blends Combo Pack [ 154892 ]")
![Beautiful Pattern 3 D Embossing Folder [ 167097 ]](https://assets1.tamsnetwork.com/images/EC042017NF/167097s.jpg "Beautiful Pattern 3 D Embossing Folder [ 167097 ]")

![Tear & Tape Adhesive [ 154031 ]](https://assets1.tamsnetwork.com/images/EC042017NF/154031s.jpg "Tear & Tape Adhesive [ 154031 ]")


![Beautifully Celebrated Bundle (English) [ 166975 ]](https://assets1.tamsnetwork.com/images/EC042017NF/166975s.jpg "Beautifully Celebrated Bundle (English) [ 166975 ]")
![Beautifully Celebrated Dies [ 166974 ]](https://assets1.tamsnetwork.com/images/EC042017NF/166974s.jpg "Beautifully Celebrated Dies [ 166974 ]")
![Loveliest Tree Cling Stamp Set (English) [ 163714 ]](https://assets1.tamsnetwork.com/images/EC042017NF/163714s.jpg "Loveliest Tree Cling Stamp Set (English) [ 163714 ]")
![Granny Apple Green 8-1/2" X 11" Cardstock [ 146990 ]](https://assets1.tamsnetwork.com/images/EC042017NF/146990s.jpg "Granny Apple Green 8-1/2\" X 11\" Cardstock [ 146990 ]")
![Vellum 12" X 12" (30.5 X 30.5 Cm) Specialty Paper [ 167099 ]](https://assets1.tamsnetwork.com/images/EC042017NF/167099s.jpg "Vellum 12\" X 12\" (30.5 X 30.5 Cm) Specialty Paper [ 167099 ]")
![Smoky Slate Classic Stampin' Pad [ 147113 ]](https://assets1.tamsnetwork.com/images/EC042017NF/147113s.jpg "Smoky Slate Classic Stampin' Pad [ 147113 ]")
![Versamark Pad [ 102283 ]](https://assets1.tamsnetwork.com/images/EC042017NF/102283s.jpg "Versamark Pad [ 102283 ]")
![Basics Wow! Embossing Powder [ 165679 ]](https://assets1.tamsnetwork.com/images/EC042017NF/165679s.jpg "Basics Wow! Embossing Powder [ 165679 ]")
![Heat Tool (Us And Canada) [ 129053 ]](https://assets1.tamsnetwork.com/images/EC042017NF/129053s.jpg "Heat Tool (Us And Canada) [ 129053 ]")
![Granny Apple Green Stampin' Blends Combo Pack [ 154885 ]](https://assets1.tamsnetwork.com/images/EC042017NF/154885s.jpg "Granny Apple Green Stampin' Blends Combo Pack [ 154885 ]")
![Lemon Lolly Stampin’ Blends Combo Pack [ 161673 ]](https://assets1.tamsnetwork.com/images/EC042017NF/161673s.jpg "Lemon Lolly Stampin’ Blends Combo Pack [ 161673 ]")

