
Good Monday morning stamping friends. Welcome to a new week. I hope you all had a great holiday weekend.
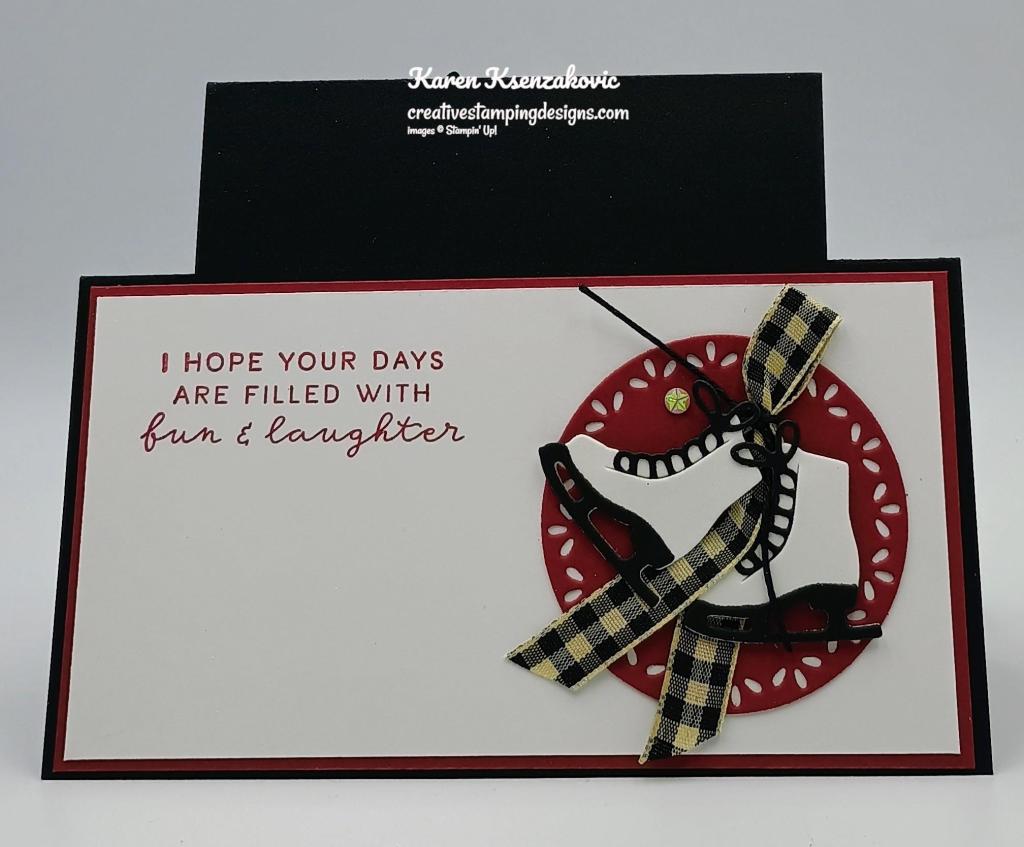
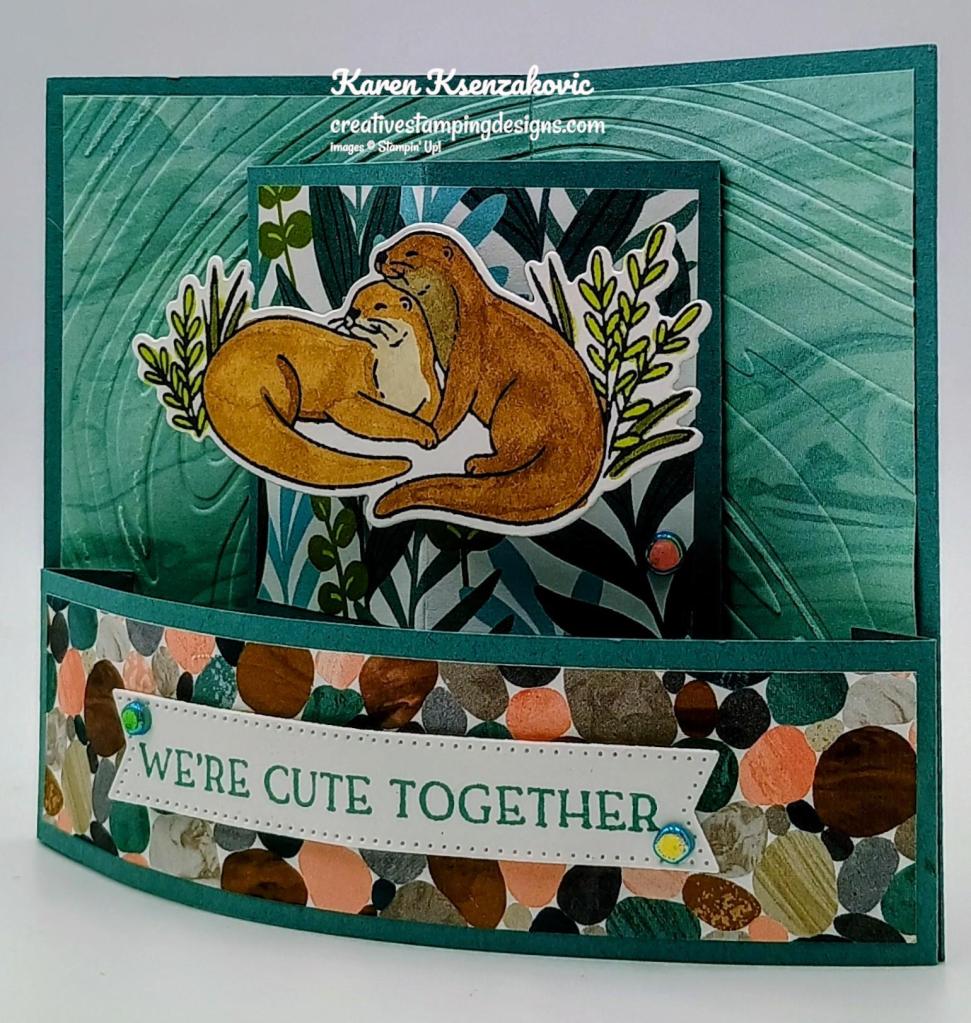
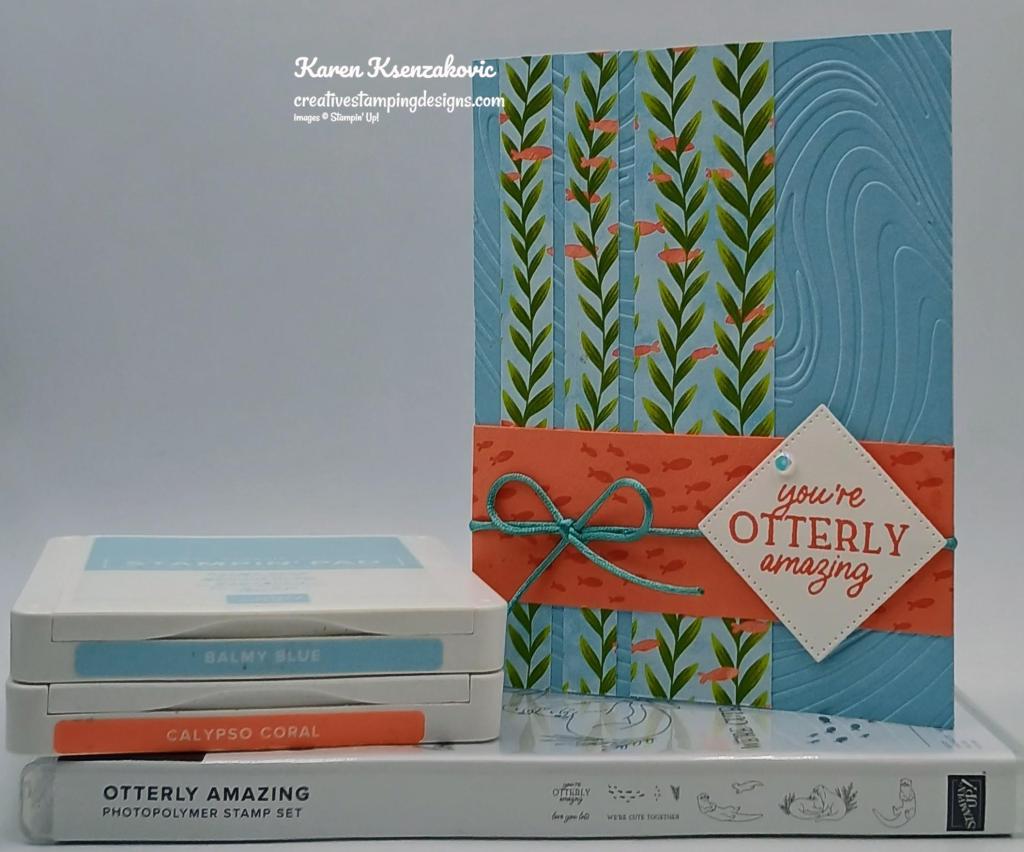
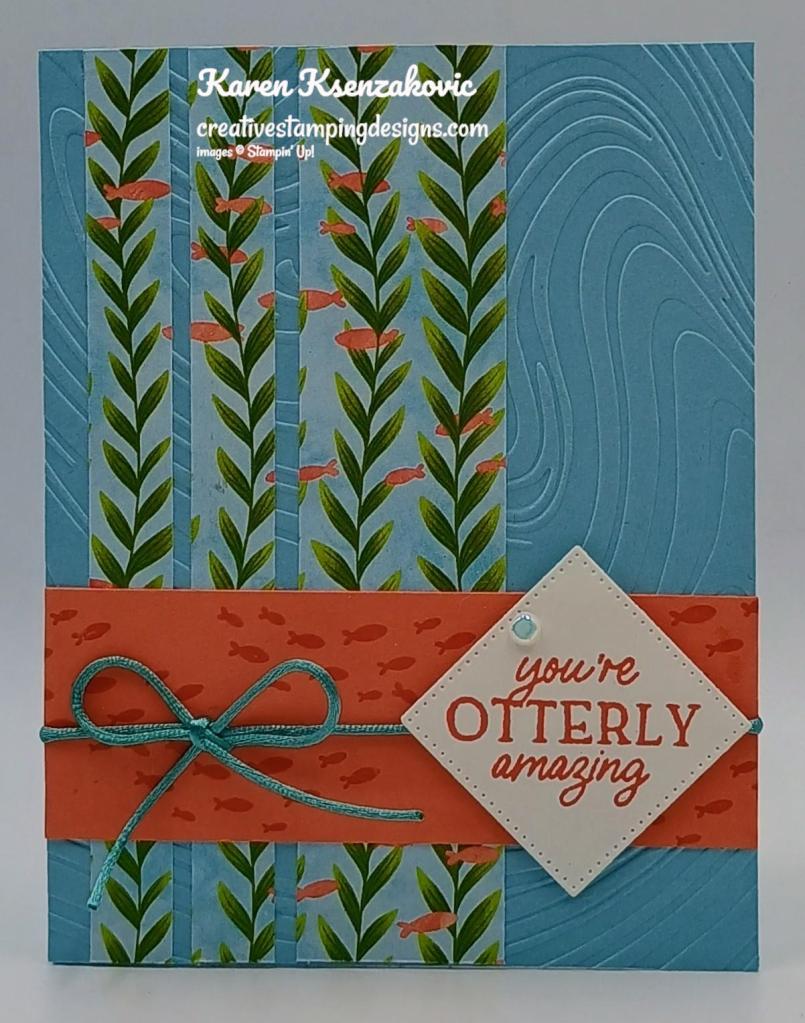
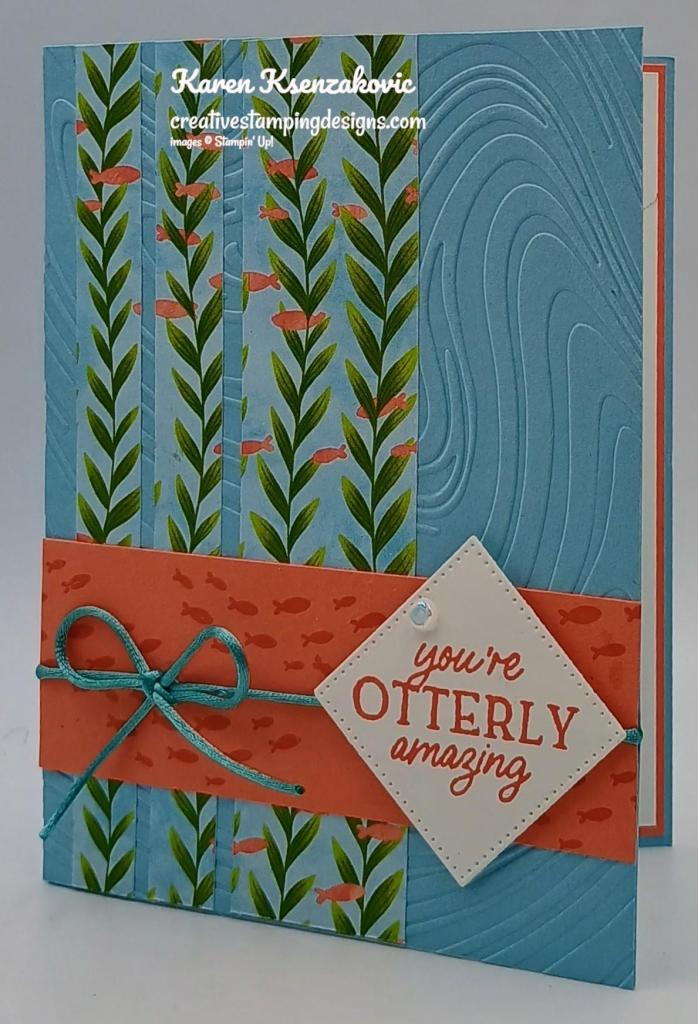
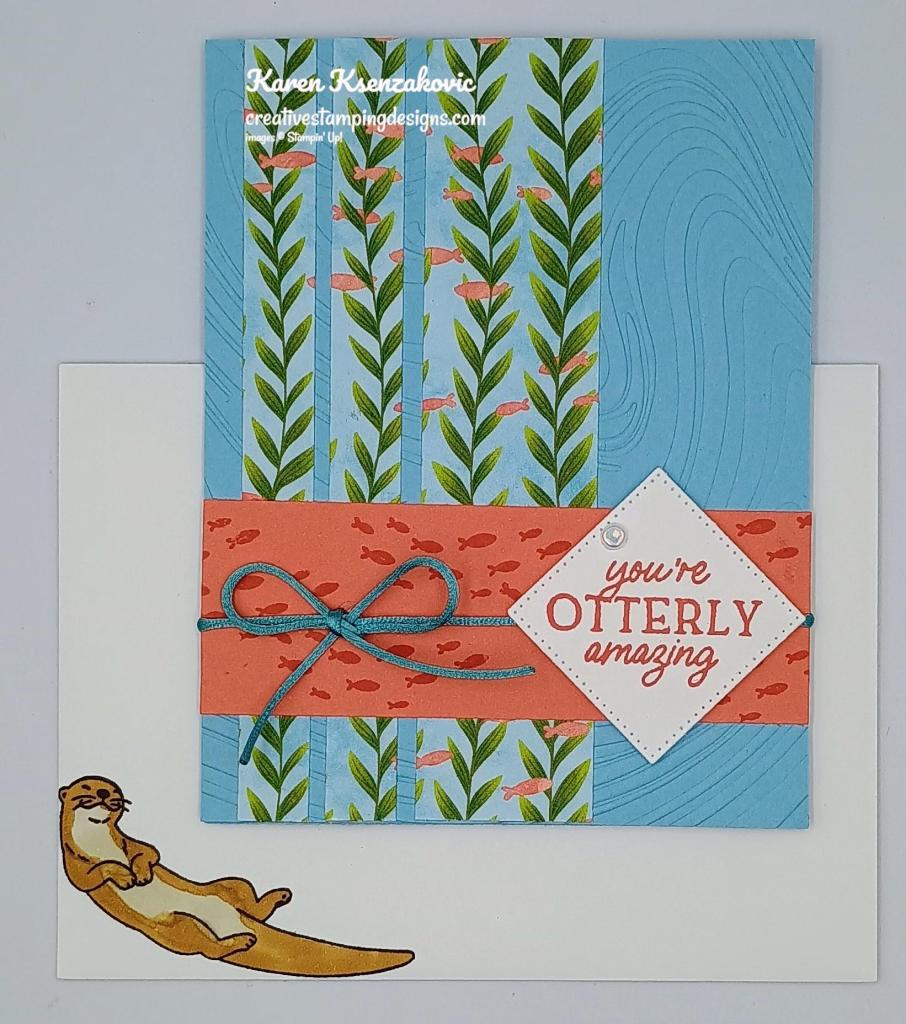
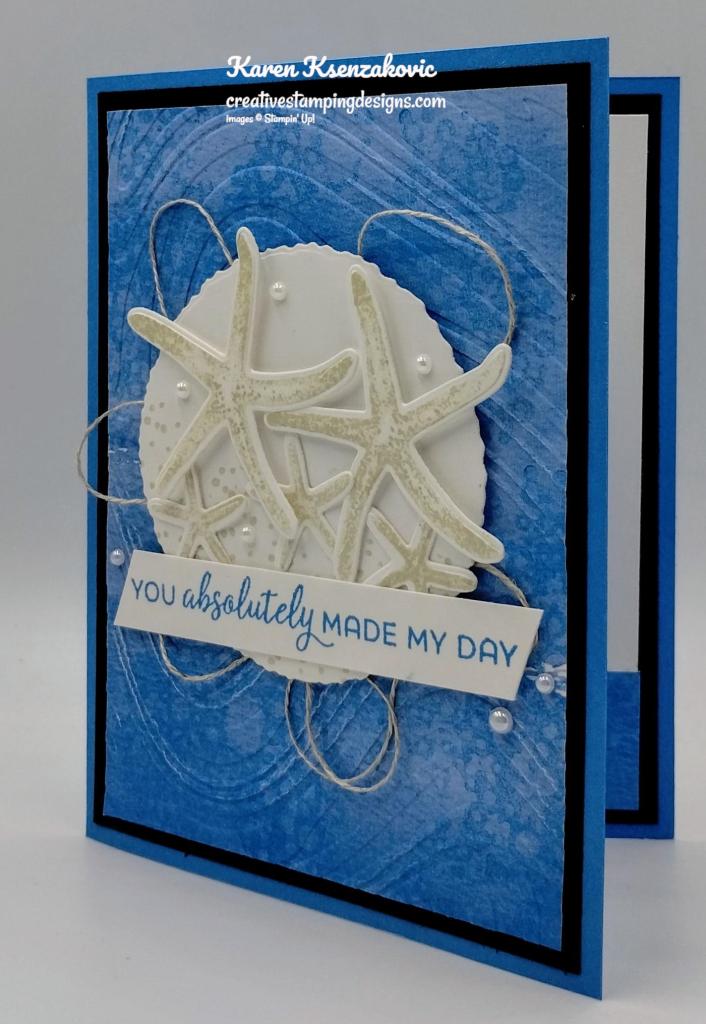
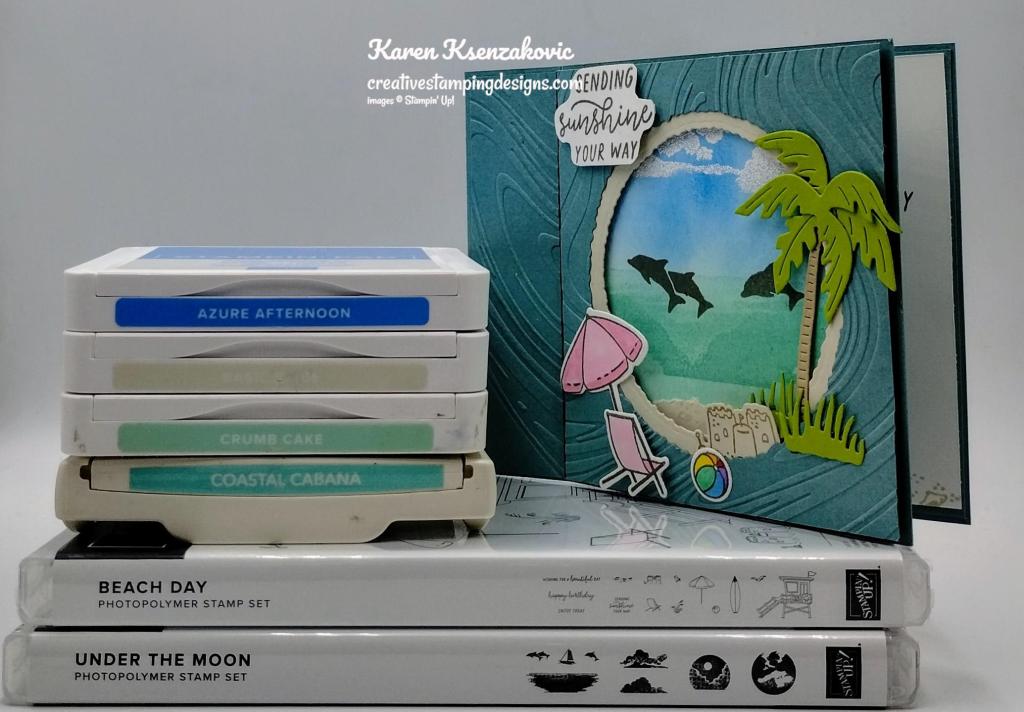
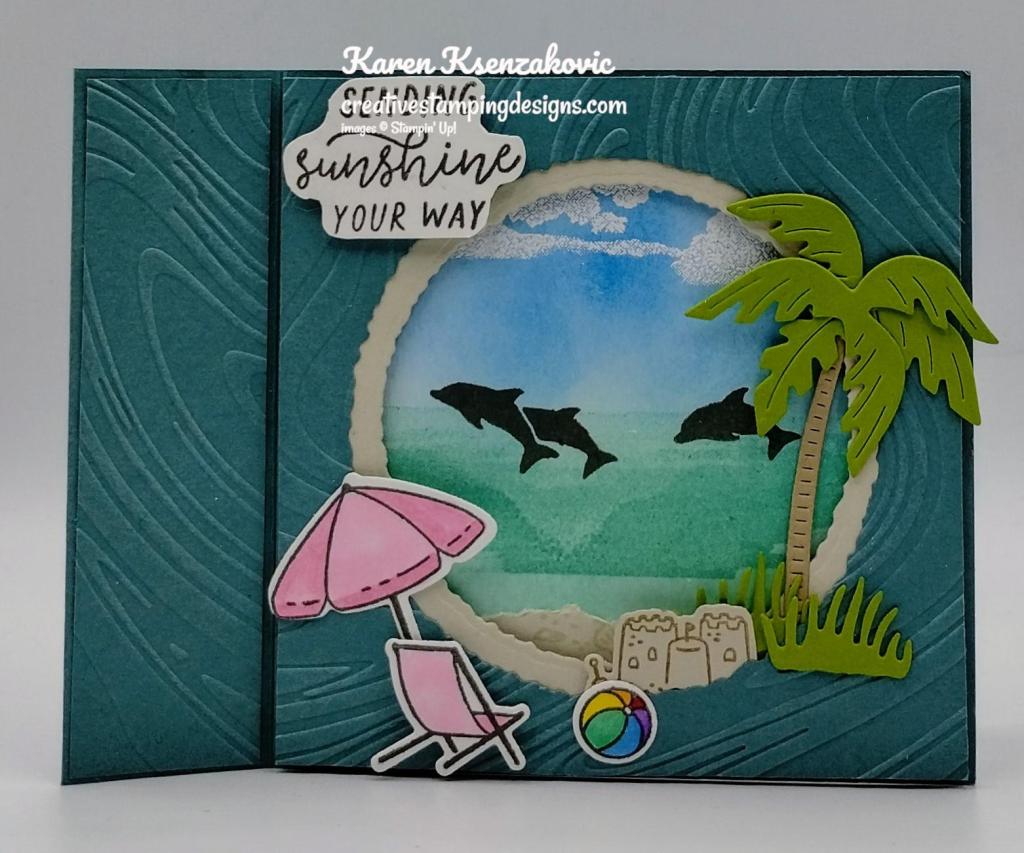
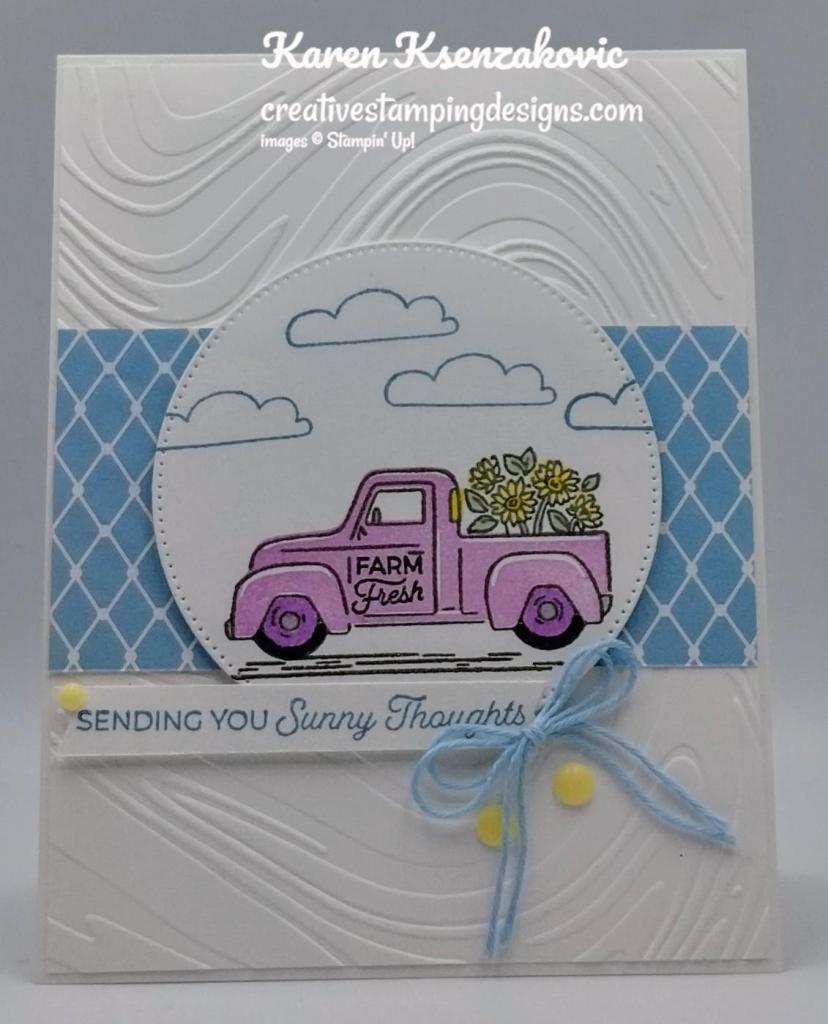
Today’s card I really had fun making. I got the idea from my team leader Amy. If you’d like to see a quick video of how I made this card, Click Here to go to my Instagram Reels. Here is my card for today.
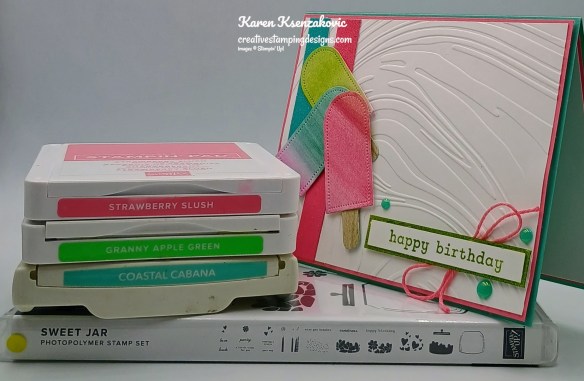
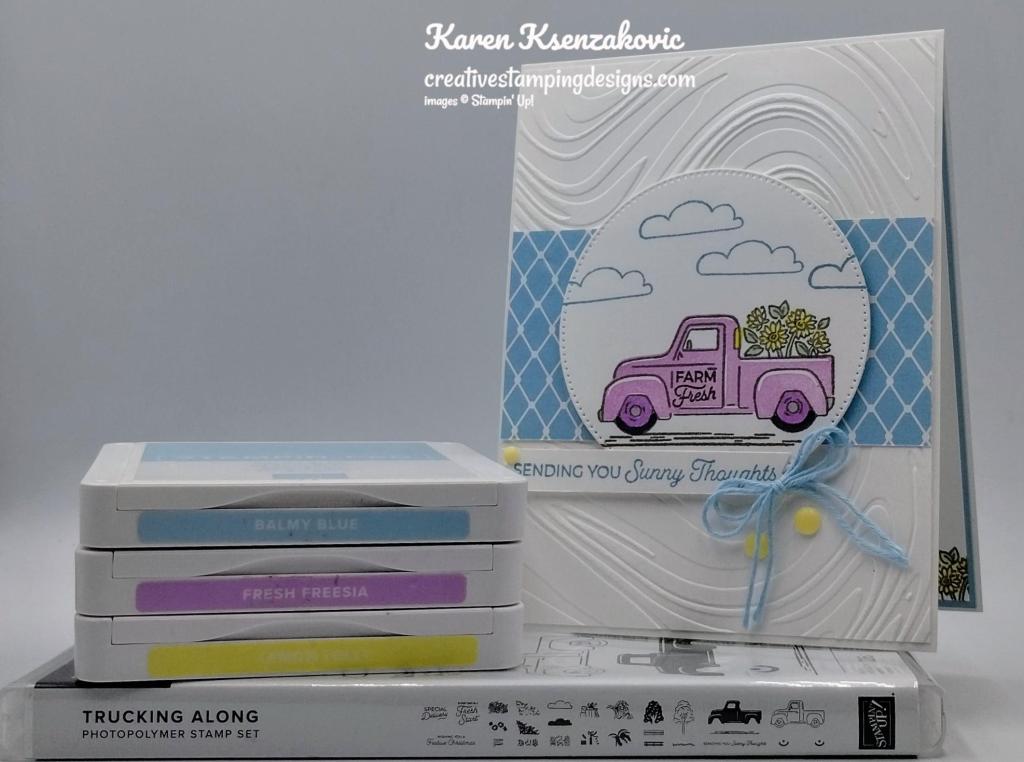
I used the Stampin’ Up! Sweet Jar Photopolymer Stamp Set along wit the So Swirly Embossing Folder, Full of Life 6 x 6 Designer Series Paper, Everyday Arches Dies, Country Woods Designer Series Paper, More Messages Dies and Pastel Ombre Glimmer Specialty Paper for my card today.
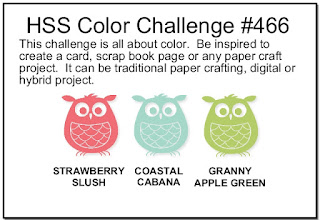
My colors are from Hand Stamped Sentiments Color Challenge #466
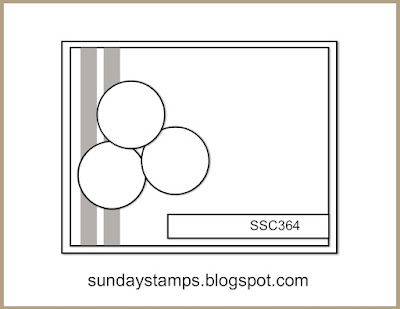
My design is from Sunday Stamps Challenge #364.

Emboss a Basic White card front, with the So Swirly EF. Adhere the embossed panel to a Strawberry Slush mat with Liquid Glue. Adhere the layered panel to a Coastal Cabana card base with Stampin’ Dimensionals.
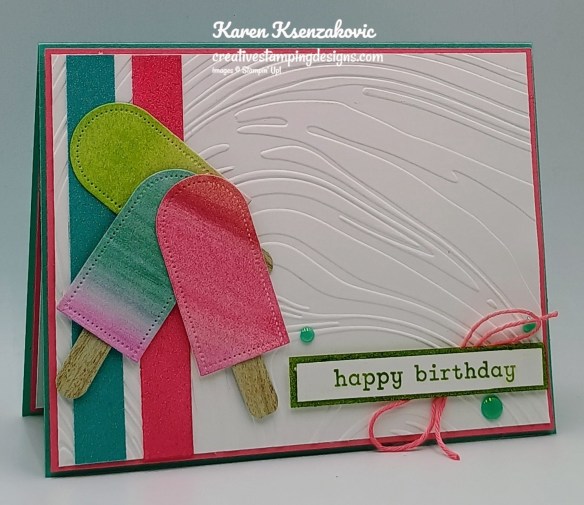
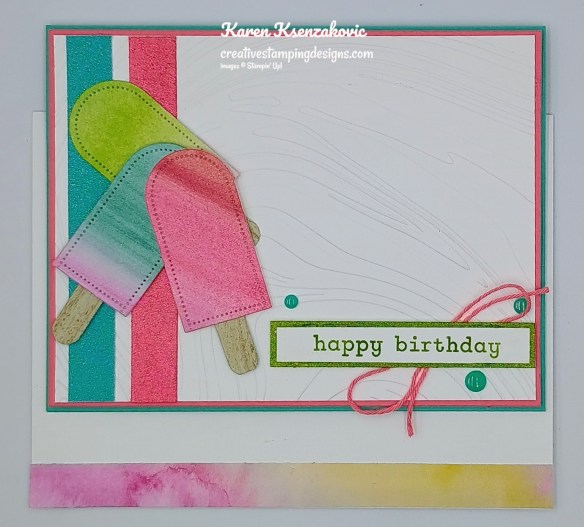
Color a pink strip of Pastel Ombre Glimmer Paper using a Blending Brush and Strawberry Slush Ink. Adhere the 2 strips of Pastel Ombre Glimmer Paper to the card front with Liquid Glue. From scraps of Full of Life DSP cut 5 of the smallest Everyday Arches Dies. From a panel of Country Wood DSP, cut 5 of the long ovals from the More Messages Dies. Adhere the long oval die cuts to the Everyday Arches die cuts with Glue Dots to make ice pops. Adhere one of the ice pops to the card front with Glue Dots. Adhere the other 2 ice pops to the card front with Stampin’ Dimensionals.
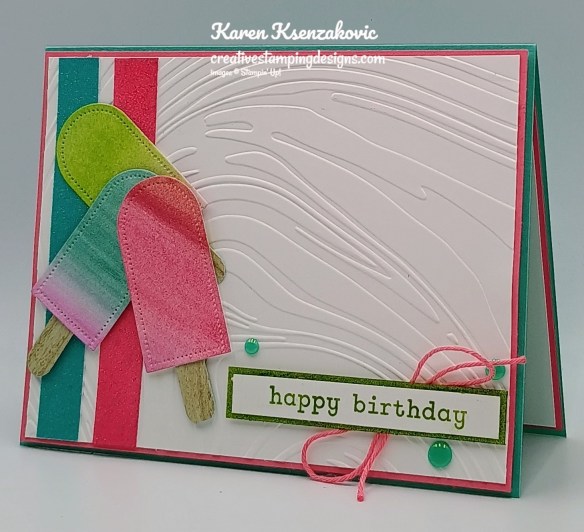
On a panel of Basic White, stamp the sentiment from Sweet Jar stamp set in Granny Apple Green Ink. Color a light green strip of Pastel Ombre Glimmer Paper using the Blending Brush and Granny Apple Green Ink. Adhere the sentiment to the Glimmer paper mat. Tie a small bow with the Strawberry Slush twine from the Pack Your Bags Twine Three-Pack. Adhere the bow to the bottom of the card front with a Glue Dot. Adhere the layered sentiment over the bow with Stampin’ Dimensionals. Add a few 2024-2026 In-Color Flat Pearls to the card front.
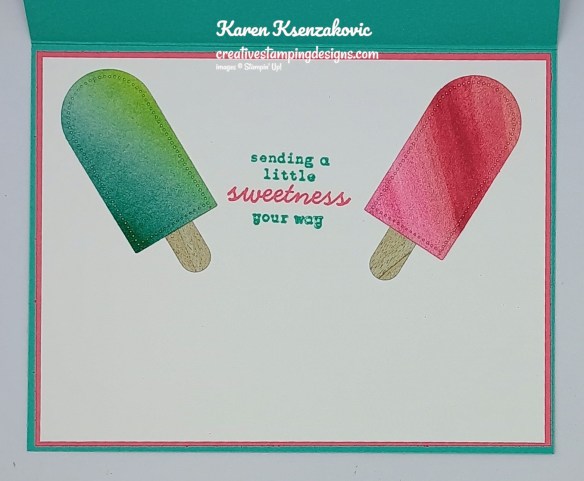
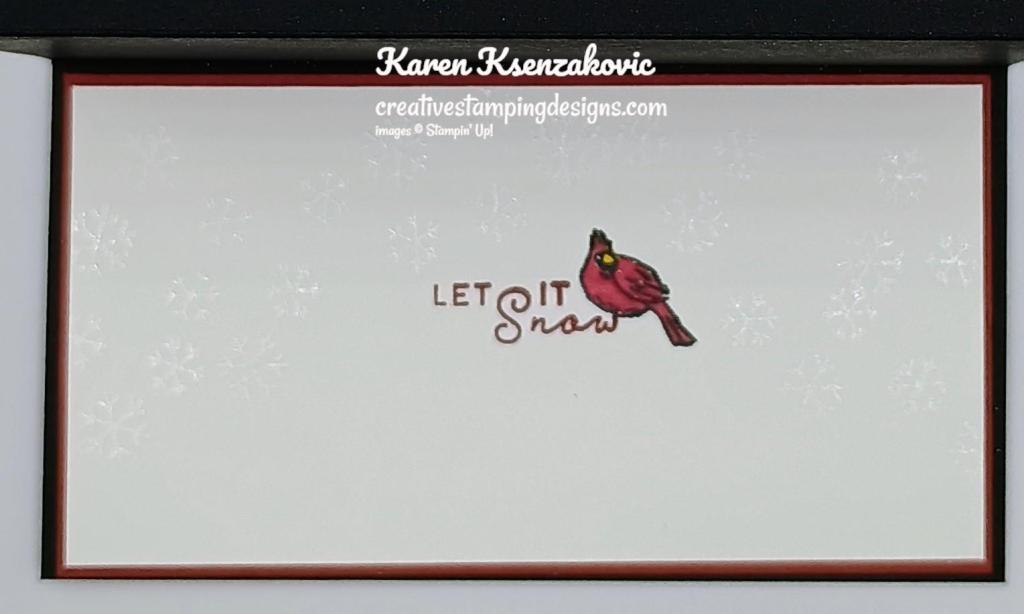
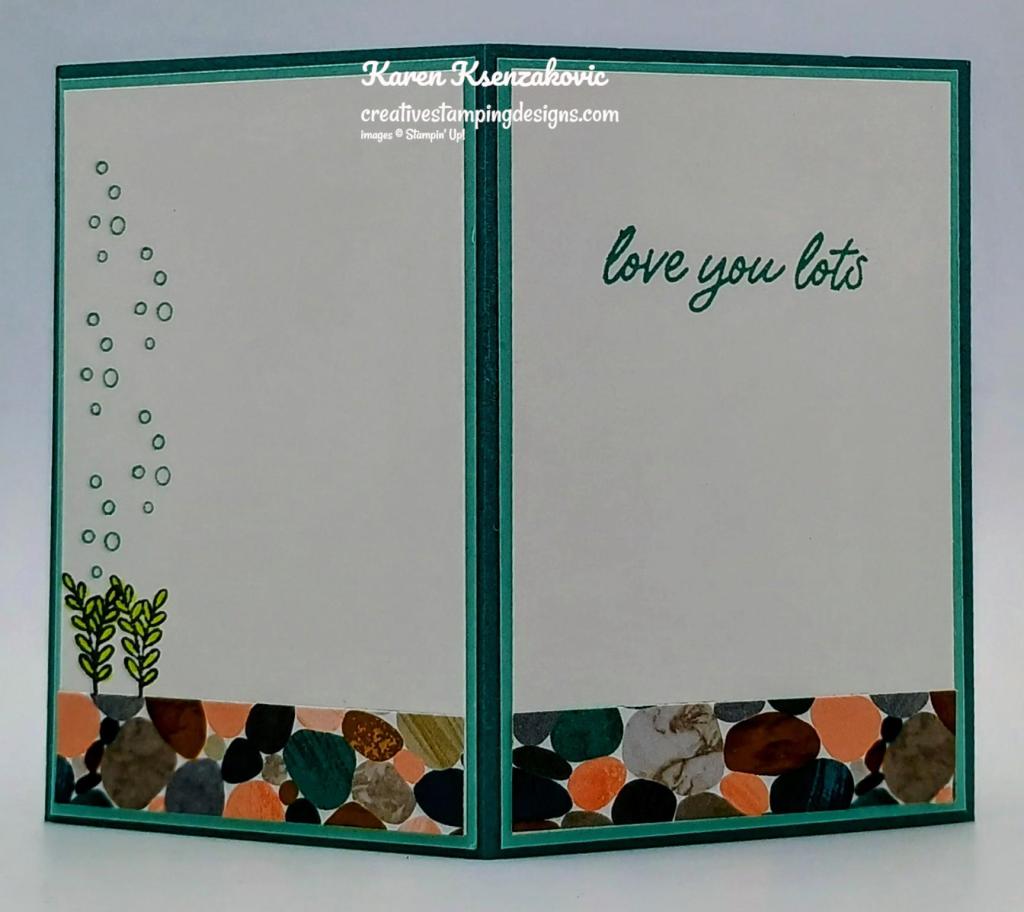
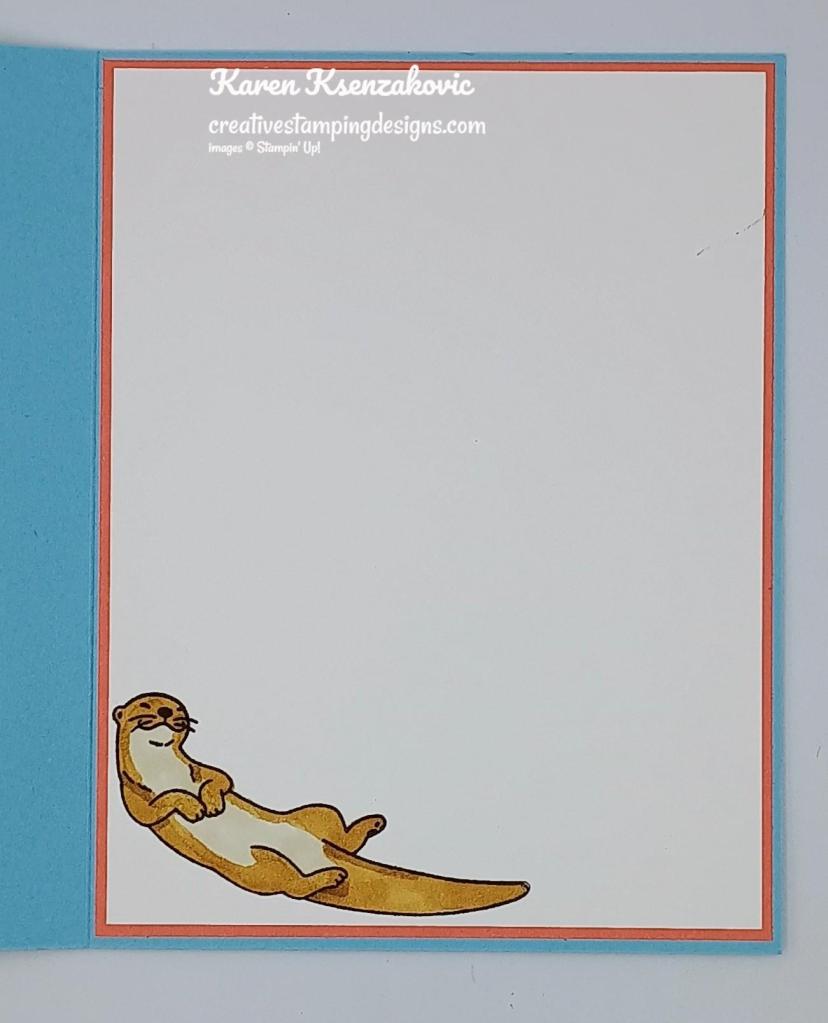
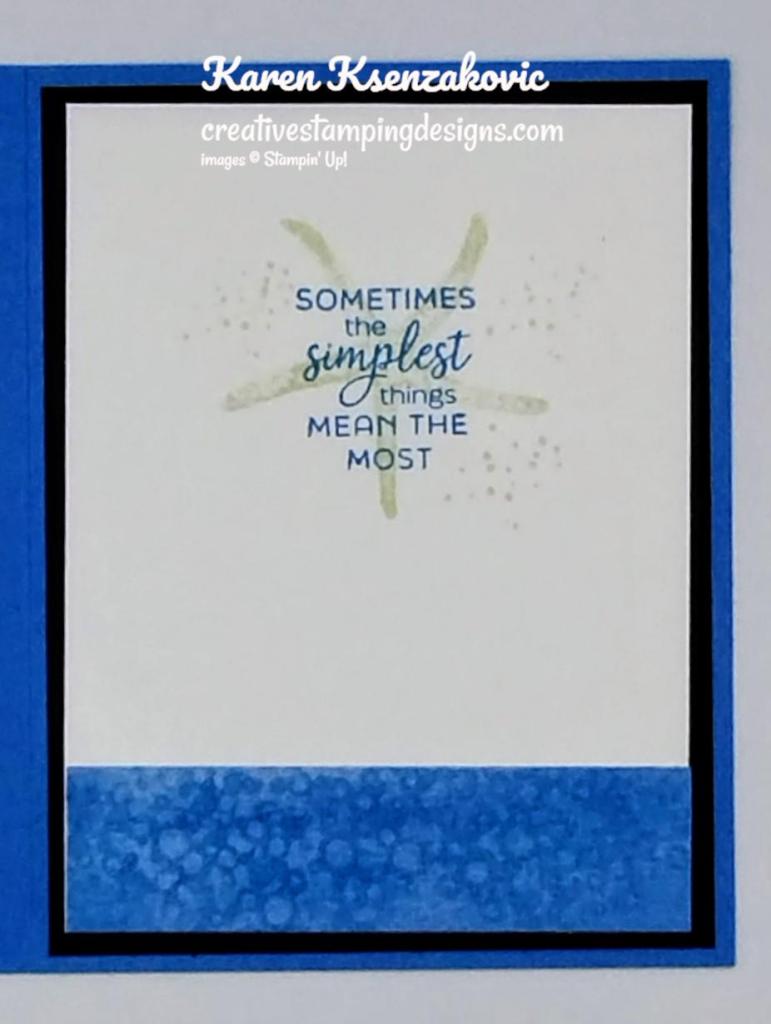
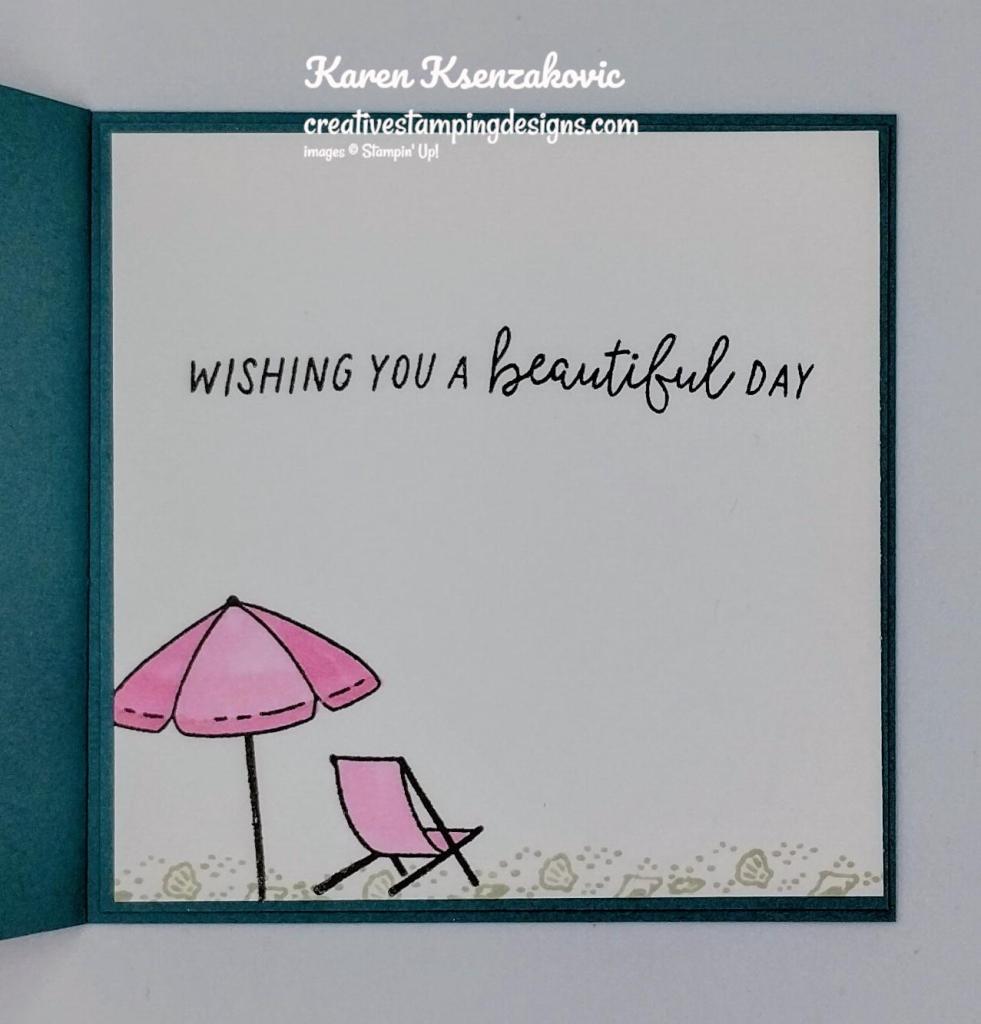
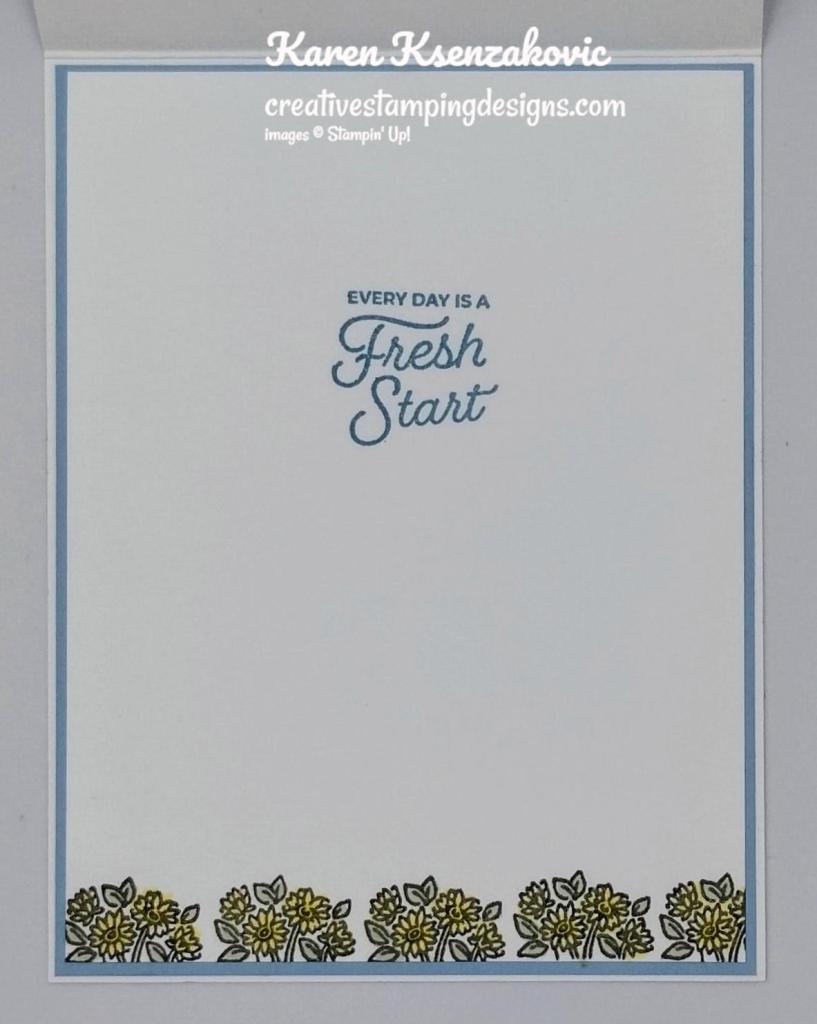
Stamp the sentiments from Sweet Jar stamp set in Coastal Cabana and Strawberry Slush Ink on a panel of Basic White. Put the other 2 ice pops together with Glue Dots and adhere them on either side of the sentiment. Adhere the Basic White panel to a Strawberry Slush mat then to the inside of the Coastal Cabana card base.
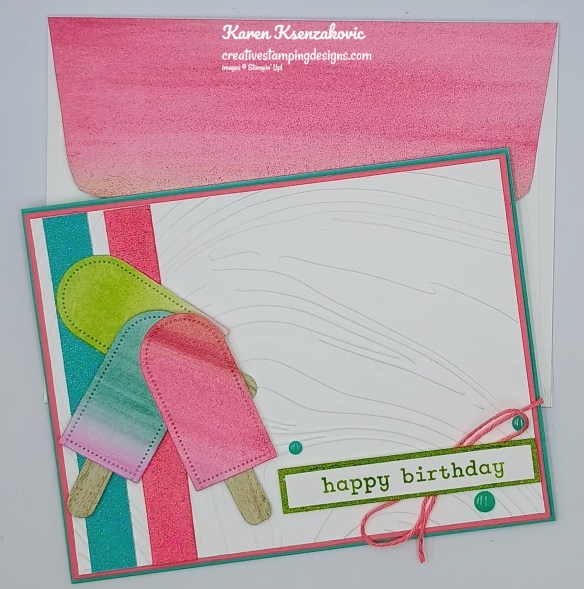
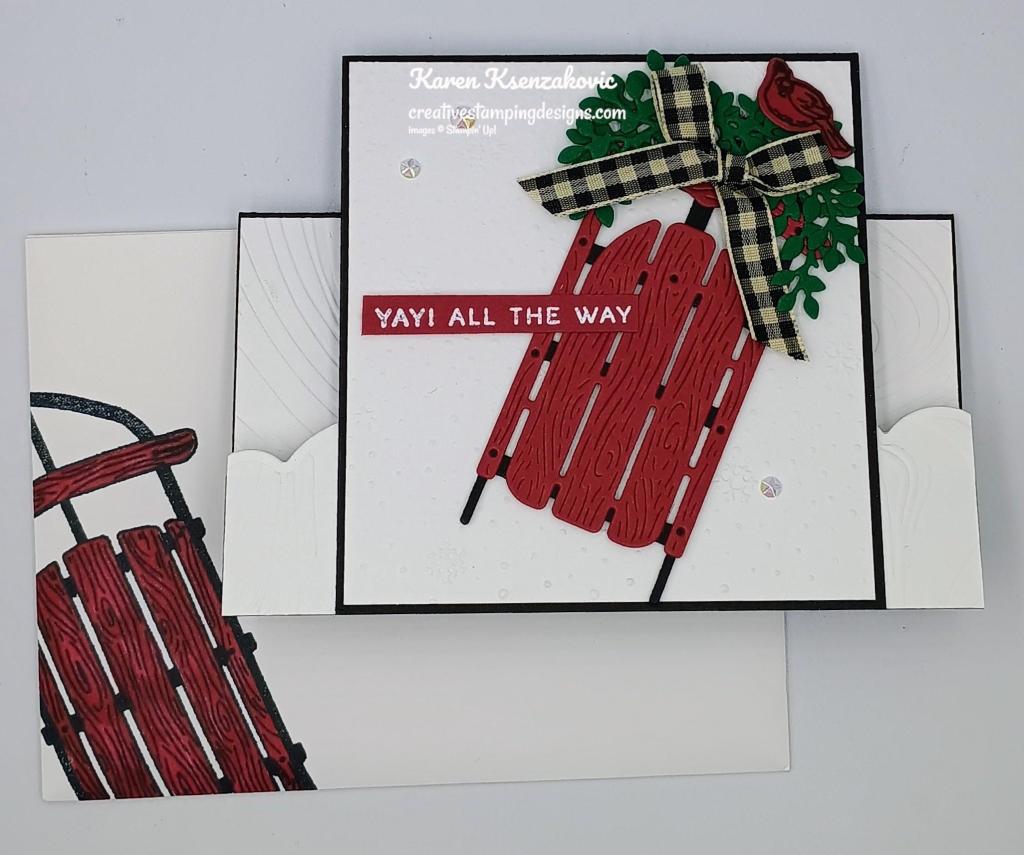
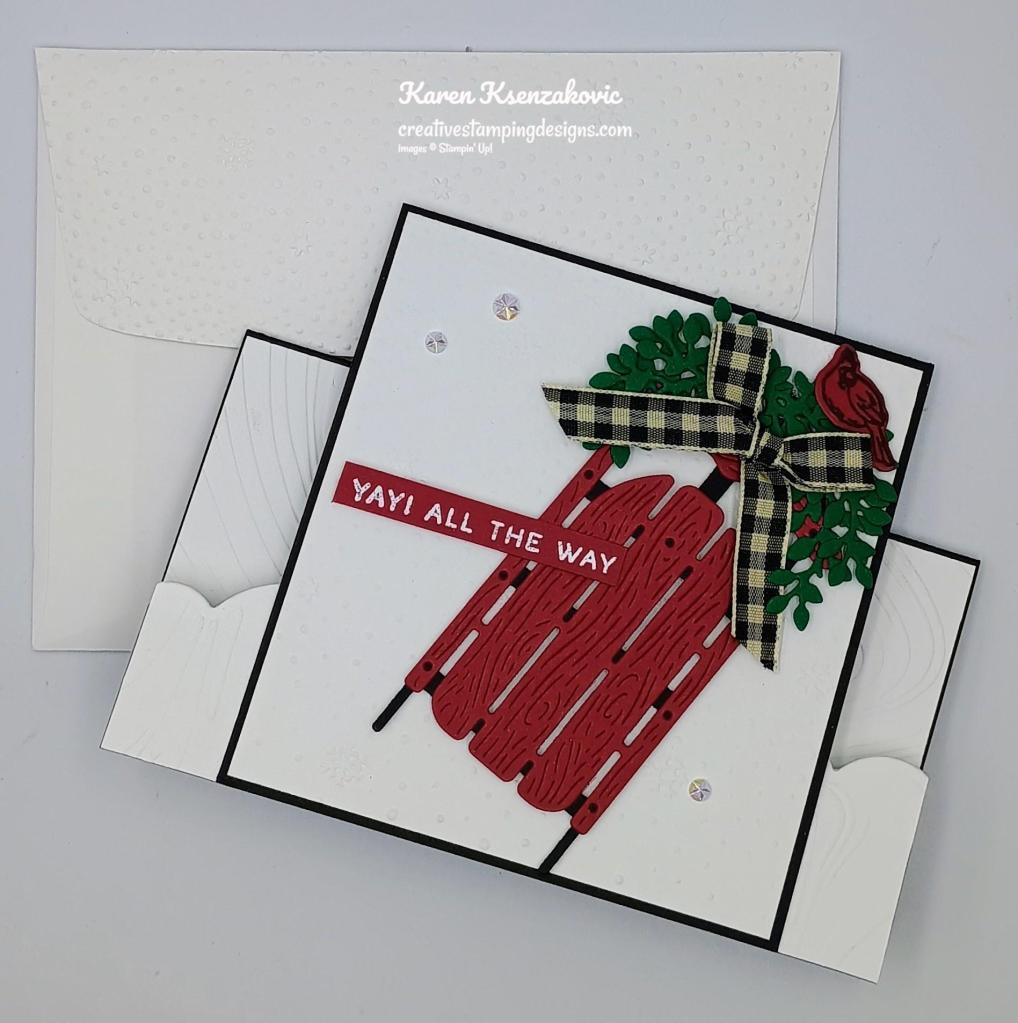
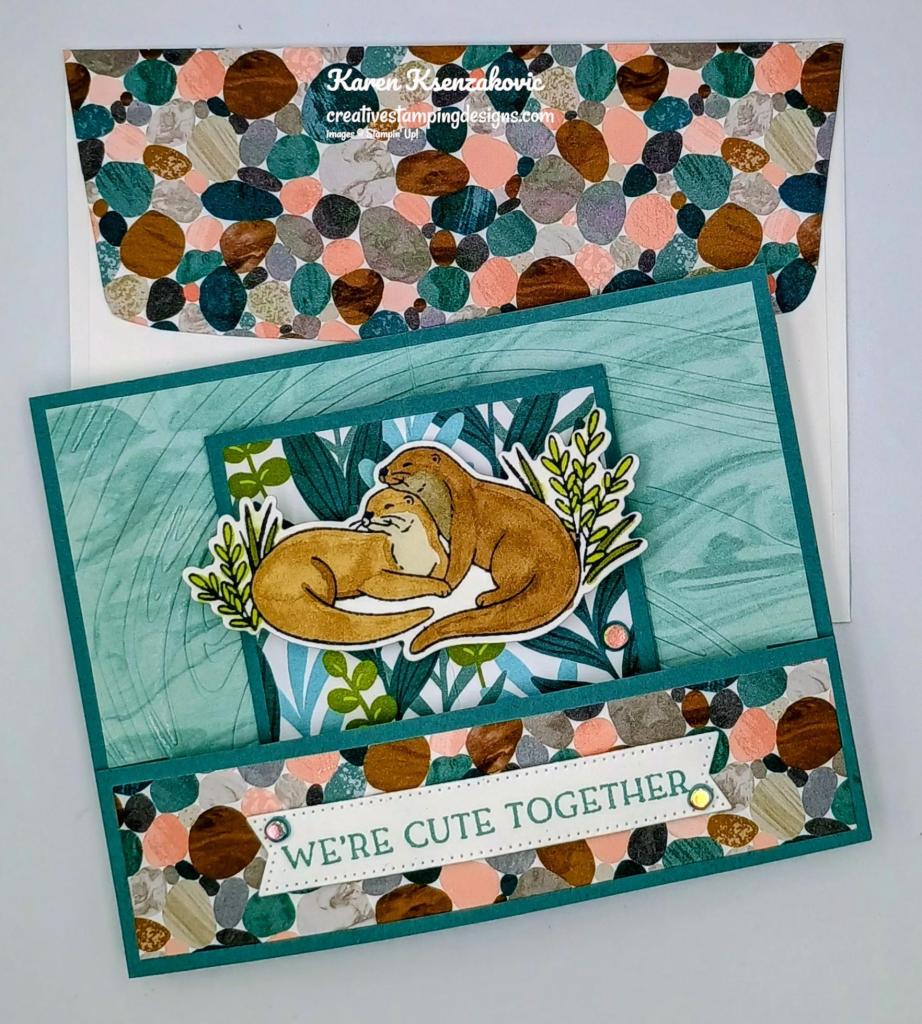
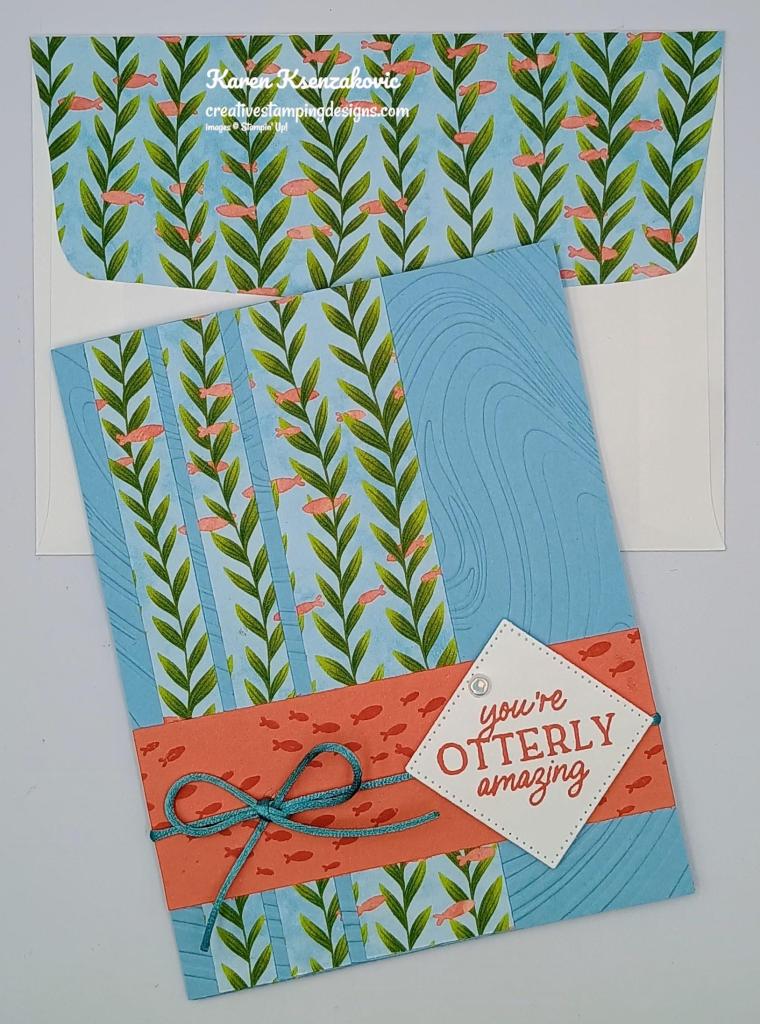
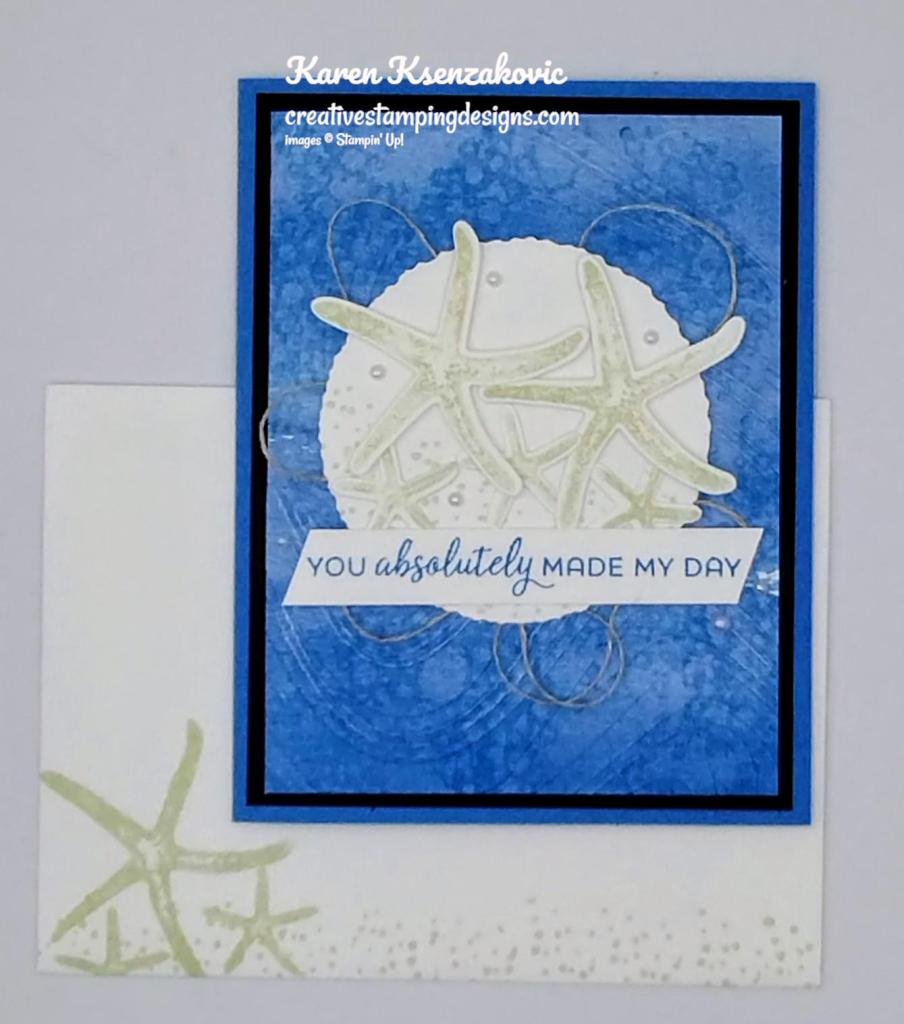
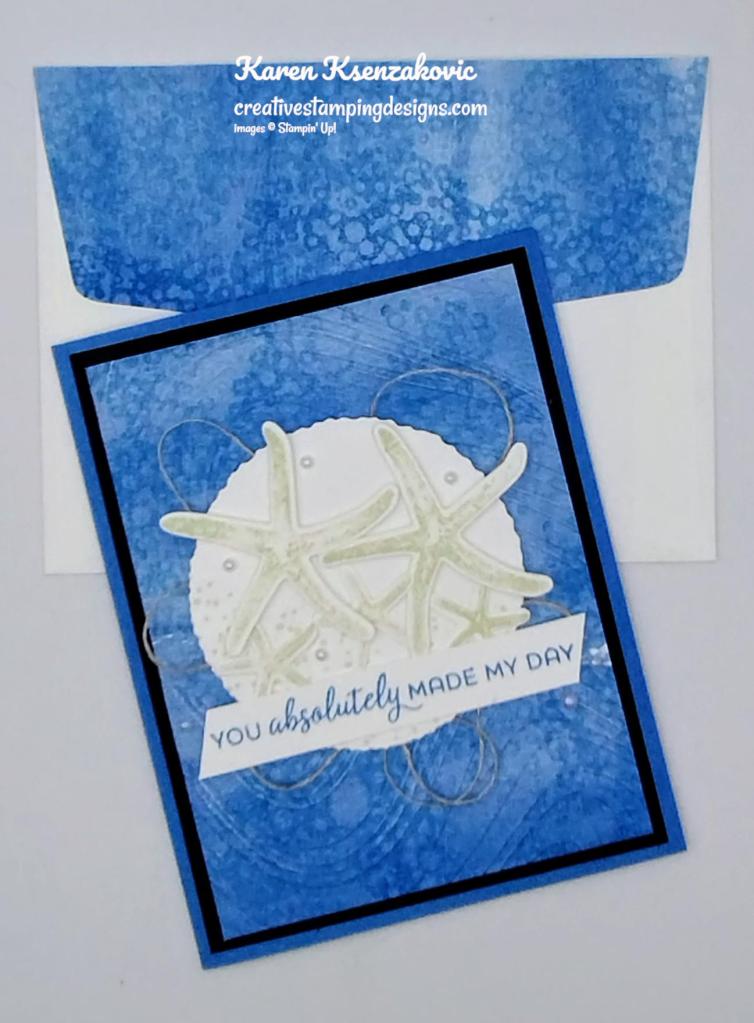
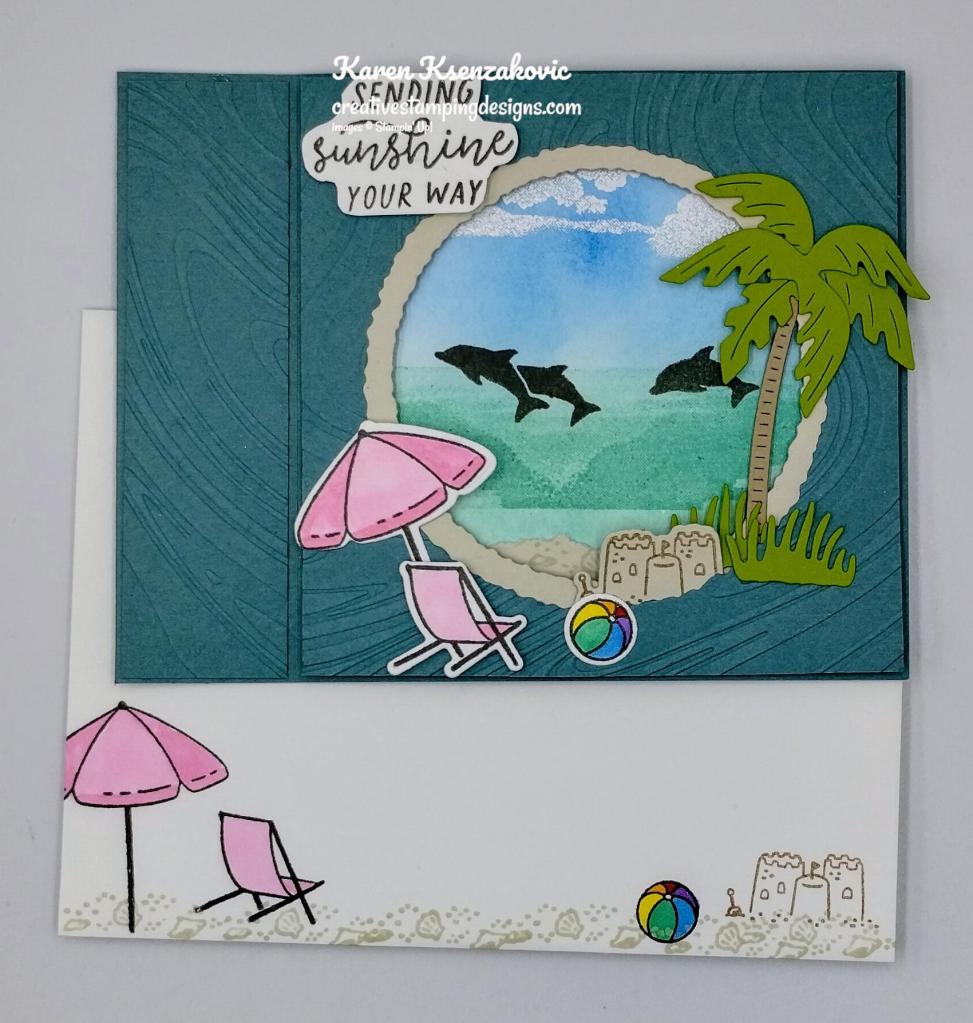
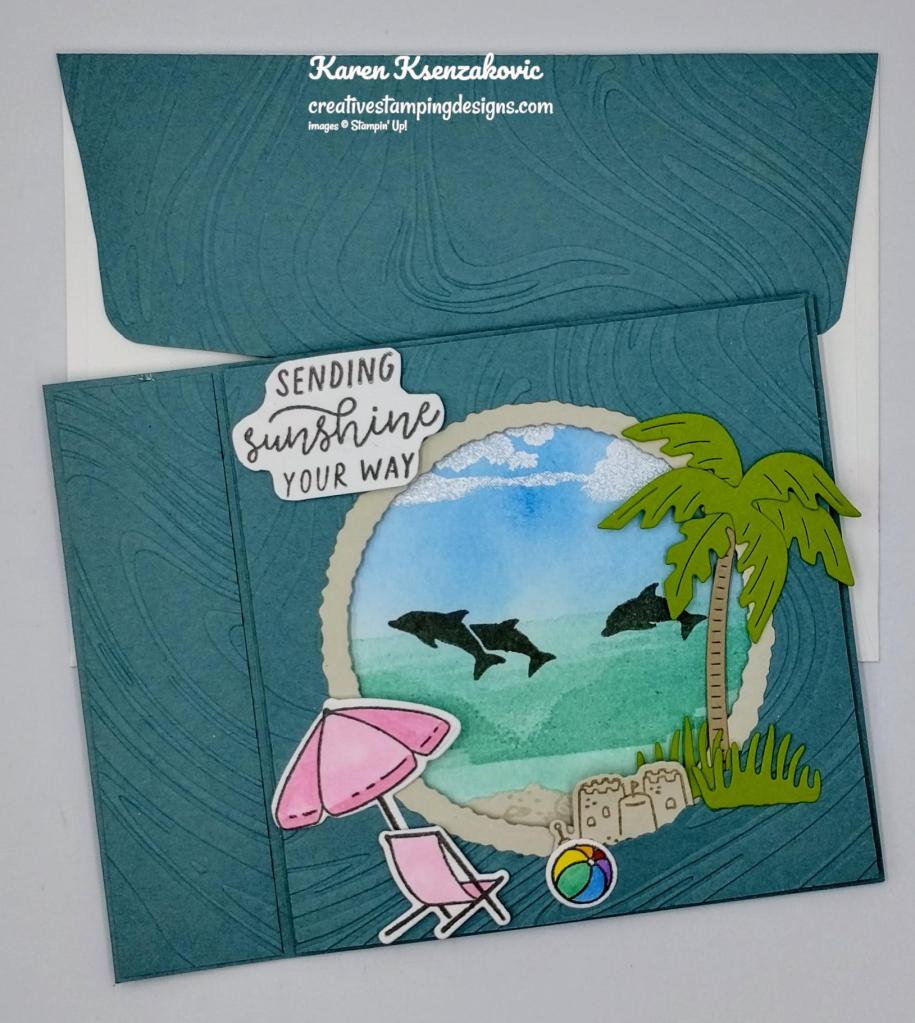
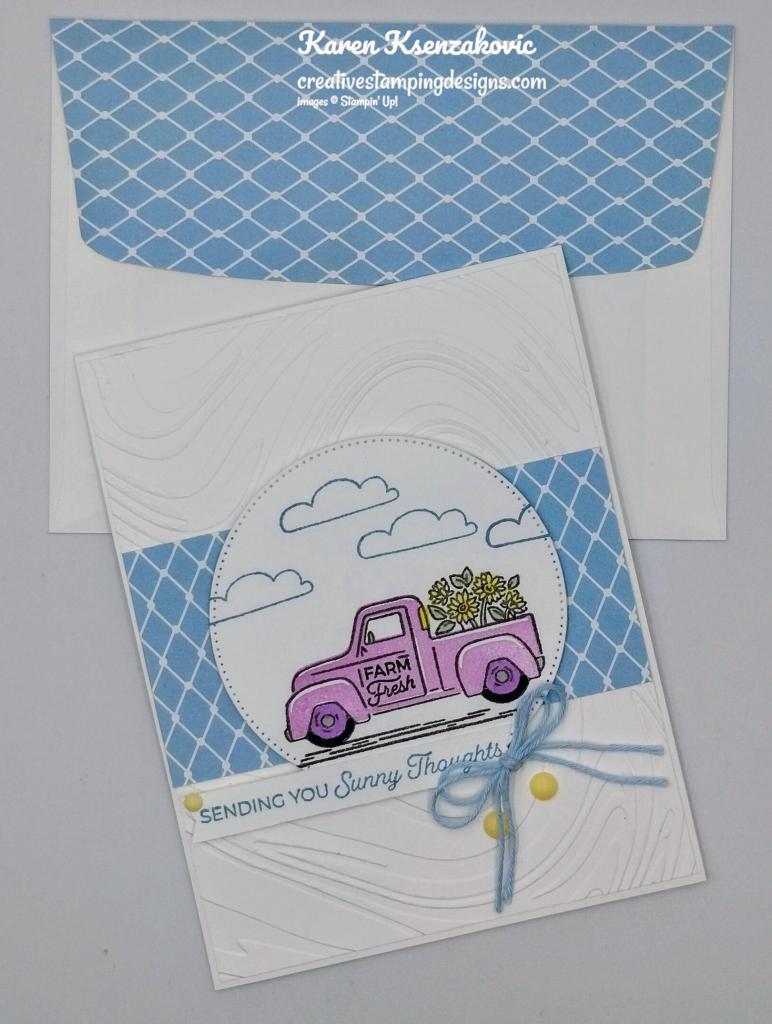
Decorate a Basic White Medium Envelope to finish your card. Adhere a strip of Full of Life DSP to the envelope front and a panel to the envelope flap.
Thank you for stopping by my blog today. I hope you like the card and will give it a try. Happy Stamping!!
*********************************************************************************************************
If you need any stamping supplies, I’d love to be your Demonstrator. Just click HERE to go directly to my online store or drop me an email if you have any questions.
*********************************************************************************************************
LAST DAY FOR MY DOUBL REWARDS!!

7 years ago, I decided to join the Stampin’ Up! community because I loved the products so much and wanted to enjoy the discount for myself. I then decided to try making it a business for myself and that’s when I started meeting all my awesome team members and YOU my amazing customers. I’m celebrating 7 years with Stampin’ Up! by offering you Double Creative Stamping Designs Rewards. THAT’S 2X THE REWARDS FOR YOU FROM ME for being such loyal customers and supporting my small business!!! For all orders over $50 (before tax & shipping) I’m giving you Double Rewards through Monday July 7th!! How does this work? For a $50 you’ll earn 2 rewards, $100 you’ll earn 4 rewards, $150 you’ll earn 6 rewards, etc. Head over to my Online Store and get those orders in early and earn those Double Rewards!!
*********************************************************************************************************
Sweet Jar of Joy Online Class
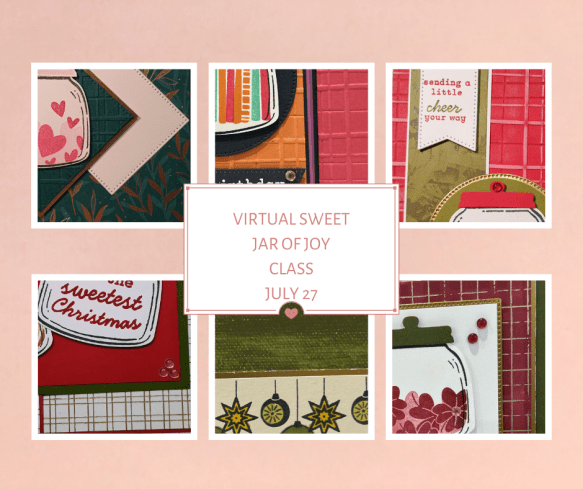
Tara Carpenter and I are teaming up to offer a fun online class using Stampin’ Up! Sweet Jar Bundle and the new Stampin’ Up! Jar of Joy set. We will be creating 6 different cards during the class including 2 fun folds. 3 of the cards will be Christmas Cards and 3 will be Birthday Cards. Sign Up now by Clicking Here to reserve your spot.
The class fee includes:
- Stampin’ Up! Cherry Cobbler & Pearl Adhesive Backed Berries (full pack)
- Stampin’ Up! Mossy Meadow & Gold Trim (full pack)
- Pre-cut card kits to complete each card
- Zoom class with complete instructions to complete each card
- PDF with detailed directions
During sign up you will have the option to add additional items to your order that you can take advantage of at no additional shipping cost. These items are optional, however if you want to recreate the cards you will need them.
The class will be held Sunday July 27th from 1 to 5 pm Eastern Time via Zoom. This allows anyone in the United States to participate live! Can’t join us live… no worries, we will record the session so it can be replayed at any time.
We will email written directions that will include directions, cardstock cuts as well as photos to help you create each card.
We are not including the bundle or stamp set in the price of the class. You can purchase the bundle through me at an additional 10% discount of the Online Exclusive price (see below).
Class Cost $35 + $9 (Priority Shipping)
Additional purchased items will be included in the above shipping price. I will invoice you through PayPal by July 13th to insure we can get the products delivered, packaged up and out to you with enough time.
Deadline: Saturday July 12th (this is so we have time to order all the products being used)
Click Here to register for the class now!! Let me know if you have any questions.
*********************************************************************************************************
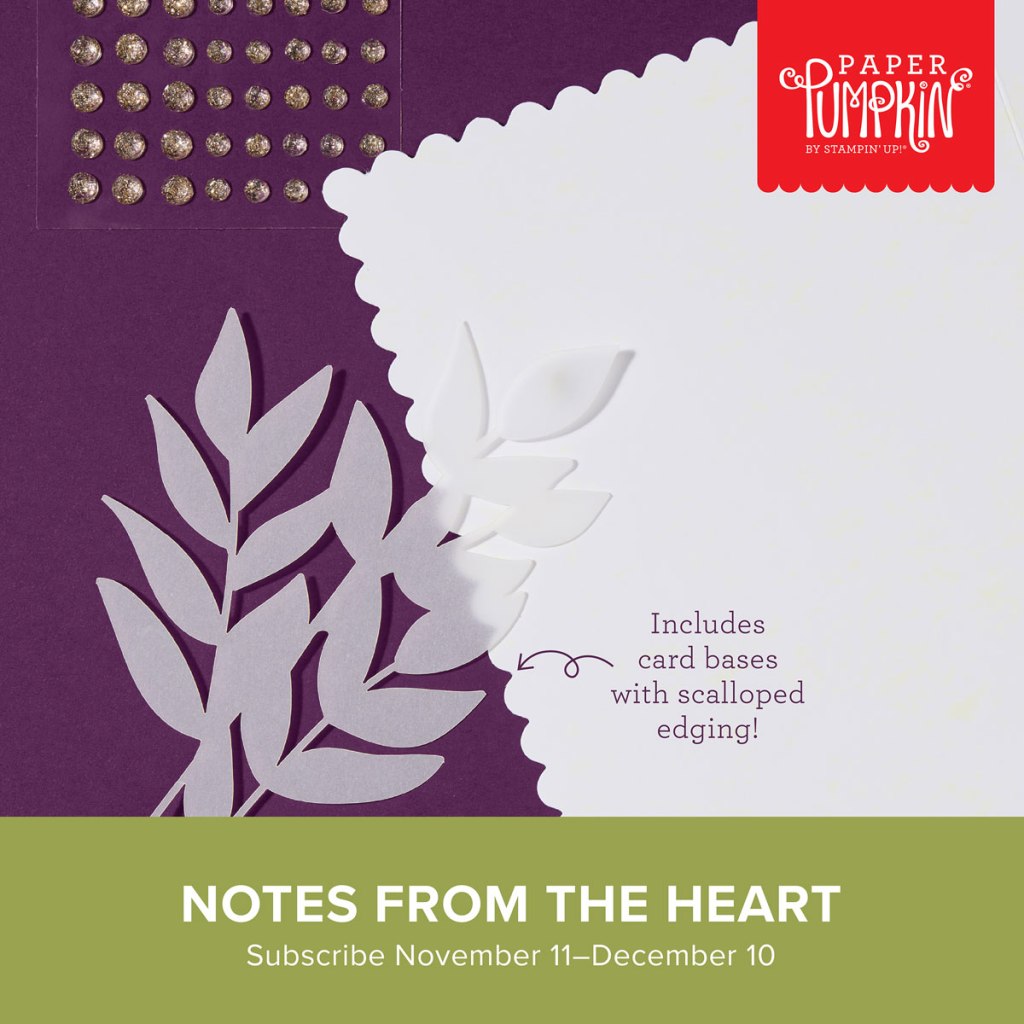
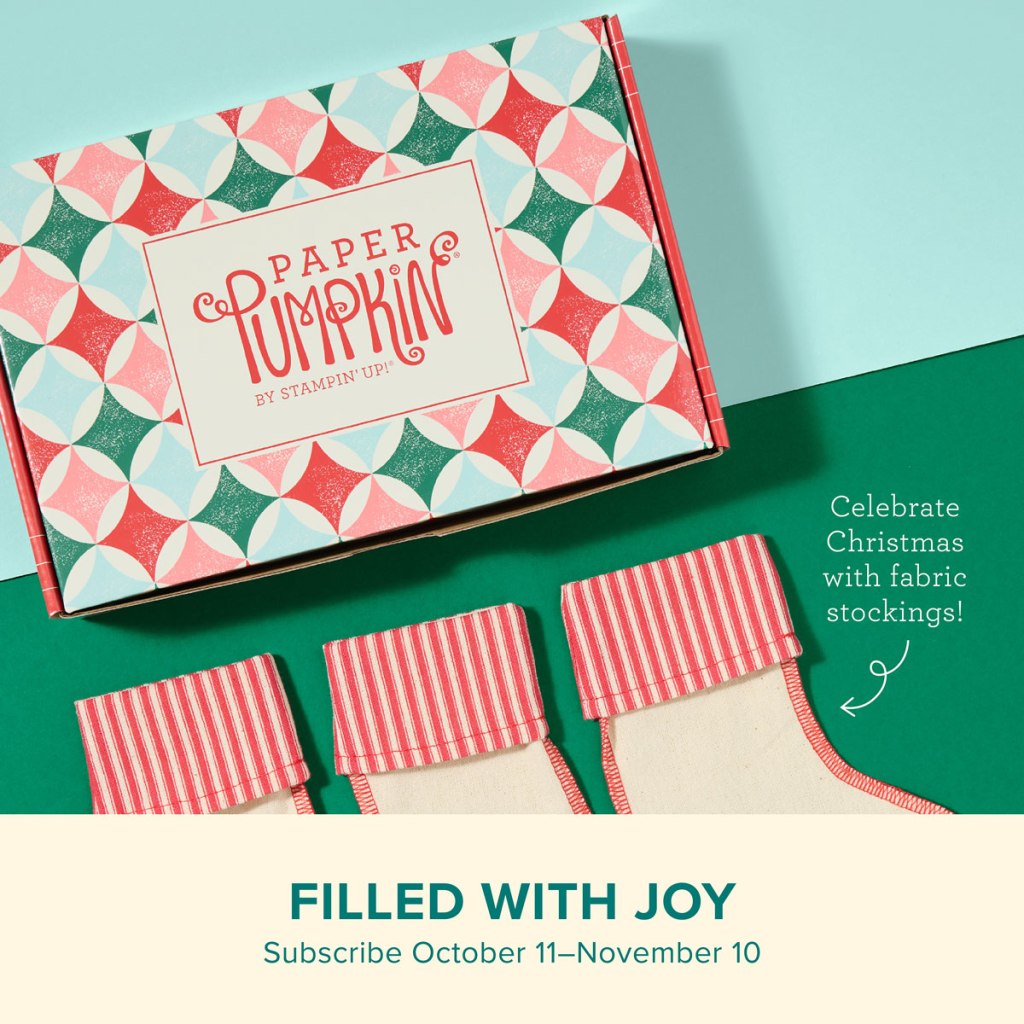
Sweeter With You
Subscribe June 11 – July 10
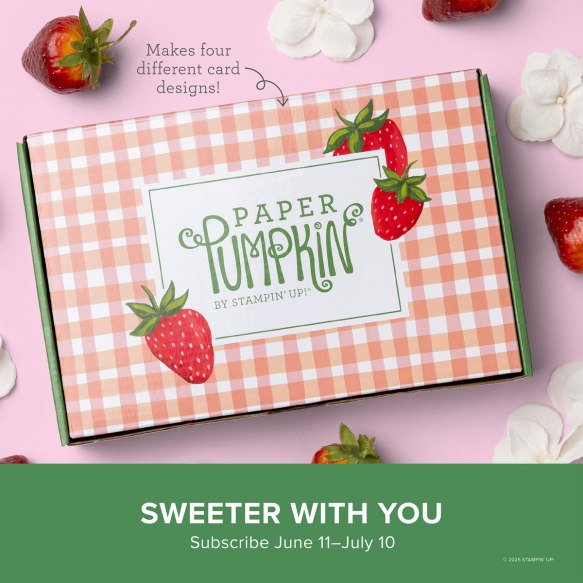
Craft sweet handmade cards featuring sun-kissed strawberries and breezy gingham.
• Makes 8 cards: 2 each of 4 designs with 8 coordinating envelopes
• Precut paper pieces and vellum accents
• Hand-painted card base designs
• Coordinating colors: Garden Green (Classic Stampin’ Spot), Granny Apple Green,
Pool Party, Poppy Parade, Strawberry Slush, Timid Tiger
Subscribe to the June Paper Pumpkin Kit between 11 June and 10 July by clicking here!
*********************************************************************************************************
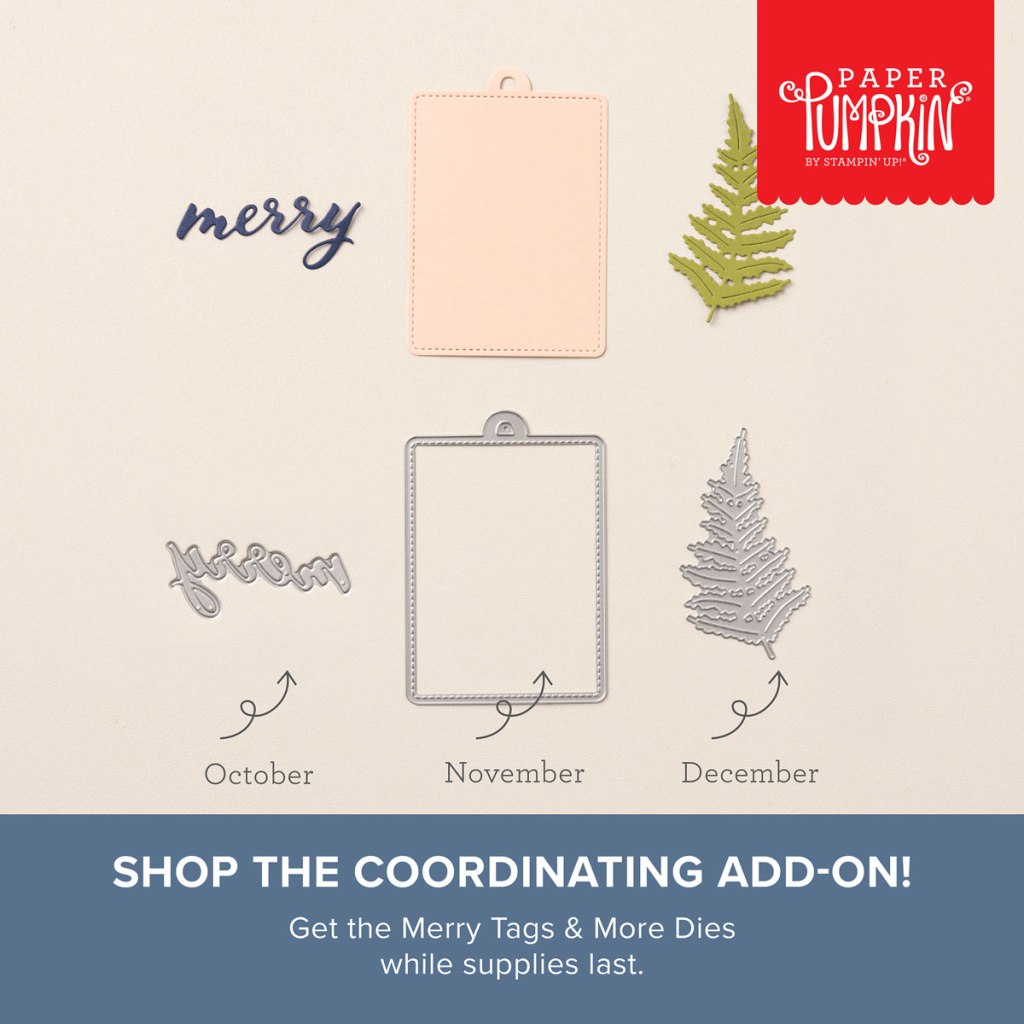
Don’t miss the coordinating
Circle of Seasons Dies Add-On!

Make the most of your Paper Pumpkin kits with the Circle of Seasons Dies add-on! Quickly and cleanly cut out a strawberry with a blossom, a circle, a leaf, or an acorn to elevate your crafting projects. These additional dies are designed to work with THREE Paper Pumpkin Kits: the Sweeter with You Paper Pumpkin Kit, the Farmhouse Florals Paper Pumpkin Kit, and the Fall for Toile Paper Pumpkin Kit. Pair these dies with other Stampin’ Up! products for even more creative options! This exclusive add-on (item 167277) coordinates with the three upcoming kits! Paper Pumpkin subscribers can purchase it beginning June 11. Add-on is available only while supplies last, so it’s best to shop early!
DETAILS
– 4 dies
– Largest die: 2-1/2″ x 1-1/4″ (6.4 x 3.2 cm)
– Use with a Stampin’ Cut & Emboss Machine (sold separately)
You must be a current Paper Pumpkin subscriber to purchase this item. To become a subscriber, visit www.stampinup.com/paperpumpkin.
Note: Supplies may be limited toward the end of the subscription period.
#167277 $12
*********************************************************************************************************
Card stock cuts for this project:
- Basic White Cardstock (2) – 4″ x 5 1/4″(card front & inner liner), 3/8 x 2 3/4″(sentiment)
- Coastal Cabana Cardstock 5 1/2″ x 8 1/2″(card base scored & folded at 4 1/4″)
- Strawberry Slush Cardstock (2) – 4 1/8″ x 5 3/8″(card front & inner liner mats)
- Country Woods Designer Series paper 1 1/2″ x 2″(popsicle sticks)
- Full of Life 6 x 6 Designer Series Paper scraps (popsicles), 1/2″ x 6″ & 2 1/4″ x 6″(envelope)
- Pastel Ombre Glimmer Paper (2) – 1/2″ x 4″(card front panels), 1/2″ x 2 7/8″(sentiment mat)
*********************************************************************************************************
Product List
![Sweet Jar Photopolymer Stamp Set (English) [ 165501 ]](https://assets1.tamsnetwork.com/images/EC042017NF/165501s.jpg "Sweet Jar Photopolymer Stamp Set (English) [ 165501 ]")
![Basic White 8 1/2" X 11" Cardstock [ 166780 ]](https://assets1.tamsnetwork.com/images/EC042017NF/166780s.jpg "Basic White 8 1/2\" X 11\" Cardstock [ 166780 ]")
![Coastal Cabana 8-1/2" X 11" Cardstock [ 131297 ]](https://assets1.tamsnetwork.com/images/EC042017NF/131297s.jpg "Coastal Cabana 8-1/2\" X 11\" Cardstock [ 131297 ]")
![Strawberry Slush 8 1/2" X 11" Cardstock [ 165625 ]](https://assets1.tamsnetwork.com/images/EC042017NF/165625s.jpg "Strawberry Slush 8 1/2\" X 11\" Cardstock [ 165625 ]")
![Country Woods 12" X 12" (30.5 X 30.5 Cm) Designer Series Paper [ 163393 ]](https://assets1.tamsnetwork.com/images/EC042017NF/163393s.jpg "Country Woods 12\" X 12\" (30.5 X 30.5 Cm) Designer Series Paper [ 163393 ]")
![Full Of Life 6" X 6" (15.2 X 15.2 Cm) Designer Series Paper [ 163357 ]](https://assets1.tamsnetwork.com/images/EC042017NF/163357s.jpg "Full Of Life 6\" X 6\" (15.2 X 15.2 Cm) Designer Series Paper [ 163357 ]")
![Pastel Ombre Glimmer 12" X 12" (30.5 X 30.5 Cm) Specialty Paper [ 164851 ]](https://assets1.tamsnetwork.com/images/EC042017NF/164851s.jpg "Pastel Ombre Glimmer 12\" X 12\" (30.5 X 30.5 Cm) Specialty Paper [ 164851 ]")
![Coastal Cabana Classic Stampin' Pad [ 147097 ]](https://assets1.tamsnetwork.com/images/EC042017NF/147097s.jpg "Coastal Cabana Classic Stampin' Pad [ 147097 ]")
![Granny Apple Green Stampin' Pad [ 147095 ]](https://assets1.tamsnetwork.com/images/EC042017NF/147095s.jpg "Granny Apple Green Stampin' Pad [ 147095 ]")
![Strawberry Slush Classic Stampin' Pad [ 165286 ]](https://assets1.tamsnetwork.com/images/EC042017NF/165286s.jpg "Strawberry Slush Classic Stampin' Pad [ 165286 ]")
![Blending Brushes [ 153611 ]](https://assets1.tamsnetwork.com/images/EC042017NF/153611s.jpg "Blending Brushes [ 153611 ]")
![So Swirly Embossing Folder [ 163791 ]](https://assets1.tamsnetwork.com/images/EC042017NF/163791s.jpg "So Swirly Embossing Folder [ 163791 ]")
![Everyday Arches Dies [ 164629 ]](https://assets1.tamsnetwork.com/images/EC042017NF/164629s.jpg "Everyday Arches Dies [ 164629 ]")
![More Messages Die [ 165472 ]](https://assets1.tamsnetwork.com/images/EC042017NF/165472s.jpg "More Messages Die [ 165472 ]")
![2024 2026 In Color™ Flat Pearls [ 165266 ]](https://assets1.tamsnetwork.com/images/EC042017NF/165266s.jpg "2024 2026 In Color™ Flat Pearls [ 165266 ]")
![Pack Your Bags Twine Three Pack [ 165582 ]](https://assets1.tamsnetwork.com/images/EC042017NF/165582s.jpg "Pack Your Bags Twine Three Pack [ 165582 ]")
![Basic White Medium Envelopes [ 159236 ]](https://assets1.tamsnetwork.com/images/EC042017NF/159236s.jpg "Basic White Medium Envelopes [ 159236 ]")


![Take Your Pick [ 144107 ]](https://assets1.tamsnetwork.com/images/EC042017NF/144107s.jpg "Take Your Pick [ 144107 ]")


")
")


")


 Large Check Ribbon")


")
")


 Designer Series Paper")


")
")


 Designer Series Paper")


")
")


 Designer Series Paper")


")
")


")


")

 Designer Series Paper")


