
Good Wednesday morning stamping friends. I hope your week is going well. We’re halfway through and on our way to the weekend already. This month is flying by quickly.
Today’s card I have a sneak peek for you of a bundle coming in the September – December 2023 Mini Catalog. We had our team stamping studio last night and did some mystery stamping at the end. This is what I came up with from Jaimie’s directions.

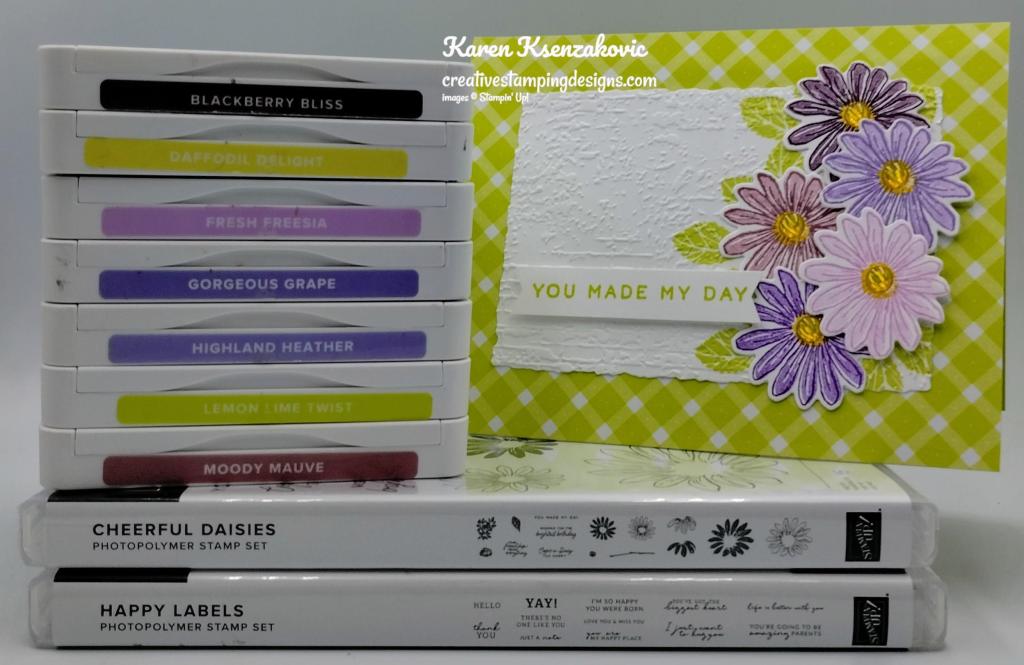
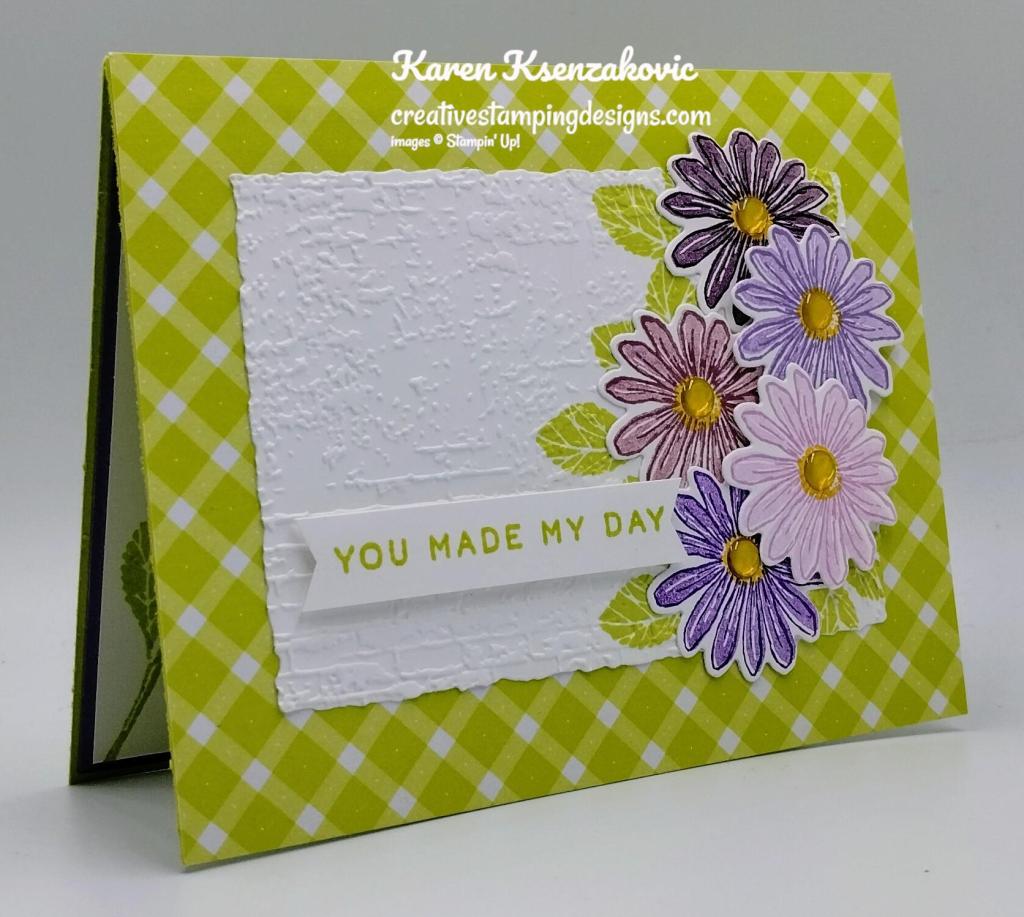
I used the Stampin’ Up! Translucent Florals Bundle which will be available starting in September from the Mini Catalog along with the Glorious Gingham 6 X 6 Designer Series Paper for my tissue box card today.
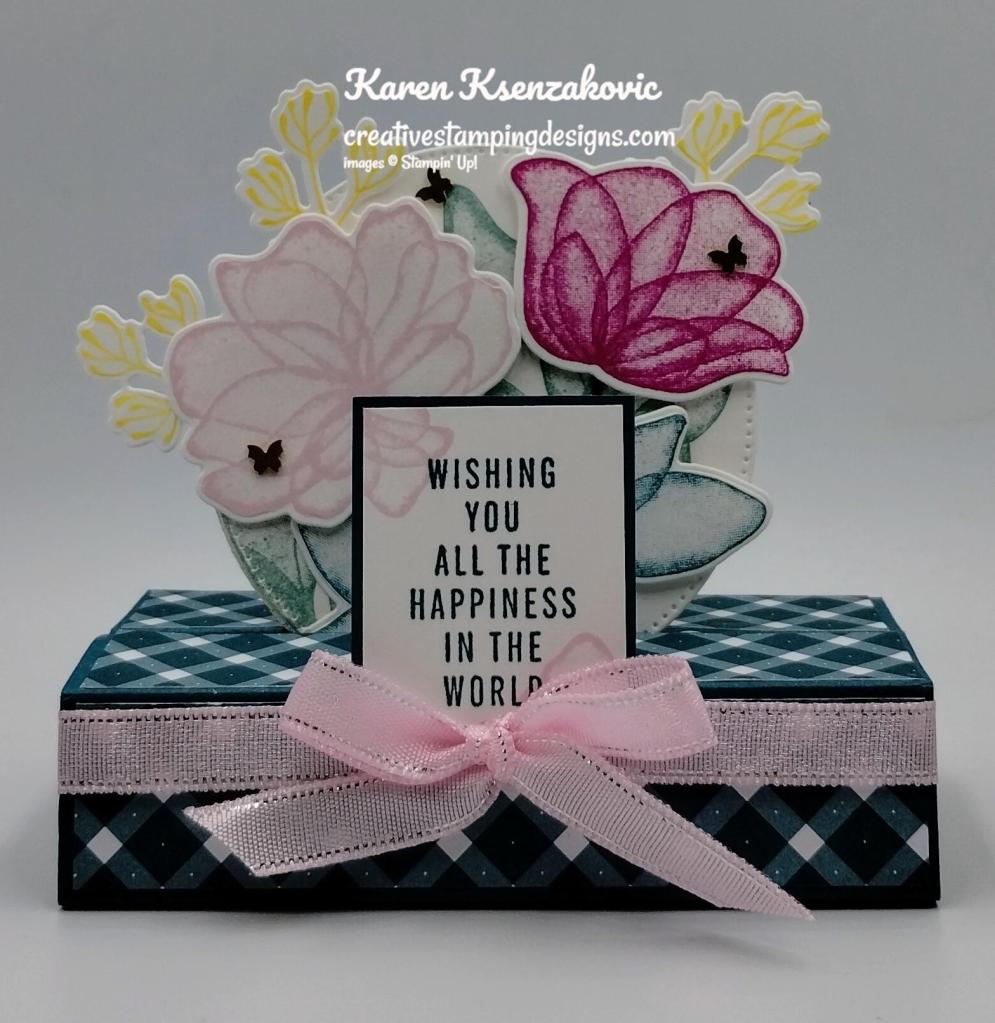
I started by scoring the 2 – 4 1/4″ X 5″ panels of Pretty Peacock cardstock along the 5″ side every inch. Using Tear & Tape, I adhered the ends together making 2 boxes. I adhered the 2 boxes together using Tear & Tape just on the ends of the boxes. I adhered the 4 pieces of Glorious Gingham DSP on the 2 sides and top of the boxes.

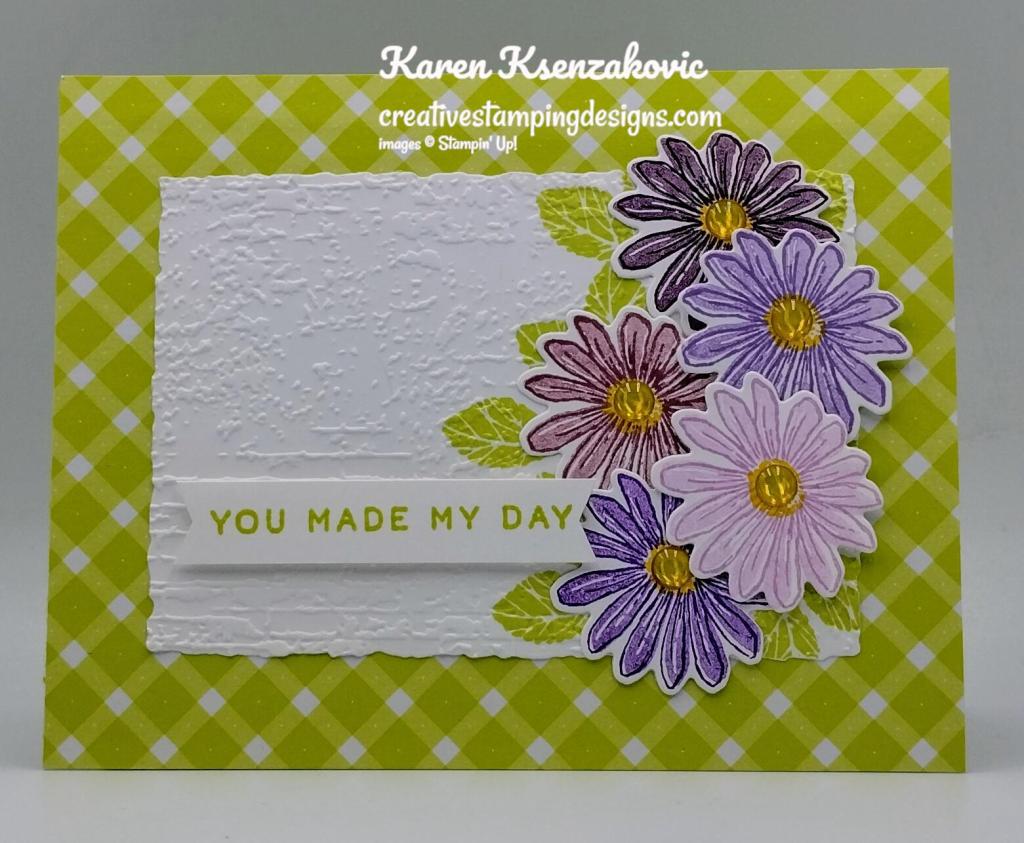
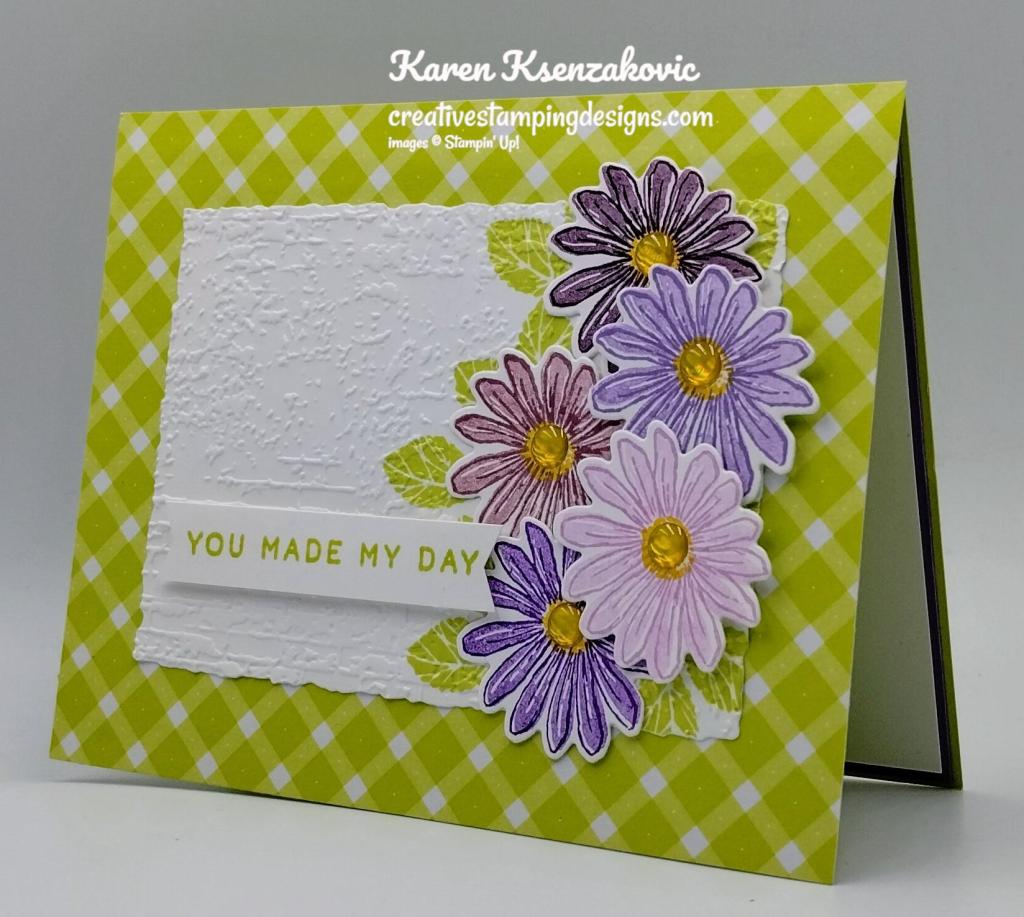
On a panel of Basic White cardstock, I stamped the larger flower from the Stampin’ Up! Translucent Florals Cling Stamp Set in Bubble Bath Ink. I stamped the medium flower from the Translucent Florals stamp set in Berry Burst Ink. I stamped the sprig image from the Translucent Florals stamp set in Lemon Lolly Ink 3 times and the leaf image 2 times in Pretty Peacock Ink. I cut all the images out using the Translucent Florals Dies along with the stem die from a panel of Pretty Peacock cardstock. I cut the largest circle using the Stylish Shapes Dies from a panel of Basic White. I stamped the large leaf image from the Translucent Florals stamp set in Lost Lagoon Ink on the circle twice. I adhered the stems using Multipurpose Liquid Glue. I adhered the flowers and leaves on the stems using Stampin’ Dimensionals. I adhered the sprigs behind the flowers using Multipurpose Liquid Glue. I added a few Brushed Brass Butterflies to the flowers.

I stamped the sentiment from the Translucent Florals stamp set in Pretty Peacock Ink on a panel of Basic White. I stamped the tiny flower image from the Translucent Florals stamp set in Bubble Bath Ink in the corners. I adhered the sentiment to ta Pretty Peacock mat using Stampin’ Seal. I adhered the sentiment to the card base blocks using Glue Dots. I wrapped a piece of Bubble Bath 3/8″ Sheer Ribbon from the 3/8″ Sheer Ribbon Combo Pack around the front box and tied a bow.

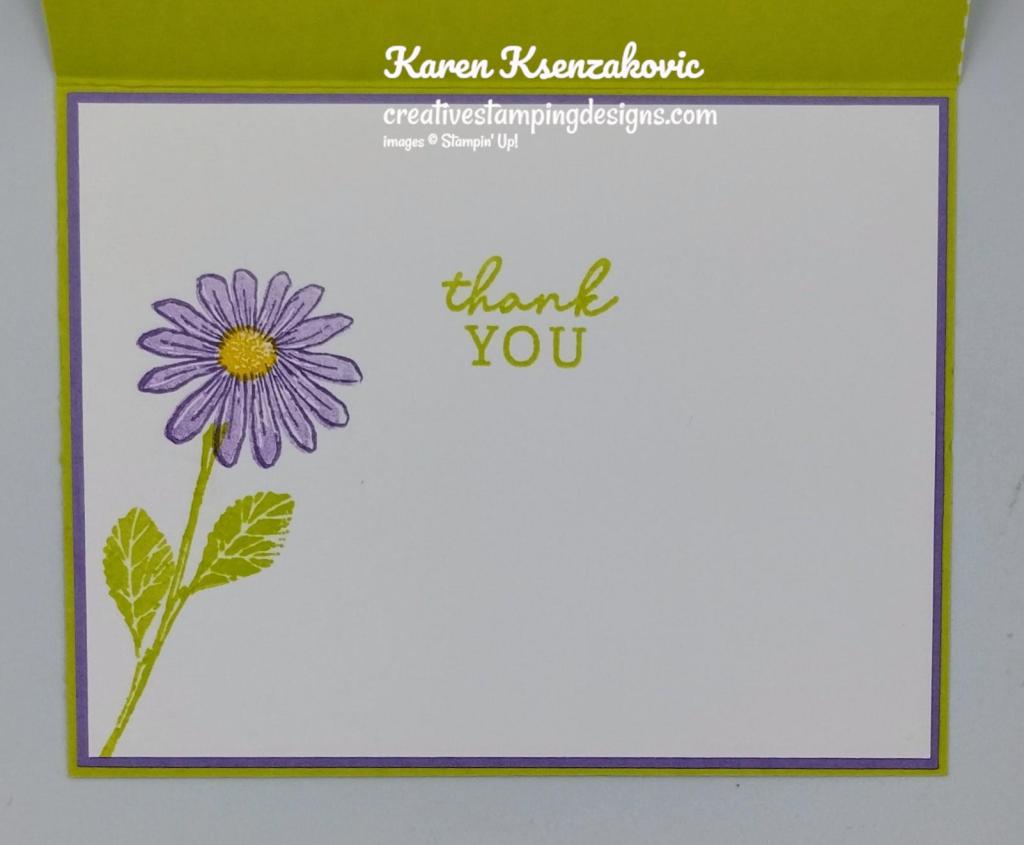
On the back, I cut out another one of the largest circles from the Stylish Shapes Dies from a panel of Basic Whtie. I stamped the sentiment from the Translucent Florals stamp set in Pretty Peacock Ink on the circle. I stamped the larger floral image in Bubble Bath Ink and the sprig image in Lemon Lolly Ink. I adhered the circle to the front circle using Multipurpose Liquid Glue and inserted it between the 2 boxes using Multipurpose Liquid Glue.

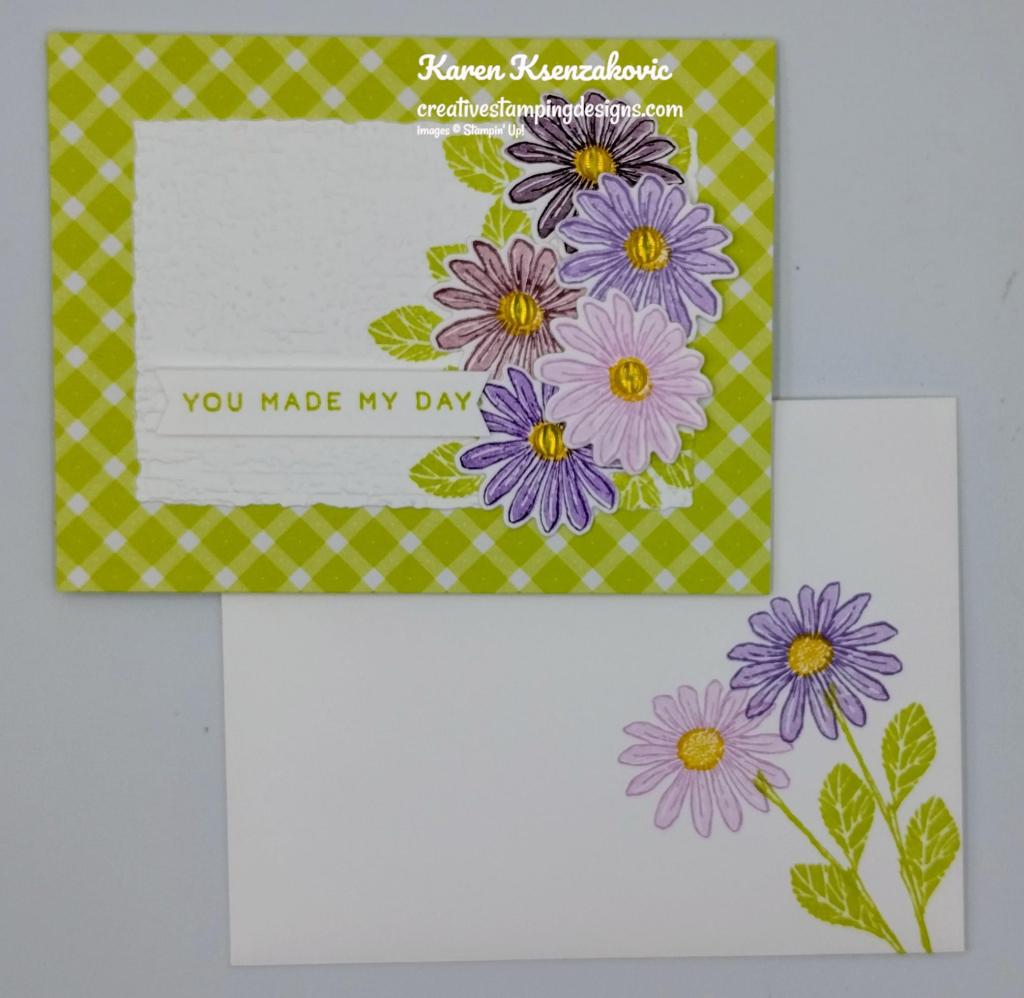
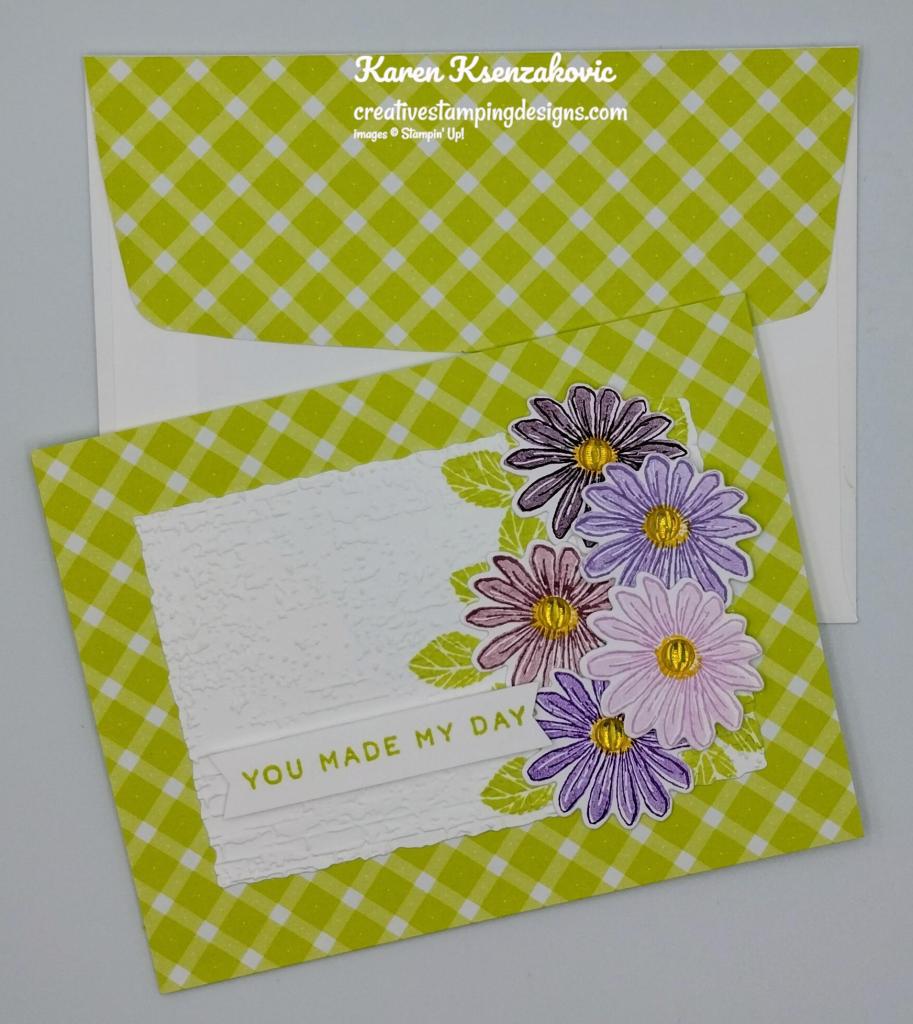
To finish my card, I decorated a Basic Whtie Medium Envelope. I stamped the leaf and floral images from the Translucent Florals stamp set on the envelope front in Berry Burst, Bubble Bath, Lemon Lolly and Lost Lagoon Inks. I adhered a panel of Glorious Gingham DSP to the envelope flap.

Thank you for stopping by my blog today. I hope you like the card and will give it a try. Happy Stamping!!
*********************************************************************************************************
If you need any stamping supplies, I’d love to be your Demonstrator. Just click HERE to go directly to my online store or drop me an email if you have any questions.
MY CURRENT HOST CODE IS: GVEBWYZ6
Use this host code when placing an order with me. When you order $50 or greater you will receive a free gift from me! If your order is over $150, please do not use this code, but you’ll still get the free gift. The free gift is your choice of any 1 item valued up to $10.00 from the 2023-2024 Annual Catalog! Unfortunately, packs of cardstock are no longer an option for a free gift. Shipping has become too expensive to ship and it’s costing me as much to ship as the cardstock costs. For any orders $50 or more I will also send you my monthly class tutorials. Click HERE or go to my Customer Rewards for more details and to see what this month’s tutorials are.
Please remember to use my current Host Code and make sure that you can see my name on the final checkout page listed as your Demonstrator when you order so that you know that you’re ordering with me, and you’ll get my rewards!
Happy Stamping, Karen
*********************************************************************************************************
In response to changing policies at Stampin’ Up – I’m adjusting my Ordering Gift policy as well. I’m having to get a little more tough on the adding of Host codes when you place your order thru my Online Store.
Not to worry – you’re still going to get that $10 ordering gift for orders of $50 (before shipping & tax) or greater. And the gift is still any 1 SU! product up to that $10 value – which includes some of our fun Host Sets!
But – if you DO NOT use the Host code for your orders of less than $150 (this is the RETAIL total before Shipping & Handling), then you’ll have two options:
- You’ll need to call Stampin’ Up! (1-800-Stamp-Up) and ask them to add it for you. They’re very helpful and will get it done quickly! OR….
- If your order was over the $50 threshold but under $150, then…you’ll forfeit that $10 ordering gift and rewards – this is the Bummer Option – and I REALLY don’t want to do this, SO please remember to add my Current Host Code.
*********************************************************************************************************
SAVE 15% ON SELECT DESIGNER SERIES PAPERS!
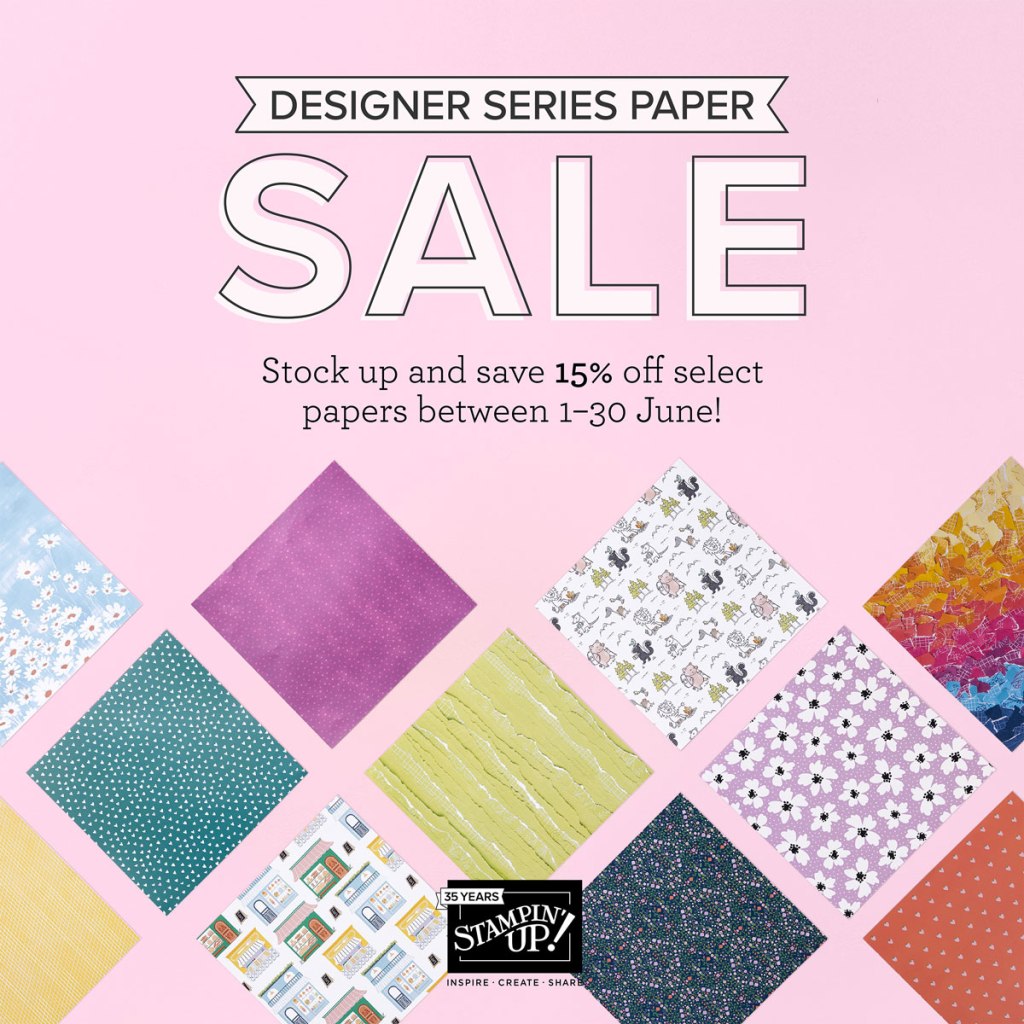
We all love beautiful Designer Series Paper, and in June, you can enjoy a 15% discount on select Designer Series Papers from our new 2023–2024 Annual Catalog and Online Exclusives. Whether you’re a scrapbooker, a card maker or simply a paper lover, this is a great time to stock up and save on gorgeous paper, so you have artistic and versatile paper designs on hand for your next projects! Click HERE for a printable PDF flyer.
Designer Series Paper Sale Details:
- Sale Dates: June 1-30, 2023
- There is no limit to how many packages of Designer Series Paper may be purchased during this promotion.
- Only select Designer Series Papers are available at a 15% discount during this promotion.
- Orders must be placed—and closed—during the promotion period for the 15% discount to apply.
- Designer Series Paper ordered as part of a Starter Kit or with Stampin’ Rewards qualify for the 15% discount.
- Designer Series Papers are from the new 2023–2024 Annual Catalog (p. 129–132) and Online Exclusives.
*********************************************************************************************************
Stampin’ Up! Awesome Joining Promotion going on NOW!!
June 1st through June 30th, we have an amazing joining special going on. June is a fabulous time to join Stampin’ Up! You will get even more FREE products in your customizable Starter Kit! If you sign up between 1–30 June, you can get $125 USD | $165 CAD $155 USD worth of products for only $99 USD + free business supplies + free shipping + all the fun being a part of Stampin’ Up!

STARTER KIT+ PROMOTION DETAILS:
- When you purchase you Starter Kit, you will be able to redeem $155 of Starter Kit eligible products for just $99.
- New demonstrators who submit their Independent Demonstrator Agreement (IDA) before June 1 or after June 30 will not be eligible for this offer.
- This offer begins June 1, 2023 and ends at 11:50 PM MT on June 30, 2023.
There is Never an Obligation to sell, you do NOT have to use this as a business, you can join just to enjoy the discount for yourself. I would LOVE to have you on my team. Join as a hobby demonstrator and enjoy all the benefits. All your future orders will be eligible for at least a 20% discount on products ordered. PLUS if you are a demonstrator and there is a special, like the upcoming 15% discount on Designer Series Paper, you will get your 20% discount on top of the 15%. Now that’s an awesome deal. This is a great way to get everything you want on your wish list at a discounted price. Enjoy at least a 20% discount on the future products you purchase. Join now and start enjoying that discount right away!!! Contact me at creativestampingdesigns@gmail.com and we can talk about you joining. We have people on our team from all over the United States. We get together monthly via Zoom; we have team Facebook pages where we share what we make and ask questions. This was one of the best decisions I’ve ever made, I’ve made a lot of new friends from all over.
Joining Stampin’ Up! as a demonstrator offers some fabulous opportunities, including:
- Becoming part of our wonderful community
- Attending exclusive demonstrator-only events
- Having early access to products
- Receiving a copy of our catalogs early
- Getting a 20% discount on our magnificent coordinating products
- Joining our exclusive demonstrator-only Facebook group
- Having the opportunity to earn a supplemental income if you choose to make it a business.
- Accessing our demonstrator-only weekly newsletter: Succeed Weekly
- Receiving training information and accessing resources to help you through your first year and beyond.
I would LOVE to have you on my team!!! Don’t wait until the last minute, contact me today and we can talk about signing you up!
*********************************************************************************************************
Fun In The Sun
Subscribe June 11 – July 10
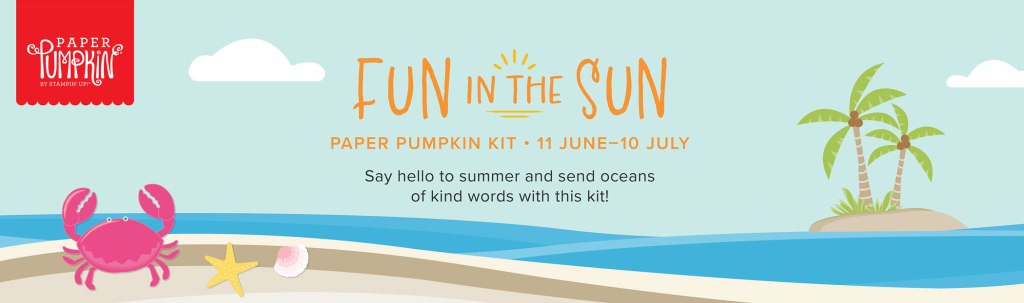
Say hello to summer and get crafting under the sun with this month’s kit! With beach designs, fun accordion-fold cards, along with sentiments to support, encourage, say hello, and more, wave at those you love through uplifting cards and send family and friends oceans of kind words all summer long!
This kit includes:
- All the supplies you need to create 9 cards with fun accordion folds: 3 each of 3 designs; and coordinating envelopes.
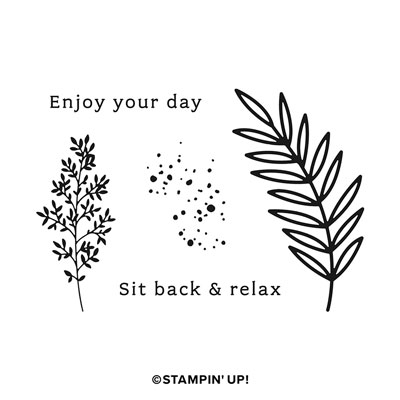
- An all-occasion stamp set to send friends and family words of encouragement, support and kindness.
- Iridescent Sequin Embellishments.
- 1 Classic Stampin’ Spot: Daffodil Delight.
- Summertime Ephemera pieces, labels, and paper pieces.
- Adhesive Dots and Tear & Tape Adhesive.
Completed card size: 5-1/2″ x 4-1/4″ (14 x 10.8 cm)
Coordinating Stampin’ Up! colors: Azure Afternoon, Basic Gray, Crumb Cake, Daffodil Delight, Flirty Flamingo, Granny Apple Green, Melon Mambo, Pool Party
Subscribe to the July Paper Pumpkin Kit between 11 June and 10 July by clicking here!
Note: Supplies may be limited toward the end of the subscription period.
*********************************************************************************************************
New Online Exclusives Coming July 6th

Stampin’ Up! has some new Online Exclusive items that are available to ordernow!! You won’t find these products in any catalog, they’ll only be listed in the online store.
The Online Exclusive product releases will continue throughout the year so there will be new products to shop from, in addition to new catalogs!
We’ll be getting some new Online Exclusive items beginning July 6 so keep an eye out in the online store for the new items coming soon!
Click HERE and head over to my Online Store to see the Online Exclusives Now.
*********************************************************************************************************
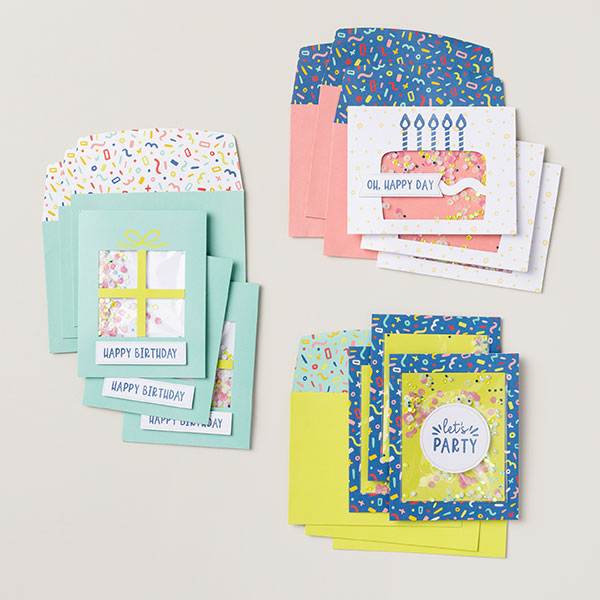
Boho Beach Kit Now Available
Are you new to stamping and don’t know where to start? Stampin’ Up! has some amazing kits available some with and some without stamping. These are a great way to get your feet wet with card making. Visit my Online store HERE to see what you can choose from. Don’t forget when you are checking out to make sure you are shopping with me and use my Current Host Code GVEBWYZ6.


It’s time to sit back, relax, and take family and friends to the beach from the comfort of your home with our latest kit: Boho Beach Kit! It comes with everything you need to make beach-inspired cards, evoking vacation and relaxation in minutes! Send a friendly note to the people you love and don’t miss the acrylic-poured paint art style used in this kit for a dazzling marbled color effect.
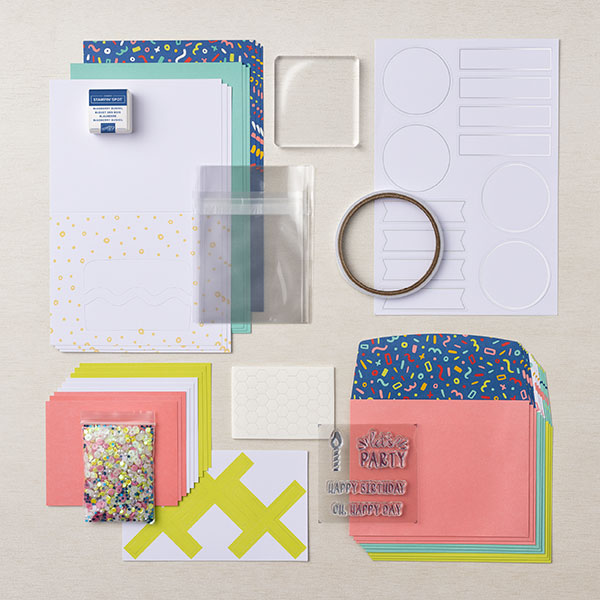
This month’s kit includes:
- Enough supplies to create 8 cards—4 each of 2 designs
- 8 coordinating envelopes
- Boho Beach photopolymer stamp set
- One Pecan Pie Ink Spot
- Printed card bases, printed die cuts, adhesive, embellishments, and a clear block
- Finished card size: 5-1/2″ x 4-1/4″ (14 x 10.8 cm)
- Coordinating colors: Crumb Cake, Lost Lagoon, Pecan Pie, Pool Party, Wild Wheat
162418 $22.00 USD
Available starting 7 June. Also available in French (item 162420).
*********************************************************************************************************
Spanish Translated Stamp Set Bundle Available In The New Catalog!

Do you speak Spanish? Or know someone who does? Stampin’ Up! is excited to share that they have the new Texturas Naturales (161785), a Spanish stamp set, bundle and suite collection in their 2023–2024 Annual Catalog!
You can find the Spanish translated items in my online store Here
*********************************************************************************************************
Card stock cuts for this project:
- Basic White Cardstock 3 – 4″ X 5 1/4″ (circles & artwork), 1 1/4″ x 1 5/8″ (sentiment)
- Pretty Peacock Cardstock 2 – 4 1/4″ X 5″ (card bases), 1 3/8″ X 1 3/4″ (sentiment mat), 1″ X 2″ (stems)
- Glorious Gingham 6 X 6 Designer Series Paper 4 – 7/8″ X 4 1/8″ (card base panels), 2 1/4″ X 6″ (envelope flap)
*********************************************************************************************************
Product List


 Designer Series Paper")


 Sheer Ribbon Combo Pack")


")
")

")


