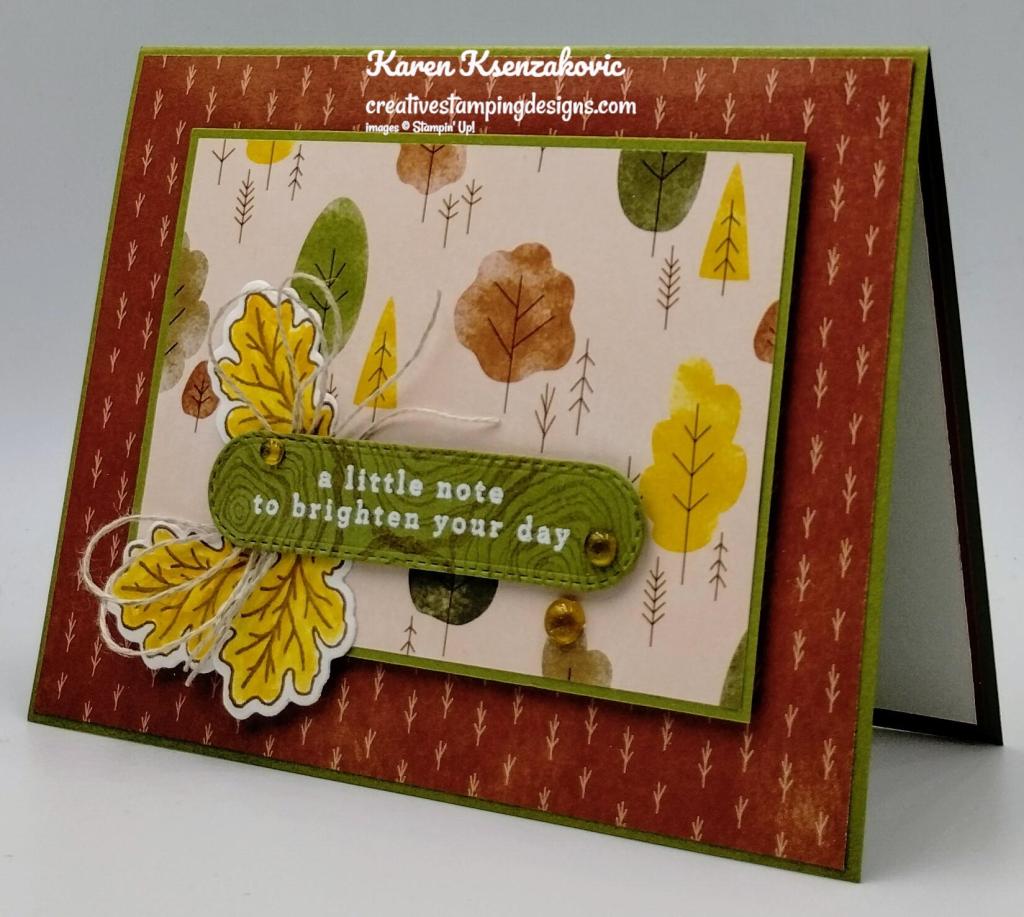
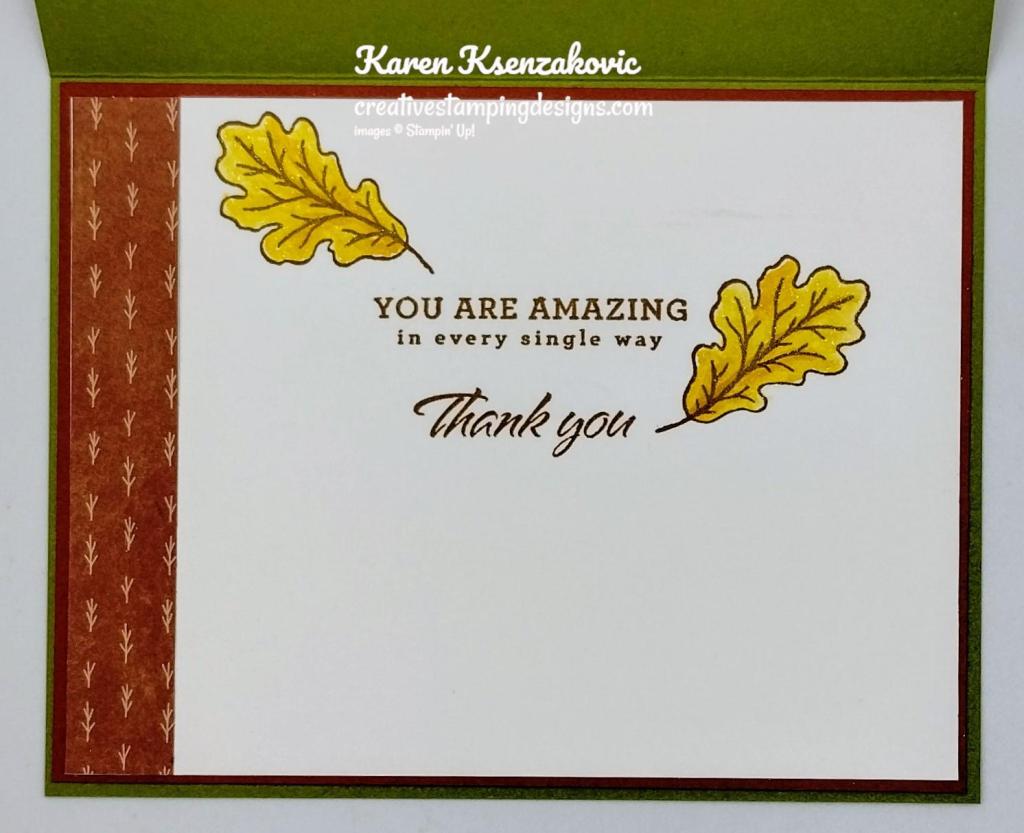
Hi stamping friends. This is my 2nd post for today. If you are looking for my card, you can find it Here. There’s a lot happening with Stampin’ Up! in October that you don’t want to miss.
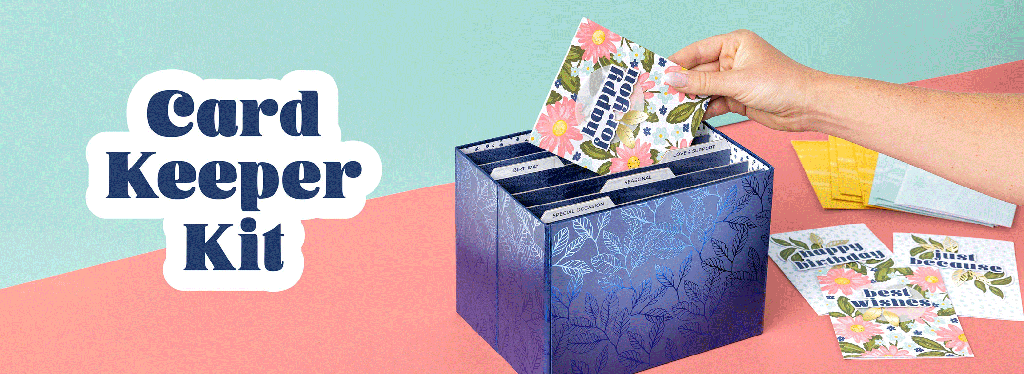
From October 1-31 All Kits from the Kits Collection will be on sale for up to 30% off
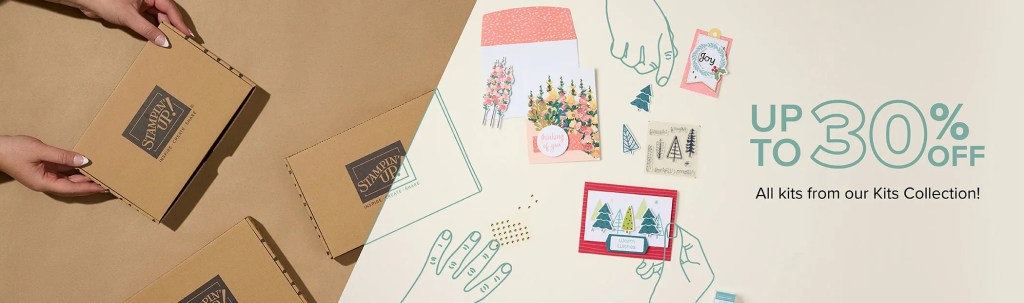
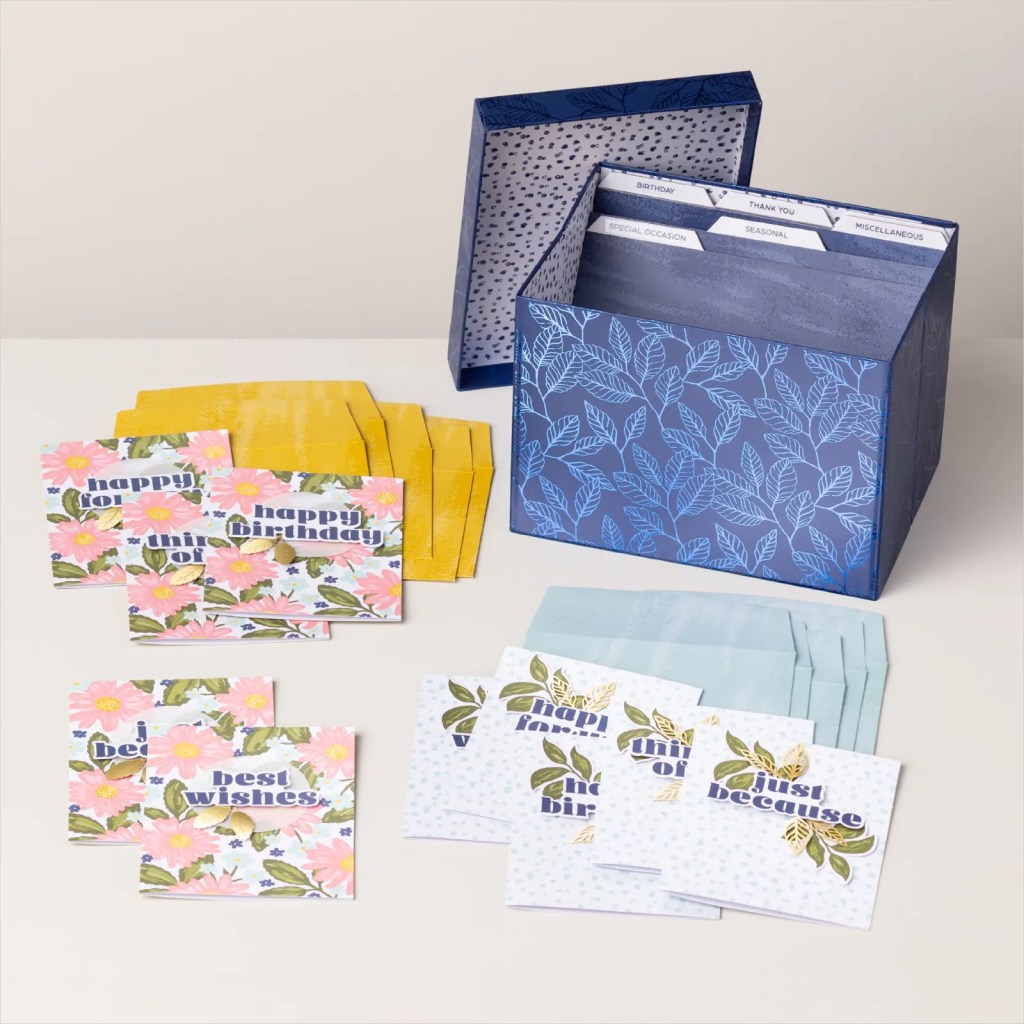
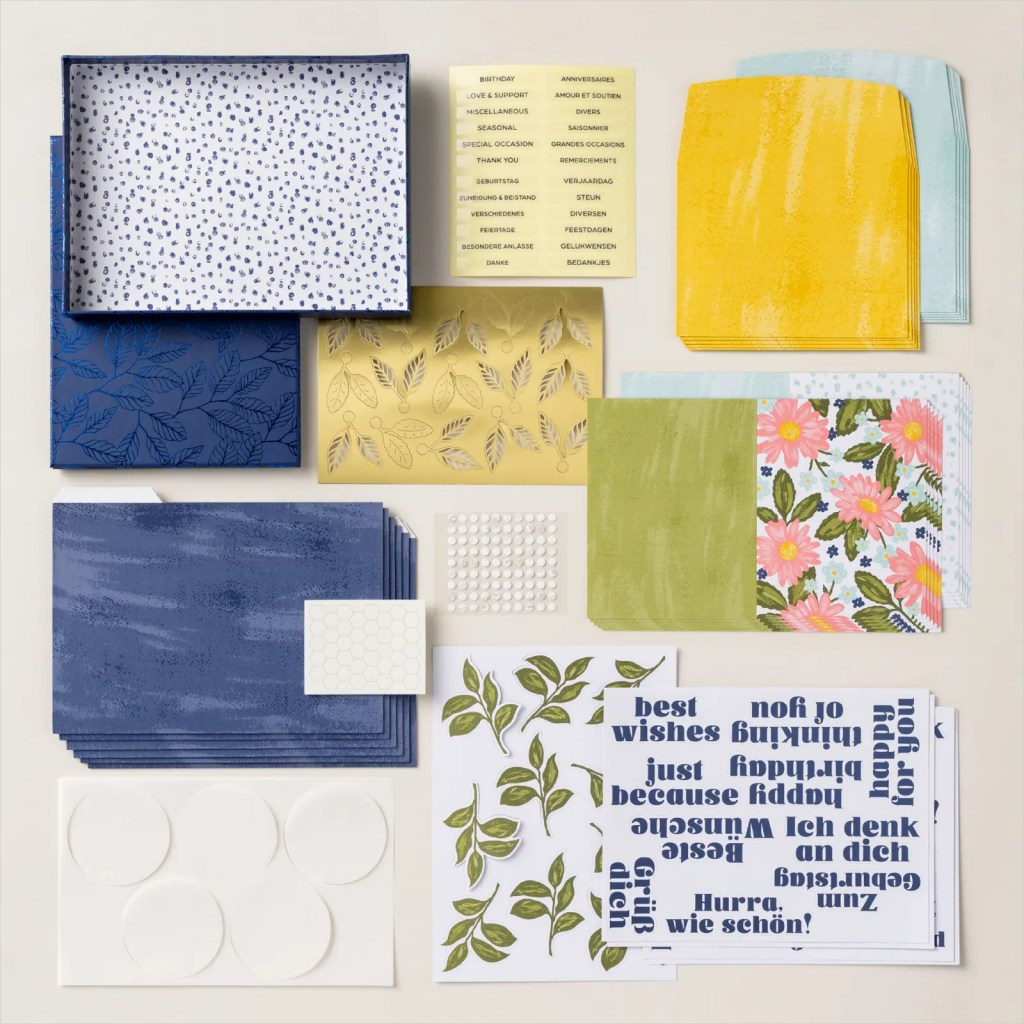
Save up to 30% off on all your favorite kits October 1–31! Our kits come with everything you need to create a unique paper craft. We have crafting options for card kits, treat packaging, home decor, and so much more! Kits are only available while supplies last.
Here are the details for the sale:
- Promotion Period: October 1-31!
- ALL kits from the kits collection qualify for the discount.
- There is no limit on how many kits you can order, as long as product is available.
- Orders must be opened and placed during the promotion dates. Orders opened before October 1 will not qualify for the sale.
- Kits on sale will NOT qualify for the Stampin’ Rewards 50% off.
- Kits can be added to a Starter Kit at their discounted rate.
- Ordering deadline: October 31 at 11:59 p.m. (MT)
*********************************************************************************************************
Starter Kit Special – Get an extra $30 Your Starter Kit October 1 – 31
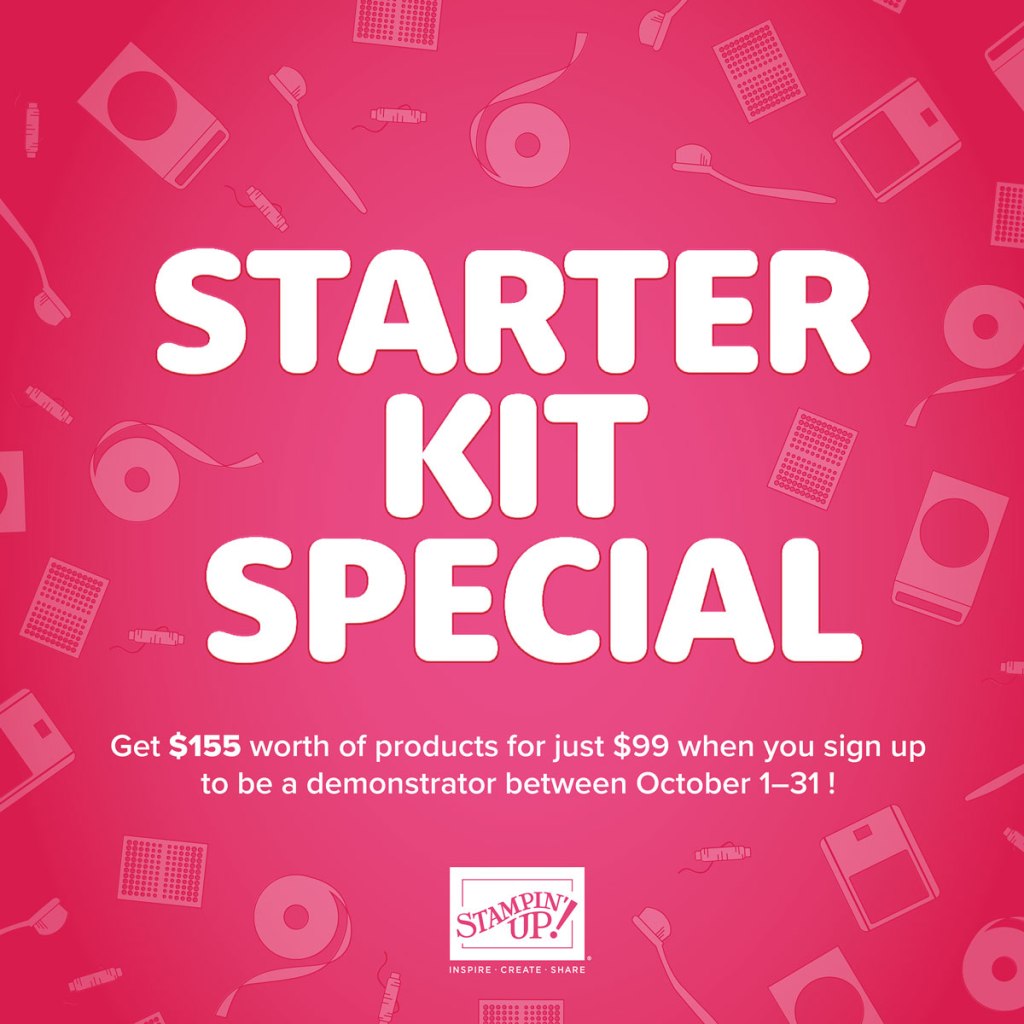
Hey, friend! Stampin’ Up! has a fantastic offer for anyone who becomes a demonstrator! Join my team between October 1–31and you can choose $155 worth of product in your Starter Kit for only $99! Starter Kits normally include $125 worth of product for $99, so that’s an extra $30 worth of product at no additional cost. This offering also includes free shipping and free business supplies! That’s MORE product for EVEN MORE fun!
Being a part of Stampin’ Up!’s creative community also comes with several perks, including early access to products, special discounts, a chance to earn product credits, access to exclusive trainings, demonstrator-only events, and so much more. As a demonstrator, I am here to help you through the join process and beyond. If you’re interested joining my team, please reach out! I am excited to answer your questions and help you get started on your creative journey. Are you a customer that spends $100 a month on products? Why not get at least a 20% discount on those products? We’d love to have you join our team! Once you join, you’ll get at least a 20% discount on all of your Stampin’ Up! purchases and you can preorder from the upcoming catalogs! Let’s Chat Soon!!!
Here are the details for the Starter Kit Special:
- Promotion Period: October 1–31
- When you purchase your Starter Kit, they will be able to redeem $155 of Starter Kit eligible products for just $99!
- This offering also includes FREE business supplies and FREE shipping.
- New demonstrators who submit their Independent Demonstrator Agreement (IDA) before October 1 or after October 31 will not be eligible for this offer.
- Deadline to join: October 31, 2024, at 11:59 p.m. (MT)
All types of Demonstrators are welcome to join from those only purchasing to get the discount for themselves to those who want to run a business and those anywhere in between! We’re a relaxed group that loves to stamp and share with no pressure to sell!
Demonstrators get lots of perks including at least a 20% discount on all orders that you place as a Demonstrator, invitations to Stampin’ Up! Demonstrator events and preordering from upcoming catalogs and promotions!
There is no commitment and no penalty if you decide that being a Demonstrator isn’t right for you. Why not give it a try? We have a fun Facebook page where we chat a lot and share what we create. We do virtual meetings monthly via Zoom and in-person meetings quarterly.
Interested but aren’t really sure to commit? Contact me and we can talk, and you can ask me any questions at creativestampingdesigns@gmail.com.
Read more information about becoming a demonstrator Here.
*********************************************************************************************************
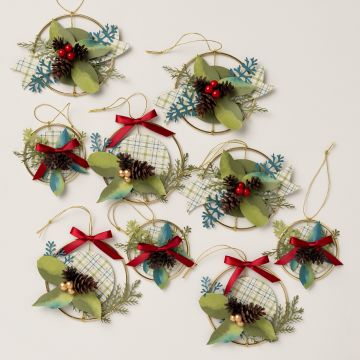
New Online Exclusive Products Coming Soon

A new line of products for Online Exclusives are coming! You won’t find these items in any catalog. This is a great opportunity to spark creativity, expand a crafting collection, and discover new opportunities—all from the convenience of the online store. These products will be available starting in November, BUT you can add these new items to your Starter Kit if you join in October. Here’s a little sneak peek of some of the items that you can add to your Starter kit and get them before customers and start to play..


*********************************************************************************************************
The Stampin’ Up! Clearance Rack has been updated with a few new goodies!!!!
Head over to my Online Store quickly to get your hands on some great deals. But hurry!! A lot of items have sold out already. Clearance Rack deals are only while supplies last! Click Here to head over to my Online Store.
Don’t forget to use my Current Host Code EPRVU3FN when checking out.
*********************************************************************************************************
Stampin’ Up! World Card Making Day Event – Free Registration Open
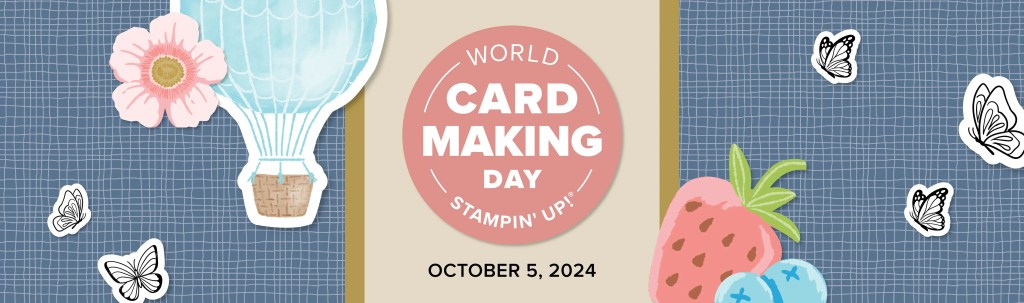
It’s time to celebrate one of my favorite days of the year—World Card Making Day! Join Stampin’ Up! on October 5 as they celebrate this day with a creative virtual event. They’ll create five simple cards and show you some additional fun projects! Crafters of all skill levels are invited and welcome to join. And the event and registration are FREE! Mark your calendars now and join the event on October 5!
World Card Making Day Event Details:
- Who: Everyone is invited!
- When: October 5, 2024, from 2:00 to 3:00 p.m. (MT)
- Where: Online
- Price of Event: Free
- Registration Dates: September 3–October 4, 2024, at 2:00 p.m. (MT)
- You must register for this event in order to receive a link to view it. Also, those who register will receive a gift after the event ends. Register so that you don’t miss out on the event link and a special registration gift!
- Language of Event: Most of the event will be presented in English with language interpretation voiceover and subtitles available in English, French, German, and Dutch.
- Video on Demand: We will record our stream of this event. Anyone who has the event link will be able to watch the recorded event starting October 8.
- Hashtag: You post about the World Card Making Day event on social media using #SUWorldCardMakingDay2024. If you post with the hashtag, you’ll see your post appear on the event webpage as you watch the event!
Registration for this event begins on Tuesday, September 3 so look for the link to register beginning then!!
********************************************************************************************************
New Paper Pumpkin Subscribers – Receive 40% off Your 1st Kit
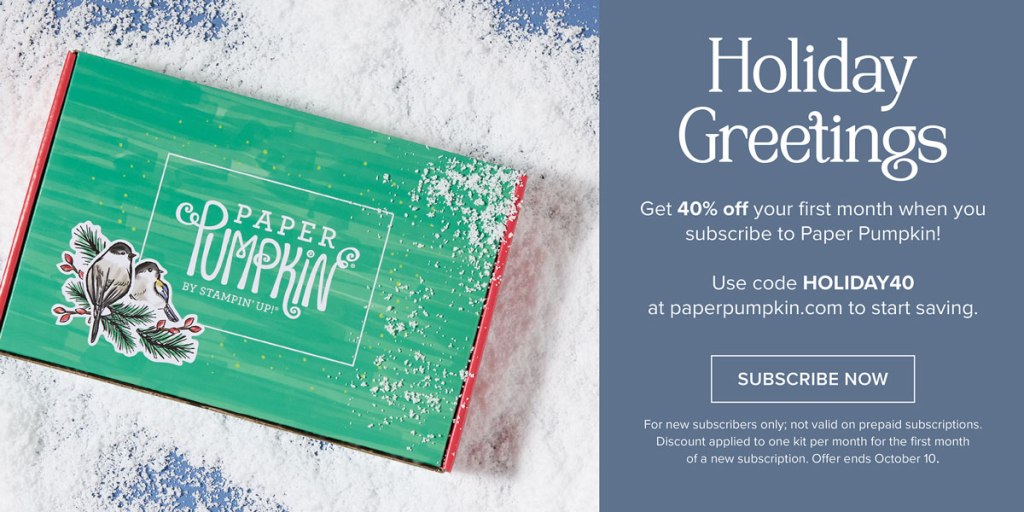
Santa Claus is comin’ to town a bit early this year—and he’s brought a holiday Paper Pumpkin sale! Starting September 11, 2024, at 12:01 a.m. (MT) until October 10, 2024, at 11:50 p.m. (MT), anyone who signs up for our monthly Paper Pumpkin subscription as a new subscriber will receive 40% off their first kit. That’s right, 40% OFF!
Where This Discount Is Applied
This discount will be applied to one kit in the first kit shipment of the Paper Pumpkin subscription, which means new subscribers will get 40% off the October Nests of Christmas Paper Pumpkin Kit. After that, each month’s kit will return to the regular price of $25.00.
Qualifying for This Discount
This offer is only for new month-to-month subscribers and is not valid on purchased or redeemed prepaid subscriptions. So if you have previously used an email address for a Paper Pumpkin subscription, you won’t qualify as a new subscriber to receive this discount. Also, anyone who signs up as a new subscriber to Paper Pumpkin but cancels by October 10 will not receive any kits or discounts.
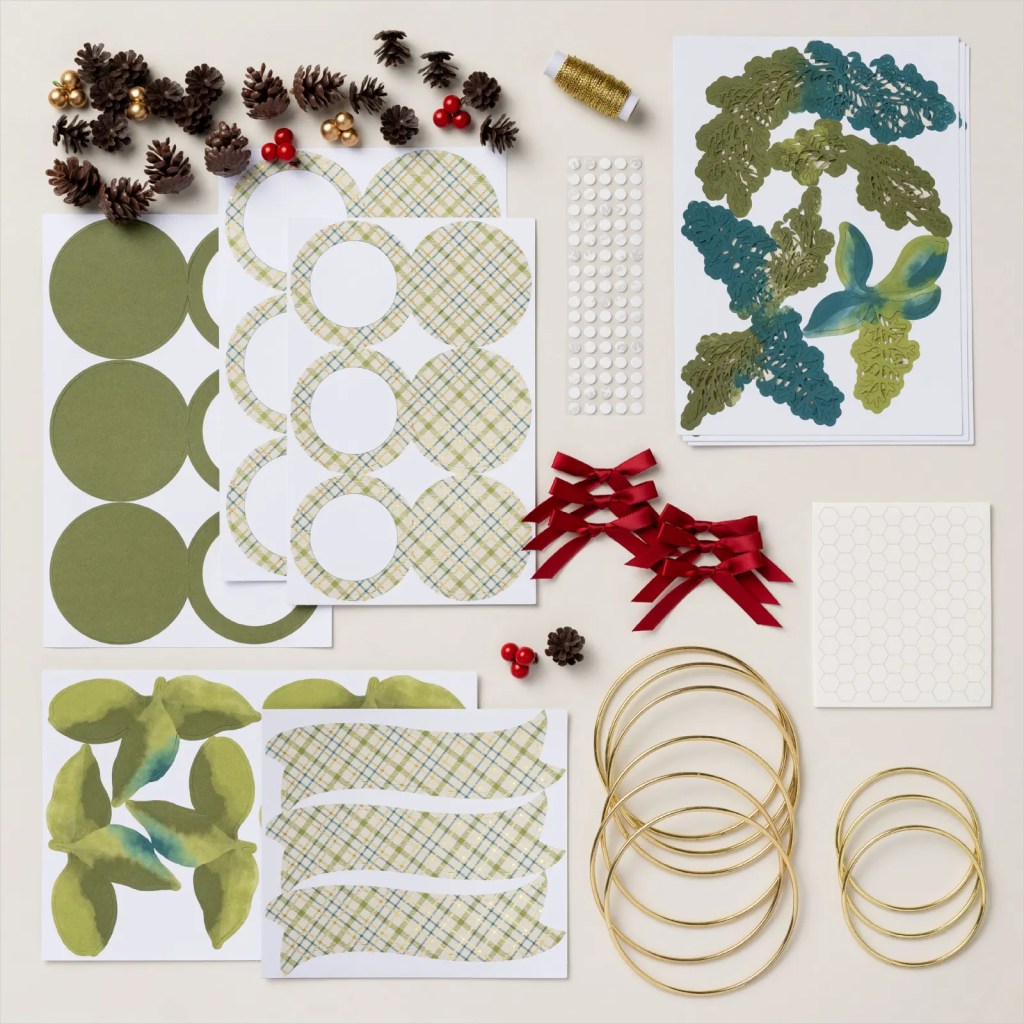
Nests of Christmas
Subscribe September 11 – October 10

Spread Christmas cheer with this cozy, all-inclusive crafting kit! Coordinates with the Nests of Winter Suite Collection (item 164072)!
About the Kit:
• Makes 10 cards: 5 each of 2 designs with 10 coordinating envelopes
• Tri-fold card bases and precut grosgrain ribbon
• Precut labels with specialty green foil
• Coordinating colors: Basic Black, Coastal Cabana, Granny Apple Green, Night
of Navy, Real Red, Shaded Spruce (Classic Stampin’ Spot)
Subscribe to Paper Pumpkin for a monthly, all-inclusive crafting kit that’s a fun surprise! Each kit includes a photopolymer stamp set, Classic Stampin’ Spot, and step by step instructions to complete exclusive paper craft projects, including cards, tags, and gift
packaging. And don’t miss the special add-on that coordinates with the next three months!
*********************************************************************************************************
Don’t miss the coordinating
Merry Tags & More Dies Add-On!
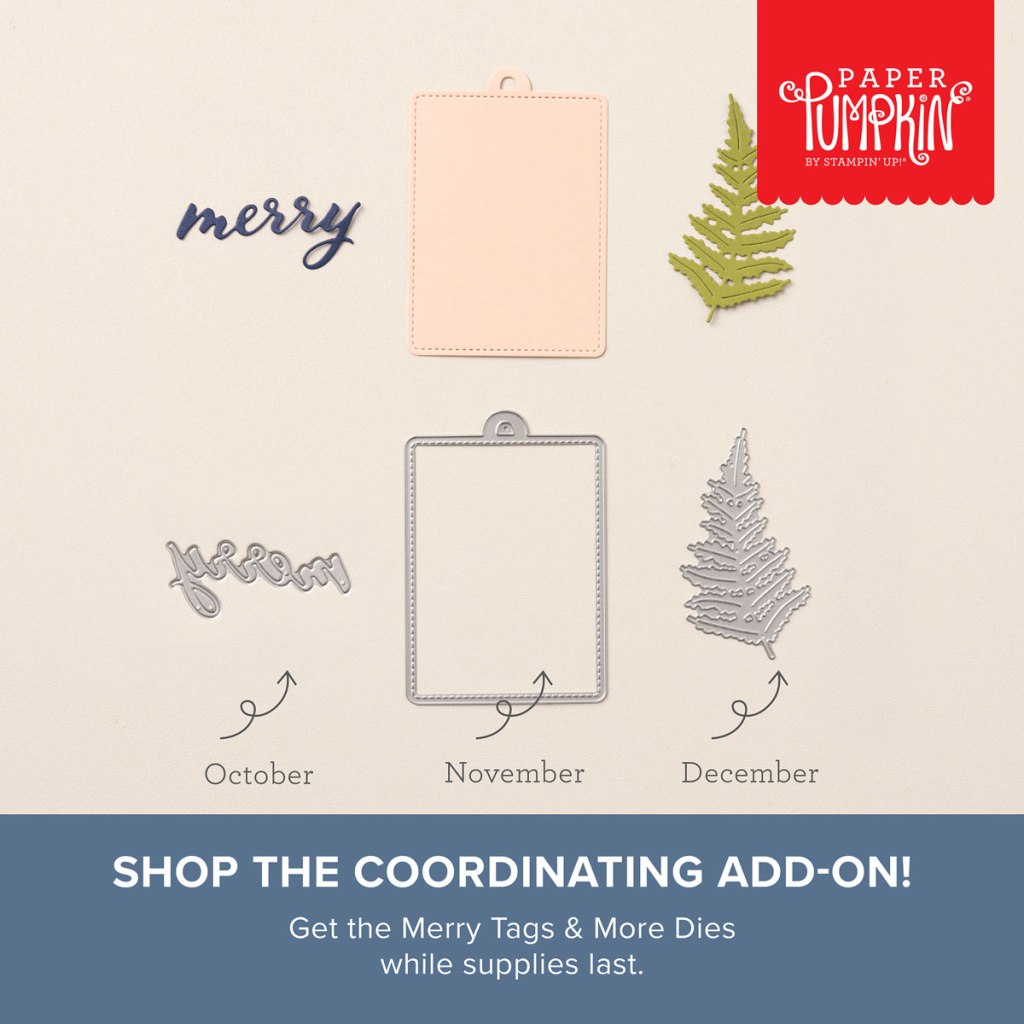
Add dimension and detail to your cards, scrapbook pages, and gift tags with the Merry Tags & More Dies! With a leaf and tag shape and Merry sentiment, these dies are a great way to expand your crafting experience. They even coordinate with three Paper Pumpkin Kits: Nests of Christmas, Filled with Joy, and Notes from the Heart. Such easy coordination makes these dies a must-have for any paper craft. Paper Pumpkin subscribers can purchase it beginning 11 September. The add-on is available only while supplies last, so it’s best to shop early! Please note that the Stampin’ Cut and Emboss Machine is not included and can be purchased separately.
#165639 $12
Subscribe to the September Paper Pumpkin Kit between 11 September and 10 October by clicking here!
Note: Supplies may be limited toward the end of the subscription period.
*********************************************************************************************************
If you need any stamping supplies, I’d love to be your Demonstrator. Just click HERE to go directly to my online store or drop me an email if you have any questions.
MY CURRENT HOST CODE IS: EPRVU3FN
Use this host code when placing an order with me. When you order $50 or greater you will receive a free gift from me! If your order is over $150, please do not use this code, but you’ll still get the free gift. The free gift is your choice of any 1 item valued up to $10.00 from the 2024-2025Annual Catalog, or from the Online Exclusives! Unfortunately, packs of cardstock are no longer an option for a free gift. Shipping has become too expensive to ship and it’s costing me as much to ship as the cardstock costs. For any orders $50 or more I will also send you my monthly class tutorials. Click HERE or go to my Customer Rewards for more details and to see what this month’s tutorials are.
Please remember to use my current Host Code and make sure that you can see my name on the final checkout page listed as your Demonstrator when you order so that you know that you’re ordering with me, and you’ll get my rewards!
Happy Stamping, Karen


")
")

")
")


 Designer Series Paper")


")


")
")


 Designer Series Paper")


 Center Stripe Ribbon")


")
")
")


 Designer Series Paper")

 Sheer Ribbon")


")
")


 Glimmer Specialty Paper")
 Designer Series Paper & Sticker Sheet (English)")


 Striped Trim")


")

 Designer Series Paper")


 Rustic Striped Ribbon")


")
")


 Designer Series Paper")