

Good Thursday morning my stamping friends welcome to our Happy Inkin’ Thursday Blog Hop. If you are starting with me, thank you, I hope you will stop by everyone’s blog to see what they have created this week. If you are hopping over from Akiko’s blog, thank you for stopping by. This week we have sketch Challenge. Here is my card using this week’s sketch.
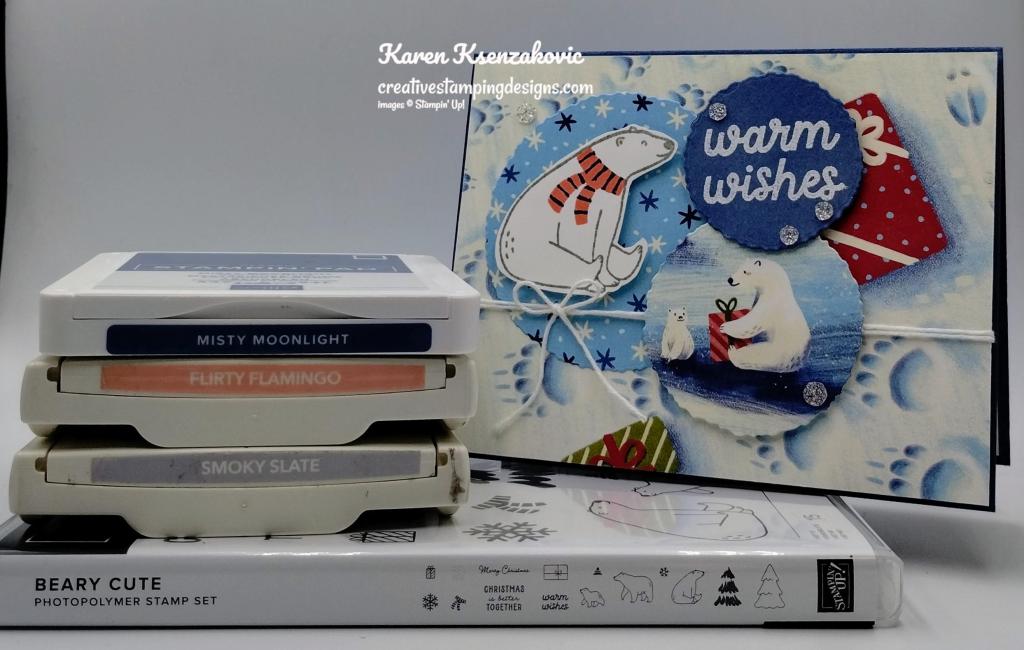
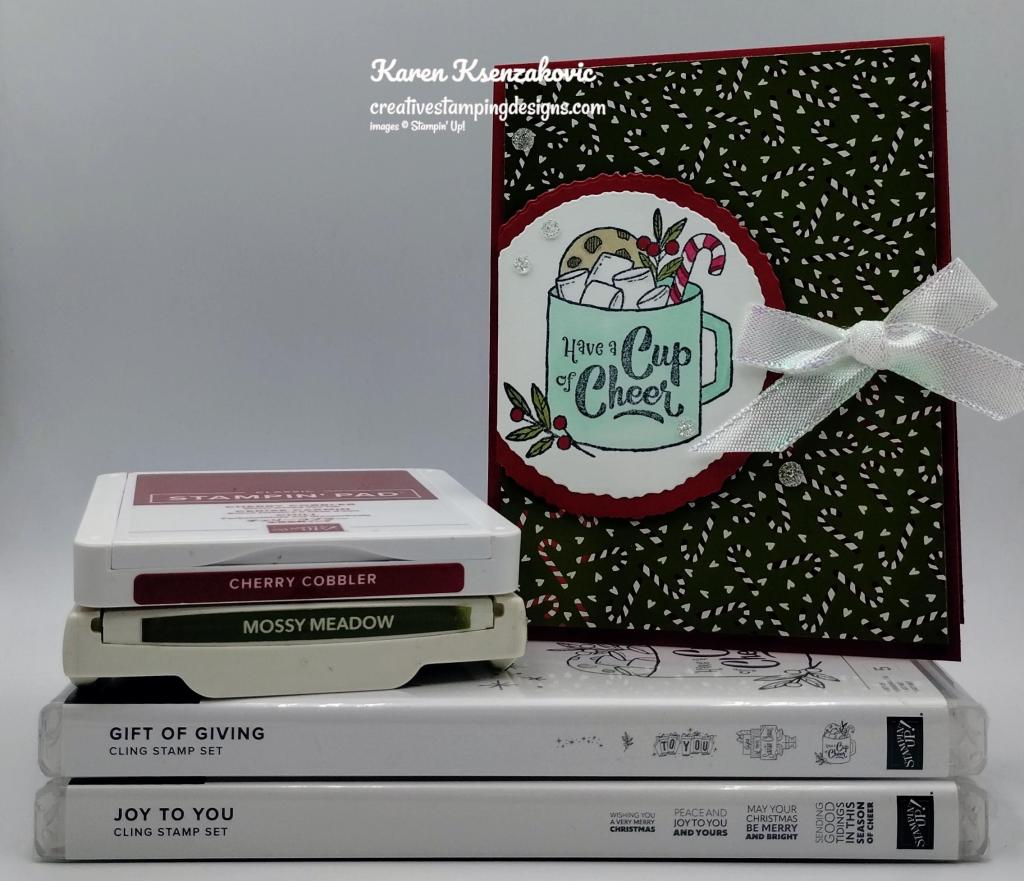
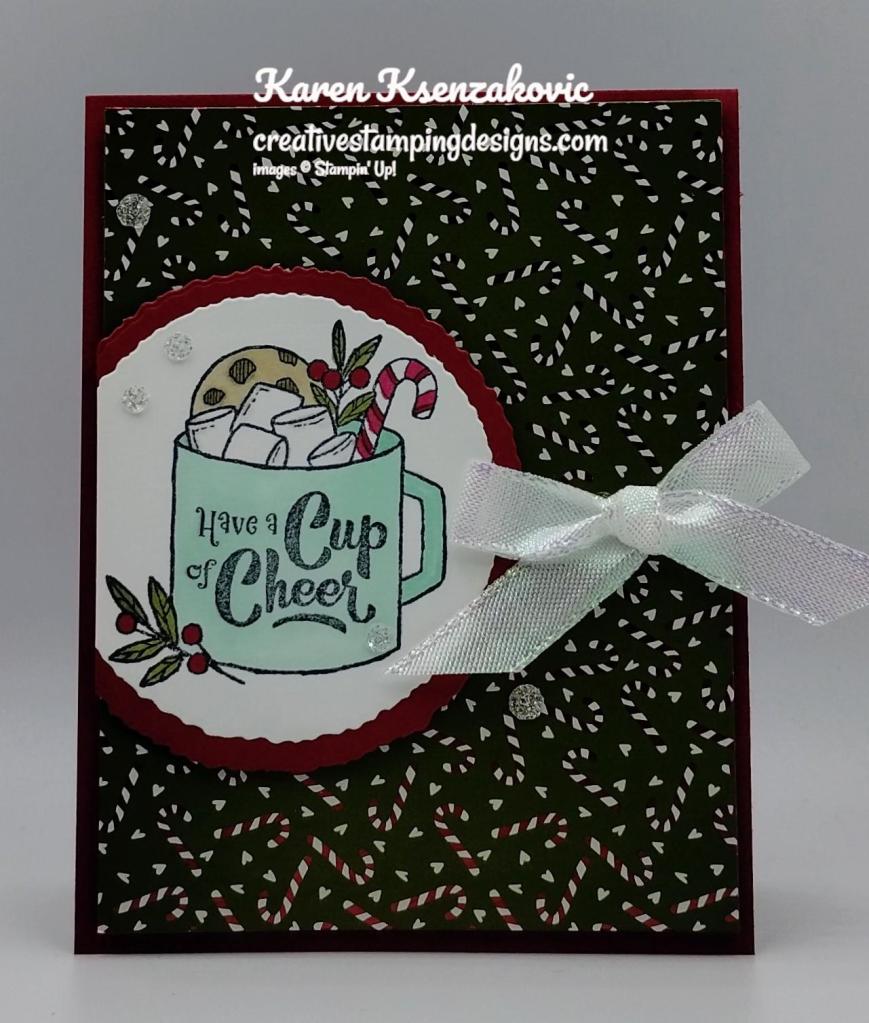
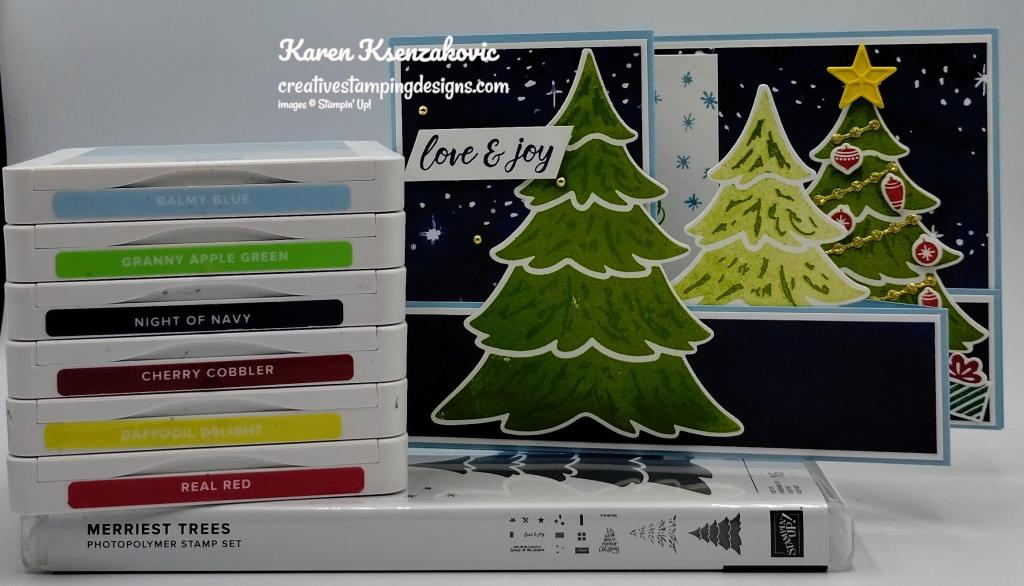
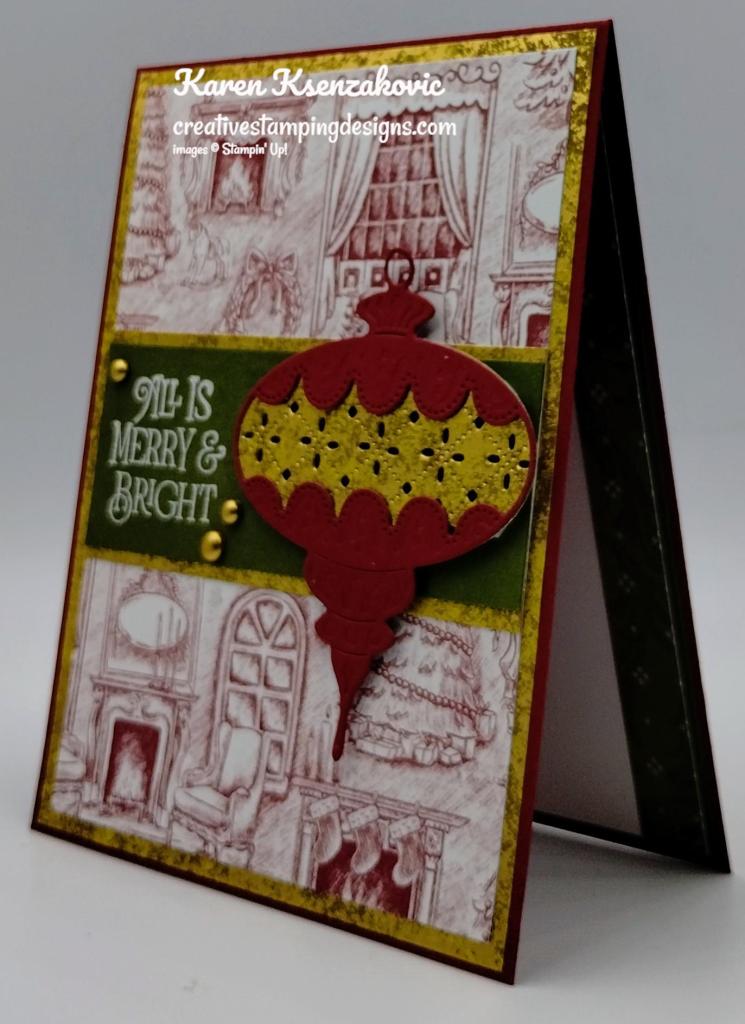
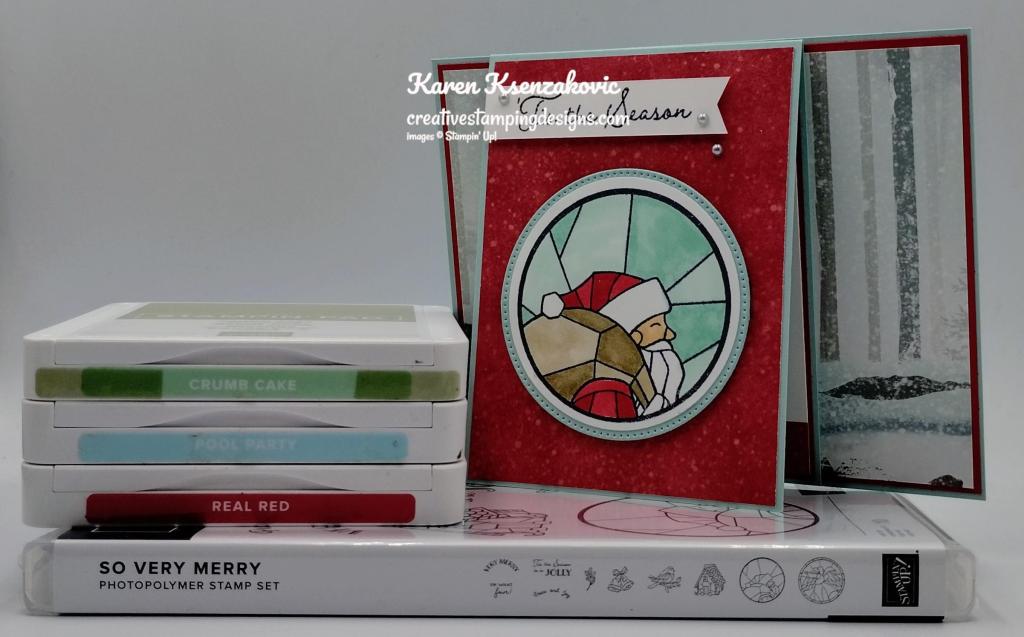
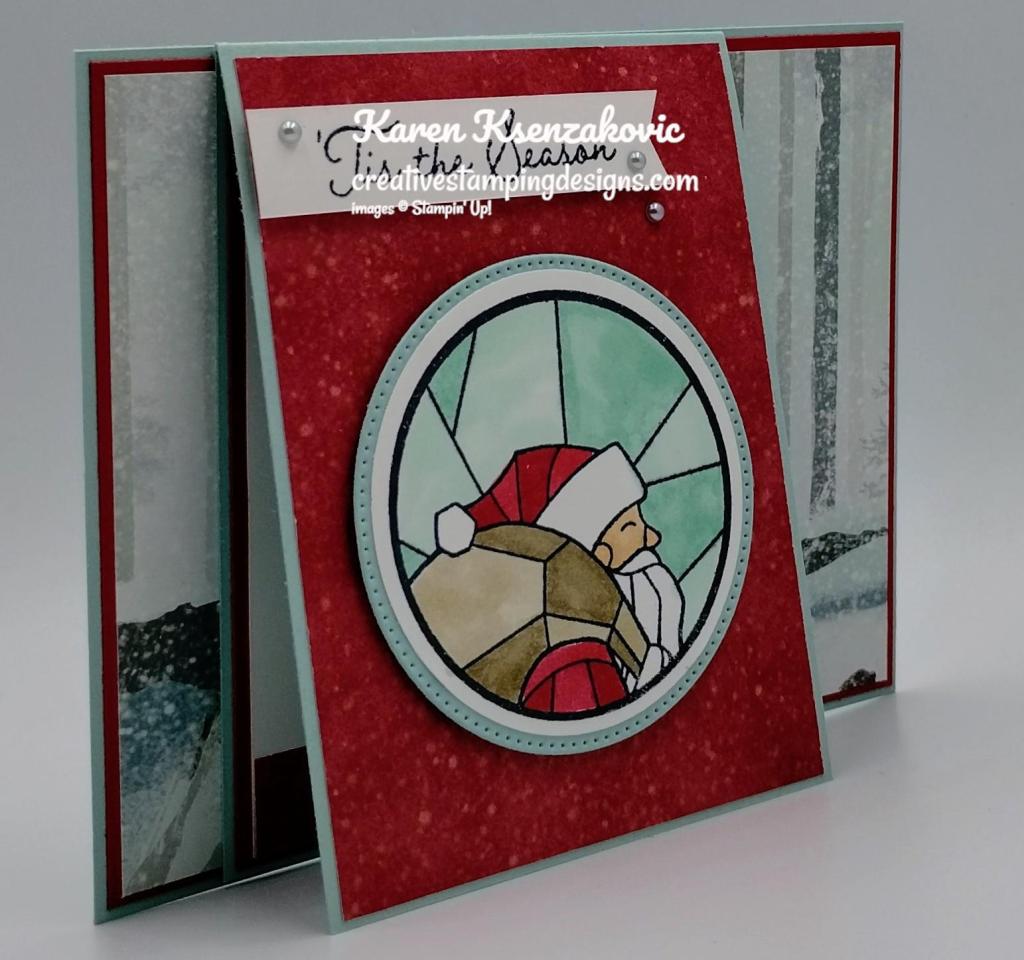
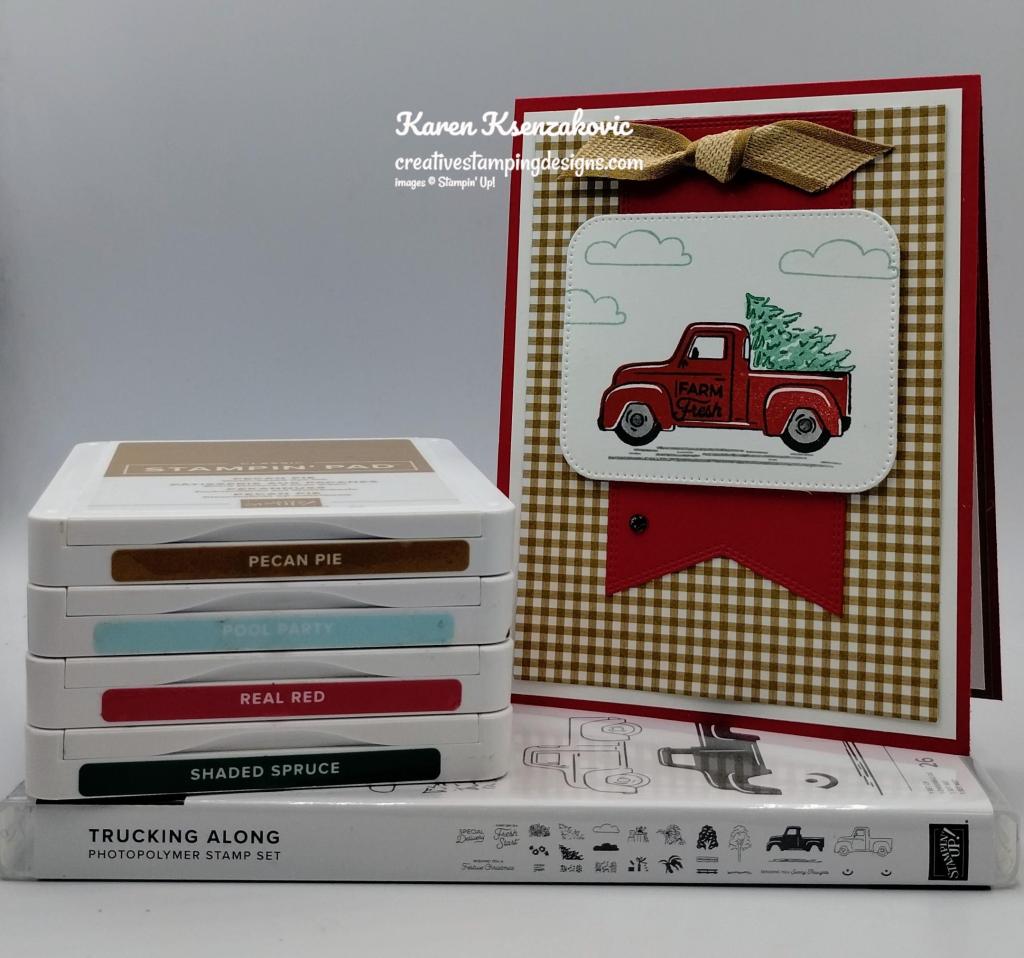
I used the Stampin’ Up! Beary Cute Photopolymer Stamp Set along with the Beary Christmas Designer Series Paper and Deckled Circles Dies for my card today
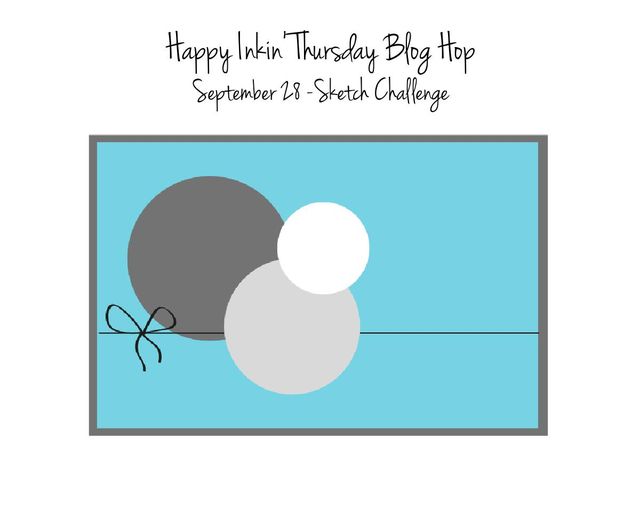
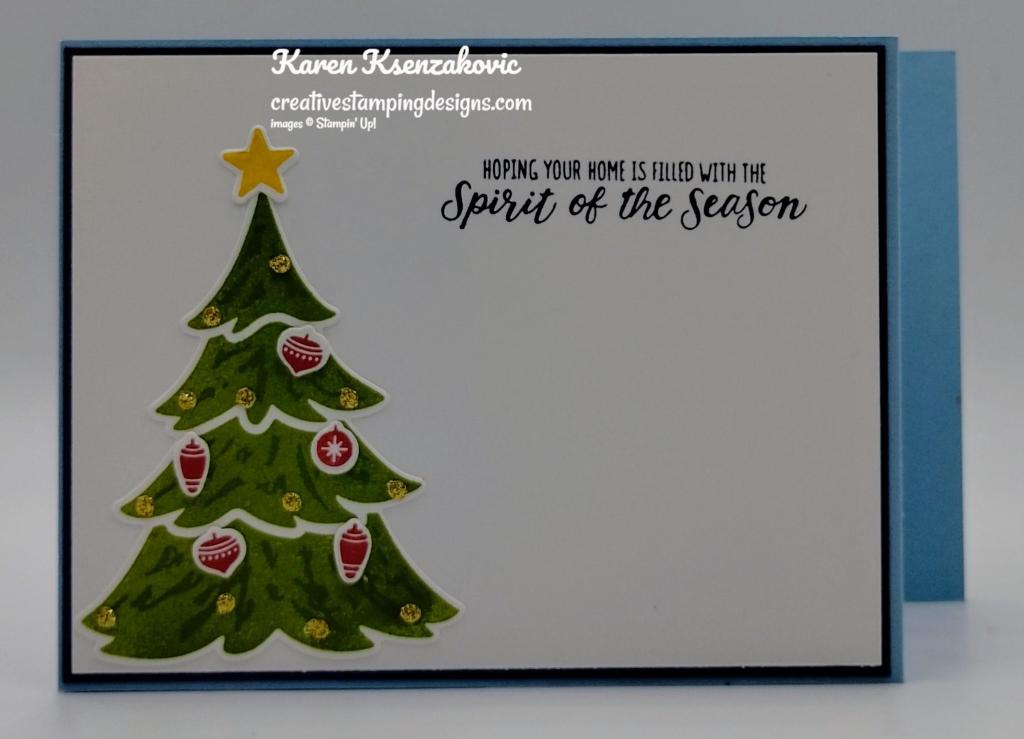
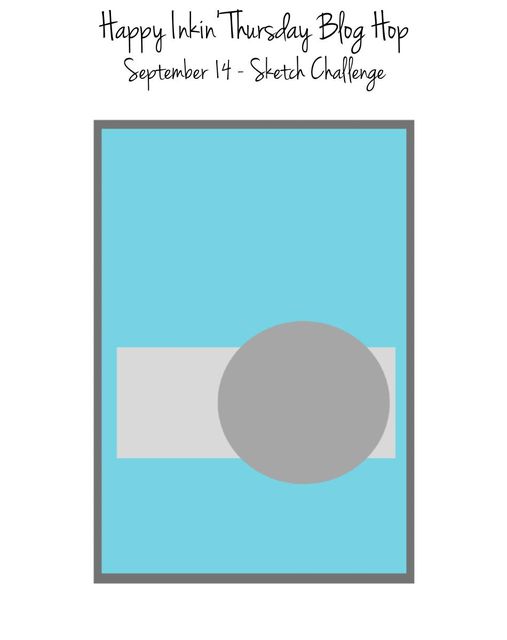
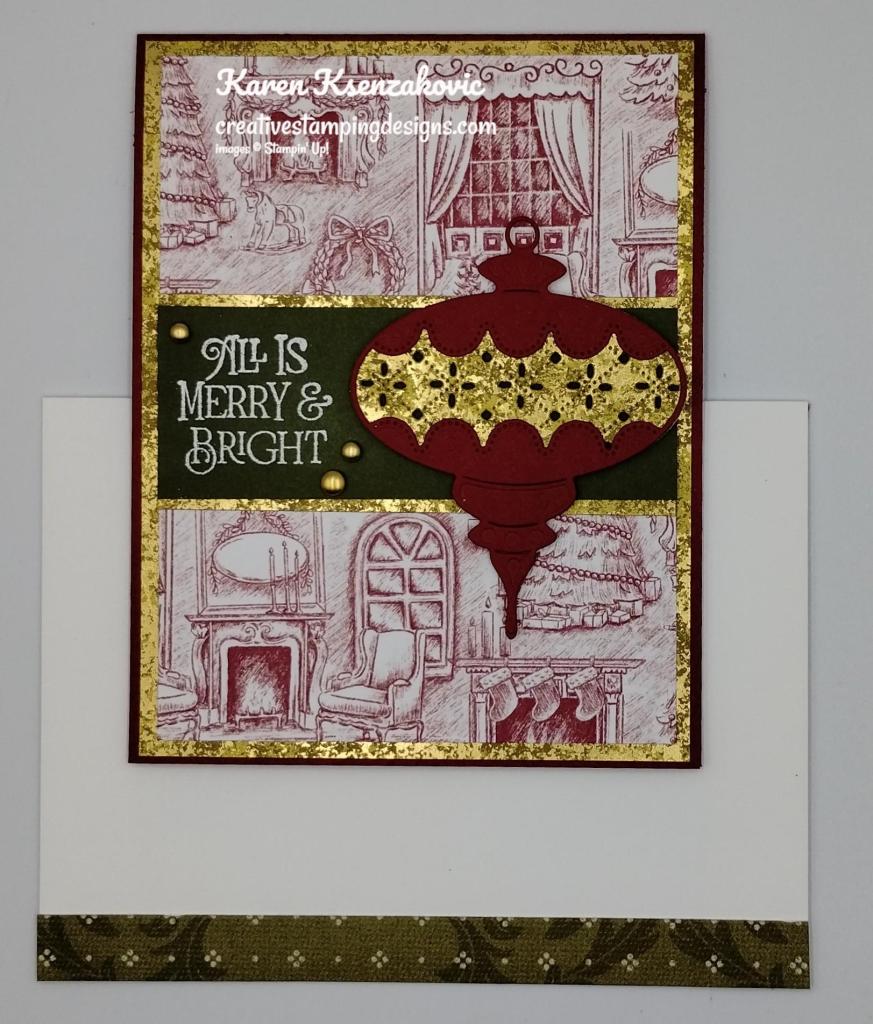
This is our sketch for this week.
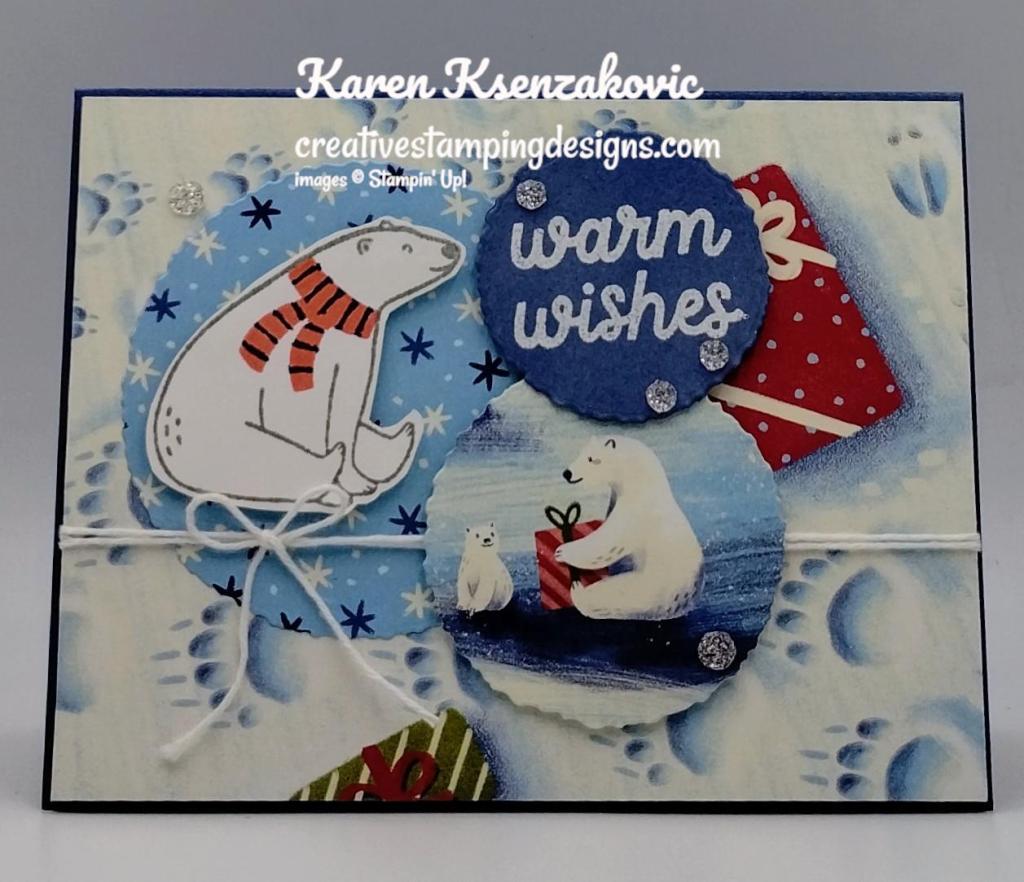
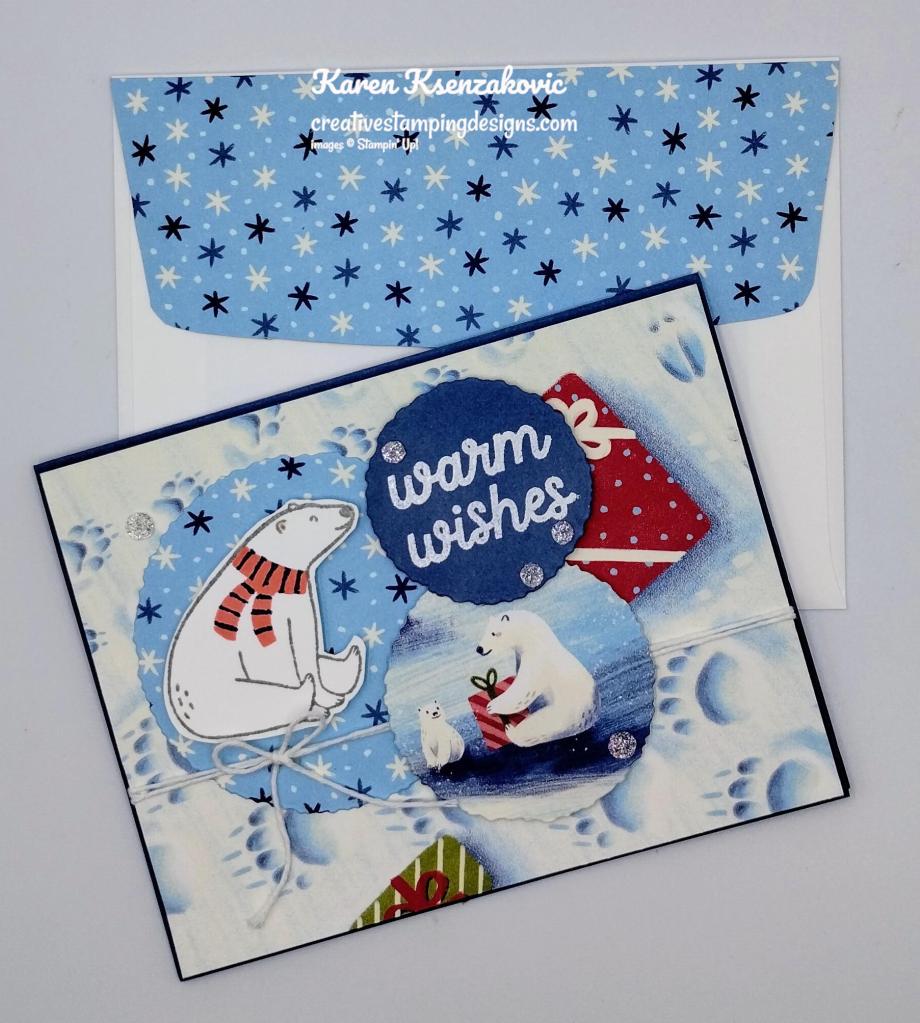
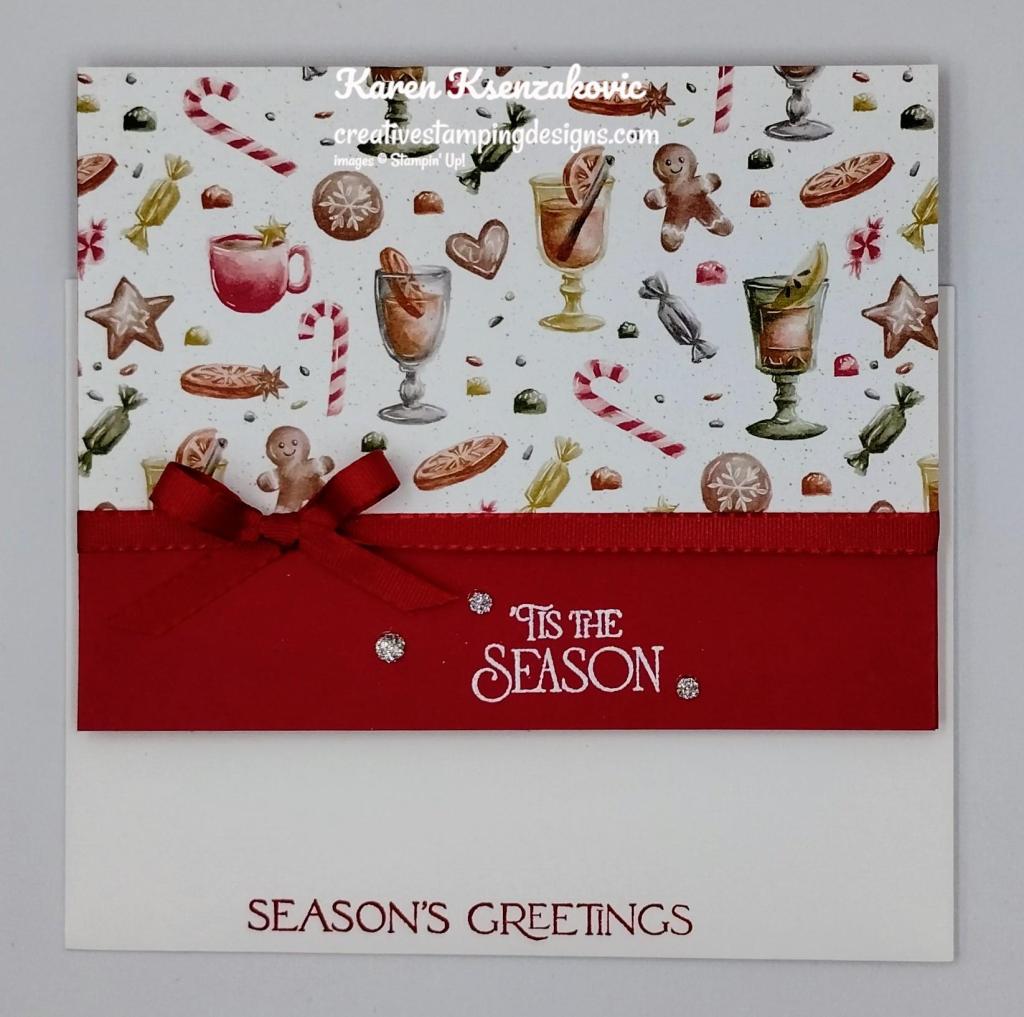
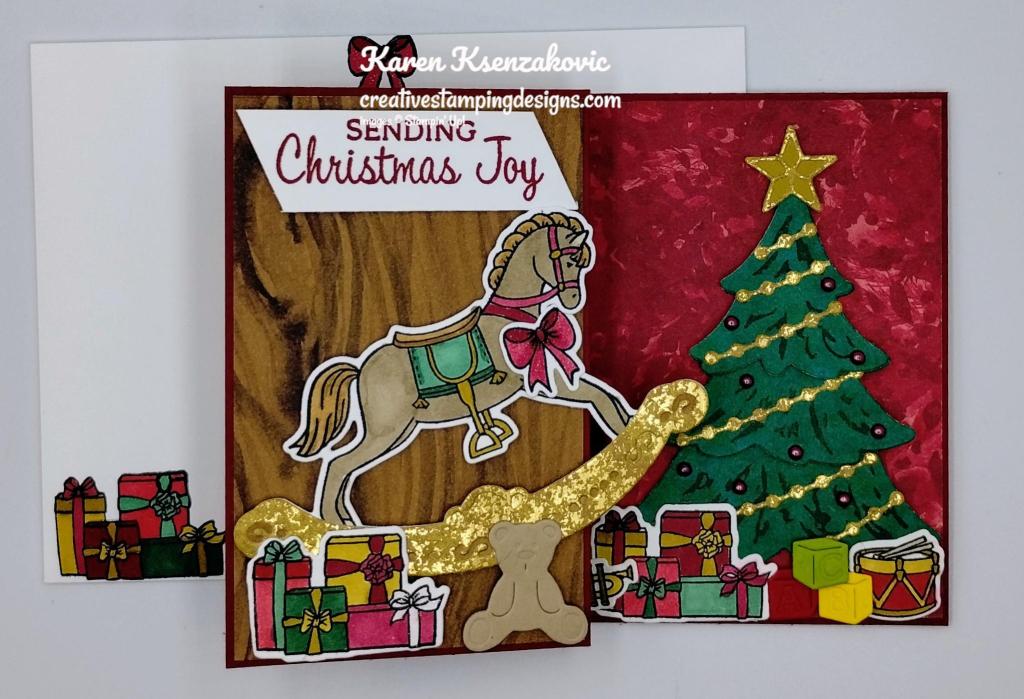
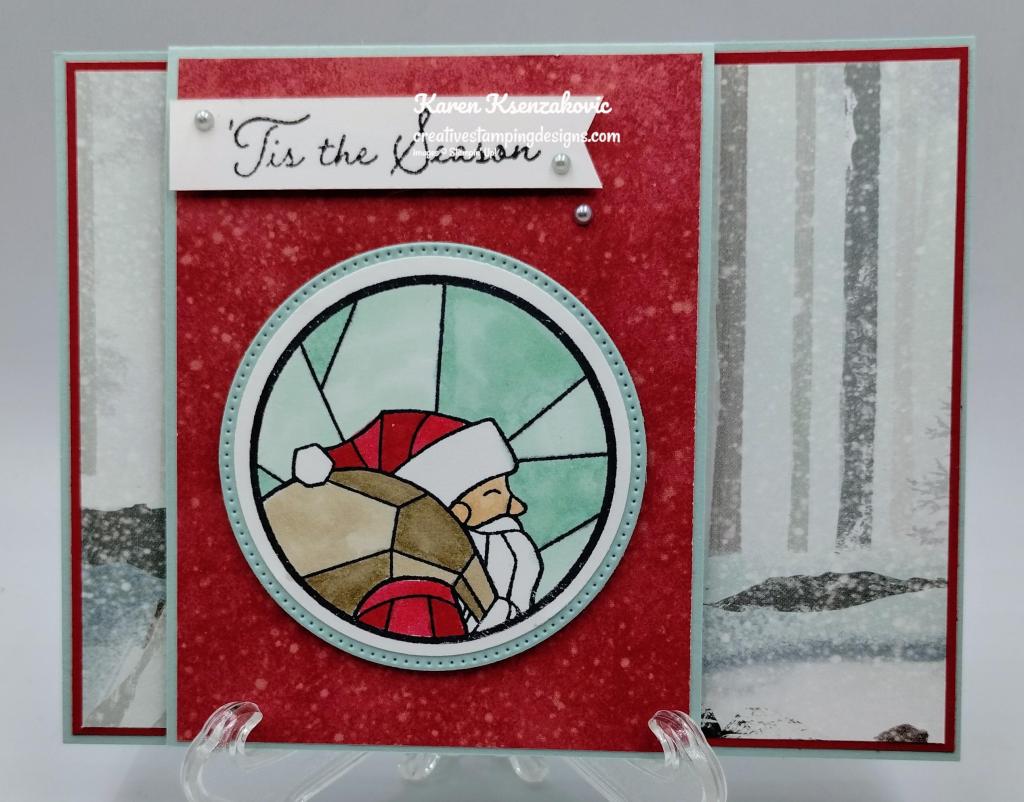
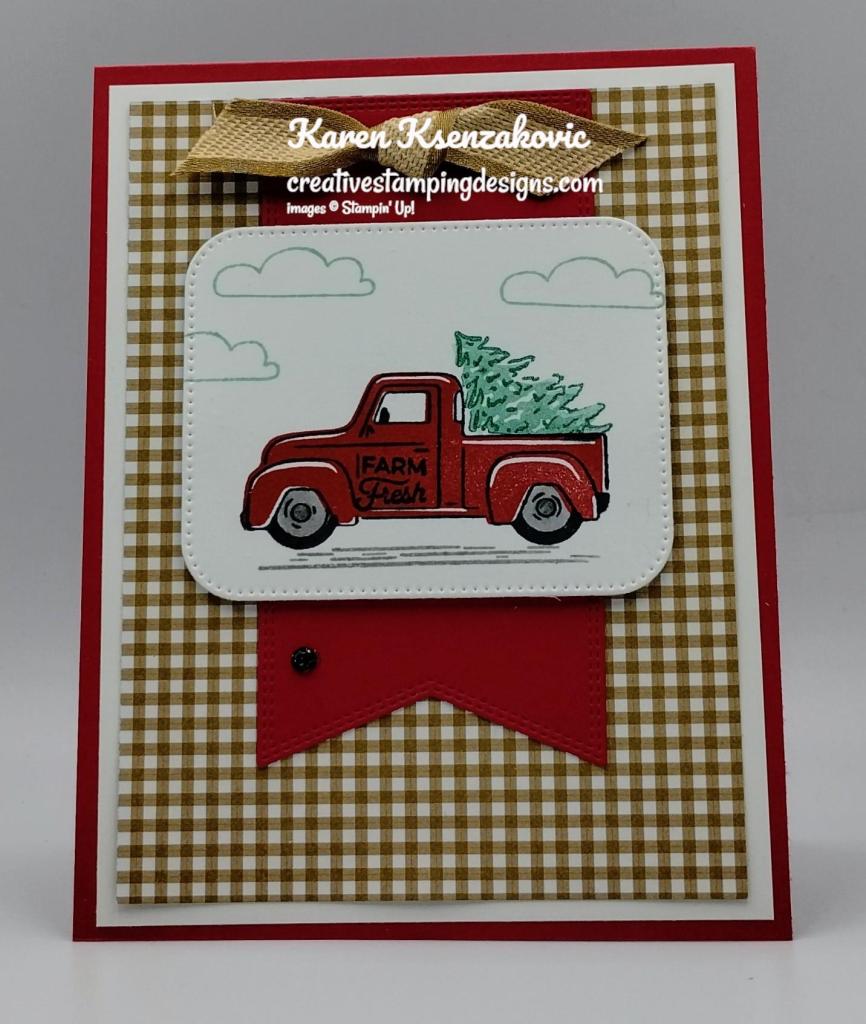
I started by wrapping a piece of White Baker’s Twine from the Baker’s Twine Essential Pack around the Beary Christmas DSP card front twice and tied a bow. I adhered the card front to a Misty Moonlight card base using Stampin’ Dimensionals.

Using the Deckled Circles Dies, I cut out 2 circles from panels of Beary Christmas DSP and one from a panel of Misty Moonlight. On a small panel of Basic White, I stamped the sitting bear image from the Beary Cute stamp set in Smoky Skate Ink. I stamped the scarf image from the Beary Cute stamp set on the bear in Flirty Flamingo Ink. I colored the stripes using the Misty Moonlight Stampin’ Write Marker. I fussy cut the image using Paper Snips. I adhered the largest circle to the card front using Multipurpose Liquid Glue just under the twine. I adhered the bear to the large circle using Stampin’ Dimensionals.. I adhered the other medium DSP circle to the card front using Stampin’ Dimensionals.
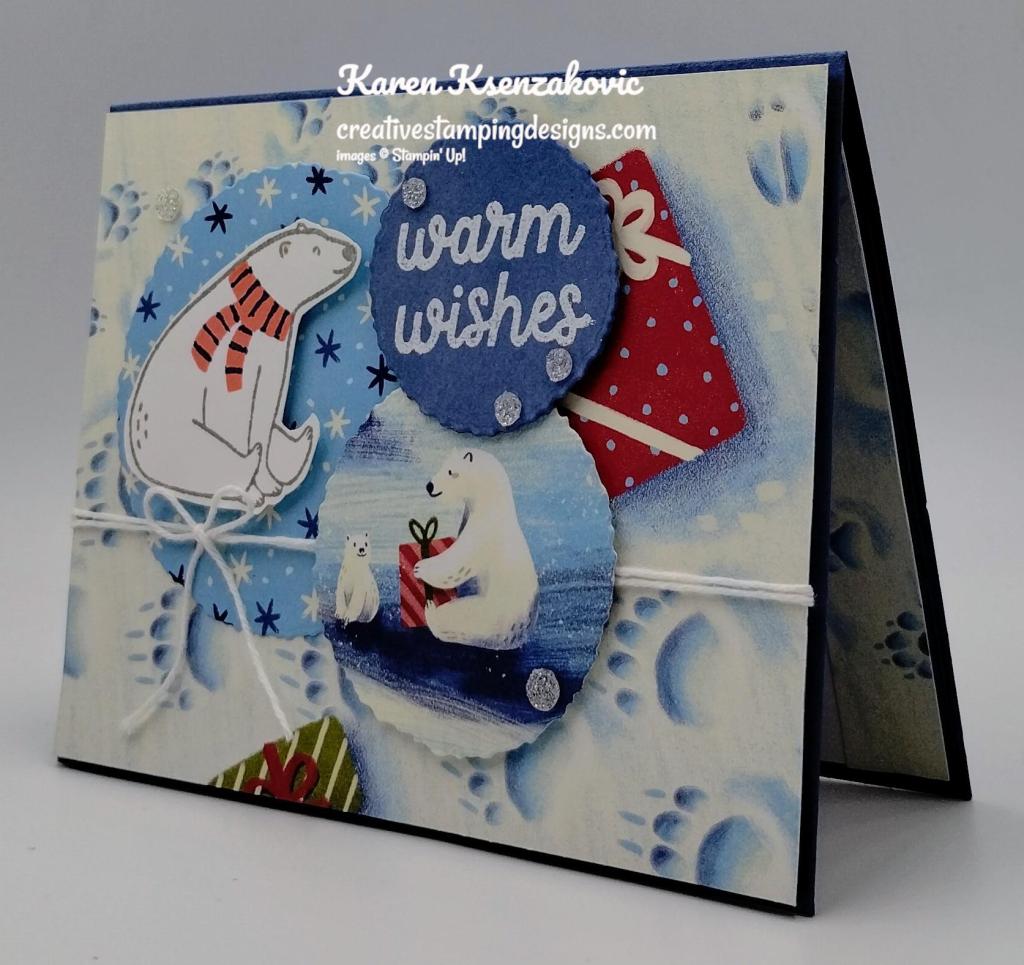
On the smallest circle die, I stamped the sentiment from the Beary Cute stamp set in Versamark Ink. I sprinkled it with White Embossing Powder and set it using the Heat Tool. I adhered the sentiment to the card front using Stampin’ Dimensionals. I added a few Adhesive-Backed Glitter Sequins to the card front.
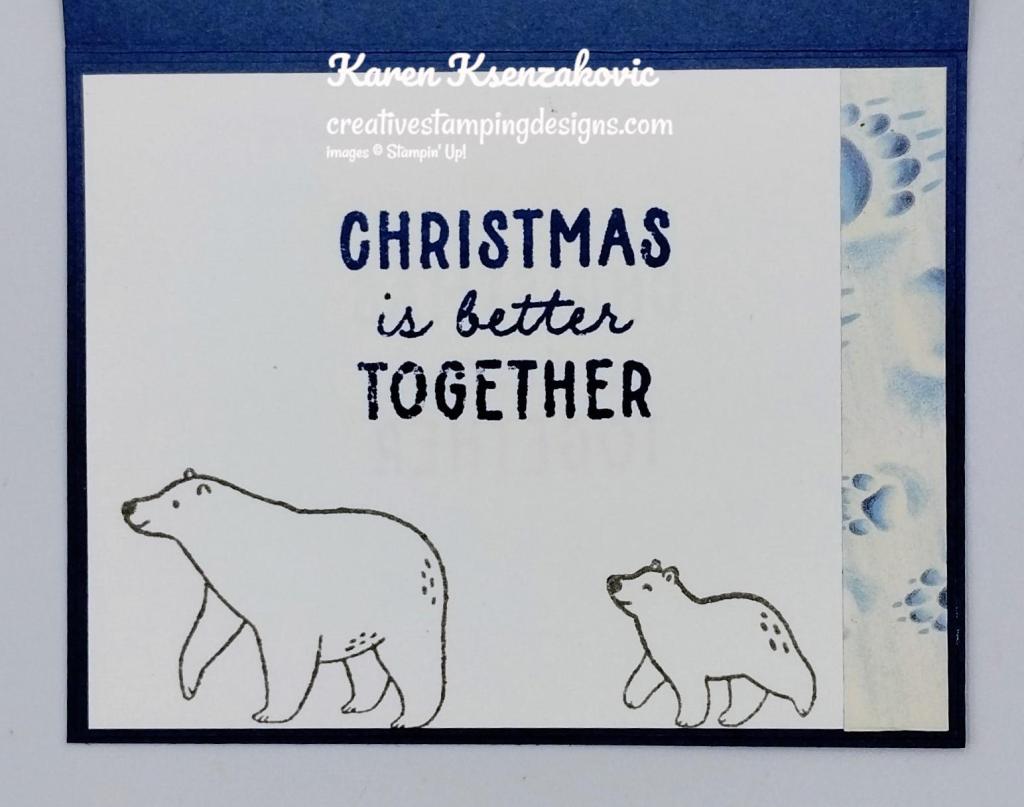
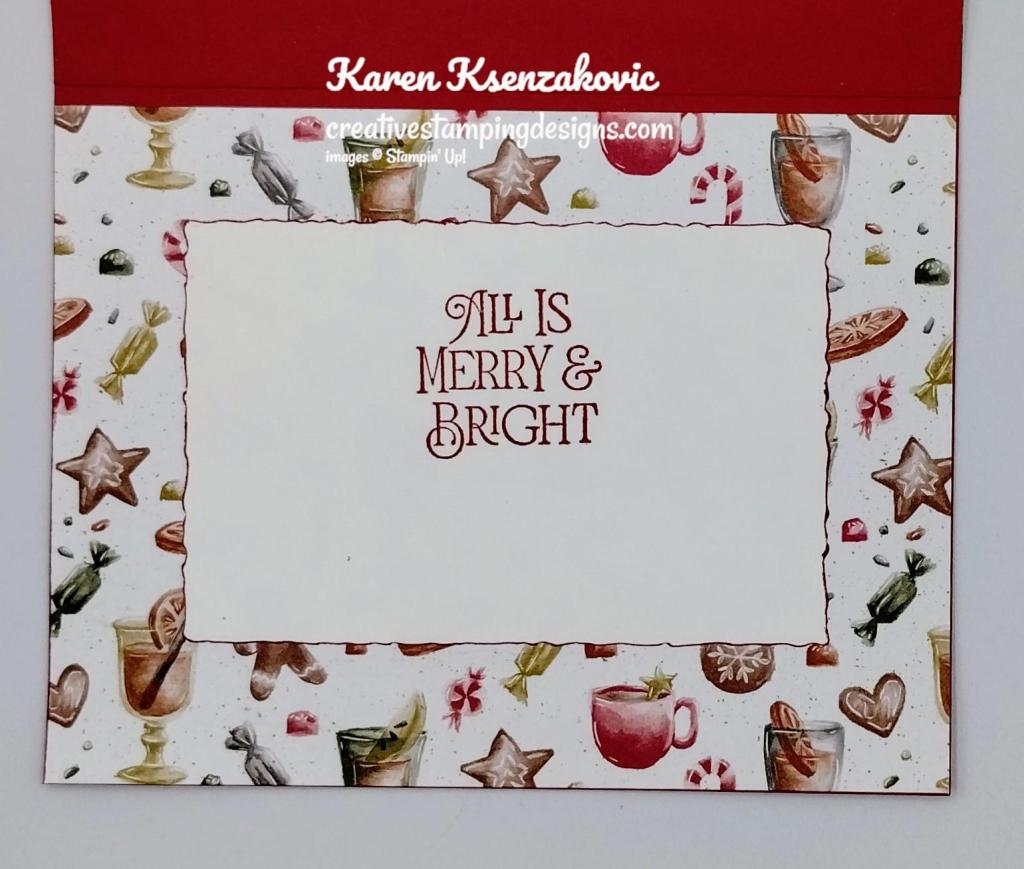
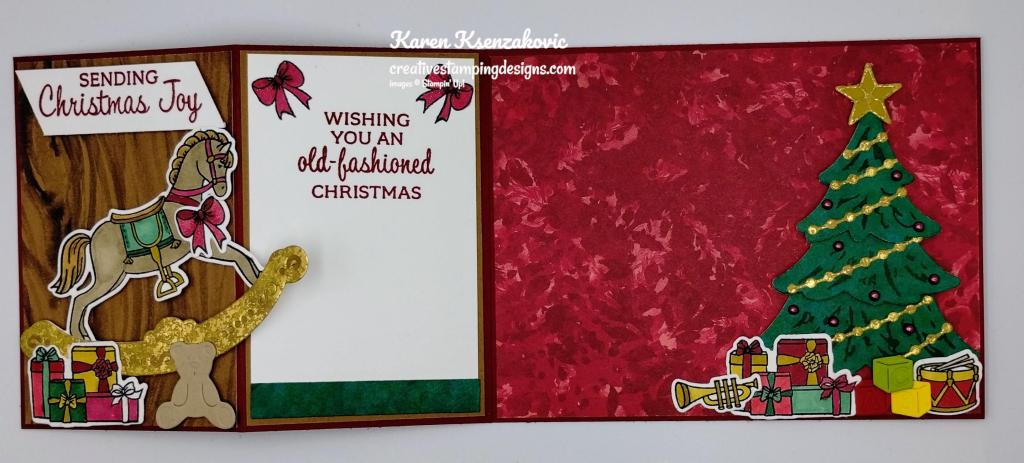
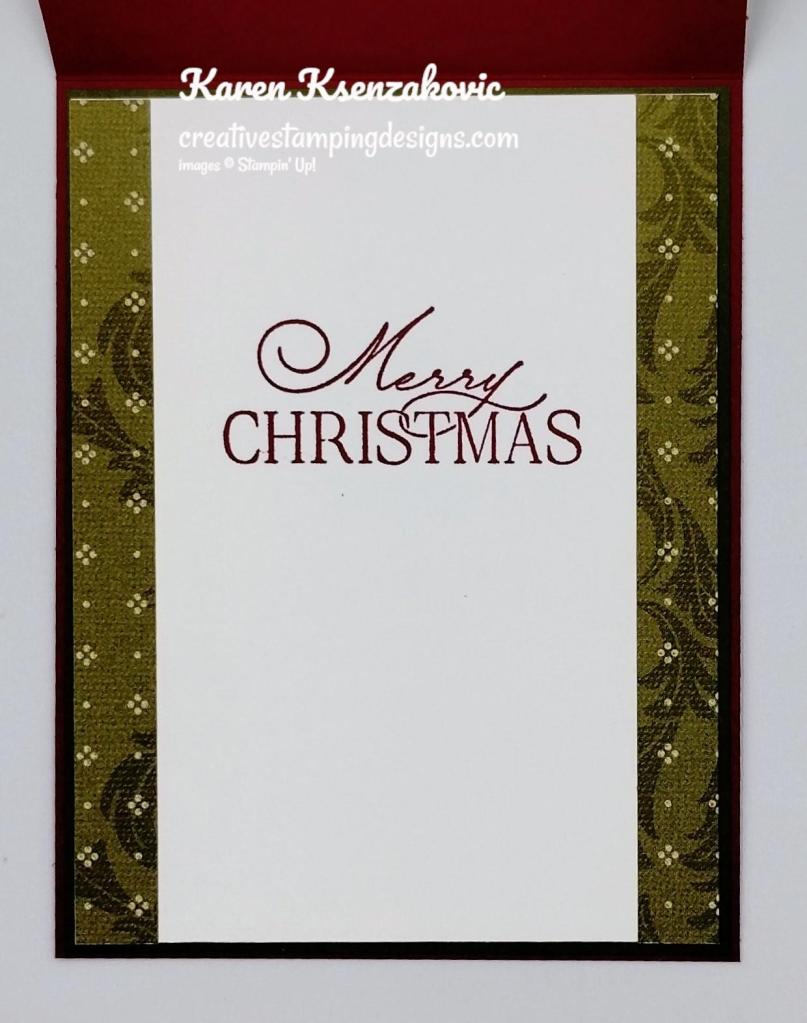
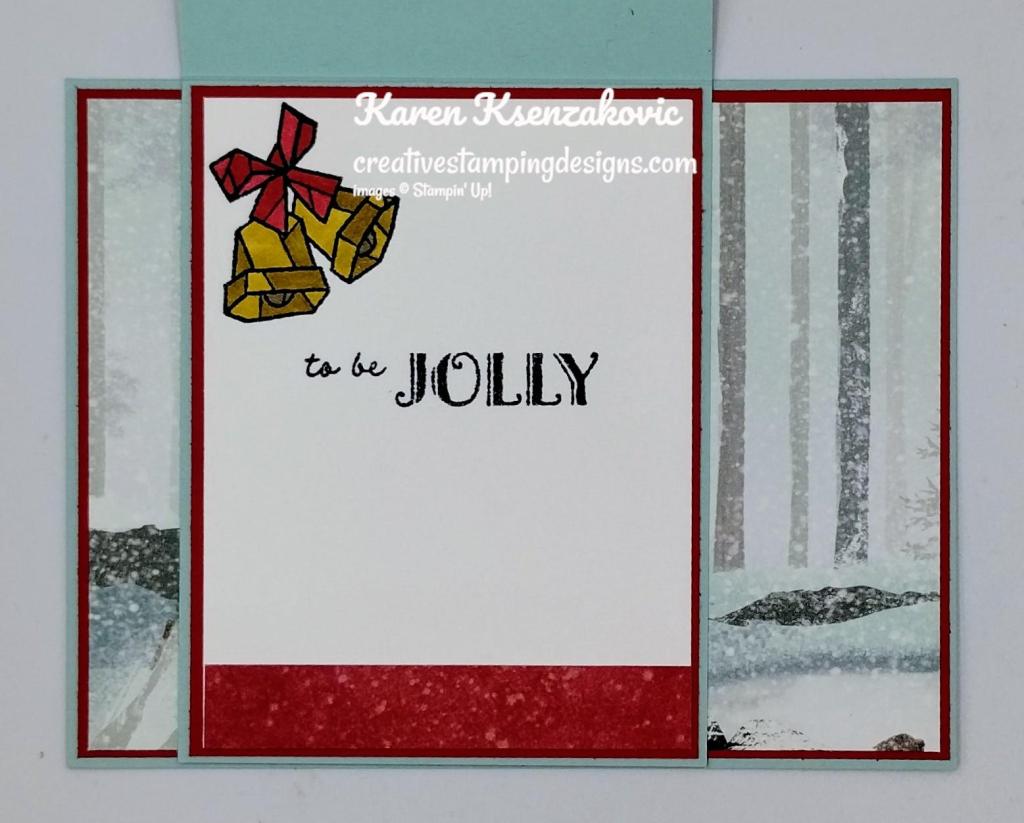
On the inside I stamped the sentiment from the Beary Cute stamp set in Misty Moonlight Ink on a panel of Basic White. I stamped the larger and small bear images from the Beary Cute stamp set on the bottom of the panel in Smoky Slate Ink. I adhered a strip of Beary Christmas DSP to the side of the panel. I adhered the Basic White panel to a Misty Moonlight mat then to the inside of the Misty Moonlight card base.
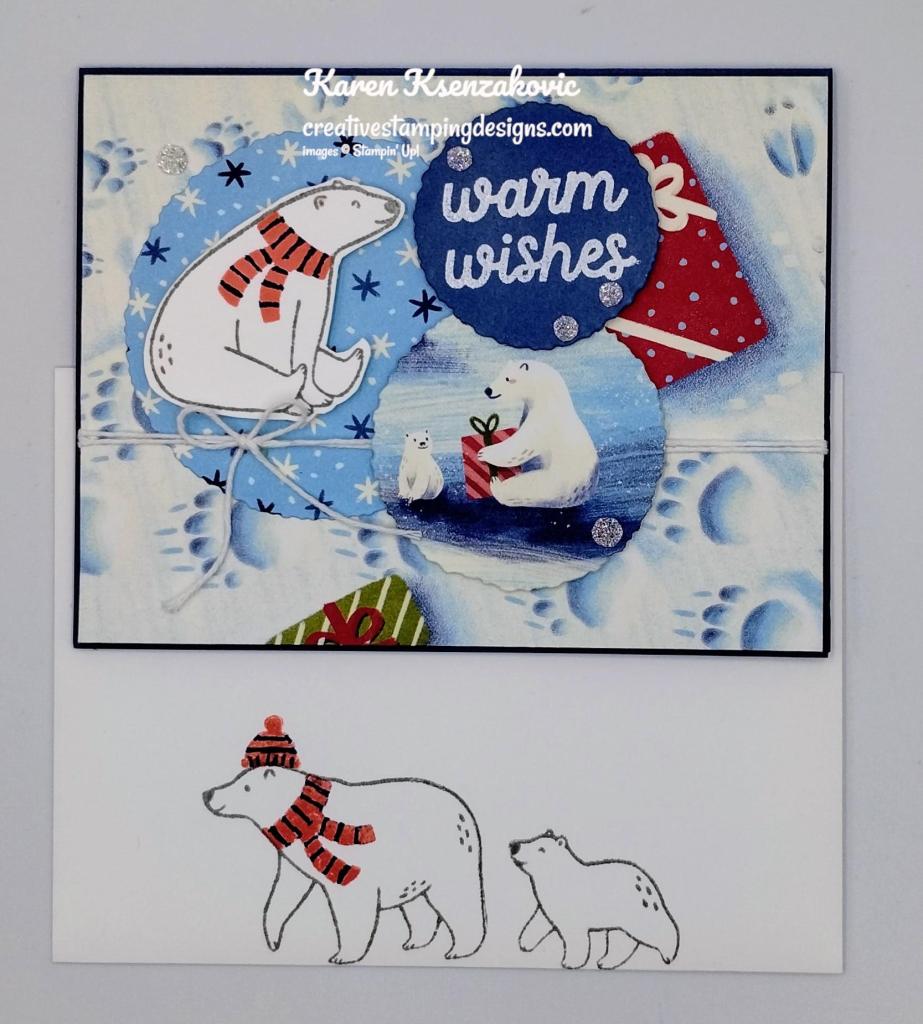
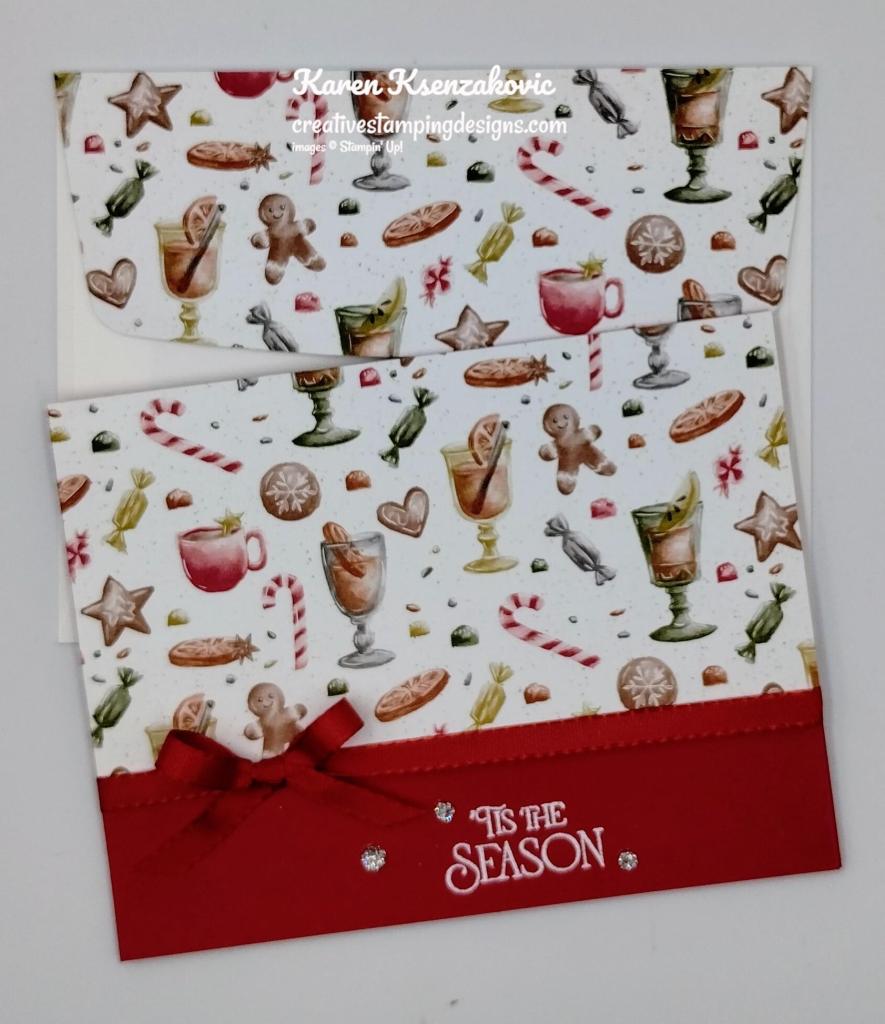
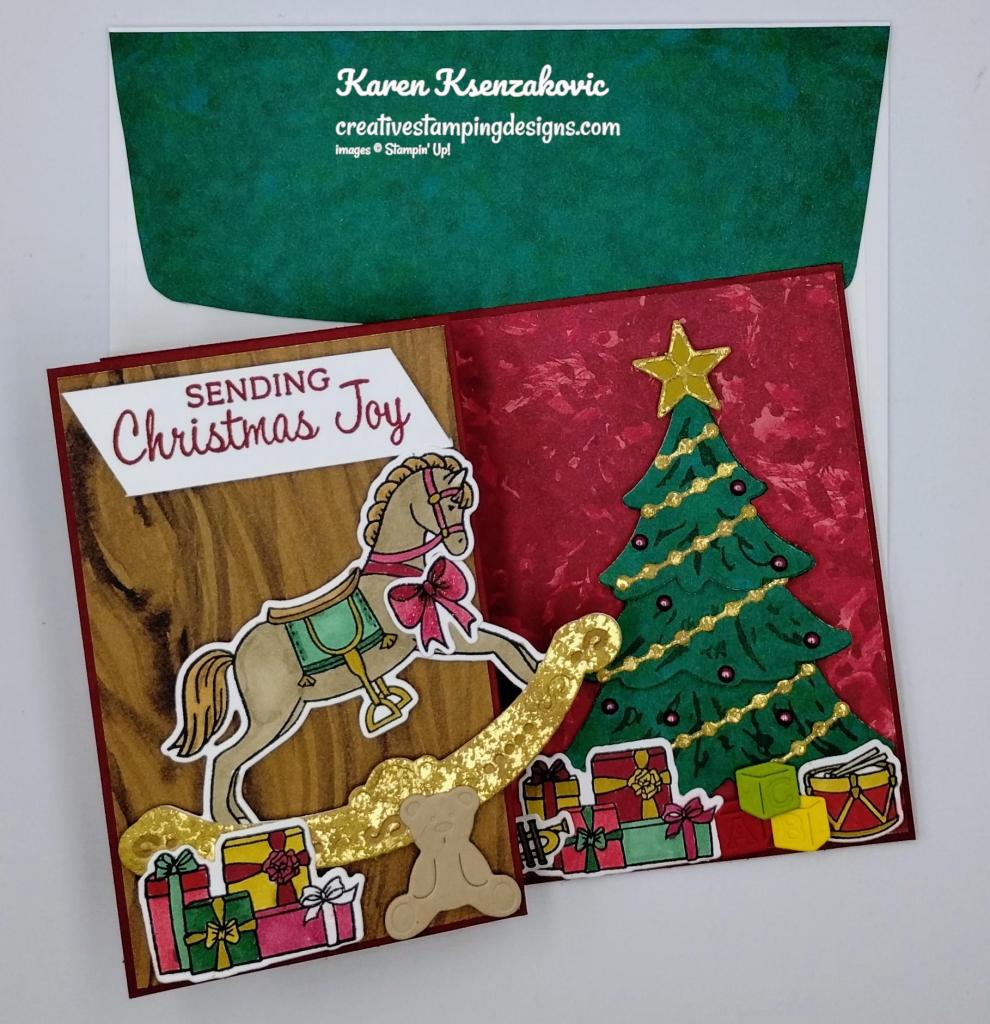
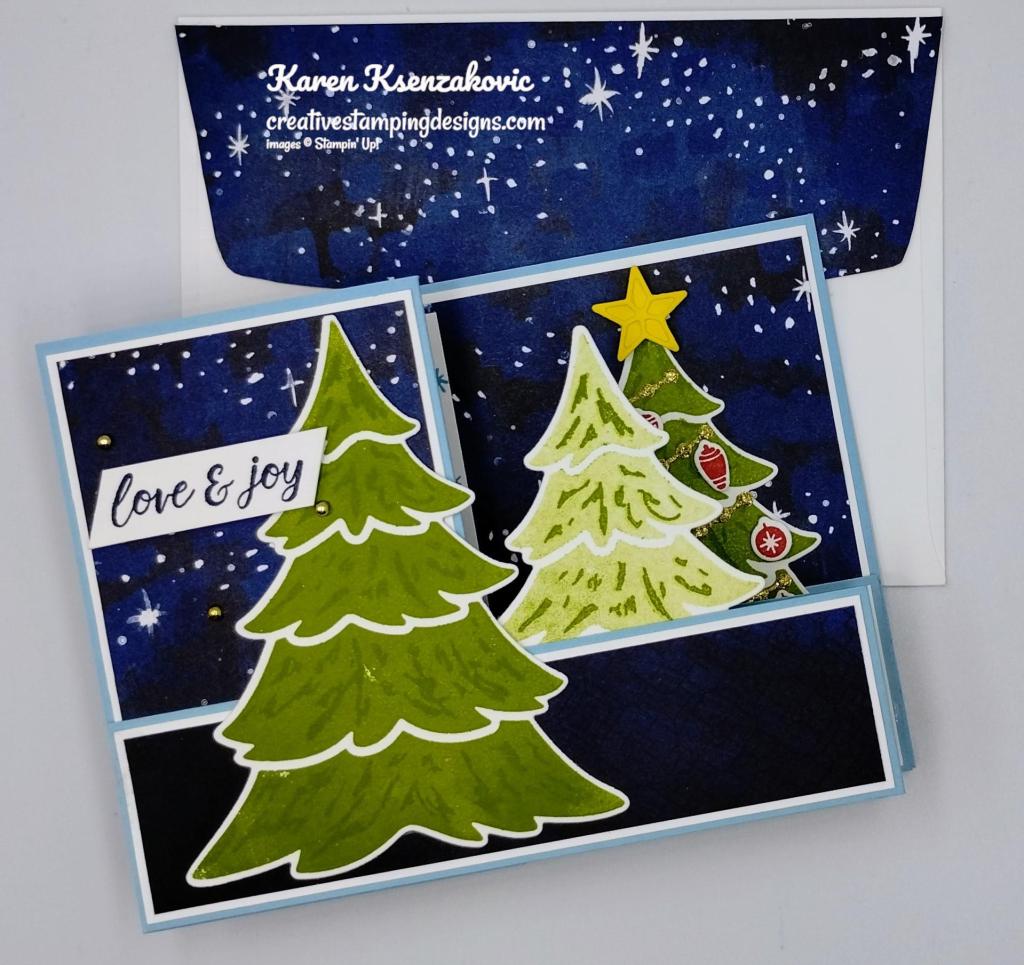
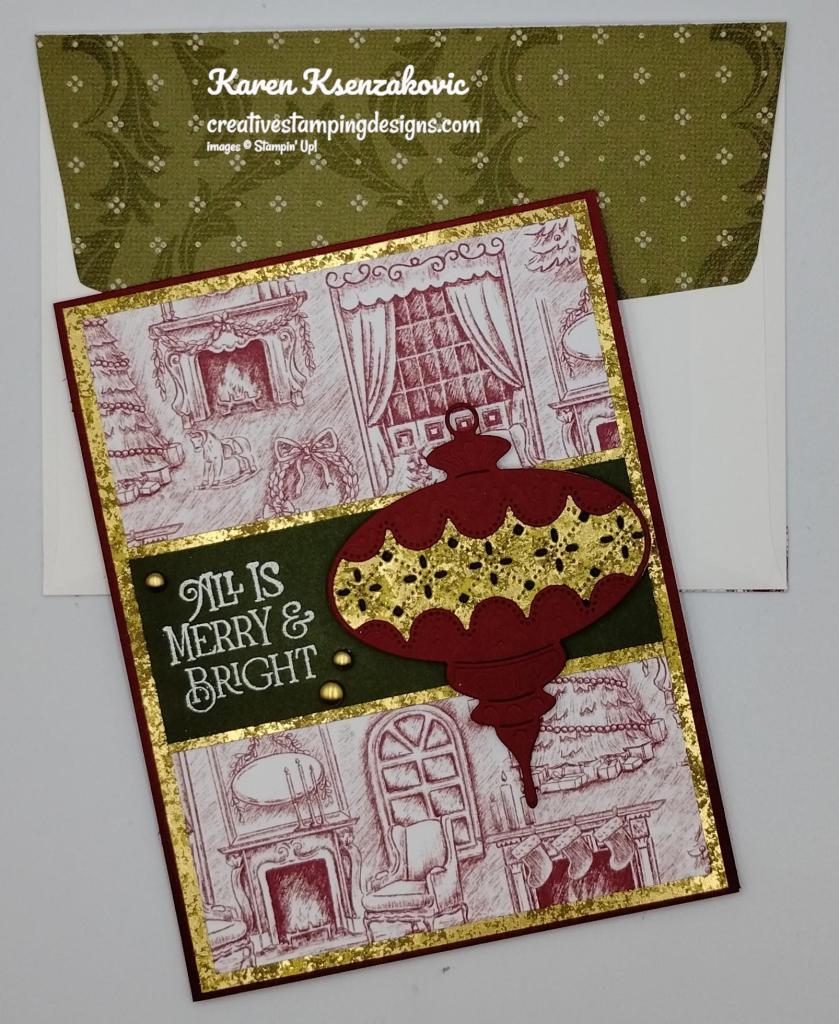
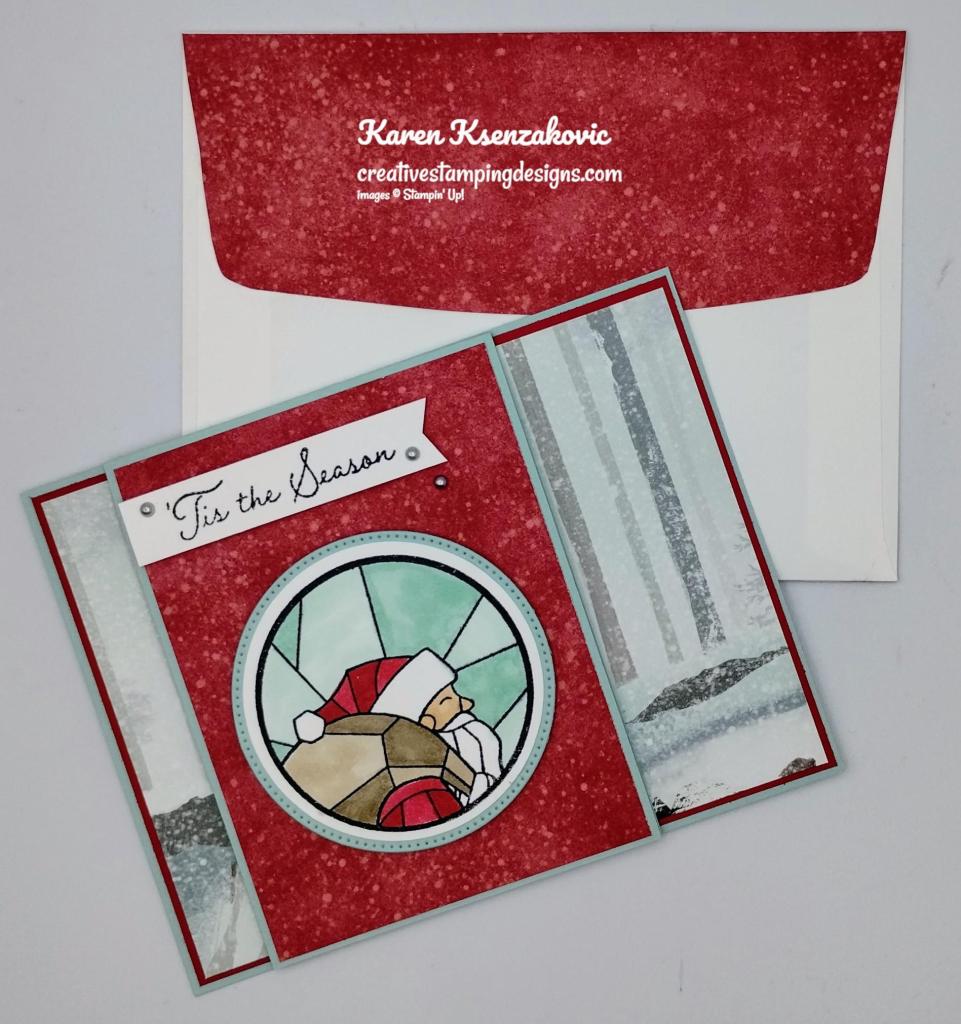
To complete my card, I decorated a Basic White Medium Envelope. I stamped the large and small bear images from the Beary Cute stamp set in Smoky Slate Ink on the envelope front. I stamped the scarf & hat images from the Beary Cute stamp set in Flirty Flamingo Ink on the larger bear. I colored the stripes using the Misty Moonlight Stampin’ Write Marker. I adhered a panel of Beary Christmas DSP to the envelope flap.
Thank you for stopping by my blog today. I hope you liked my card and will give it a try. Now that you’ve seen my card, take a minute to hop through and see everyone’s projects today. If you click on the Next Blog button, you’ll go to Tara’s page. Or you can just click on the names below to go directly to all their blogs! Happy Hopping!

Karen Ksenzakovic You Are Here
*********************************************************************************************************
If you need any stamping supplies, I’d love to be your Demonstrator. Just click HERE to go directly to my online store or drop me an email if you have any questions.
MY CURRENT HOST CODE IS: WRAGYZRS
Use this host code when placing an order with me. When you order $50 or greater you will receive a free gift from me! If your order is over $150, please do not use this code, but you’ll still get the free gift. The free gift is your choice of any 1 item valued up to $10.00 from the 2023-2024 Annual Catalog! Unfortunately, packs of cardstock are no longer an option for a free gift. Shipping has become too expensive to ship and it’s costing me as much to ship as the cardstock costs. For any orders $50 or more I will also send you my monthly class tutorials. Click HERE or go to my Customer Rewards for more details and to see what this month’s tutorials are.
Please remember to use my current Host Code and make sure that you can see my name on the final checkout page listed as your Demonstrator when you order so that you know that you’re ordering with me, and you’ll get my rewards!
Happy Stamping, Karen
*********************************************************************************************************
In response to changing policies at Stampin’ Up – I’m adjusting my Ordering Gift policy as well. I’m having to get a little more tough on the adding of Host codes when you place your order thru my Online Store.
Not to worry – you’re still going to get that $10 ordering gift for orders of $50 (before shipping & tax) or greater. And the gift is still any 1 SU! product up to that $10 value – which includes some of our fun Host Sets!
But – if you DO NOT use the Host code for your orders of less than $150 (this is the RETAIL total before Shipping & Handling), then you’ll have two options:
- You’ll need to call Stampin’ Up! (1-800-Stamp-Up) and ask them to add it for you. They’re very helpful and will get it done quickly! OR….
- If your order was over the $50 threshold but under $150, then…you’ll forfeit that $10 ordering gift and rewards – this is the Bummer Option – and I REALLY don’t want to do this, SO please remember to add my Current Host Code.
*********************************************************************************************************
Stampin’ Up! World Card Making Day Event – Saturday, October 7!

You are invited to craft along with Stampin’ Up! for about three hours, and create three unique cards for World Card Making Day! Everyone is invited and welcome and the event and registration are FREE!
Don’t miss out on this opportunity to connect with others who love crafting as much as you do and to experience all that Stampin’ Up! has to offer. Mark your calendars now and join us on October 7!
EVENT DETAILS
Who: Anyone!
When: October 7 from 2:00–5:00 p.m. (MT)
Where: Online
Price of Event: Free
Registration Dates: September 6 – October 7, 2023
You can participate in the event without registering. However, registration is encouraged because it’s the best way to stay up to date regarding event details. The email address provided will only be used for event communication.
Language of Event: Most of the event will be presented in English with language interpretation voiceover and subtitles in English, French, German, and Dutch.
Help Support : Support will be available on the event platform one hour before the event begins, during the event, and for 30 minutes following the event.
Video on Demand: The World Card Making Day event will be recorded, and you’ll be able to access it after the live event. It will be available October 8-31.
Click Here to open a full-size flyer showing you the stamp set bundles that will be used (including the new Heartfelt Hexagon bundle!!) for the projects on World Card Making Day.
Click Here for the measurements and card stock cuts for the three projects that will be shared at the World Card Making Day event.
*********************************************************************************************************
Celebrate The Miracle Stamp Set Available Now!!
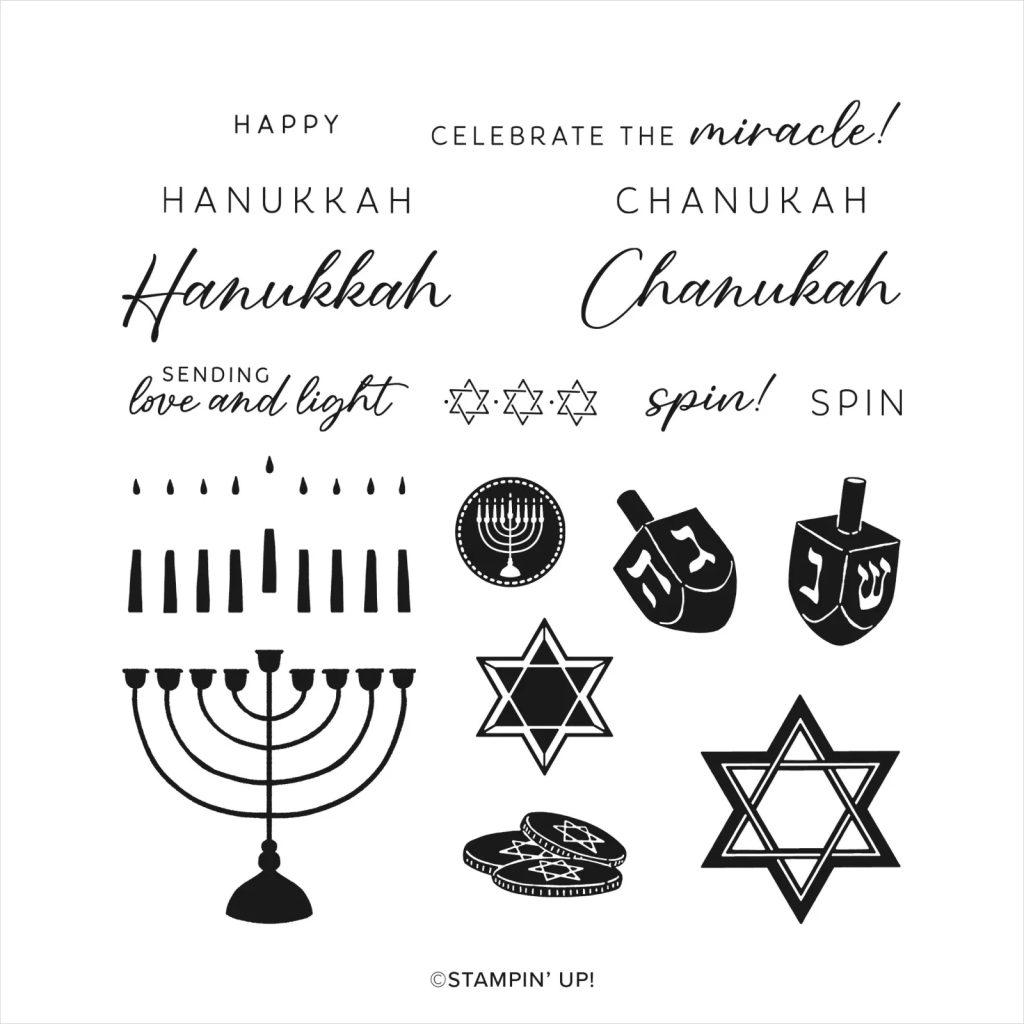
This just in! Stampin’ Up!’s Celebrate the Miracle stamp set (item 165131) is now available as an online exclusive! This beautiful Hanukkah stamp set has 19 stamps and is available to order now in the Online Exclusives section of the online store!
*********************************************************************************************************
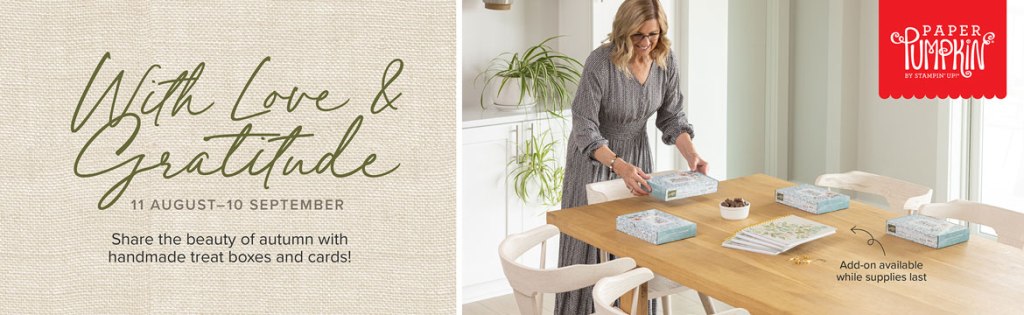
Home for the Holidays
Subscribe September 11 – October 10
Create dazzling traditional Christmas cards with the Home for the Holidays Paper Pumpkin Kit! This kit includes eight beautiful cards—four each of two designs. Whether you want to send a few to your loved ones or fill your home with some extra special Christmas cheer, this kit has everything you need to make some sparkly, festive cards. Keep reading to learn more!

One extra fun feature of the Home for the Holidays Paper Pumpkin Kit is the bottle of glitter glue! You can use this glue to add shimmery, shiny details to the Christmas scenes on their cards. You can add some glitter to the trees, houses, snow, and more. There are endless possibilities you will have with this glue and the kit.

Bring some inspiration to your creations with the coordinating box design! This box could help create a cute village Christmas scene with your cards, and more. You could even use the box as a photo op prop! This is a fun way to make the most of the kit. Don’t let the Christmas crafts end once you finish with this kit! Since the Home for the Holidays Kit perfectly coordinates with the November Paper Pumpkin Kit, you and you will be able to extend your holiday crafting experience even further. So make sure your subscription is up to date!
This kit includes:
- All the supplies you’ll need to create 8 sparkly and dazzling Christmas cards—4 each of 2 designs—and eight coordinating envelopes.
- A coordinating photopolymer stamp set with endearing holiday sentiments and festive designs.
- A Real Red Stampin’ Spot
- A bottle of Glitter Glue
- Beautiful Christmasy-themed precut pieces
Finished folded card size: 4-1/4″ x 5-1/2″ (10.8 x 14 cm)
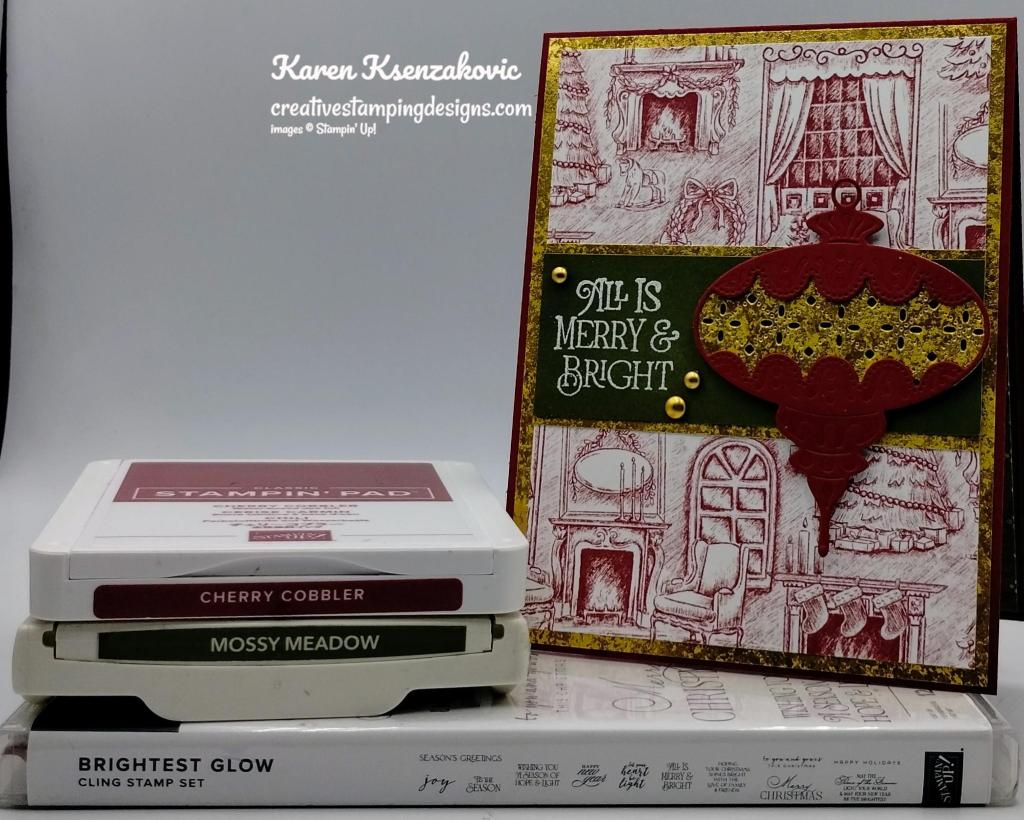
Coordinating Stampin’ Up! colors: Balmy Blue, Blueberry Bushel, Cherry Cobbler, Crumb Cake, Crushed Curry, Daffodil Delight, Lemon Lolly, Mossy Meadow, Night of Navy, Old Olive, Pecan Pie, Real Red
Subscribe to the August Paper Pumpkin Kit between 11 September and 10 October by clicking here!
Note: Supplies may be limited toward the end of the subscription period.
*********************************************************************************************************
Card stock cuts for this project:
- Basic White Cardstock 2″ X 2″ (bear), 4″ X 5 1/4″ (inner liner)
- Misty Moonlight Cardstock 8 1/2″ X 5 1/2″ (card base scored & folded at 4 1/4″), 2″ X 2″ (die cut circle), 4 1/8″ X 5 3/8″ (inner liner mat)
- Beary Christmas Designer Series Paper 4 1/8″ X 5 3/8″ (card front), 3″ X 3″ & 2 1/4″ X 2 1/4″ (die cut circles), 1/2″ X 4″ (inner liner strip), 2 1/4″ X 6″ (envelope flap)
*********************************************************************************************************
Product List
")


 Designer Series Paper")


")


")

 Designer Series Paper")


")
")


 Specialty Designer Series Paper")


 Iridescent Ribbon")


")
")

")
")


 Designer Series Paper")
 Specialty Paper")


 Designer Series Paper")
 Adhesive Backed Glimmer Paper")


")


 Designer Series Paper")


 Textured Ribbon")


 Specialty Paper")


")


 Circle Punch")


")
 Designer Series Paper")


 Bordered Ribbon")

