
Good Friday morning my stamping friends welcome to my fun fold Friday. How was everyone’s week? I hope you are ready for a long weekend. I’ll be at work, but I do have off on Monday and we’re planning on having a picnic/birthday all day. Today is my daughter’s birthday and every year we celebrate on Memorial Day. This year she has to share her celebration with Coraline, my puppy. Coraline turned 1 today.
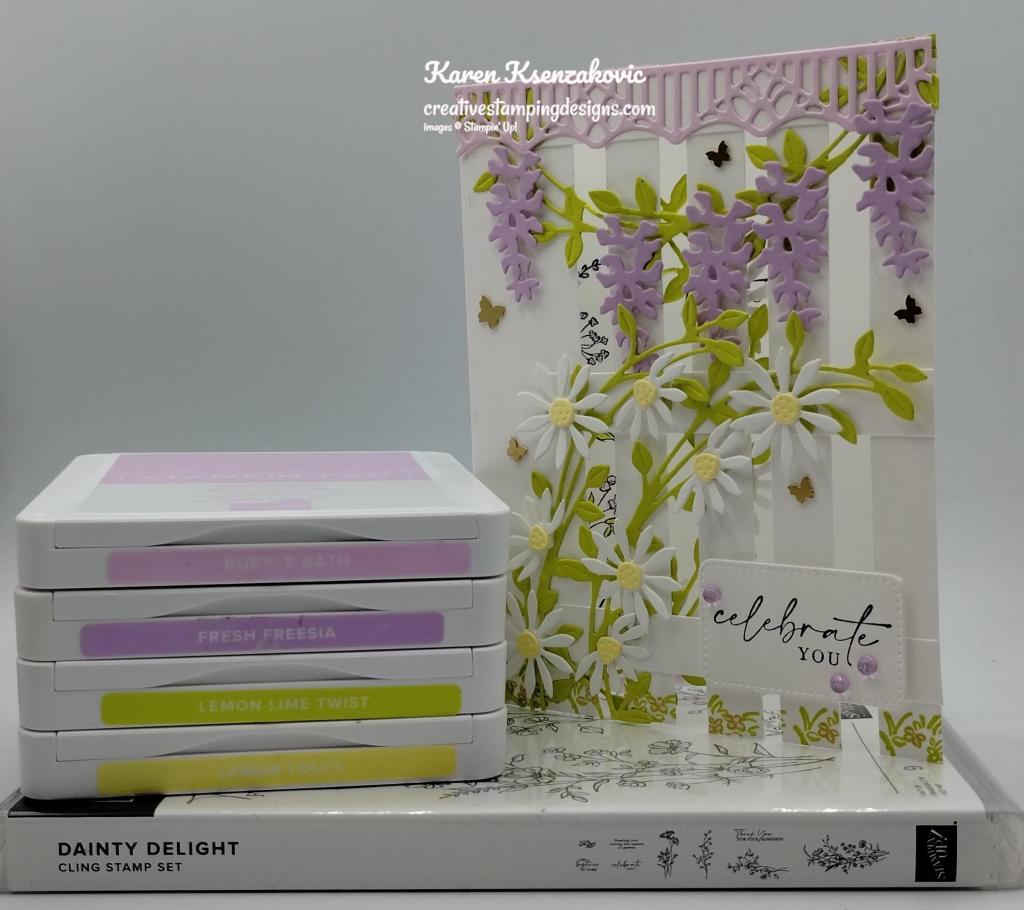
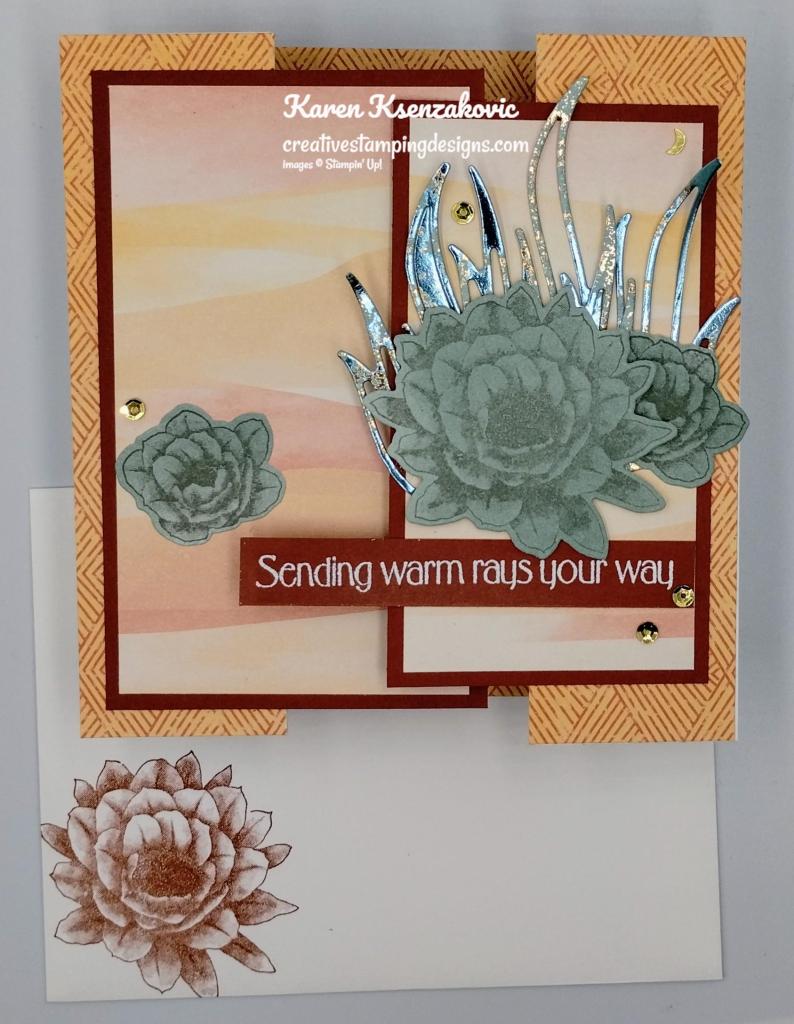
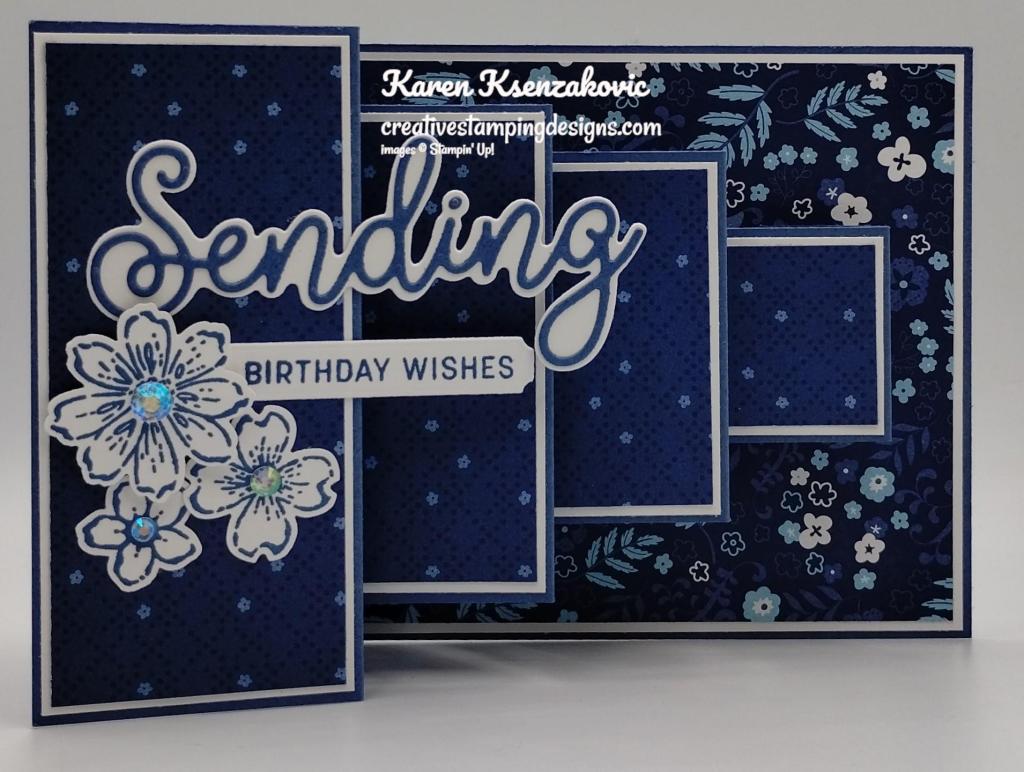
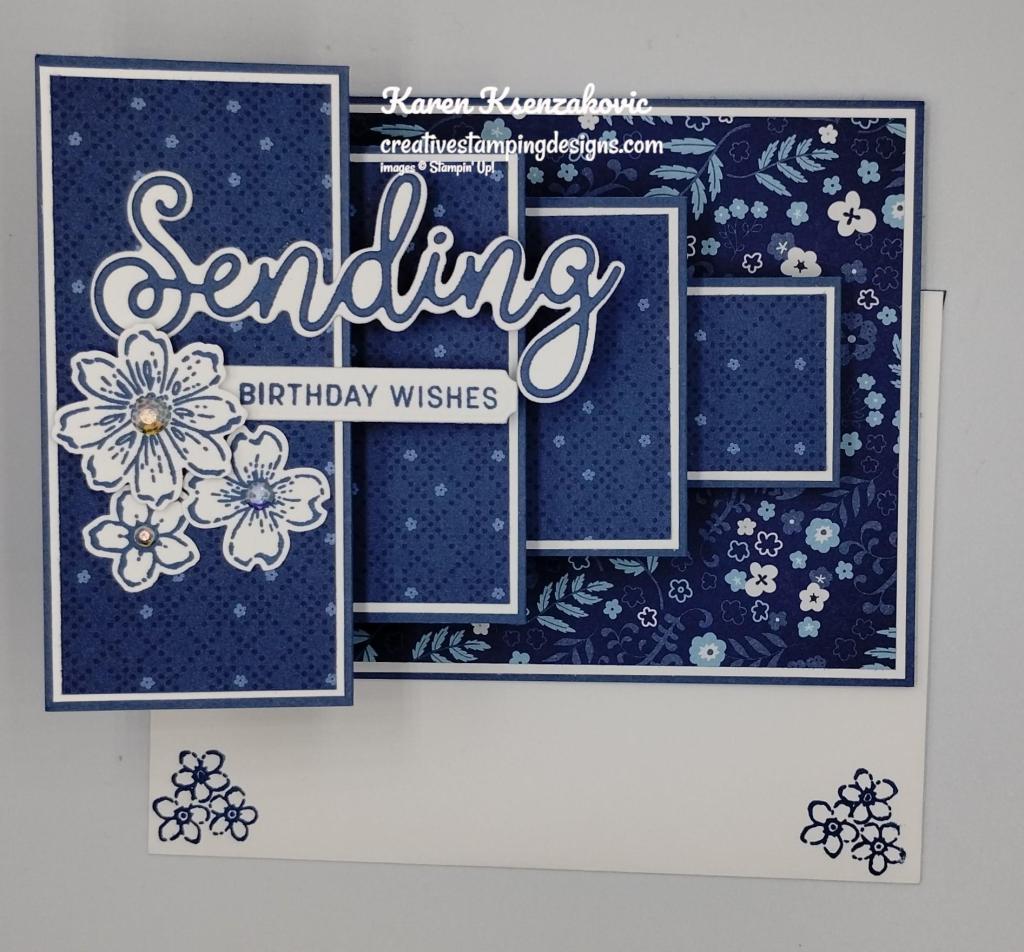
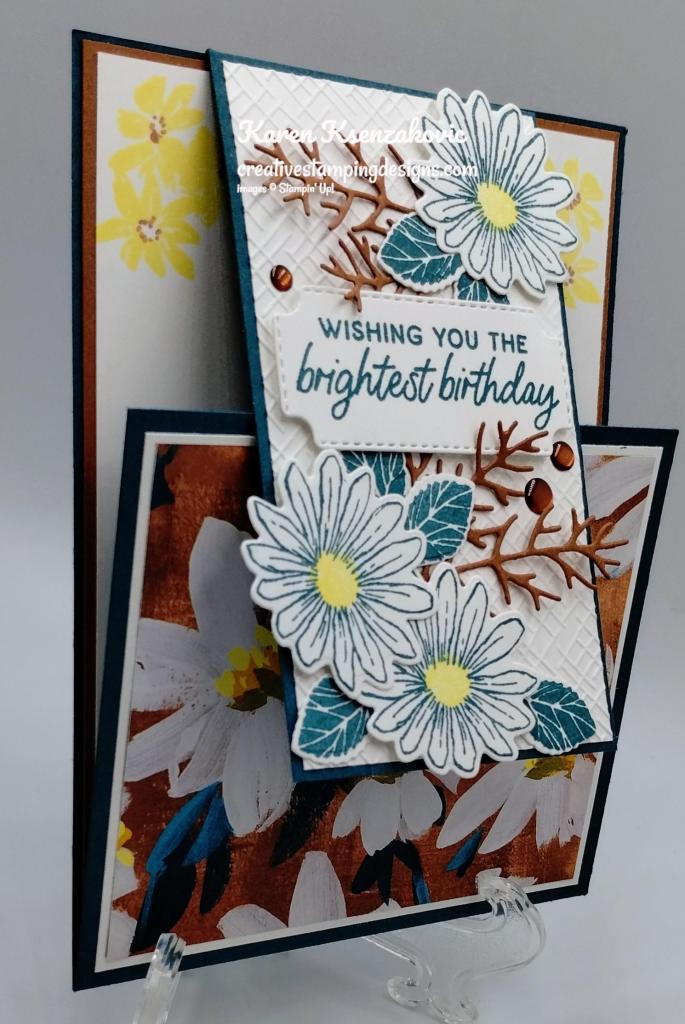
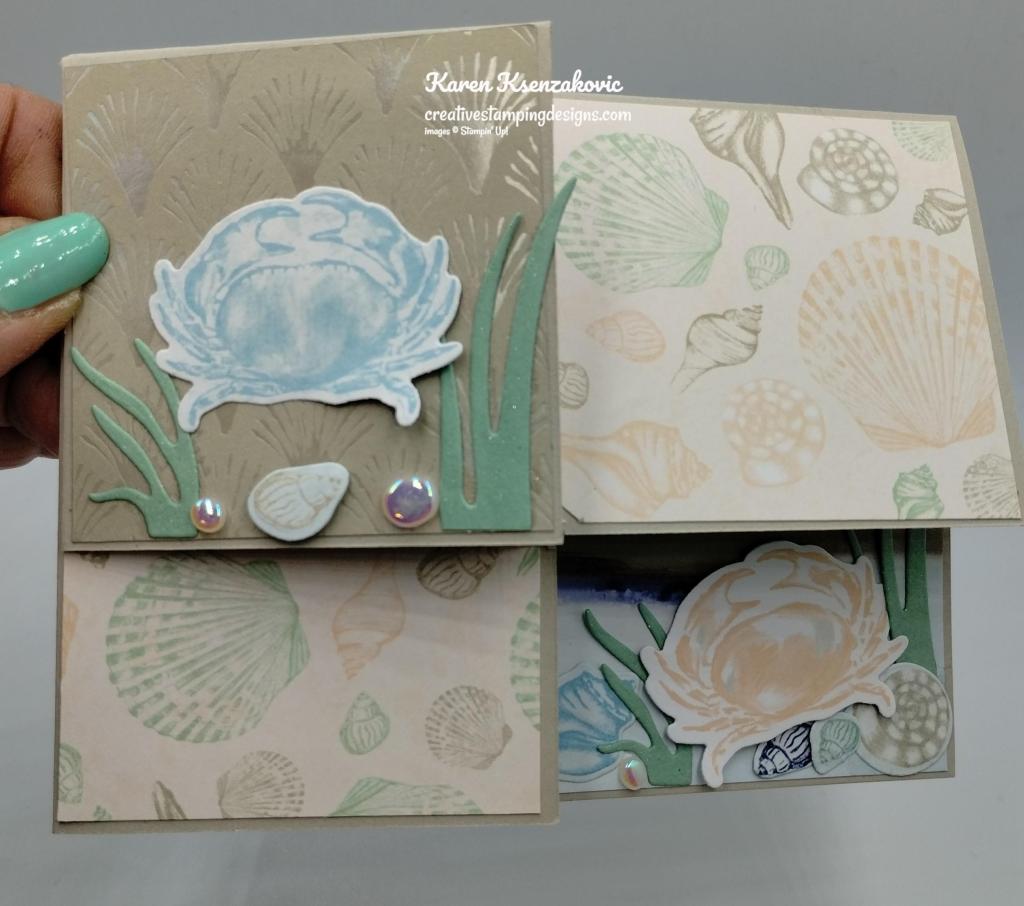
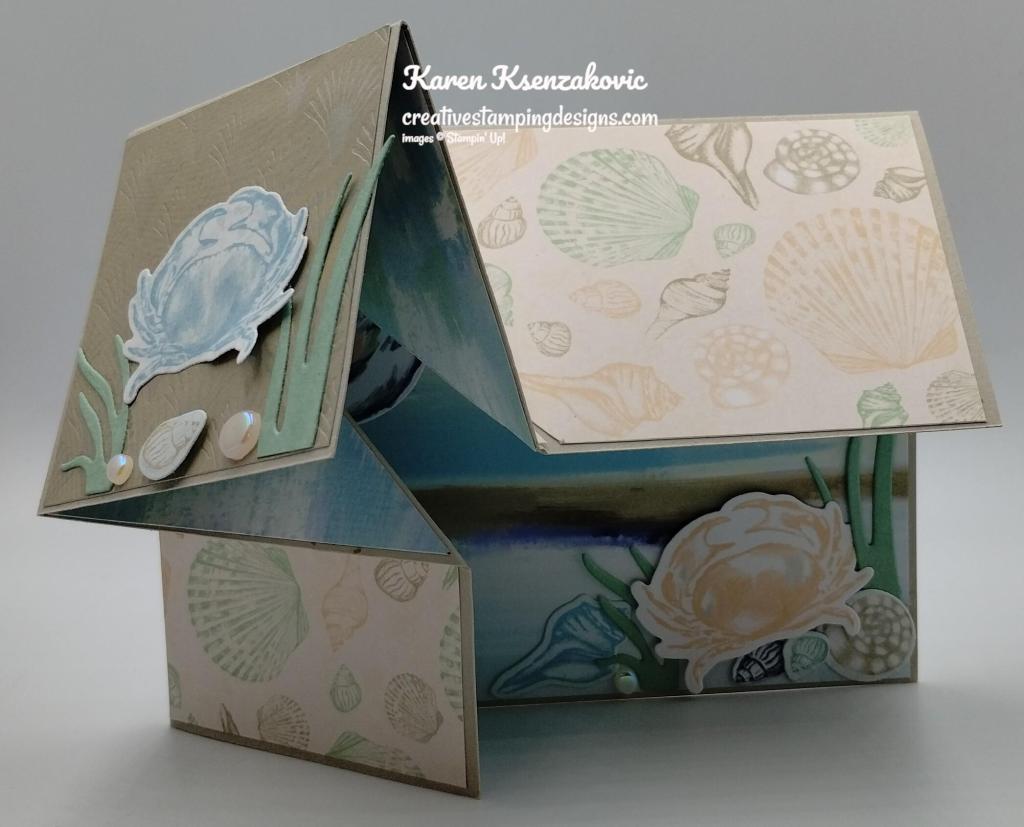
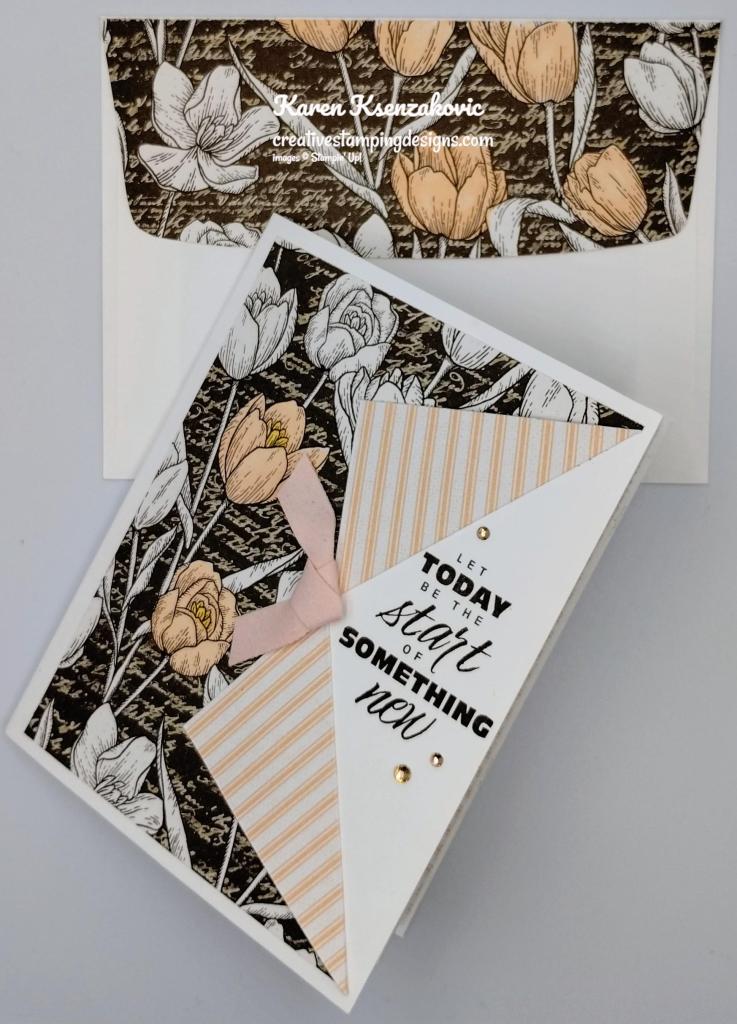
Today’s card I made on my Facebook Live video on Wednesday. I was a little bit of a hot mess, but I made it through. It just wasn’t my day for a live starting with having technical difficulties. If you were able to join me or watched the replay, thank you. If you’d like to watch my video and stamp along, the measurements are below along with the links to my Facebook page and my YouTube channel. Here is my card for today.
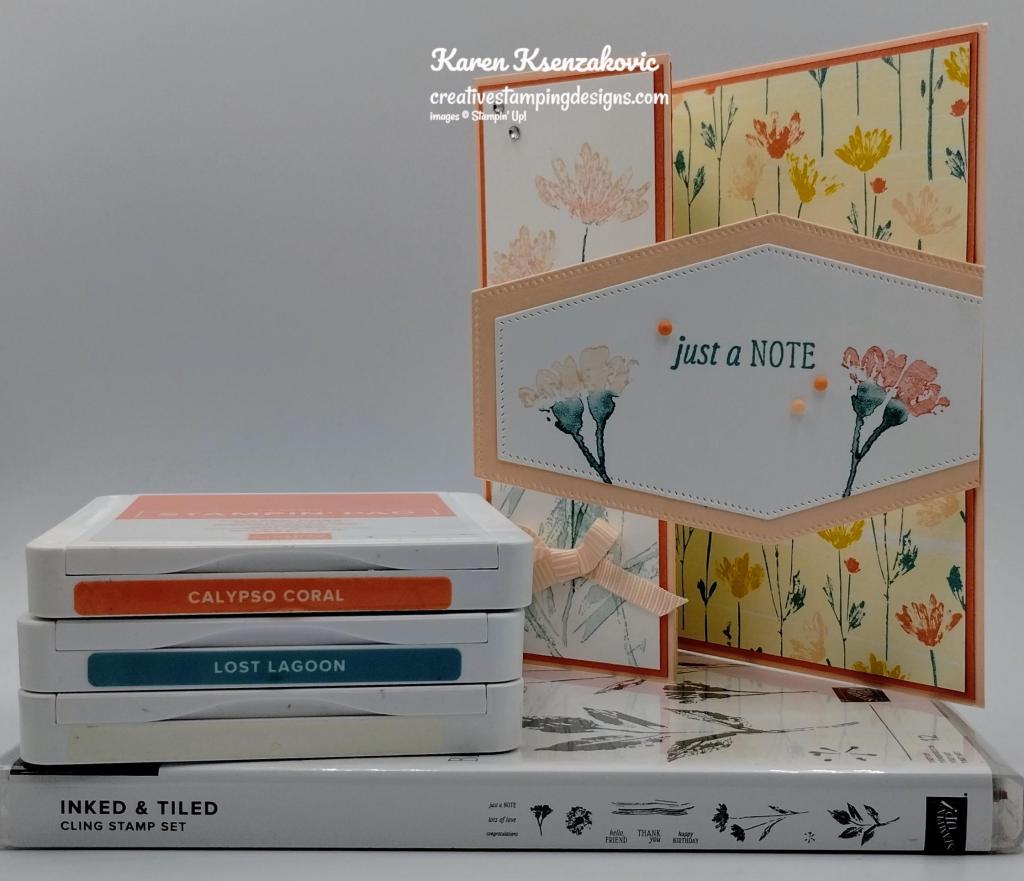
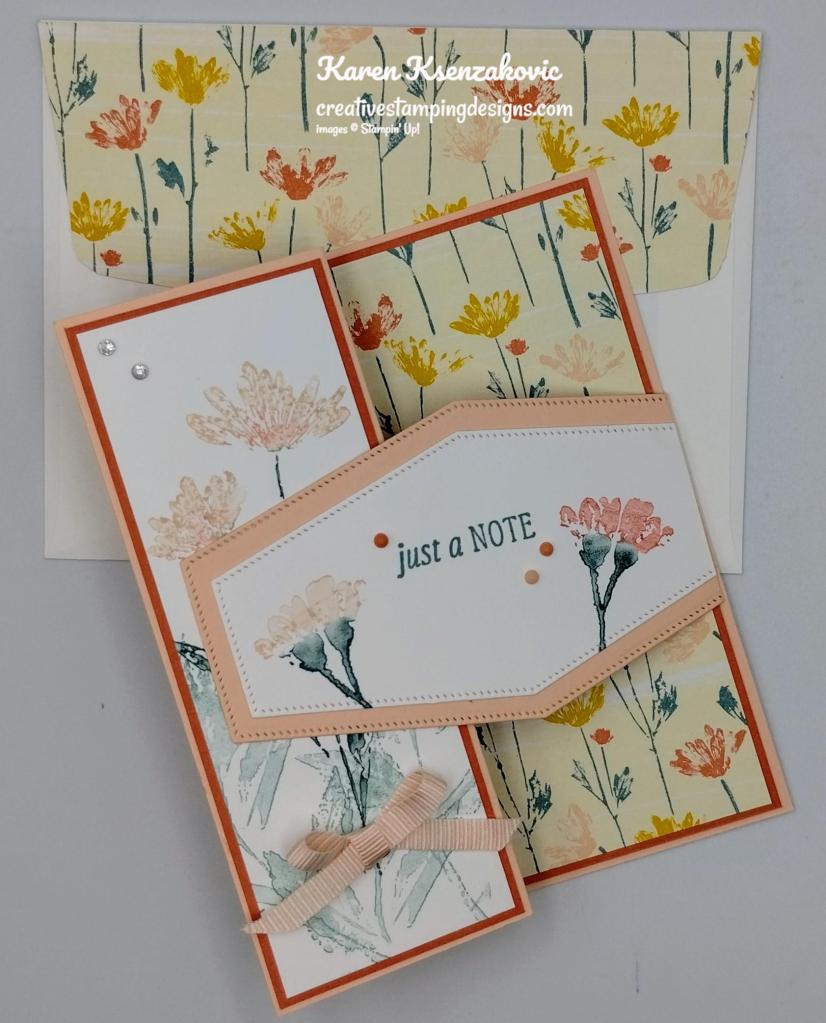
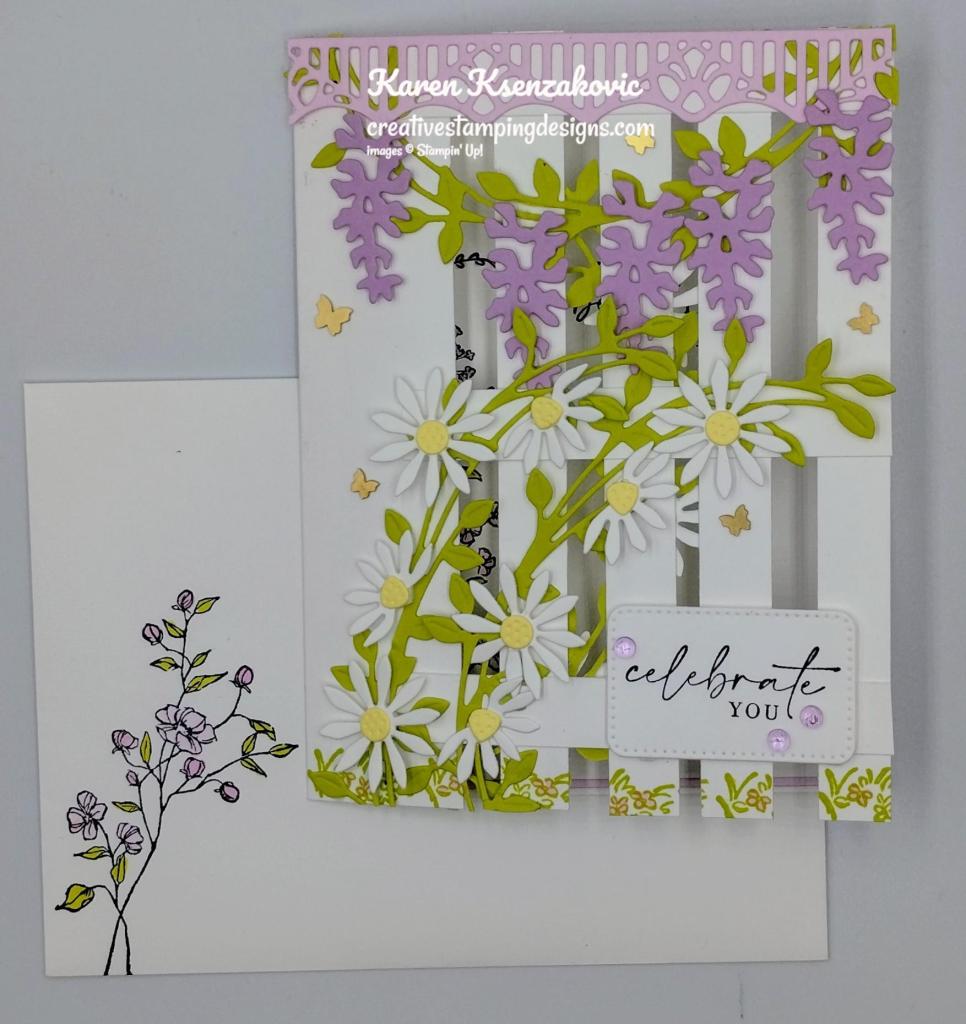
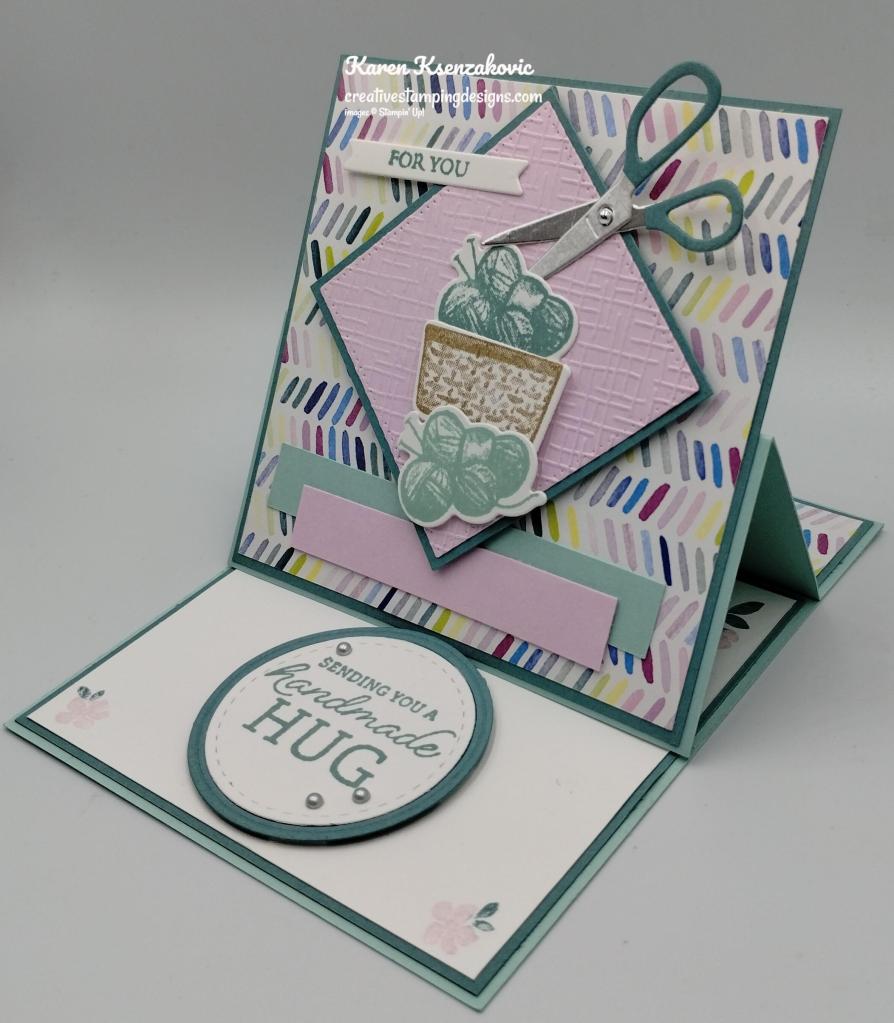
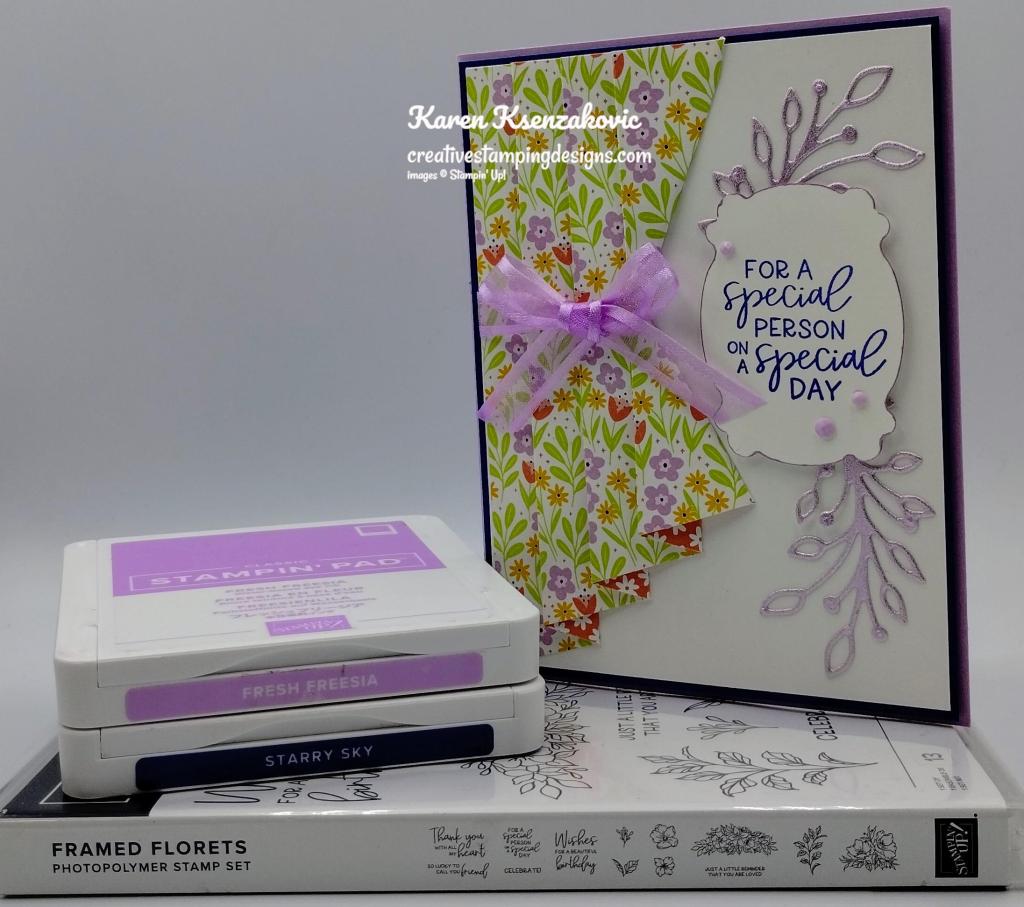
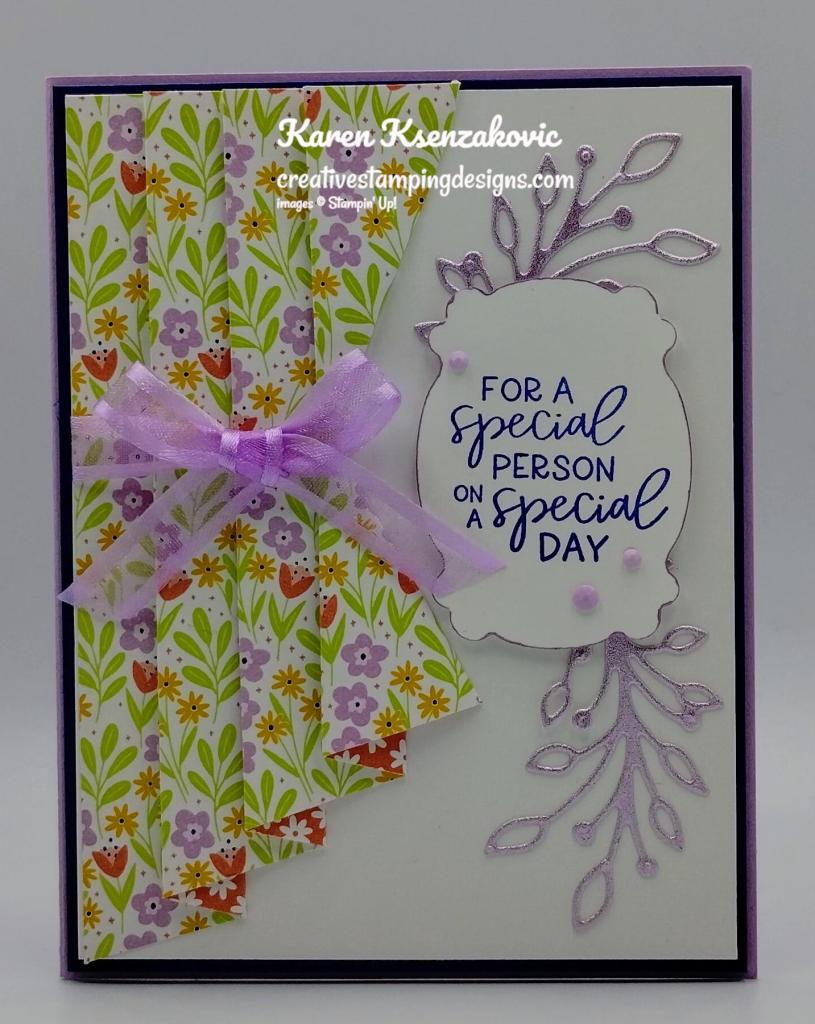
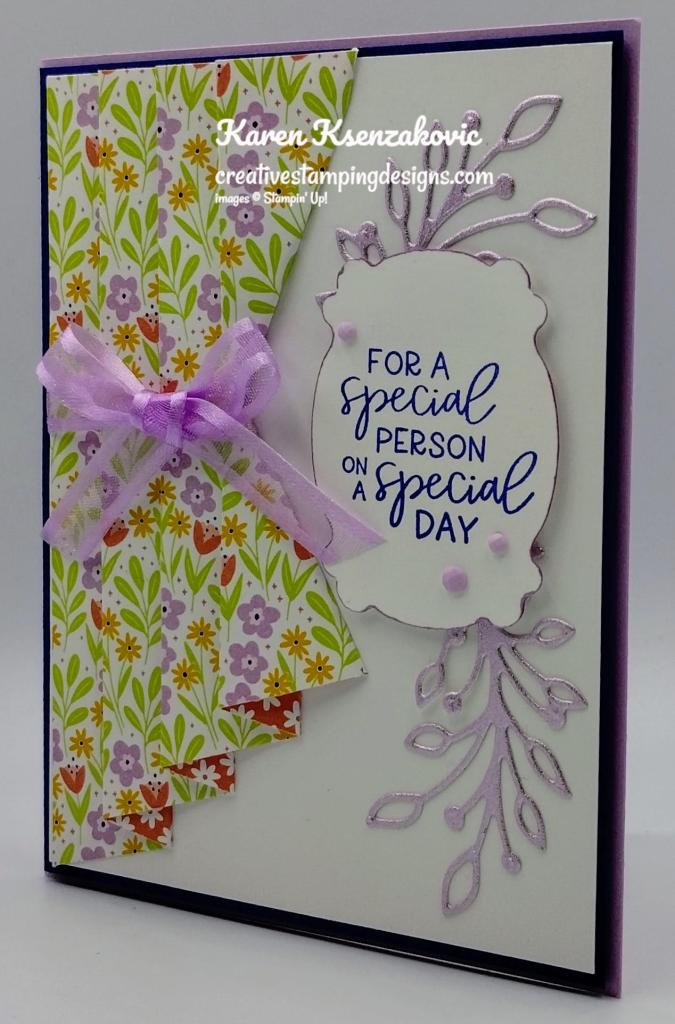
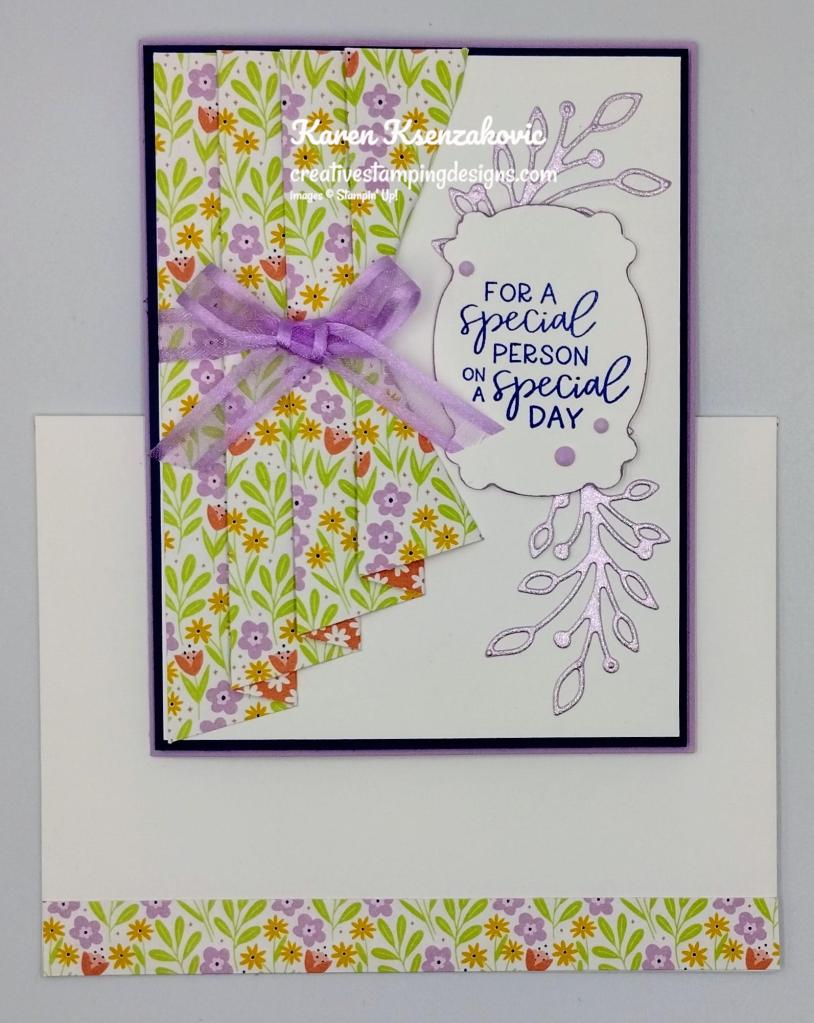
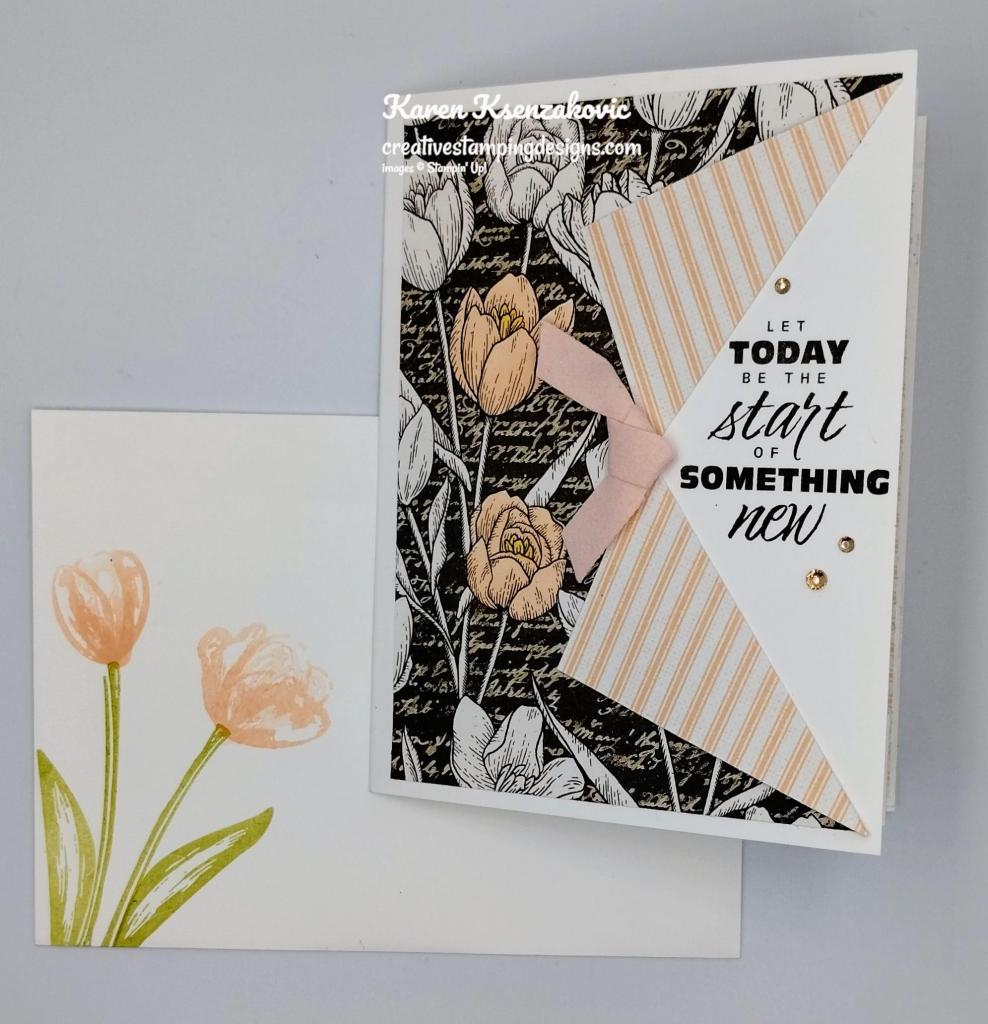
I used the Stampin’ Up! Inked & Tiled Cling Stamp Set along with the Inked Botanicals 6 X 6 Designer Series Paper and Nested Essentials Dies for my card today.

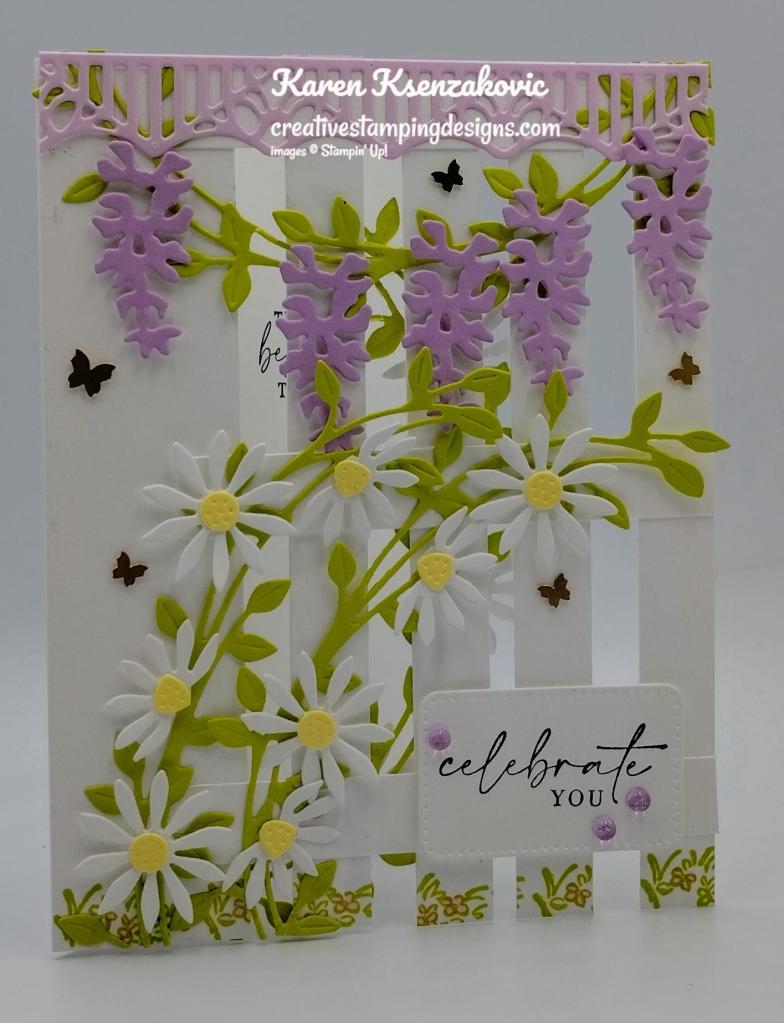
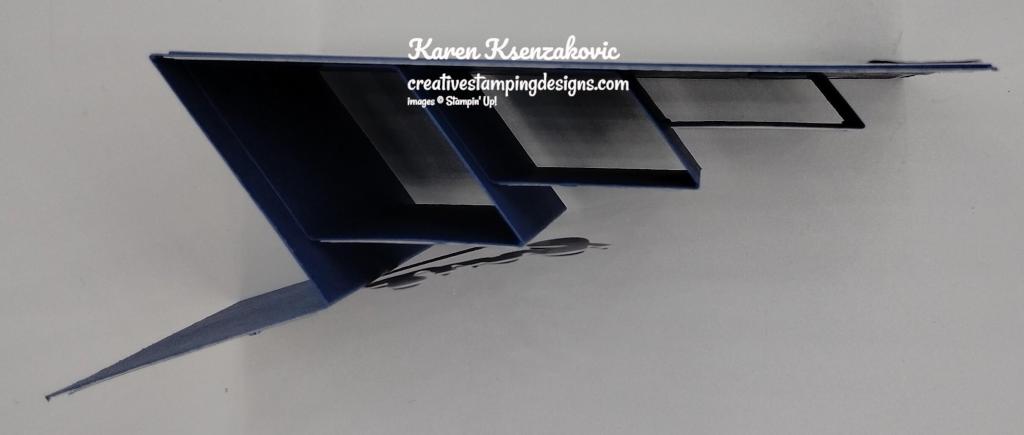
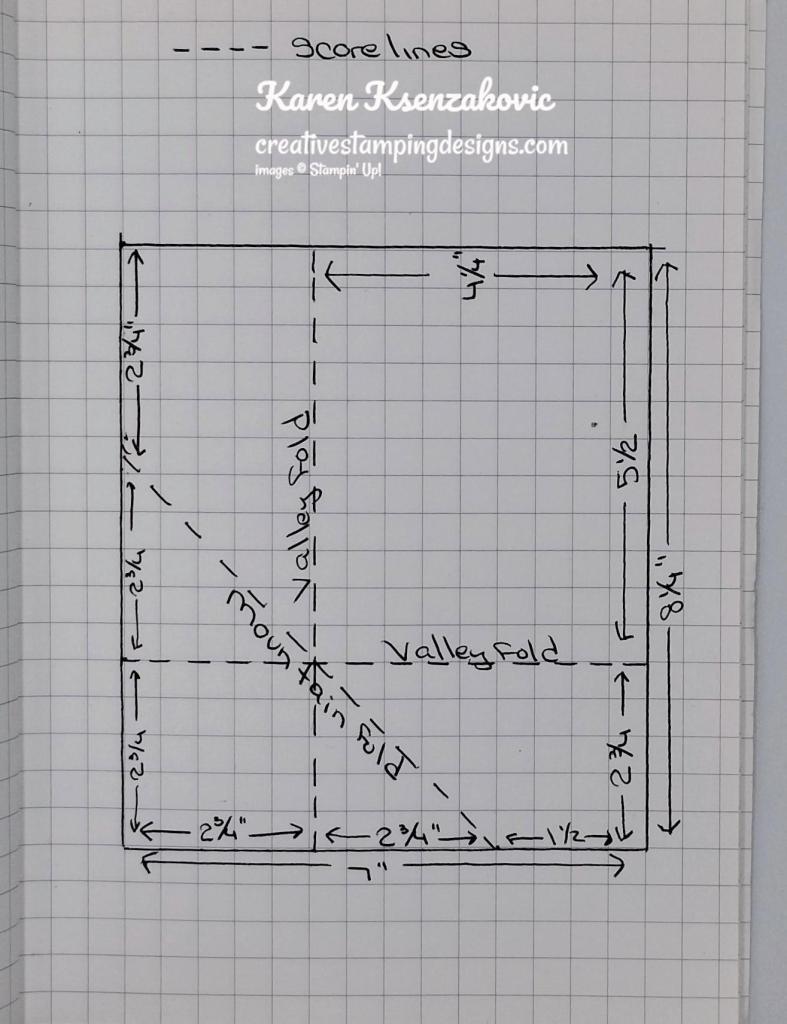
I started by cutting the 3″ X 5 1/4″ panel of Petal Pink cardstock using the largest Nested Essentials Dies. I folded the panel on the 1″ score line, placed the die above the fold line so that it wouldn’t cut the fold and ran it through the Stampin’ Cut & Emboss Machine. I adhered the die cut panel to the back of the card base using Multipurpose Liquid Glue, so that it would fold over the Z-Fold.
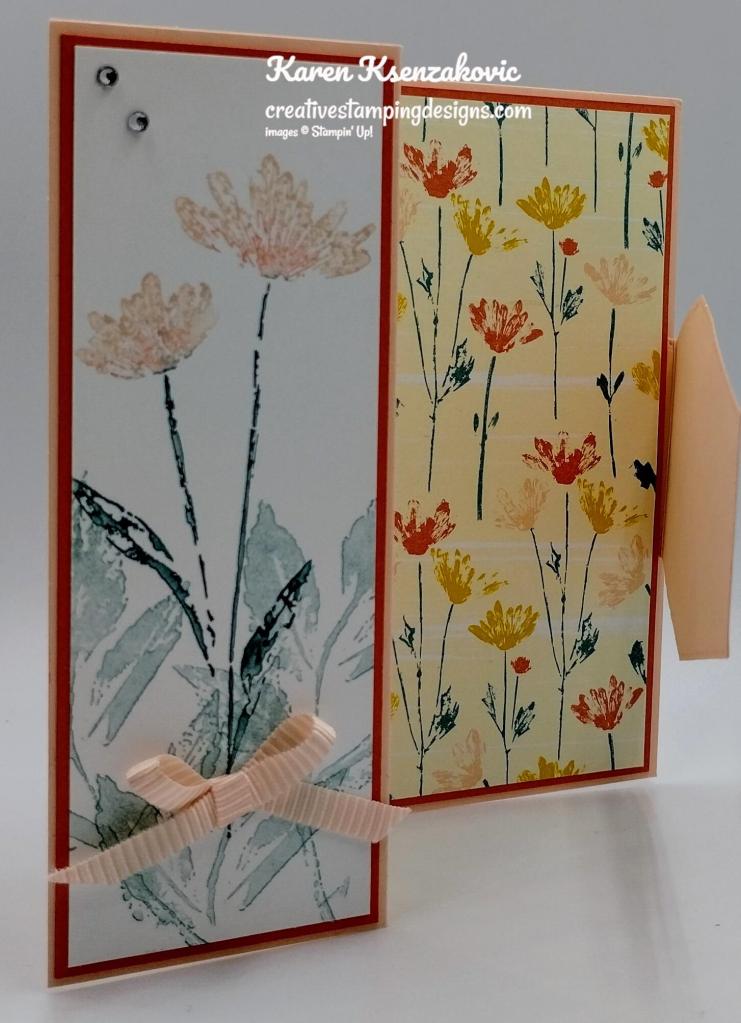
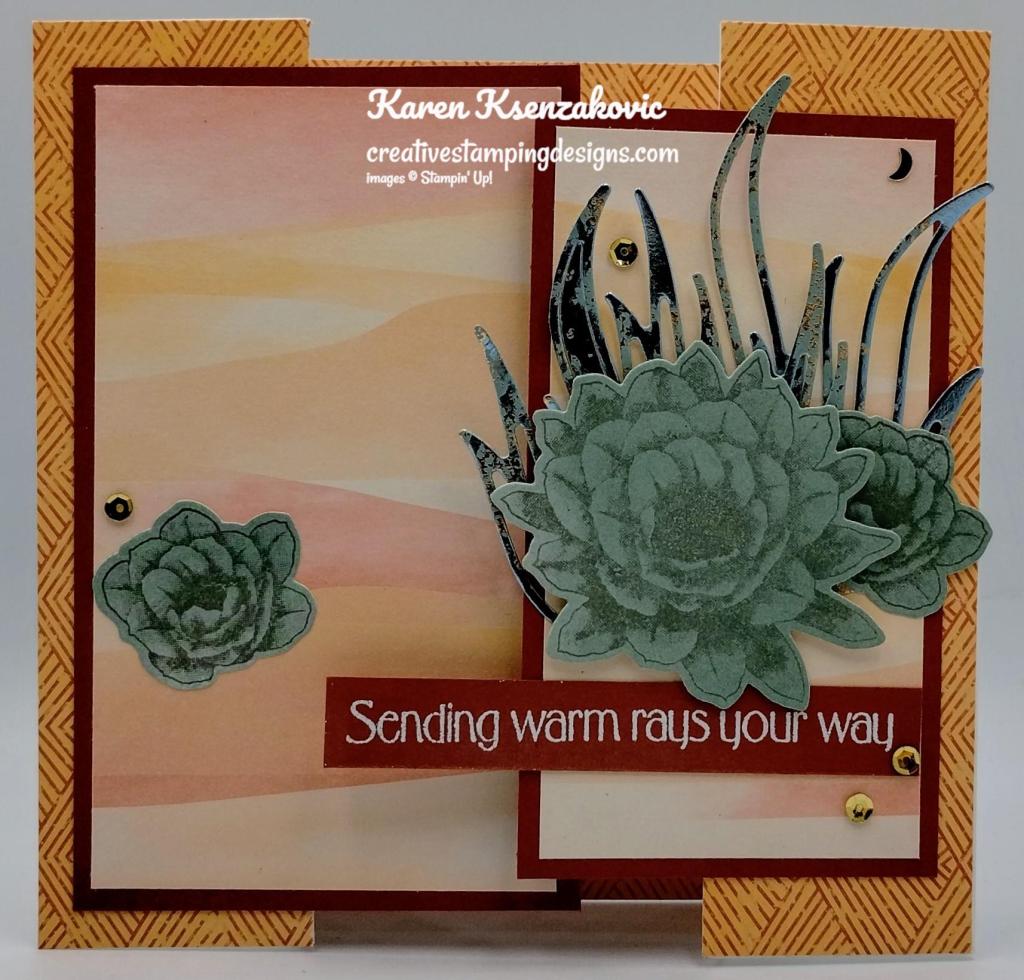
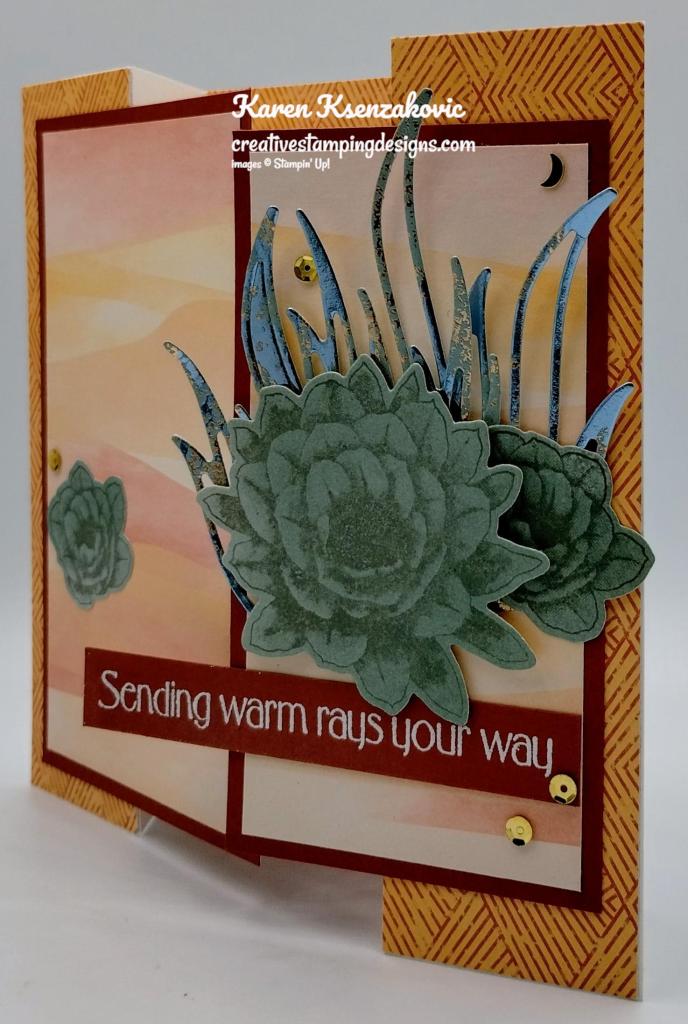
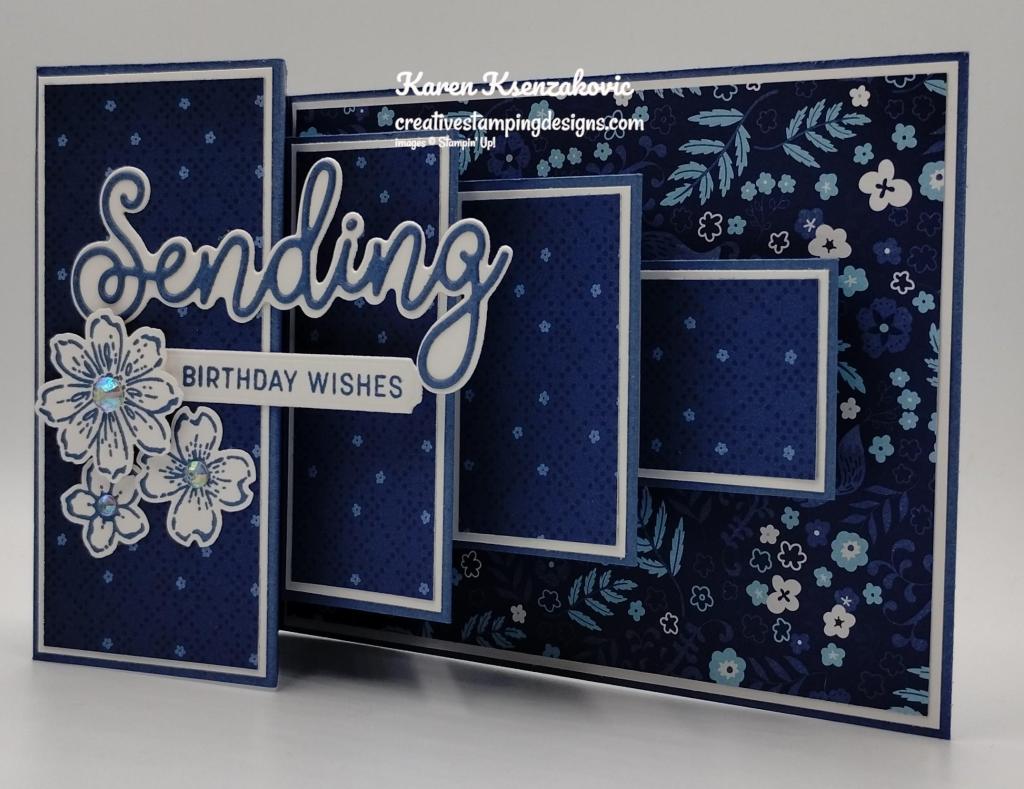
On a panel of Basic White, I stamped the leaf image from the Inked & Tiled stamp set in Lost Lagoon Ink 3 time, stamping off twice on scrap paper before stamping on the panel each time. I stamped the flower image from the Inked & Tiled stamp set over the leaf images. I inked the flower image using Lost Lagoon Stampin’ Write Marker for the stem and leaves, Petal Pink Stampin’ Write Marker for the flowers and I used Calypso Coral Stampin’ Write Markers for highlights on the flowers. I gave it a couple huffs to reactivate the ink before stamping. I adhered the Basic White panel to a Calypso Coral mat using Stampin’ Seal. I adhered the layered panel to the Petal Pink card base using Multipurpose Liquid Glue. I tied a small bow with the1/4″ Petal Pink Ribbon from the Ribbon Duo Combo Pack and adhered it to the stem using a Glue Dot. I added a couple Rhinestone Basic Jewels on the top of the panel.

I cut a panel of Basic White cardstock using the 2nd largest die from the Nested Essentials Dies. I stamped the sentiment from the Inked & Tiled stamp set in Lost Lagoon Ink. I stamped the small flower image from the Inked & Tiled stamp set on either side of the sentiment. I used Lost Lagoon Stampin’ Write Markers for the stems and Calypso Coral & Petal Pink Stampin’ Write Markers for the flowers. I adhered the sentiment panel to the Petal Pink flap using Stampin’ Seal. I added a few Ombre Matte Decorative Dots to the panel.
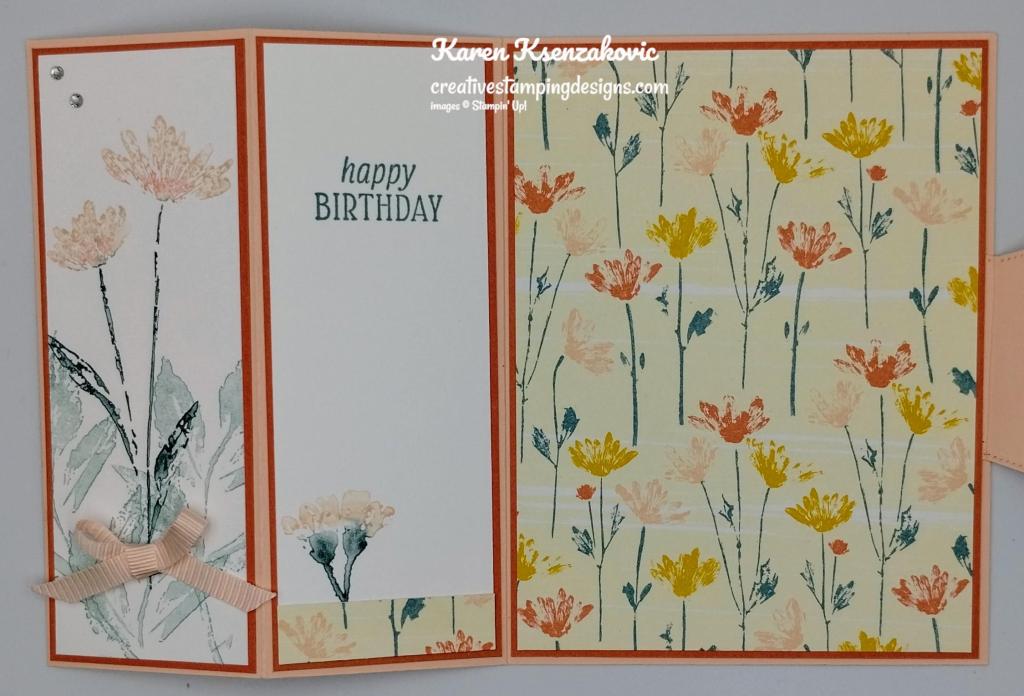
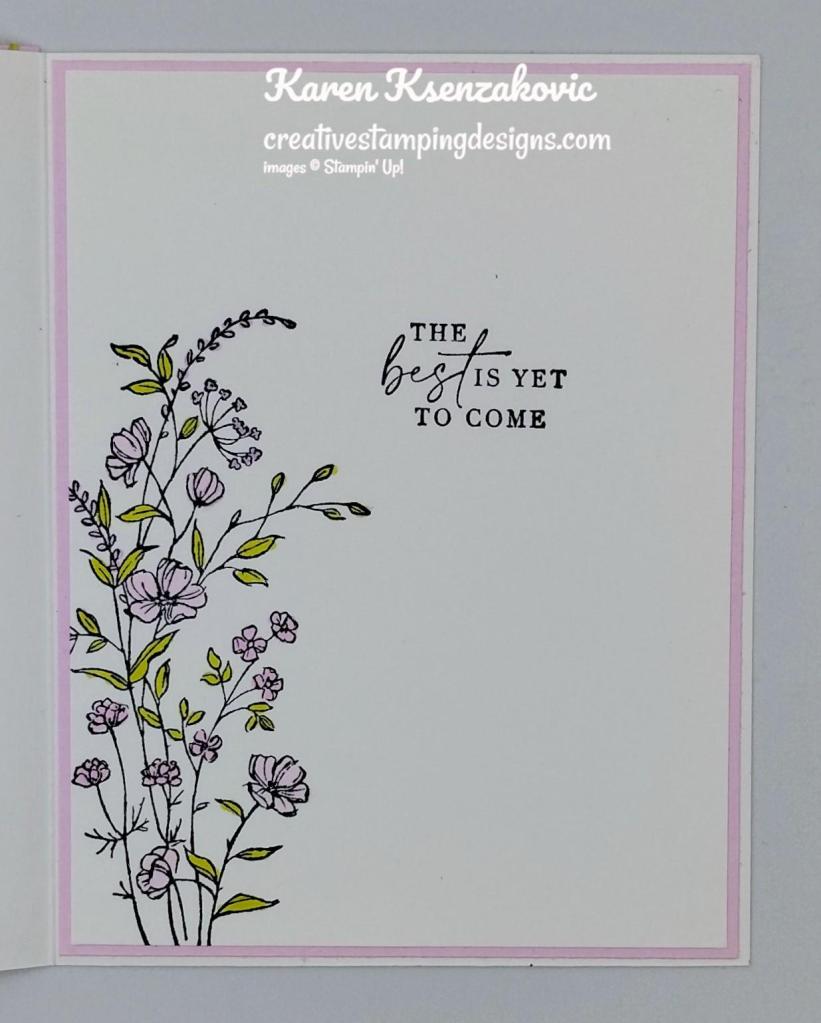
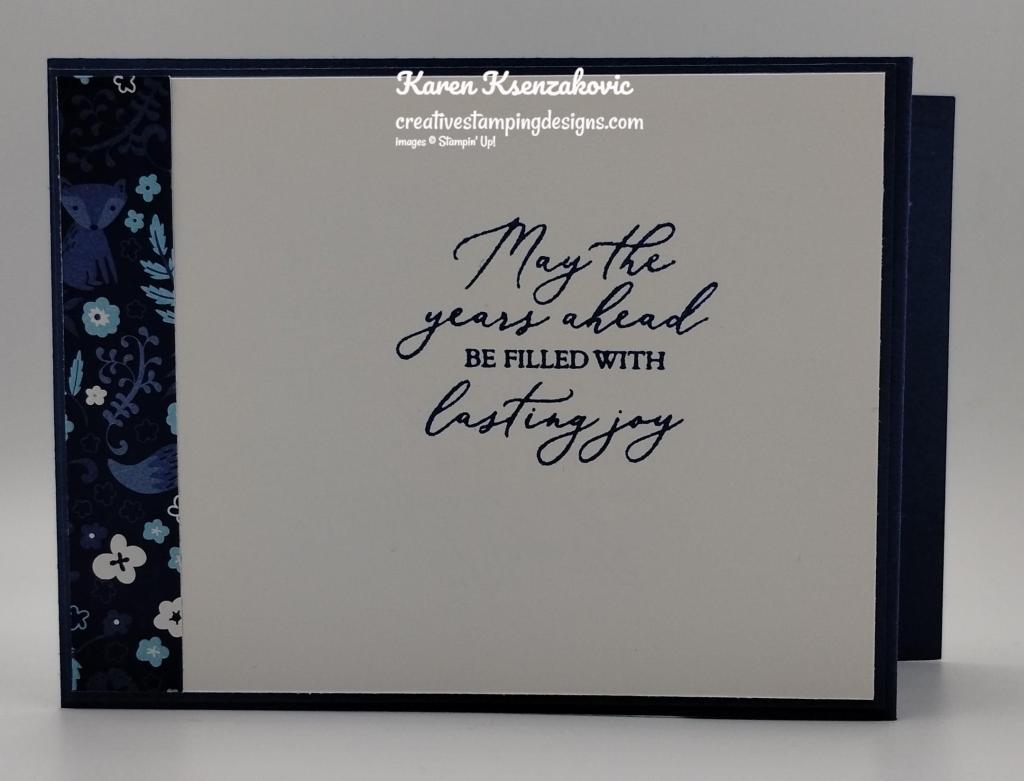
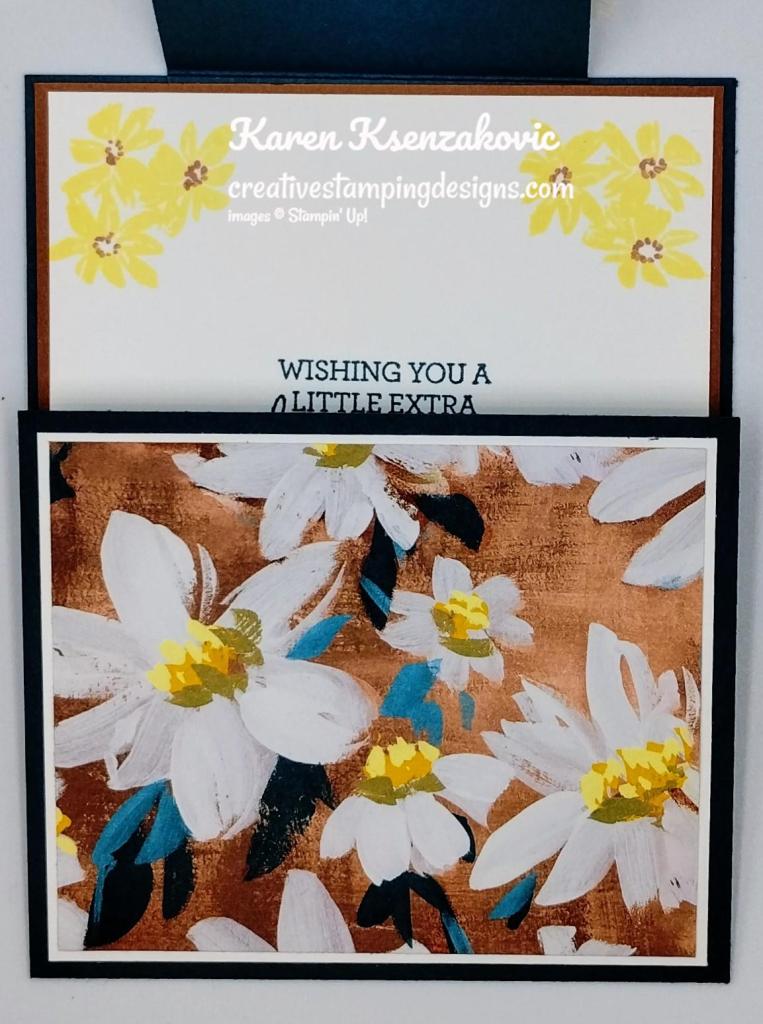
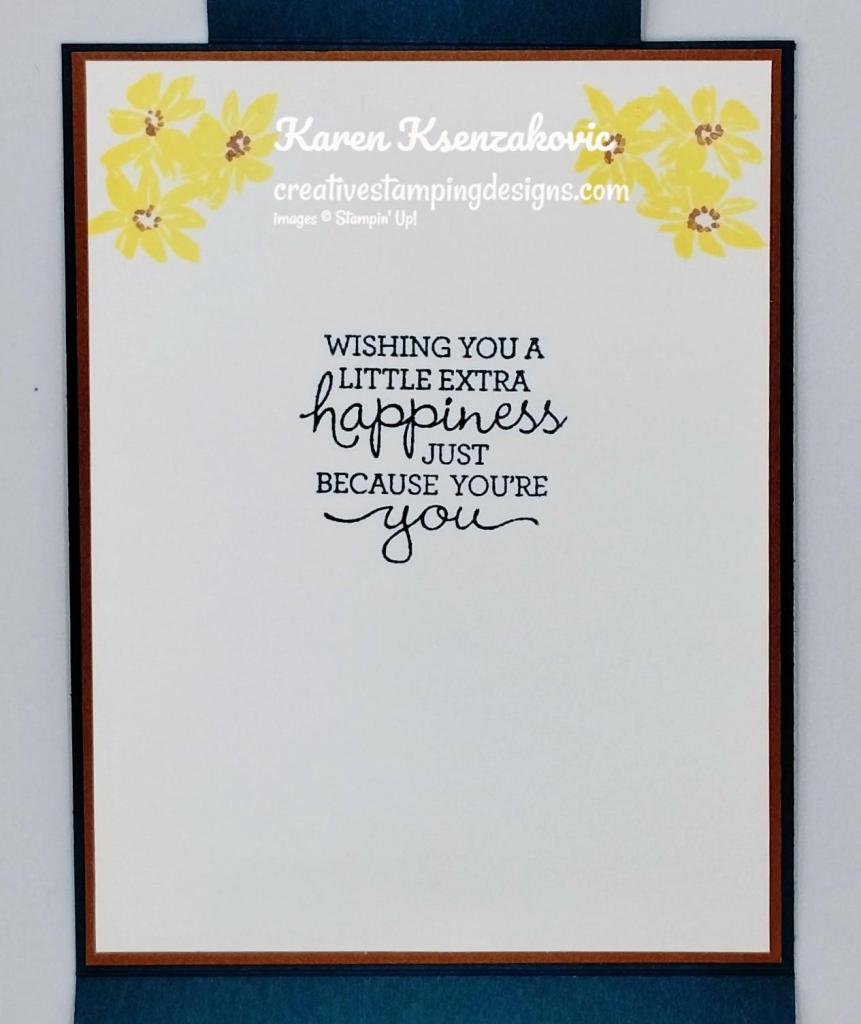
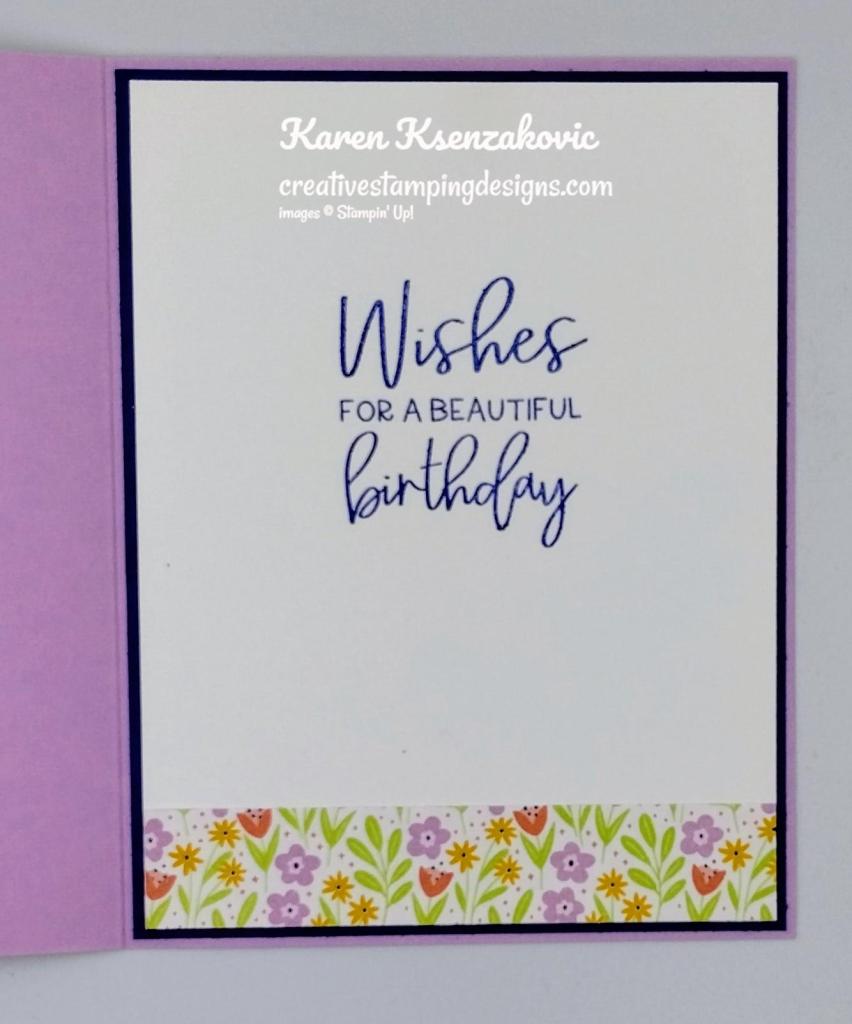
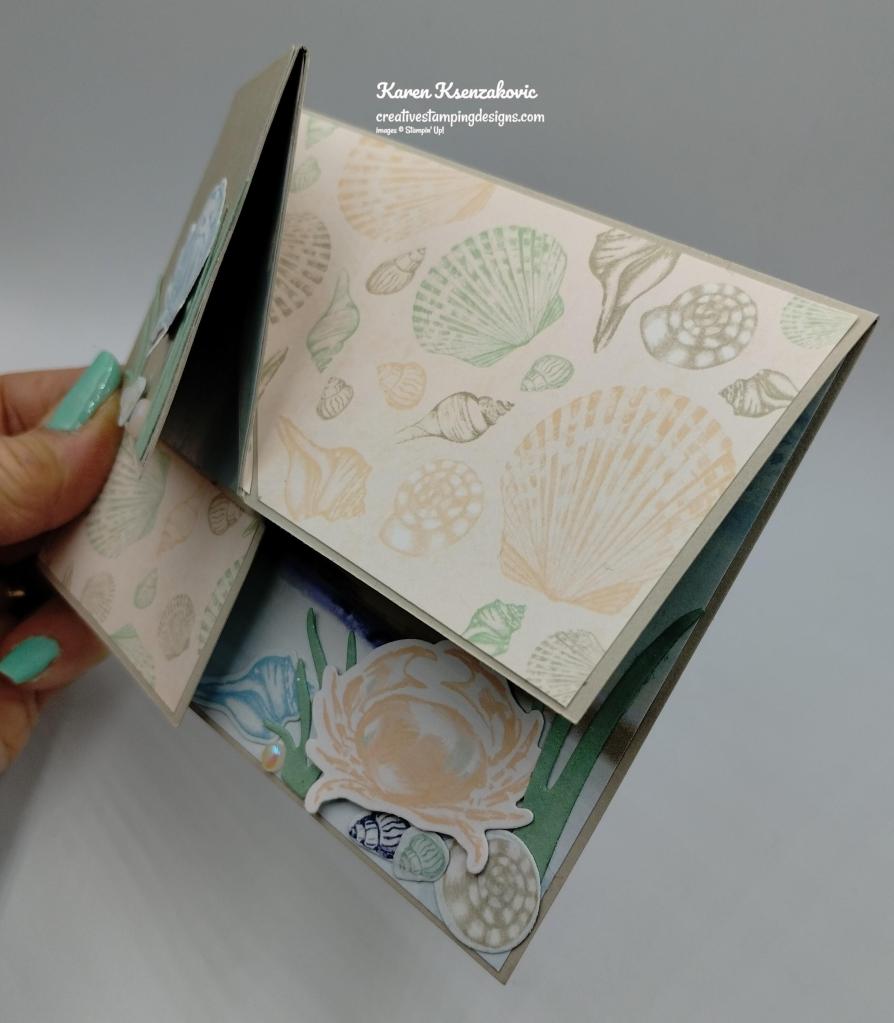
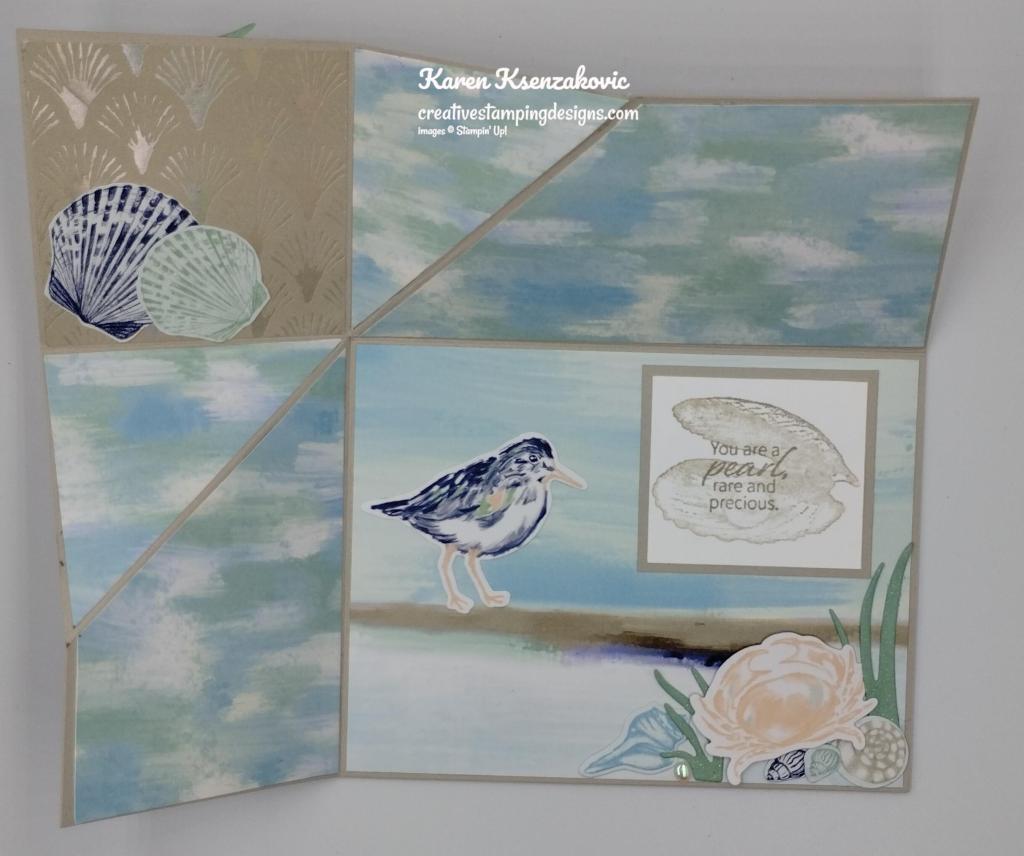
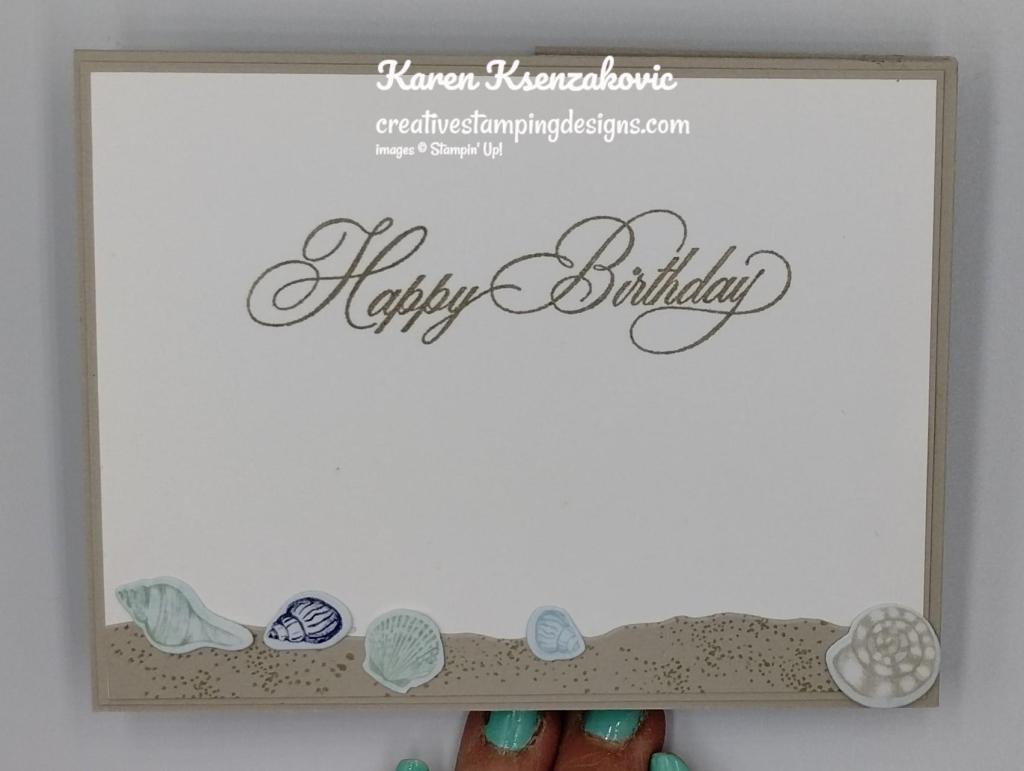
On the inside, I stamped the sentiment from the Inked & Tiled stamp set in Lost Lagoon Ink on a panel of Basic White. I stamped the small flower image from the Inked & Tiled stamp set on the bottom of the panel. I inked it using Lost Lagoon and Petal Pink Stampin’ Write Markers. I adhered a strip of Inked Botanicals DSP to the bottom of the panel. I adhered the Basic White panel to a Calypso Coral mat then to the inside left side of the Petal Pink card base. I adhered a panel of Inked Botanical DSP to a Calypso Coral mat using Stampin’ Seal. I adhered the layered panel to the inside back of the Petal Pink card base using Multipurpose Liquid Glue.
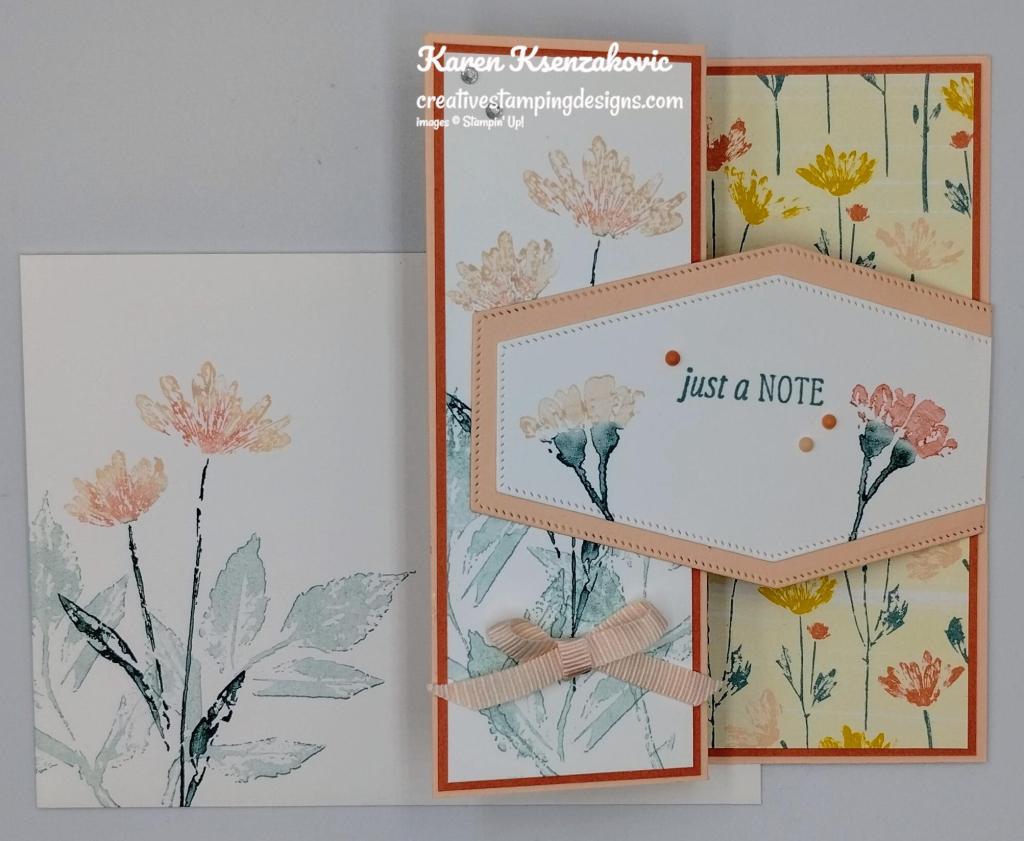
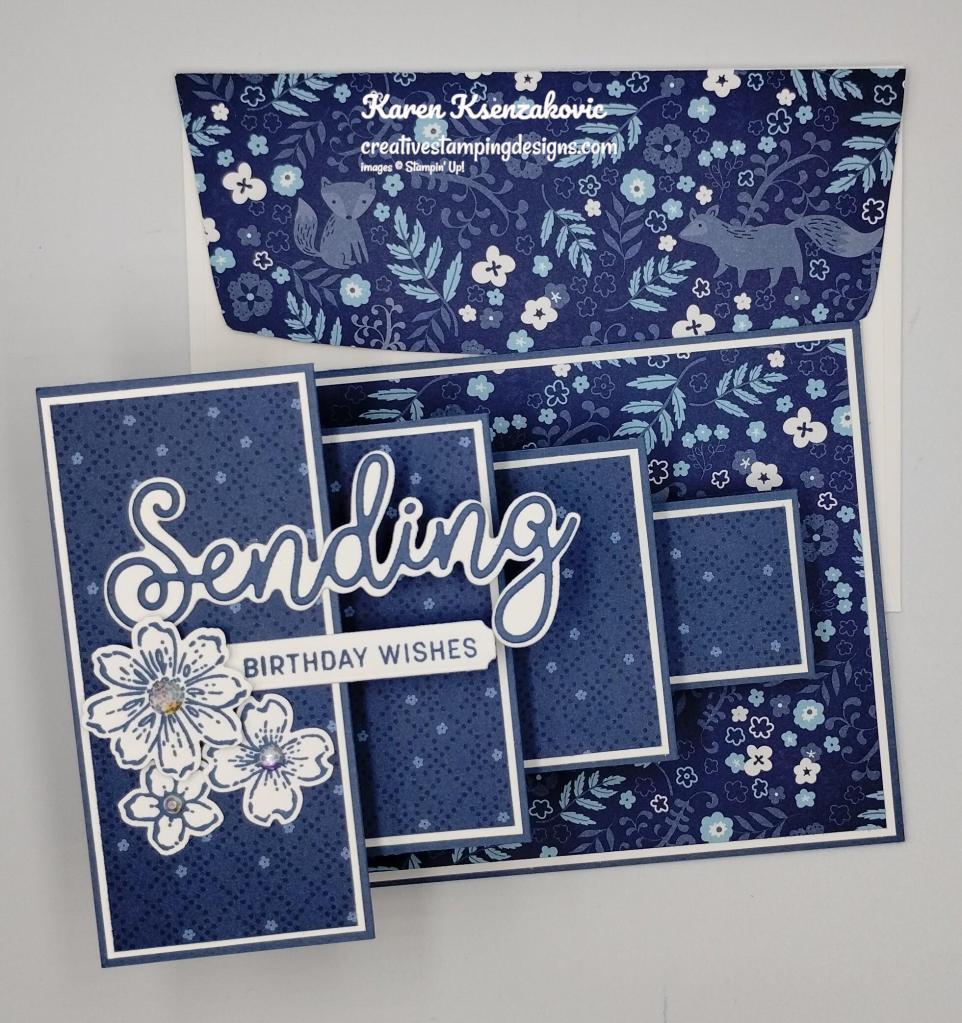
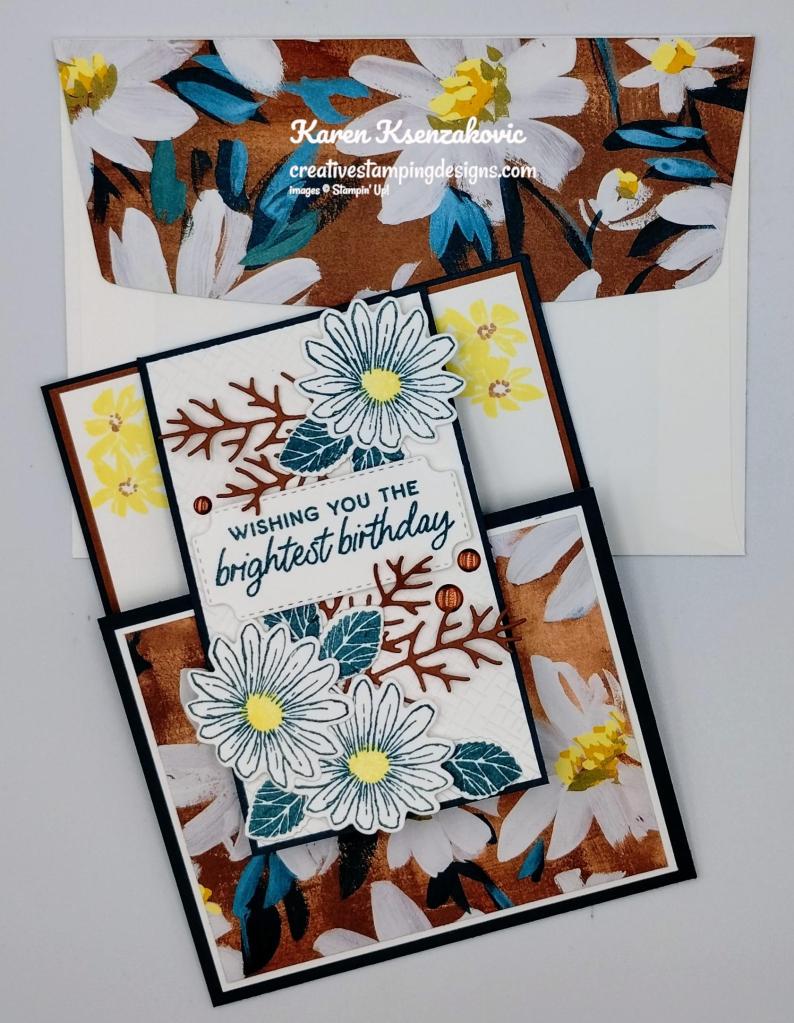
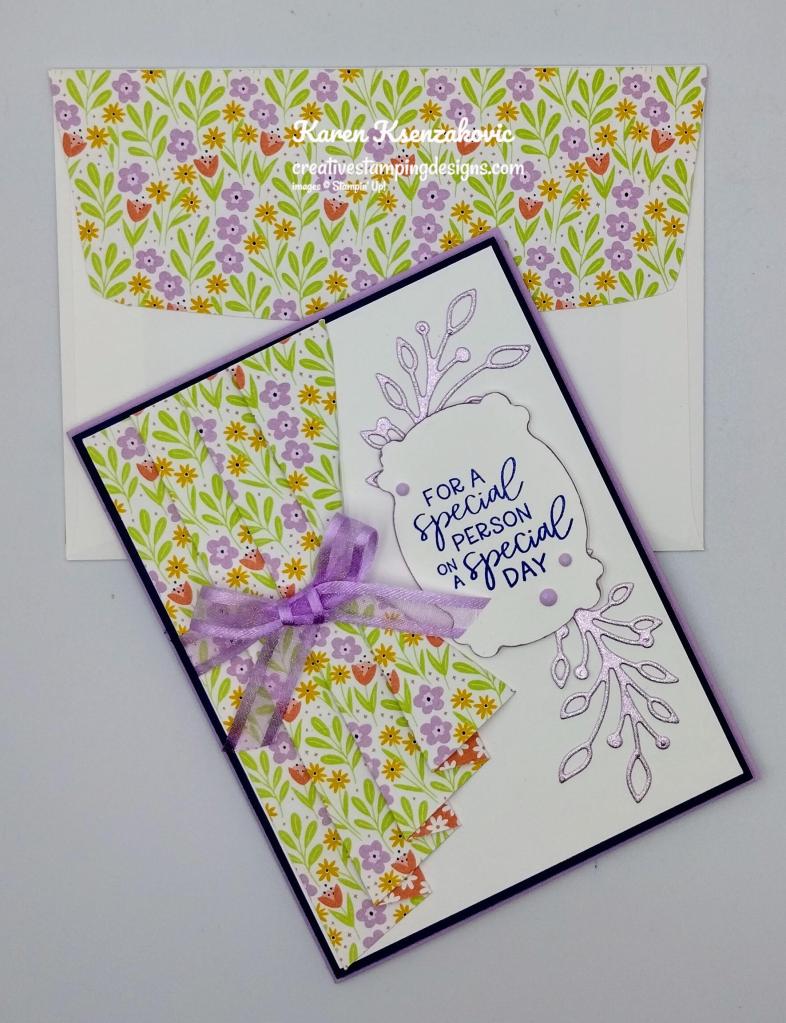
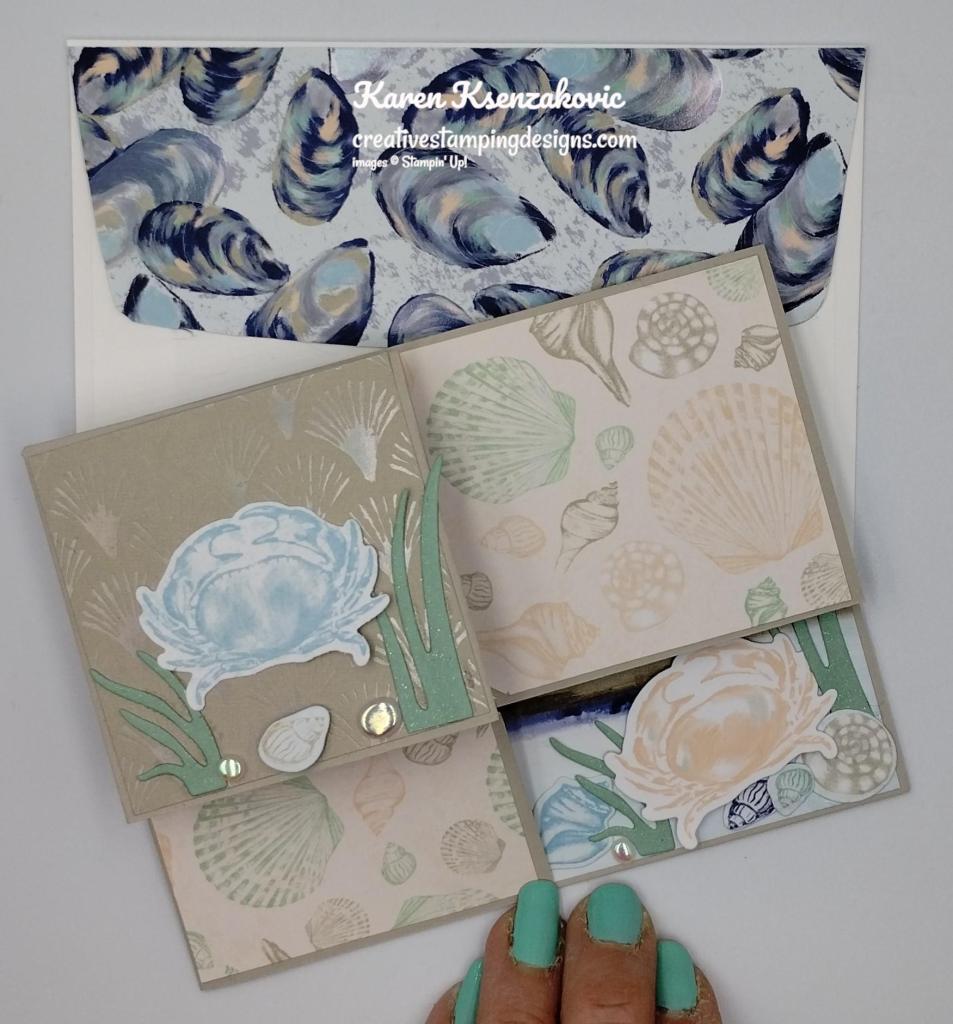
To finish my card, I decorated a Basic White Medium Envelope. I stamped the leaf image from the Inked & Tiled stamp set in Lost Lagoon Ink twice on the envelope front, stamping off twice on scrap paper each time. I stamped the flower image from the Inked & Tiled stamp set over the leaf images. I inked the flower using Lost Lagoon, Petal Pink and Calypso Coral Stampin’ Write Markers. I adhered a panel of Inked Botanicals DSP to the envelope flap.
Thank you for stopping by my blog today. I hope you liked my card and will give it a try. I hope you will CASE this card and please feel free to post it in the comments of my Facebook page under my post. I’d love to see your take on the card. The list of measurements are below if you’d like to stamp along while watching the video. You can watch my video on my Facebook page Here.
You can also view the video on my YouTube channel Here. If you watch this on my YouTube channel, please remember to subscribe so that you will get notified when a new video goes live. I’m hoping to be doing my live on YouTube next week, thanks to all that have subscribed. Happy Stamping!!
*********************************************************************************************************
If you need any stamping supplies, I’d love to be your Demonstrator. Just click HERE to go directly to my online store or drop me an email if you have any questions.
MY CURRENT HOST CODE IS: BR9XGSTC
Use this host code when placing an order with me. When you order $50 or greater you will receive a free gift from me! If your order is over $150, please do not use this code, but you’ll still get the free gift. The free gift is your choice of any 1 item valued up to $10.00 from the 2022-2023 Annual Catalog or the January-April 2023 Mini Catalog! Unfortunately, packs of cardstock are no longer an option for a free gift. Shipping has become too expensive to ship and it’s costing me as much to ship as the cardstock costs. For any orders $50 or more I will also send you my monthly class tutorials. Click HERE or go to my Customer Rewards for more details and to see what this month’s tutorials are.
Please remember to use my current Host Code and make sure that you can see my name on the final checkout page listed as your Demonstrator when you order so that you know that you’re ordering with me, and you’ll get my rewards!
Happy Stamping, Karen
*********************************************************************************************************
In response to changing policies at Stampin’ Up – I’m adjusting my Ordering Gift policy as well. I’m having to get a little more tough on the adding of Host codes when you place your order thru my Online Store.
Not to worry – you’re still going to get that $10 ordering gift for orders of $50 (before shipping & tax) or greater. And the gift is still any 1 SU! product up to that $10 value – which includes some of our fun Host Sets!
But – if you DO NOT use the Host code for your orders of less than $150 (this is the RETAIL total before Shipping & Handling), then you’ll have two options:
- You’ll need to call Stampin’ Up! (1-800-Stamp-Up) and ask them to add it for you. They’re very helpful and will get it done quickly! OR….
- If your order was over the $50 threshold but under $150, then…you’ll forfeit that $10 ordering gift and rewards – this is the Bummer Option – and I REALLY don’t want to do this, SO please remember to add my Current Host Code.
*********************************************************************************************************
COMING SOON!! SAVE 15% ON SELECT DESIGNER SERIES PAPERS!

We all love beautiful Designer Series Paper, and in June, you can enjoy a 15% discount on select Designer Series Papers from our new 2023–2024 Annual Catalog and Online Exclusives. Whether you’re a scrapbooker, a card maker or simply a paper lover, this is a great time to stock up and save on gorgeous paper, so you have artistic and versatile paper designs on hand for your next projects! Click HERE for a printable PDF flyer.
SALES PERIOD: 1–30 JUNE
- All order types qualify for this promotion.
- There is no limit to how many packages of Designer Series Paper may be purchased during this promotion.
- Only select Designer Series Papers are available at a 15% discount during this promotion.
- Orders must be placed—and closed—during the promotion period for the 15% discount to apply.
- Designer Series Paper ordered as part of a Starter Kit or with Stampin’ Rewards qualify for the 15% discount.
- Designer Series Papers are from the new 2023–2024 Annual Catalog (p. 129–132) and Online Exclusives.
ORDER DEADLINES
- 30 June 2023; 11:59 PM (MT)
*********************************************************************************************************
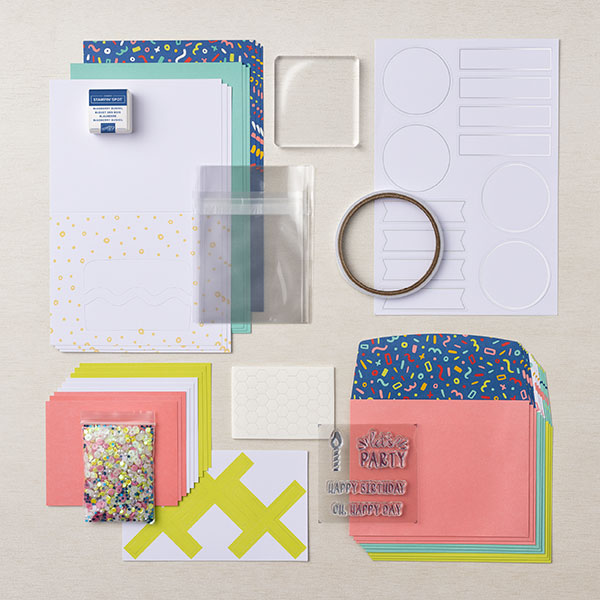
Welcome Inn
Subscribe May 11 – June 10

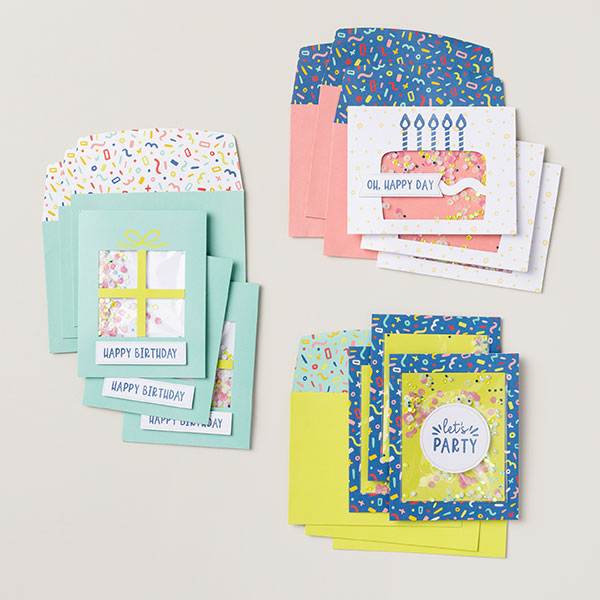
Show hospitality to all your guests with the Welcome Inn Paper Pumpkin Kit! This kit includes nine elegant and detailed cards—three each of three designs. Whether you’re hosting friends and family, or want to invite someone over, this kit has what you need to create sophisticated and elevated cards!
You can also pair this kit with a coordinating die add-on! (Available while supplies last. Stampin’ Cut & Emboss Machine sold separately). Keep reading to learn more!
The Welcome Inn Paper Pumpkin Kit perfectly coordinates with the Countryside Inn Suite Collection (item number 161474) from the 2023–2024 Annual Catalog! You can use the stamps and paper from both the suite and kit to create cards that are stylish and refined. You can create these elegant hospitality cards using the suite’s Countryside Inn 12″ x 12″ (30.5 x 30.5 cm) Designer Series Paper and the kit’s beautiful floral cards. There are endless creative possibilities of this kit and suite coordination!
This kit includes:
- All the supplies you’ll need to create 9 elegant and sophisticated cards—3 each of 3 designs—and 9 coordinating envelopes.
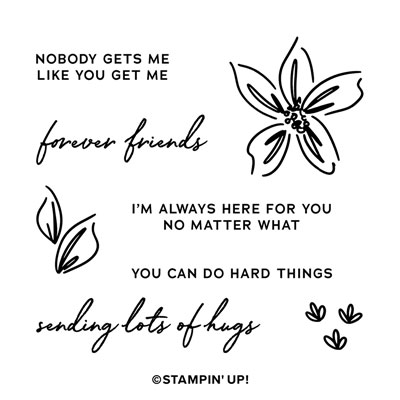
- A coordinating photopolymer stamp set with floral designs and friendly, hospitality-themed sentiments.
- A Night of Navy Stampin’ Spot and beautiful embellishments
- Lovely floral details and precut vases
Finished card size: 4-1/4″ x 5-1/2″ (10.8 x 14 cm)
Coordinating Stampin’ Up! colors: Balmy Blue, Boho Blue, Calypso Coral, Daffodil Delight, Early Espresso, Misty Moonlight, Night of Navy, Old Olive
Don’t forget! This kit perfectly coordinates with the Countryside Inn Suite Collection (Item number: 161474).
Subscribe to the May Paper Pumpkin Kit between 11 May 2023 and 10 June 2023 by clicking here!
Note: Supplies may be limited toward the end of the subscription period.
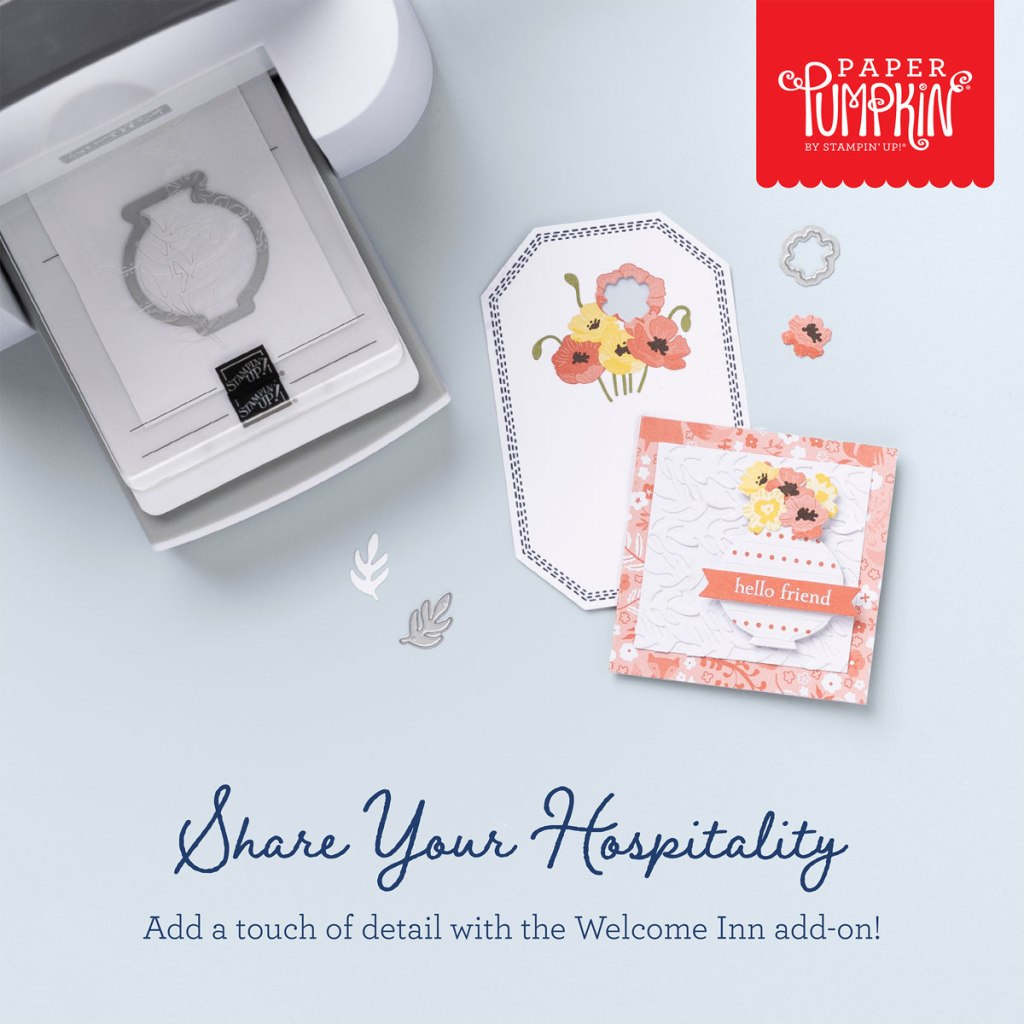
ADD-ON
Welcome Inn Dies (Available for purchase starting 11 May, while supplies last).
Item number: 163192
$6.00 USD / $8.25 CAD
This add-on includes:
- One coordinating vase die: 1-1/2″ x 1-1/2″ (3.8 x 3.8 cm)
- One coordinating flower die
- One beautiful leaf die
Note: Stampin’ Cut & Emboss Machine sold separately.
*********************************************************************************************************
Card stock cuts for this project:
- Basic White Cardstock 2 – 1 7/8″ X 5 1/4″ (card front & inner line), 2 1/2″ X 5″ (sentiment)
- Calypso Coral Cardstock 2 – 2″ X 5 3/8″ (card front & inner liner mats), 4 1/8″ x 5 3/8″ (back panel mat)
- Petal Pink Cardstock 8 1/2″ x 5 1/2″ (card base scored & folded at 2 1/8″ & 4 1/4″), 3″ x 5 1/4″ (front flap scored & folded at 1″)
- Inked Botanicals 6 X 6 Designer Series Paper 1/2″ X 4″ (inner liner strip), 4″ X 5 1/4″ (back panel), 2 1/4″ X 6″ (envelope flap)
*********************************************************************************************************
Product List
")


 Designer Series Paper")


")


 Designer Series Paper")


")


")
")

")


 Specialty Pack")


")
")


 Designer Series Paper")
 Specialty Designer Series Paper")


")


")


")
")
")


")


")
")


 Designer Series Paper")
 Paper Pack")


 Open Weave Ribbon")


")
")

")


 Specialty Designer Series Paper")


")
 Designer Series Paper")


 Soft Polyester Ribbon")

