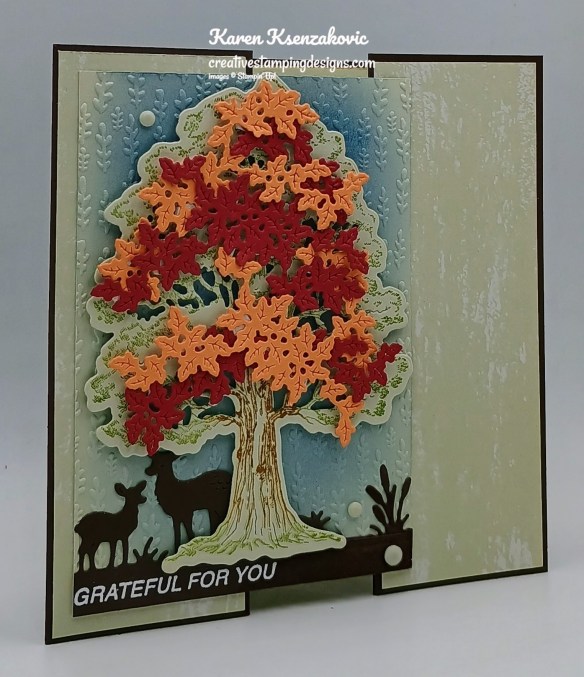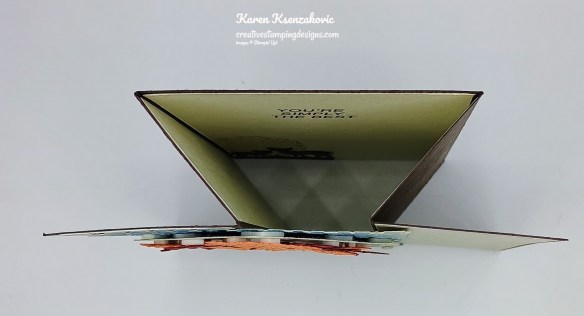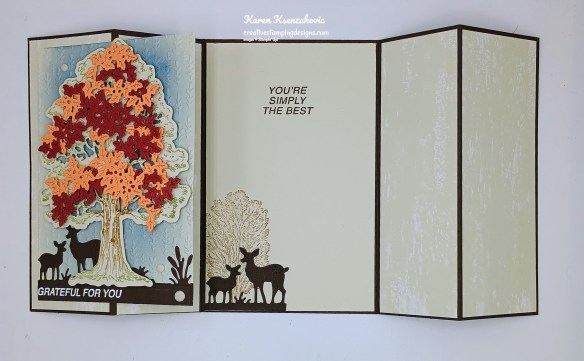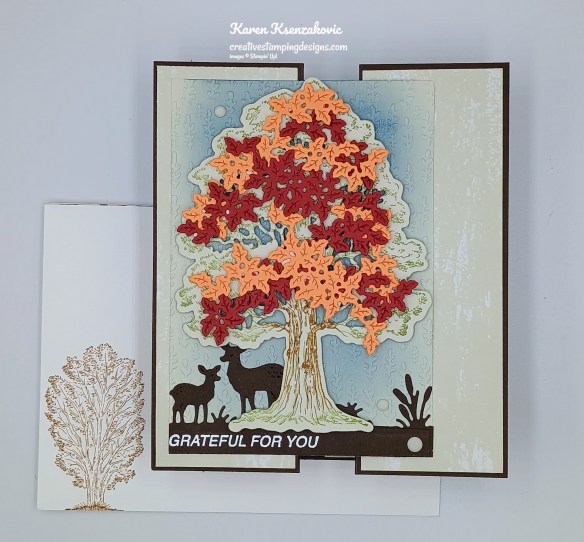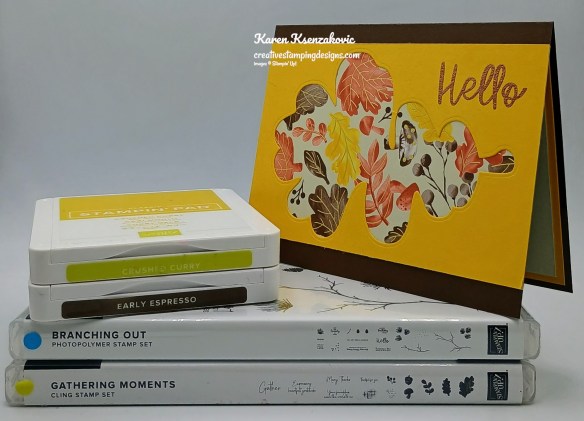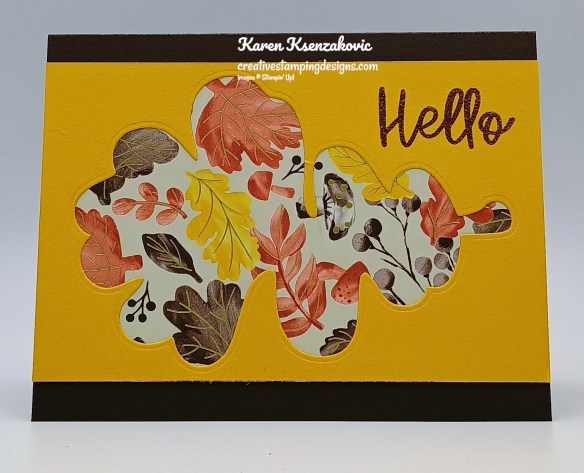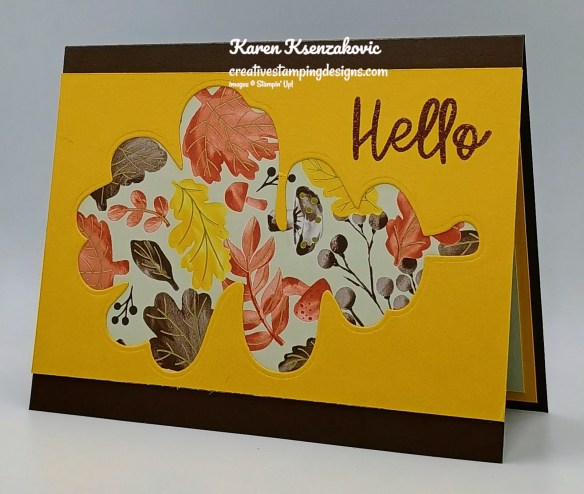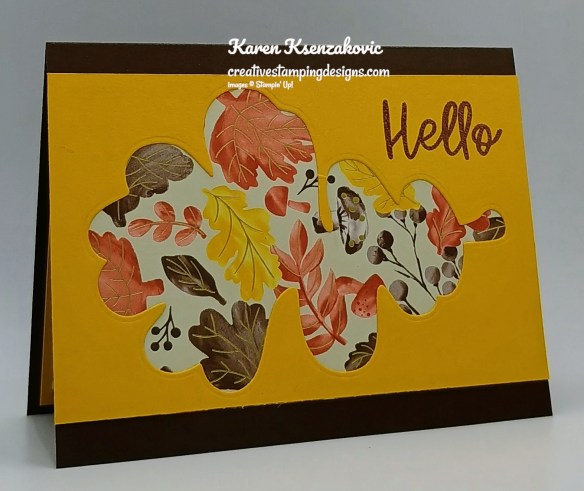
Stampin’ Up! Etched Autumn Embossed

Good Saturday morning stamping friends and welcome to the weekend. Do you have some plans in the works yet? I’ll be at work all day today.

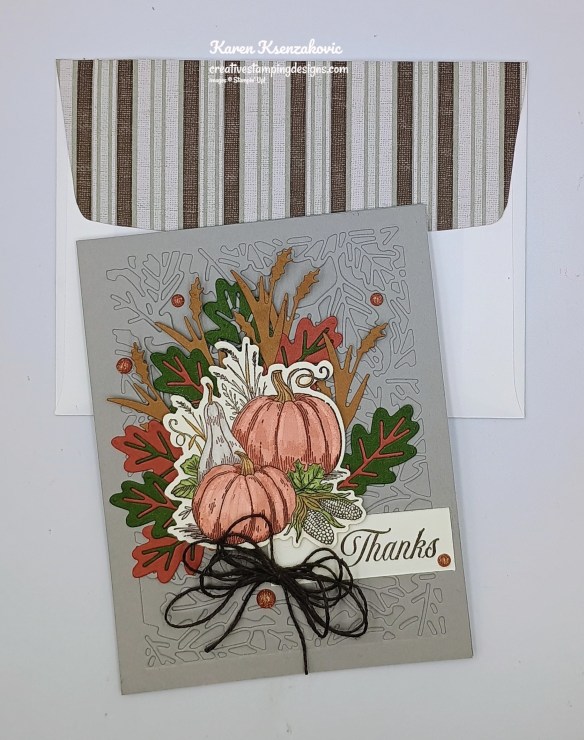
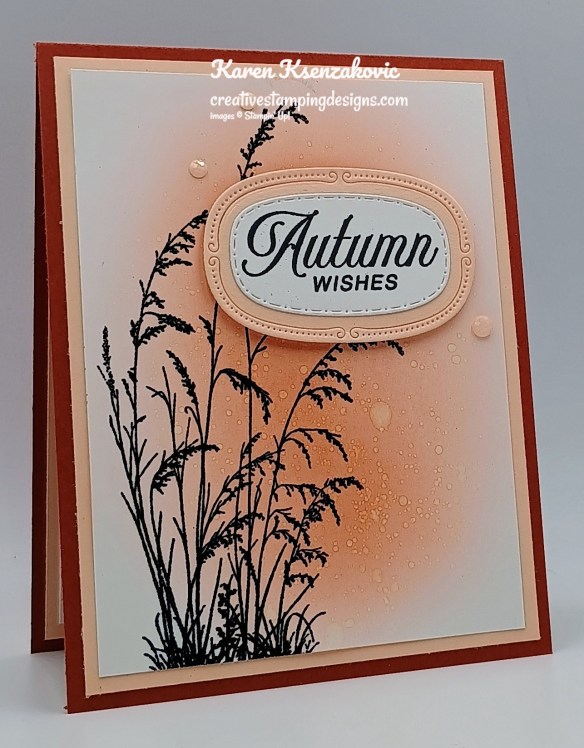
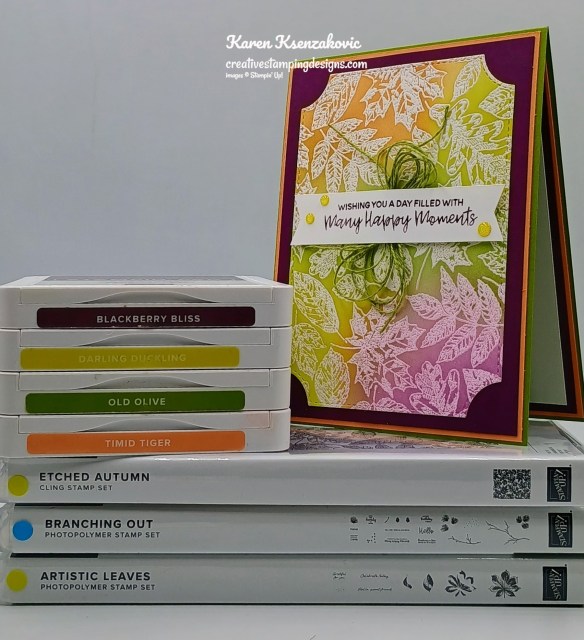
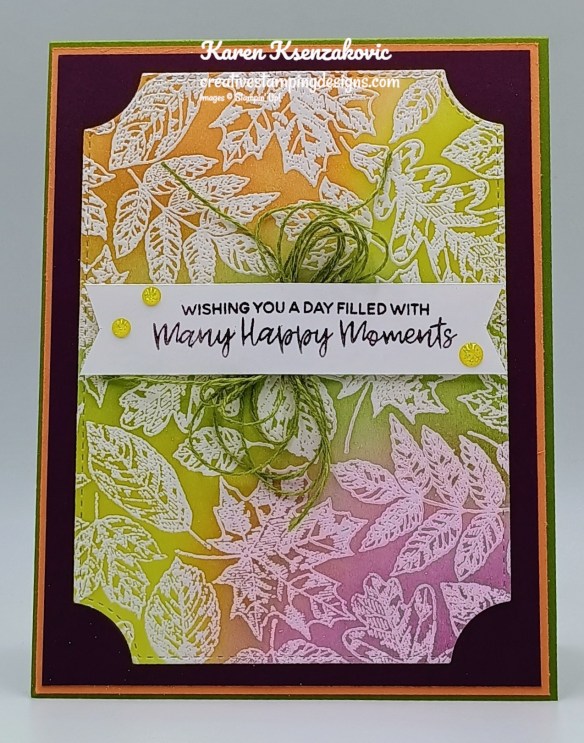
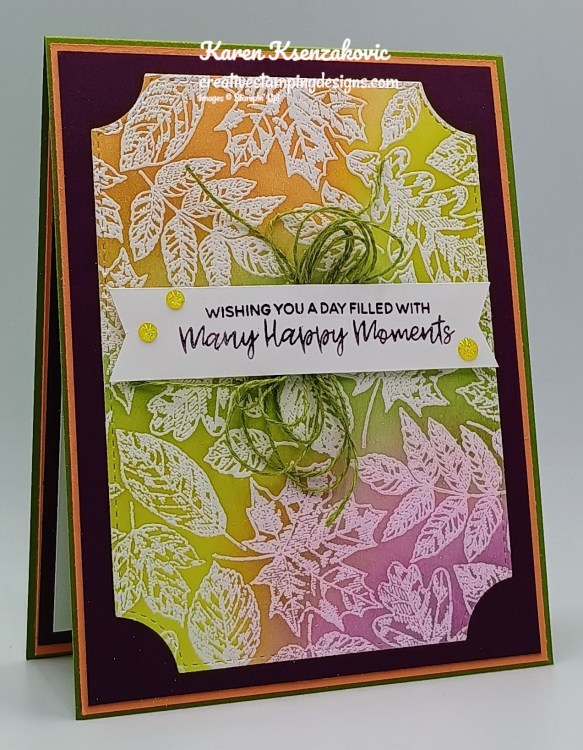
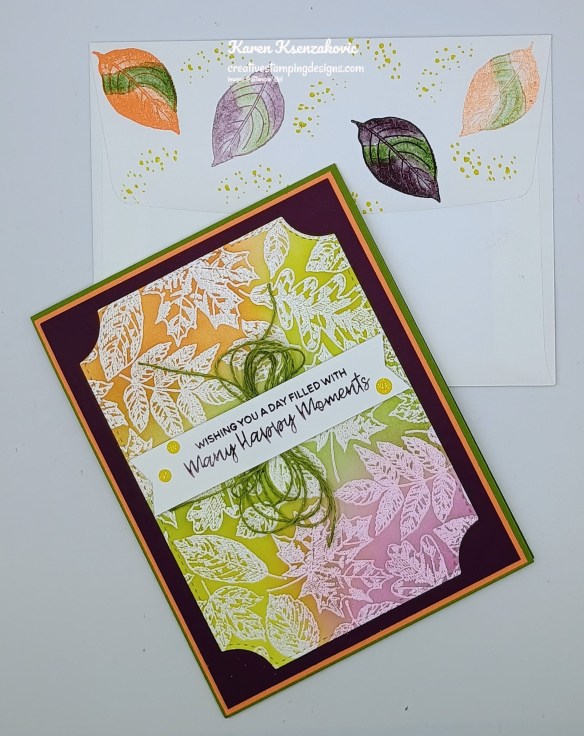
Today’s card uses the Emboss Resist Technique. If you’d like to see a quick video on how I made this card, Click Here to go to my Instagram Reels. Here’s my card for today.
Stampin' Up! Etched Autumn Embossed 1 creativestampingdesigns.com

I used the Stampin’ Up! Etched Autumn Cling Stamp Set along with the Stampin’ Up! Branching Out Bundle and Stampin’ Up! Artistic Leaves Photopolymer Stamp Set for my card today.
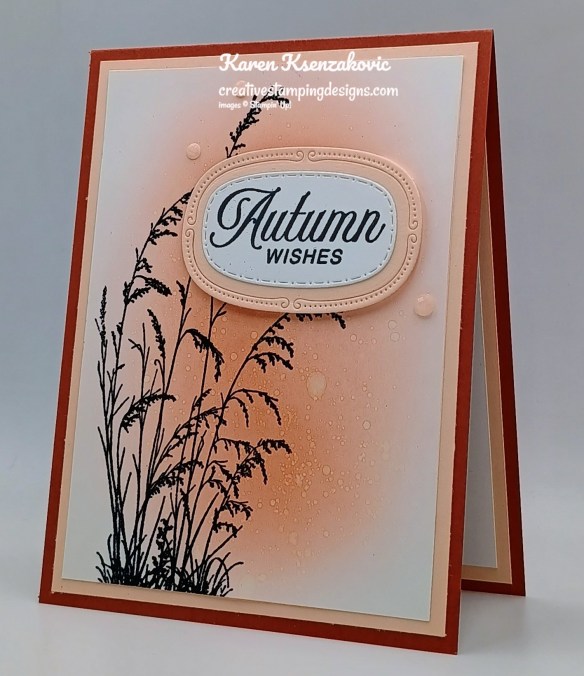
Stampin' Up! Etched Autumn Embossed 2 creativestampingdesigns.com

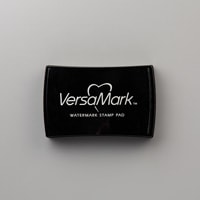
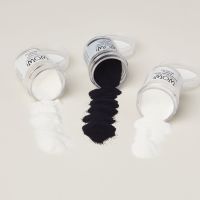
Stamp the Etched Autumn image on a panel of Basic White in Versamark Ink. Sprinkle image with White Embossing Powder and set it using the Heat Tool.
Stampin' Up! Etched Autumn Embossed 3 creativestampingdesigns.com

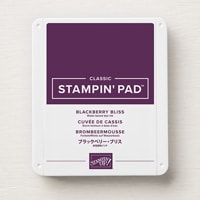
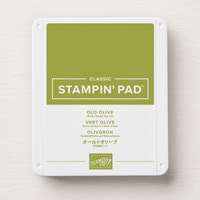
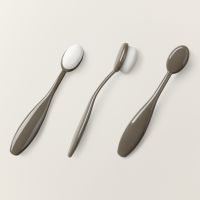
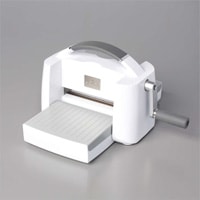
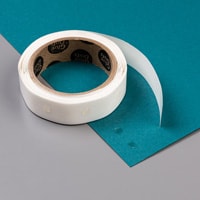
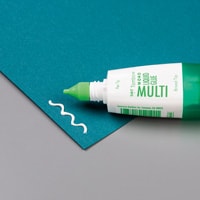
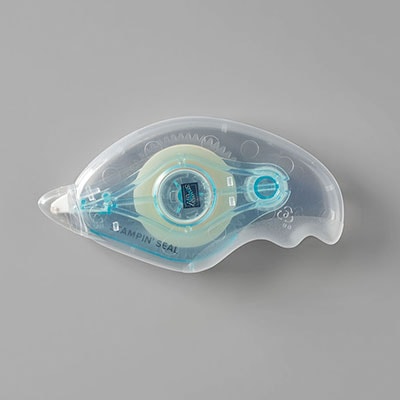
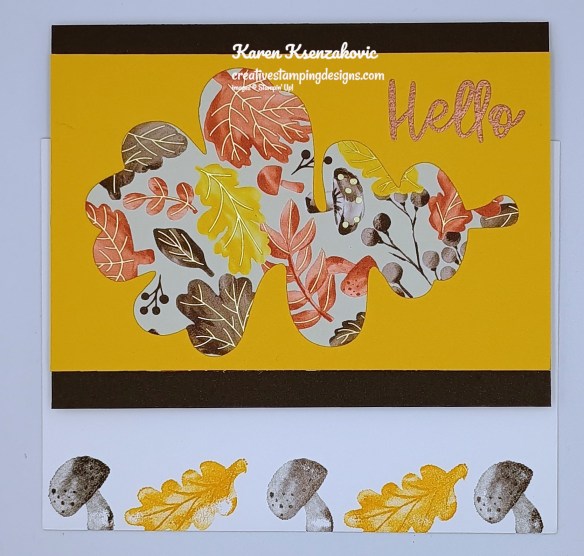
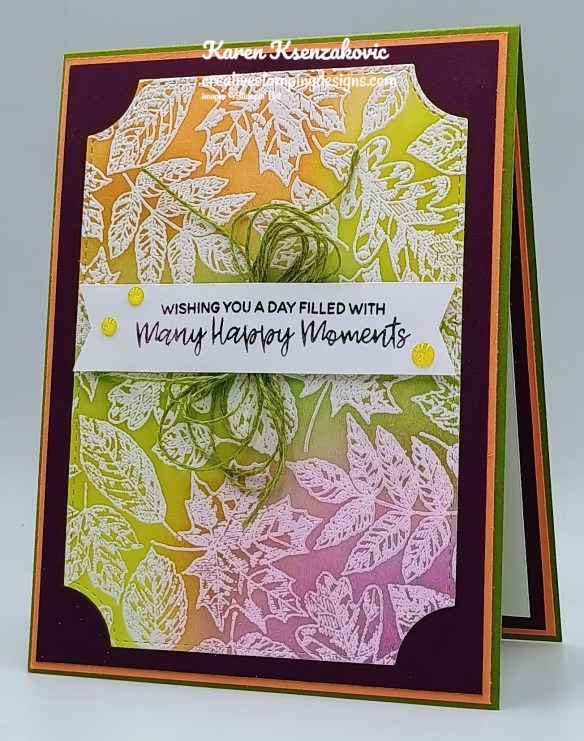
Using the Small Blending Brushes, add Blackberry Bliss, Darling Duckling, Old Olive and Timid Tiger Inks a little at a time. Remember you can always add more ink, but you can’t remove it. Wipe image with a tissue when you are done adding color to remove it from the embossed areas. Cut the image out with the largest Branching Out Dies. Adhere the colored panel to a Blackberry Bliss mat with Stampin’ Seal. Adhere the layered panel to a Timid Tiger mat with Stampin’ Seal. Adhere the layered panel to an Old Olive card base with Liquid Glue.
Stampin' Up! Etched Autumn Embossed 4 creativestampingdesigns.com

Stamp the sentiment from the Stampin’ Up! Branching Out Photopolymer Stamp Set in Blackberry Bliss Ink on a panel of Basic White. Cut the ends into a banner using snips. Tie a multi-loop bow with the Old Olive Linen Thread. Adhere the bow to the card front with a Glue Dot. Adhere the sentiment over the bow with Stampin’ Dimensionals. Add a few of the Low-Profile Sparkling Dots to the card front.
Stampin' Up! Etched Autumn Embossed 5 creativestampingdesigns.com

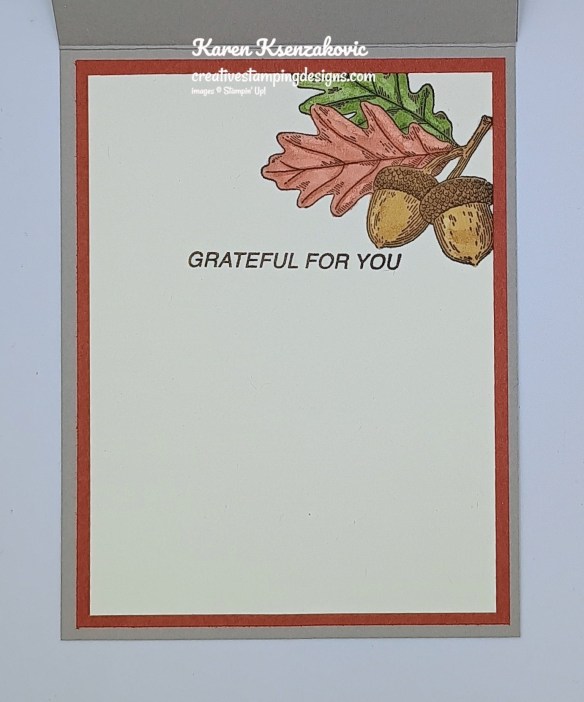
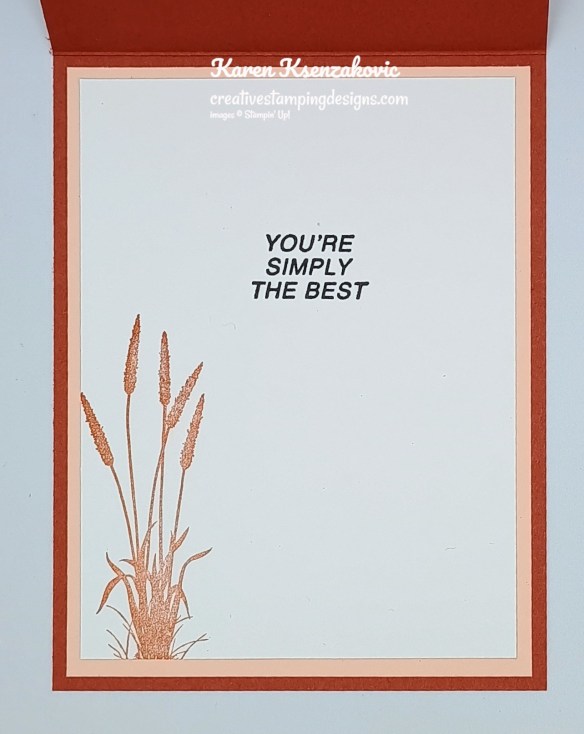
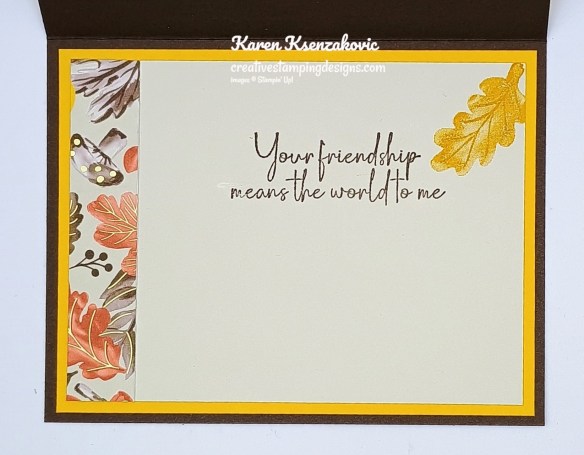
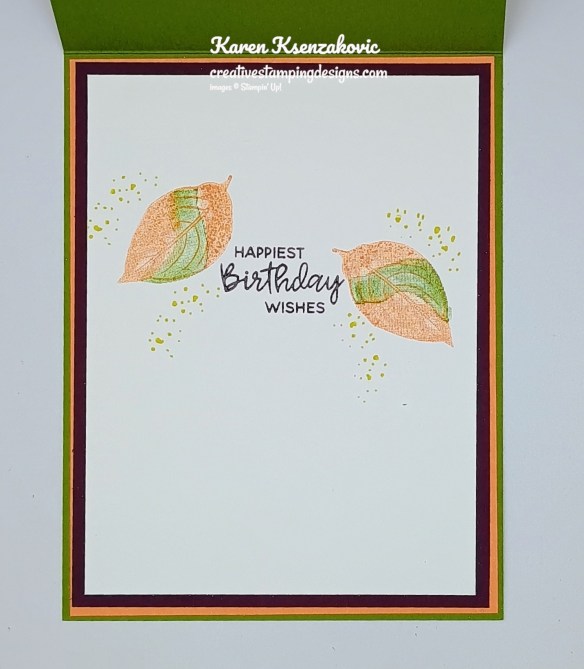
Stamp the sentiment from the Branching Out stamp set in Blackberry Bliss Ink on a pane of Basic White. Stamp the smaller leaf image from the Artistic Leaves stamp set in Timid Tiger Ink, stamping off once on scrap paper, on either side of the sentiment. Stamp the leaf highlight image from the Artistic Leaves stamp set in Old Olive Ink, stamping off once on scrap paper, over the detailed image. Stamp the splatter image from the Artistic Leaves stamp set in Darling Duckling Ink around the leaves. Adhere the Basic White panel to a Blackberry Bliss mat, then to a Timid Tiger mat and to the inside of the Old Olive card base.
Stampin' Up! Etched Autumn Embossed 6 creativestampingdesigns.com

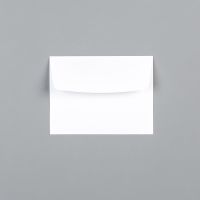
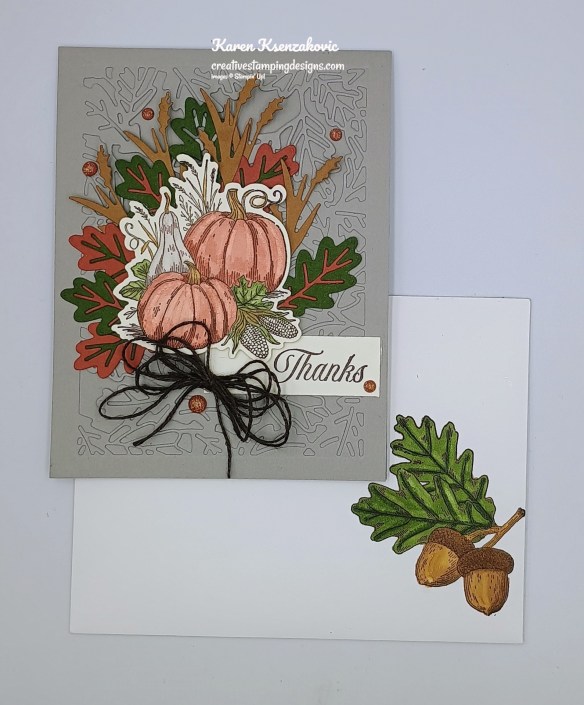
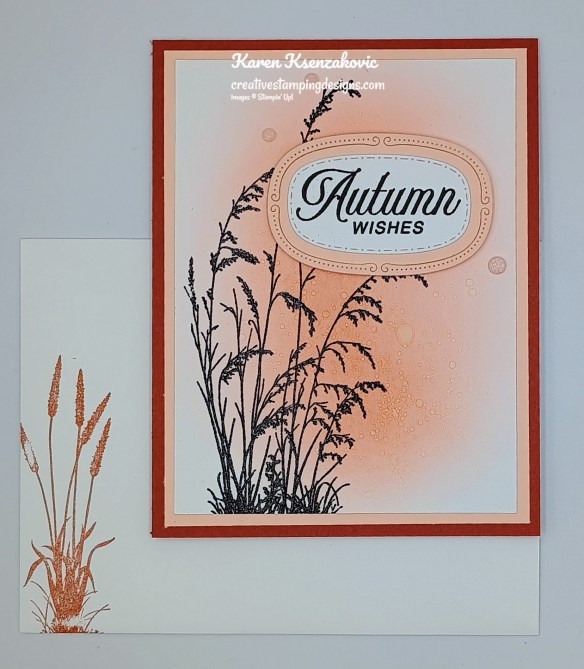
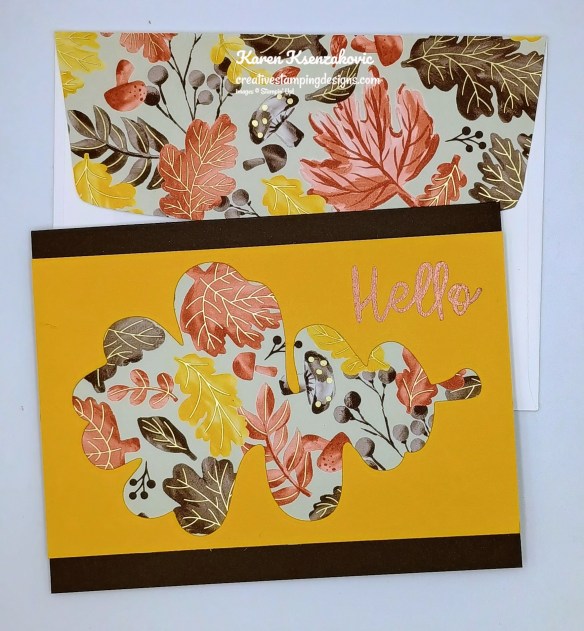
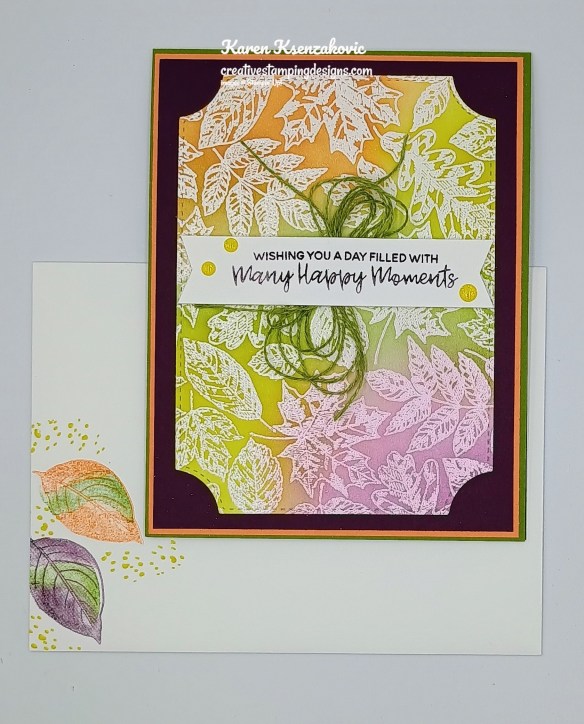
Decorate a Basic White Medium Envelope to finish the card. Stamp the smaller leaf image from the Artistic Leaves stamp set on the envelope front and flap in Blackberry Bliss and Timid Tiger Inks. Stamp the highlight image from the Artistic Leaves stamp set in Old Olive Ink and the splatter image in Darling Duckling Ink.
Stampin' Up! Etched Autumn Embossed 7 creativestampingdesigns.com

Thank you for stopping by my blog today. I hope you like the card and will give it a try. Happy Stamping!!

*********************************************************************************************************

If you need any stamping supplies, I’d love to be your Demonstrator. Just click HERE to go directly to my online store or drop me an email if you have any questions. 

*********************************************************************************************************

Stampin’ Up! BEST JOINING SPECIAL EVER coming soon – October 1 – 31

Crafting is even more fun with community, and there’s never been a better time to join. Become a demonstrator and enjoy all the perks that come with that, like a 20–25% product discount, exclusive early access to the latest releases and catalogs, the opportunity to earn a modest supplemental income, the chance to attend incredible training and crafting events, and so much more! Have you ever thought about joining the Stampin’ Up! community? Are you into scrapbooking and have you seen all the new scrapbook products Stampin’ Up! has? Is your wish/want list pretty long and do you order often? Wouldn’t you love to get all these products at a discount? If you answer was yes to any or all of these questions, why not consider joining the Stampin’ Up! community between Octobr 1-31, and save on everything you buy? Are you new to stamping and don’t know where to start, but would like to join to save? Ask me for help, I’m here to help and assist you anyway that I can. OCTOBER is the best time ever to join!! The best part is you can put November Online Exclusive preorder items in the Starter Kit. Contact me and we can talk about signing you up. There’s never an obligation to sell, you can join to enjoy the discount for yourself.

From October 1 to 31, anyone who purchases the Starter Kit can choose between two amazing offers.  In addition to FREE shipping, FREE business supplies, and a FREE Paper Pumpkin kit, you can either get $125 worth of products for just $35 OR $189 worth of products for just $99!  
Promotion Period: October 1–31

Ordering Deadlines

  • Online: October 31, 2025, at 11:59 p.m. (MT)

*********************************************************************************************************

Card stock cuts for this project:

  • Basic White Cardstock 4″ x 5 1/4″(card front), 3/4″ x 3 1/2″(sentiment), 3 3/4″ x 5″(inner liner)
  • Blackberry Bliss Cardstock (2) – 4″ x 5 1/4″(cad front & inner liner mats)
  • Old Olive Cardstock 4 1/4″ x 11″(card base scored & folded at 5 1/2″)
  • Timid Tiger Cardstock (2) – 4 1/8″ x 5 3/8″(card front & inner liner mats)

*********************************************************************************************************

Product List

Stampin’ Up! Beautiful Pumpkins for The Happy Inkin’ Thursday Blog Hop

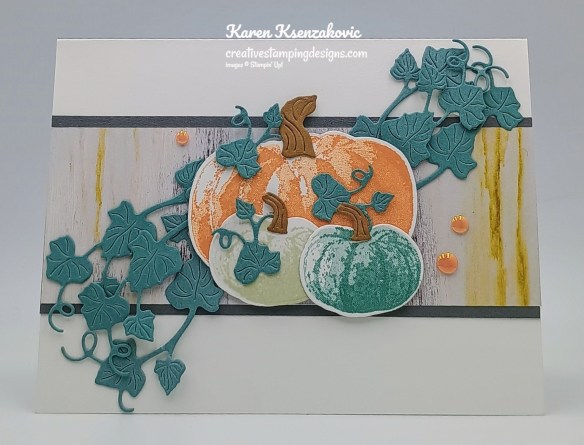
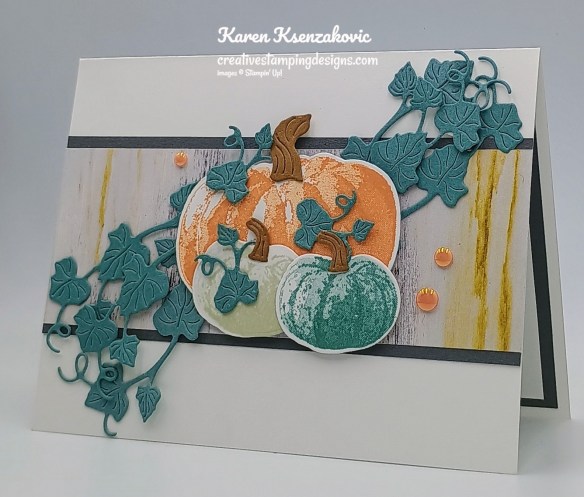
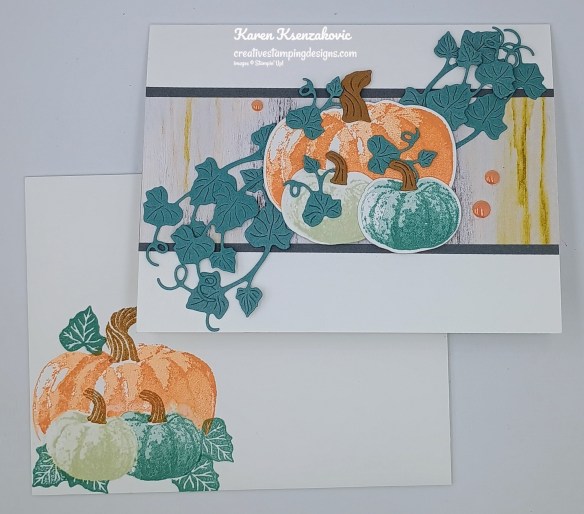
Good Thursday morning stamping friends and welcome to our Happy Inkin’ Thursday Blog Hop. If you are starting with me, thank you. I hope you will stop by everyone’s blog to see what they have created this week. If you are hopping over from Mary’s blog, thank you for stopping by. This week we have Sketch Challenge. If you’d like to see a quick video on how I made this card, Click Here to go to my Instagram Reels. Here is my card using this week’s sketch.

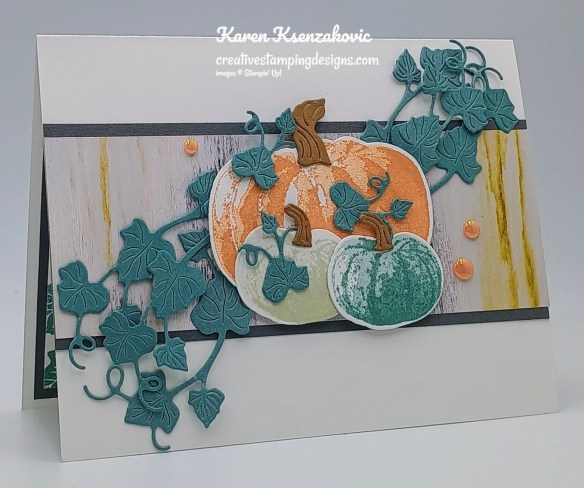
Stampin' Up! Beautiful Pumpkins 1 creativestampingdesigns.com

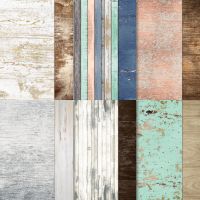
I used the Stampin’ Up! Beautiful Pumpkins Bundle along with the Country Woods Designer Series Paper for my card today.

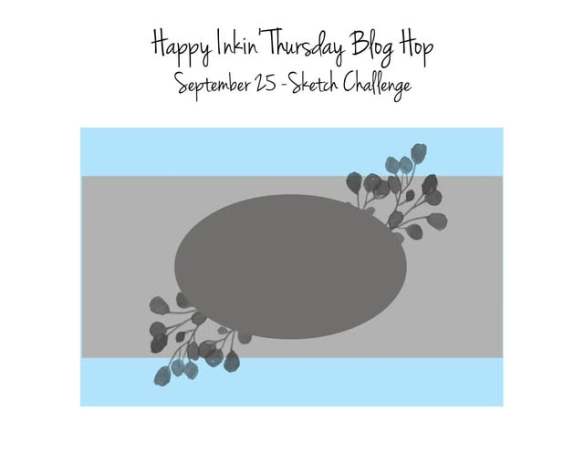
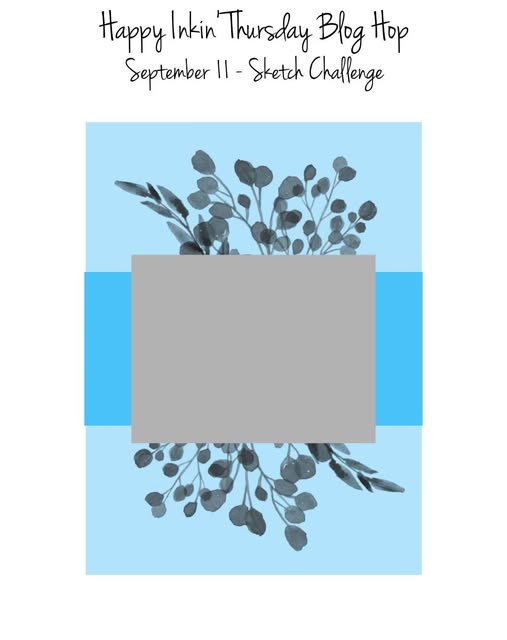
Here is our sketch for this week.

Stampin' Up! Beautiful Pumpkins 2 creativestampingdesigns.com

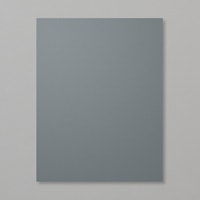
Adhere a panel of Country Wood DSP to a Basic Gray mat with Stampin’ Seal. Adhere the layered panel to a Basic White Thick card base with Stampin’ Seal.

Stampin' Up! Beautiful Pumpkins 3 creativestampingdesigns.com

On a panel of Basic White, stamp the large, detailed pumpkin from the Stampin’ Up! Beautiful Pumpkins Photopolymer Stamp Set in Timid Tiger Ink. Stamp the large solid pumpkin image from the Beautiful Pumpkins stamp set in Timid Tiger Ink, stamping off once on scrap paper. Stamp the small, detailed pumpkin image from the Beautiful Pumpkins stamp set in Basic Beige Ink and Lost Lagoon Ink. Stamp the small, solid pumpkin from the Beautiful Pumpkins stamp set in Basic Beige and Lost Lagoon Inks, stamping off once on scrap paper for each of them. Cut the pumpkin images out using the Beautiful Pumpkins Dies.

Stampin' Up! Beautiful Pumpkins 4 creativestampingdesigns.com

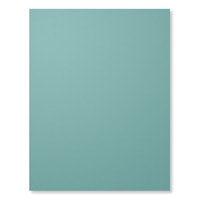
Using the Beautiful Pumpkins Dies, cut the vein/leaves die from a panel of Lost Lagoon and the pumpkin stem die from a panel of Pecan Pie. Adhere the stems to the pumpkins using Glue Dots. Adhere the small leaves to the pumpkins using Glue Dots. Adhere the pumpkins to the card front using Stampin’ Dimensionals. Adhere the vein/leaves under the pumpkins using Glue Dots and Stampin’ Dimensionals. Add a few 2025-2027 In-Color Flat Pearls to the card front.

Stampin' Up! Beautiful Pumpkins 5 creativestampingdesigns.com

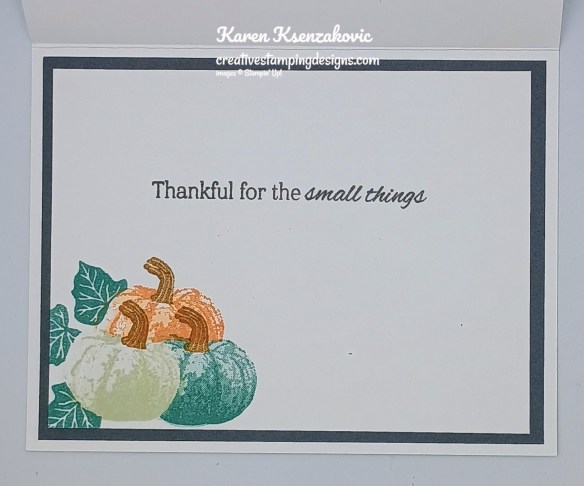
Stamp the sentiment from the Beautiful Pumpkins stamp set in Basic Gray Ink on a panel of Basic White. Stamp the small pumpkin image from the Beautiful Pumpkins stamp set in Basic Beige, Lost Lagoon and Timid Tiger Inks on the bottom of the panel. Stamp the leave in Lost Lagoon Ink and the stems in Pecan Pie Ink. Adhere the Basic White panel to a Basic Gray mat then to the inside of the Basic White Thick card base.

Stampin' Up! Beautiful Pumpkins 6 creativestampingdesigns.com

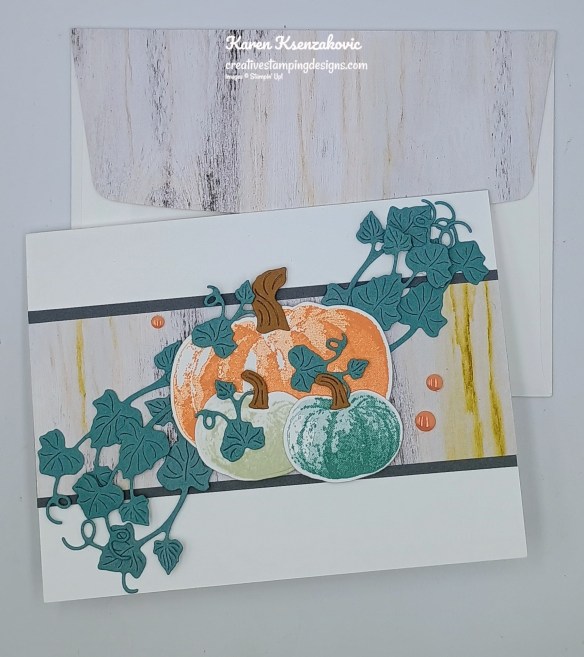
Decorate a Basic White Medium Envelope to complete your card. Stamp the small pumpkin image from the Beautiful Pumpkins stamp set in Basic Beige and Lost Lagoon Inks on the envelope front. Stamp the large pumpkin image from the Beautiful Pumpkins stamp set in Timid Tiger Ink, the leaves in Lost Lagoon and the stems in Pecan Pie Inks. Adhere a panel of Country Woods DSP to the envelope flap.

Stampin' Up! Beautiful Pumpkins 7 creativestampingdesigns.com

Thank you for stopping by my blog today.  Now that you’ve seen my card, let’s get on with the hop!  Click the button below to hop over to see what Akiko has created. Happy Hopping!!

Just in case you get lost along the way, here is a list of the team members involved in the hop today.

Amy Koenders

Mary Deatherage

Karen Ksenzakovic You are here

Akiko Sudano

Tara Carpenter

Terry Lynn Bright

Nicole Bloxom

*********************************************************************************************************

If you need any stamping supplies, I’d love to be your Demonstrator. Just click HERE to go directly to my online store or drop me an email if you have any questions. 

*********************************************************************************************************

Card stock cuts for this project:

  • Basic White Cardstock 3″ x 4″(pumpkins), 3 3/4″ x 5″(inner liner)
  • Basic White Thick Cardstock 5 1/2″ x 8 1/2″(card base scored & folded at 4 1/4″)
  • Basic Gray Cardstock 2 1/4″ x 5 1/2″(card front panel mat), 4″ x 5 /4″(inner liner mat)
  • Lost Lagoon Cardstock 4 1/4″ x 5″(leaves)
  • Pecan Pie Cardstock 1 1/4″ x 1 1/2″(die cuts)
  • Country Woods Designer Series Paper 2″ x 5 1/2″(card front panel), 2 1/4″ x 6″(envelope)

*********************************************************************************************************

Product List

Stampin’ Up! Amber Autumn for The Happy Inkin’ Thursday Blog Hop

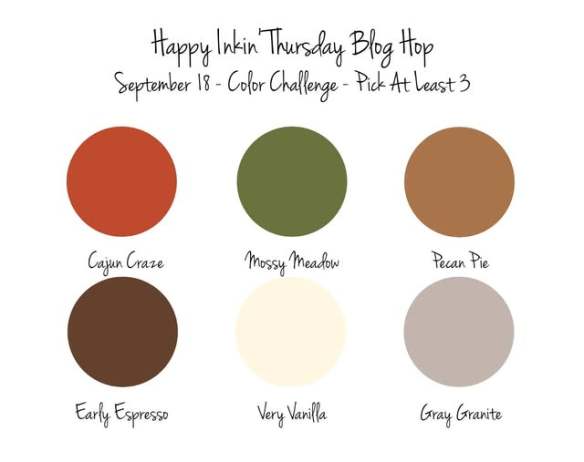
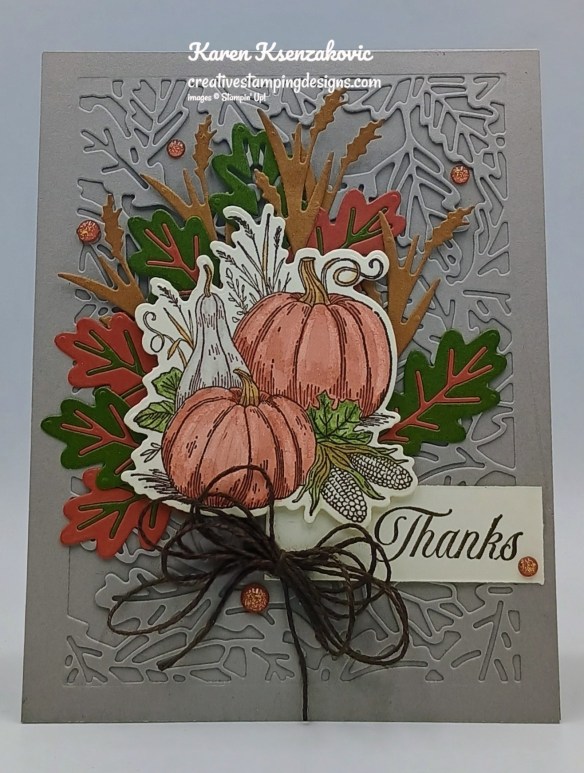
Good Thursday morning stamping friends and welcome to our Happy Inkin’ Thursday Blog Hop. If you are starting with me, thank you. I hope you will stop by everyone’s blog to see what they have created this week. If you are hopping over from Mary’s blog, thank you for stopping by. This week we have Color Challenge. If you’d like to see a quick video on how I made this card, Click Here to go to my Instagram Reels. Here is my card using this week’s colors.

Stampin' Up! Amber Autumn Collage 1 creativestampingdesigns.com

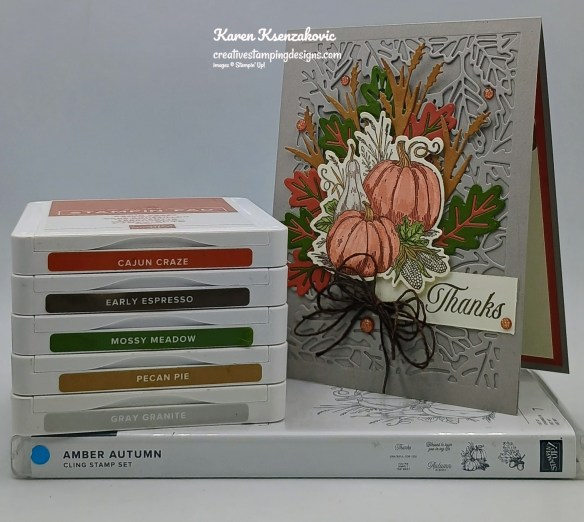
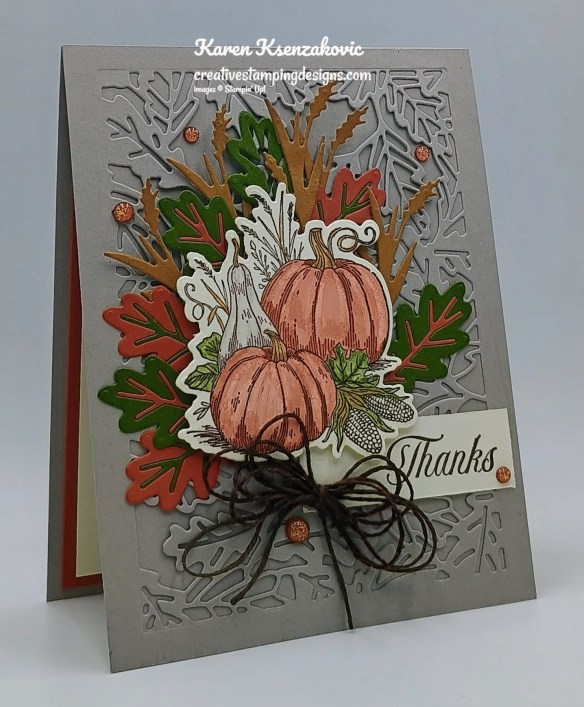
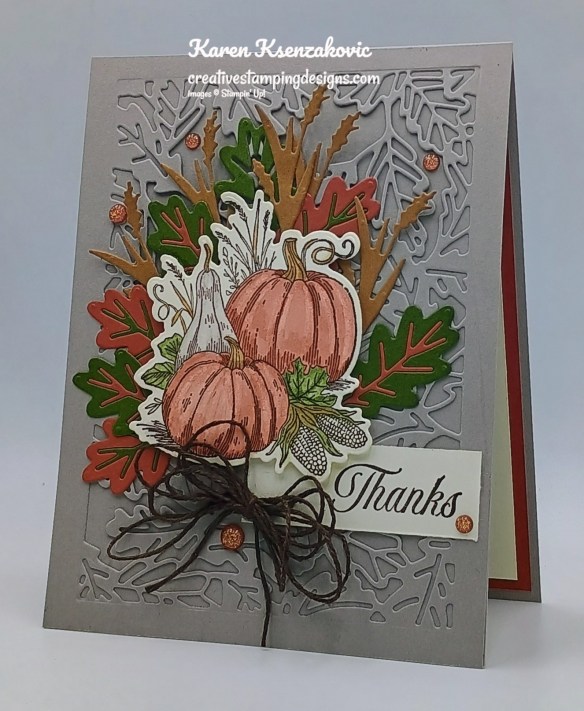
I used the Stampin’ Up! Amber Autumn Bundle for my collage thank you card today.

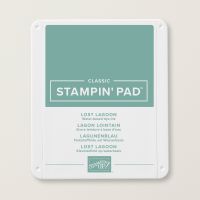
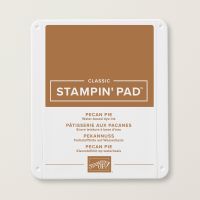
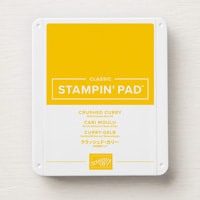
These are out colors for this week.

Stampin' Up! Amber Autumn Collage 2 creativestampingdesigns.com

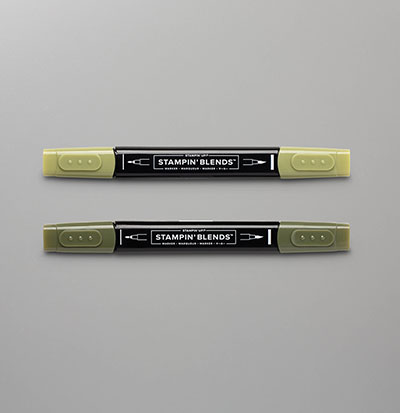
Cut a panel of Gray Granite using the Amber Autumn Dies. Adhere the die cut panel to a Gray Granite card base with Liquid Glue. Stamp the pumpkin image from the Stampin’ Up! Amber Autumn Cling Stamp Set in Early Espresso Ink on a panel of Very Vanilla. Color the image with Cajun Craze, Gray Granite, Mossy Meadow and pecan Pie Stampin’ Blends Markers. Cut the image out using the Amber Autumn Dies.

Stampin' Up! Amber Autumn Collage 3 creativestampingdesigns.com

Using the Amber Autumn Dies, cut panels of Cajun Craze, Mossy Meadow and Pecan Pie using the leaf and grass dies. Adhere the pumpkin image to the card front with Stampin’ Dimensionals. Adhere the leaves and grass die cuts under the pumpkin image with Glue Dots.

Stampin' Up! Amber Autumn Collage 4 creativestampingdesigns.com

Stamp the sentiment from the Amber Autumn stamp set in Early Espresso Ink on a panel of Very Vanilla. Adhere the sentiment to the card front, tucked under the pumpkin image with Stampin’ Seal. Tie a multi loop bow using the Early Espresso Linen Thread and adhere it to the sentiment with a Glue Dot. Add a few Cajun Craze & Gold Dots to the card front.

Stampin' Up! Amber Autumn Collage 5 creativestampingdesigns.com

Stamp the sentiment from the Amber Autumn stamp set in Early Espresso Ink on a panel of Very Vanilla. Stamp the leaf/acorn image from the Amber Autumn stamp set in Early Espresso Ink on the top of the panel. Color the image using Cajun Craze, Mossy Meadow and Pecan Pie Stampin’ Blends Markers. Adhere the Very Vanilla panel to a Cajun Craze mat then to the inside of the Gray Granite card base.

Stampin' Up! Amber Autumn Collage 6 creativestampingdesigns.com

Decorate a Basic White Medium Envelope to complete your card. Stamp the leaf/acorn image from the Amber Autumn stamp set in Early Espresso Ink on the envelope front. Color the image with Mossy Meadow and Pecan Pie Stampin’ Blends Markers. Adhere a panel of Autumn Toile DSP to the envelope flap,

Stampin' Up! Amber Autumn Collage 7 creativestampingdesigns.com

Thank you for stopping by my blog today.  Now that you’ve seen my card, let’s get on with the hop!  Click the button below to hop over to see what Akiko created. Happy Hopping!

Just in case you get lost along the way, here is a list of the team members involved in the hop today.

Amy Koenders

Mary Deatherage

Karen Ksenzakovic You Are Here

Akiko Sudano

Tara Carpenter

Terry Lynn Bright

Nicole Bloxom

*********************************************************************************************************

If you need any stamping supplies, I’d love to be your Demonstrator. Just click HERE to go directly to my online store or drop me an email if you have any questions. 

*********************************************************************************************************

Card stock cuts for this project:

  • Cajun Craze Cardstock 2 1/2″ x 3″(die cuts), 4″ x 5 1/4″(inner liner mat)
  • Gray Granite Cardstock 4 1/4″ x 11″(card base scored & folded at 5 1/2″), 4 1/4″ x 5 1/2″(card front)
  • Mossy Meadow Cardstock 1 3/4″ x 4 1/2″(die cuts)
  • Pecan Pie Cardstock 2 1/2″ x 3 1/2″(die cuts)
  • Very Vanilla Cardstock 3″ x 3 1/4″(artwork), 3/4″ x 2 1/4″(sentiment), 3 3/4″ x 5″(inner liner)
  • Autumn Toile Designer Series Paper 2 1/4″ x 6″(envelope flap)

*********************************************************************************************************

Product List

Stampin’ Up! Label Me Grateful for The Happy Inkin’ Thursday Blog Hop

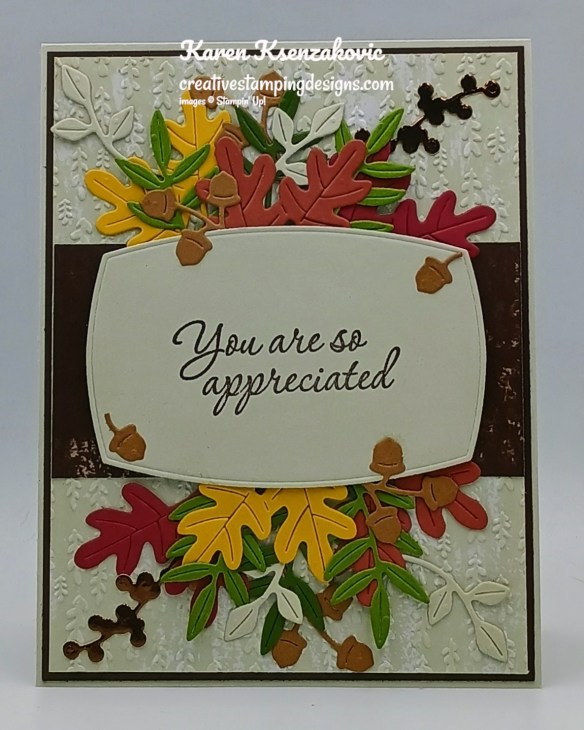
Good Thursday morning stamping friends and welcome to our Happy Inkin’ Thursday Blog Hop. If you are starting with me, thank you. I hope you will stop by everyone’s blog to see what they have created this week. If you are hopping over from Mary’s blog, thank you for stopping by. This week we have Sketch Challenge. Here is my card using this week’s sketch.

Stampin' Up! Label Me Grateful Collage 1 creativestampingdesigns.com

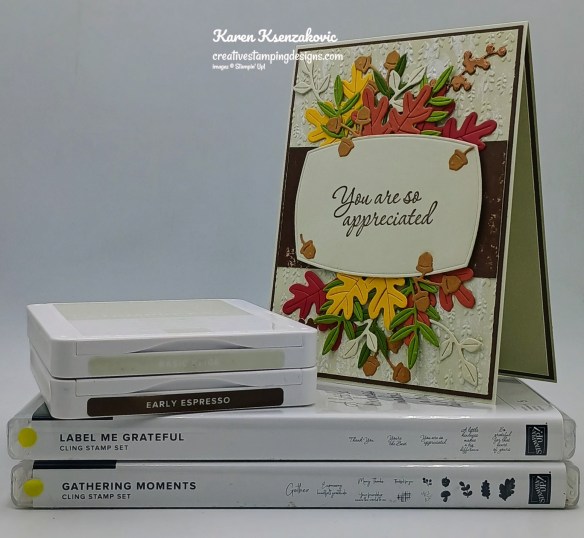
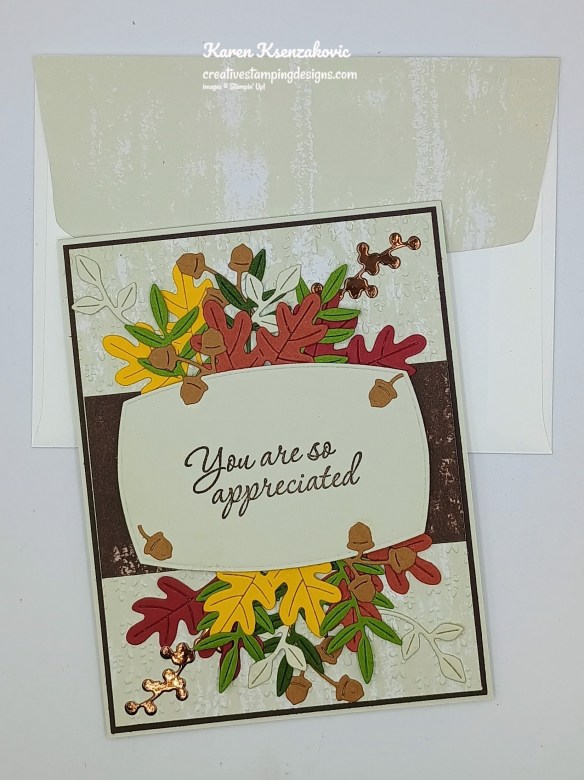
I used the Stampin’ Up! Label Me Grateful Bundle along with the Gathering Leaves Embossing Folder, Gathering Together Specialty Designer Series Paper and Stampin’ Up! Gathering Moments Cling Stamp Set for my card today.

This is our sketch for this week

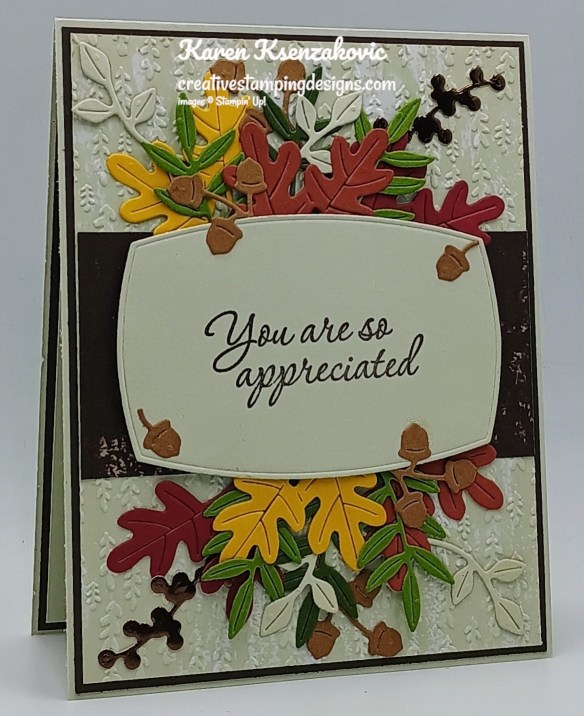
Stampin' Up! Label Me Grateful Collage 2 creativestampingdesigns.com

Emboss a panel of Gathering Together DSP using the Gathering Leaves EF. Adhere the embossed panel to an Early Espresso mat with Liquid Glue. Adhere a smaller panel of Gathering Together DSP to the center of the card front with Liquid Glue. Adhere the layered panel to a Basic Beige card base with Stampin’ Seal.

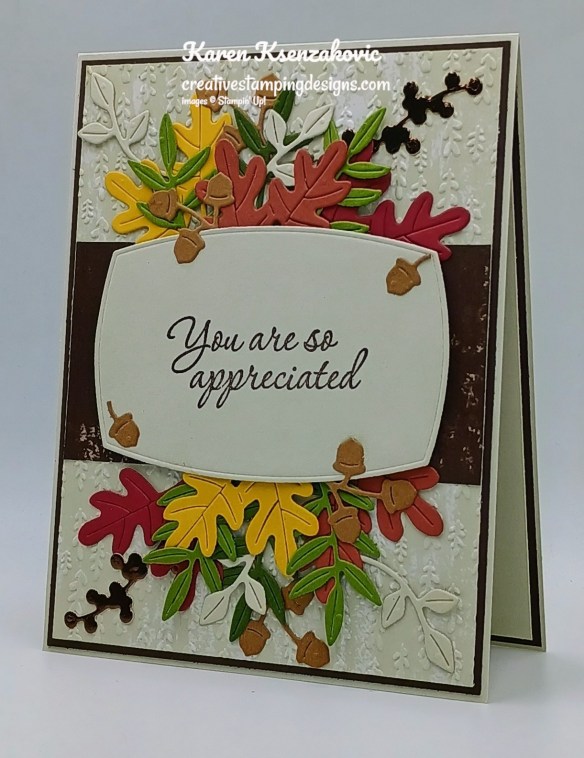
Stampin' Up! Label Me Grateful Collage 3 creativestampingdesigns.com

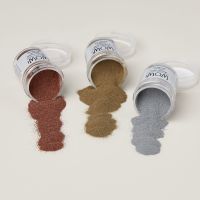
Stamp the sentiment from the Stampin’ Up! Label Me Grateful Cling Stamp Set in Early Espresso Ink on a panel of Basic Beige. Cut the sentiment out using the Label Me Grateful Dies. Using the Label Me Grateful Dies, cut panels of Basic Beige, Cajun Craze, Cherry Cobbler, Crushed Curry, Mossy Meadow, Old Olive, Pecan Pie and Earthen toned Metallic Paper.

Stampin' Up! Label Me Grateful Collage 4 creativestampingdesigns.com

Create a collage on the card front with the leaves, sprigs and acorns you die cut using Glue Dots and Liquid Glue. Adhere the sentiment over the collage using Stampin’ Dimensionals.

Stampin' Up! Label Me Grateful Collage 5 creativestampingdesigns.com

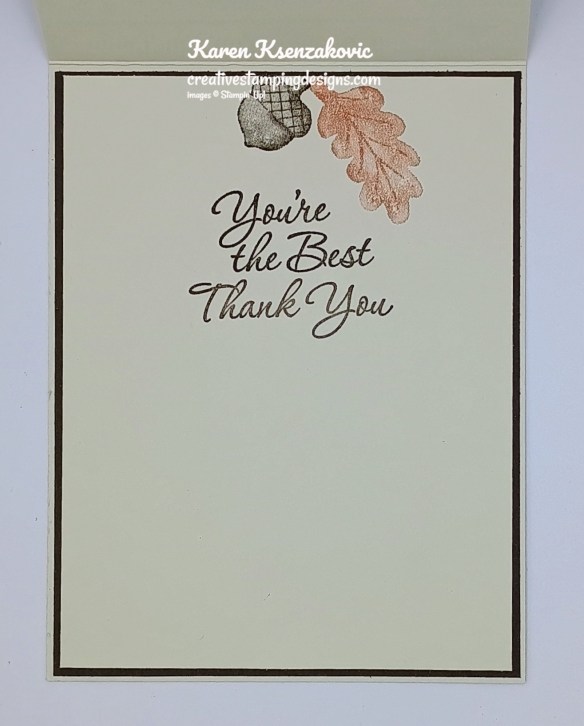
On a panel of Basic Beige, stamp the sentiment from the Label Me Grateful stamp set in Early Espresso Ink. Stamp the leaf image from the Gathering Moments stamp set in Cajun Craze Ink on the top of the panel. Stamp the acorn image from Gathering Moments stamp set in Early Espresso Ink next to the leaf. Adhere the Basic Beige panel to an Early Espresso mat then to the inside of the Basic Beige card base

Stampin' Up! Label Me Grateful Collage 6 creativestampingdesigns.com

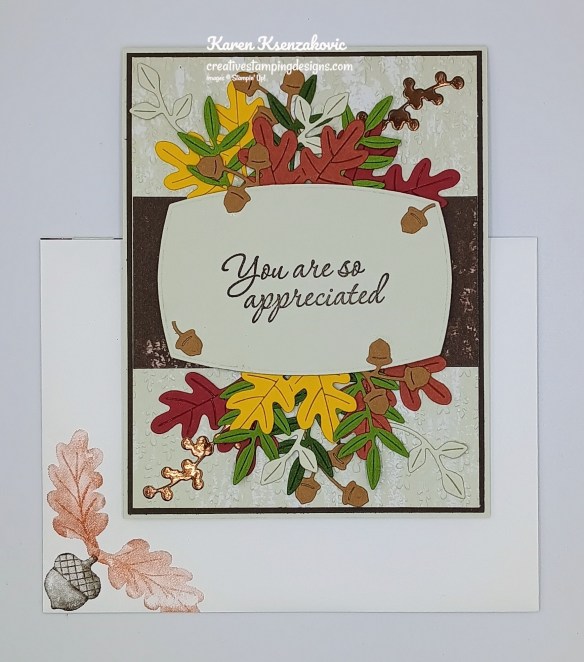
Decorate a Basic White Medium Envelope to complete your card. Stamp the leaf image from the Gathering Moments stamp set in Cajun Craze Ink on the envelope front 2 times. Stamp the acorn image from the Gathering Moments stamp set in Early Espresso Ink on the leaves. Adhere a panel of Gathering Together DSP to the envelope flap.

Stampin' Up! Label Me Grateful Collage 7 creativestampingdesigns.com

Thank you for stopping by my blog today.  Now that you’ve seen my card, let’s get on with the hop!  Click the button below to hop over to see what Akiko has created. Happy Hopping!!

Just in case you get lost along the way, here is a list of the team members involved in the hop today.

Amy Koenders

Mary Deatherage

Karen Ksenzakovic You Are Here

Akiko Sudano

Tara Carpenter

Terry Lynn Bright

Nicole Bloxom

*********************************************************************************************************

If you need any stamping supplies, I’d love to be your Demonstrator. Just click HERE to go directly to my online store or drop me an email if you have any questions. 

*********************************************************************************************************

Card stock cuts for this project:

  • Basic Beige Cardstock 4 1/4″ x 11″(card base scored & folded at 5 1/2″), 2 1/2″ x 4″(sentiment), 1″ x 4″(die cut), 4″ x 5 1/4″(inner liner)
  • Cajun Craze Cardstock 2 1/2″ x 2 1/2″(die cuts)
  • Cherry Cobbler Cardstock 2 1/2″ x 2 1/2″(die cuts)
  • Crushed Curry Cardstock 2 1/2″ x 2 1/2″(die cuts)
  • Early Espresso Cardstock (2) – 4 1/8″ x 5 3/8″(card front & inner liner mats)
  • Mossy Meadow Cardstock 1 1/2″ x 5″(die cuts)
  • Old Olive Cardstock 3″ x 5″(die cuts)
  • Pecan Pie Cardstock 3″ x 4″(die cuts)
  • Gathering Together Specialty Designer Series Paper 4″ x 5 1/4″(card front), 2″ x 4″(card front panel), 2 1/4″ x 6″(envelope flap)
  • Earthen Toned Metallic Paper 1″ x 3″(die cut)

*********************************************************************************************************

Product List

Stampin’ Up! Prairie Grass CAS

Good Sunday morning stamping friends. I hope your weekend is going well. I’ll be cutting more of my shares up today in hopes to get them shipped out early this week.

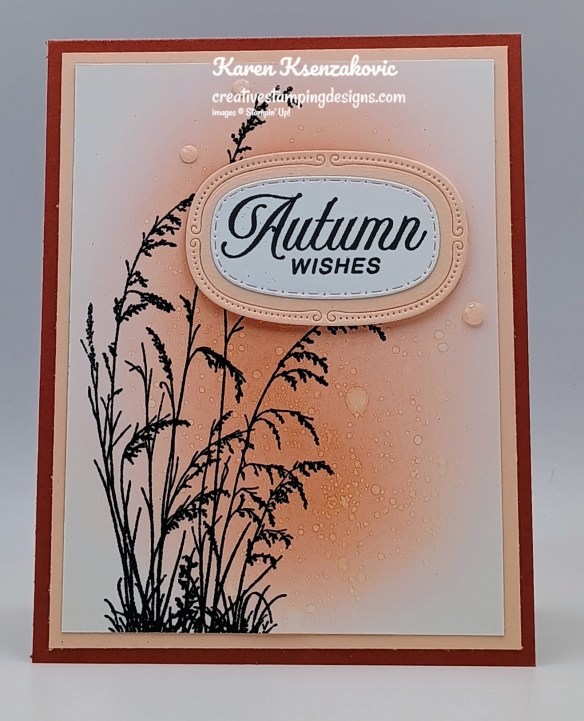
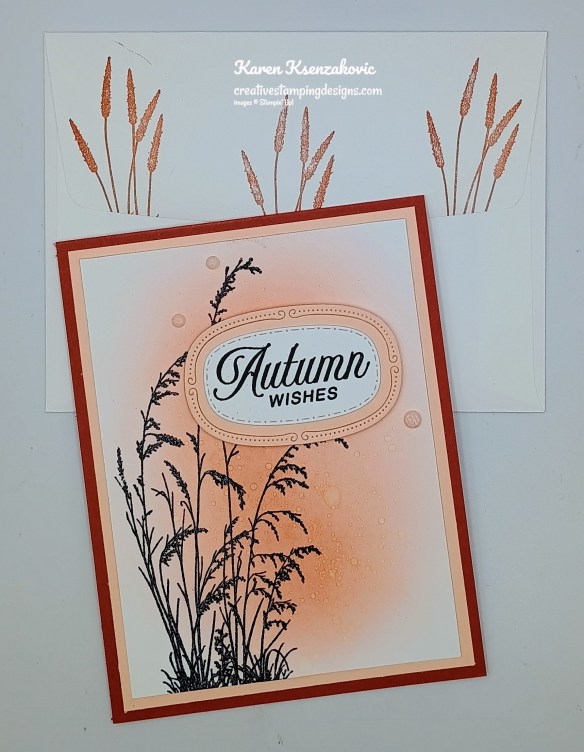
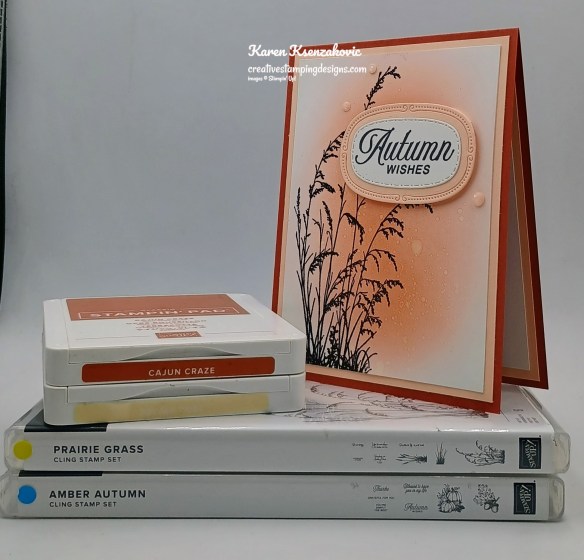
Today’s card is another one that we made Wednesday night at my class. I did an ink splatter technique using the Water Painters that are back. If you’d like to see a quick video of how I made this card, Click Here to go to my Instagram Reels. Here’s my card for today.

Stampin' Up! Prairie Grass CAS 1 creativestampingdesigns.com

I used the Stampin’ Up! Online Exclusive Prairie Grass Cling Stamp Set along with the Stampin’ Up! Amber Autumn Cling Stamp Set and the Traditional Labels Dies for my card today.

Stampin' Up! Prairie Grass CAS 2 creativestampingdesigns.com

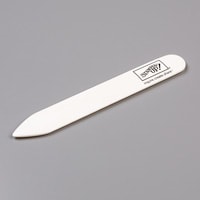
Using a Blending Brush, add Cajun Craze Ink to a Basic White panel. Tap a Water Painter on a Bone Folder to sprinkle water over the inked area.

Stampin' Up! Prairie Grass CAS 3 creativestampingdesigns.com

Once the paper is dry, stamp the tall grass image from the Prairie Grass stamp set in Versamark Ink on the inked panel. Sprinkle the image with Black Embossing Powder and set it using the Heat Tool. Adhere the Basic White panel to a Petal Pink mat with Stampin’ Seal.

Stampin' Up! Prairie Grass CAS 4 creativestampingdesigns.com

Stamp the sentiment from the Amber Autumn stamp set on a panel of Basic White. Cut the sentiment out with the small oval Traditional Labels Dies. Cut the larger oval from the Traditional Labels Dies from a panel of Petal Pink. Adhere the sentiment to the mat with Stampin’ Seal. Adhere the sentiment to the card front with Stampin’ Dimensionals. Add a few Charming Shimmer Faceted Dots to the card front.

Stampin' Up! Prairie Grass CAS 5 creativestampingdesigns.com

Stamp the sentiment from the Amber Autumn stamp set in Tuxedo Back Ink on a panel of Basic White. Stamp the cattail image from the Prairie Grass stamp set in Cajun Craze ink on the bottom of the panel. Adhere the Basic White panel to a Petal Pink mat then to the inside of the Cajun Craze card base.

Stampin' Up! Prairie Grass CAS 6 creativestampingdesigns.com

To finish your card, decorate a Basic White Medium Envelope. Stamp the cattail image from the Prairie Grass stamp set in Cajun Craze ink on the envelope front and flap.

Stampin' Up! Prairie Grass CAS 7 creativestampingdesigns.com

Thank you for stopping by my blog today. I hope you like the card and will give it a try. Happy Stamping!!

*********************************************************************************************************

If you need any stamping supplies, I’d love to be your Demonstrator. Just click HERE to go directly to my online store or drop me an email if you have any questions. 

*********************************************************************************************************

Registration now Open for our September Online Class

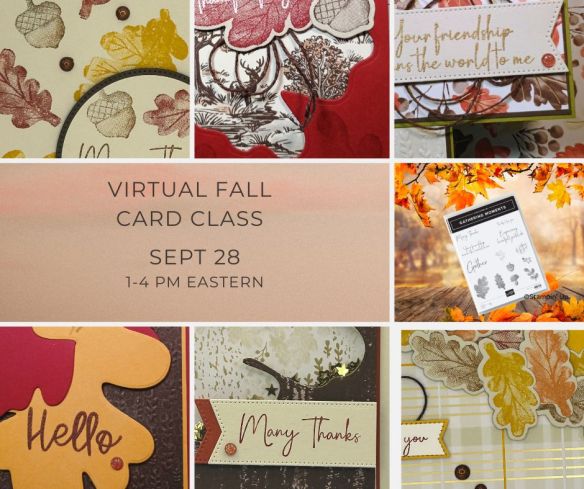
Tara Carpenter and I are teaming up to offer an online Fall card class using Stampin’ Up! Online Exclusive Gathering Together Suite.  We will be creating 6 different cards during the class including 2 Beginner Stamper cards, 2 Casual Stamper Cards and 2 Advanced Stamper Cards. Sign Up now by Clicking Here to reserve your spot.

The class fee includes:

  • Stampin’ Up! Cajun Craze & Gold Dots (full pack)
  • Stampin’ Up! Early Espresso & Old Olive Linen Thread Pack (full pack)
  • Pre-cut card kits to complete each card
  • Zoom class with complete instructions to complete each card
  • PDF with detailed directions

During sign up you will have the option to add additional items to your order that you can take advantage of at no additional shipping cost.  These items are optional, however if you want to recreate the cards you will need them. If you’ve attended a previous class, you were given a discount code, there is a spot to put that code on the form and the discount only applies to the products that you check off that you wish to purchase, not the class.

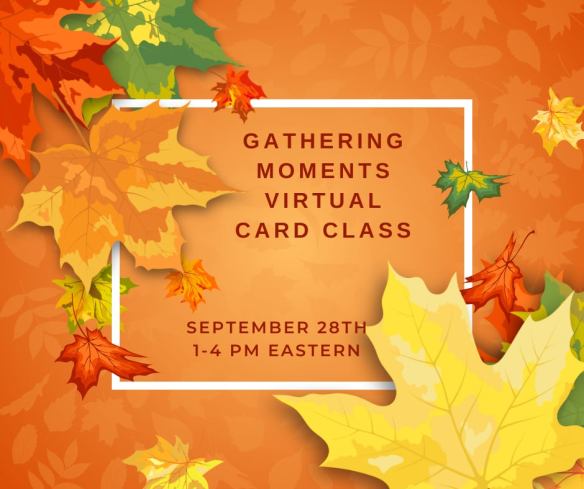
The class will be held Sunday September 28th from 1 to 5 pm Eastern Time via Zoom.  This allows anyone in the United States to participate live!  Can’t join us live… no worries, we will record the session so it can be replayed at any time.

I will email written directions that will include directions, cardstock cuts as well as photos to help you create each card.

I am not including the bundle or stamp set in the price of the class.  You can purchase the bundle through me at an additional 10% discount of the Online Exclusive price (see below).

Class Cost $35 + $10 (Priority Shipping) 

Additional purchased items will be included in the above shipping price.  I will invoice you through PayPal and invoices must be paid by September 14th to insure I can get the products delivered, packaged up and out to you with enough time.  

Deadline: Sunday September 14th (this is so I have time to order all the products being used)

Click Here to register for the class now!! Let me know if you have any questions.

*********************************************************************************************************

Double Creative Stamping Designs Rewards Going on Until Sept 10

The new September – December 2025 Mini Catalog and the new September Online Exclusives are now available to order.  Let’s kick off the new catalog and online exclusives with Double Creative Stamping Designs Rewards. THAT’S 2X THE REWARDS FOR YOU FROM ME!!!  Starting September 3 – September 10 I’m offering DOUBLE REWARDS for all orders over $50 (before tax & shipping)!! How does this work? For a $50 you’ll earn 2 rewards, $100 you’ll earn 4 rewards, $150 you’ll earn 6 rewards, etc. Head over to my Online Store and get those orders in early and earn those Double Rewards!!

*********************************************************************************************************

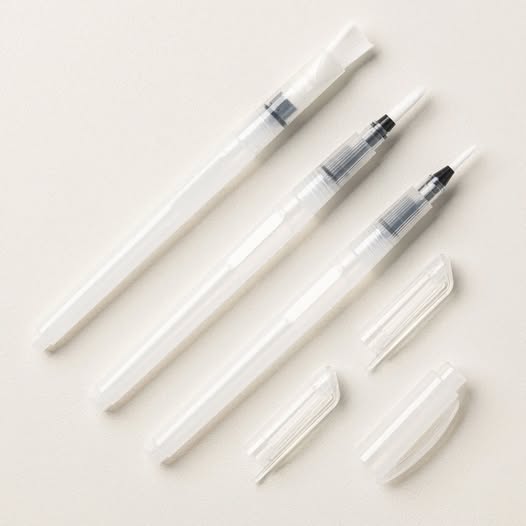
Water Painter Are Back

The Stampin’ Up! Water Painters are back. I love doing techniques with these. They make it so easy with the filled bottom so you don’t have to have a bowl of water handy when you are painting. You can find them in my Online Store under Tools and Storage products!!

#168253

*********************************************************************************************************

Card stock cuts for this project:

  • Basic White Cardstock (2) – 3 3/4″ x 5″(card front & inner liner), 1 1/2″ x 2 1/2″(sentiment)
  • Cajun Craze Cardstock 4 1/4″ x 11″ (card base scored & folded at 5 1/2″)
  • Petal Pink Cardstock (2) – 4″ x 5 1/4″(card front & inner liner mats), 2″ x 2 3/4″(sentiment mat)

*********************************************************************************************************

Product List

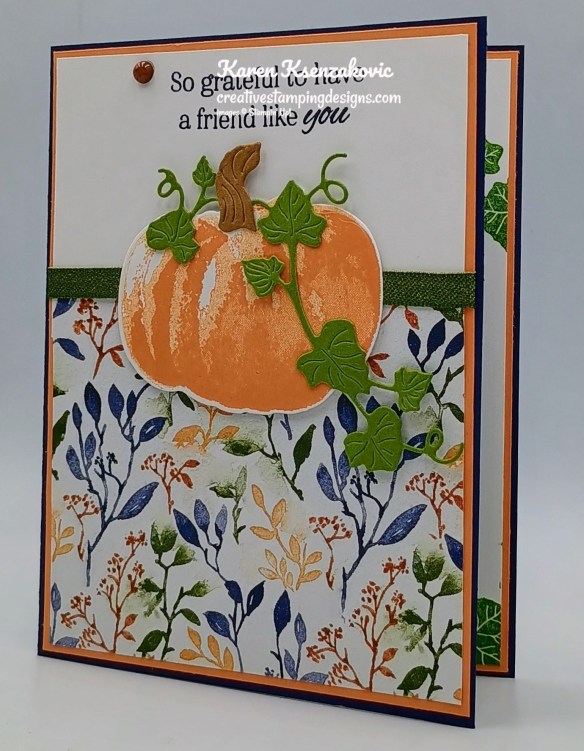
Stampin’ Up! Beautiful Pumpkins

Good Saturday morning stamping friends and welcome to the weekend!! I hope you have some fun plans in the works. I’ll be at work all day today.

Today’s card I mixed some older Online Exclusive DSP with a new stamp set. This is one of the cards we made at out class this past Wednesday evening. I’ve done this design many times before but changing up the DSP and focal image changes everything. If you’d like to see a quick video of how I made this card, Click Here to go to my Instagram Reels.

Stampin' Up! Beautiful Pumpkins Friendship 1 creativestampingdesigns.com

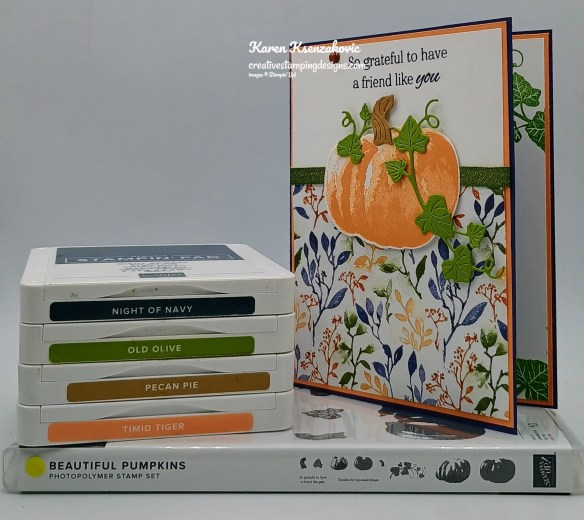
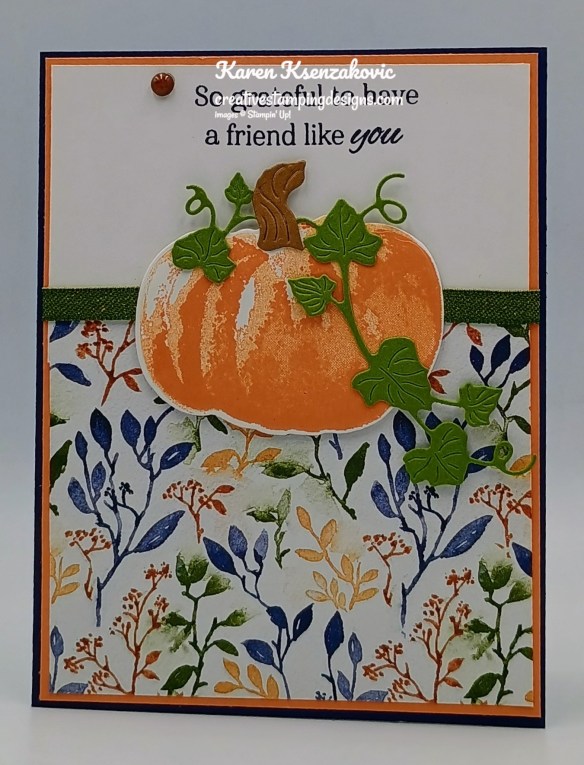
I used the new Stampin’ Up! Online Exclusive Beautiful Pumpkins Bundle along with the Floral Charm Designer Series paper for my card today.

Stampin' Up! Beautiful Pumpkins Friendship 2 creativestampingdesigns.com

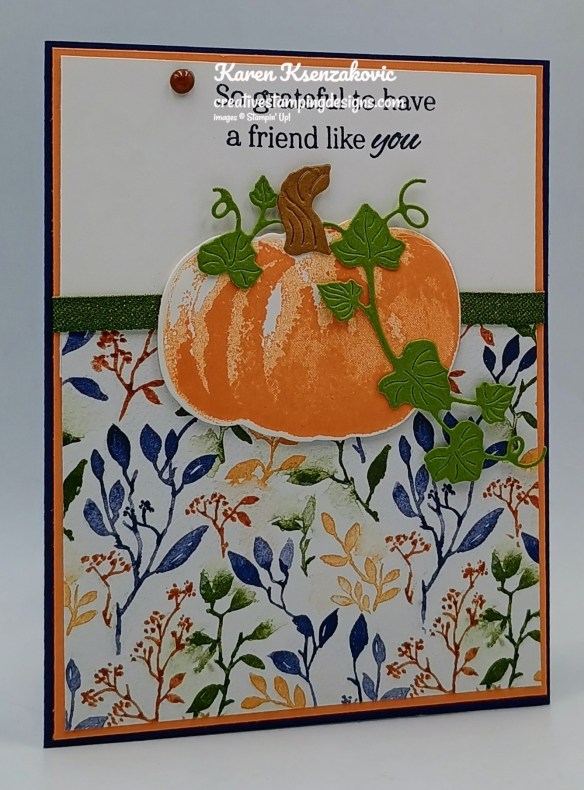
Stamp the sentiment from the Stampin’ Up! Beautiful Pumpkins Photopolymer Stamp Set on the top of the small Basic White panel in Night of Navy Ink. Adhere the sentiment panel to the top of the Timid Tiger mat with Stampin’ Seal. Adhere the panel of Floral Charm DSP to the bottom of the Timid Tiger mat with Stampin’ Seal. Wrap a piece of Mossy Meadow & Gold 1/4″ Trim around the panel and adhere in the back with Stampin’ Seal.

Stampin' Up! Beautiful Pumpkins Friendship 3 creativestampingdesigns.com

On a panel of Basic White, stamp the large-detailed pumpkin image from the Beautiful Pumpkins stamp set in Timid Tiger Ink. Stamp the large-solid pumpkin image from the Beautiful Pumpkins stamp set in Timid Tiger Ink, stamping off once on scarp paper, over the detailed image. Cut the image out using the Beautiful Pumpkins Dies. Using the Beautiful Pumpkins Dies cut the large & small vein dies from a panel of Old Olive and the large stem image from a panel of Pecan Pie.

Stampin' Up! Beautiful Pumpkins Friendship 4 creativestampingdesigns.com

Adhere the vein die cut panels and the stem to the die cut pumpkin with Glue Dots. Adhere the die cut pumpkin to the card front over the ribbon with Stampin’ Dimensionals. Add a Streaked Dot embellishment to the card front.

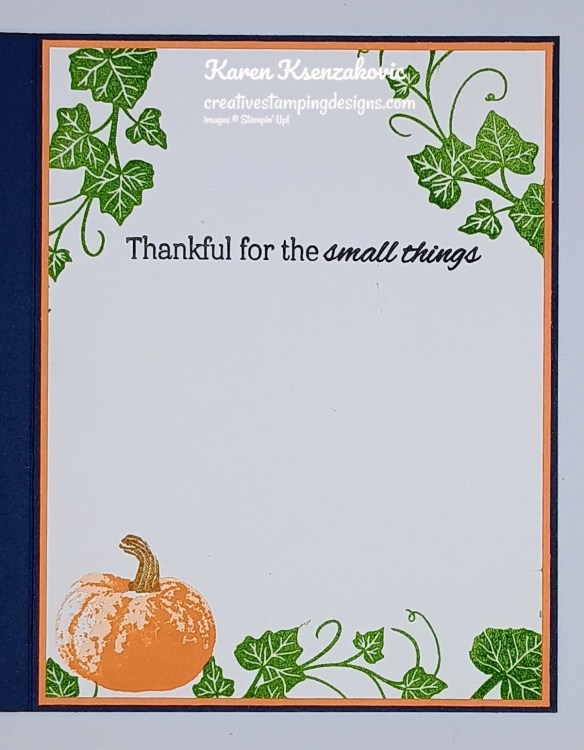
Stampin' Up! Beautiful Pumpkins Friendship 5 creativestampingdesigns.com

Stamp the sentiment from the Beautiful Pumpkins stamp set in Night of Navy Ink on a panel of Basic White. Stamp the small-detailed pumpkin image from the Beautiful Pumpkins stamp set in Timid Tiger Ink on the bottom of the panel. Stamp the small-solid pumpkin image from the Beautiful Pumpkins stamp set in timid Tiger Ink, stamping off once on scrap paper, over the detailed image. Stamp the small stem image in Pecan Pie Ink. Stamp the vein image from the Beautiful Pumpkins stamp set in Old Olive Ink around the panel. Adhere the Basic White panel to a Timid Tiger mat then to the inside of the Night of Navy card base.

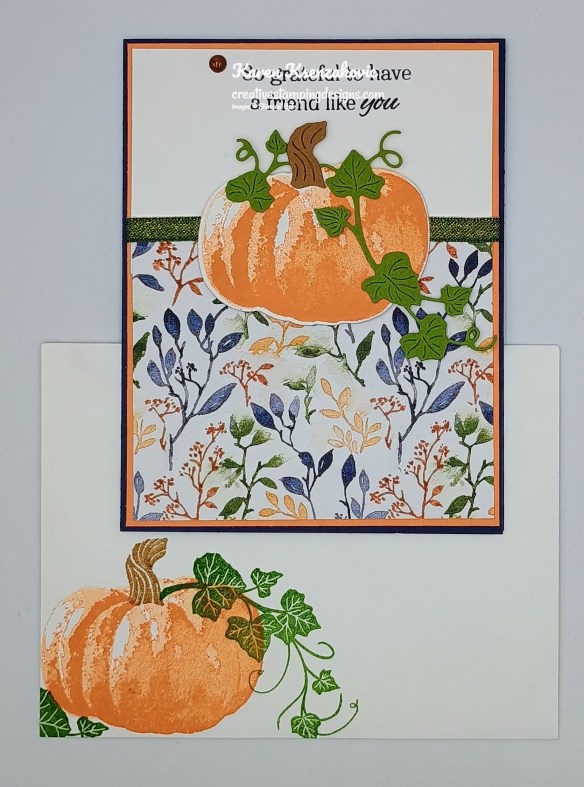
Stampin' Up! Beautiful Pumpkins Friendship 6 creativestampingdesigns.com

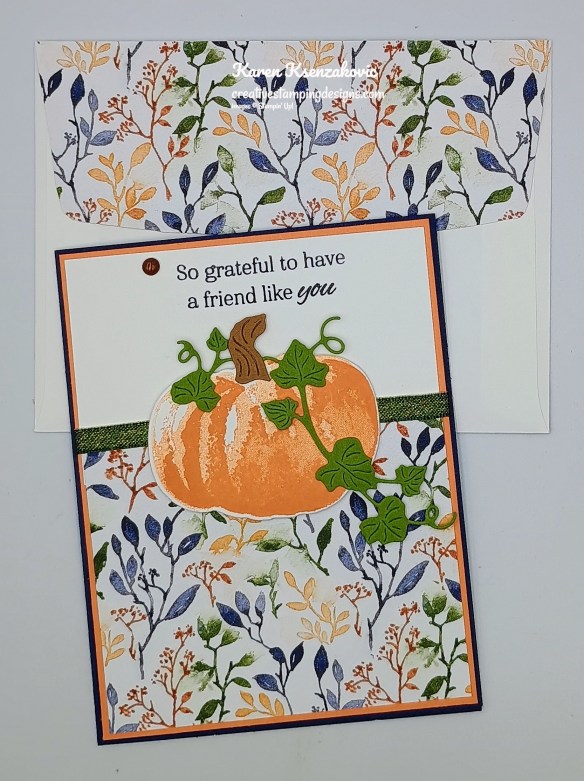
Decorate a Basic White Medium Envelope to finish the card. Stamp the large details pumpkin image from the Beautiful Pumpkins stamp set in Timid Tiger Ink on the envelope front. Stamp the solid large pumpkin image in Timid Tiger Ink, stamping off once on scrap paper, over the detailed image. Stamp the vein image from the Beautiful Pumpkins stamp set in Old Olive Ink and the pumpkin stem image in Pecan Pie Ink. Adhere a panel of Floral Charm DSP to the envelope flap.

Stampin' Up! Beautiful Pumpkins Friendship 7 creativestampingdesigns.com

Thank you for stopping by my blog today. I hope you like the card and will give it a try. Happy Stamping!!

*********************************************************************************************************

If you need any stamping supplies, I’d love to be your Demonstrator. Just click HERE to go directly to my online store or drop me an email if you have any questions. 

*********************************************************************************************************

Registration now Open for our September Online Class

Tara Carpenter and I are teaming up to offer an online Fall card class using Stampin’ Up! Online Exclusive Gathering Together Suite.  We will be creating 6 different cards during the class including 2 Beginner Stamper cards, 2 Casual Stamper Cards and 2 Advanced Stamper Cards. Sign Up now by Clicking Here to reserve your spot.

The class fee includes:

  • Stampin’ Up! Cajun Craze & Gold Dots (full pack)
  • Stampin’ Up! Early Espresso & Old Olive Linen Thread Pack (full pack)
  • Pre-cut card kits to complete each card
  • Zoom class with complete instructions to complete each card
  • PDF with detailed directions

During sign up you will have the option to add additional items to your order that you can take advantage of at no additional shipping cost.  These items are optional, however if you want to recreate the cards you will need them. If you’ve attended a previous class, you were given a discount code, there is a spot to put that code on the form and the discount only applies to the products that you check off that you wish to purchase, not the class.

The class will be held Sunday September 28th from 1 to 5 pm Eastern Time via Zoom.  This allows anyone in the United States to participate live!  Can’t join us live… no worries, we will record the session so it can be replayed at any time.

I will email written directions that will include directions, cardstock cuts as well as photos to help you create each card.

I am not including the bundle or stamp set in the price of the class.  You can purchase the bundle through me at an additional 10% discount of the Online Exclusive price (see below).

Class Cost $35 + $10 (Priority Shipping) 

Additional purchased items will be included in the above shipping price.  I will invoice you through PayPal and invoices must be paid by September 14th to insure I can get the products delivered, packaged up and out to you with enough time.  

Deadline: Sunday September 14th (this is so I have time to order all the products being used)

Click Here to register for the class now!! Let me know if you have any questions.

*********************************************************************************************************

Double Creative Stamping Designs Rewards Going on Until Sept 10

The new September – December 2025 Mini Catalog and the new September Online Exclusives are now available to order.  Let’s kick off the new catalog and online exclusives with Double Creative Stamping Designs Rewards. THAT’S 2X THE REWARDS FOR YOU FROM ME!!!  Starting September 3 – September 10 I’m offering DOUBLE REWARDS for all orders over $50 (before tax & shipping)!! How does this work? For a $50 you’ll earn 2 rewards, $100 you’ll earn 4 rewards, $150 you’ll earn 6 rewards, etc. Head over to my Online Store and get those orders in early and earn those Double Rewards!!

*********************************************************************************************************

Card stock cuts for this project:

  • Basic White Cardstock 2 1/2″ x 4″(sentiment), 2 1/2″ x 3″(artwork), 4″ x 5 1/4″(inner liner)
  • Night of Navy Cardstock 5 1/2″ x 8 1/2″(card base scored & folded at 4 1/4″)
  • Old Olive Cardstock 1 1/2″ x 3 1/2″(die cuts)
  • Pecan Pie Cardstock 1″ x 1″ (die cut)
  • Timid Tiger Cardstock (2) – 4 18/” X 5 3/8″(card front & inner liner mats)
  • Floral Charm Designer Series Paper 3 1/4″ x 4″(car front panel), 2 1/4″ x 6″(envelope flap)

*********************************************************************************************************

Product List
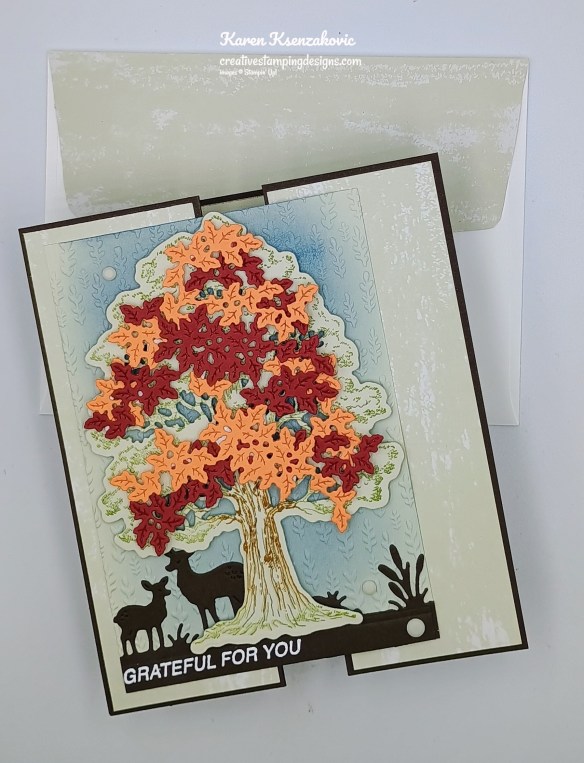
Stampin’ Up! Amber Autumn Trees for Fun Fold Friday

Good Friday morning stamping friends and welcome to my fun fold Friday. I hope you all had a great short week and are looking forward to the weekend ahead. I’ll be starting to cut up all my shares today once my order arrives, so if you ordered a share from me, I’m hoping to be shipping them out by early next week.

I played with a couple new products for today’s card, both in the mini catalog and online exclusives. Here’s my card for today.

Stampin' Up! Amber Autumn Trees 1 creativestampingdesigns.com

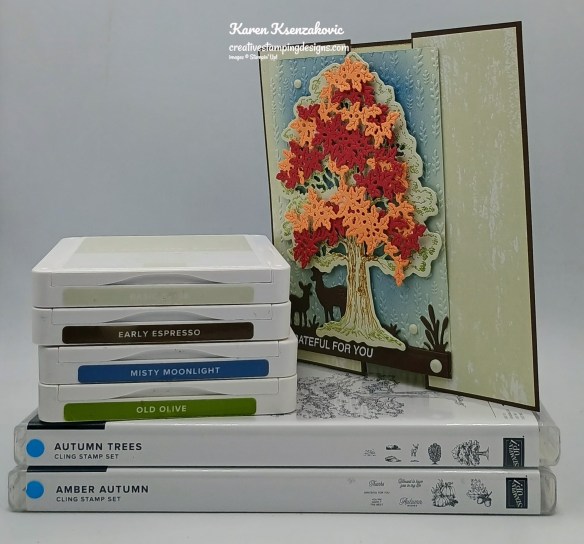
I used the Stampin’ Up! Autumn Trees Bundle along with the Stampin’ Up! Amber Autumn Cling Stamp Set, Online Exclusive Gather Leaves Embossing Folder and Gathering Together Specialty Designer Series Paper for my card today.

Stampin' Up! Amber Autumn Trees 2 creativestampingdesigns.com

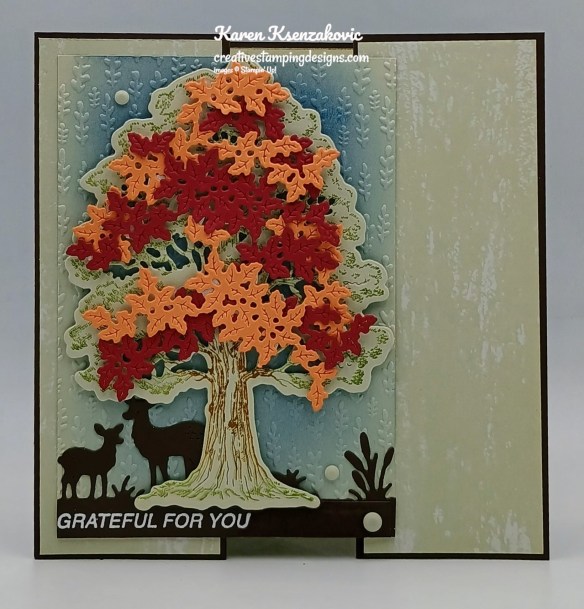
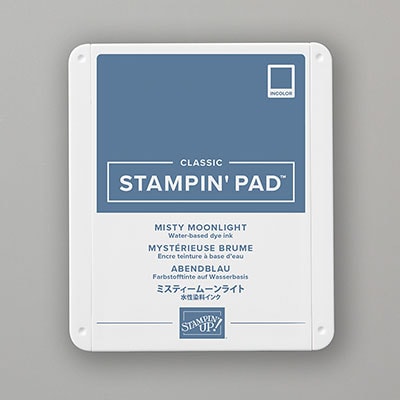
Add Misty Moonlight Ink to the Basic Beige card front panel using the Blending Brush. emboss the panel using the Gathering Leaves EF. On a panel of Basic Beige, stamp the large tree image from the Stampin’ Up! Autumn Trees Cling Stamp Set adding color to the tree using Blending Brushes with Old Olive and Pecan Pie Inks. Cut the image out using the Autumn Trees Dies. Using the Autumn Trees Dies cut the detailed leaves die from panels of Cherry Cobbler and Timid Tiger and the deer border from a panel of Early Espresso. Stamp the sentiment from the Amber Autumn stamp set in Versamark Ink on the bottom of the deer die cut. Sprinkle the sentiment with White Embossing Powder and set it using the Heat Tool.

Stampin' Up! Amber Autumn Trees 3 creativestampingdesigns.com

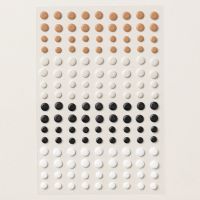
Adhere the deer die cut to the bottom of the embossed panel with Liquid Glue. Adhere the tree to the embossed panel with Stampin’ Dimensionals. Adhere the Cherry Cobbler and Timid Tiger die cut leaves to the tree with Stampin’ Dimensionals. Add a few Neutral Matte Dots to the card front panel. Score & fold the Early Espresso card base as listed below in measurements. Image below of how it looks folded. Adhere the 2-larger Gathering Together DSP panels to the Early Espresso card base with Stampin’ Seal. Adhere the embossed card front panel to the left side of the card base with Liquid Glue.

Stampin' Up! Amber Autumn Trees 4 creativestampingdesigns.com
Stampin' Up! Amber Autumn Trees 5 creativestampingdesigns.com

Adhere the 2-smaller Gathering Together DSP panels to the inside of the Early Espresso card base with Stampin’ Seal. On a panel of Basic Beige, stamp the sentiment from the Amber Autumn stamp set in Early Espresso Ink. Stamp the tree image from the Autumn Trees stamp set on the bottom of the panel in Pecan Pie Ink. Using the Autumn Trees Dies, cut the deer image from a panel of Early Espresso. Snip the 2 deer portion off and adhere it to the bottom. Adhere the Basic Beige panel to the inside of the Early Espresso card base.

Stampin' Up! Amber Autumn Trees 6 creativestampingdesigns.com

Decorate a Basic White Medium Envelope to finish your card. Stamp the tree image from the Autumn Trees stamp set in Pecan Pie Ink on the envelope front. Adhere a panel of Gathering Together DSP to the envelope flap.

Stampin' Up! Amber Autumn Trees 7 creativestampingdesigns.com

Thank you for stopping by my blog today. I hope you like the card and will give it a try. Happy Stamping!!

*********************************************************************************************************

If you need any stamping supplies, I’d love to be your Demonstrator. Just click HERE to go directly to my online store or drop me an email if you have any questions. 

*********************************************************************************************************

Registration now Open for our September Online Class

Tara Carpenter and I are teaming up to offer an online Fall card class using Stampin’ Up! Online Exclusive Gathering Together Suite.  We will be creating 6 different cards during the class including 2 Beginner Stamper cards, 2 Casual Stamper Cards and 2 Advanced Stamper Cards. Sign Up now by Clicking Here to reserve your spot.

The class fee includes:

  • Stampin’ Up! Cajun Craze & Gold Dots (full pack)
  • Stampin’ Up! Early Espresso & Old Olive Linen Thread Pack (full pack)
  • Pre-cut card kits to complete each card
  • Zoom class with complete instructions to complete each card
  • PDF with detailed directions

During sign up you will have the option to add additional items to your order that you can take advantage of at no additional shipping cost.  These items are optional, however if you want to recreate the cards you will need them. If you’ve attended a previous class, you were given a discount code, there is a spot to put that code on the form and the discount only applies to the products that you check off that you wish to purchase, not the class.

The class will be held Sunday September 28th from 1 to 5 pm Eastern Time via Zoom.  This allows anyone in the United States to participate live!  Can’t join us live… no worries, we will record the session so it can be replayed at any time.

I will email written directions that will include directions, cardstock cuts as well as photos to help you create each card.

I am not including the bundle or stamp set in the price of the class.  You can purchase the bundle through me at an additional 10% discount of the Online Exclusive price (see below).

Class Cost $35 + $10 (Priority Shipping) 

Additional purchased items will be included in the above shipping price.  I will invoice you through PayPal and invoices must be paid by September 14th to insure I can get the products delivered, packaged up and out to you with enough time.  

Deadline: Sunday September 14th (this is so I have time to order all the products being used)

Click Here to register for the class now!! Let me know if you have any questions.

*********************************************************************************************************

The new September – December 2025 Mini Catalog and the new September Online Exclusives are now available to order.  Let’s kick off the new catalog and online exclusives with Double Creative Stamping Designs Rewards. THAT’S 2X THE REWARDS FOR YOU FROM ME!!!  Starting September 3 – September 10 I’m offering DOUBLE REWARDS for all orders over $50 (before tax & shipping)!! How does this work? For a $50 you’ll earn 2 rewards, $100 you’ll earn 4 rewards, $150 you’ll earn 6 rewards, etc. Head over to my Online Store and get those orders in early and earn those Double Rewards!!

*********************************************************************************************************

Card stock cuts for this project:

  • Basic Beige Cardstock 3 1/2″ x 5″ (card front), 4″ x 5 1/4″(tree), 3 3/8″ x 5 3/8″ (inner liner)
  • Cherry Cobbler Cardstock 3 1/2″ x 3 1/2″(die cut)
  • Early Espresso Cardstock 5 1/2″ x 11″ (card base, scored and folded at 2″ and 3 3/4″ from both long ends), 2 1/2″ x 4 1/4″ (die cut)
  • Timid Tiger Cardstock 3 1/2″ x 3 1/2″ (die cut)
  • Gathering Together Specialty Designer Series Paper (2) – 1 7/8″ x 5 3/8″ (front panels), (2) – 1 5/8″ x 5 3/8″ (inner panels), 2 1/4″ x 6″ (envelope flap)

*********************************************************************************************************

Product List
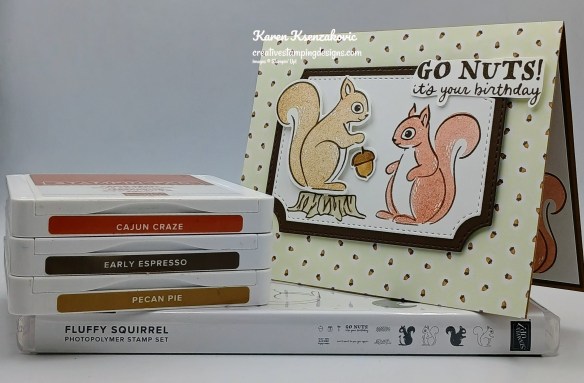
Stampin’ Up! Fluffy Squirrel for The Happy Inkin’ Thursday Blog Hop

Good Thursday morning stamping friends and welcome to our Happy Inkin’ Thursday Blog Hop. If you are starting with me, thank you. I hope you will stop by everyone’s blog to see what they have created this week. If you are hopping over from Mary’s blog, thank you for stopping by. This week we have Theme Challenge. If you’d like to see a quick video of how I made this card, Click Here to go to my Instagram Reels. Here is my card using this week’s theme.

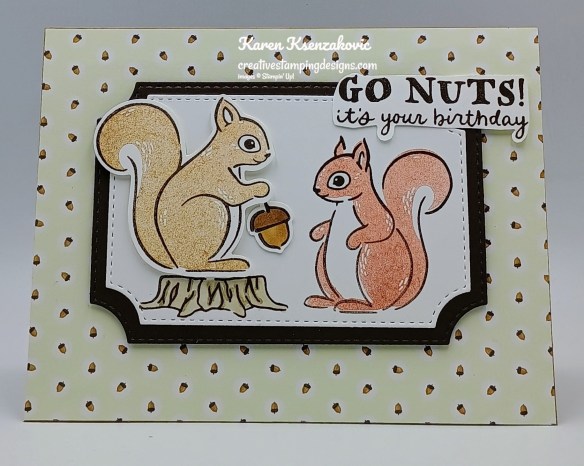
Stampin' Up1 Fluffy Squirrel Birthday 1 creativestampingdesigns.com

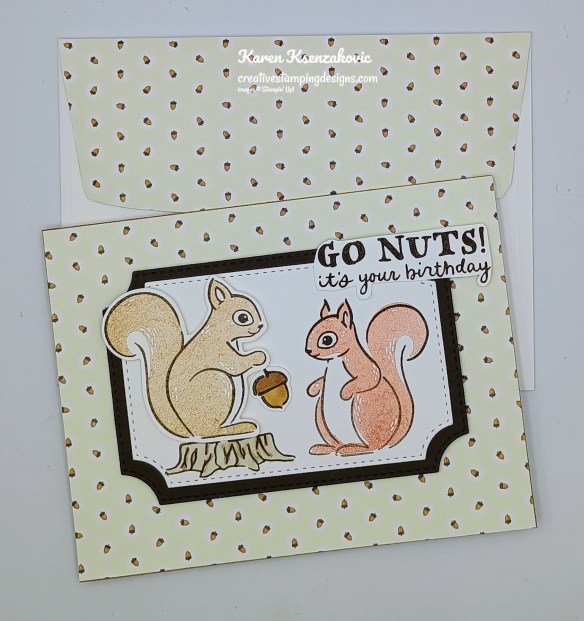
I used the new Stampin’ Up! Fluffy Squirrel Bundle along with the Branching Out Dies and Weekend Adventure Designer Series Paper for my card today.

We have an Autumn Theme for today’s challenge.

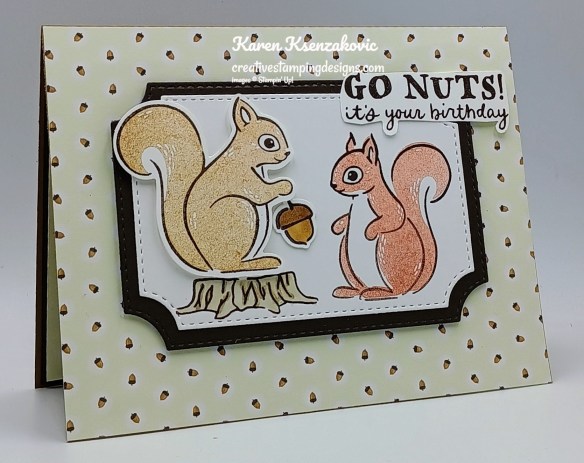
Stampin' Up1 Fluffy Squirrel Birthday 2 creativestampingdesigns.com

Adhere a panel of Weekend Adventure DSP to a Pecan Pie card base with Stampin’ Seal. Using the Branching Out Dies, cut panels of Basic White and Early Espresso. On the Basic White die cut, stamp the outlined squirrel image from the Stampin’ Up! Fluffy Squirrel Photopolymer Stamp Set in Early Espresso Ink. Stamp the solid squirrel image from the Fluffy Squirrel stamp set in Cajun Craze Ink, stamping off once on scrap paper, over the outlined image.

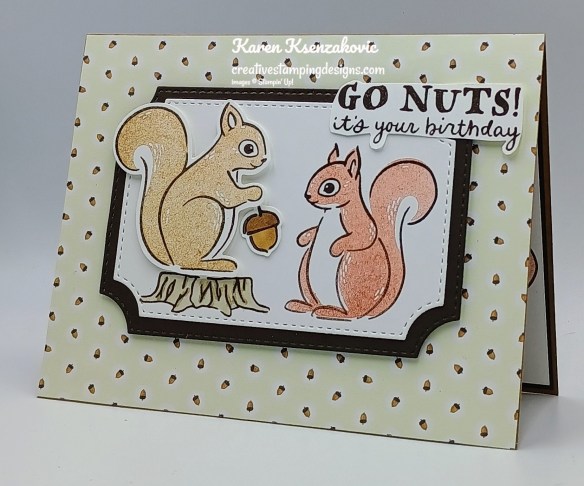
Stampin' Up1 Fluffy Squirrel Birthday 3 creativestampingdesigns.com

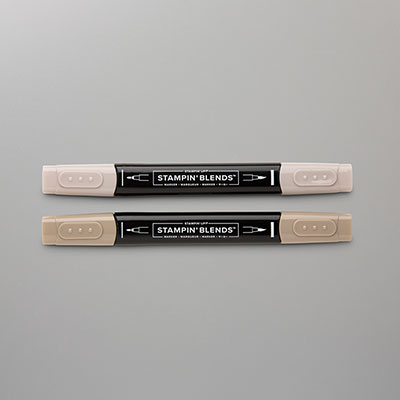
Stamp the tree stump image from the Fluffy Squirrel stamp set in Early Espresso Ink on the left side of the panel. Color the image with Crumb Cake Stampin’ Blends Markers. On the panel of Basic White, stamp the outlined squirrel and acorn images from the Fluffy Squirrel stamp set in Early Espresso Ink. Stamp the solid squirrel image from the Fluffy Squirrel stamp set in Pecan Pie Ink, stamping off once on scrap paper, over the outlined image. Using the Fluffy Squirrel Builder Punch, punch out the squirrel and acorn images. Adhere the squirrel image on the tree stump with Stampin’ Dimensionals. Adhere the acorn image in the squirrels’ paws using a Glue Dot. Adhere the artwork to the Early Espresso die cut with Stampin’ Seal.

Stampin' Up1 Fluffy Squirrel Birthday 4 creativestampingdesigns.com

Adhere the layered panel to the card front using Stampin’ Dimensionals. Stamp the sentiment from the Fluffy Squirrel stamp set in Early Espresso Ink on the Basic White panel. Fussy cut the sentiment using snips. Adhere the sentiment to the card front with Stampin’ Dimensionals.

Stampin' Up1 Fluffy Squirrel Birthday 5 creativestampingdesigns.com

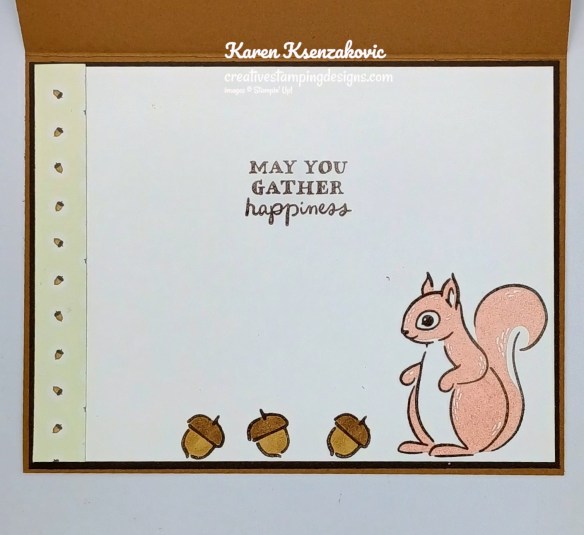
On a panel of Basic White, stamp the sentiment from the Fluffy Squirrel stamp set in Early Espresso Ink. Stamp the outlined squirrel and acorn images from the Fluffy Squirrel stamp set in Early Espresso Ink on the bottom of the panel. Stamp the solid squirrel image from the Fluffy Squirrel stamp set in Cajun Craze Ink, stamping off once on scrap paper, over the outlined image. Color the acorns using the Pecan Pie Stampin’ Blends Markers. Adhere a panel of Weekend Adventure DSP to the side of the panel. Adhere the Basic White panel to an Early Espresso mat then to the inside of the Pecan Pie card base.

Stampin' Up1 Fluffy Squirrel Birthday 6 creativestampingdesigns.com

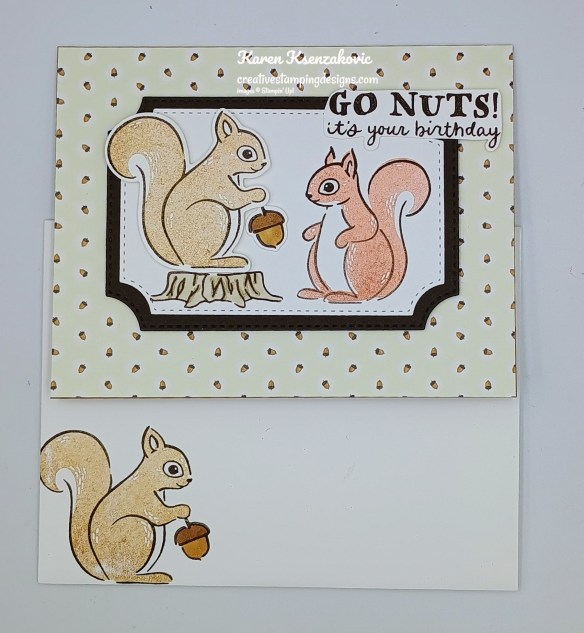
To complete the card, decorate a Basic White Medium Envelope. Stamp the outlined squirrel image from the Fluffy Squirrel stamp set in Early Espresso Ink on the envelope front. Stamp the solid squirrel image in Pecan Pie, stamping off once on scrap paper, over the outlined images. Stamp the acorn image from the Fluffy Squirrel stamp set in Early Espresso Ink in the squirrels’ paws. Color the image with Pecan Pie Stampin’ Blends Markers. Adhere a panel of Weekend Adventure DSP to the envelope flap.

Stampin' Up1 Fluffy Squirrel Birthday 7 creativestampingdesigns.com

Thank you for stopping by my blog today.  Now that you’ve seen my card, let’s get on with the hop!  Click the button below to hop over to see what Akiko has created. Happy Hopping!!

Just in case you get lost along the way, here is a list of the team members involved in the hop today.

Amy Koenders

Mary Deatherage

Karen Ksenzakovic You Are Here

Akiko Sudano

Tara Carpenter

Terry Lynn Bright

Nicole Bloxom

*********************************************************************************************************

If you need any stamping supplies, I’d love to be your Demonstrator. Just click HERE to go directly to my online store or drop me an email if you have any questions. 

*********************************************************************************************************

Card stock cuts for this project:

  • Basic White Cardstock (2) – 4″ x 5 1/4″(artwork, sentiment, die cut & inner liner)
  • Early Espresso Cardstock 3 1/2″ x 4 1/2″(die cut), 4 1/8″ x 5 3/8″(inner liner mat)
  • Pecan Pie Cardstock 5 1/2″ x 8 1/2″(card base scored & folded at 4 1/4″)
  • Weekend Adventure Designer Series Paper 4 1/4″ x 5 1/2″(card front), 1/2″ x 4″(inner liner), 2 1/4″ x 6″(envelope flap)

*********************************************************************************************************

Product List
Stampin’ Up! Branching Out CAS

Good Tuesday morning stamping friends. I hope you all had a wonderful holiday weekend and are ready for a short week. Just a little reminder, tomorrow is the BIG day!!! The new September-December 2025 Mini Catalog goes live along with the September Online Exclusives. I have my list ready to go! How about you?

I have a super quick card for you today featuring some of the new products that will be available starting tomorrow and they just happen to be products that I’ll be using for my September Online Class. Here’s my card for today.

Stampin' Up! Branching Out CAS 1 creativestampingdesigns.com

I used the Stampin’ Up! Branching Out Photopolymer Stamp Set along with the Online Exclusive Stampin’ Up! Gathering Moments Bundle and Gathering Together Specialty Designer Series Paper for my card today.

Stampin' Up! Branching Out CAS 2 creativestampingdesigns.com

Using the Gathering Moments Dies, cut a Crushed Curry card front with the large leaf die.

Stampin' Up! Branching Out CAS 3 creativestampingdesigns.com

Stamp the sentiment from the Branching Out stamp set in Versamark Ink on the top of the panel. Sprinkle the sentiment with Copper Embossing Powder and set it using the Heat Tool.

Stampin' Up! Branching Out CAS 4 creativestampingdesigns.com

Adhere the die cut panel to a panel of Gathering Together DSP with Liquid Glue. Adhere the layered panel to an Early Espresso card base with Stampin’ Seal.

Stampin' Up! Branching Out CAS 5 creativestampingdesigns.com

Stamp the sentiment from the Stampin’ Up! Gathering Moments Cling Stamp Set in Early Espresso Ink on a panel of Basic Beige. Stamp the small leaf image from the Gathering Moments stamp set in Crushed Curry Ink on the top of the panel. Adhere a panel of Gathering Together DSP to the side of the panel. Adhere the Basic Beige panel to a Crushed Curry mat then to the inside of the Early Espresso card base,

Stampin' Up! Branching Out CAS 6 creativestampingdesigns.com

Decorate a Basic White Medium Envelope to finish your card. Stamp the mushroom image from the Gathering Moments stamp set in Early Espresso Ink on the bottom of the envelope front. Stamp the small leaf image from the Gathering Moments stamp set in Crushed Curry Ink on the bottom of the envelope front. Adhere a panel of Gathering Together DSP to the envelope flap.

Stampin' Up! Branching Out CAS 7 creativestampingdesigns.com

Thank you for stopping by my blog today. I hope you like the card and will give it a try. Happy Stamping!!

*********************************************************************************************************

If you need any stamping supplies, I’d love to be your Demonstrator. Just click HERE to go directly to my online store or drop me an email if you have any questions. 

*********************************************************************************************************

Registration now Open for our September Online Class

Tara Carpenter and I are teaming up to offer an online Fall card class using Stampin’ Up! Online Exclusive Gathering Together Suite.  We will be creating 6 different cards during the class including 2 Beginner Stamper cards, 2 Casual Stamper Cards and 2 Advanced Stamper Cards. Sign Up now by Clicking Here to reserve your spot.

The class fee includes:

  • Stampin’ Up! Cajun Craze & Gold Dots (full pack)
  • Stampin’ Up! Early Espresso & Old Olive Linen Thread Pack (full pack)
  • Pre-cut card kits to complete each card
  • Zoom class with complete instructions to complete each card
  • PDF with detailed directions

During sign up you will have the option to add additional items to your order that you can take advantage of at no additional shipping cost.  These items are optional, however if you want to recreate the cards you will need them. If you’ve attended a previous class, you were given a discount code, there is a spot to put that code on the form and the discount only applies to the products that you check off that you wish to purchase, not the class.

The class will be held Sunday September 28th from 1 to 5 pm Eastern Time via Zoom.  This allows anyone in the United States to participate live!  Can’t join us live… no worries, we will record the session so it can be replayed at any time.

I will email written directions that will include directions, cardstock cuts as well as photos to help you create each card.

I am not including the bundle or stamp set in the price of the class.  You can purchase the bundle through me at an additional 10% discount of the Online Exclusive price (see below).

Class Cost $35 + $10 (Priority Shipping) 

Additional purchased items will be included in the above shipping price.  I will invoice you through PayPal and invoices must be paid by September 14th to insure I can get the products delivered, packaged up and out to you with enough time.  

Deadline: Sunday September 14th (this is so I have time to order all the products being used)

Click Here to register for the class now!! Let me know if you have any questions.

*********************************************************************************************************

Card stock cuts for this project:

  • Basic Beige Cardstock 3 3/4″ x 5″(inner liner)
  • Crushed Curry Cardstock 3 1/2″ x 5 1/2″(card front panel), 4″ x 5 1/4″(inner liner mat)
  • Early Espresso Cardstock 5 1/2″ x 8 1/2″ (card base scored & folded at 4 1/4″)
  • Gathering Together Specialty Designer Series Paper 3 1/2″ x 5 1/2 (card front panel), 3/4″ x 3 3/4″(inner liner), 2 1/4″ x 6″(envelope flap)

*********************************************************************************************************

Product List
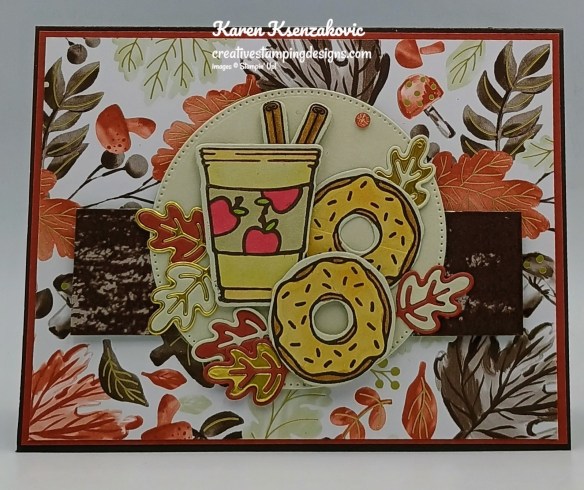
Stampin’ Up! More Than Autumn for The Happy Inkin’ Thursday Blog Hop

Good Thursday morning stamping friends and welcome to our Happy Inkin’ Thursday Blog Hop. If you are starting with me, thank you. I hope you will stop by everyone’s blog to see what they have created this week. If you are hopping over from Mary’s blog, thank you for stopping by. This week we have Sketch Challenge. If you’d like to see a quick video of how I made this card, Click Here to go to my Instagram Reels. Here is my card using this week’s sketch.

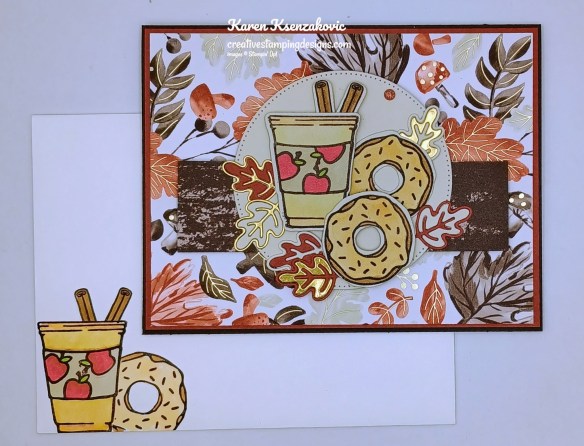
Stampin' Up! More Than Autumn 1 creativestampingdesigns.com

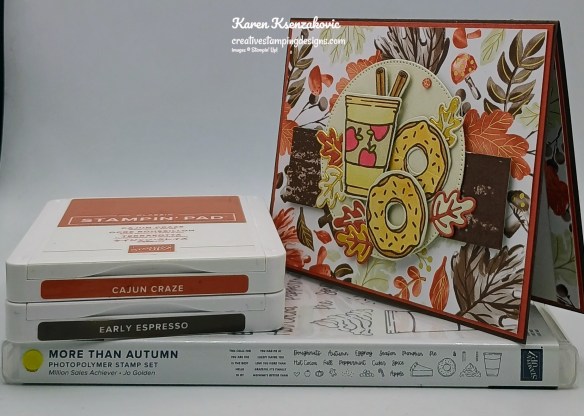
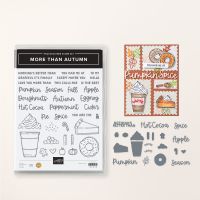
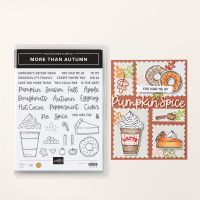
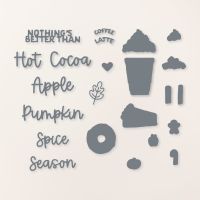
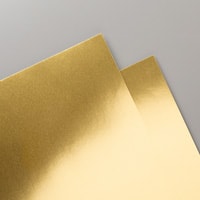
I used the Stampin’ Up! Online Exclusive More Than Autumn Bundle along with the Gathering Together Specialty Designer Series Paper (available Sept 3), Stylish Shapes Dies and Gold Foil for my card today.

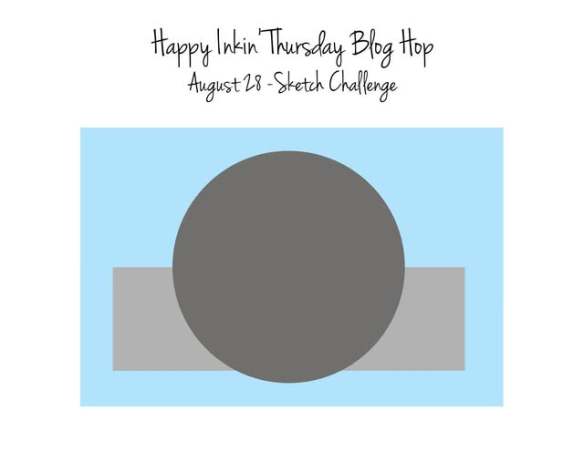
This is our sketch for this week

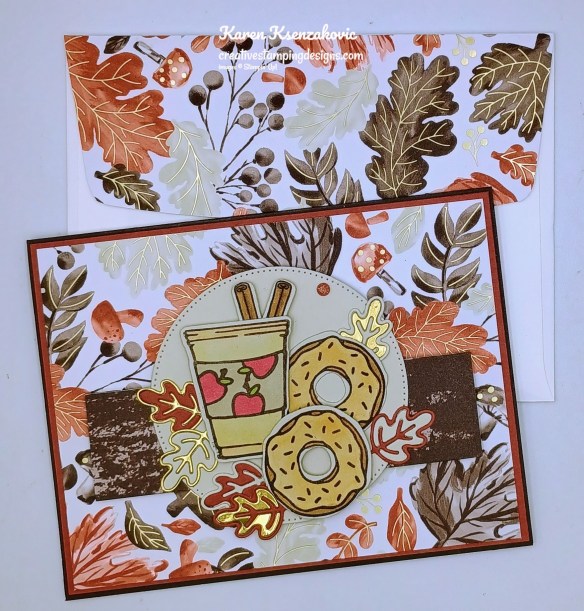
Stampin' Up! More Than Autumn 2 creativestampingdesigns.com

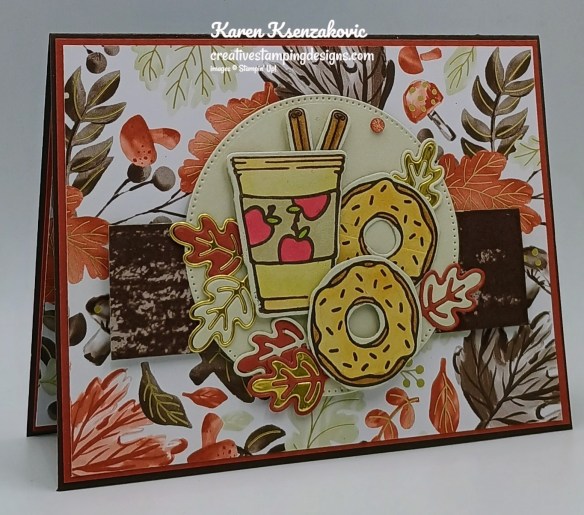
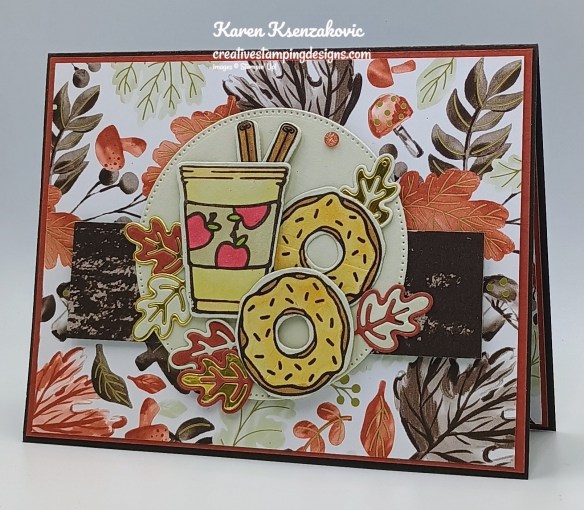
Adhere a panel of Gathering Together DSP to a Cajun Craze mat with Stampin’ Seal. Adhere the layered panel to an Early Espresso card base with Stampin’ Seal. Using the largest circle from the Stylish Shapes Dies, cut a panel of Basic Beige. Adhere a panel of Gathering Together DSP to the back of the circle. Adhere the circle to the card front with Stampin’ Dimensionals.

Stampin' Up! More Than Autumn 3 creativestampingdesigns.com

On a panel of Basic Beige, stamp the cup, donut and cinnamon stick images from the Stampin’ Up! More Than Autumn Photopolymer Stamp Set in Early Espresso Ink. Stamp the apple image from the More Than Autumn stamp set on the cup band in Early Espresso Ink. Color the images with Crumb Cake, Granny Apple Green, Pecan Pie, Real Red, Medium and Medium Light Stampin’ Blends Markers. Cut all the images out using the More Than Autumn Dies.

Stampin' Up! More Than Autumn 4 creativestampingdesigns.com

Arrange the die cuts on the circle using Stampin’ Dimensionals and Glue Dots. Using the More Than Autumn Dies, cut the leaf die 2 times each from panels of Basic Beige, Cajun Craze and Gold Foil. Mix the leaf veins and solid leaf sections. Adhere the leaves to the circle using Liquid Glue. Add a Cajun Craze & Gold Dot (available Sept 3) to the circle.

Stampin' Up! More Than Autumn 5 creativestampingdesigns.com

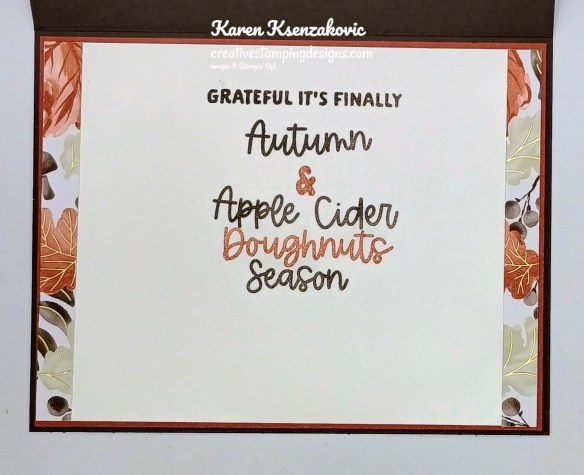
Stamp the sentiments from the More Than Autumn stamp set on a panel of Basic White in Cajun Craze and Early Espresso Ink. Adhere panels of Gathering Together DSP to the sides of the panel. Adhere the Basic White panel to a Cajun Craze mat the to the inside of the Early Espresso card base.

Stampin' Up! More Than Autumn 6 creativestampingdesigns.com

Decorate a Basic White Medium Envelope to complete your card. Stamp the cup, cinnamon sticks, apples and donut images from the More Than Autumn stamp set in Early Espresso Ink on the envelope front. Color images the same as for the card. Adhere a panel of Gathering Together DSP to the envelope flap.

Stampin' Up! More Than Autumn 7 creativestampingdesigns.com

Thank you for stopping by my blog today.  Now that you’ve seen my card, let’s get on with the hop!  Click the button below to hop over to see what Akiko has created. Happy Hopping!!

Just in case you get lost along the way, here is a list of the team members involved in the hop today.
Amy Koenders

Mary Deatherage

Karen Ksenzakovic You Are Here

Akiko Sudano

Tara Carpenter

Terry Lynn Bright

Nicole Bloxom

*********************************************************************************************************

If you need any stamping supplies, I’d love to be your Demonstrator. Just click HERE to go directly to my online store or drop me an email if you have any questions. 
*********************************************************************************************************

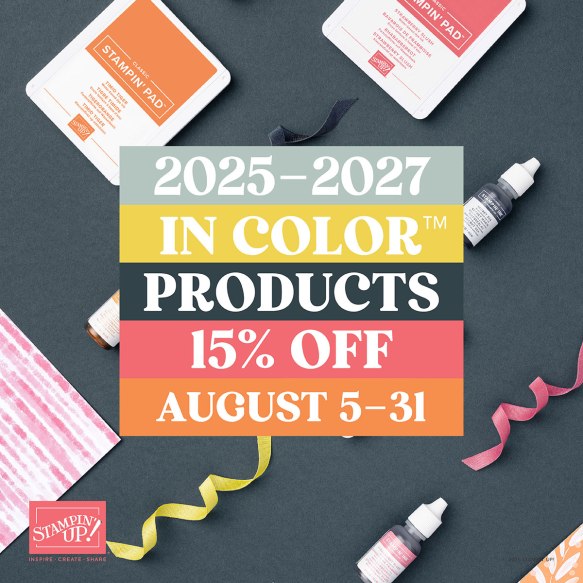
2025-2027 In-Color Products Sale Going On

Starting August 5, select products that feature the new 2025–2027 In Colors™ are 15% off! This is a great opportunity to purchase new In Color products at a discount, so grab products you love—like ink, two-tone cardstock, and Designer Series Paper—and get everything you need to create projects that showcase Stampin’ Up!’s amazing color coordination!
Promotion Details:

  • Sales Period: August 5–31
  • Ordering Deadline: August 31, 2025, at 11:59 p.m. (MT)
  • Sale includes select inks, cardstock, Designer Series Paper, embellishments, and other products that include these new In Colors. Only products featured on the 2025–2027 In Colors page are included in this promotion.
  • Products are available only while supplies last.

You can find the 2025-2027 In Color sale items that will be on sale beginning August 5 right here!  Get your list ready and shop early for the best selection!
*********************************************************************************************************

Card stock cuts for this project:

  • Basic Beige Cardstock 3 1/4″ x 3 1/4″(die cut), 1″ x 2 1/2″(leaves), 2″ x 4 1/2″(artwork)
  • Basic White Cardstock 4″ x 5 1/4″(inner liner)
  • Cajun Craze Cardstock (2) – 4 1/8″ x 5 3/8″(card front & inner liner mats), 1: x 2 1/2″(leaves)
  • Early Espresso Cardstock 8 1/2″ x 5 1/2″(card base scored & folded at 4 1/4″)
  • Gathering Together Specialty Designer Series Paper 4″ x 5 1/4″(card front), 1 1/4″ x 4 1/2″(card front panel), (2) – 3/8″ x 4″(inner liner), 2 1/4″ x 6″(envelope flap)
  • Gold Foil 1″ x 2 1/2″(leaves)

*********************************************************************************************************

Product List