Good Thursday morning my fellow stampers. The weekend is approaching us quickly. Is anyone making any fun plans?
For today I have a Clean and Simple Sympathy card for you. I used the Stampin’ Up Enjoy Life Stamp Set along with a couple others. Take a look.
 I started with a Whisper White card front. I took a scrap piece of paper and cut a circle out for a stencil. I put the stencil where I wanted it on my card front and sponged inside the circle using first my So Saffron Ink then my Daffodil Delight Ink. Once I was happy with the results, I removed the paper. I stamped the image from Enjoy Life stamp set in Tuxedo Black Memento Ink over the sun. I stamped the butterfly from the same stamp set above the floral image in Tuxedo Black Memento Ink.
 I stamped the ‘With Love & Sympathy” sentiment from the Stampn’ Up Itty Bitty Greetings Stamp Set in Tuxedo Black Memento Ink on the bottom of the card front. I wrapped a piece of 5/8″ Burlap Ribbon around the card front and tied a knot.
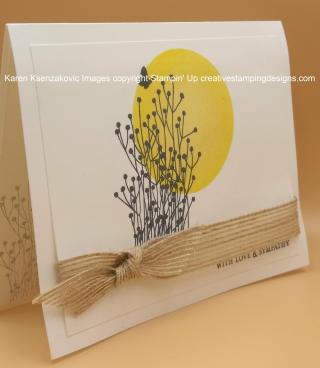 I adhered the card front to a Whisper White card base using Multipurpose Liquid Glue.

On the inside on a Whisper White panel I stamped the floral image from the Enjoy Life stamp set in Tuxedo Black Memento Ink, stamping off 3 times, to the bottom left side. I stamped the sentiment from the Stampin’ Up Lasting Lily Stamp Set (Sale-A-Bration item), in Tuxedo Black Memento Ink in the center of the panel. I adhered the Whisper White panel to the inside of the Whisper White card base using Snail.


To finish my card I decorated a Medium Whisper White Envelope. I stamped the floral image and butterfly from the Enjoy Life stamp set on the card front and the envelope flap in Tuxedo Black Memento Ink.
Thank you for stopping by my blog today. I hope you liked my clean and simple card and will give it a try. Happy Stamping!
If you need any stamping supplies, I’d be very happy to be your Demonstrator. Just click here to go directly to my online store or drop me an email if you have any questions.
MY CURRENT HOST CODE IS: EHUYUM4S
Happy Stamping, Karen!
****************************************************************************************************
Card stock cuts for this project:
- Whisper White Cardstock 8 1/2″X 5 1/2″ (card base scored and folded at 4 1/4″), 3 3/4″ X 5″ (card front), 4″ X 5 1/4″ (inner liner)
****************************************************************************************************
Product List


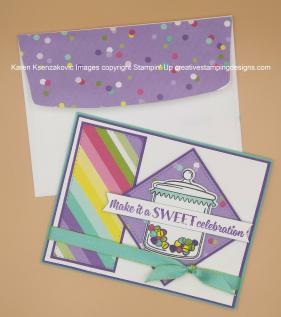
 I started with a Whisper White card front and using my Big Shot I ran it through with the Tufted Dynamic Textured Embossing Folder. I adhered the embossed panel to a Gorgeous Grape mat using Multipurpose Liquid Glue. Using my Square Stitched Shapes Framelits Dies and Rectangle Stitched Framelits Dies I cut out one of each from the How Sweet It Is Designer Series Paper. I adhered both the stitched square and stitched rectangle to Gorgeous Grape mats using Snail.
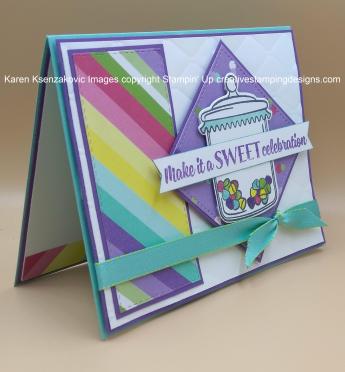 I adhered the rectangle to the left side of the card front using Multipurpose Liquid Glue. I adhered the square to the right of the card front using Stampin’ Dimensionals. On a small piece of Whisper White cardstock I stamped the candy jar image from the Sweetest Thing stamp set in Tuxedo Black Memento Ink. I stamped the candies from the same stamp set inside the jar in Tuxedo Black Memento Ink also.
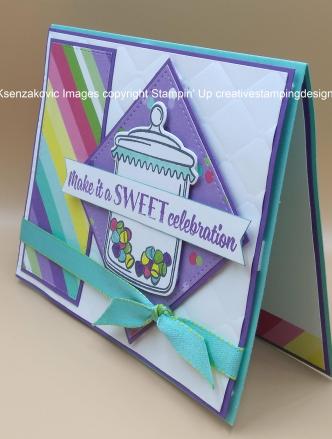 I colored the candies in using my Coastal Cabana, Gorgeous Grape, Granny Apple Green, Melon Mambo and Pineapple Punch Stampin’ Write Markers. Using my Big Shot and the Jar Of Sweets Framelits Dies, I cut the candy jar out and adhered it to the center of my stitched square using Stampin’ Dimensionals. I stamped the sentiment from the Sweetest Thing stamp set in Gorgeous Grape Ink on a strip of Whisper White cardstock. I made a banner, edged it with my Coastal Cabana Stampin’ Write Marker and adhered it across the jar using Stampin’ Dimensionals. I wrapped a piece of the Coastal Cabana/Granny Apple Green 3/8″ Reversible Ribbon around the card front and tied a knot. I adhered the card front to a Coastal Cabana card base using Stampin’ Dimensionals.
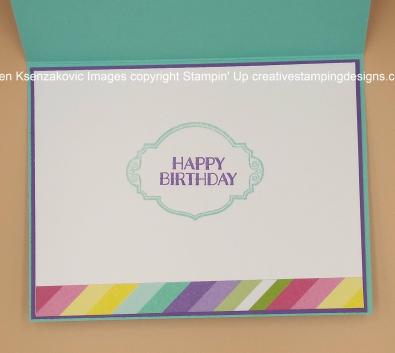 On the inside I stamped the Happy Birthday from the Sweetest Thing stamp set in Gorgeous Grape Ink. I stamped the frame from the same stamp set in Coastal Cabana Ink around the sentiment. I adhered a piece of the How Sweet It Is DSP to the bottom of the Whisper White panel using Snail. I adhered the Whisper White panel to a Gorgeous Grape mat using Snail then to the Coastal Cabana card base using Multipurpose Liquid Glue.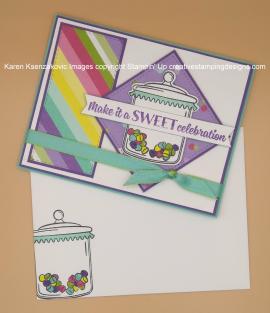


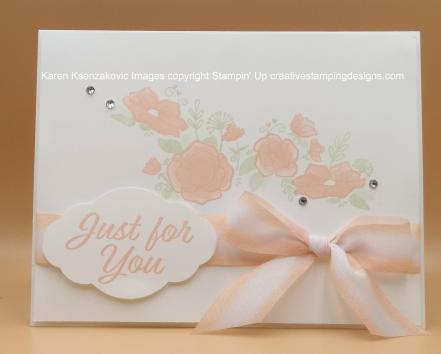
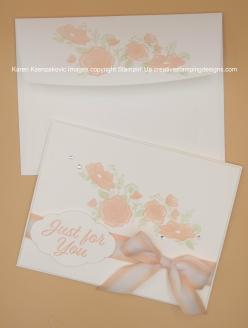
 I am really loving my Stamparatus. I used it for this card and envelope and was able to line everything up perfectly. I started with a Whisper White card front and stamped the floral image from Forever Lovely stamp set. I first stamped the leaf image in Soft Sea Foam Ink. I then stamped the floral image, lining it up using my Stamparatus, in Petal Pink Ink.
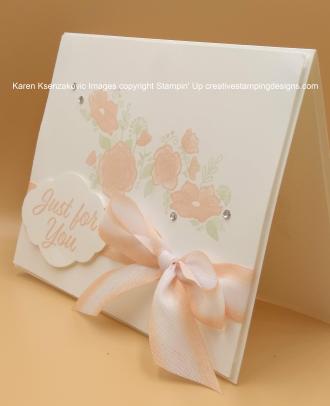 I wrapped a piece of the gorgeous new Petal Pink/Whisper White Variegated Ribbon around the card front and tied a bow. This ribbon is so wonderful to work with and makes bows so easy. I added a Glue Dot under the bow to hold it in place. I added a few clear Rhinestone Basic Jewels to the card front by the flowers.
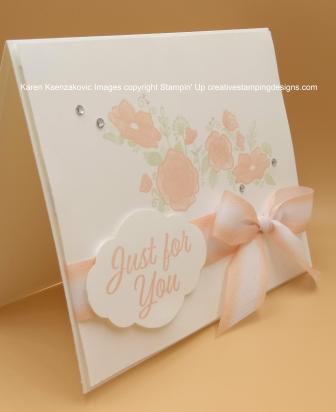 I stamped the sentiment from the Meant To Be stamp set in Petal Pink on a small piece of Whisper White cardstock and punched it out with the Pretty Label Punch. I adhered it to the card front using Stampin’ Dimensionals. I adhered the card front to a Whisper White card base using Stampin’ Dimensionals.
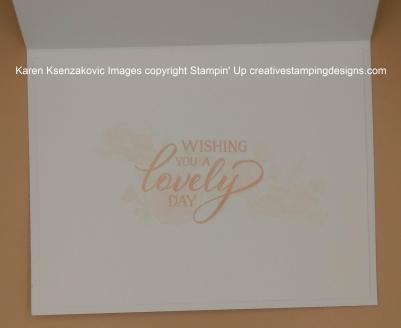 It is extremely hard to see, but I stamped the leaves and floral design, from the Forever Lovely stamp set, the same way I did on the card front, stamping off once, on the inside Whisper White panel. I stamped the sentiment from the Forever Lovely stamp set in Petal Pink Ink over the floral image. I adhered the Whisper White panel to the inside of the Whisper White card base using Snail.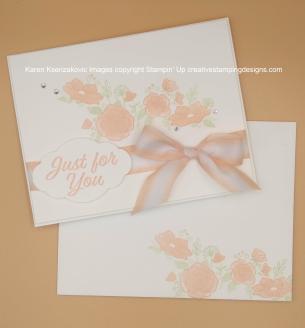


 For my card today I joined
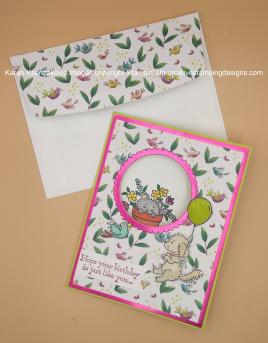
  I started by layering a panel of the Lovely Lipstick Foil Sheet and a panel of Animal Expedition Designer Series Paper on a Lemon Lime Twist card base. I decided where I wanted the peek-a-boo circle and placed my Layering Circles Framelits Dies on top of the card front. Using my Big Shot I ran it through all 3 layers, going through a couple of times to make sure it cut all the way through. I adhered the Lovely Lipstick Foil Sheet on the Lemon Lime Twist card base using Multipurpose Liquid Glue and the Animal Expedition DSP on the Foil Sheet using Multipurpose Liquid Glue. Using my Big Shot again, I cut the scallop circle from the Layering Circles Framelits Dies that was larger than the card front circle out of Lovely Lipstick Foil Sheet. I adhered the scallop circle over the card front circle using Multipurpose Liquid Glue.
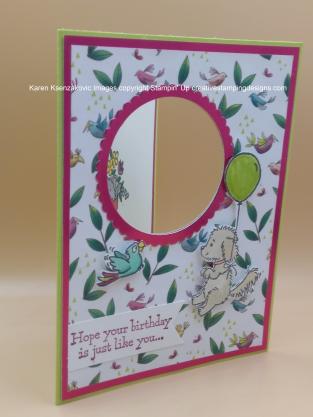 On a scrap piece of Whisper White cardstock I stamped the dog with balloon image from the Bella and Friends stamp set in Tuxedo Black Memento Ink. I colored the image in using my Call Me Clover, Calypso Coral, Crumb Cake, Granny Apple Green, Mango Melody, Pool Party and Rich Razzleberry Stampin’ Blends Markers. I then fussy cut the image using my Paper Snips.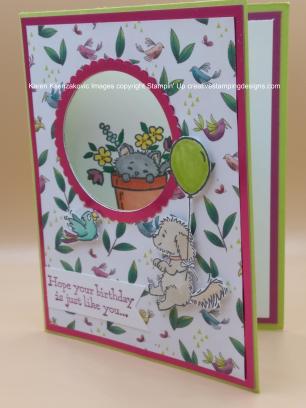
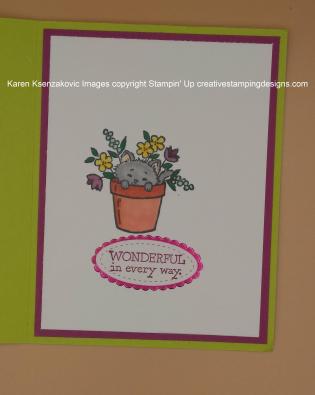 On the inside I stamped the kitty in the flower-pot image from the Pretty Kitty stamp set in Tuxedo Black Memento Ink on a Whisper White panel. I lined it up and stamped it so that it would be peeking through the card front circle. I colored the kitty in using my Call Me Clover, Calypso Coral, Mango Melody, Petal Pink, Pool Party, Rich Razzleberry and Smoky Slate Stampin’ Blends Markers. I adhered the Whisper White panel to a Berry Burst mat using Snail and adhered it to the inside of the Lemon Lime Twist card base using Multipurpose Liquid Glue. I stamped the sentiment from the Pretty Kitty stamp set on a scrap of Whisper White cardstock in Berry Burst Ink. I cut the sentiment out using the oval from the Stitched Shapes Framelits Dies. I cut a scalloped oval from the Layering Ovals Framelits Dies, that was just larger than the stitched oval, out of the Lovely Lipstick Foil Sheet. I adhered the stitched oval to the scalloped oval using Snail and adhered it to the inner liner using Multipurpose Liquid Glue.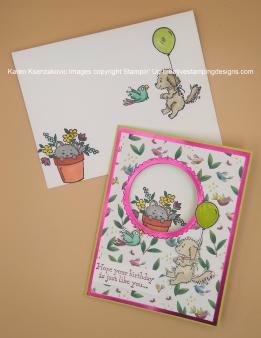


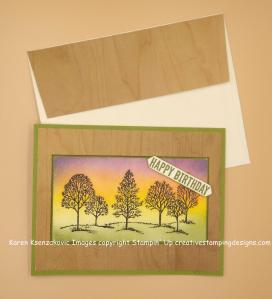
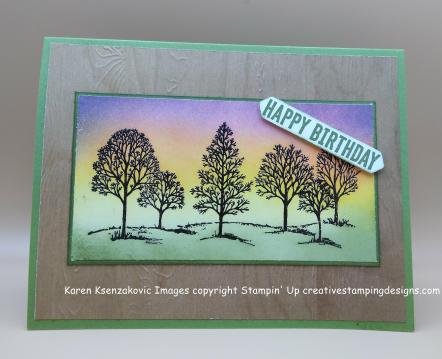 I started by embossing a panel of Wood Textures Designer Series Paper with my Pinewood Planks Dynamic Textured Impressions Embossing Folder in my Big Shot. I adhered it to an Old Olive card base using Multipurpose Liquid Glue.
 I took a panel of Very Vanilla cardstock and stamped it with one of the tree images from the Lovely As A Tree stamp set in Early Espresso Ink. I quickly sprinkled it with Clear Stampin’ Emboss Powder and heat set it with my Heat Tool. I then started sponging colors to give it a bit of a sunset look. I started at the bottom with Old Olive and Mossy Meadow Inks. Going up, I sponged with So Saffron, Daffodil Delight and Mango Melody Inks blending them together. I then used Flirty Flamingo, Melon Mambo, Highland Heather and Night of Navy Inks for the top section, again blending them. Once I was happy with the way it looked I adhered the artwork to an Old Olive mat using Snail.
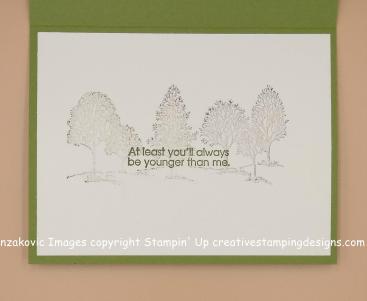 On the inside I stamped the tree image from Lovely As A Tree stamp set in Early Espresso Ink, stamping off 4 times, on a panel of Very Vanilla cardstock. I stamped the sentiment from Itty Bitty Birthdays stamp set in Early Espresso Ink over the trees. I adhered the Very Vanilla panel to the inside of the Old Olive card base using Snail.


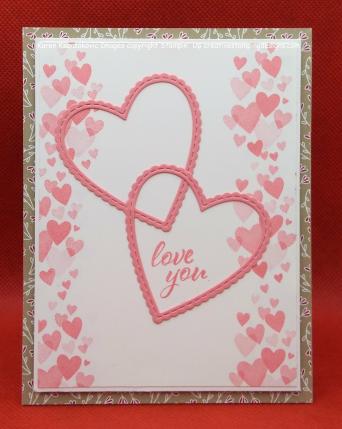 I started with a Crumb Cake card base and adhered a panel of the All My Love Designer Series Paper to the front using Snail.
 On a panel of Whisper White cardstock I stamped the heart cluster from the Stampin’ Up Forever Lovely stamp set down both sides in Flirty Flamingo Ink. Using my Big Shot, I cut out 2 of the Be Mine Stitched Framelits Dies in Flirty Flamingo cardstock.
 I placed the 2 hearts on the artwork panel the way I thought I’d like them and stamped the Love You sentiment from the Forever Lovely stamp set in Flirty Flamingo Ink inside the bottom heart. I then adhered the hearts to the artwork using Multipurpose Liquid Glue. I adhered the artwork to a Whisper White mat using Snail then adhered it to the card front using Stampin’ Dimensionals.
 On the inside I stamped the heart cluster from the Forever Lovely stamp set in Flirty Flamingo Ink, stamping off once, on a Whisper White panel. I then stamped the sentiment from the same stamp set in Flirty Flamingo Ink over the hearts. I adhered the Whisper White panel to a Flirty Flamingo mat using Snail then adhered it to the Crumb Cake card base using Multipurpose Liquid Glue.


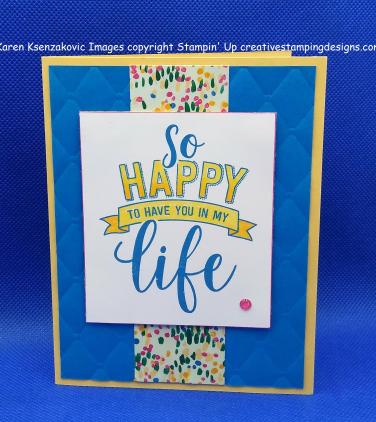
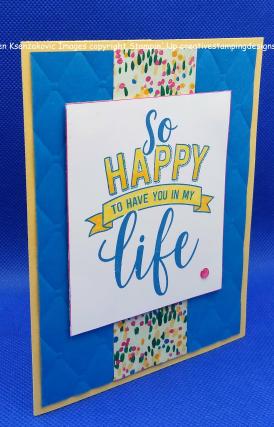
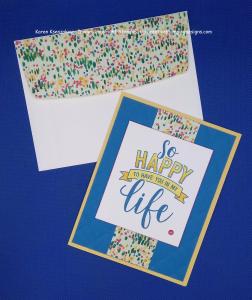
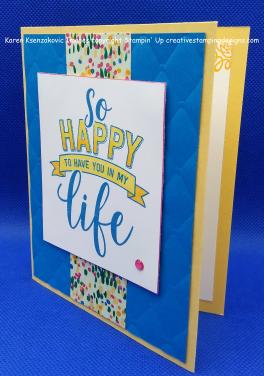 I added a Melon Mambo Glitter Enamel Dot to the artwork. I adhered the card front to a So Saffron card base using Multipurpose Liquid Glue.
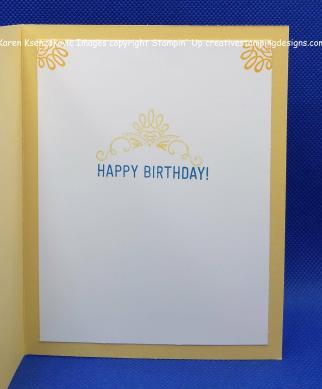 On the inside I stamped the Happy Birthday sentiment from the Amazing Life stamp set in Pacific Point Ink on a Whisper White panel. I stamped the scroll from the same stamp set above the sentiment in Mango Melody Ink, stamping off once. I stamped just the top of the same scroll in the corners in Mango Melody Ink. I adhered the Whisper White panel to the So Saffron card base using Multipurpose Liquid Glue.


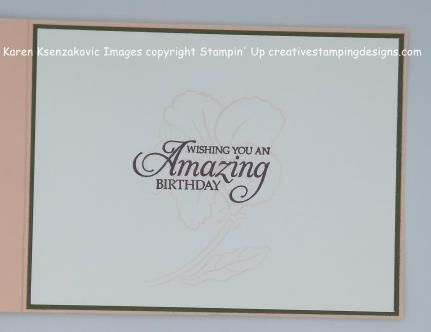
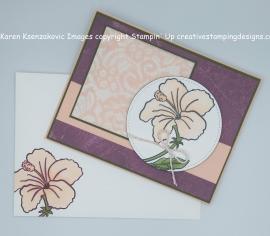
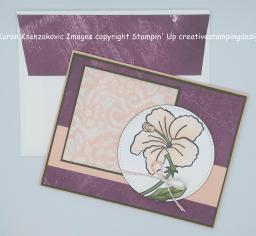
 I started with a Mossy Meadow card front and adhered a piece of Tranquil Textures Designer Series Paper to it using Snail. I then took a strip of Petal Pink cardstock and ran it through my Big Shot using the Subtle Dynamic Textured Impressions Embossing Folder. I adhered the Petal Pink strip on the card front using Multipurpose Liquid Glue.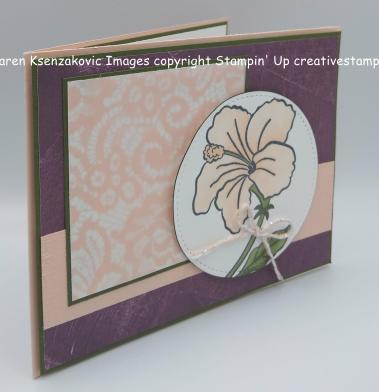



 Be sure to stop by the
 I started with a piece of Vellum cardstock and stamped the Well from the Bright Wishes stamp set in Versamark Ink. I sprinkled it with my White Stampin’ Emboss Powder and heat set it with my Heat Tool. I colored the image in with my Crumb Cake, Night of Navy, Old Olive, Smoky Slate and Soft Suede Stampin’ Blends Markers. I did the coloring on the back of the Vellum, not on the embossed side. Using my Big Shot, I cut the image out with my Rectangle Stitched Framelits Dies. I also cut a piece of Very Vanilla cardstock the same size as the rectangle to adhere under the Vellum image.
 I cut a rectangle frame out in Old Olive cardstock using the same size framelit that I cut the Vellum image. I adhered the Vellum image to the Very Vanilla cardstock using small spots of Snail so that you wouldn’t see it. I adhered the Very Vanilla artwork and the Old Olive frame to a Night of Navy card front using Multipurpose Liquid Glue.
 I wrapped a piece of Old Olive Linen Thread around the card front. I made a bow separately and adhered it to the card front on the Linen Thread with a Glue Dot. I adhered the card front to a Thick Very Vanilla card base using Stampin’ Dimensionals.
 To finish my card I decorated a Medium Very Vanilla Envelope. I stamped the Well image from the Bright Wishes stamp set on the front of the envelope and colored it in the same as I did for the card front. It came out a little darker since I colored the card front on the backside of the Vellum.


 The other challenge I joined in with is Colour and Sketches #305. Stop by to see what everyone has made at
 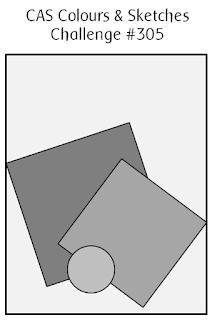 I’ve made a very clean and simple card today for the 2 challenges. I don’t usually do simple, but every once in a while I like to add one in. Take a look.
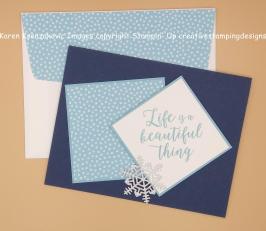
 I started by cutting 2 mats in Balmy Blue cardstock. On the larger mat I adhered a piece of Subtles 6 X 6 Designer Series Paper in Balmy Blue using Snail. I adhered the matted DSP to a Night of Navy card base using Multipurpose Liquid Glue.
 On a panel of Whisper White cardstock I stamped the sentiment from the Stampin’ Up Colorful Seasons stamp set in Balmy Blue Ink. I adhered the stamped panel to the smaller Balmy Blue mat using Snail. I then adhered it to the Night of Navy card base, using Stampin’ Dimensionals, over lapping the matted DSP panel.
 On the inside I stamped the larger snowflake from the Colorful Seasons stamp set in Balmy Blue Ink, stamping off once, across a Whisper White panel. I stamped the sentiment from the same stamp set in Night of Navy Ink over the snowflakes. I adhered the Whisper White panel to the inside of the Night of Navy card base using Multipurpose Liquid Glue.