
Good Sunday morning stamping friends. How is everyone’s weekend going? It was actually busier than I thought it would be yesterday at work. Everyone seems to be painting all of a sudden. I have a workshop today that I’m really looking forward to. I hope everyone likes the cards they will be making.
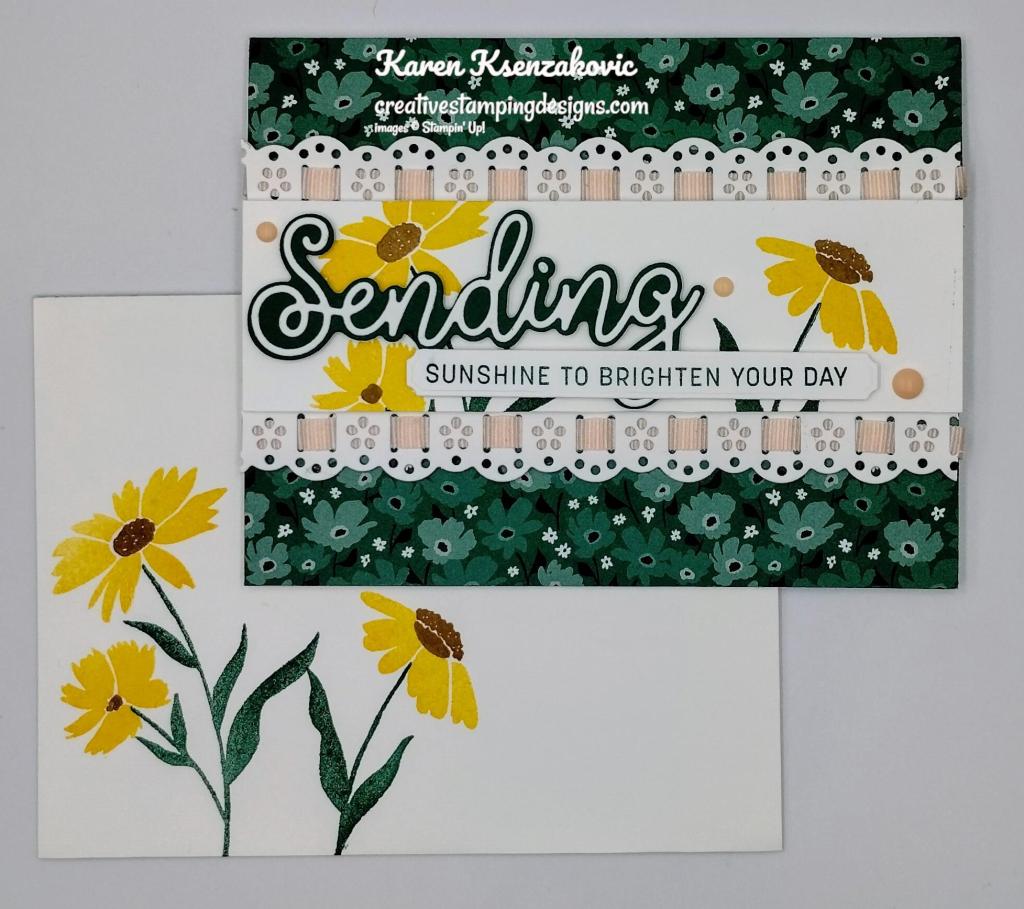
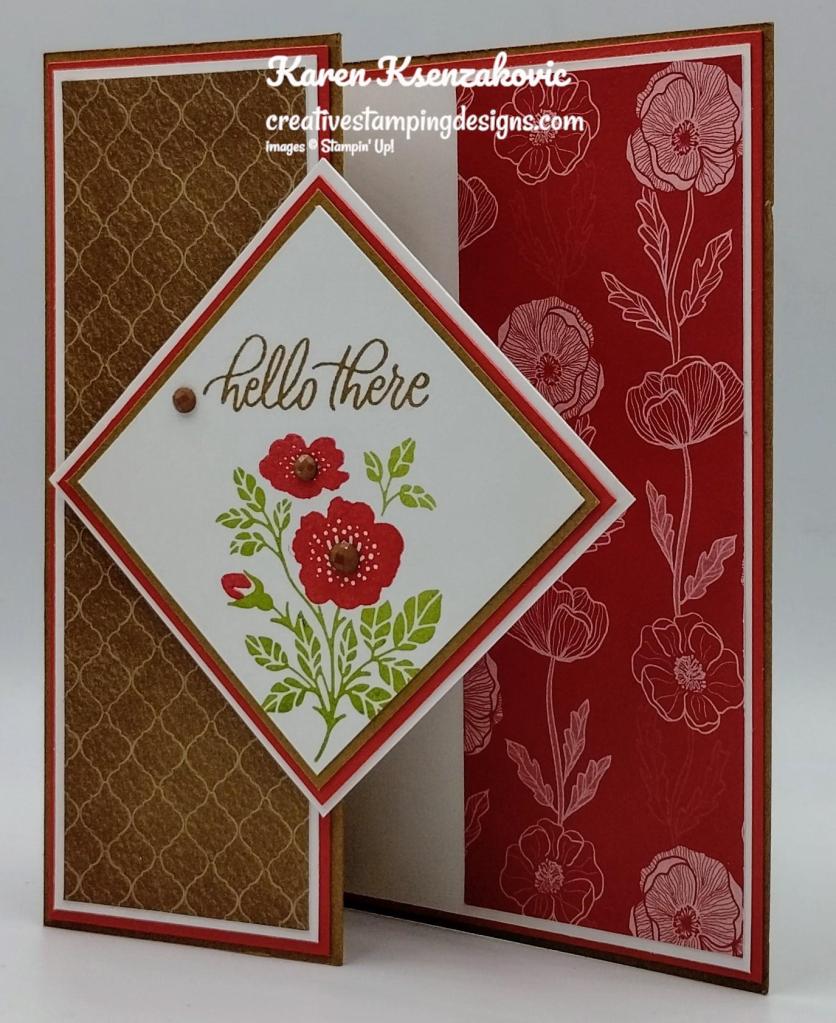
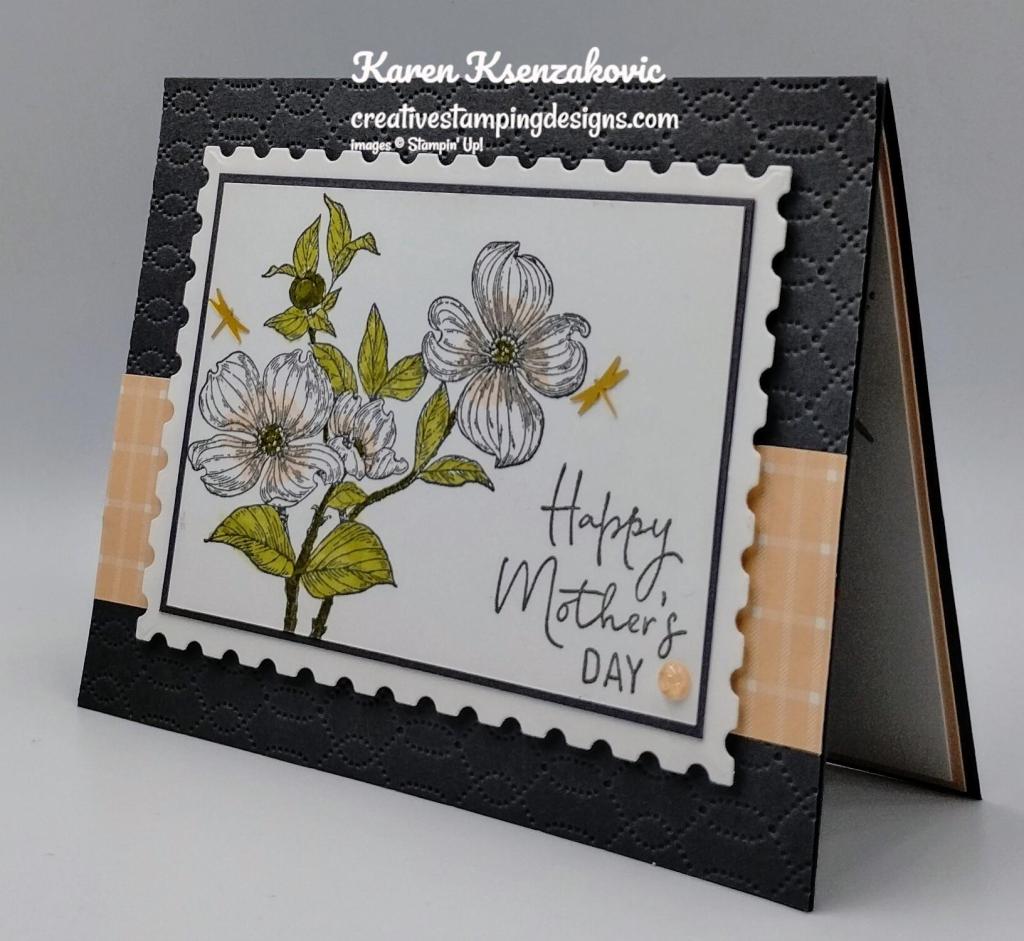
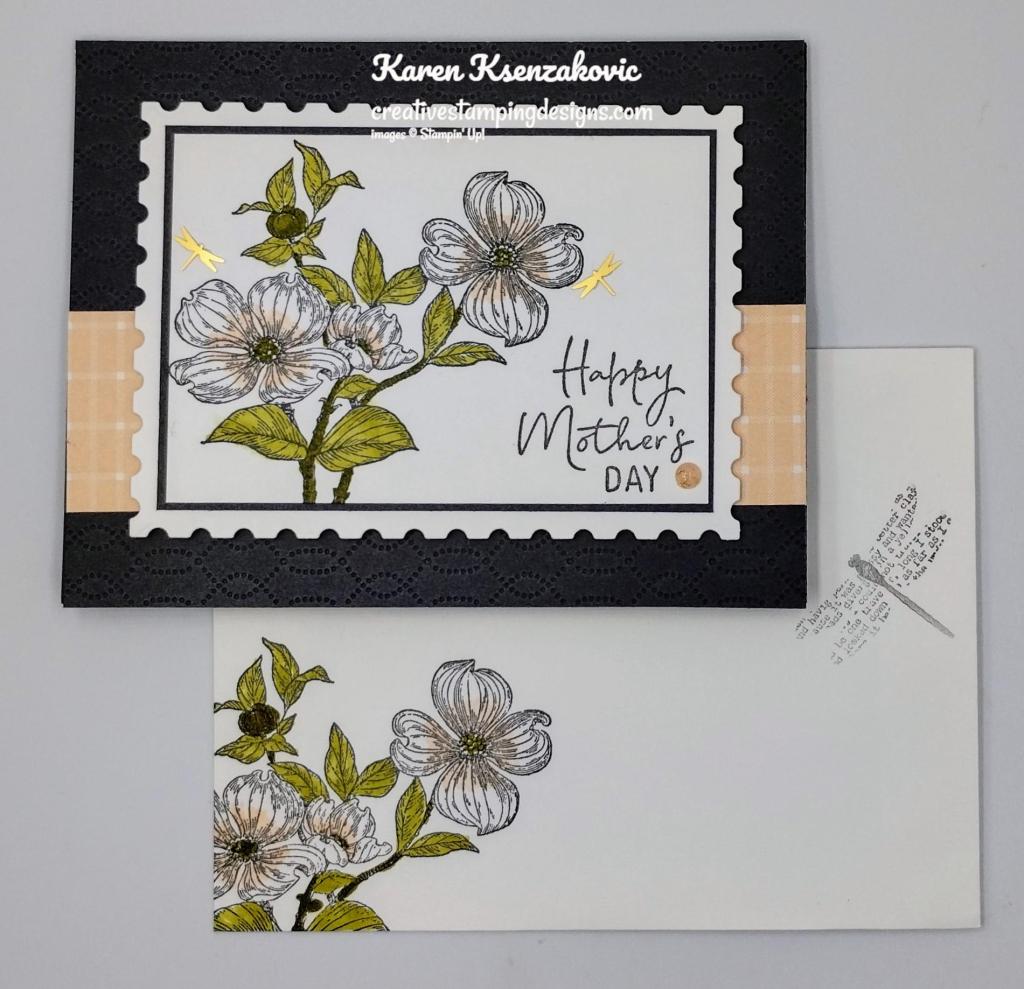
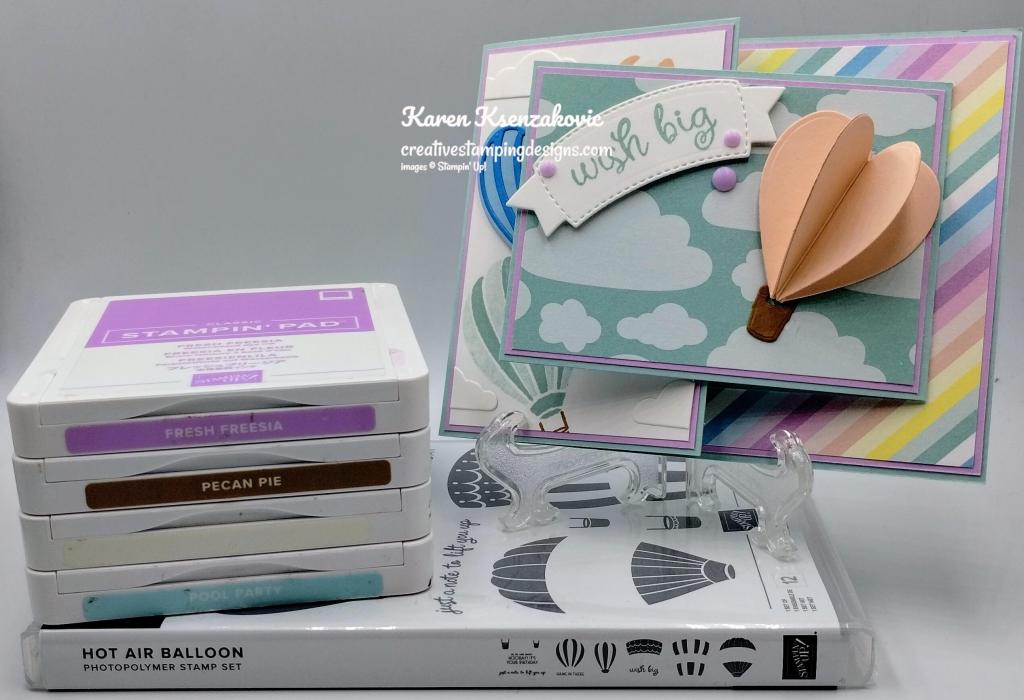
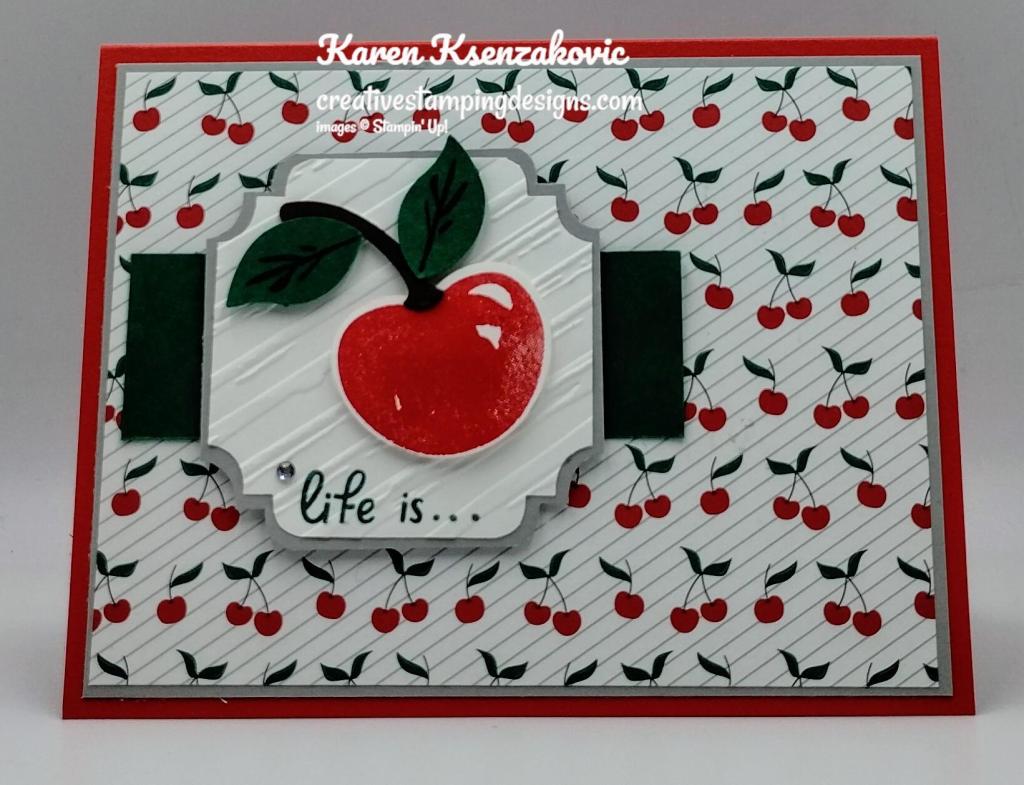
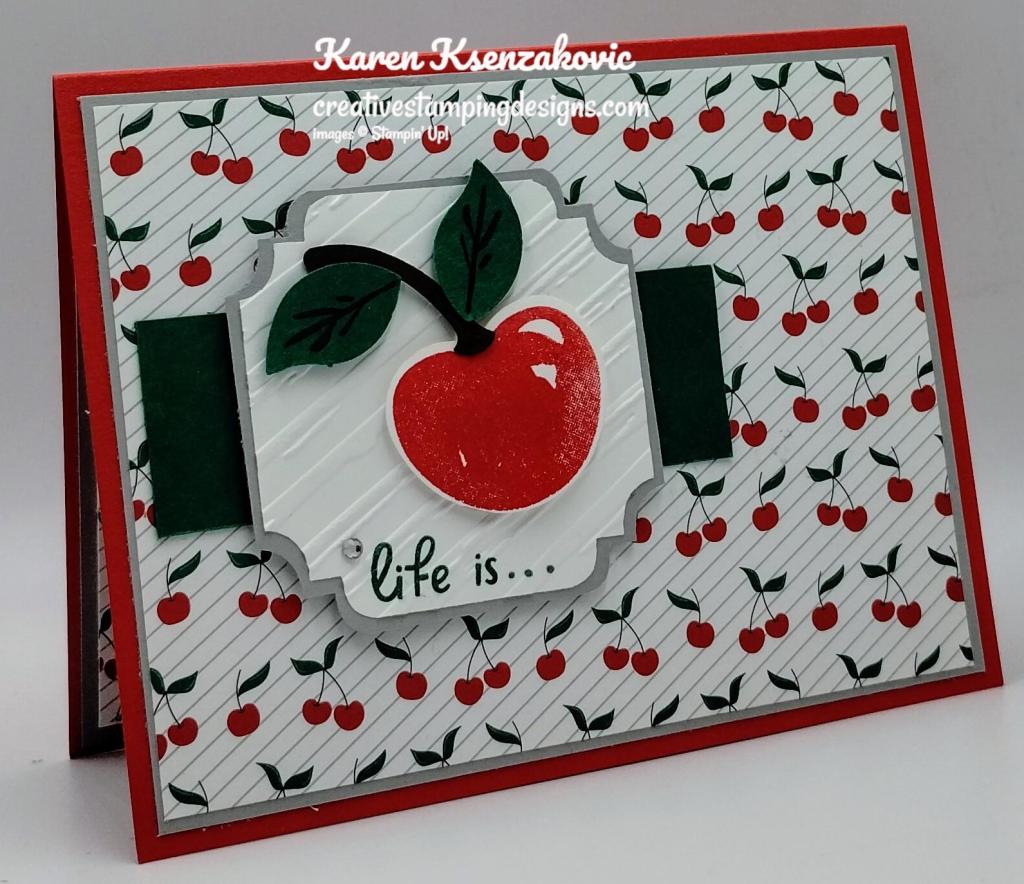
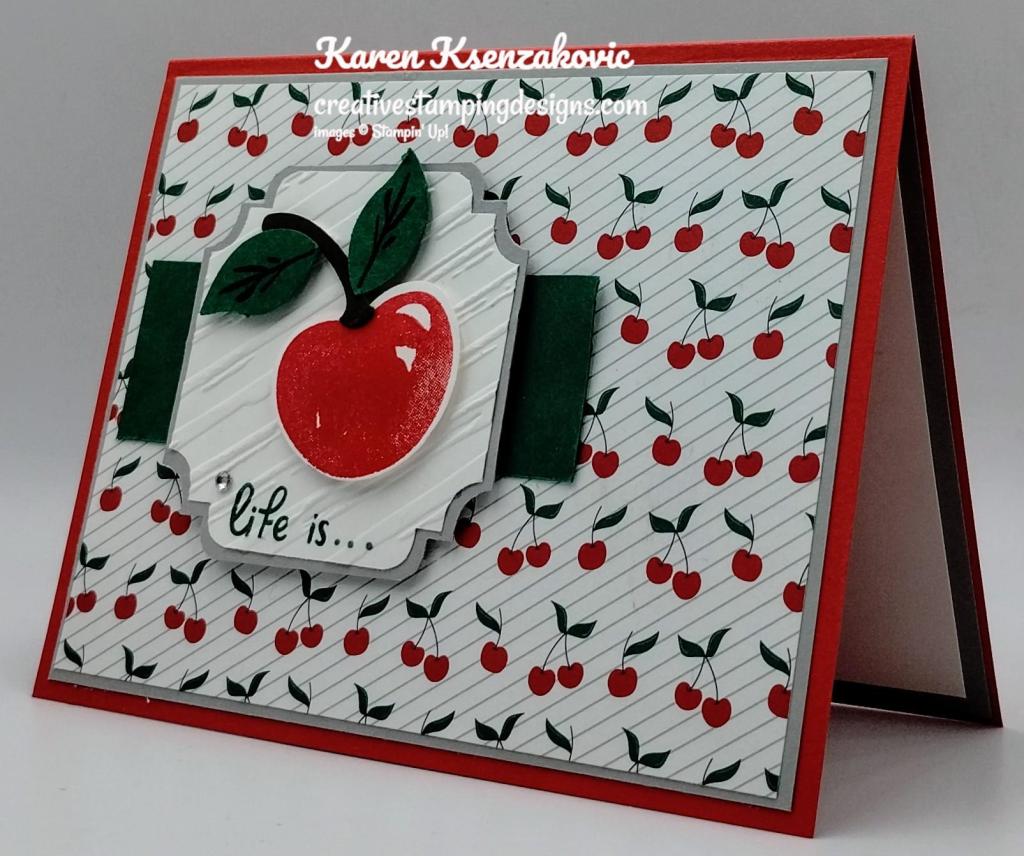
Today’s card uses some Annual Catalog products along with Sale-a-bration DSP. If you’d like to see a quick video of how I made this card, Click Here to go to my Instagram Reels. Here’s my card for today.
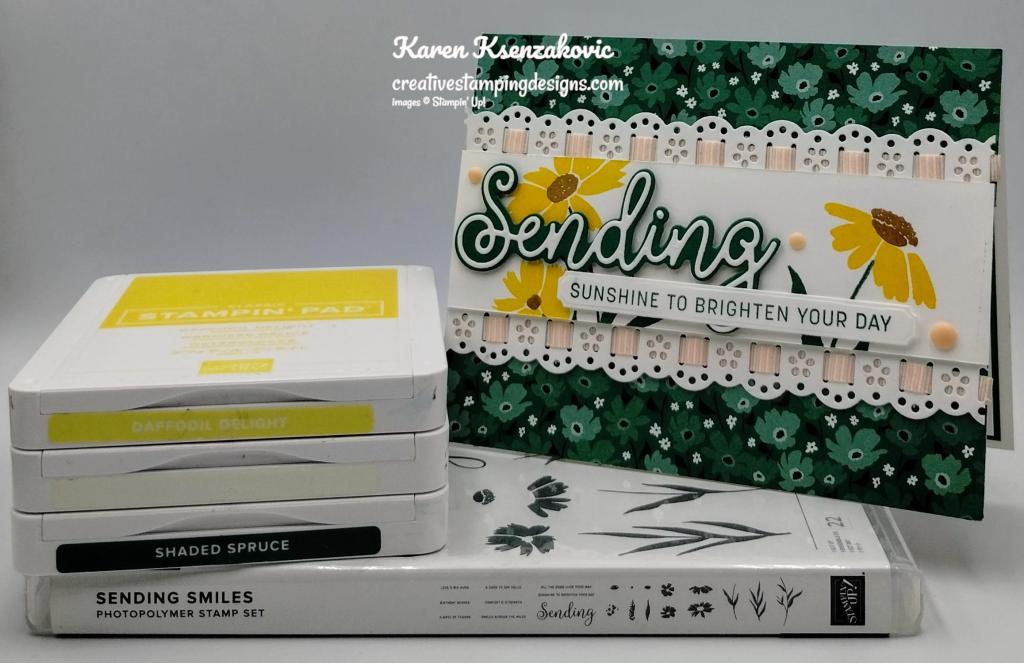
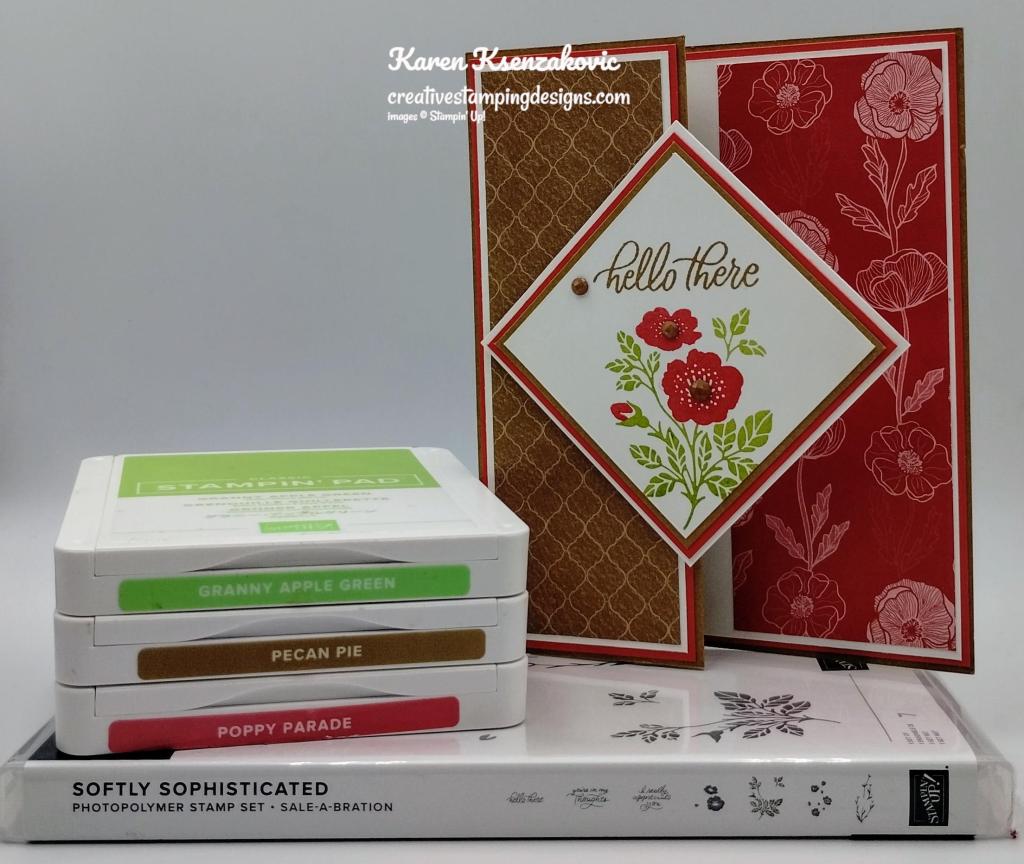
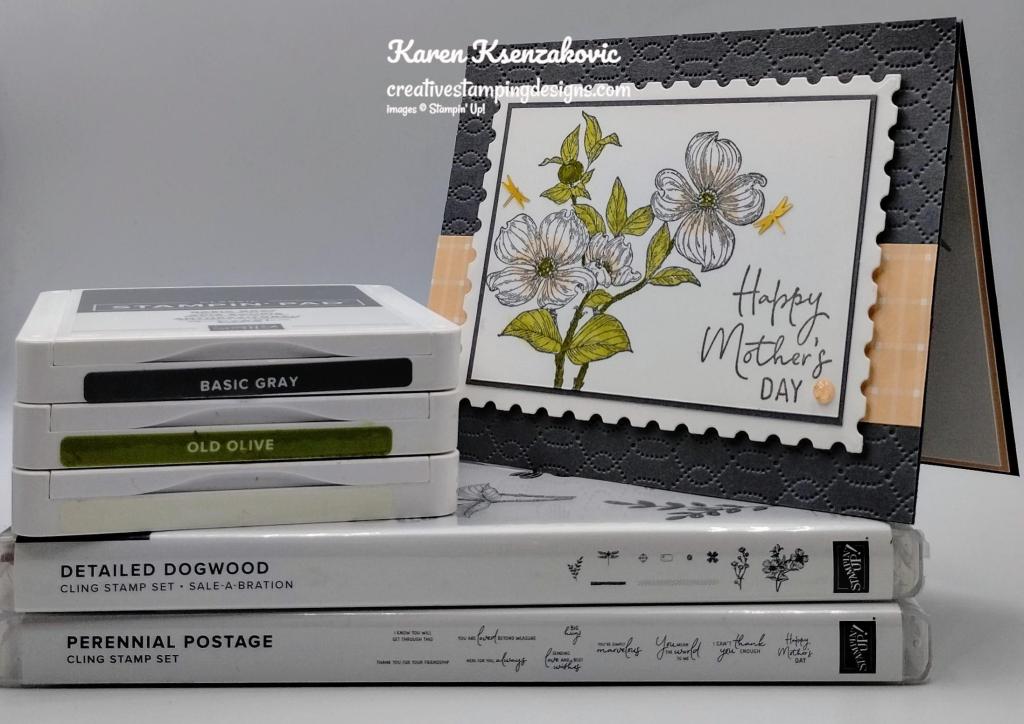
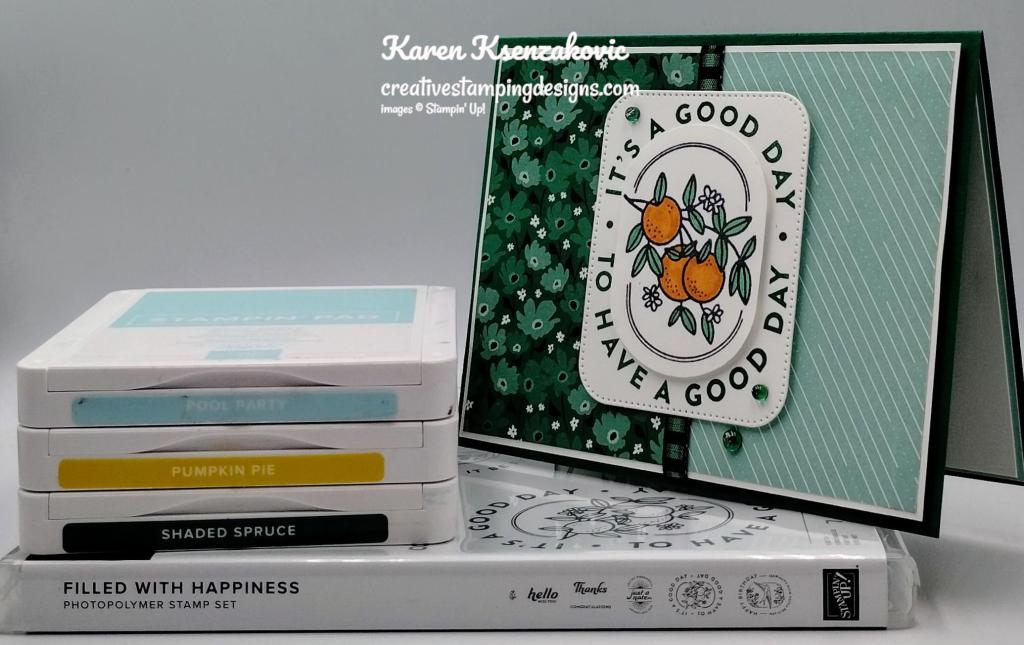
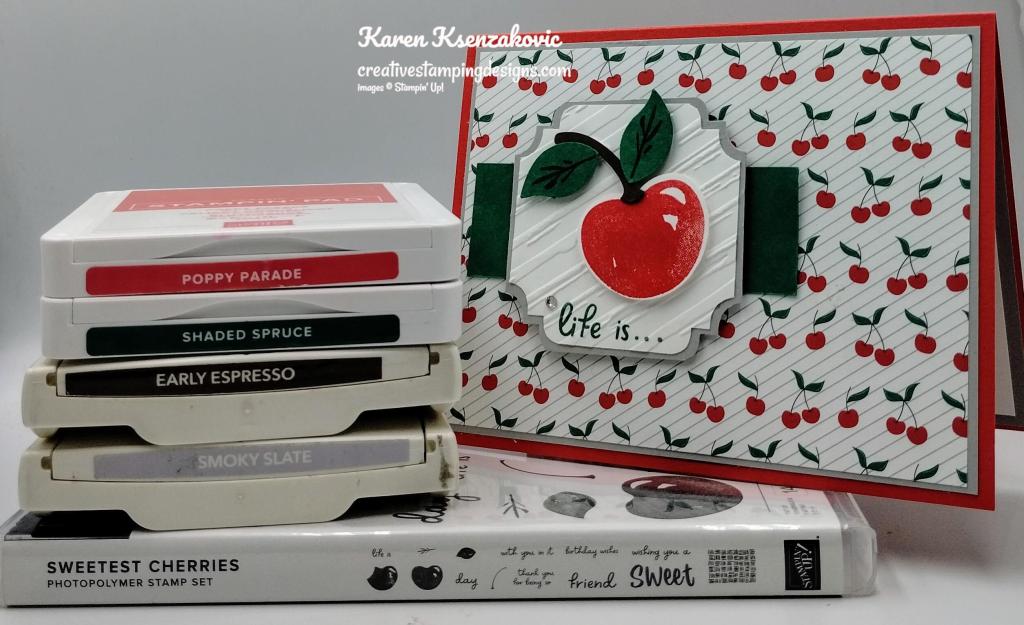
I used the Stampin’ Up! Sending Smiles Photopolymer Stamp Set along with the Sending Dies, Darling Details Dies and Sale-a-bration Sunny Days Designer Series Paper for my card today.

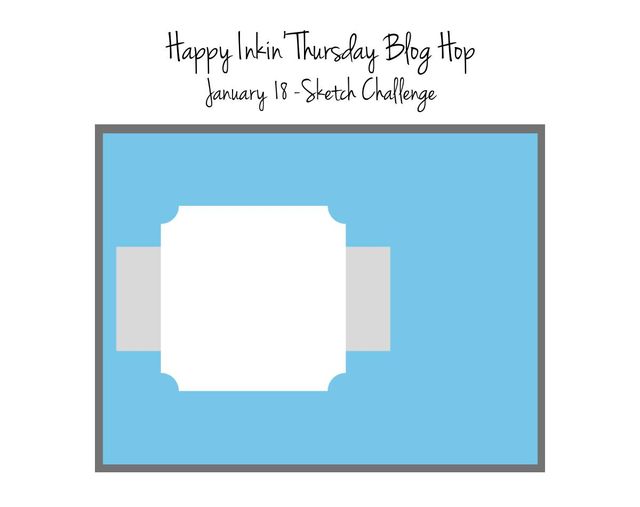
My design is from Colours & Sketches Challenge #531

My colors are from Color Throwdown Challenge #781.
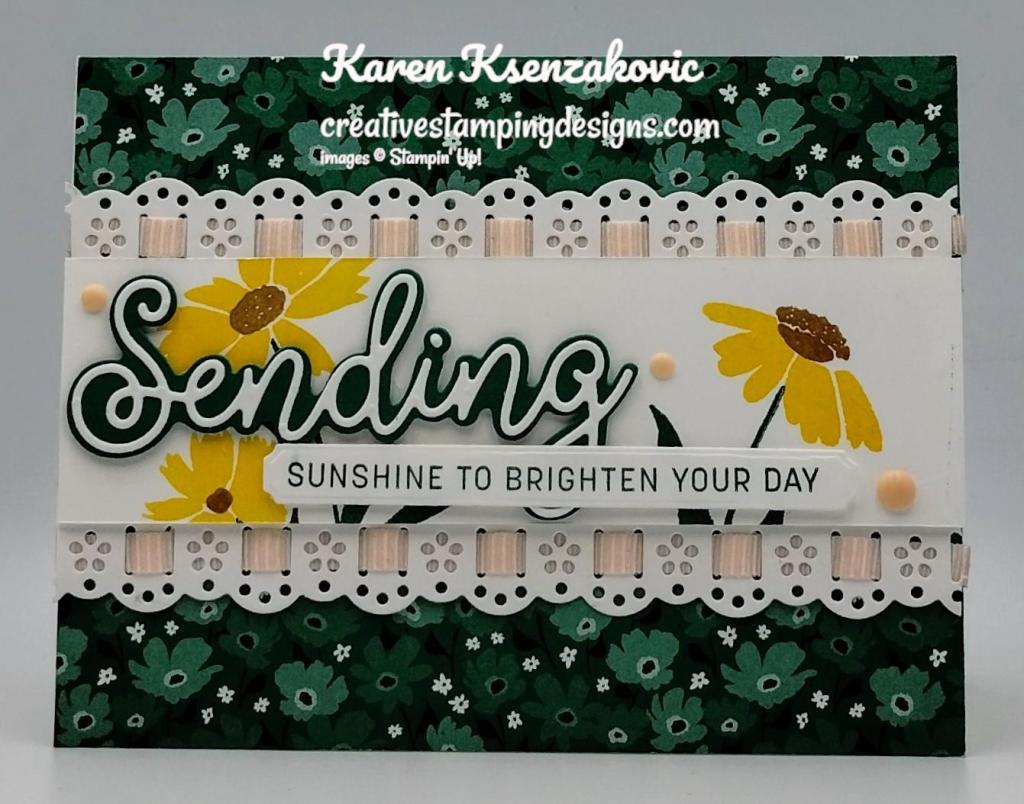
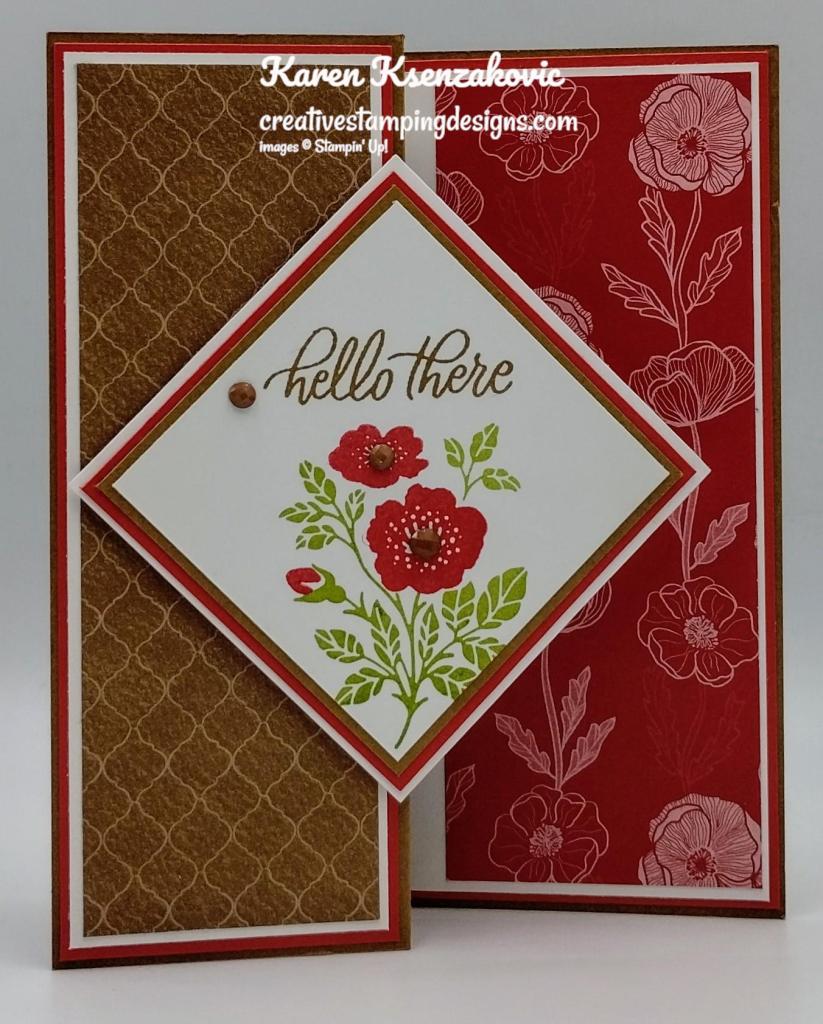
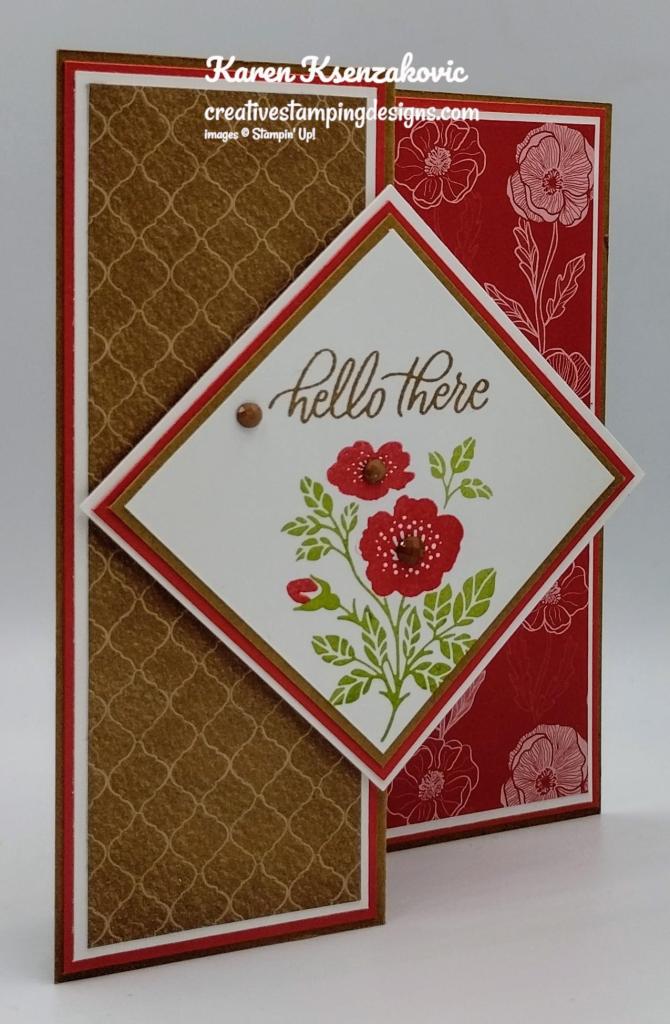
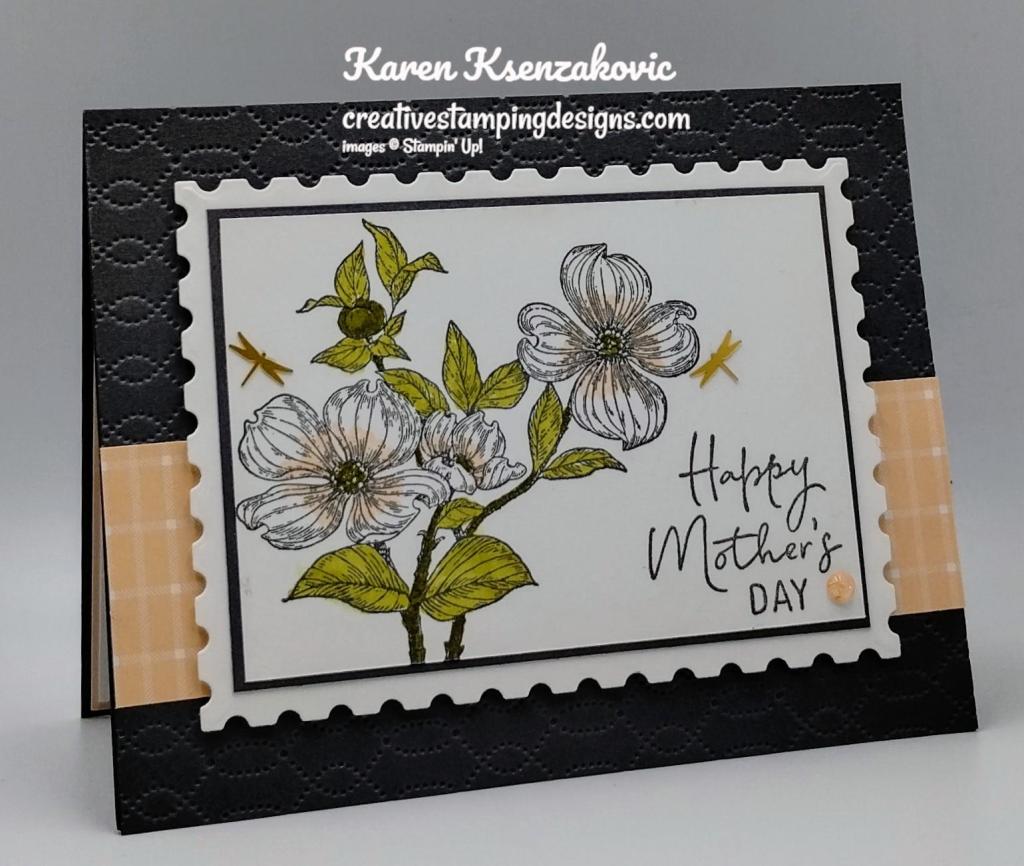
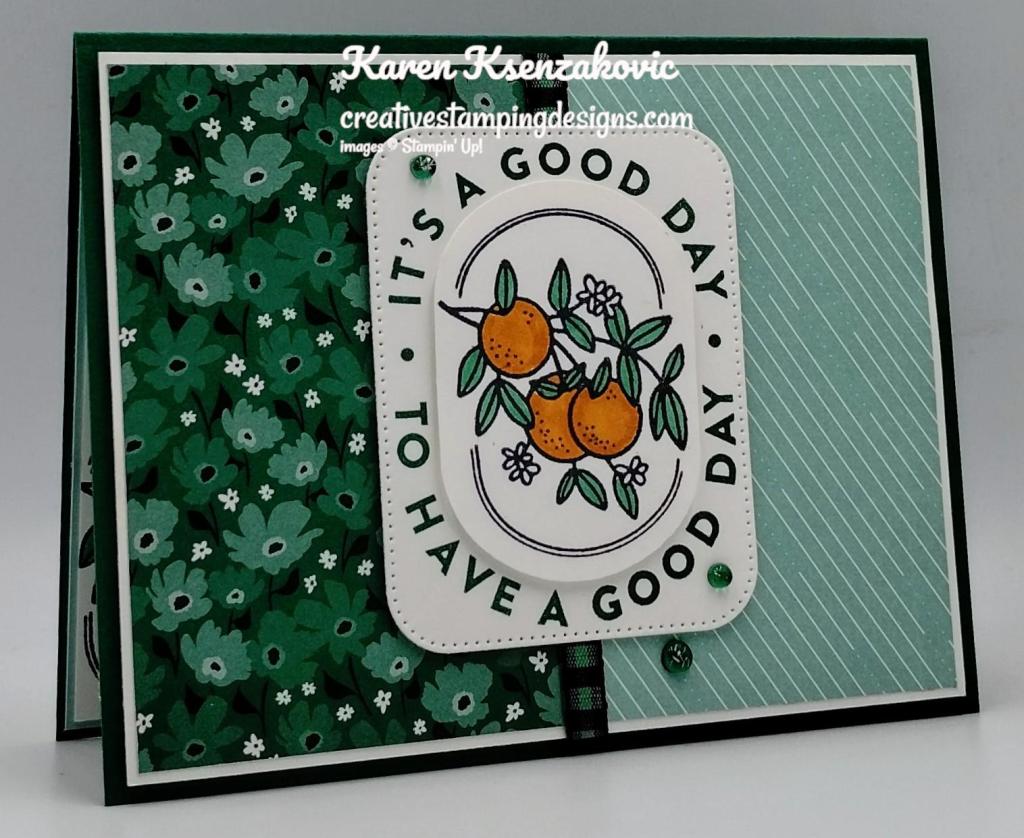
I started by cutting the top and bottom of the Basic White panel using the Darling Details Dies. I threaded a piece of 1/4″ Petal Pink ribbon from the Ribbon Duo Combo Pack through the top and bottom of the scalloped edge. I stamped the stem images from the Sending Smiles stamp set on a panel of Basic White. I stamped the flower images from the Sending Smiles stamp set on the stems in Daffodil Delight Ink. I stamped the flower center images on the flowers in Pecan Pie Ink. I adhered the artwork panel to the center of the scalloped edge panel.
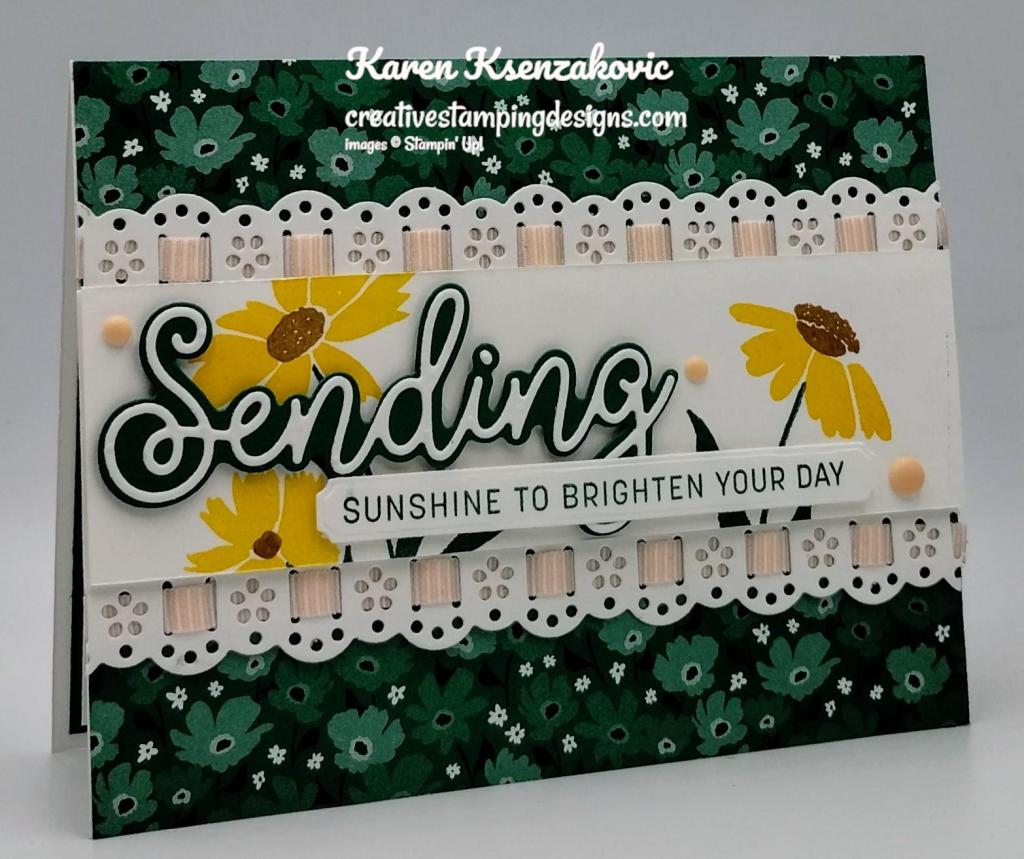
I cut the detailed sentiment using the Sending Dies from a panel of Basic White. I cut the sentiment mat using the Sending Dies from a panel of Shaded Spruce. I adhered the detailed sentiment to the mat using Liquid Glue. I adhered the die cut sentiment to the artwork panel using Stampin’ Dimensionals.
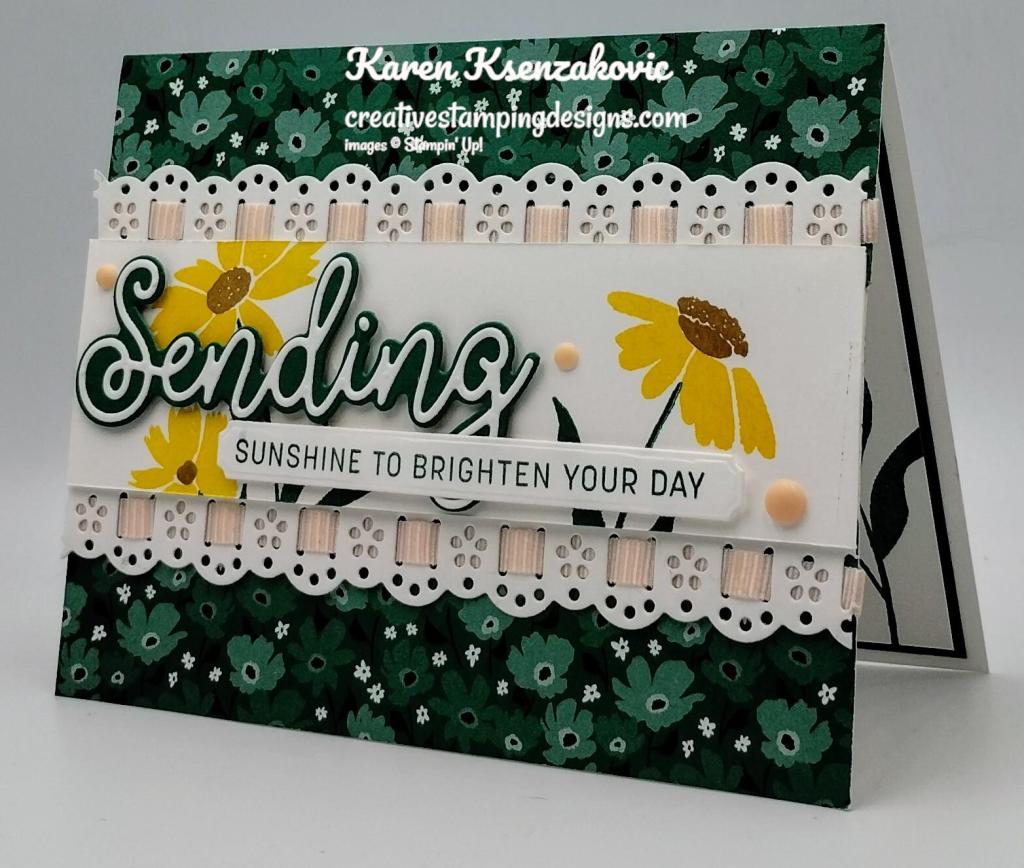
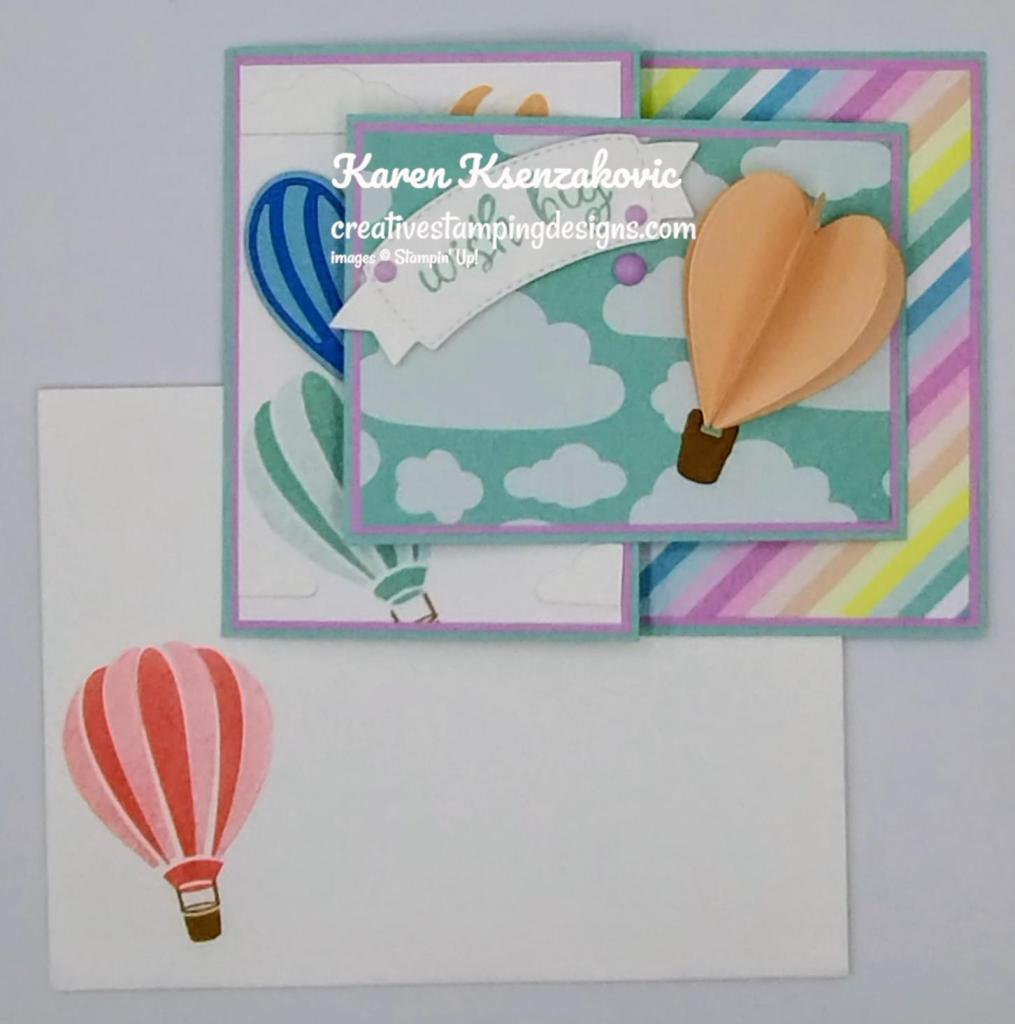
On a strip of Basic White, I stamped the sentiment from the Sending Smiles stamp set in Shaded Spruce Ink. I cut the sentiment out using the Sending Dies. I adhered the sentiment to the card front using Stampin’ Dimensionals. I added a few Adhesive-Backed Rainbow Dots to the card front.
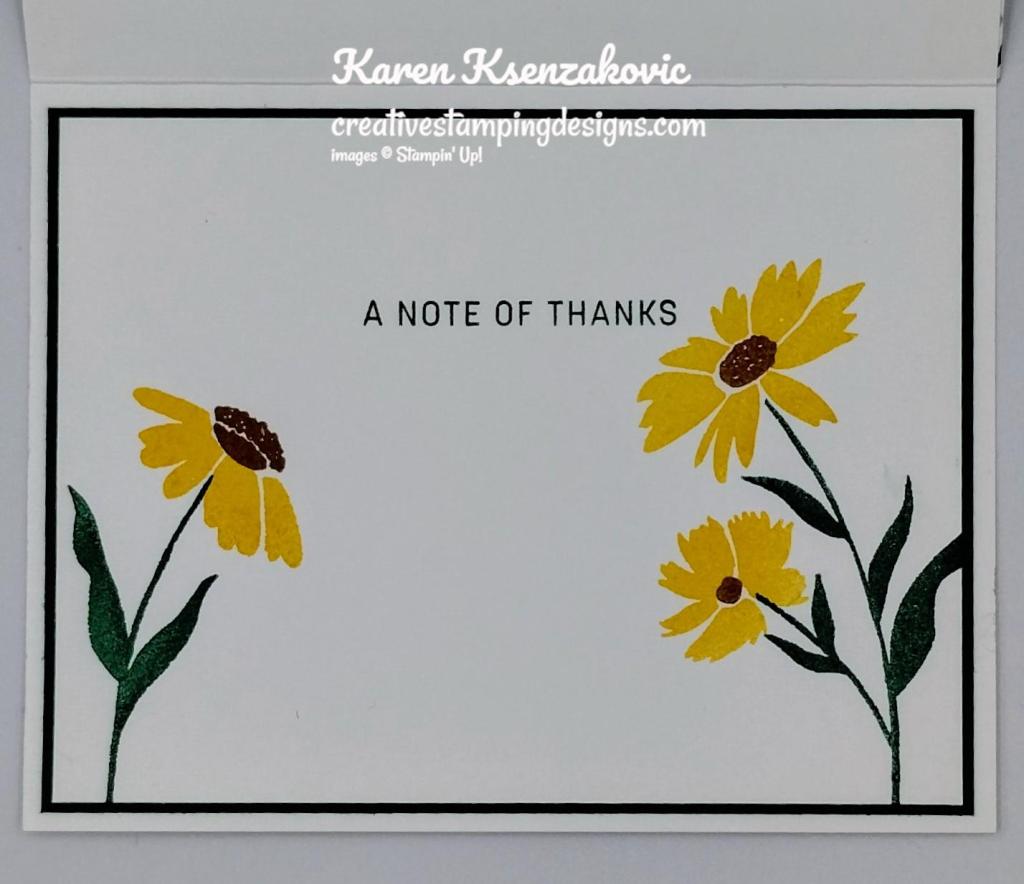
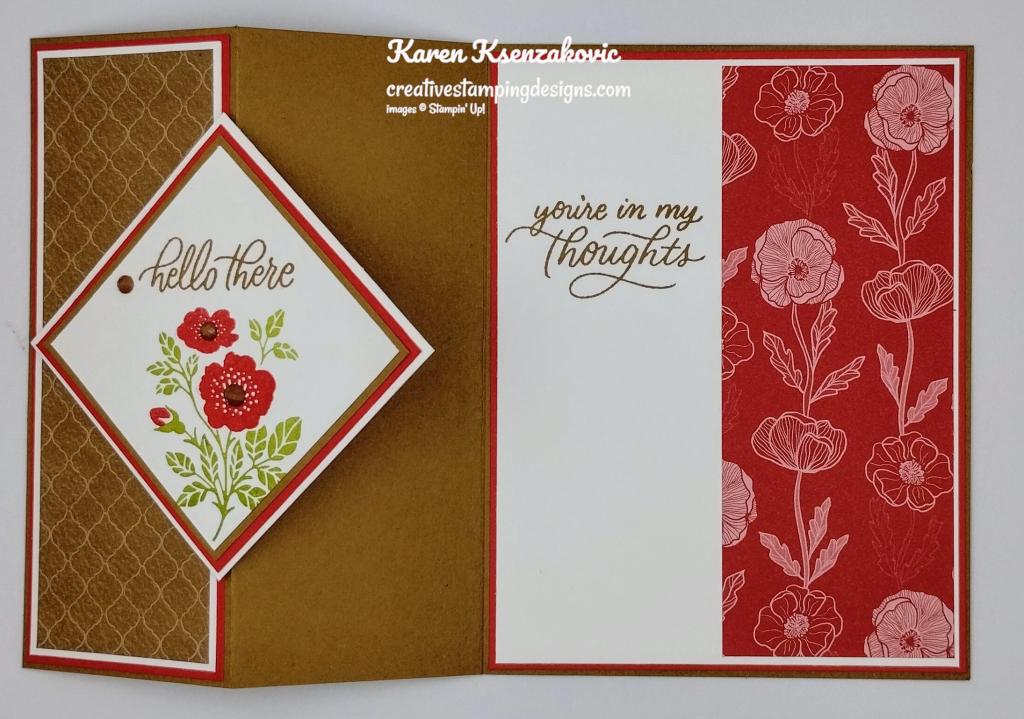
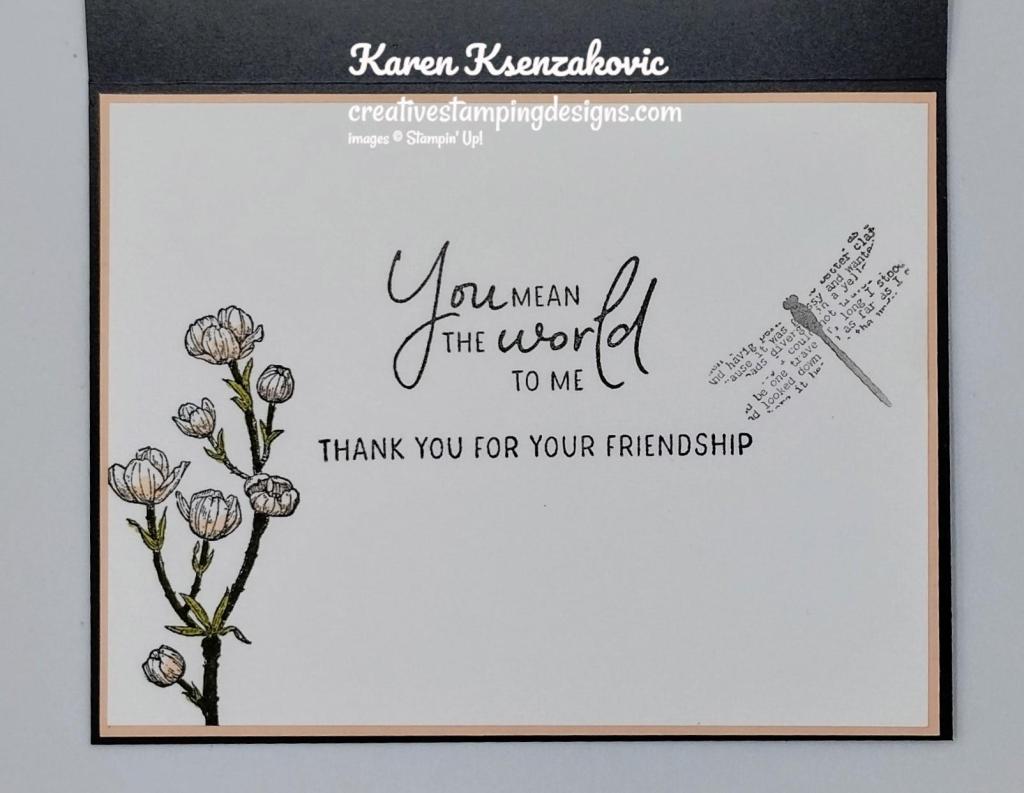
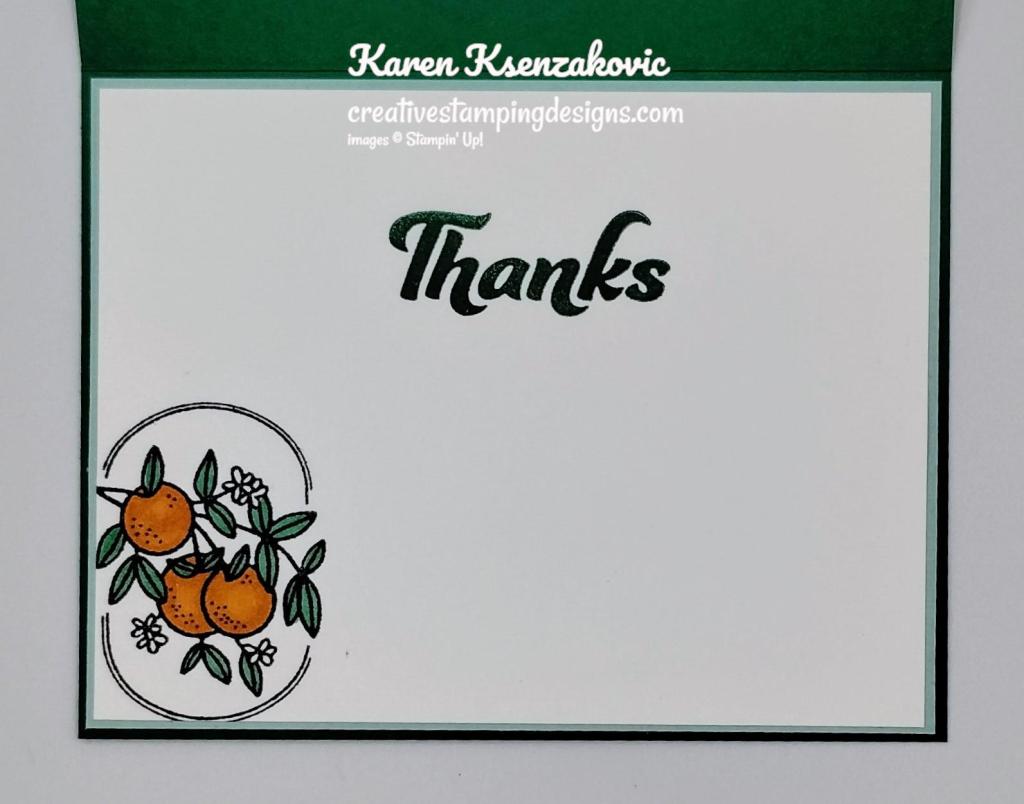
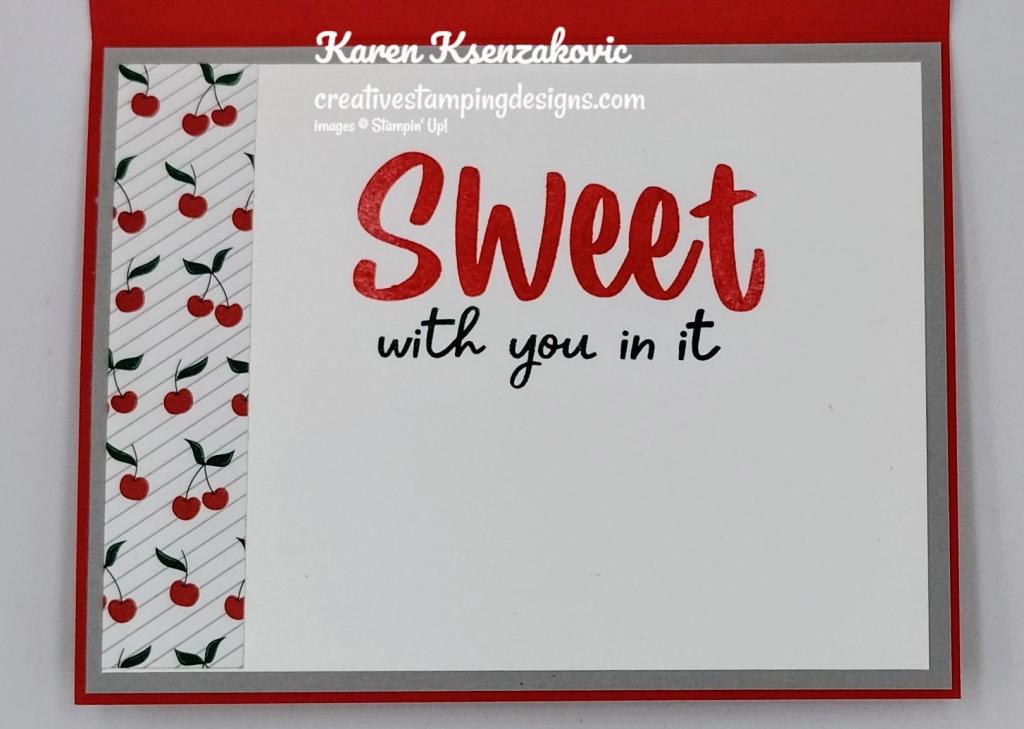
On the inside, I stamped the sentiment from the Sending Smiles stamp set in Shaded Spruce Ink on panel of Basic White. I stamped the stem images from the Sending Smiles stamp set in Shaded Spruce Ink on the bottom of the panel. I stamped the flower images from the Sending Smiles stamp set in Daffodil Delight Ink on the stems and the flower centers in Pecan Pie Ink. I adhered the Basic White panel to a Shaded Spruce mat then to the inside of the Basic White Thick card base.
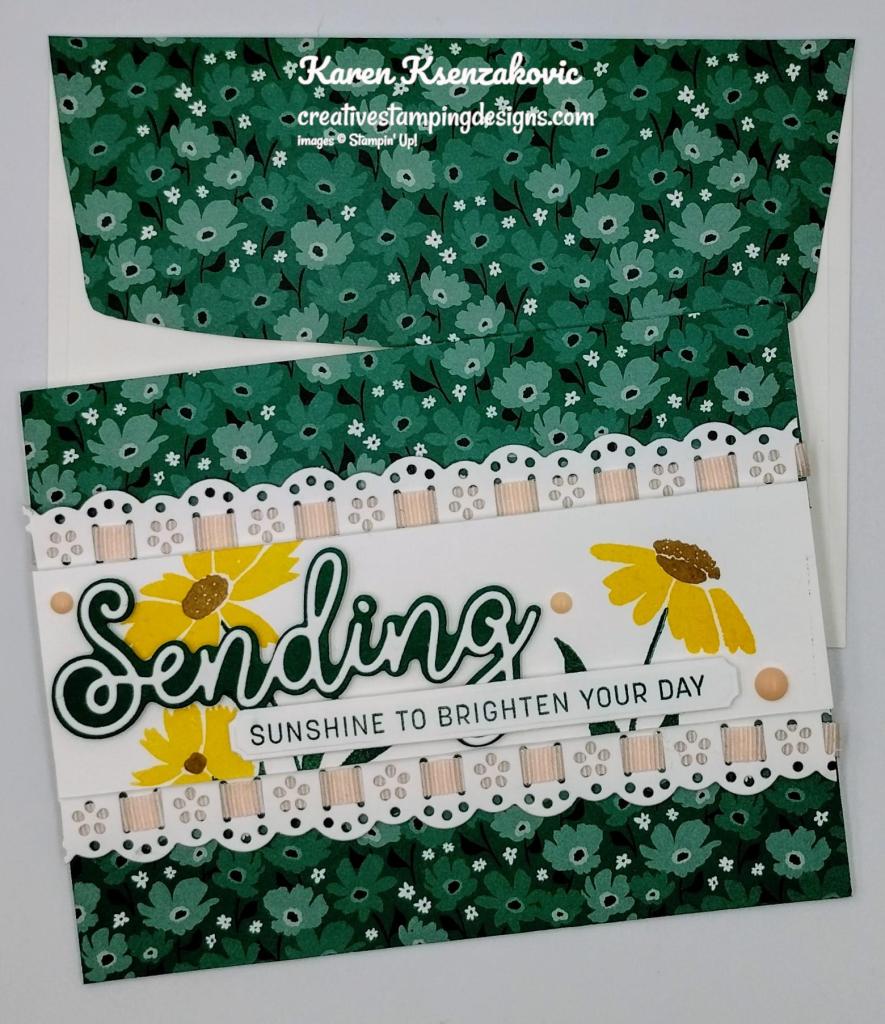
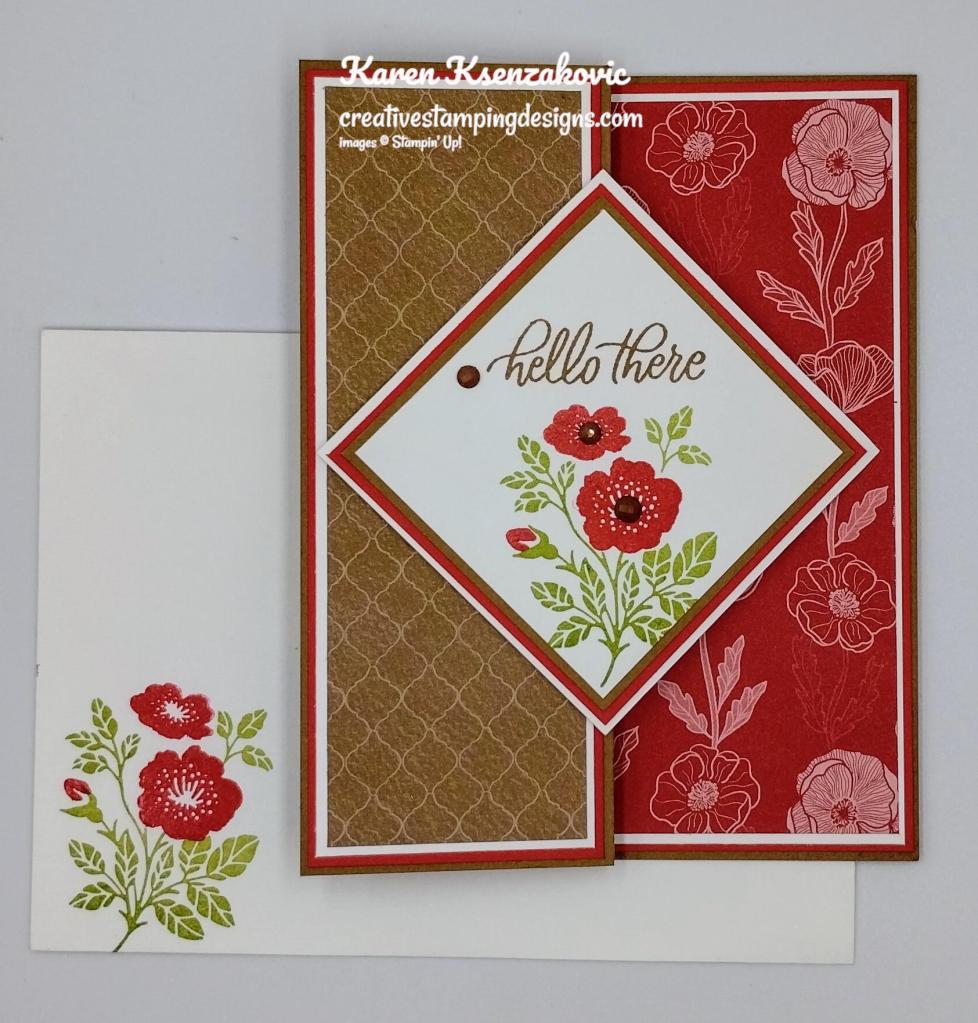
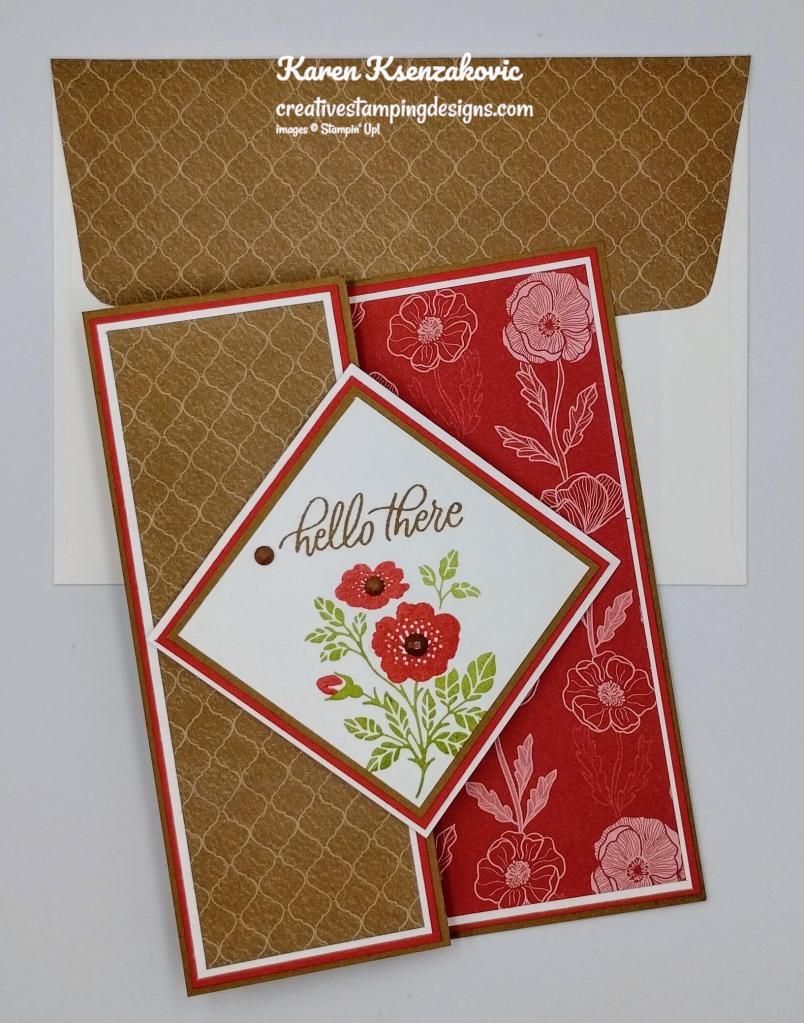
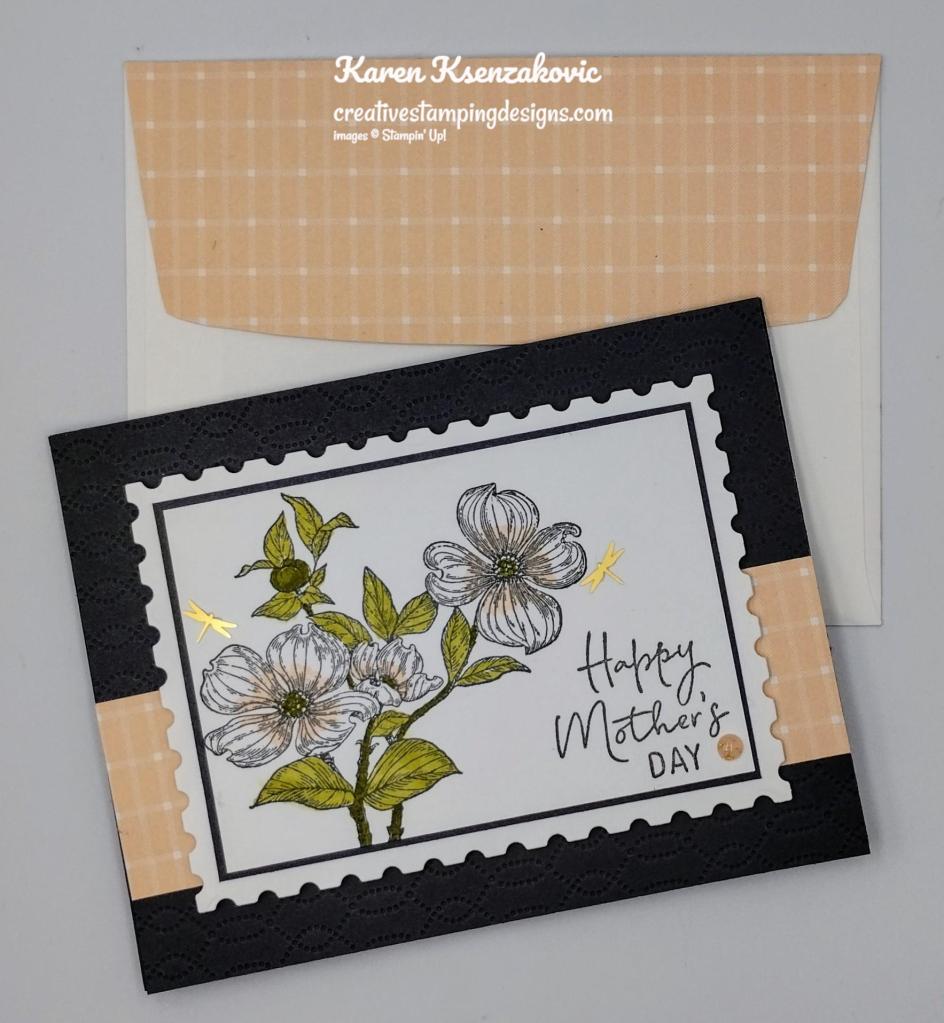
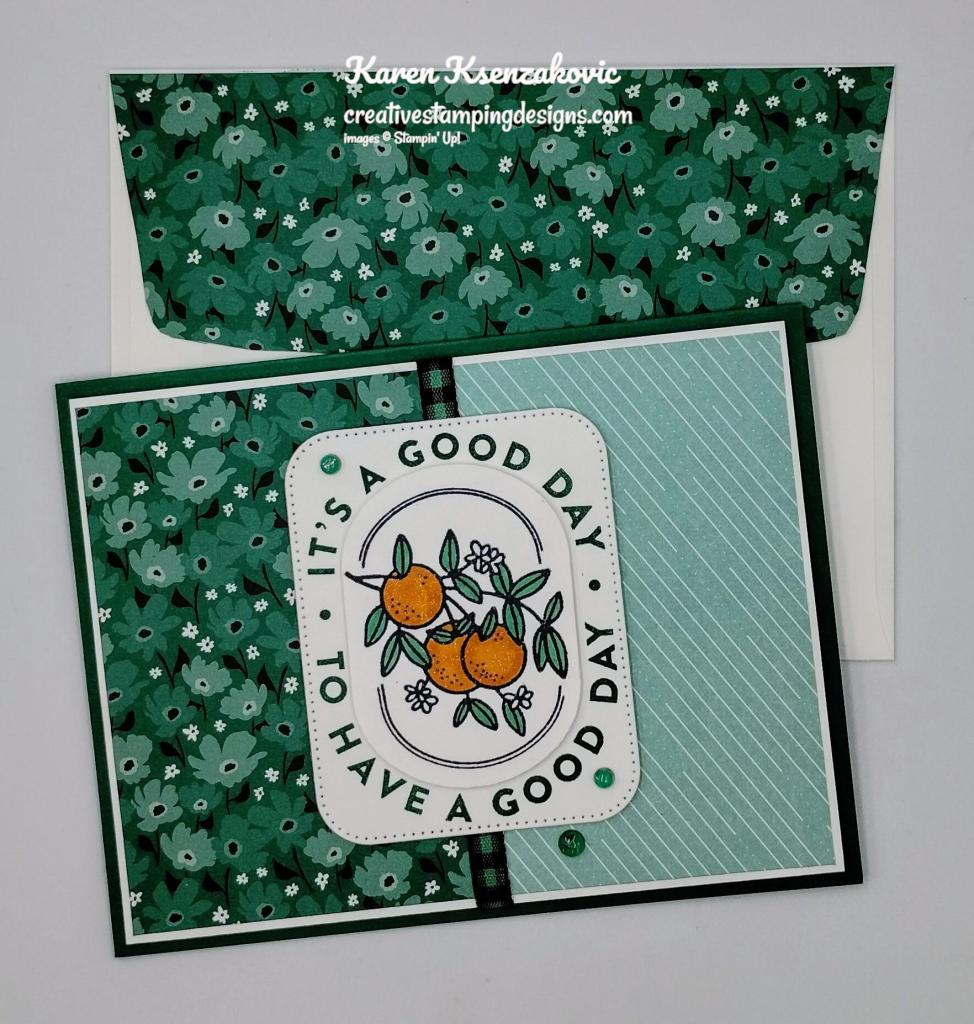
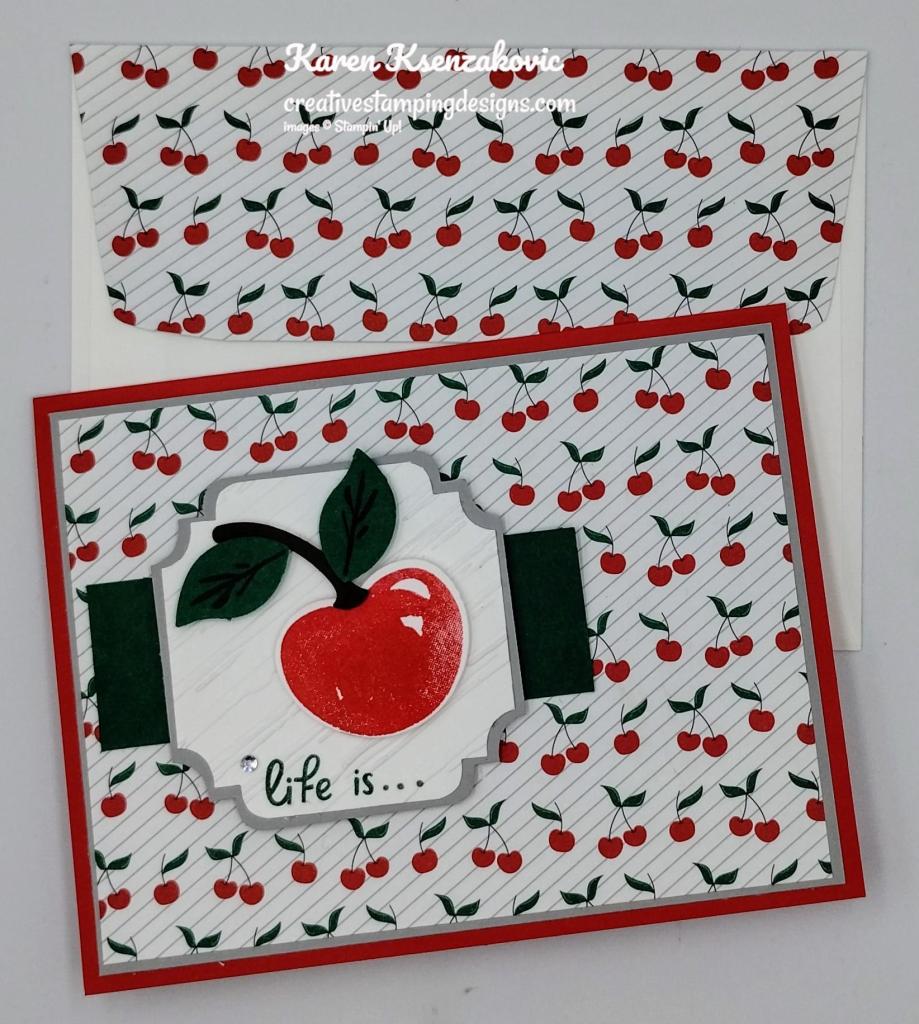
To finish my card, I decorated a Basic White Medium Envelope. I stamped the stem images from the Sending Smiles stamp set in Shaded Spruce Ink on the envelope front. I stamped the flower images from the Sending Smiles stamp set in Daffodil Delight Ink on the stems and the flower center images in Pecan Pie Ink. I adhered a panel of Sunny Days DSP to the envelope flap.
Thank you for stopping by my blog today. I hope you like the card and will give it a try. Happy Stamping!!
*********************************************************************************************************
If you need any stamping supplies, I’d love to be your Demonstrator. Just click HERE to go directly to my online store or drop me an email if you have any questions.
MY CURRENT HOST CODE IS: T9JKA3XQ
Use this host code when placing an order with me. When you order $50 or greater you will receive a free gift from me! If your order is over $150, please do not use this code, but you’ll still get the free gift. The free gift is your choice of any 1 item valued up to $10.00 from the 2023-2024 Annual Catalog, the January-April 2024 Mini Catalog or from the Online Exclusives! Unfortunately, packs of cardstock are no longer an option for a free gift. Shipping has become too expensive to ship and it’s costing me as much to ship as the cardstock costs. For any orders $50 or more I will also send you my monthly class tutorials. Click HERE or go to my Customer Rewards for more details and to see what this month’s tutorials are.
Please remember to use my current Host Code and make sure that you can see my name on the final checkout page listed as your Demonstrator when you order so that you know that you’re ordering with me, and you’ll get my rewards!
Happy Stamping, Karen
*********************************************************************************************************
In response to changing policies at Stampin’ Up – I’m adjusting my Ordering Gift policy as well. I’m having to get a little more tough on the adding of Host codes when you place your order thru my Online Store.
Not to worry – you’re still going to get that $10 ordering gift for orders of $50 (before shipping & tax) or greater. And the gift is still any 1 SU! product up to that $10 value – which includes some of our fun Host Sets!
But – if you DO NOT use the Host code for your orders of less than $150 (this is the RETAIL total before Shipping & Handling), then you’ll have two options:
- You’ll need to call Stampin’ Up! (1-800-Stamp-Up) and ask them to add it for you. They’re very helpful and will get it done quickly! OR….
- If your order was over the $50 threshold but under $150, then…you’ll forfeit that $10 ordering gift and rewards – this is the Bummer Option – and I REALLY don’t want to do this, SO please remember to add my Current Host Code.
********************************************************************************************************

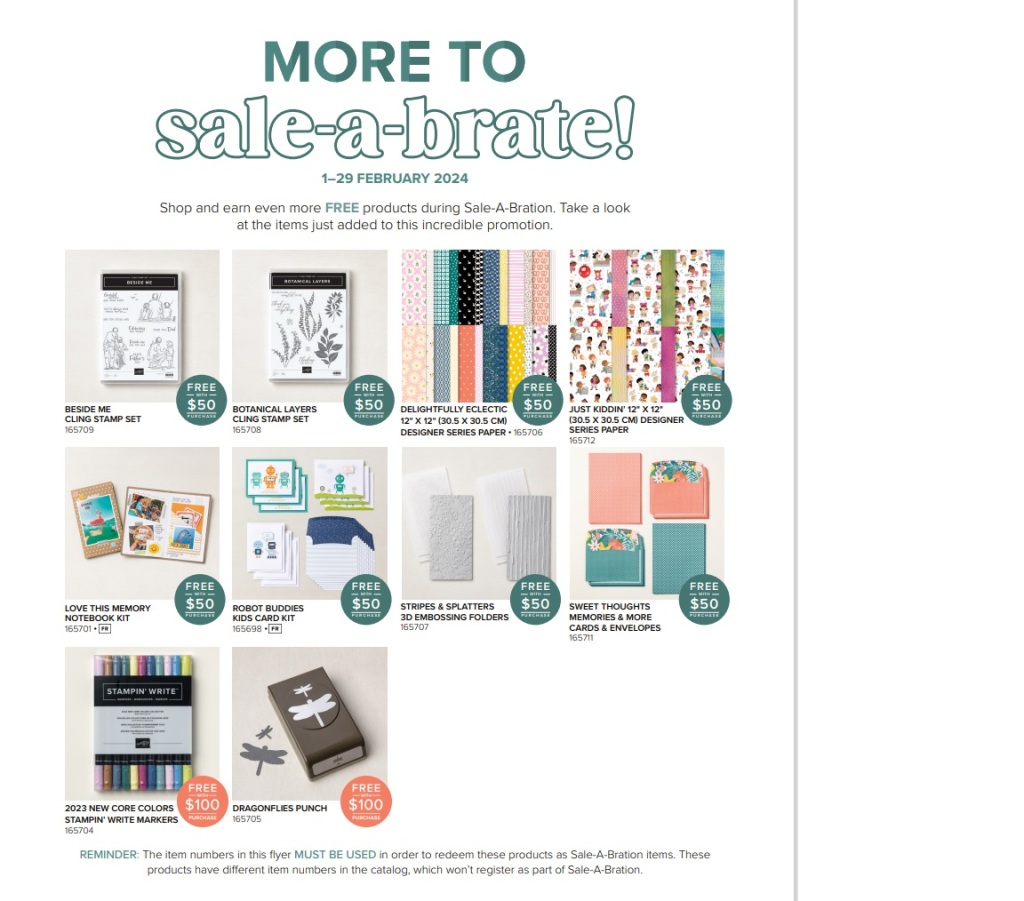
Stampin’ Up! has added more Sale-a-bration items to earn. You can Click Here for a printable PDF flyer to see all the new goodies.
*********************************************************************************************************
Joining Special January 4 – February 29
Joining Stampin’ Up! as a demonstrator offers some fabulous opportunities, including:
- Becoming part of our wonderful community
- Attending exclusive demonstrator-only events
- Having early access to products
- Receiving a copy of our catalogs early
- Participating in philanthropic events
- Getting a 20% discount on our magnificent coordinating products
- Joining our exclusive demonstrator-only Facebook group
- Having the opportunity to earn a supplemental income
- Accessing our demonstrator-only weekly newsletter: Succeed Weekly
- Receiving training information and accessing resources to help you through your first year and beyond
- Bonus: Since it’s Sale-A-Bration, now is an excellent time to join and take advantage of the Join offer!

Sale-A-Bration is an excellent time you to join Stampin’ Up! In addition to the already great value of the Starter Kit, if you sign up as a Stampin’ Up! demonstrator during Sale-a-bration, you can choose from two incredible options:
- Option 1: Purchase the $99 Starter Kit during Sale-a-bration, pick $125 worth of Stampin’ Up! merchandise of your choice and get the Stampin’ Glass Mat Studio ($60 value!) for FREE with your Starter Kit!
- Option 2: Purchase the $99 Starter Kit during Sale-a-bration, pick $155 worth of Stampin’ Up! merchandise of your choice. That’s $30 additional merchandise for FREE when you purchase your Starter Kit!
Two joining options so you can pick the one that you like the best!!
There is never an obligation to sell. You can join just to enjoy the discount for yourself along with all the other Demonstrator benefits. Once you join, you’ll get at least a 20% discount on all of your Stampin’ Up! merchandise purchases and you get to order early from the upcoming catalogs! You will also be able to attend the OnStage Events and any other events Stampin’ Up! has and you get to be a part of our Stampin’ Up! team!
Unsure about this and want to talk? Contact me at creativestampingdesigns@gmail.com and we can talk. You can also find additional information Here at Join My Team. Being a part of the Stampin’ Up! Community is one of the best decisions I’ve ever made. I have made many friends along the way while doing what I love, Paper Crafting. This Joining offer is only good during Sale-a-bration which starts January 4 and ends on February 29.
********************************************************************************************************
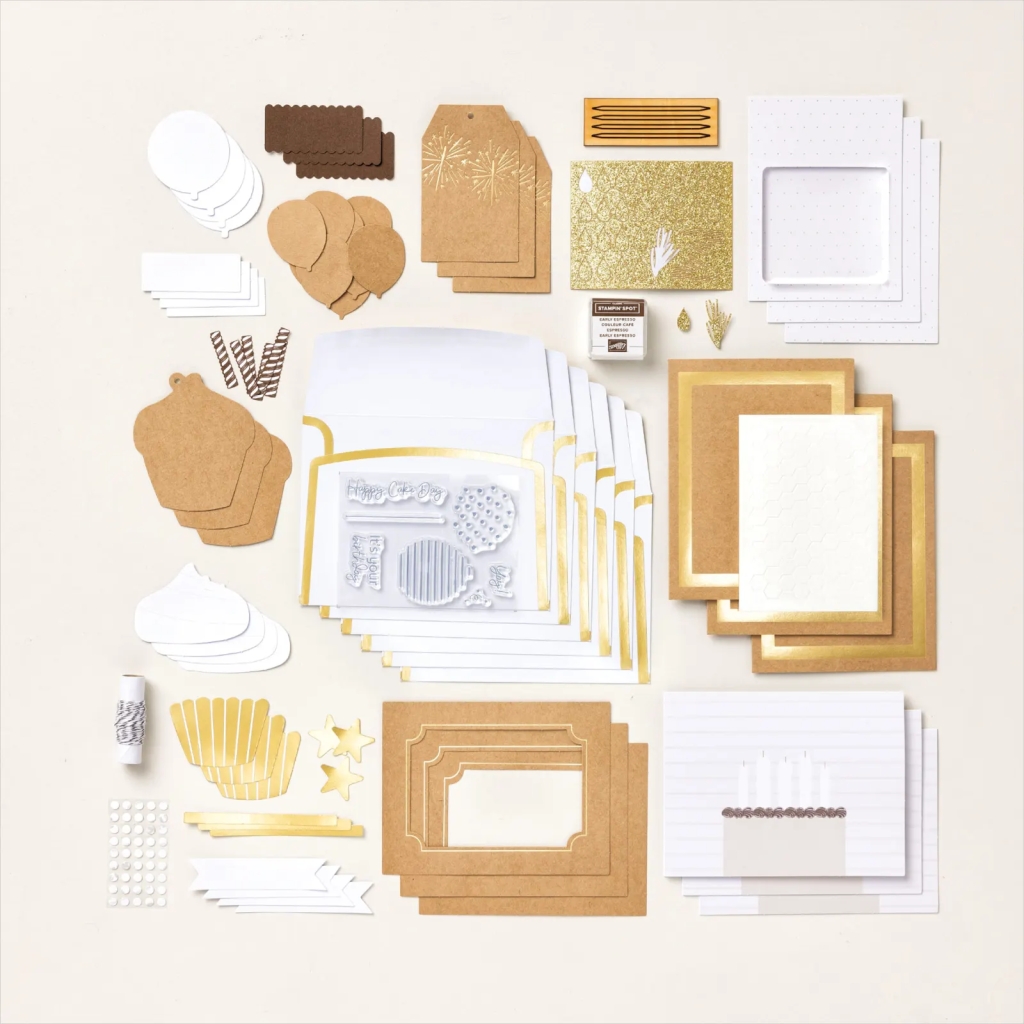
Memorable Meadows
Subscribe February 11 – March 10
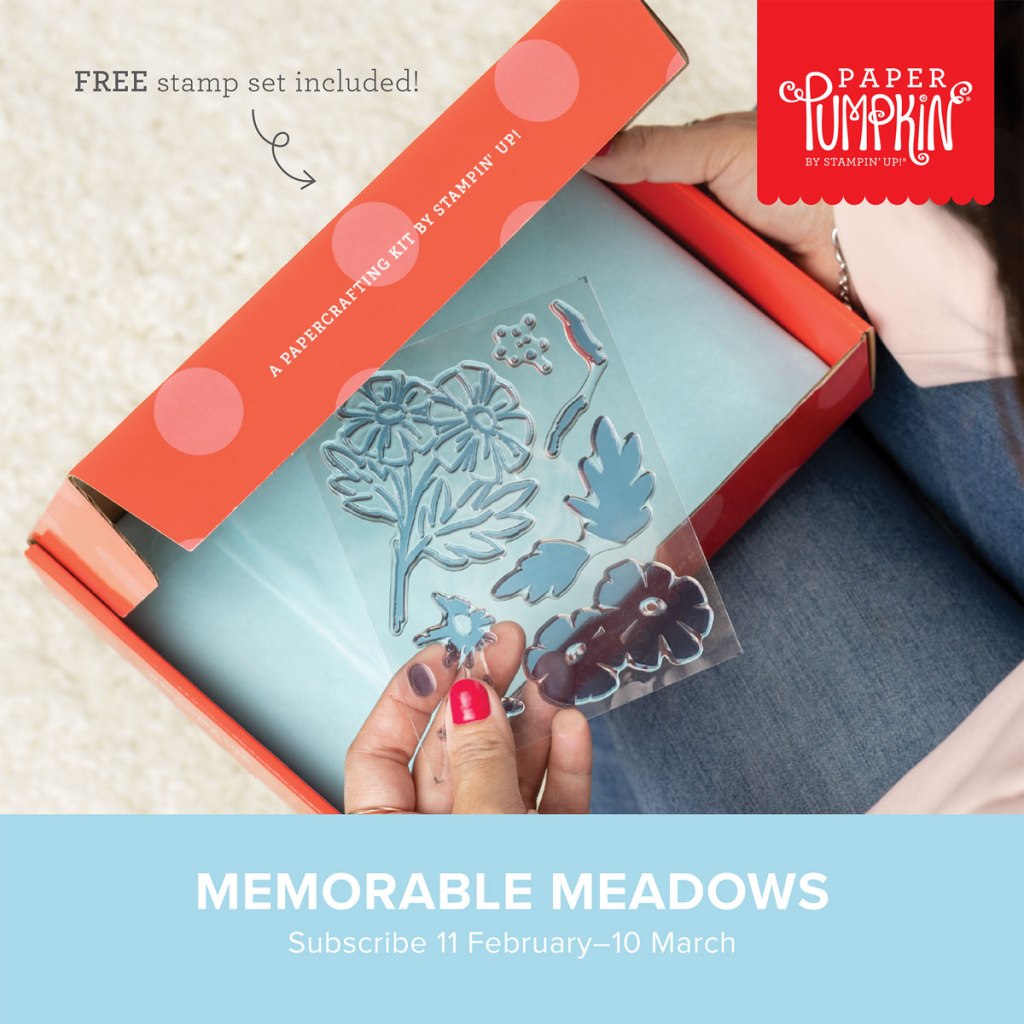
Share nature’s beauty with lovely all-occasion cards!
• Makes 9 cards: 3 each of 3 designs with 9 coordinating envelopes
• Precut vellum pieces & wood embellishments
• Coordinates with the Meandering Meadows Suite Collection (item 162745)
• Coordinating colors: Granny Apple Green, Garden Green (Classic Stampin’ Spot),
Balmy Blue, Night of Navy, Gorgeous Grape, Fresh Freesia
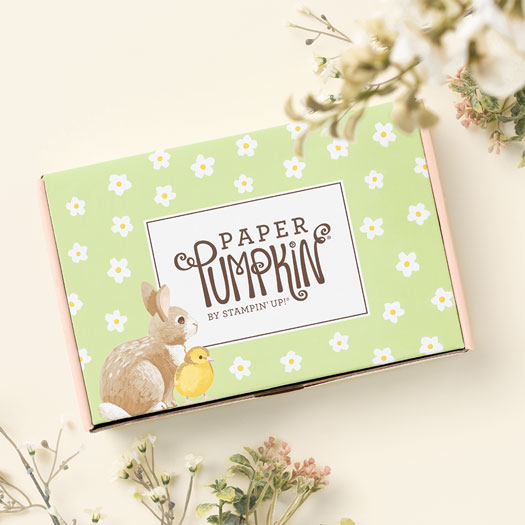
Don’t miss the coordinating Love of Spring Dies add-on!
The dies will coordinate with the January, February and March Paper Pumpkin Kit.
The Love of Spring Dies Add-On—available only while supplies last!

Item # 164396 $12.00
This exclusive add-on coordinates with the three upcoming kits! Paper Pumpkin subscribers can purchase it beginning 11 December. The add-on is available only while supplies last, so it’s best to shop early!
Subscribe to the February Paper Pumpkin Kit between 11 January and 10 February by clicking here!
Note: Supplies may be limited toward the end of the subscription period.
*********************************************************************************************************
Card stock cuts for this project:
- Basic White Cardstock2 3/4″ X 5 1/2:” (scalloped panel), 1 1/2″ X 5 1/2″ (artworkj panel), 1 1/2″ X 4″ (die cut sentiment), 3/4″ X 4″ (sentiment), 4″ X 5 1/4″ (inner liner)
- Basic White Thick Cardstock 5 1/2″ X 8 1/2″ (card base scored & folded at 4 1/4″)
- Shaded Spruce Cardstock 2 3/4″:X 3 3/4″ (sentiment mat), 4 1/8″ X 5 3/8″ (inner liner mat)
- Sunny Days Designer Series Paper 2 – 1 1/2″ x 5 1/2″ (card front panels), 2 1/4″ x 6″ (envelope flap)
*********************************************************************************************************
Product List
")


 Designer Series Paper")


")


")


 Designer Series Paper")


")
")


")


 Gingham Ribbon")


")
")


 Designer Series Paper")


")


