

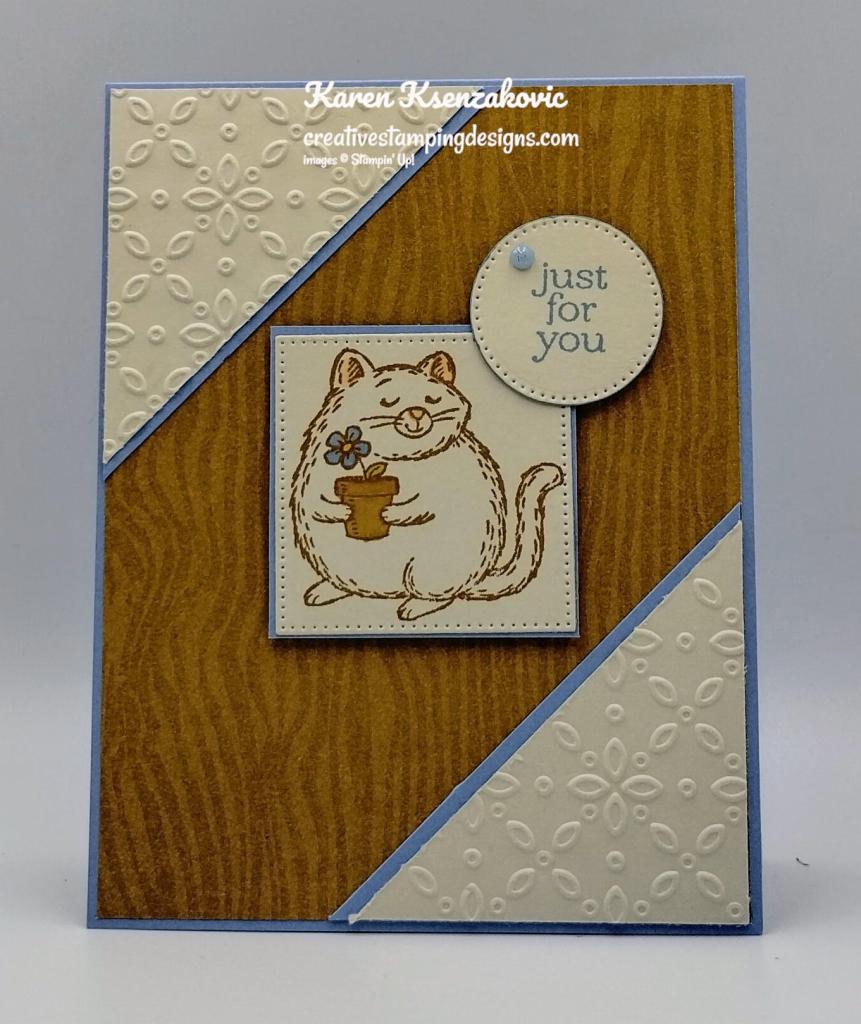
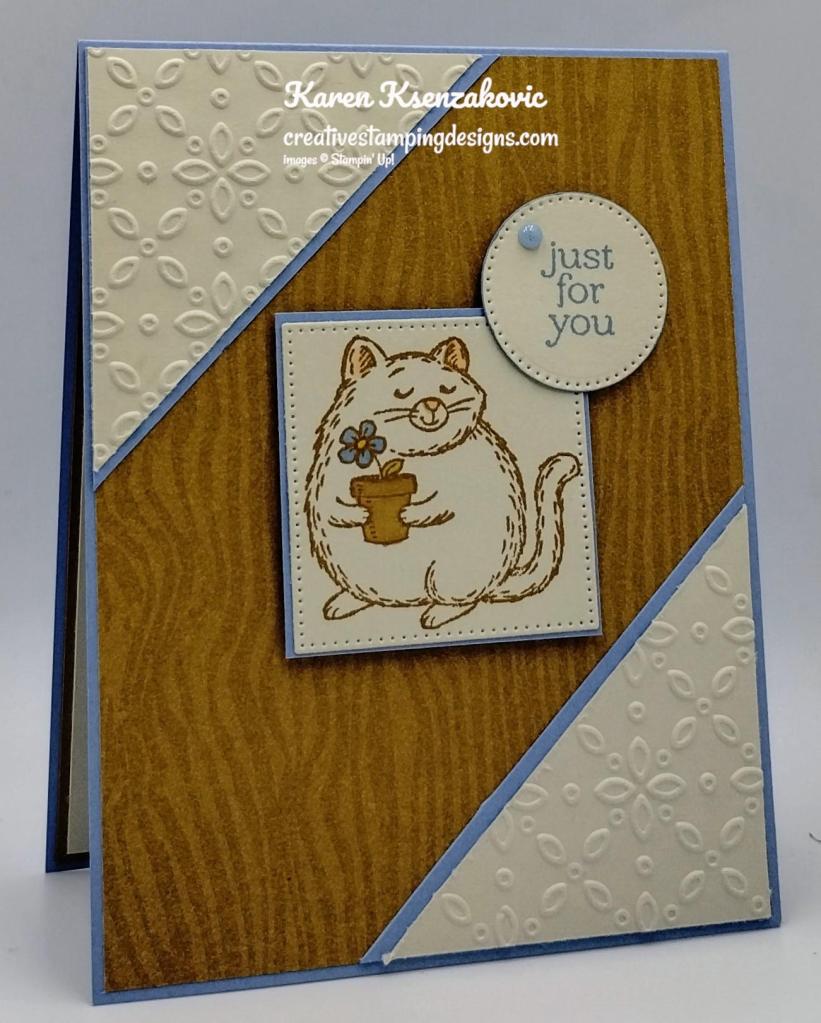
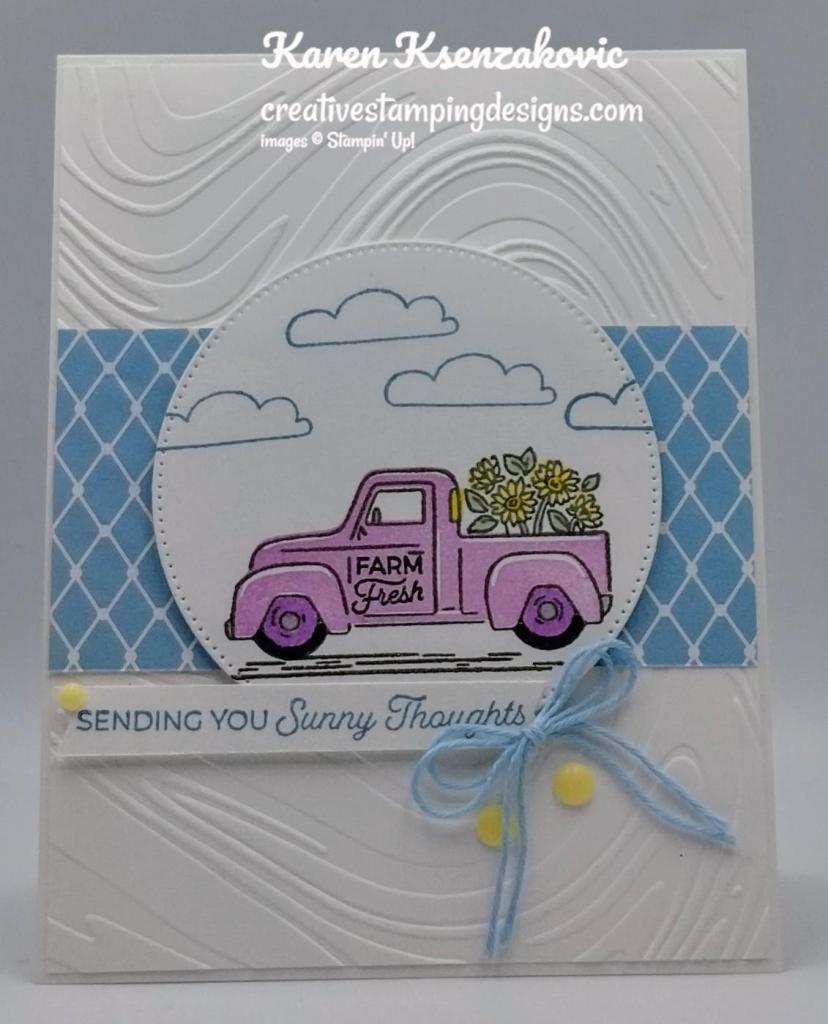
Good Tuesday morning my stamping friends welcome to Amy’s Inkin’ Krew Team Blog Hop. It’s the 2nd Tuesday of the month so that means Blog Hop Day!! If you are starting with me, be sure to hop around to see everyone’s beautiful projects. If you’ve hopped over from Tara’s blog, welcome to my blog and thank you for stopping by. The theme this month is “For The Men/Boys”. We can interpret this however we want. If you’d like to see a quick video on how I made this card, Click Here to go to my Instagram Reels. Here’s my card for today.

I used the Stampin’ Up! Friendly Fins Bundle along with the Stylish Shapes Dies and So Swirly Embossing Folder for my card.

My colors are from Colours & Sketches Challenge #536

My design is from TGIF Sketch Challenge #472

I started by embossing a Pool Party card front using the So Swirly EF. I wrapped a piece of Pebbled Path Jute Trim from the 2023-2025 In-Color Jute Trim, around the card front and tied a knot. I adhered the card front to a Lost Lagoon card base using Stampin’ Dimensionals.

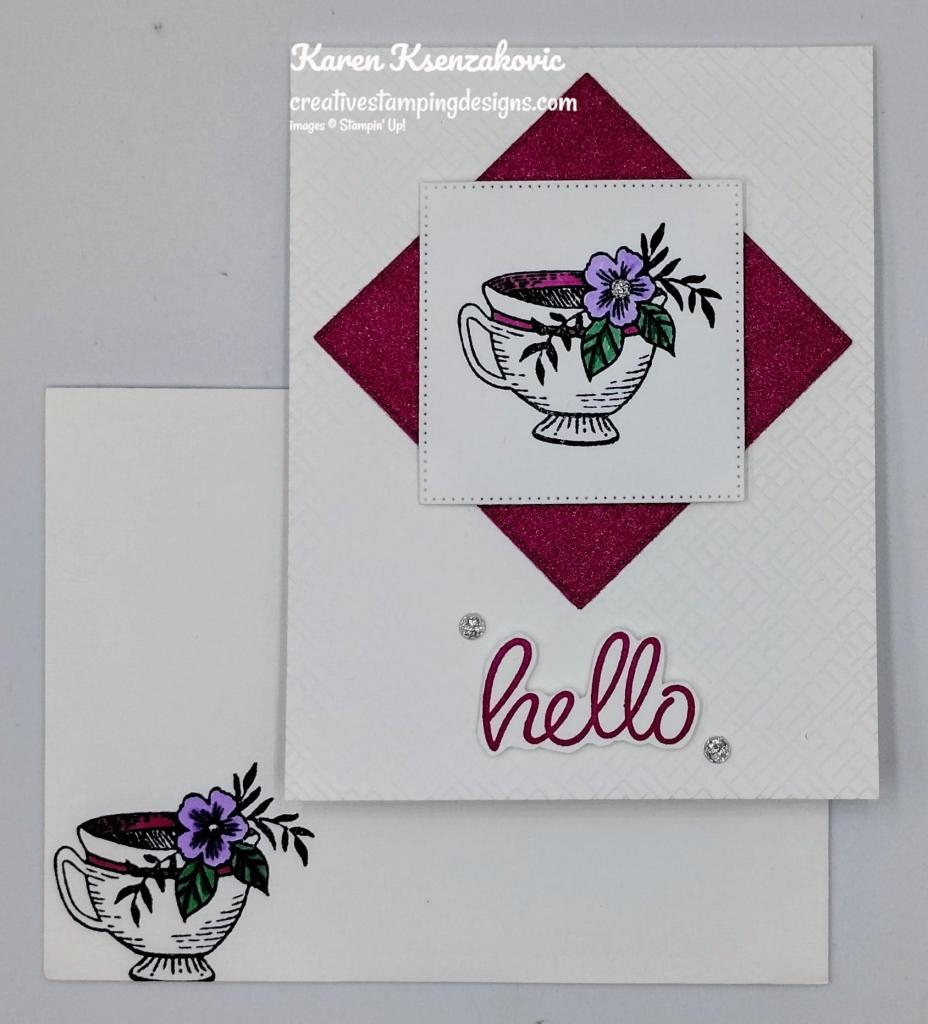
I cut 3 squares from a panel of Hello Irresistible DSP using the Stylish Shapes Dies. Unfortunately, this DSP is no longer available, and I didn’t realize it until after my card was done. There is a pattern in the Winter Meadow DSP that would work perfectly. I adhered the squares to the card front using Liquid Glue. On a panel of Basic White, I stamped the dolphin, stingray, fish and rock outlined images from the Stampin’ Up! Friendly Fins Photopolymer Stamp Set in Pebbled Path Ink. I stamped the solid dolphin image from the Friendly Fins stamp set in Pebbled Path Ink, stamping off 2 times on scrap paper first then over the outlined image. I stamped the stingray and rock, solid images from the Friendly Fins stamp set in Pebbled Path Ink, stamping off on scrap paper 1 time first, over the outlined images. I stamped the solid fish image in Pool Party Ink, stamping off 1 time on scrap paper first, over the outlined image. I stamped the 2 sentiments from the Friendly Fins stamp set in Lost Lagoon Ink on the Basic Whtie panel. I cut all the images out using the Friendly Fins Dies. I cut the one sentiment out using the Stylish Shapes Dies and fussy cut the other using Paper Snips.
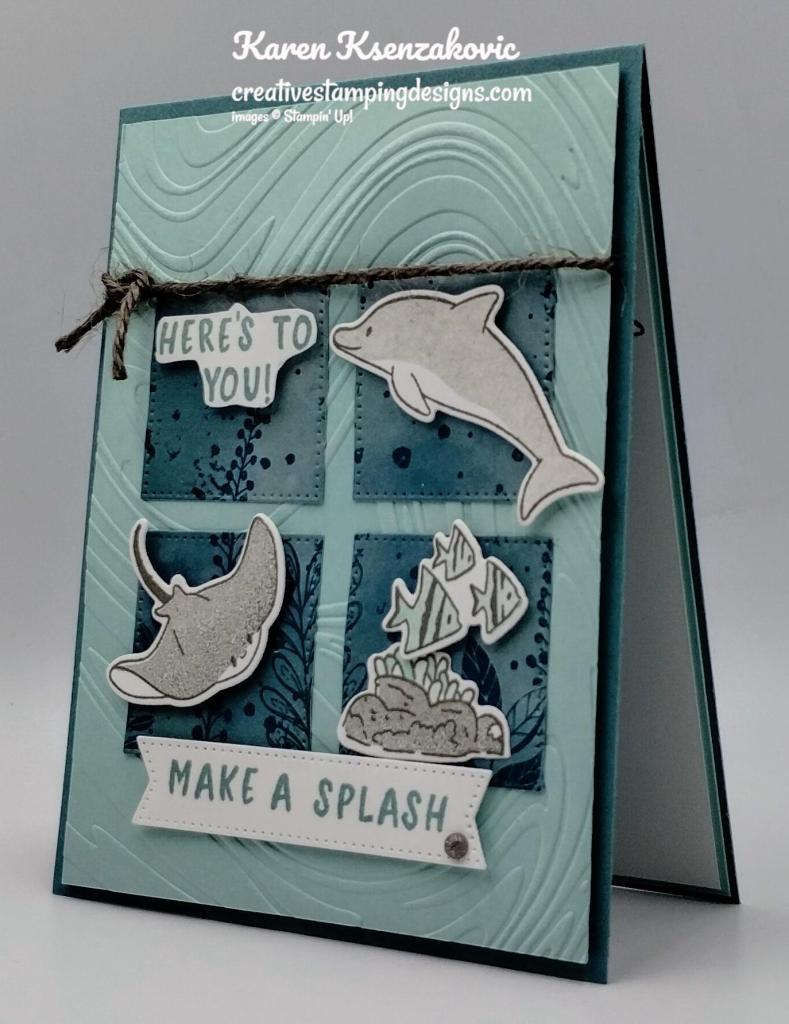
I adhered the rocks using Glue Dots and all the other images and sentiments using Stampin’ Dimensionals. I added a 2023-2025 In-Color Opaque Sparkle Dot to the sentiment.

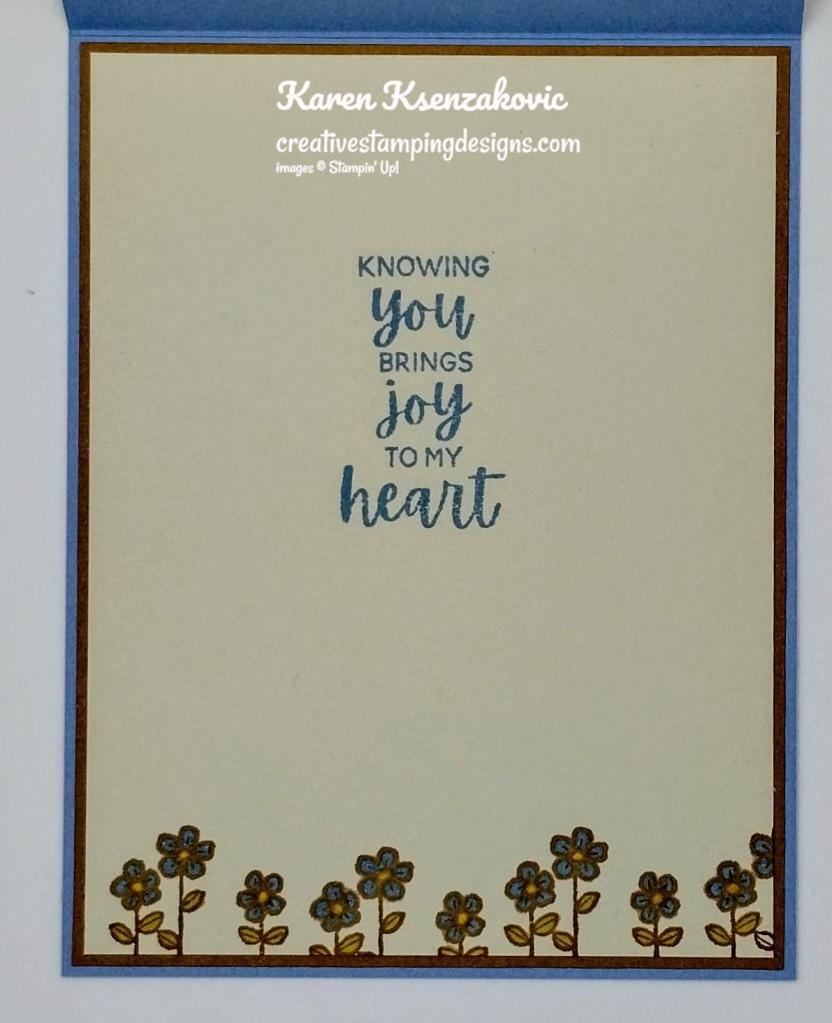
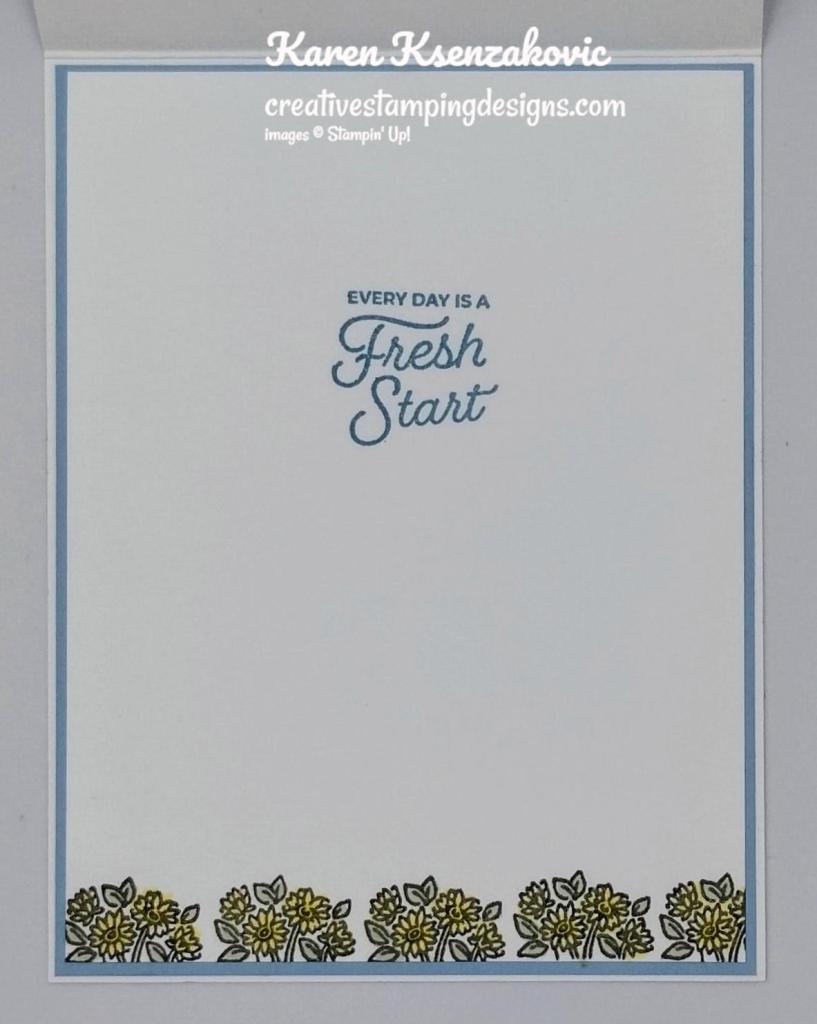
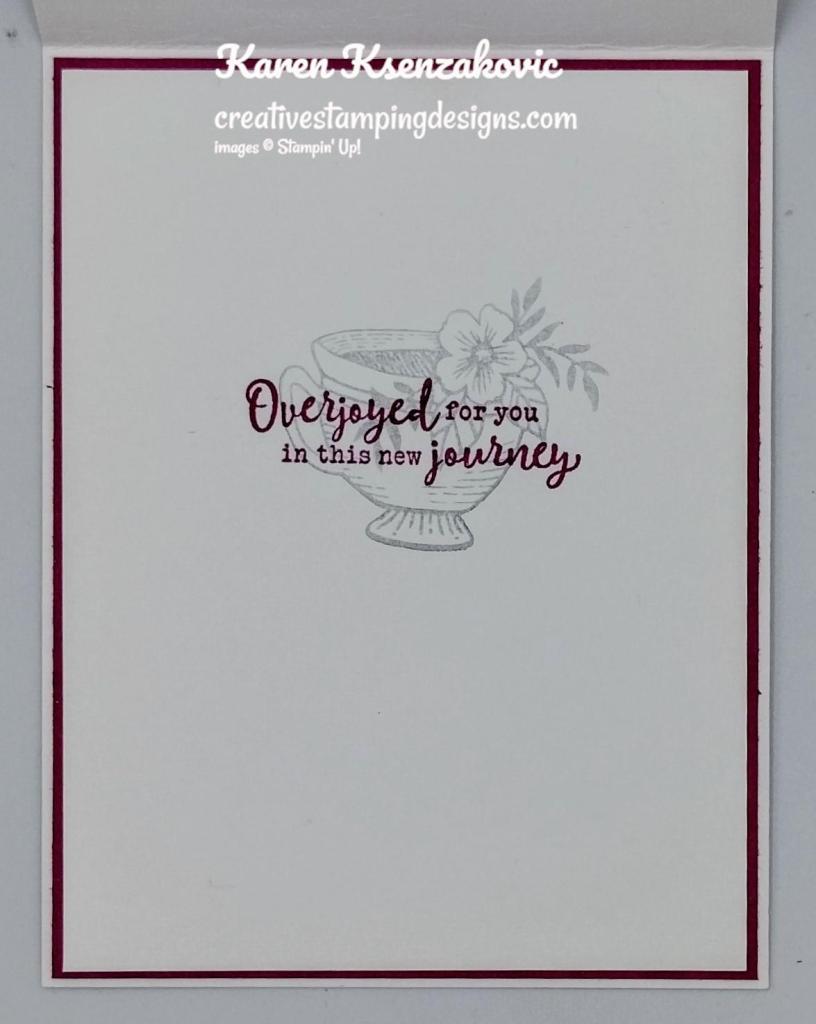
On the inside, I stamped the sentiment from the Friendly Fins stamp set in Lost Lagoon Ink on a panel of Basic White. I stamped the dolphin and stingray outlined images from the Friendly Fins stamp set in Pebbled Path Ink on either side of the sentiment. I stamped the solid dolphin and stingray images from the Friendly Fins stamp set over the outlined images stamping the dolphin off 2 times and the stingray off 1 time on scrap paper. I adhered the Basic White panel to a Pool Party mat then to the inside of the Lost Lagoon card base.

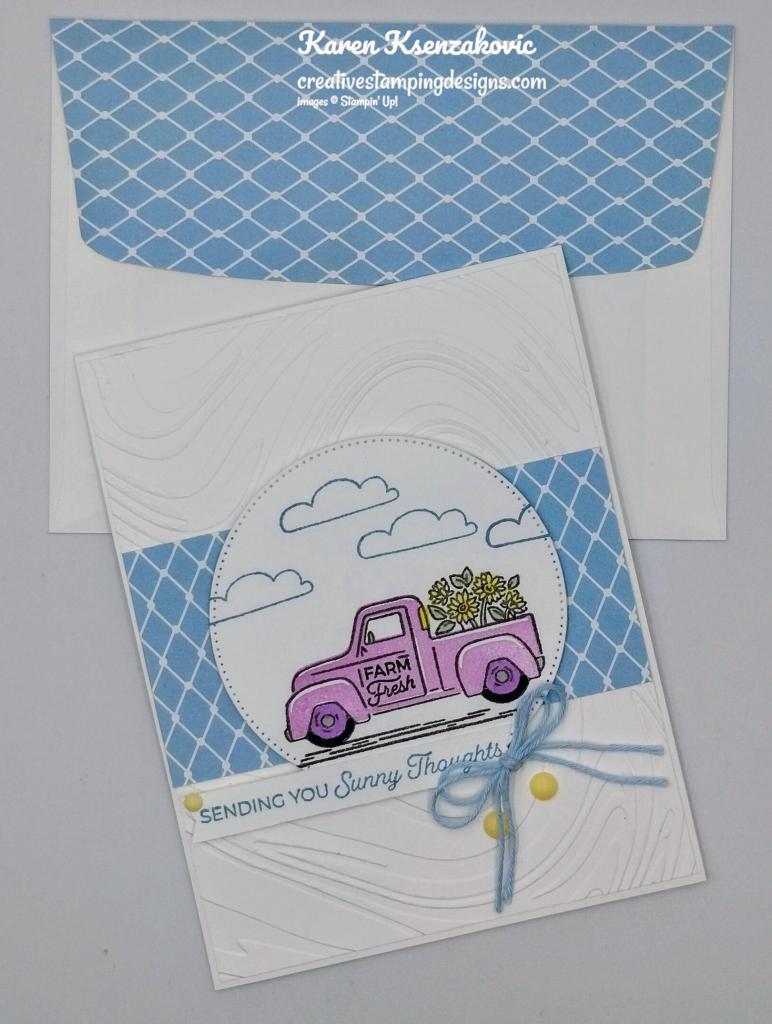
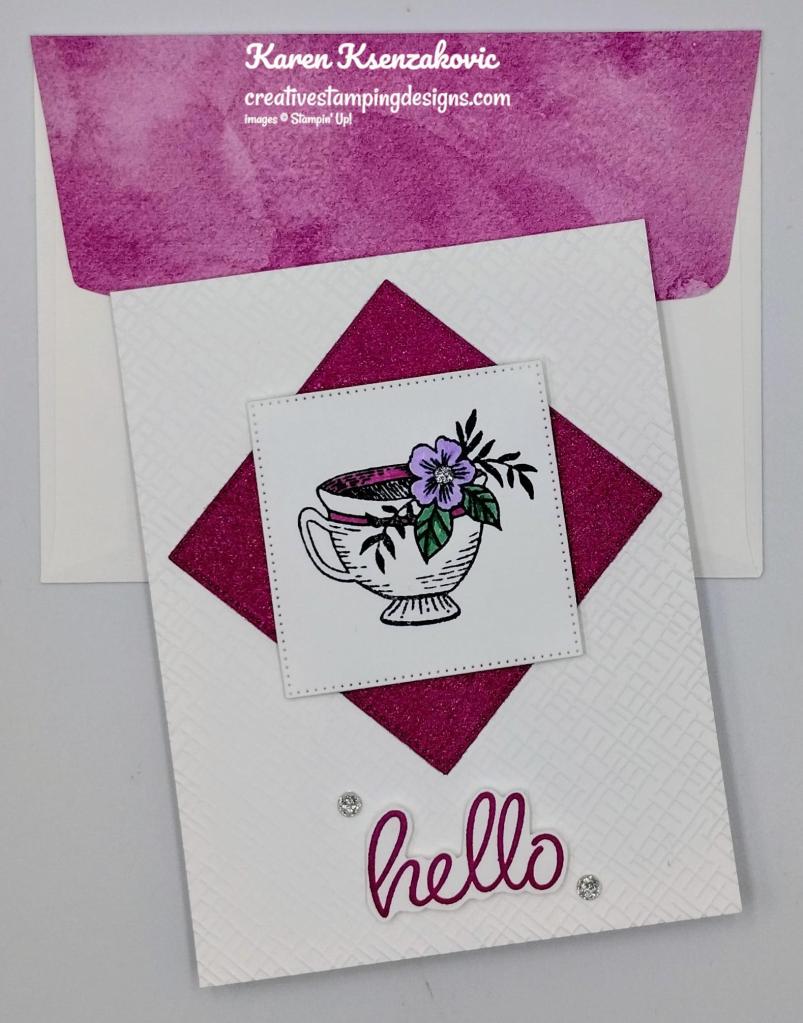
To complete my card, I decorated a Basic White Medium Envelope. I stamped the outlined stingray and rock images from the Friendly Fins stamp set in Pebbled Path Ink on the envelope front. I stamped the solid stingray and rock images from the Friendly Fins stamp set in Pebbled Path Ink, stamping off on scrap paper first. I adhered a panel of DSP to the envelope flap.

Thank you for visiting by my blog today, I hope you liked my card and will give it a try. Now that you’ve seen my card, be sure to hop around to see everyone’s beautiful projects. Hit Previous to hop back to Nels blog or hit Next to head over to Shirley’s blog. You can also click on each of the names and hop around that way. I hope you enjoy seeing everyone’s projects. Happy Hopping!!
- Mary Deatherage
- Tara Carpenter
- Karen Ksenzakovic You Are Here
- Ann Louise Fodgaard
- Akiko Sudano
- Carol Buckalew
- Terry Lynn Bright
- Karen Finkle
- Amy Koenders
*********************************************************************************************************
If you need any stamping supplies, I’d love to be your Demonstrator. Just click HERE to go directly to my online store or drop me an email if you have any questions.
MY CURRENT HOST CODE IS: 6C44QBJA
Use this host code when placing an order with me. When you order $50 or greater you will receive a free gift from me! If your order is over $150, please do not use this code, but you’ll still get the free gift. The free gift is your choice of any 1 item valued up to $10.00 from the 2023-2024 Annual Catalog, the January-April 2024 Mini Catalog or from the Online Exclusives! Unfortunately, packs of cardstock are no longer an option for a free gift. Shipping has become too expensive to ship and it’s costing me as much to ship as the cardstock costs. For any orders $50 or more I will also send you my monthly class tutorials. Click HERE or go to my Customer Rewards for more details and to see what this month’s tutorials are.
Please remember to use my current Host Code and make sure that you can see my name on the final checkout page listed as your Demonstrator when you order so that you know that you’re ordering with me, and you’ll get my rewards!
Happy Stamping, Karen
*********************************************************************************************************
In response to changing policies at Stampin’ Up – I’m adjusting my Ordering Gift policy as well. I’m having to get a little more tough on the adding of Host codes when you place your order thru my Online Store.
Not to worry – you’re still going to get that $10 ordering gift for orders of $50 (before shipping & tax) or greater. And the gift is still any 1 SU! product up to that $10 value – which includes some of our fun Host Sets!
But – if you DO NOT use the Host code for your orders of less than $150 (this is the RETAIL total before Shipping & Handling), then you’ll have two options:
- You’ll need to call Stampin’ Up! (1-800-Stamp-Up) and ask them to add it for you. They’re very helpful and will get it done quickly! OR….
- If your order was over the $50 threshold but under $150, then…you’ll forfeit that $10 ordering gift and rewards – this is the Bummer Option – and I REALLY don’t want to do this, SO please remember to add my Current Host Code.
*********************************************************************************************************
New Starter Kit Special May 1st – May 31st

Exciting News! Between 1–31 May, anyone who becomes a Stampin’ Up! demonstrator will receive four 2024–2026 In Color products in their Starter Kit for FREE!
In addition to the 2024-2026 In-Color products, new demonstrators will pick $125 USD worth of products of their choice. That’s $207 in products for only $99 and it all ships for FREE. You will also receive free business supplies in case you want to make this a business. Not to mention all the fun that comes with being a part of our wonderful crafting community.
When you join as a new demonstrator, all In Color products will be automatically added to their Starter Kit. Click Here for a PDF printable flyer of all the products you’ll get.
STARTER KIT SPECIAL DETAILS
- Promotion Start Date: May 1, 2024
- Deadline to Join: May 31, 2024 at 11:59 PM MT
- In addition to the regular $125 worth of products of your choice for just $99, new demonstrators will receive the following products (an $82 value!!) in their Starter Kit at no additional cost:
- 2024–2026 In Color Classic Stampin’ Pad Bundle
- 2024–2026 In Color 8-1/2″ x 11″ Card Stock
- 2024–2026 In Color 6″ x 6″ Designer Series Paper
- 2024–2026 In Color Stampin’ Write Markers
- All Starter Kits ship for FREE!!
If you’d like to join our team, we’d love to have you! Once you join, you’ll get at least a 20% discount on all of your Stampin’ Up! purchases and you can preorder from the upcoming catalogs!
We welcome all types of Demonstrators from those only purchasing to get the discount for themselves to those who want to run a business and those anywhere in between! We’re a relaxed group that loves to stamp with no pressure to sell!
Demonstrators get lots of perks including at least a 20% discount on all orders that you place as a Demonstrator, invitations to Stampin’ Up! Demonstrator events and preordering from upcoming catalogs and promotions!
There is no commitment and no penalty if you decide that being a Demonstrator isn’t right for you. Why not give it a try? We have a fun Facebook page where we chat a lot and we do virtual meetings monthly and in-person meetings quarterly.
What a great time to join and get all the new 2024-2026 In-Color products. Contact me @ creativestampingdesigns@gmail.com. I would love to have you on my team. Contact me today about joining May 1st.
*********************************************************************************************************
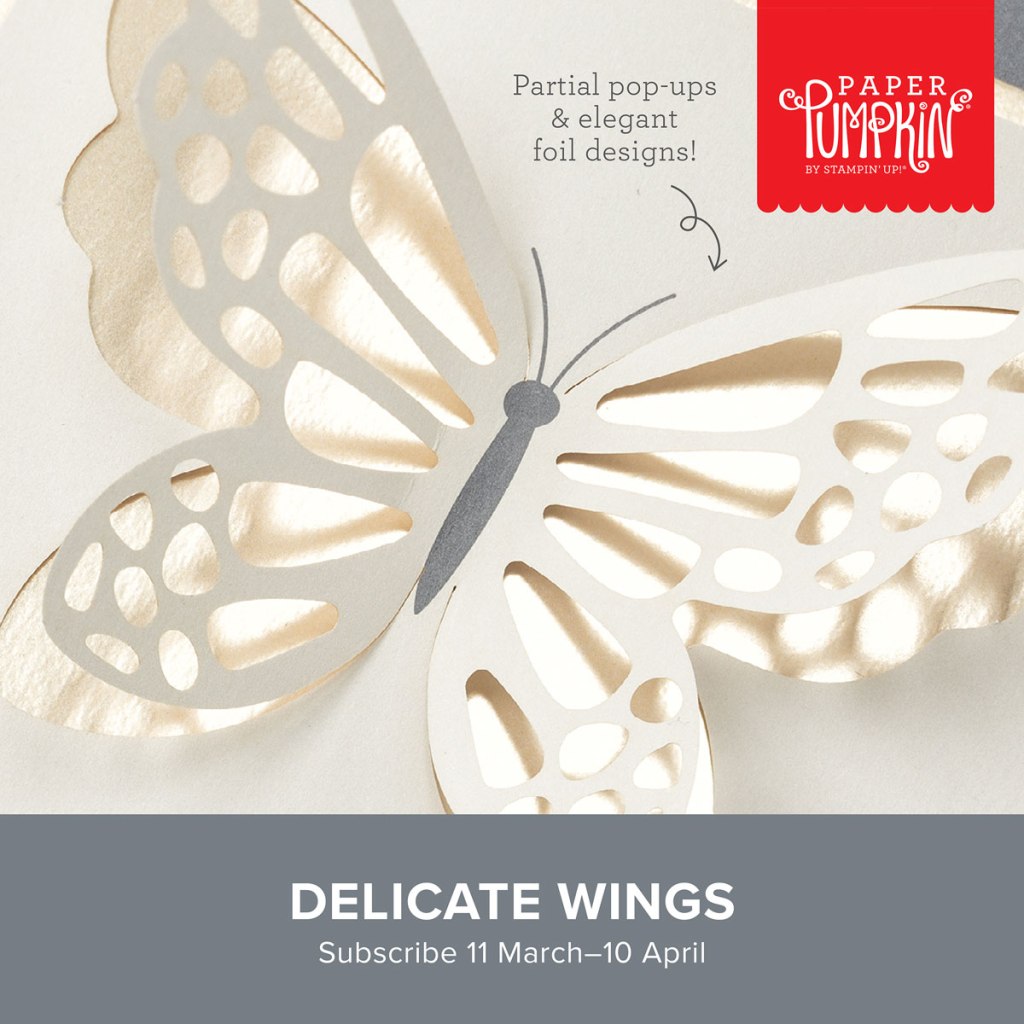
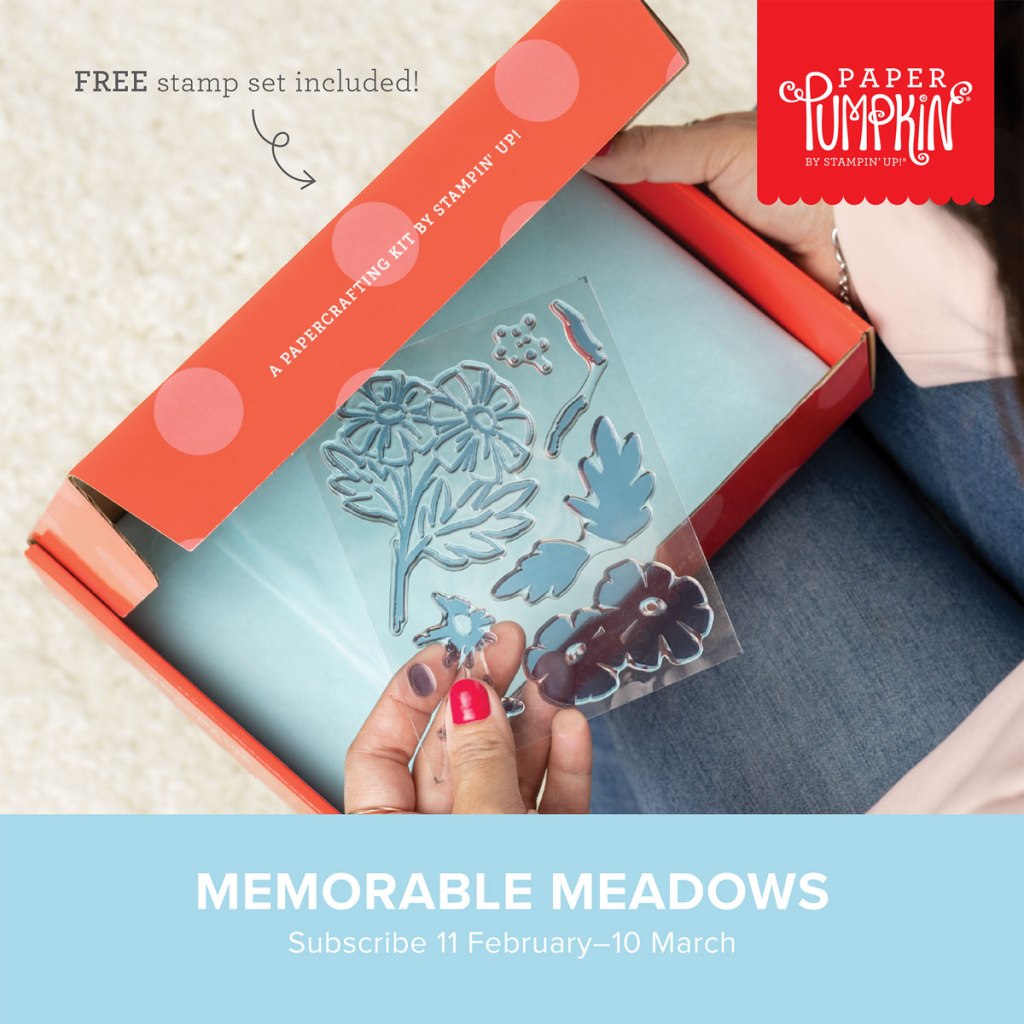
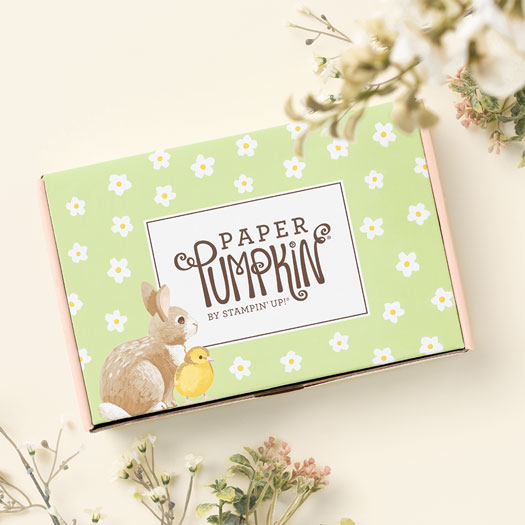
The Best There Is
Subscribe April 11 – May 10
Subscribe to Paper Pumpkin for a monthly, all-inclusive crafting kit that’s a fun surprise! Each kit includes a photopolymer stamp set, Classic Stampin’ Spot, and step by step instructions to complete exclusive paper craft projects, including cards, tags, and gift
packaging. And don’t miss the special add-on that coordinates with the next three months!

Make cards for Father’s Day and more to express your gratitude and admiration!
- Makes 9 cards: 3 each of 3 designs with 9 coordinating envelopes
- Precut paper accent pieces and labels
- Woodgrain textures and masculine earthy tones
- Coordinating colors: Wild Wheat, Pool Party, Misty Moonlight (Classic Stampin’ Spot),
Early Espresso, Crumb Cake, Basic Beige
Thanks & Beyond Dies Add-On—available only while supplies last!
Partial pop-ups to make your cards shine!
Coordinates with the Country Woods Designer Series Paper (item 163393)
Thanks and Beyond Add On Dies

Dies #164397 Price $12.00
This exclusive add-on coordinates with the three upcoming kits! Paper Pumpkin subscribers can purchase it beginning 11 March. The add-on is available only while supplies last, so it’s best to shop early!
Subscribe to the April Paper Pumpkin Kit between 11 March and 10 April by clicking here!
Note: Supplies may be limited toward the end of the subscription period.
*********************************************************************************************************
Card stock cuts for this project:
- Basic White Cardstock 2 – 4″ X 5 1/4″(artwork & inner liner)
- Lost Lagoon Cardstock 4 1/4″ X 11″(card base scored & folded at 5 1/2″)
- Pool Party Cardstock 4″ X 5 1/4″(card front), 4 1/8″ X 5 3/8″ (inner liner mat)
- Hello Irresistible 6 X 6 Designer Series Paper 3 1/2″ X 3 1/2″ (squares), 2 1/4″ X 6″ (envelope flap)
*********************************************************************************************************
Product List
")
")


")
")


 Designer Series Paper")


")


 Designer Series Paper")


")

 Designer Series Paper")


")
")

 Designer Series Paper")


 Variegated Ribbon")


")
")


 Specialty Designer Series Paper")


")

 Satin Edged Ribbon")
 Metallic Ribbon")


")
")


")

 Specialty Paper")
 Specialty Designer Series Paper")


")

 Specialty Paper")
 Designer Series Paper")


