
Good Monday morning stamping friends and welcome to a new week. How was everyone’s weekend? Tara and I had our 1st Online Zoom class, and we had a lot of fun. We had a few hiccups, but we got through them, and I believe it was a success. We’re already planning our next one at the end of March.
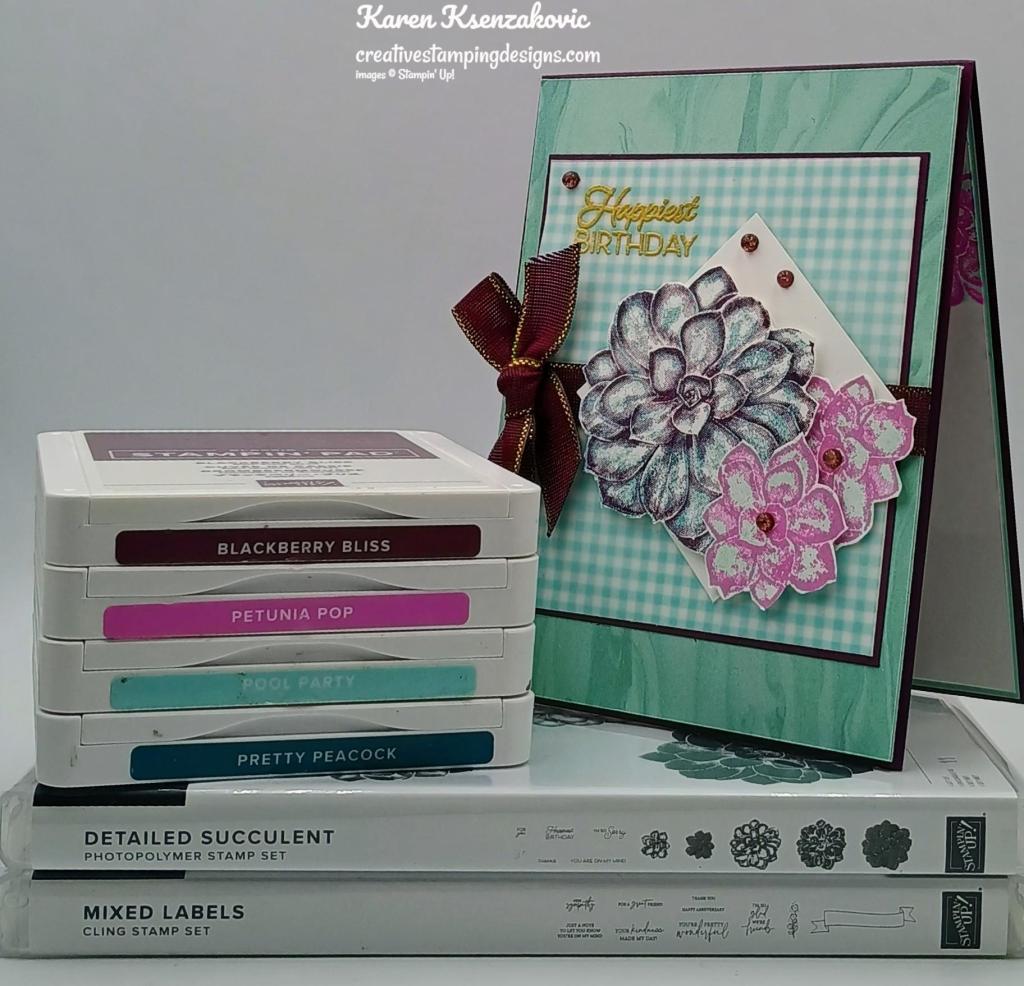
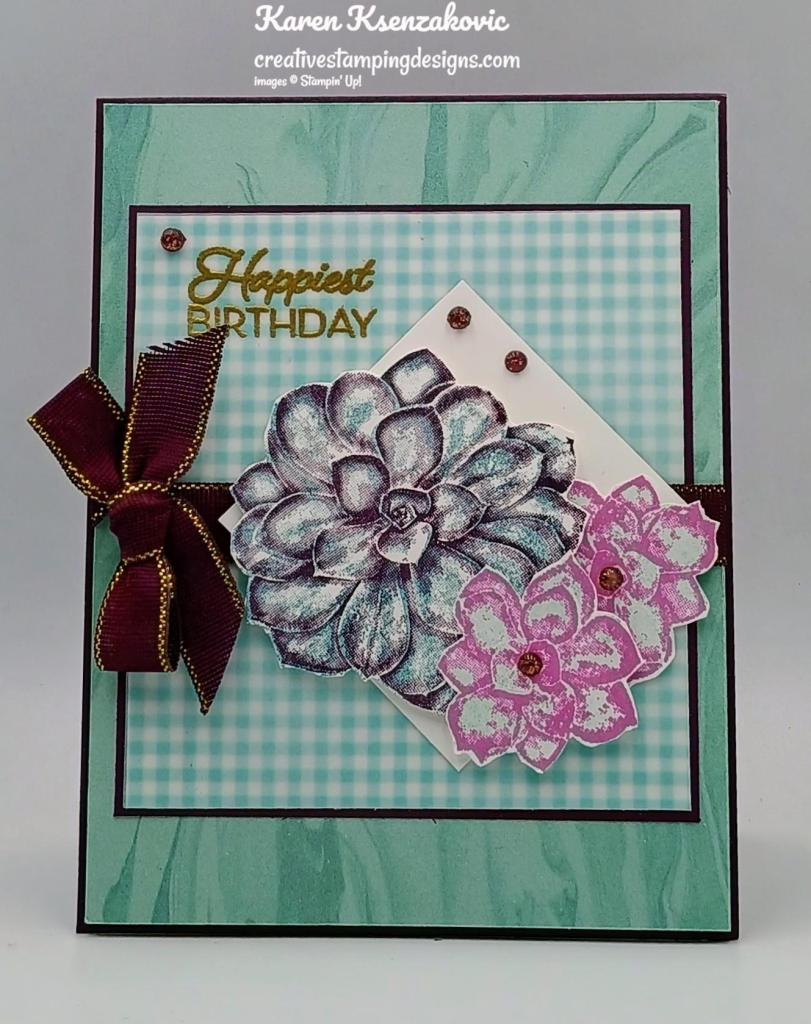
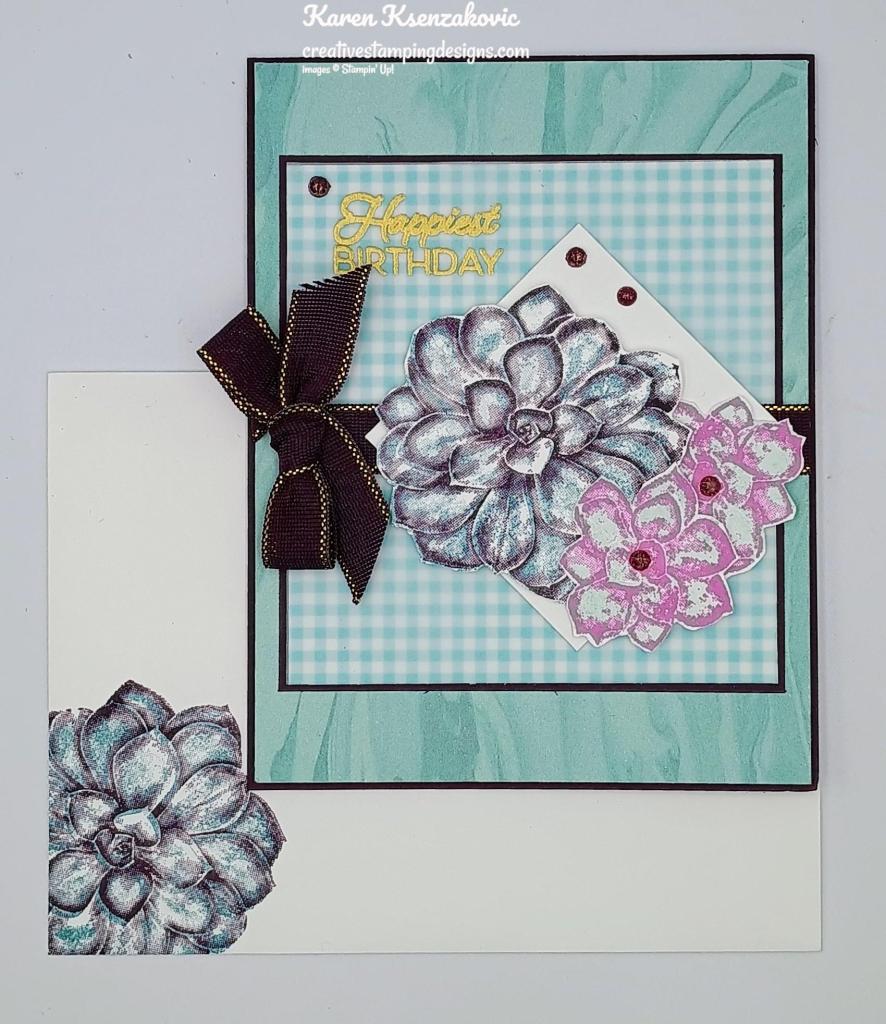
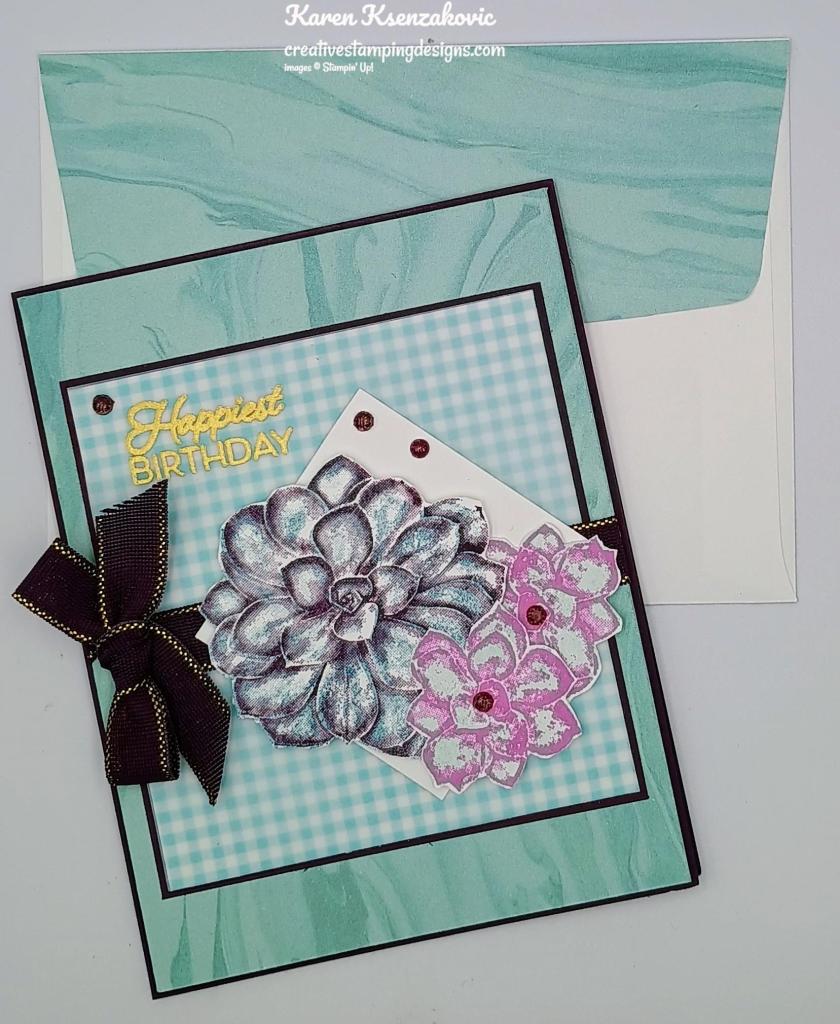
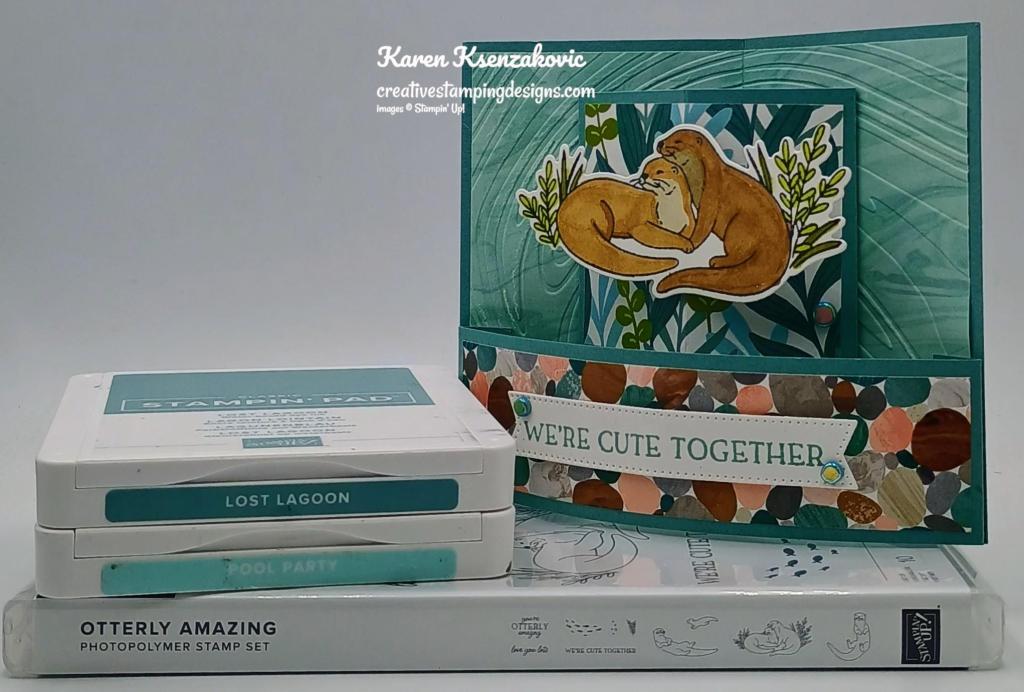
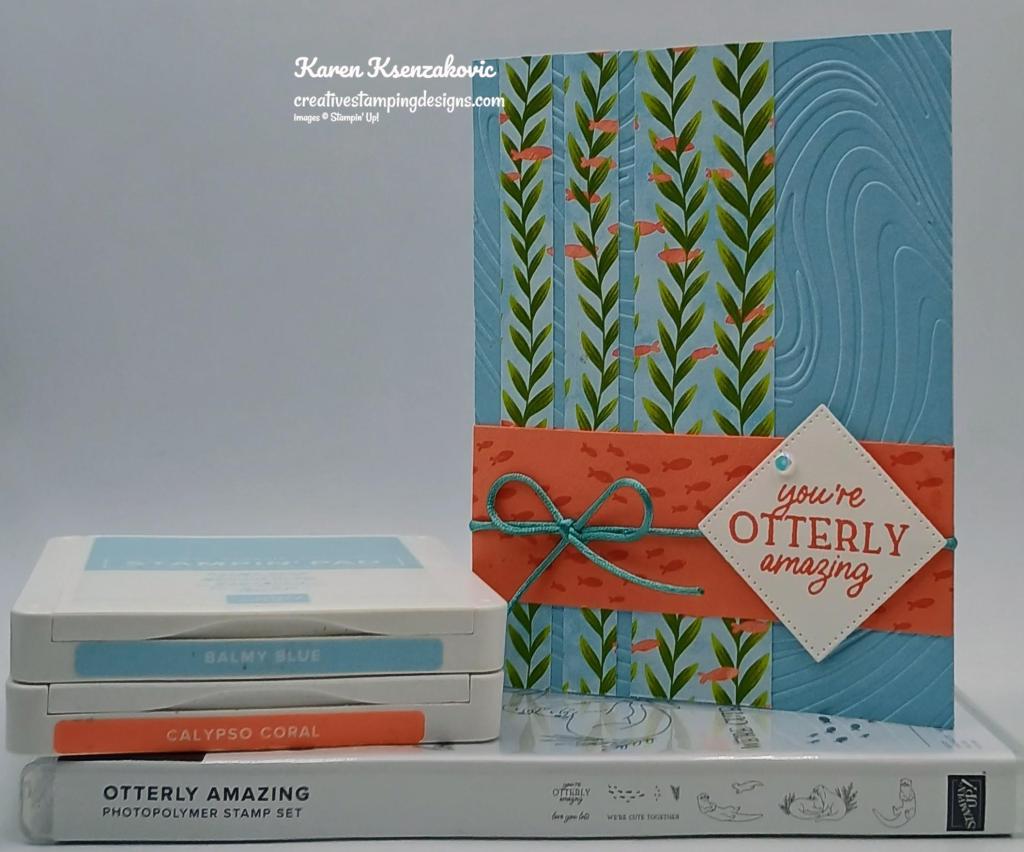
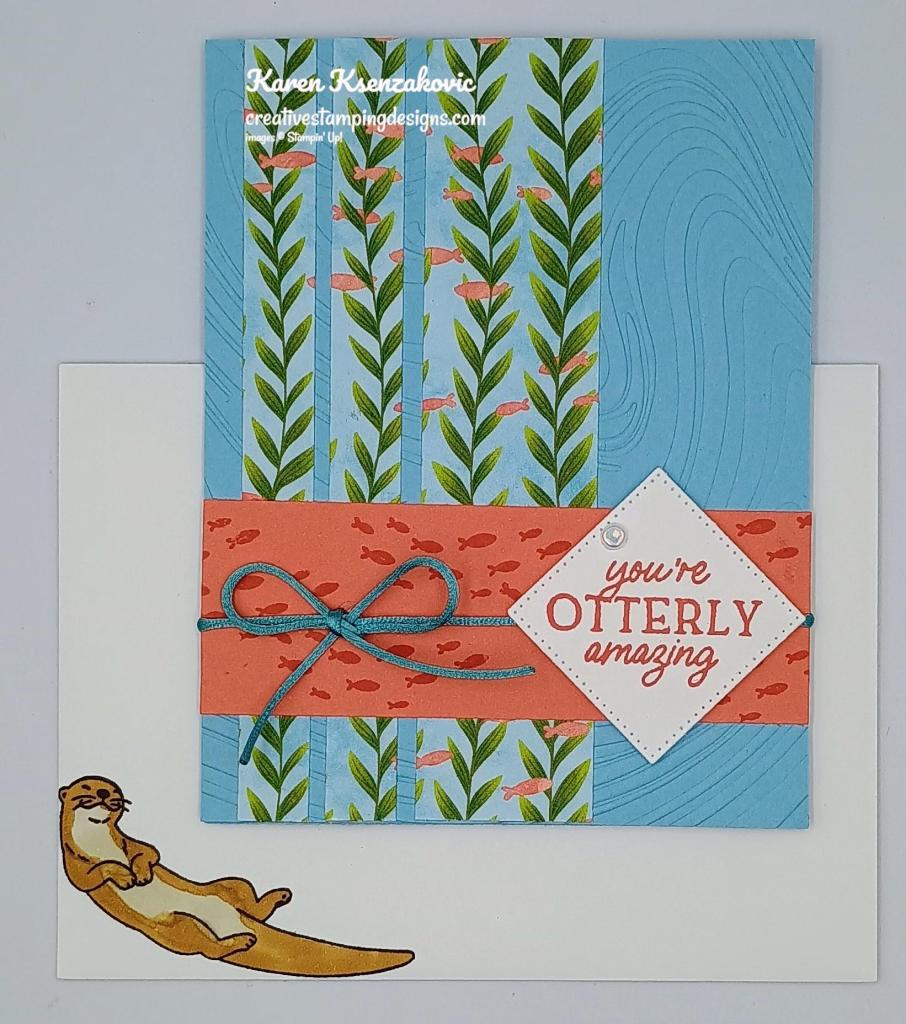
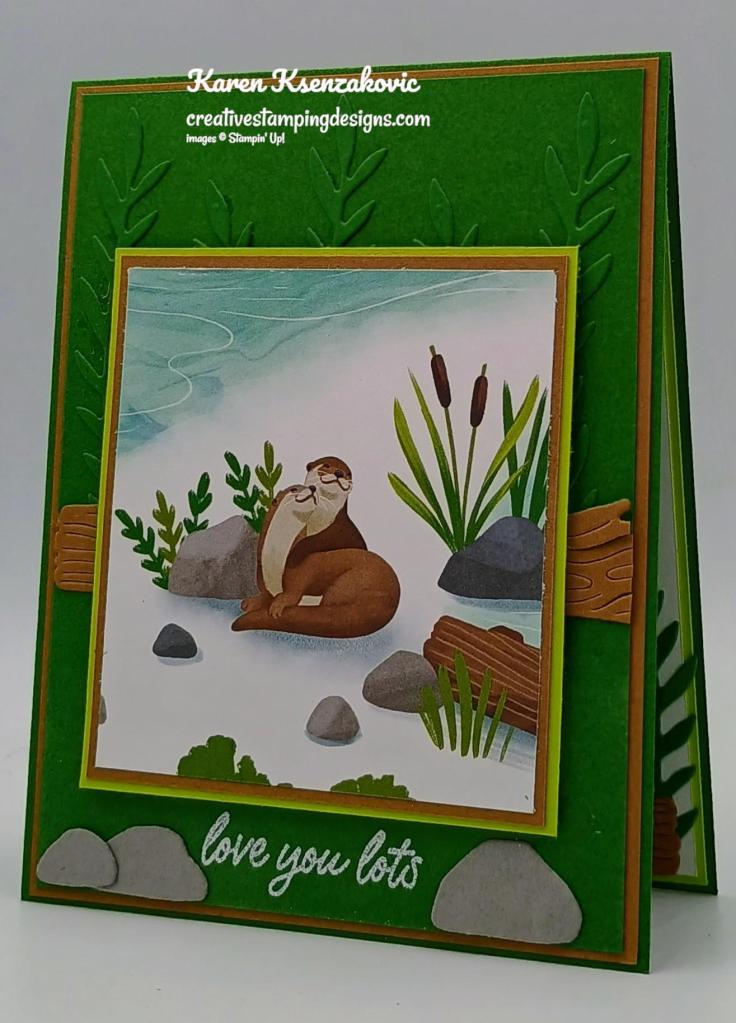
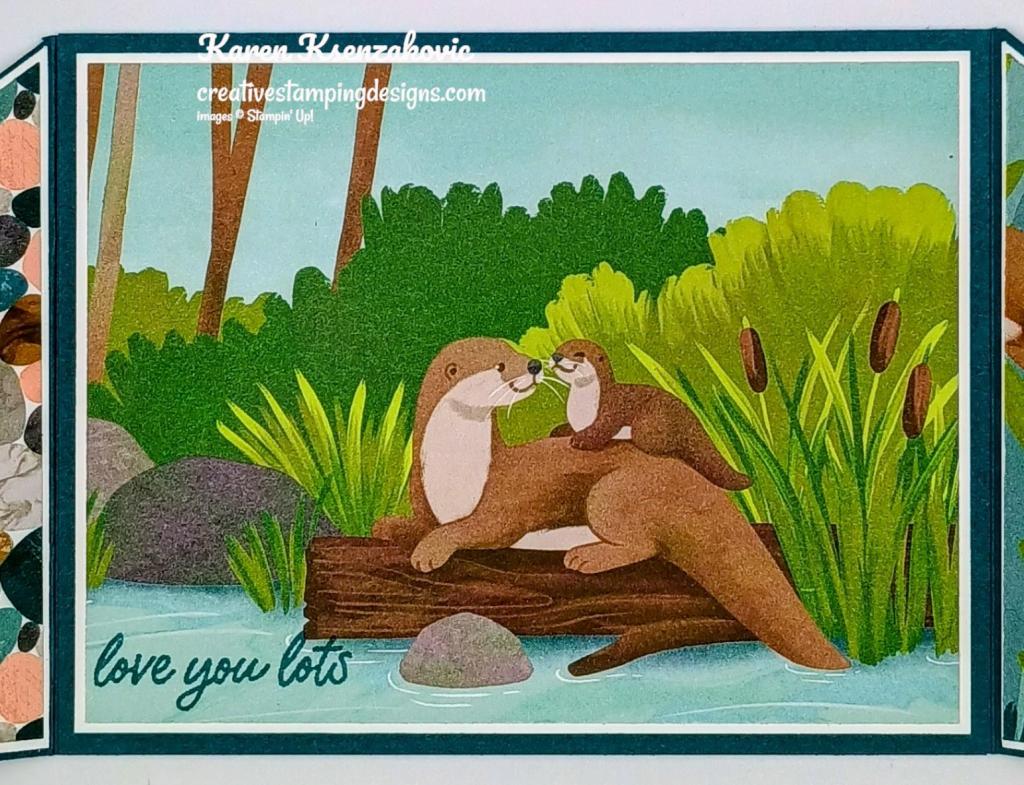
Today’s card I played with some Online Exclusive products. If you’d like to see a quick video of how I made this card, Click Here to go to my Instagram Reels. Here is my card for today.
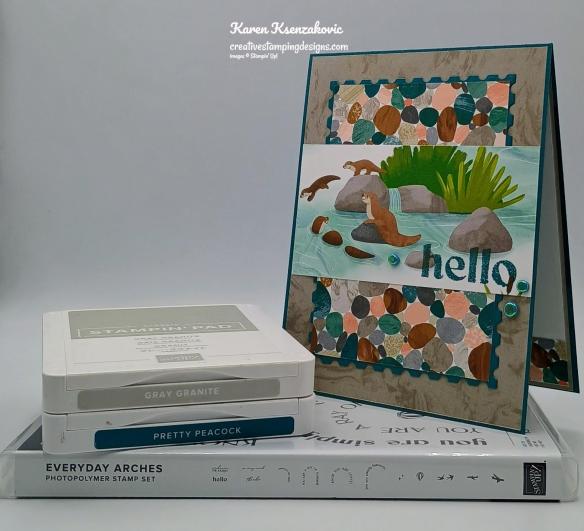
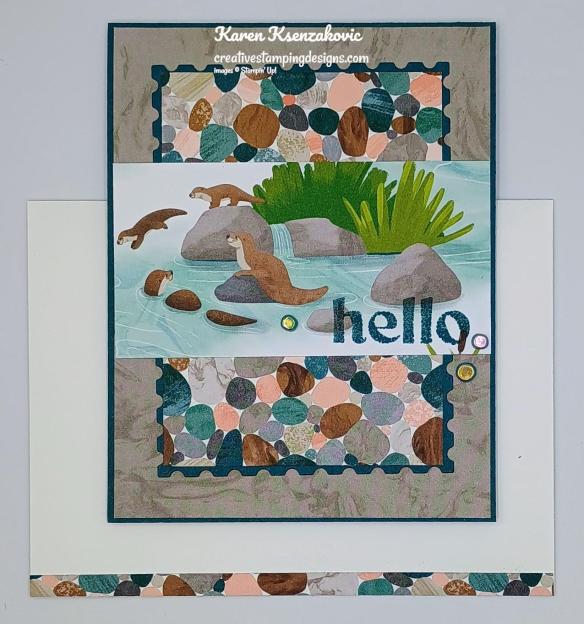
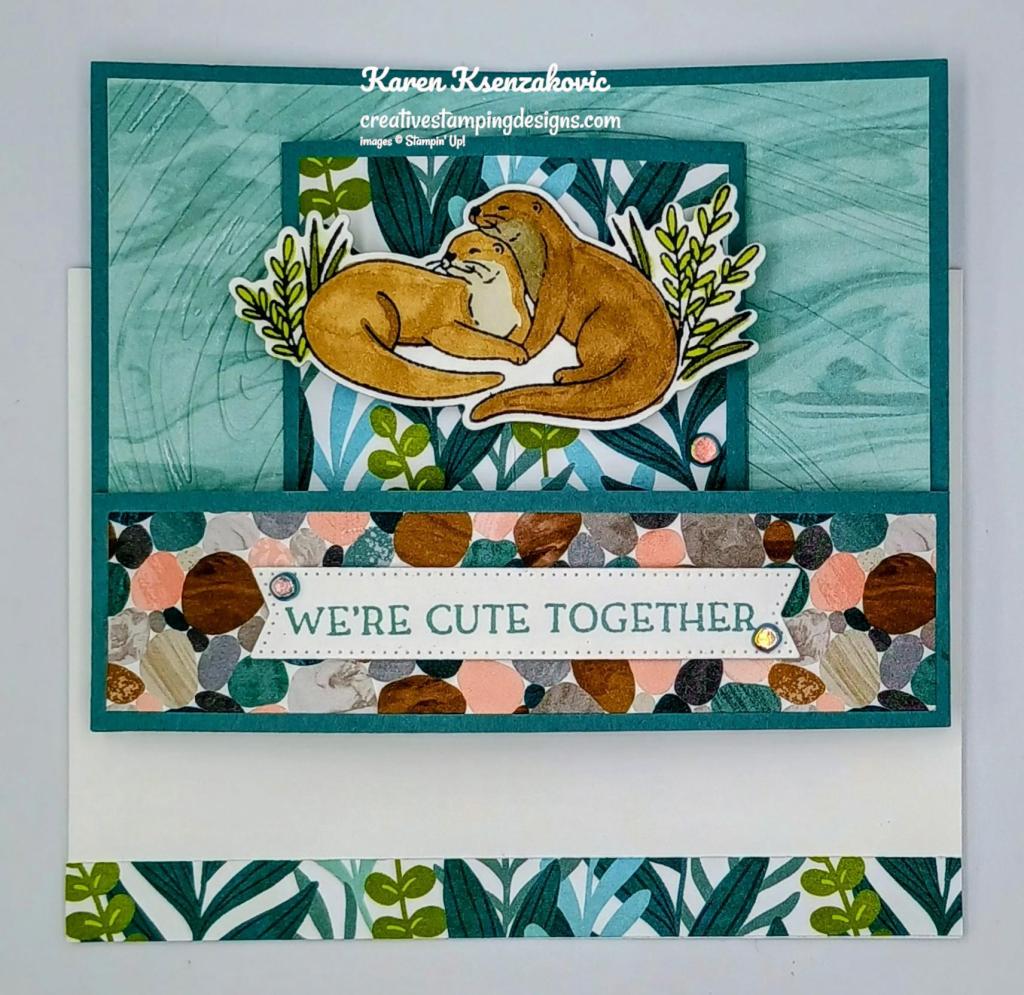
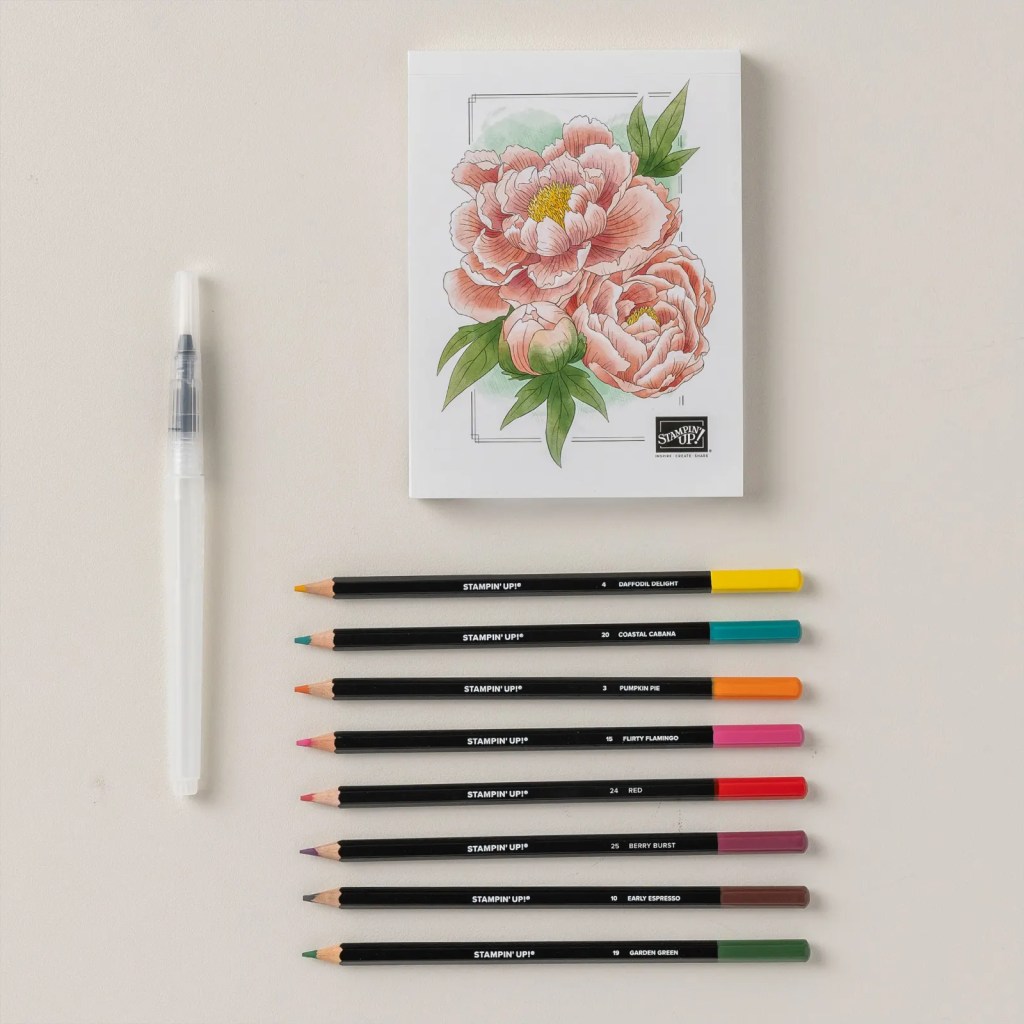
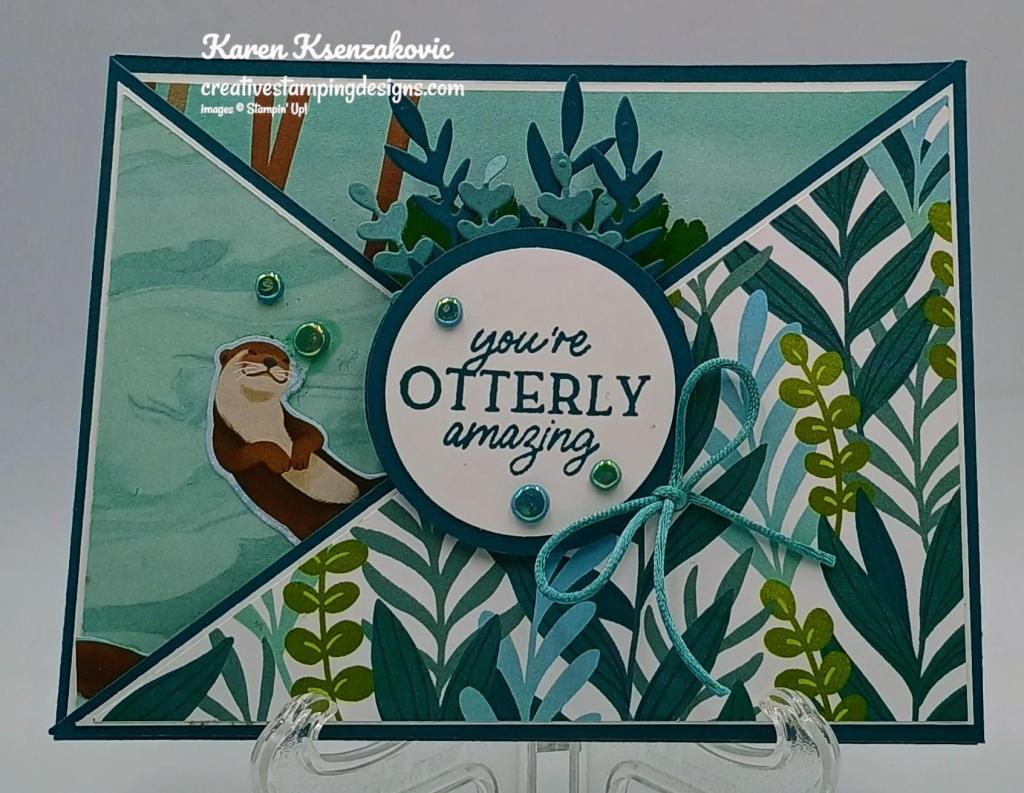
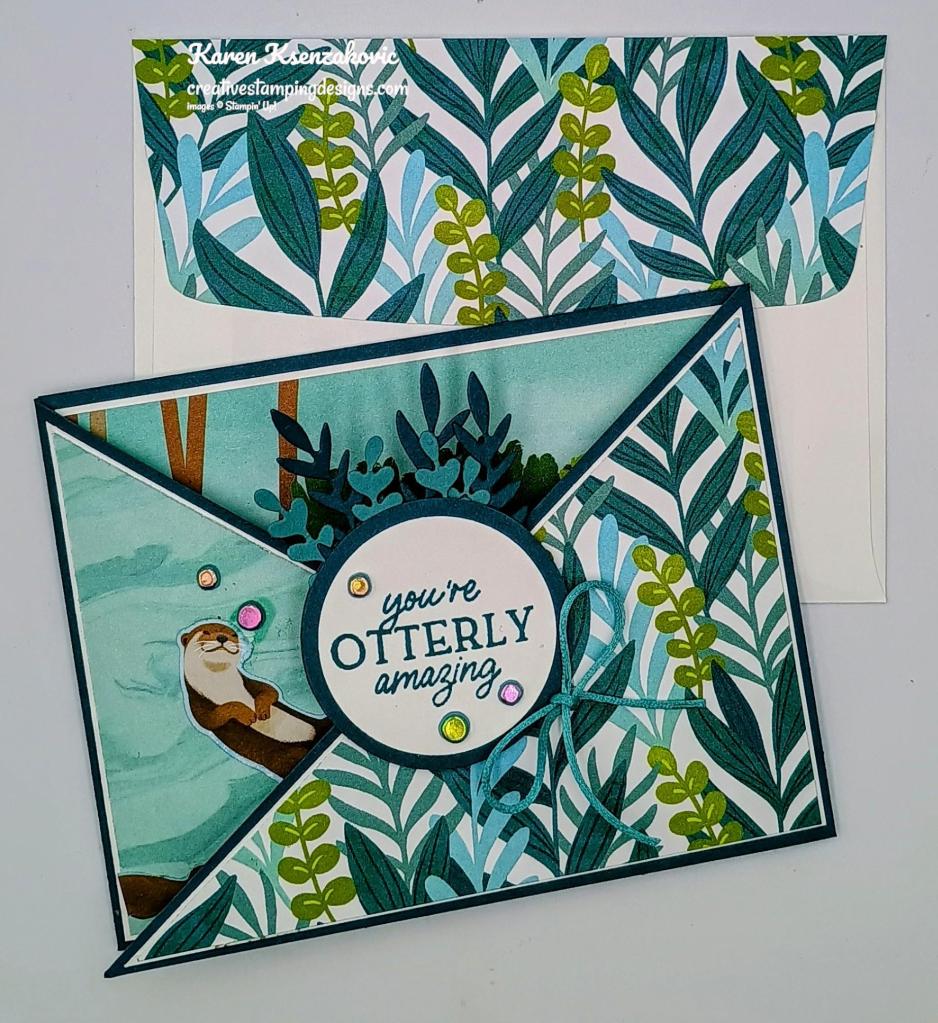
I used the Stampin’ Up! Online Exclusive Everyday Arches Photopolymer Stamp Set and Otterly Adorable Designer Series Paper along with the Perennial Postage Dies for my card today.
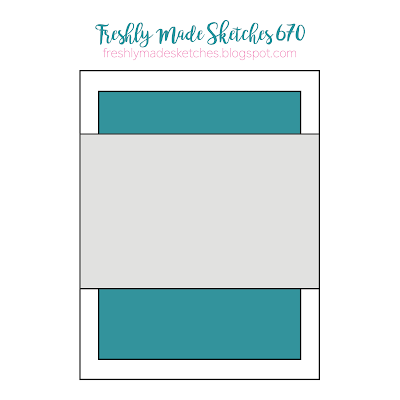
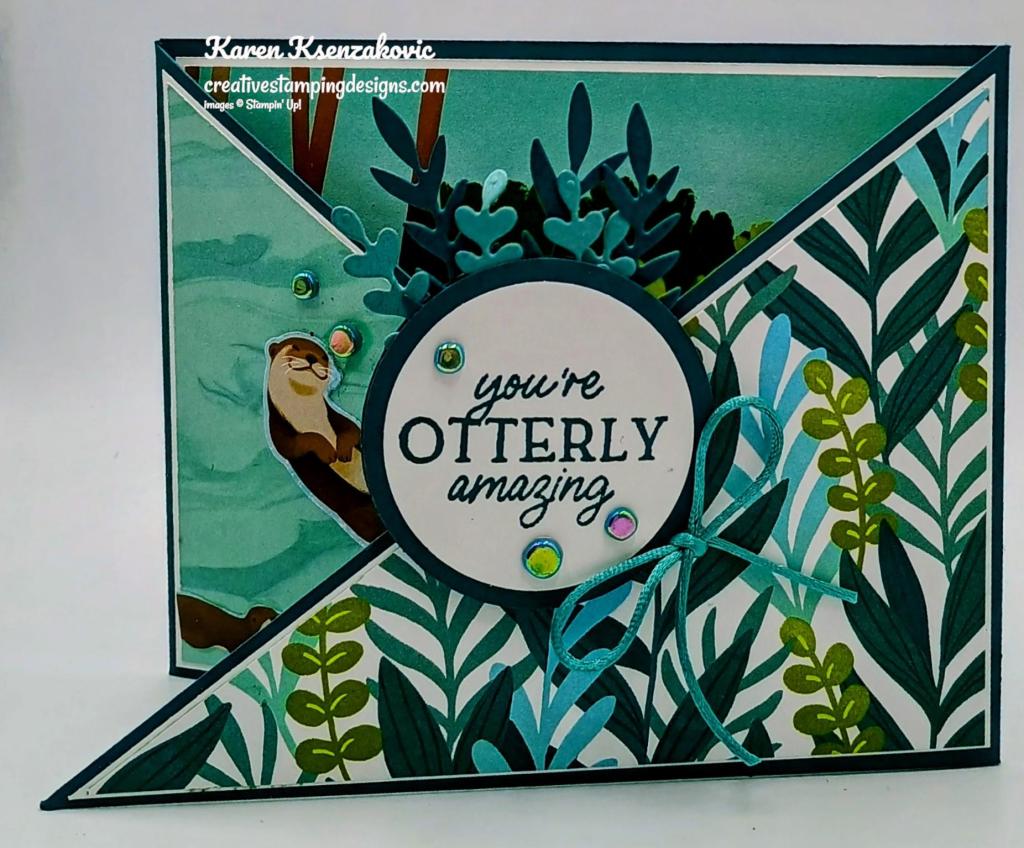
My design is from Freshly Made Sketches #670.
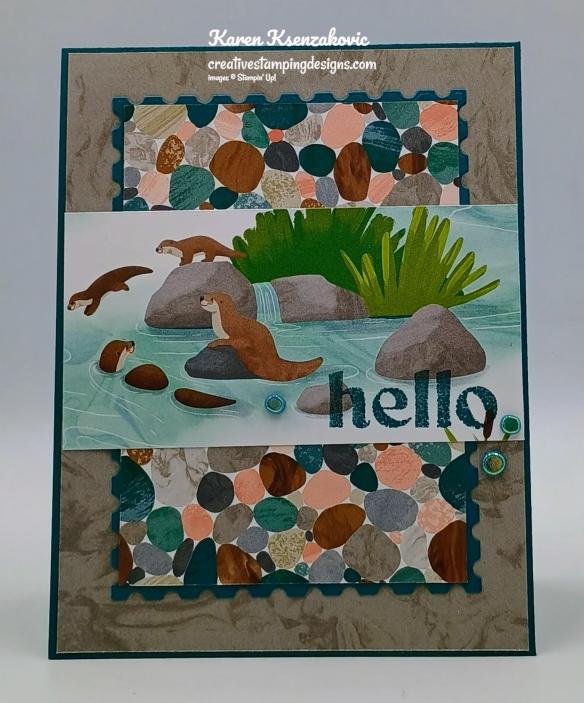
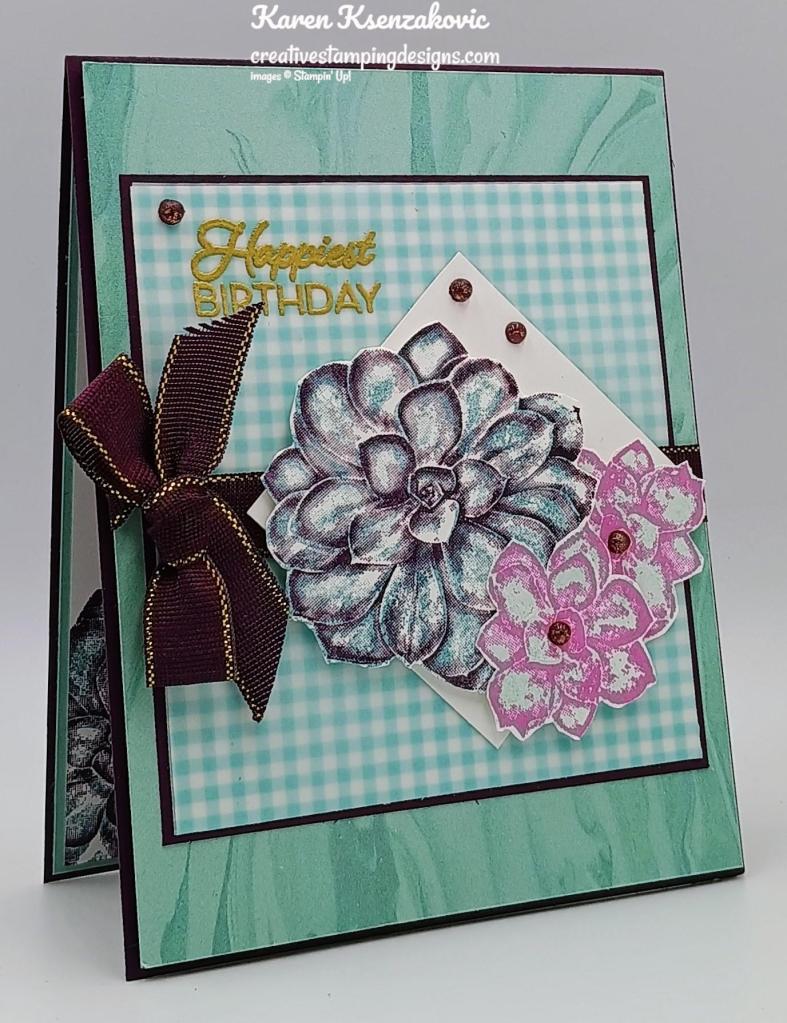
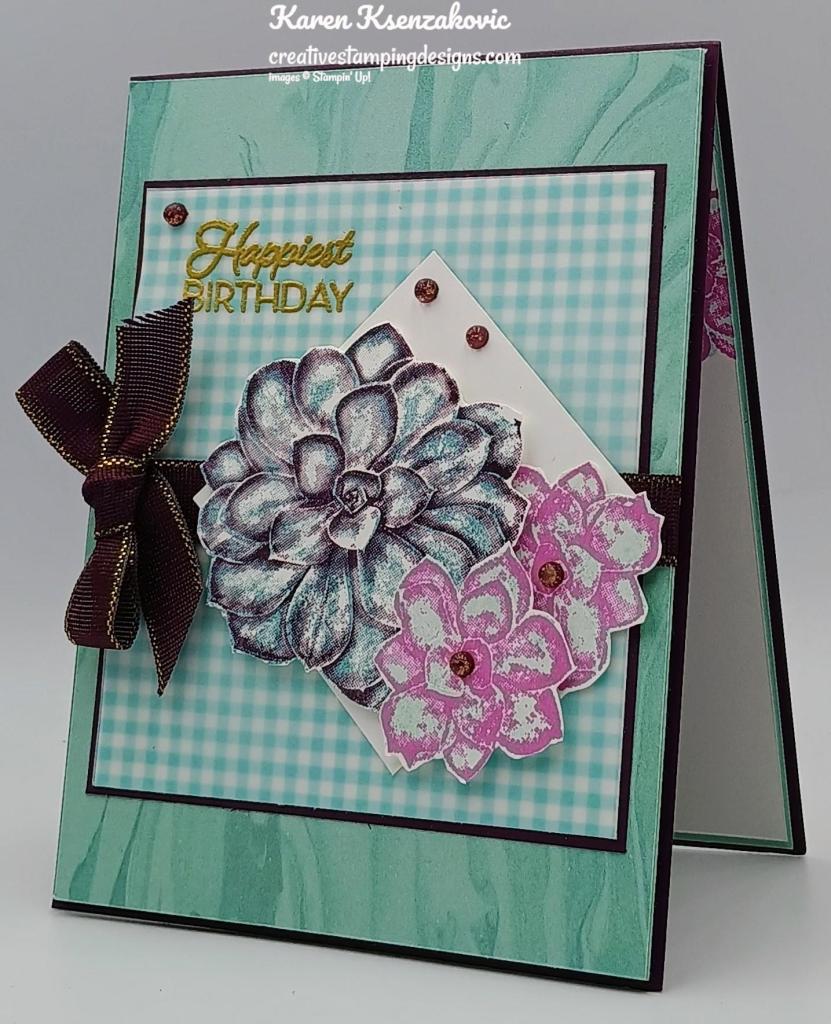
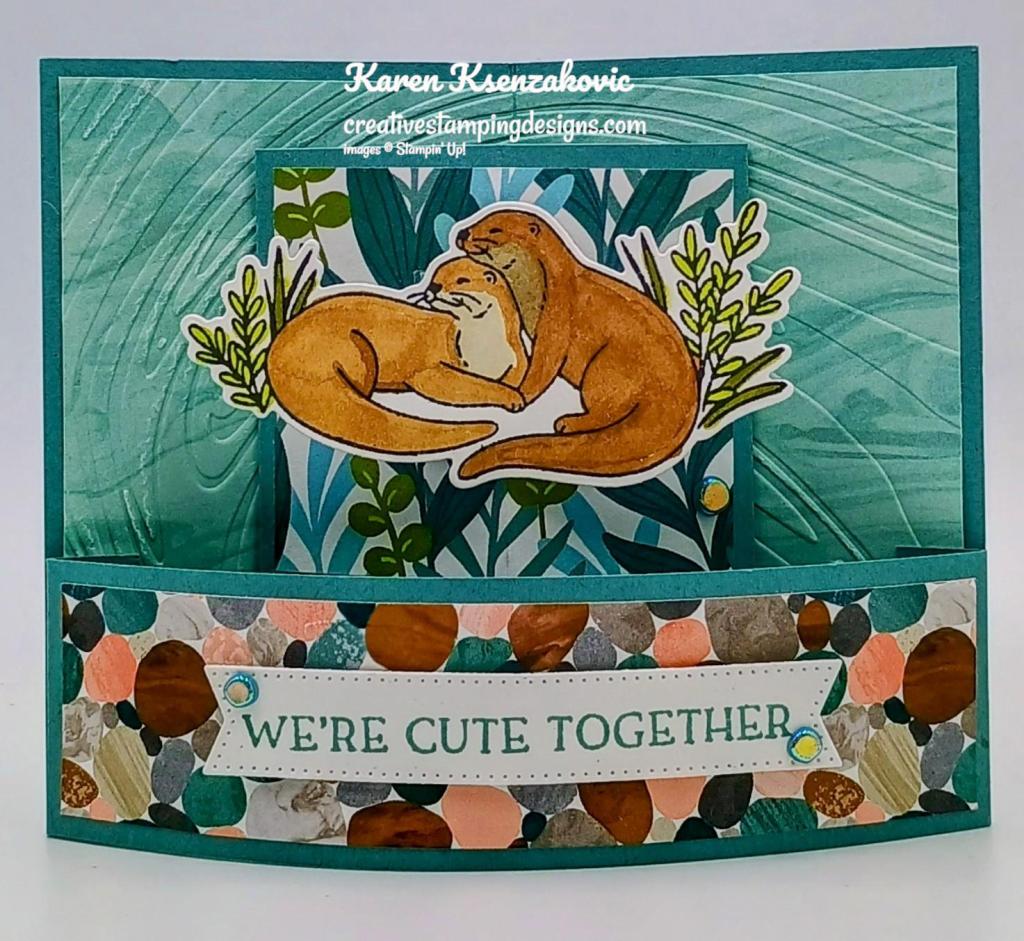
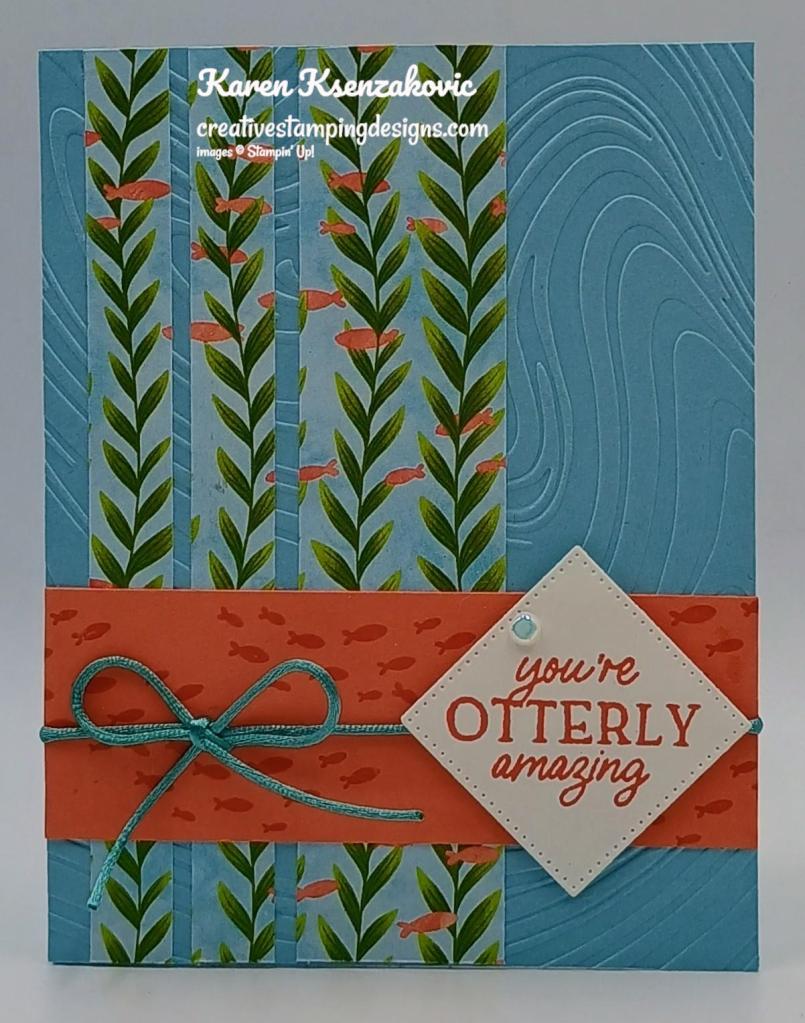
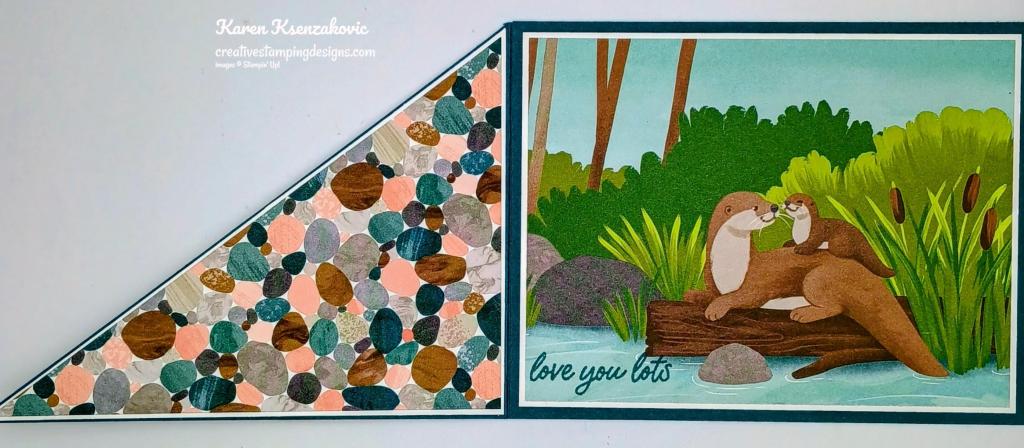
Start by adhering a panel of Otterly Adorable DSP to a Pretty Peacock card base using Liquid Glue.
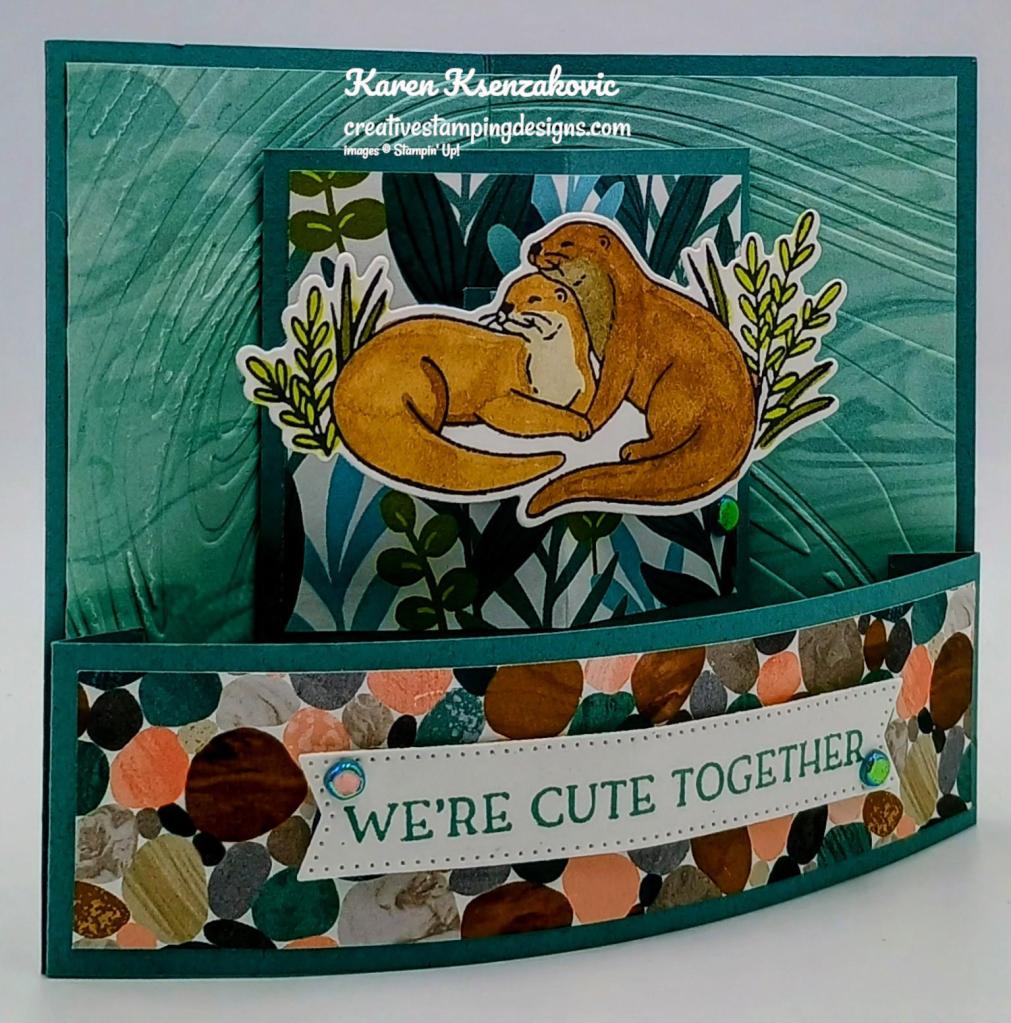
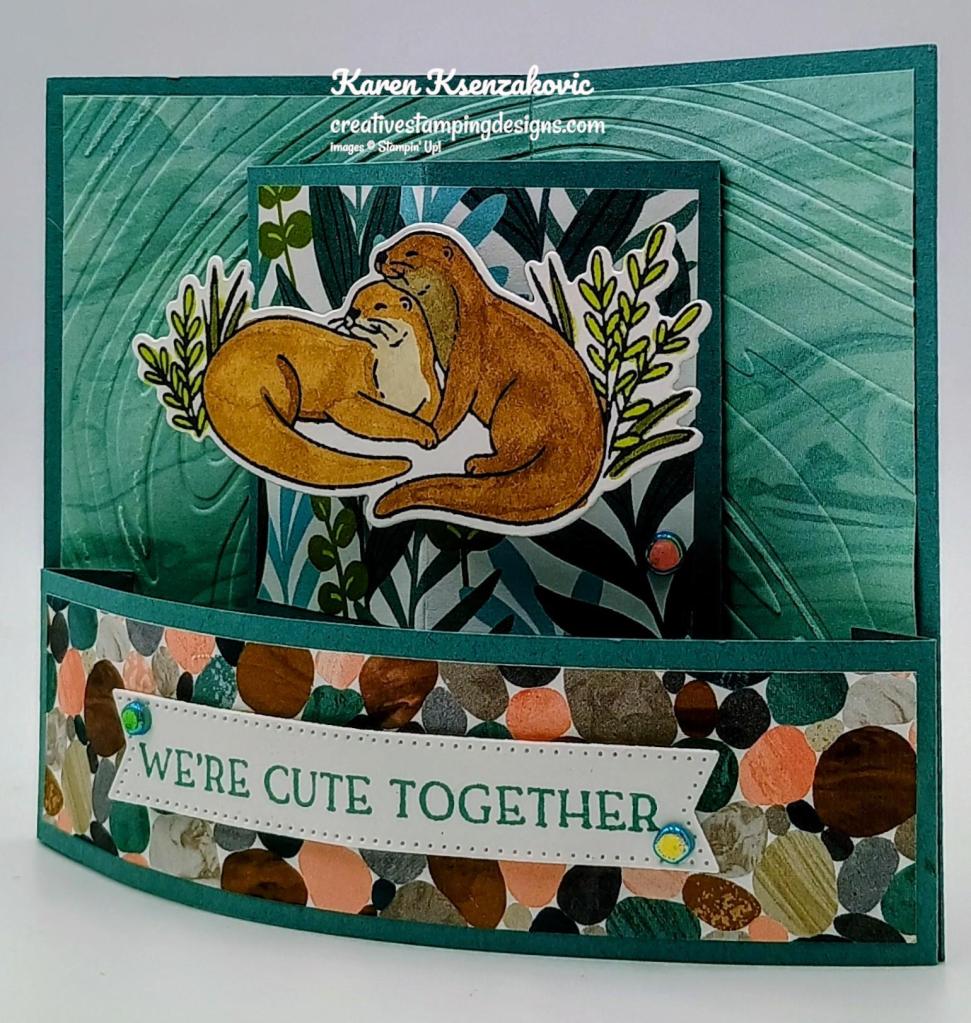
Cut a panel of Pretty Peacock using the 2nd largest Perennial Postage Dies. Adhere a panel of Otterly Adorable DSP to the die cut panel using Stampin’ Seal. Adhered the layered panel to the center of the card front using Liquid Glue.

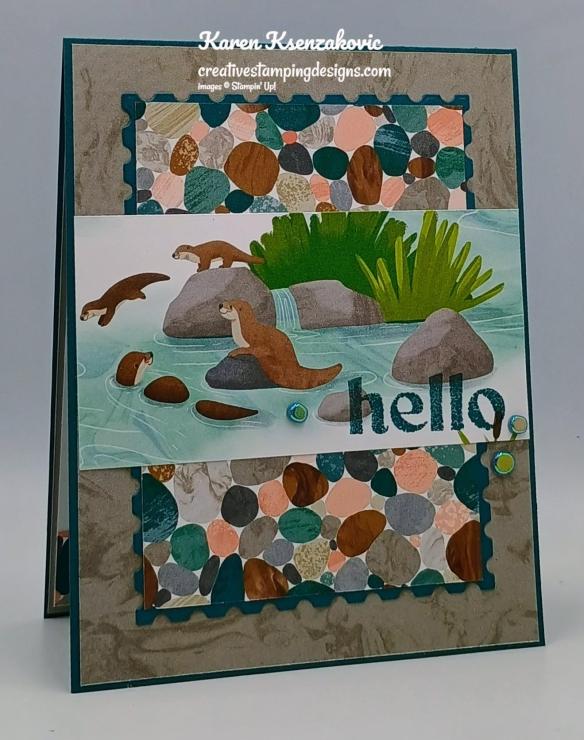
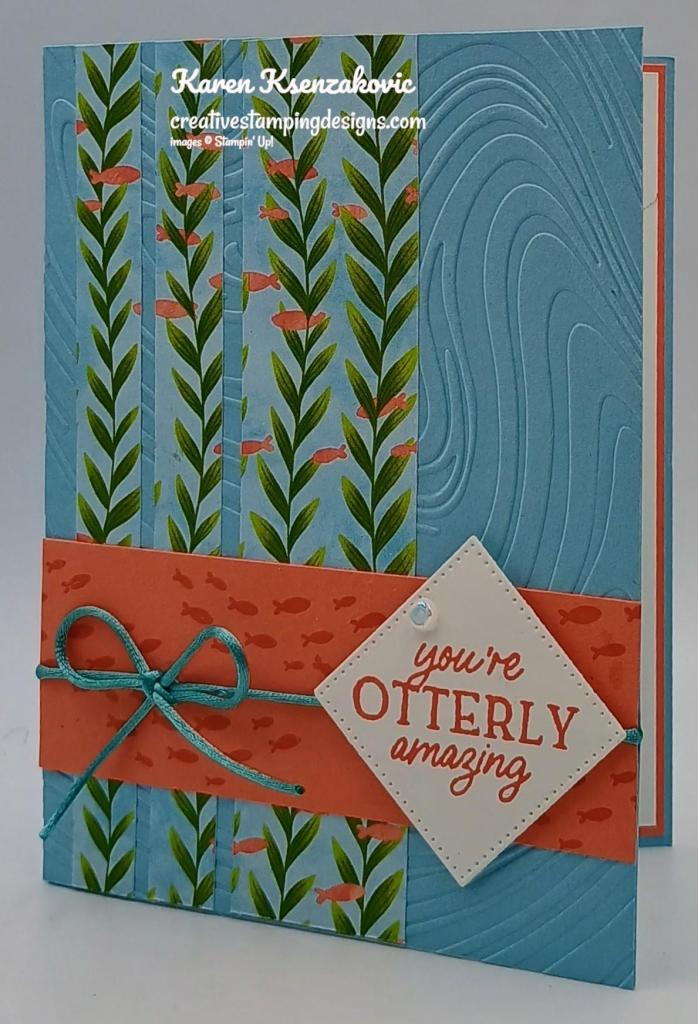
On a panel of Otterly Adorable DSP, stamp the sentiment from Everyday Arches stamp set in Pretty Peacock Ink on the bottom of the panel. Adhere the stamped panel to the card front using Stampin’ Seal. Add a few Riverside Irregular Pearls to the card front.
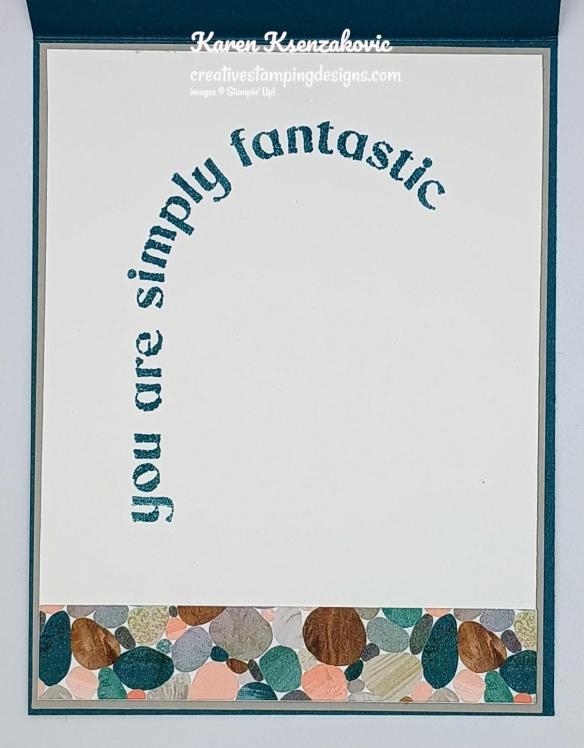
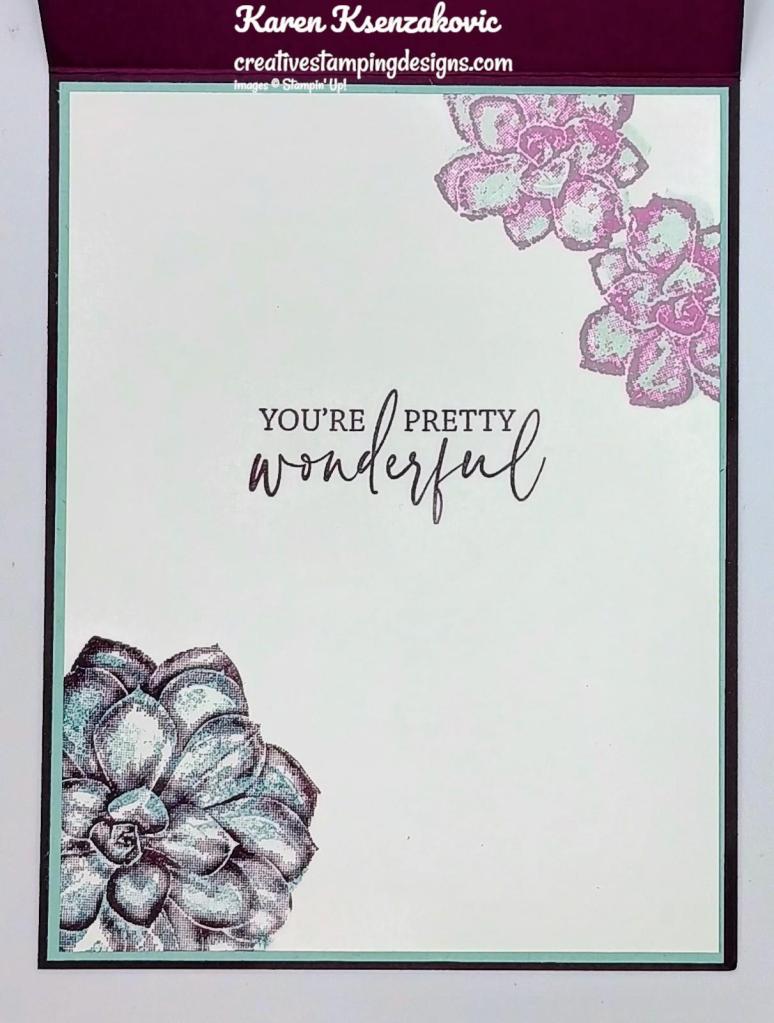
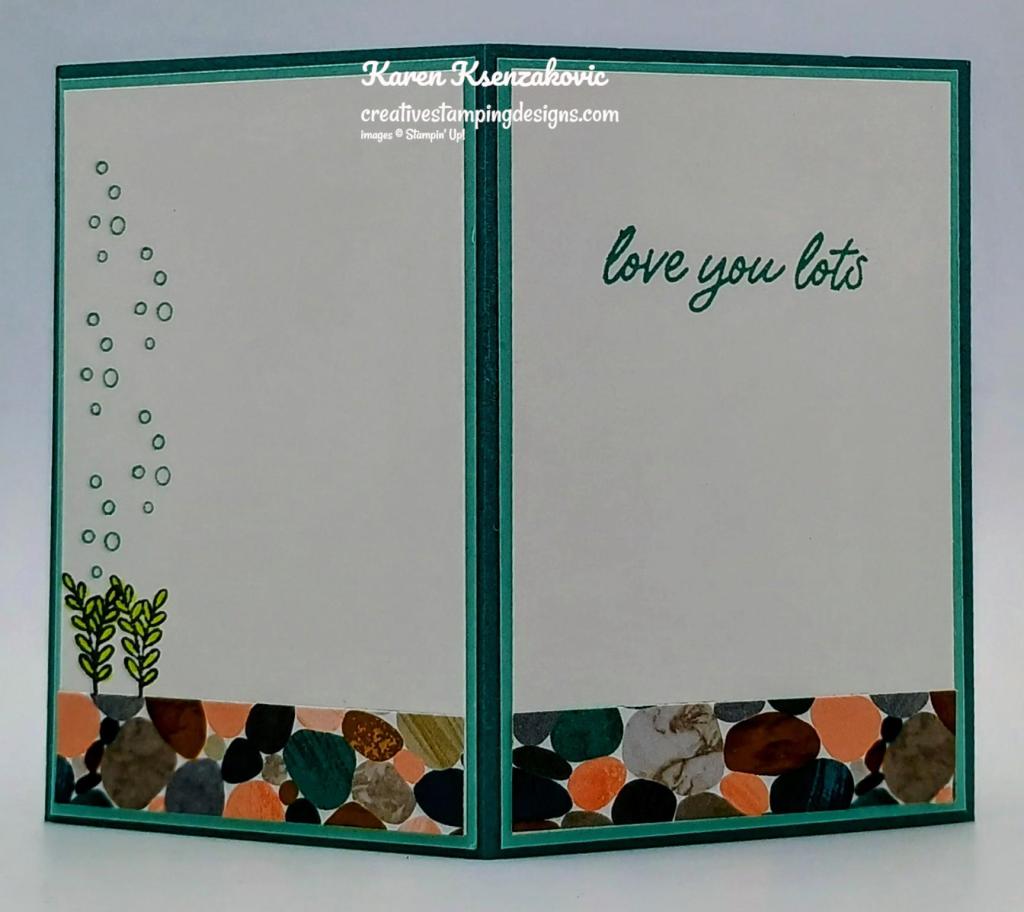
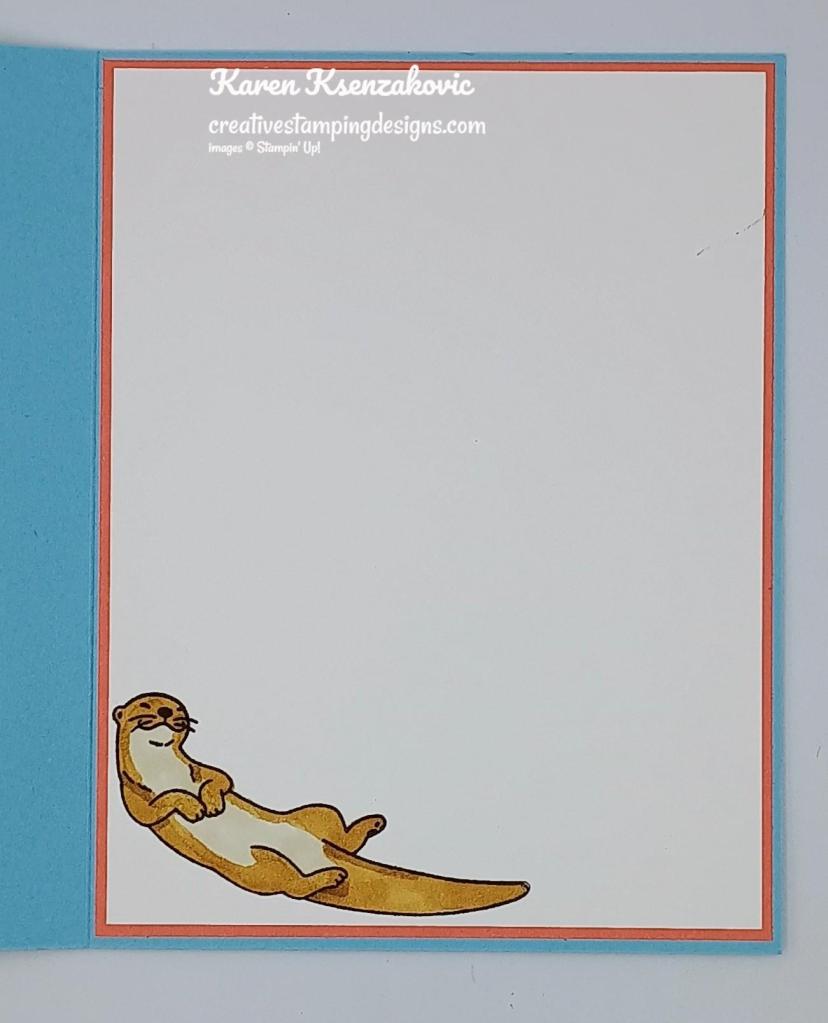
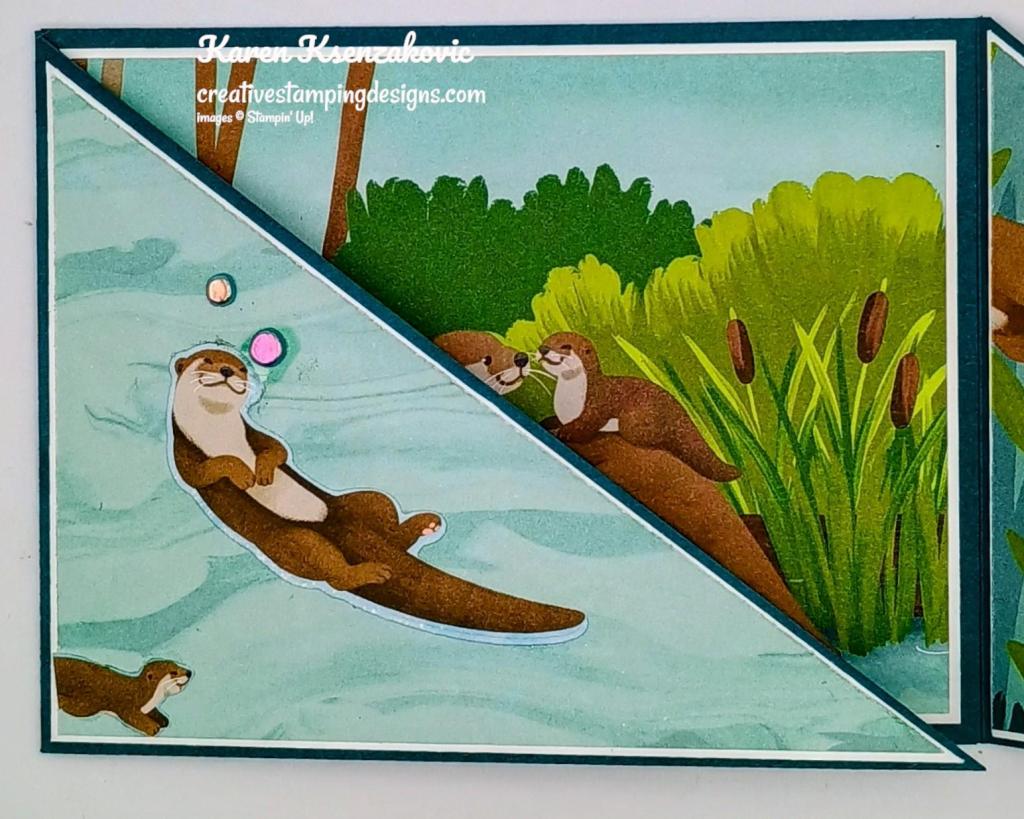
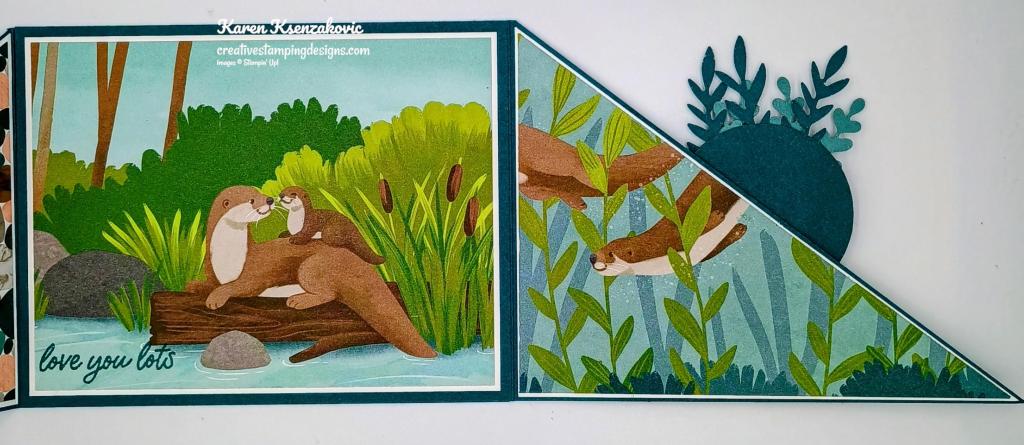
On a panel of Basic White, stamp the sentiment from the Everyday Arches stamp set in Pretty Peacock Ink. Adhere a panel of Otterly Adorable DSP to the bottom of the panel. Adhere the Basic White panel to a Gray Granite mat then to the inside of the Pretty Peacock card base.
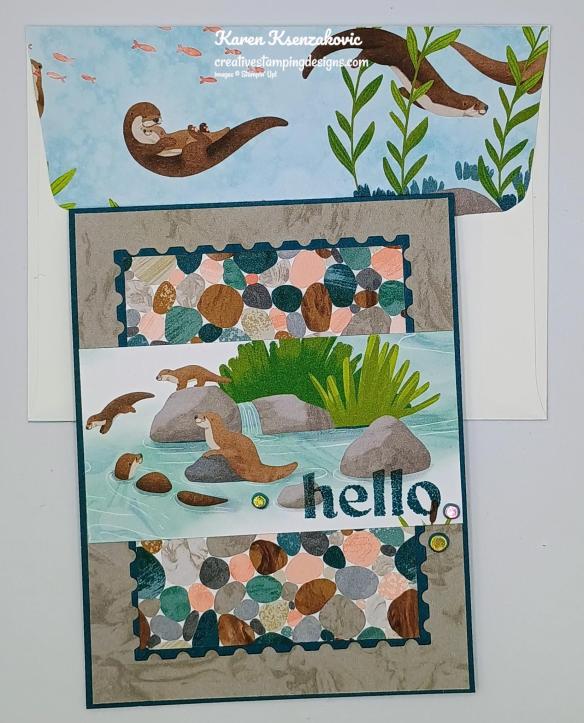
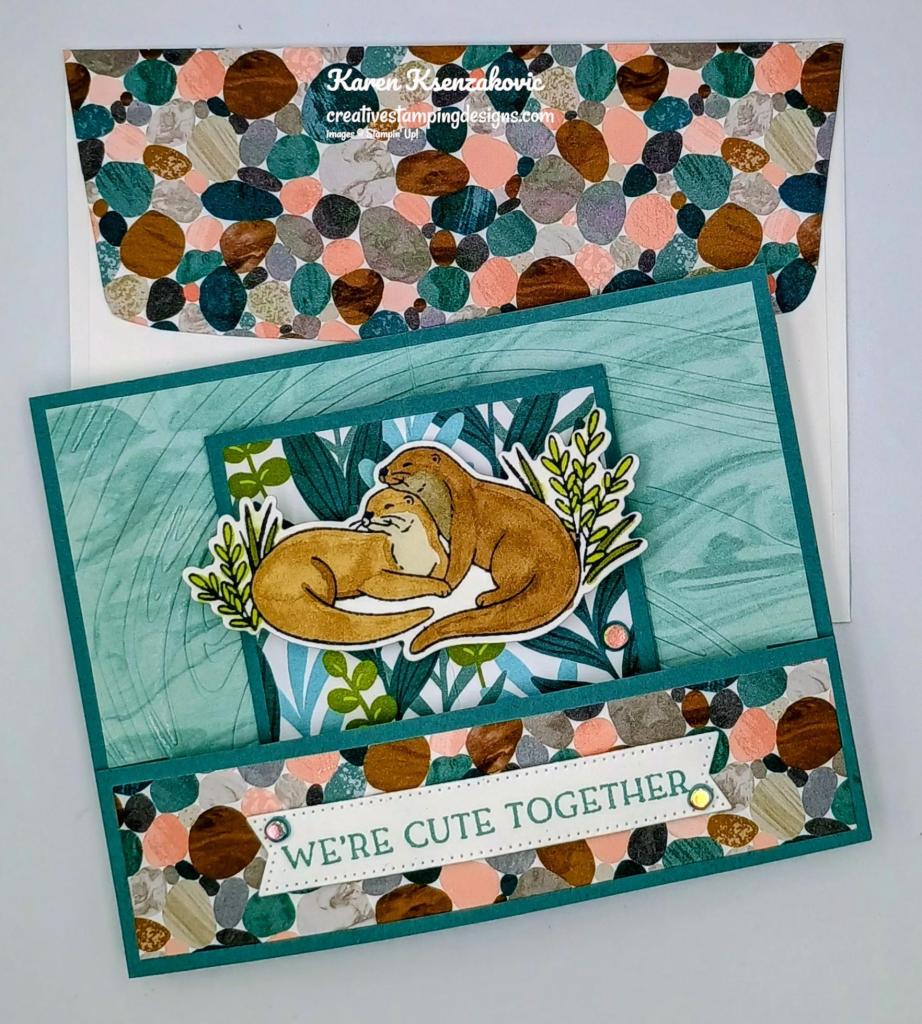
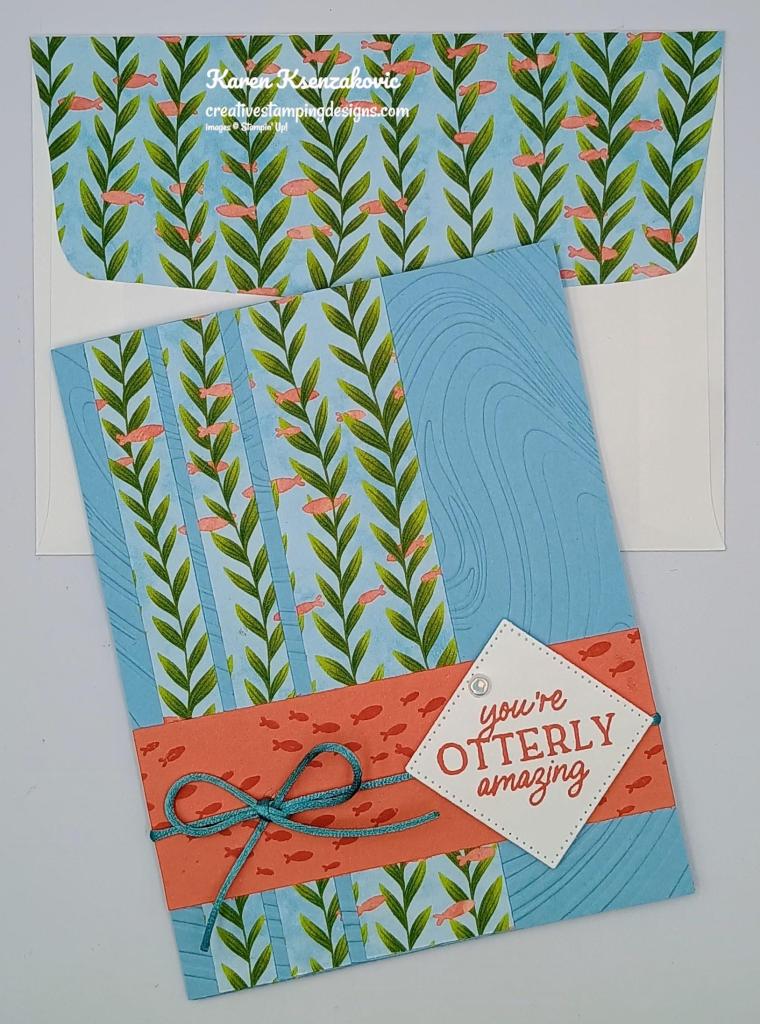
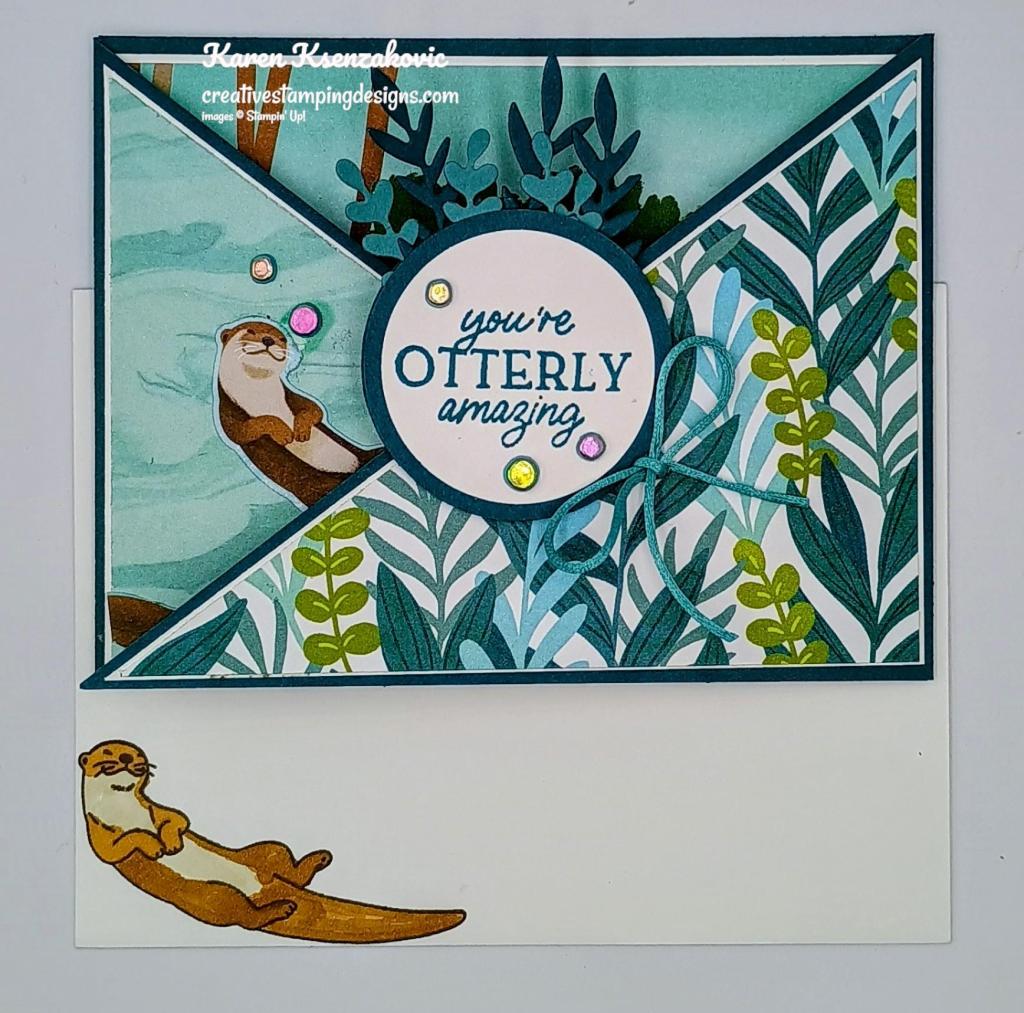
Finish the card by decorating a Basic White Medium Envelope. Adhere a strip of Otterly Adorable DSP to the envelope front and a panel to the envelope flap.
Thank you for stopping by my blog today. I hope you like my card and will give it a try. Happy Stamping!!
*********************************************************************************************************
If you need any stamping supplies, I’d love to be your Demonstrator. Just click HERE to go directly to my online store or drop me an email if you have any questions.
MY CURRENT HOST CODE IS: YUDYEUVM
Use this host code when placing an order with me. When you order $50 or greater you will receive a free gift from me! If your order is over $150, please do not use this code, but you’ll still get the free gift. The free gift is your choice of any 1 item valued up to $10.00 from the 2024 – 2025 Annual Catalog, January – April 2025 Mini Catalog or from the Online Exclusives! For any orders $50 or more I will also send you my monthly class tutorials. Click HERE or go to my Customer Rewards for more details and to see what this month’s tutorials are.
Please remember to use my current Host Code and make sure that you can see my name on the final checkout page listed as your Demonstrator when you order so that you know that you’re ordering with me, and you’ll get my rewards!
Happy Stamping, Karen
*********************************************************************************************************
In response to changing policies at Stampin’ Up – I’m adjusting my Ordering Gift policy as well. I’m having to get a little more tough on the adding of Host codes when you place your order thru my Online Store.
Not to worry – you’re still going to get that $10 ordering gift for orders of $50 (before shipping & tax) or greater. And the gift is still any 1 SU! product up to that $10 value.
But – if you DO NOT use the Host code for your orders of less than $150 (this is the RETAIL total before Shipping & Handling), then you’ll have two options:
- You’ll need to call Stampin’ Up! (1-800-Stamp-Up) and ask them to add it for you. They’re very helpful and will get it done quickly! OR….
- If your order was over the $50 threshold but under $150, then…you’ll forfeit that $10 ordering gift and rewards – this is the Bummer Option – and I REALLY don’t want to do this, SO please remember to add my Current Host Code.
*********************************************************************************************************
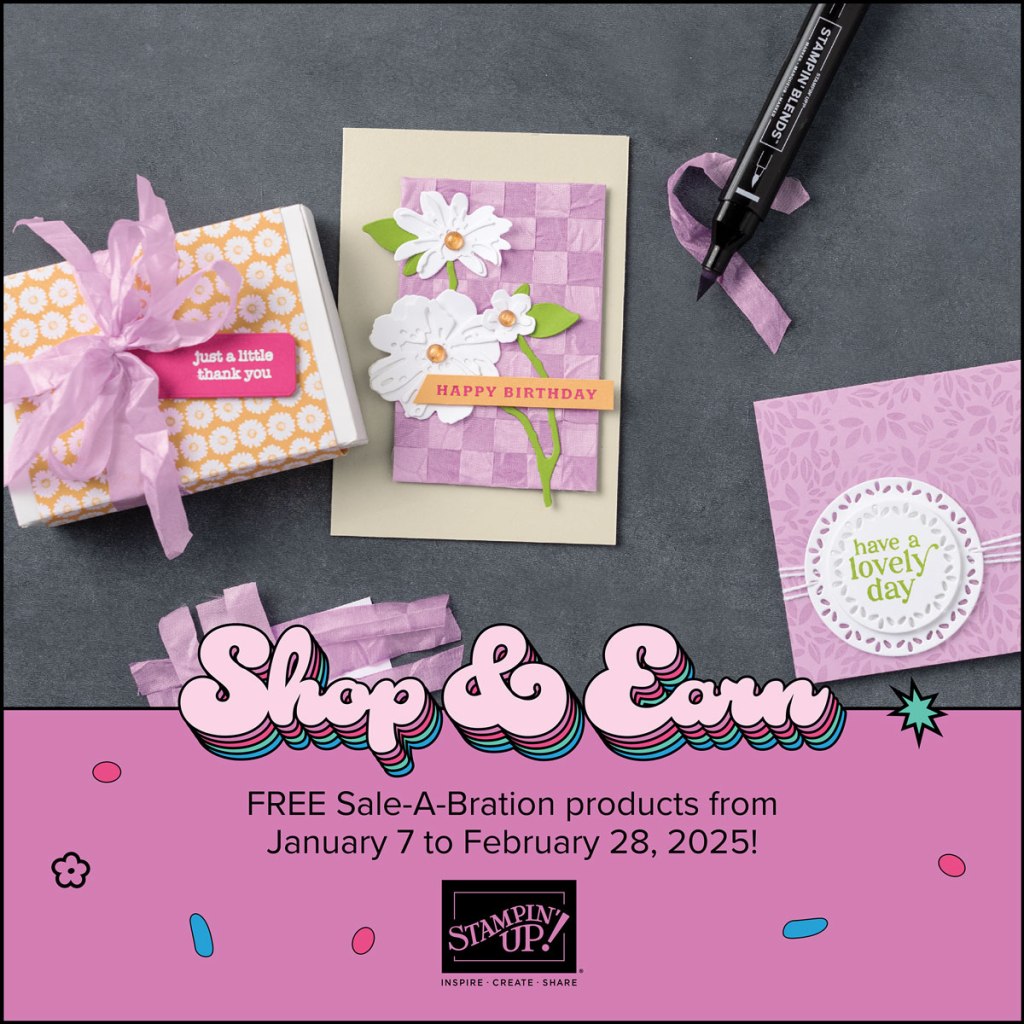
Sale-a-bration Going On Now

Sale-a-bration 2025 begins today Tuesday, January 7 and runs through Friday, February 28! There are some awesome new products that you can earn for FREE with orders of $60+ and orders of $120+ placed during Sale-a-bration as well as a great host bonus and a joining special!
SHOP
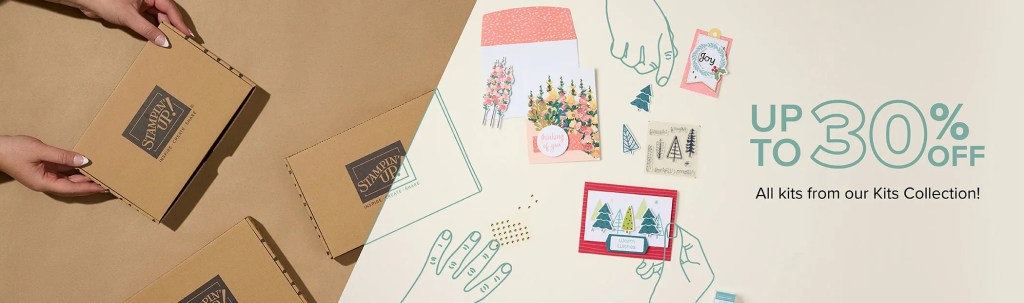
- Spend $60 or more and pick from 12 new products (5 stamp sets,3 designer series paper packs, 1 embossing folder, 1 kit, 1 pack of embellishments and 1 spool of ribbon!) that are available as free items!
- Spend $120 or more and pick from 2 new items (1 stamp bundle and 1 stamp set) that are available as free items!
HOST

- Get an additional $30 in FREE Stampin’ Rewards with any party or individual order of $300 or greater during Sale-a-bration! You can spend your Stampin’ Rewards on any items currently available from Stampin’ Up! including (but not limited to) the host exclusive stamp sets!
JOIN
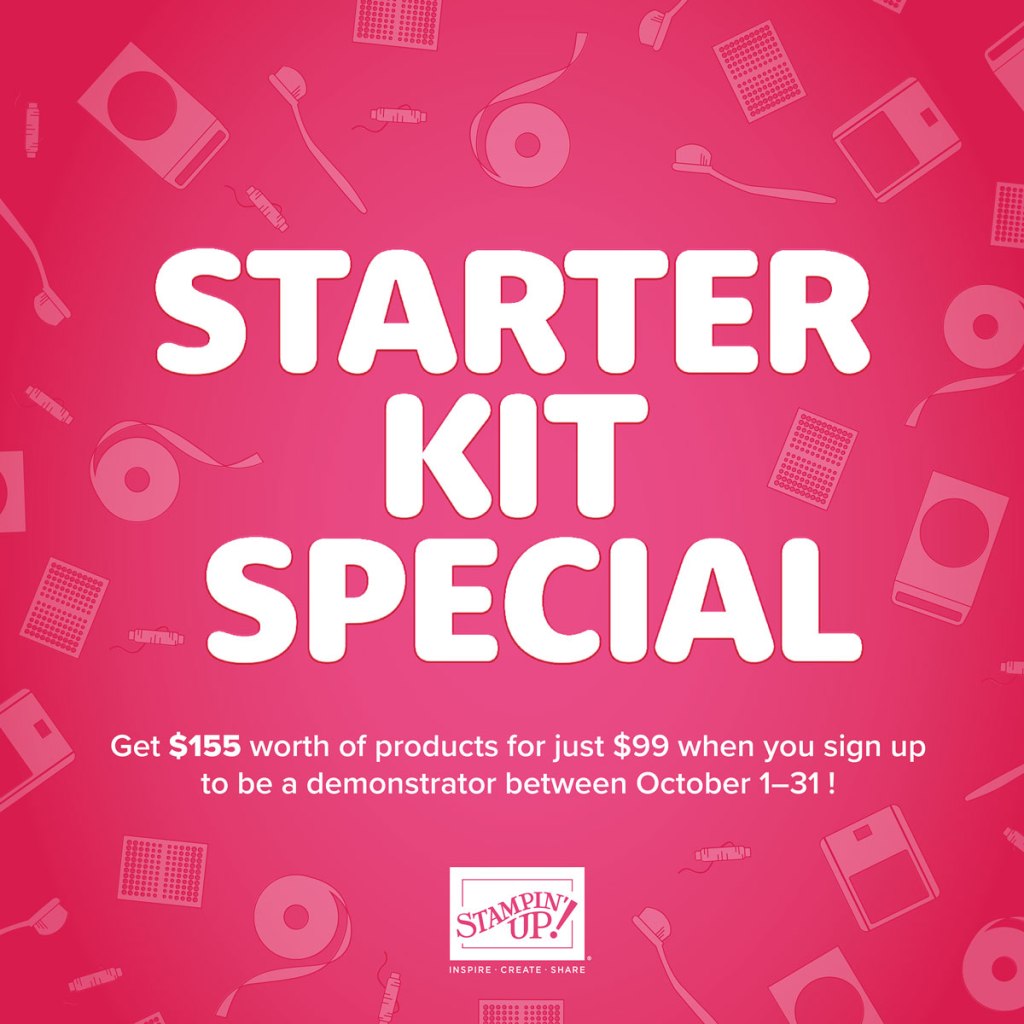
Sale-A-Bration is an excellent time you to join Stampin’ Up! In addition to the already great value of the Starter Kit, if you sign up as a Stampin’ Up! demonstrator during Sale-a-bration, you can choose from two incredible options:
Option 1: Join Stampin’ Up! during Sale-a-bration as a new demonstrator and get $125 worth of products PLUS a choice of 2 Stampin’ Write Marker Assortments AND the Handmade Designs Cling Stamp Set, an exclusive stamp set designed to work with the markers. That’s a $216 value all for just $99!
Option 2: Join Stampin’ Up! during Sale-A-Bration and get $125 worth of product PLUS an additional $30 worth of product of your choice for just $99. That’s a $155 value!
Two joining options so you can pick the one that you like the best!!
There is never an obligation to sell. You can join just to enjoy the discount for yourself along with all the other Demonstrator benefits. Once you join, you’ll get at least a 20% discount on all of your Stampin’ Up! merchandise purchases and you get to order early from the upcoming catalogs! You will also be able to attend the OnStage Events and any other events Stampin’ Up! has and you get to be a part of our Stampin’ Up! team!
Unsure about this and want to talk? Contact me at creativestampingdesigns@gmail.com and we can talk. You can also find additional information Here at Join My Team. Being a part of the Stampin’ Up! Community is one of the best decisions I’ve ever made. I have made many friends along the way while doing what I love, Paper Crafting. This Joining offer is only good during Sale-a-bration which starts January 7 and ends on February 28. Why not give it a try? I’d love to have you on my team.
*********************************************************************************************************
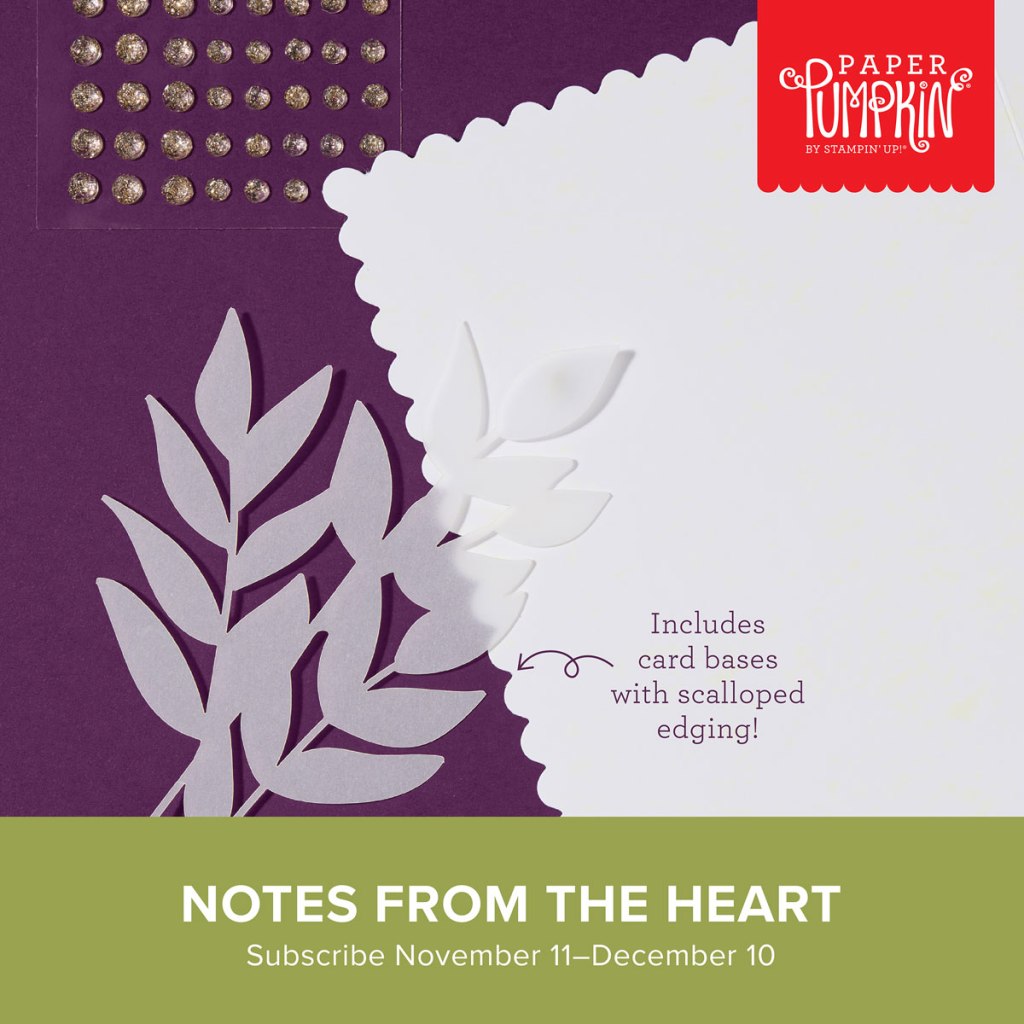
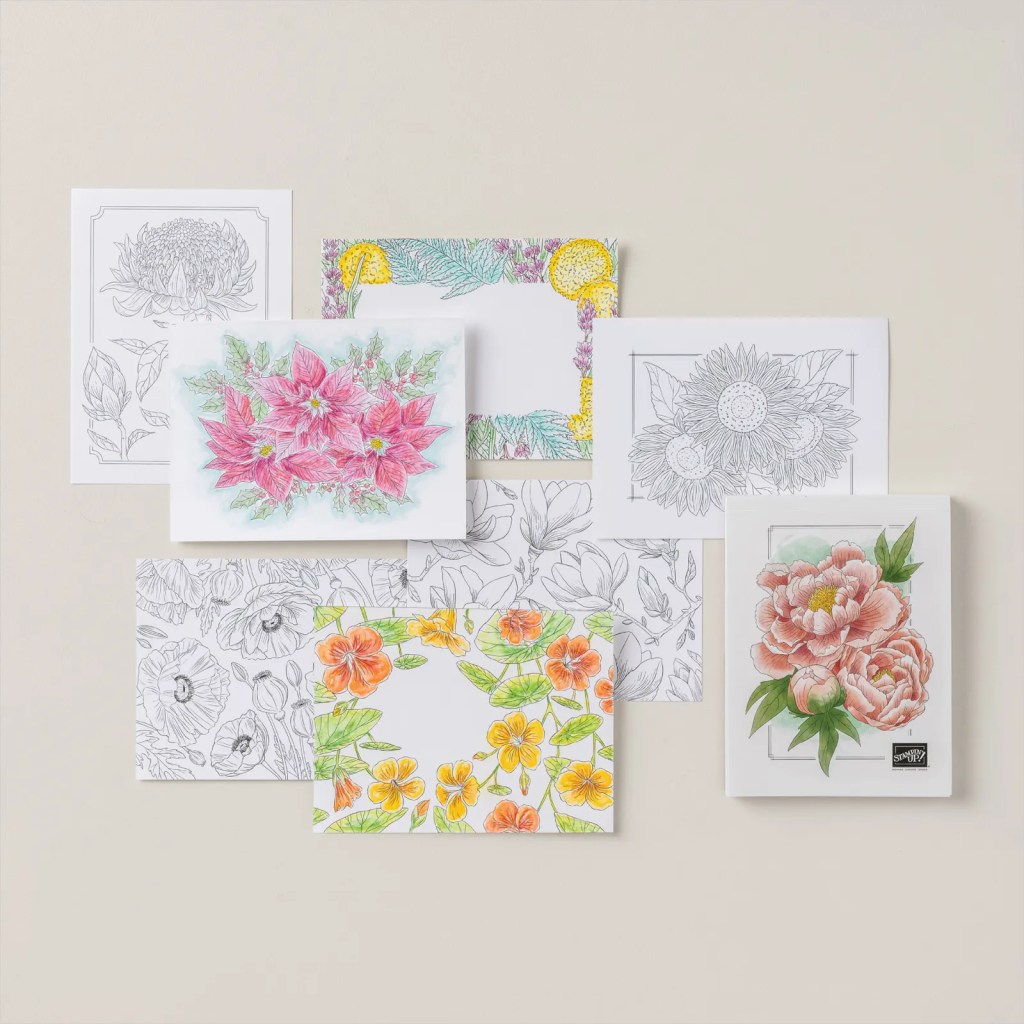
Hello Spring
Subscribe January 11 – February 10
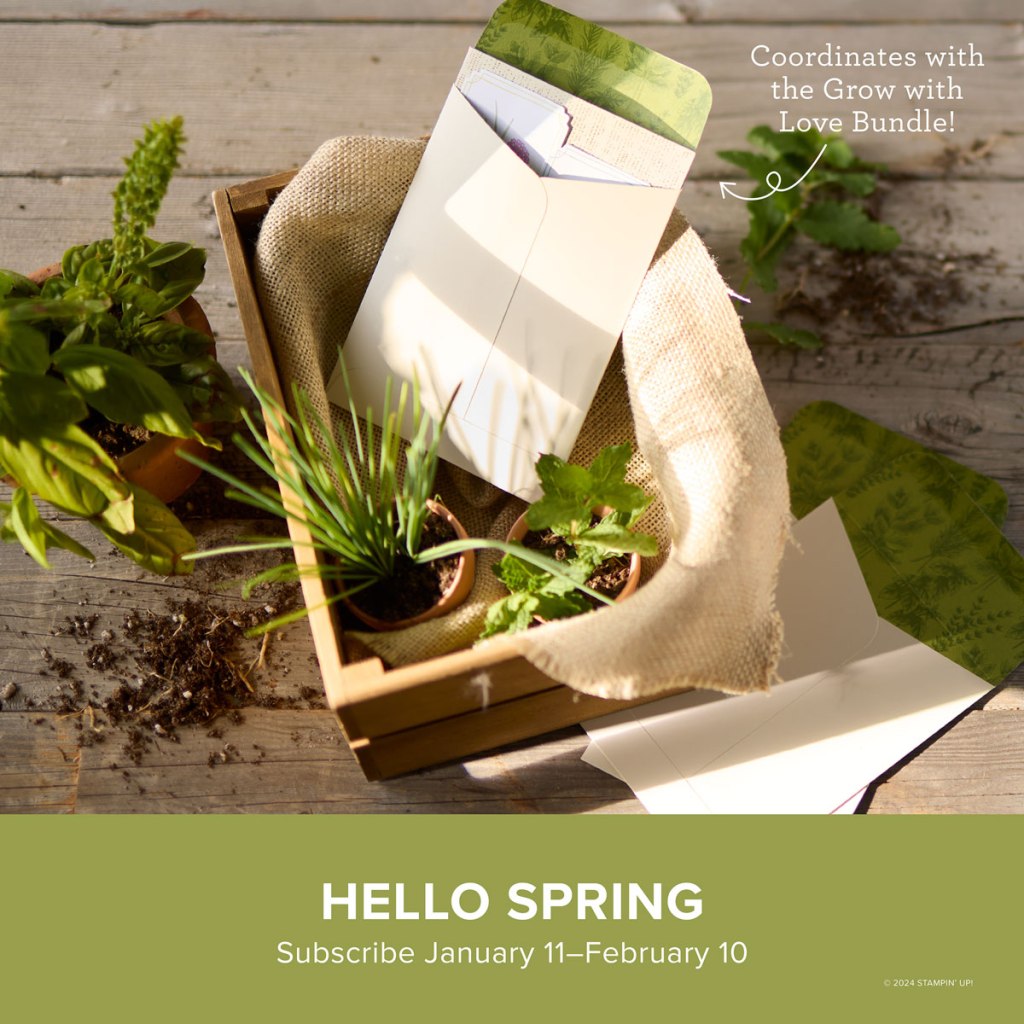
Plant the seeds of happiness with these lovely garden-inspired cards.
• Makes 9 cards: 3 each of 3 designs
• Precut pieces with bronze foil
• Unique spring-themed envelopes
• Coordinating colors: Basic Beige, Bubble Bath, Lemon Lime Twist, Lost Lagoon, Old
Olive, Petunia Pop (Classic Stampin’ Spot)
Subscribe to the February Paper Pumpkin Kit between 11 January and 10 February by clicking here!
*********************************************************************************************************
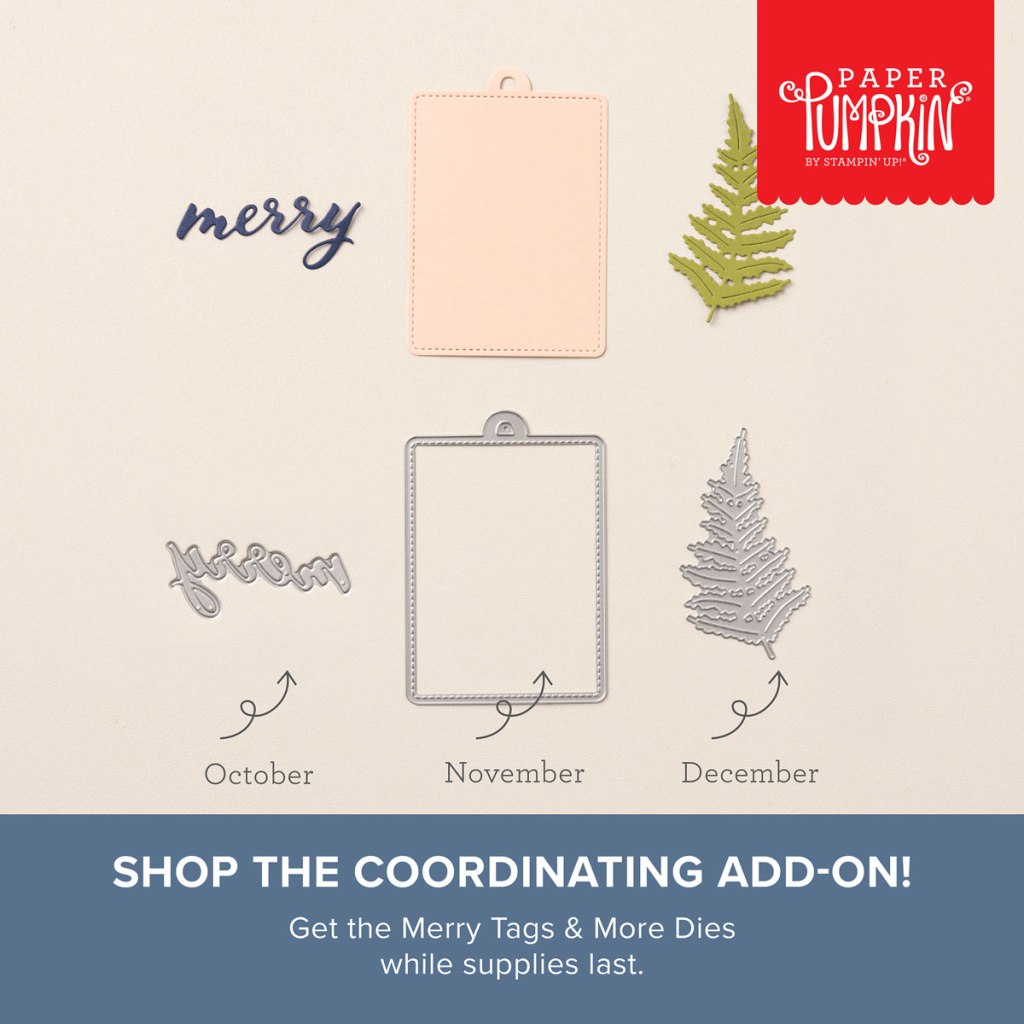
Don’t miss the coordinating
Spring is in The Air Dies Add-On!
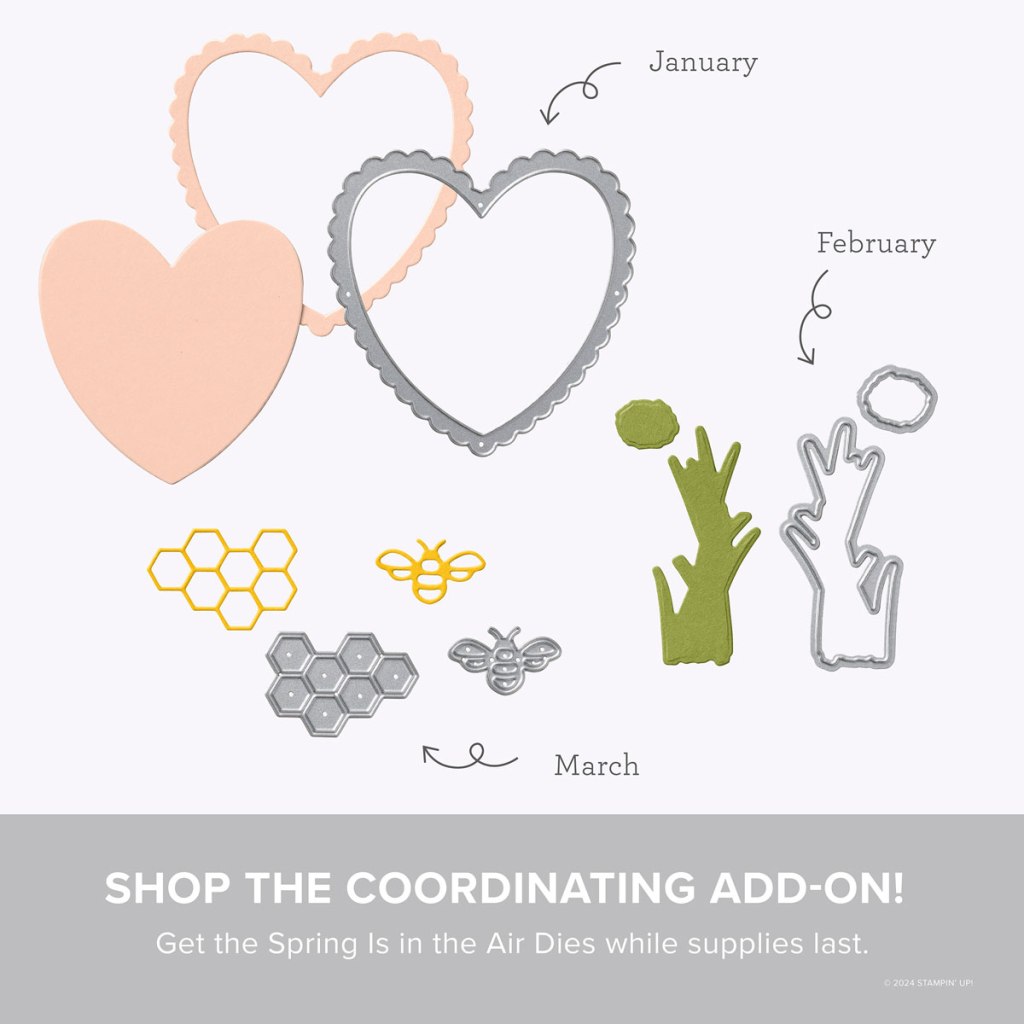
Make the most of your Paper Pumpkin kits with the Spring Is in the Air Dies add-on! Quickly and cleanly cut out a heart frame, flowering chive, honeycomb, or tiny bumblebee to elevate your crafting projects. These additional dies are designed to work with THREE Paper Pumpkin Kits: the Hearts for You Paper Pumpkin Kit, the Spring Is in the Air Paper Pumpkin Kit, and the Daisy Daydream Paper Pumpkin Kit. Pair these dies with other Stampin’ Up! products for even more creative options!
DETAILS
– 5 dies
– Largest die: 3″ x 3″ (7.6 x 7.6 cm)
– Use with a Stampin’ Cut & Emboss Machine (sold separately)
You must be a current Paper Pumpkin subscriber to purchase this item. To become a subscriber, visit paperpumpkin.com.
#166237 $12
Note: Supplies may be limited toward the end of the subscription period.
*********************************************************************************************************
Card stock cuts for this project:
- Basic White Cardstock 4″ X 5 1/4″(inner liner)
- Gray Granite Cardstock 4 1/8″ X 5 3/8″(inner liner mat)
- Pretty Peacock Cardstock 4 1/4″ X 11″(card base scored & folded at 5 1/2″), 3 3/4″ X 5″(card front panel mat)
- Otterly Adorable Designer Series Paper 4 1/8″ X 5 3/*”(card front), 3 1/16″ X 4 1/4″ (card front panel), 3/4″ X 4″(inner liner), 1/4″ X 6″ & 2 1/4″ X 6″ (envelope)
*********************************************************************************************************
Product List")


 Designer Series Paper")


")
 Textured Ribbon")


")
")


 Circle Punch")
 Circle Punch")

