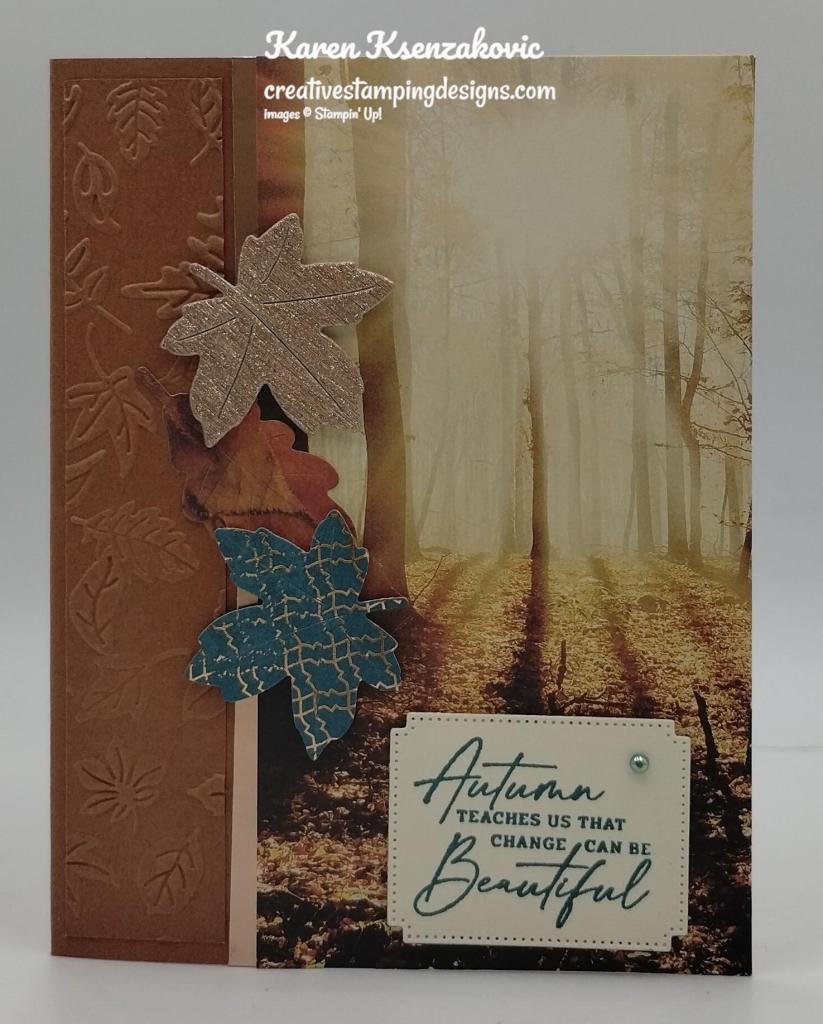
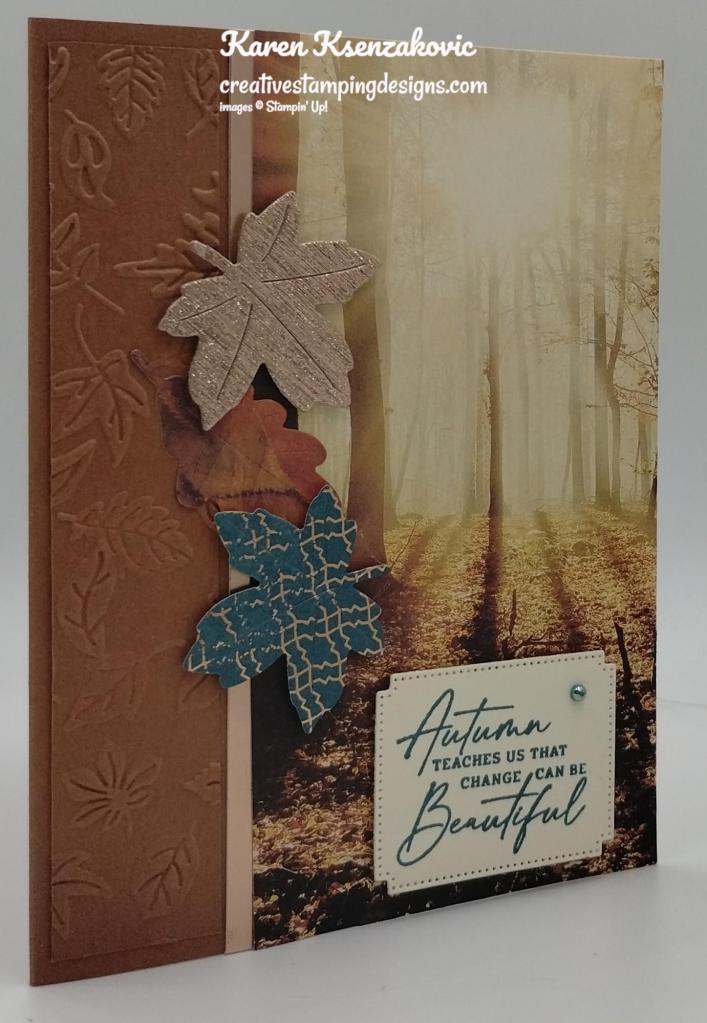
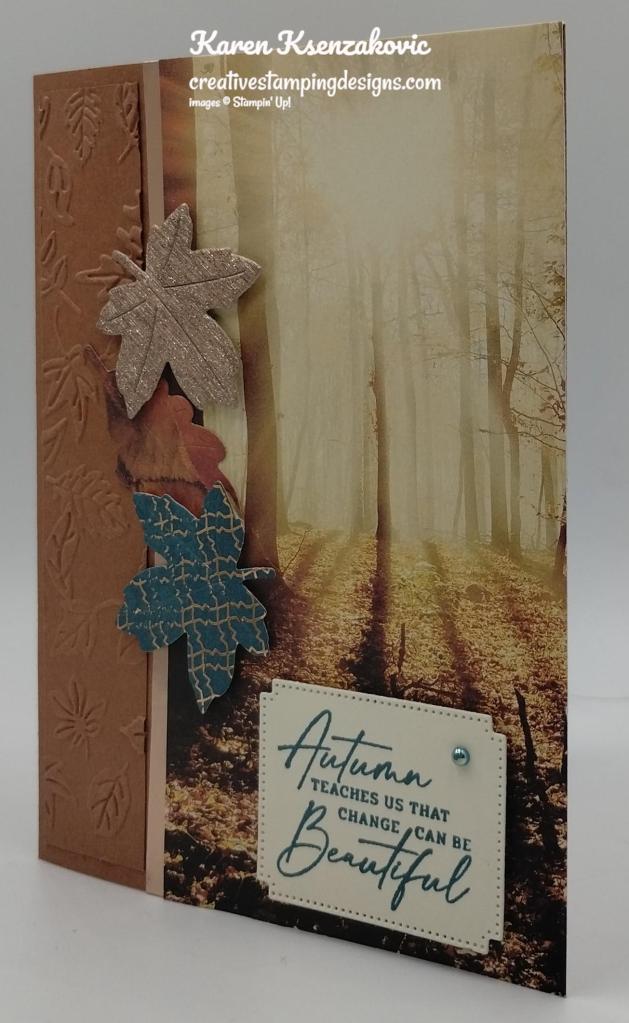
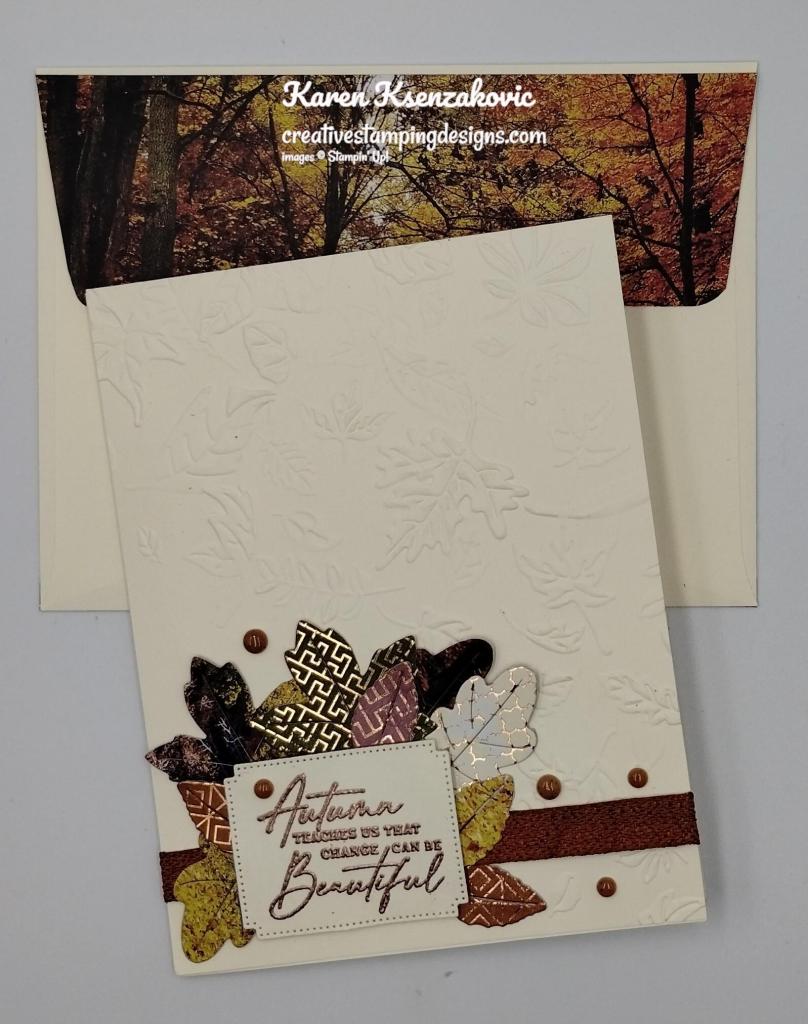
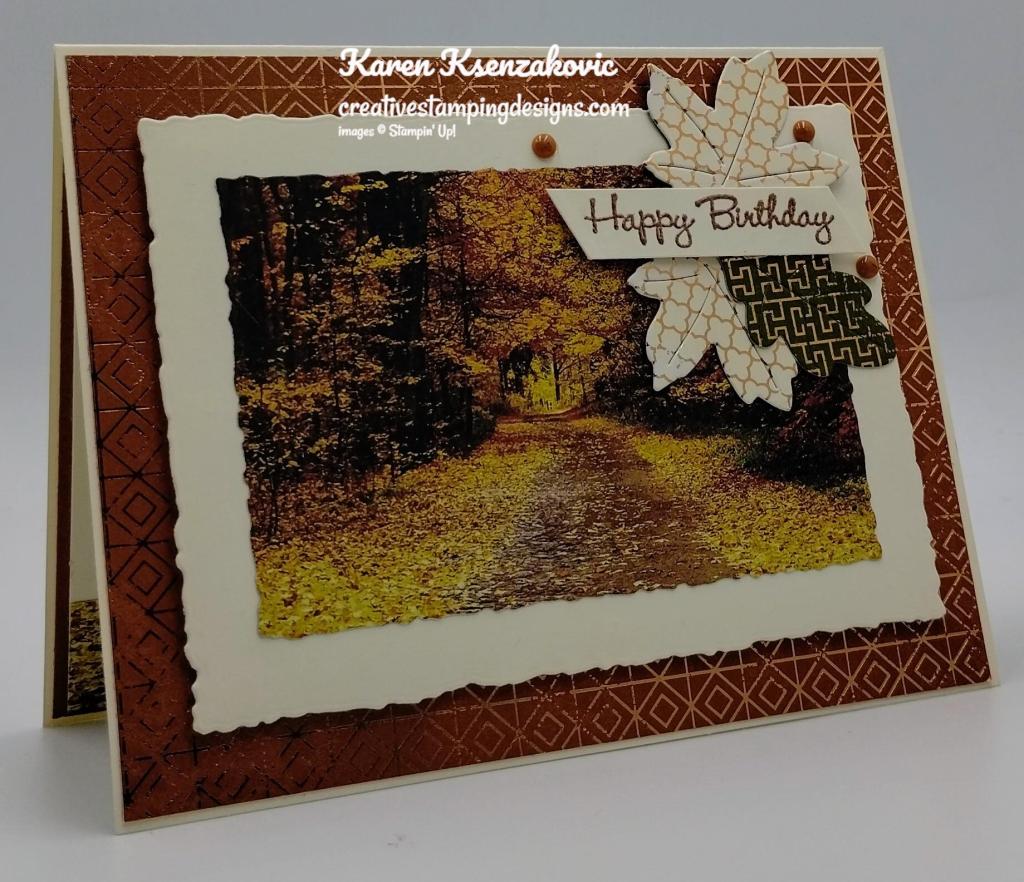
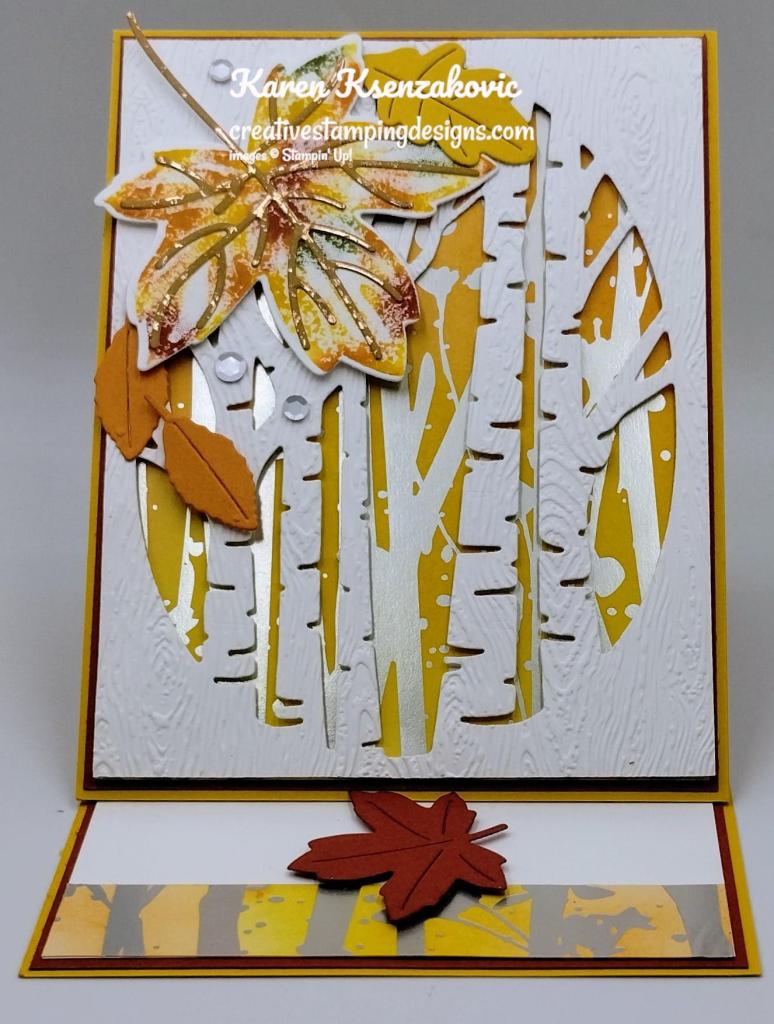
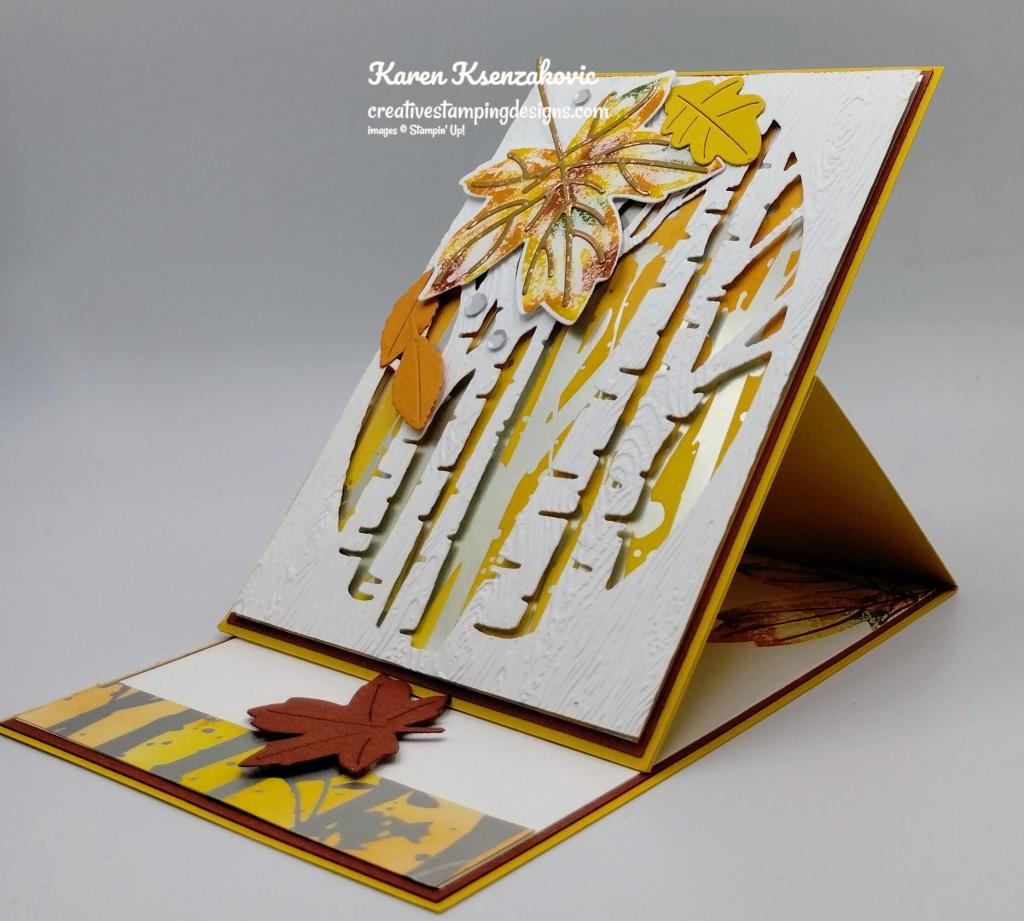
Good Thursday morning stamping friends and welcome to our Happy Inkin’ Thursday Blog Hop. If you are starting with me, thank you, I hope you will stop by everyone’s blog to see what they have created this week. If you are hopping over from Akiko’s blog, thank you for stopping by. This week we have Theme Challenge. If you’d like to see a quick video of how I made this card, Click Here to go to my Instagram Reels. Here is my card using this week’s Theme.

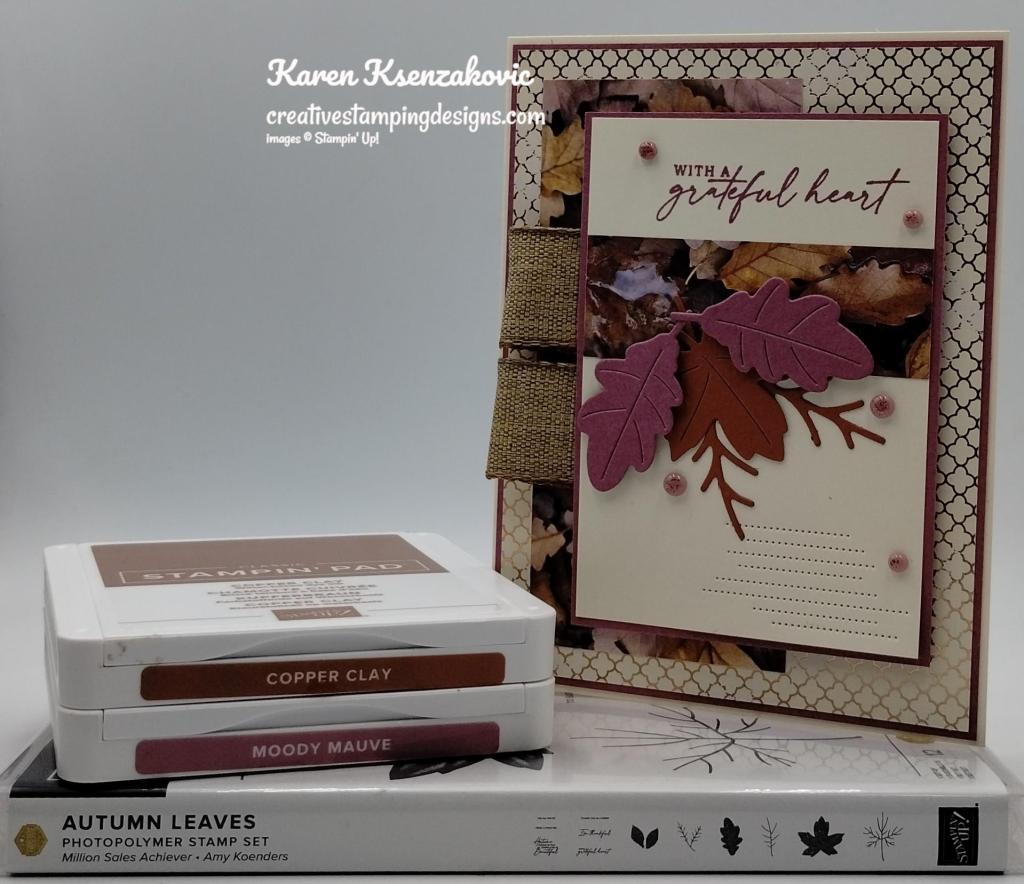
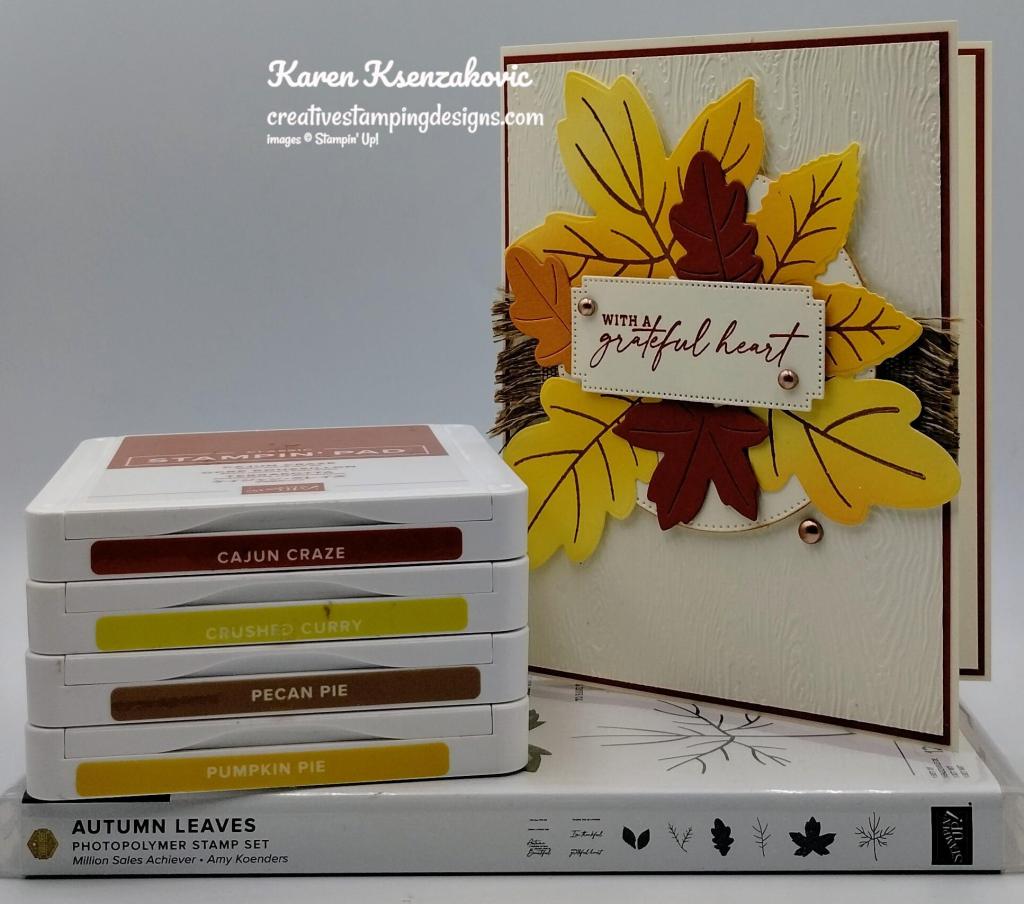
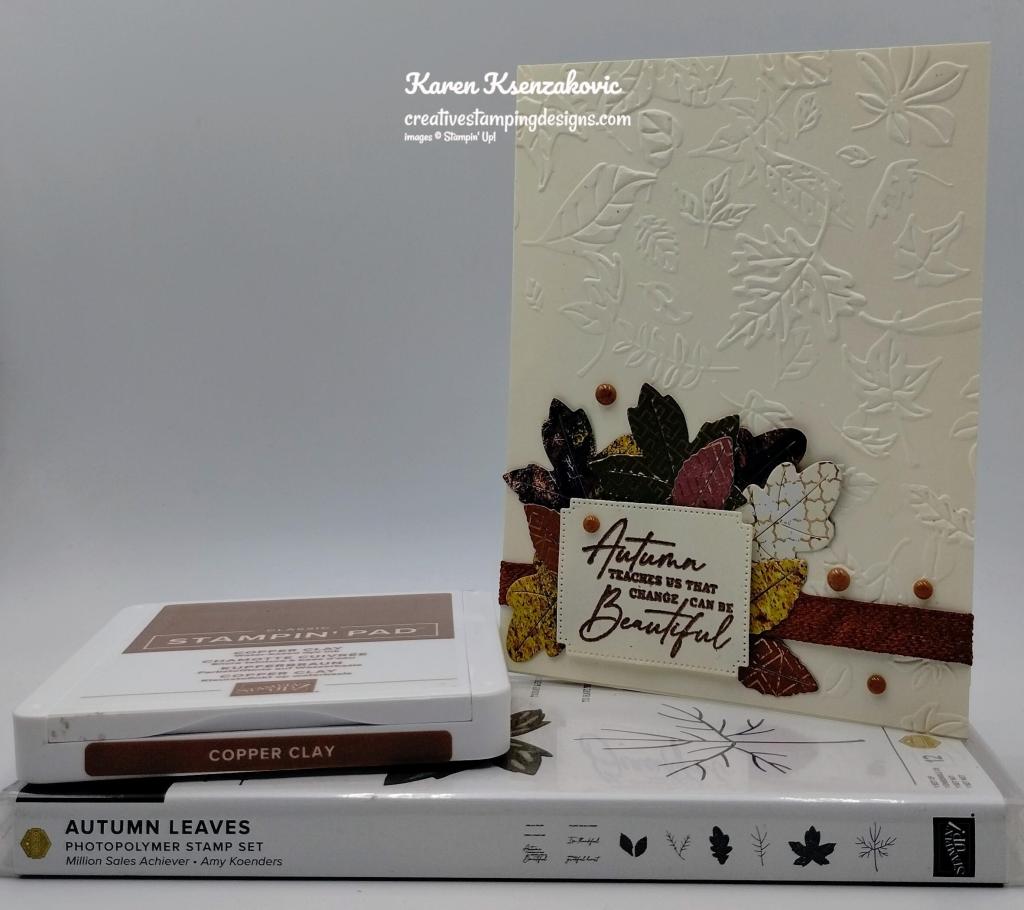
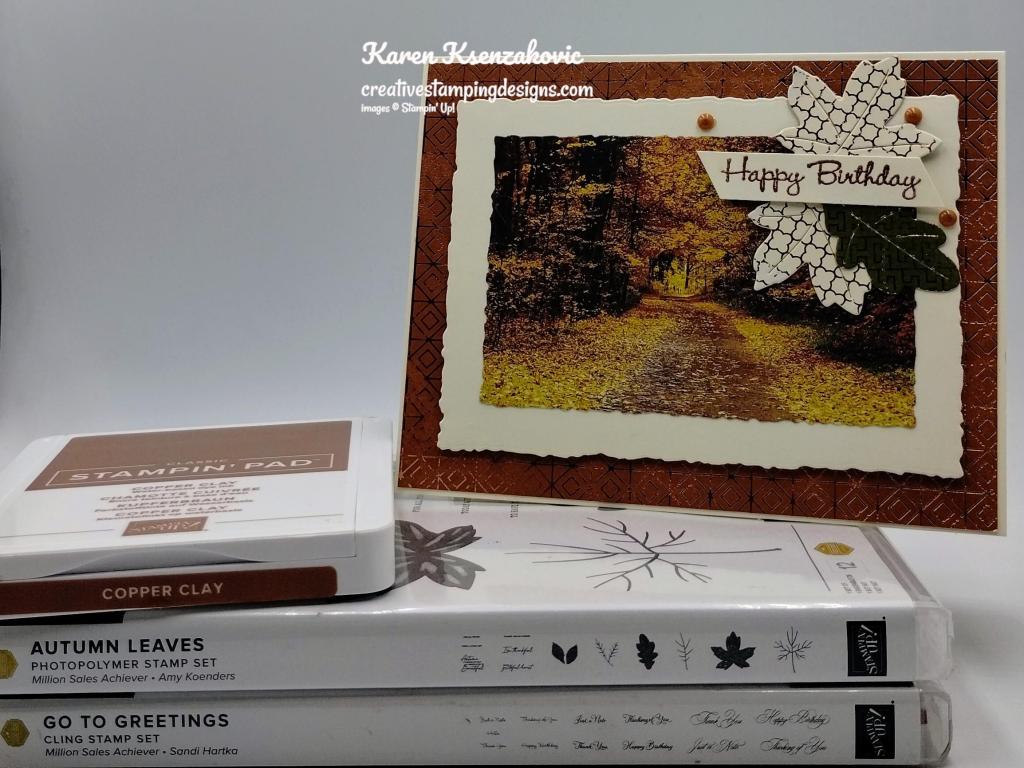
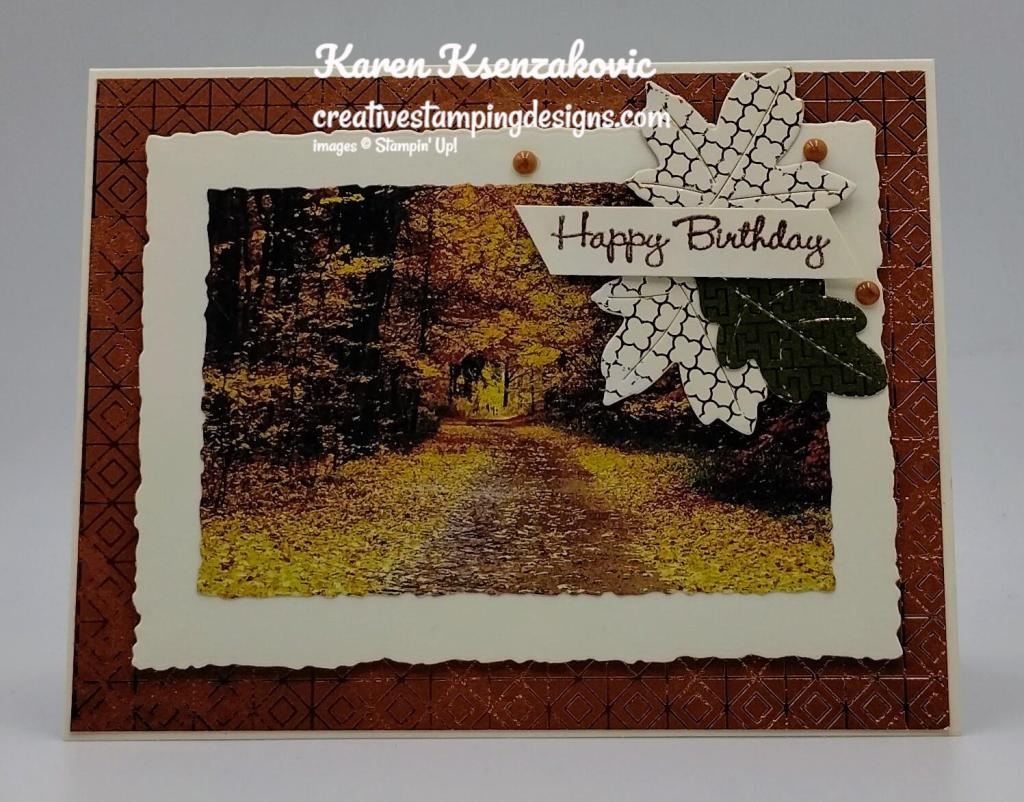
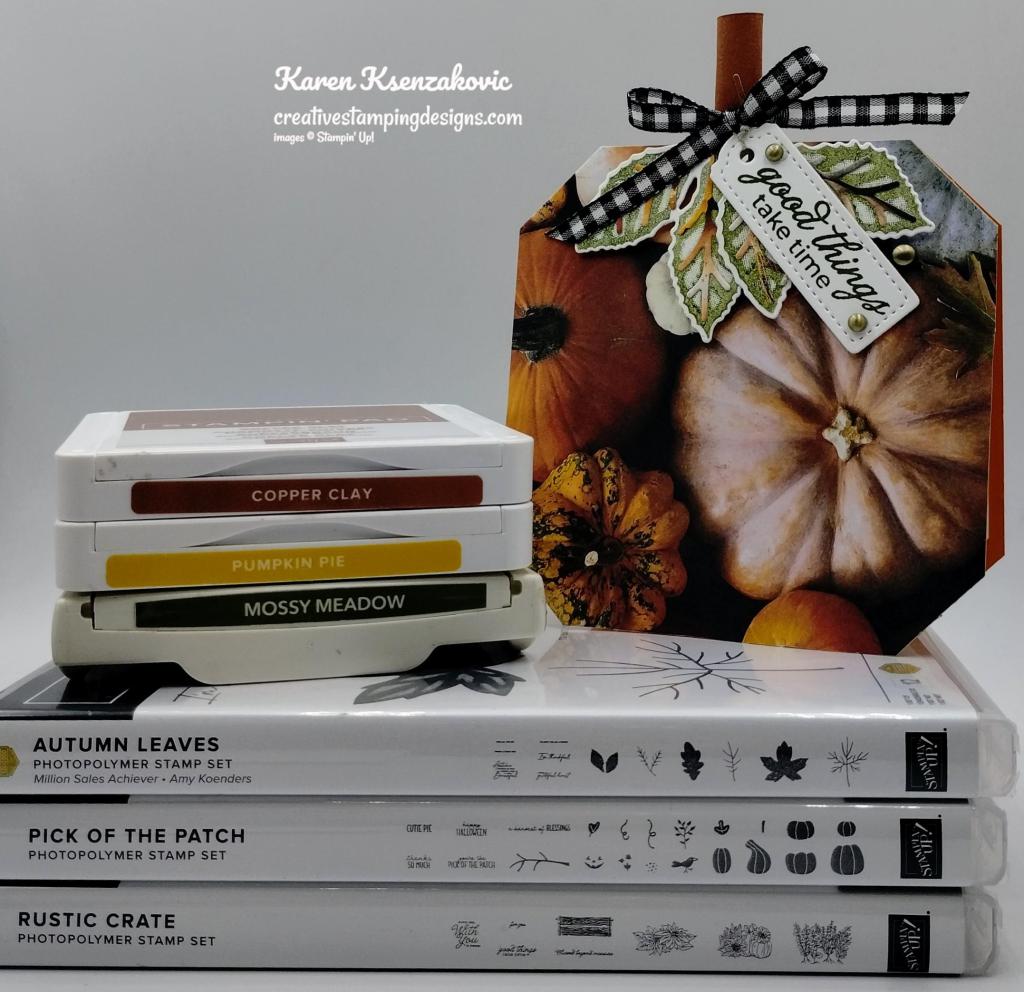
I used the new Stampin Up! Caring Leaves Photopolymer Stamp Set, Stampin’ Up! Autumn Leaves Photopolymer Stamp Set and Stampin’ Up! Layering Leaves Photopolymer Stamp Set for my triple time stamping card today.

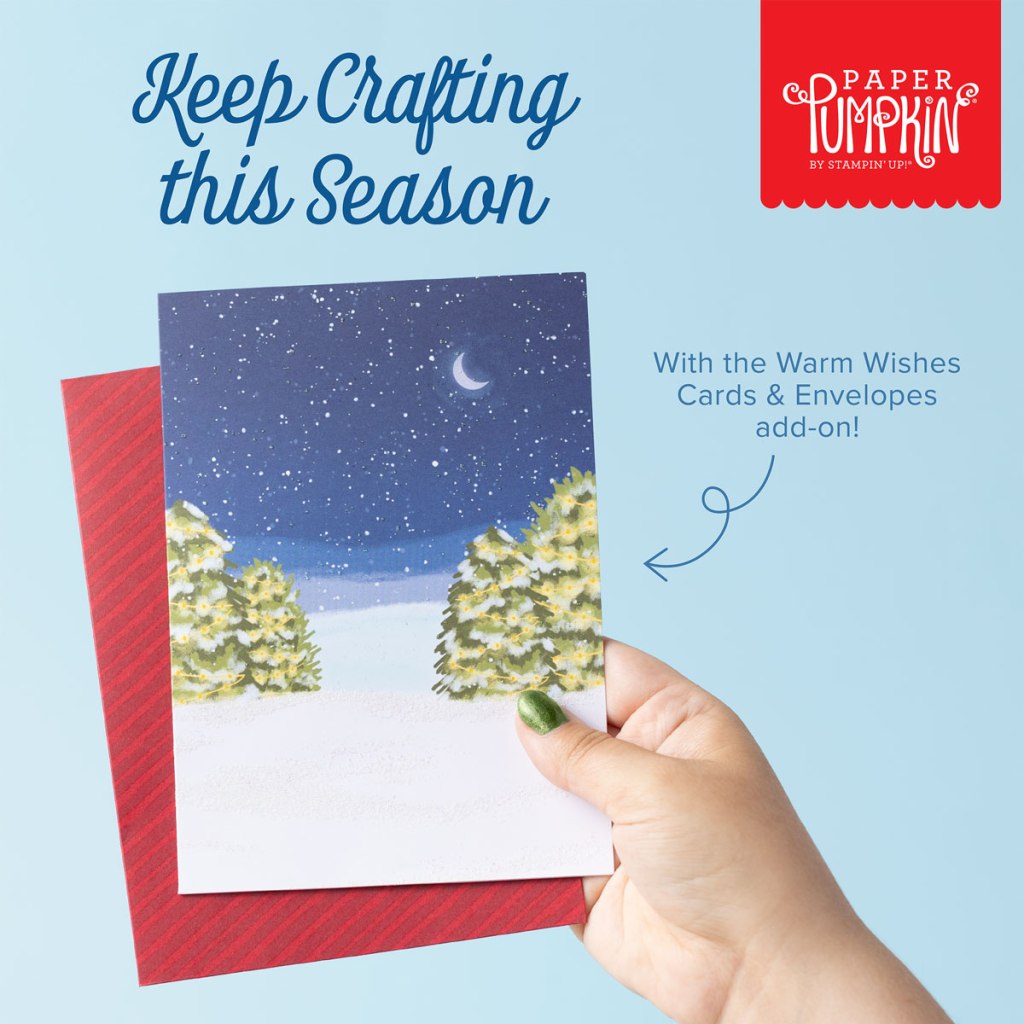
This is our theme for this week
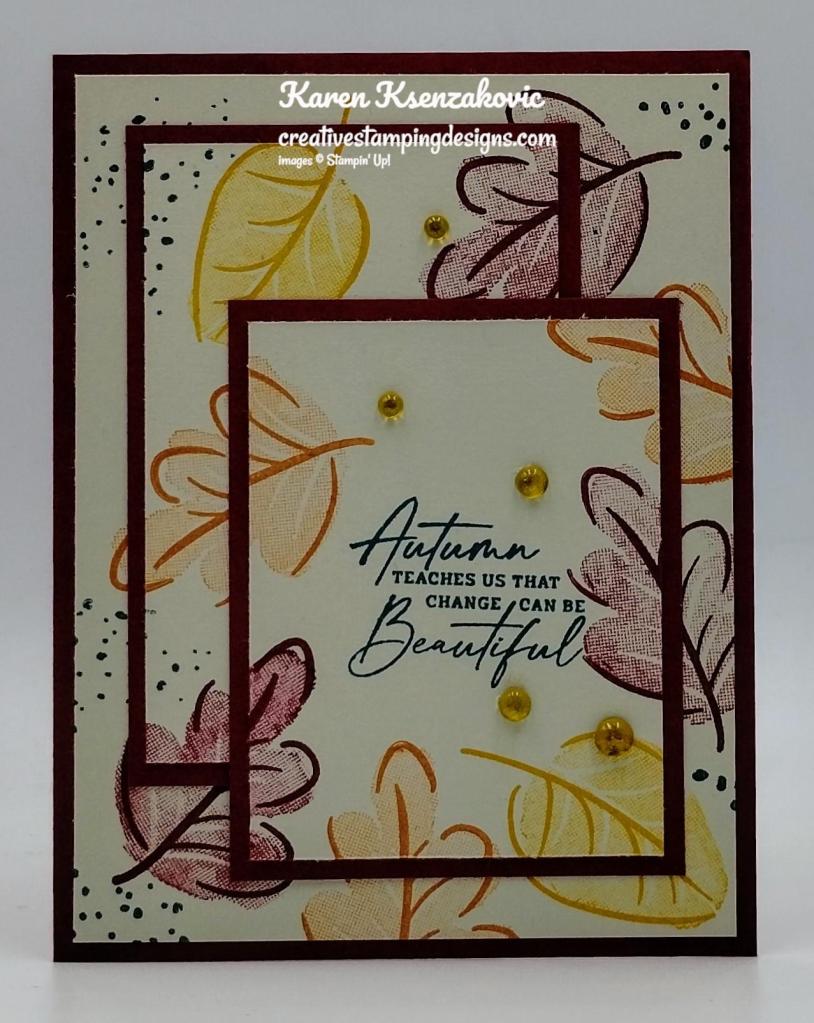
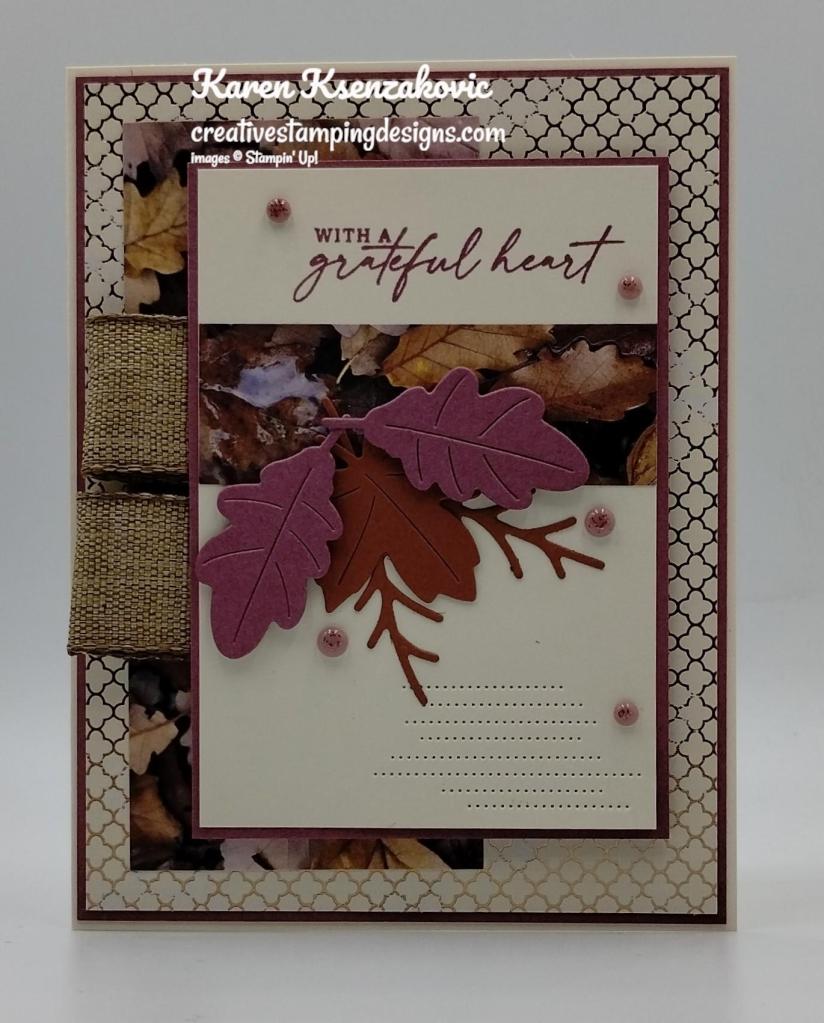
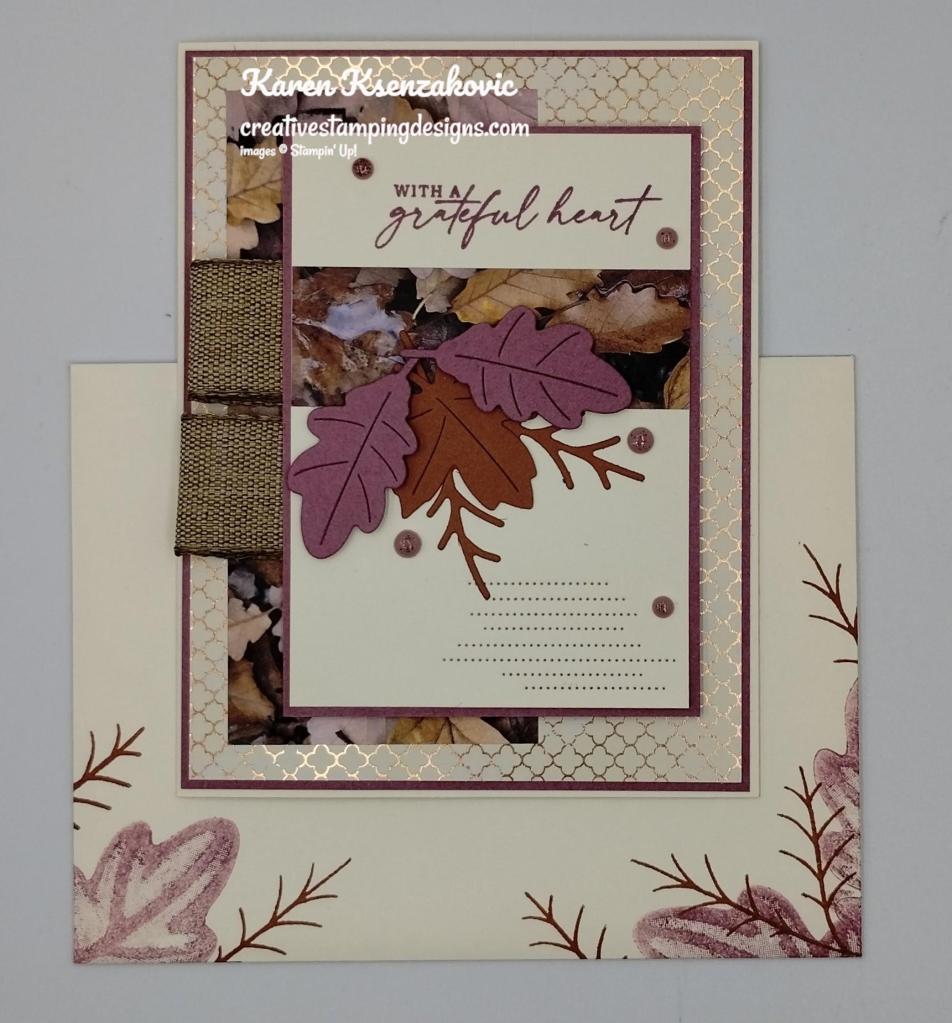
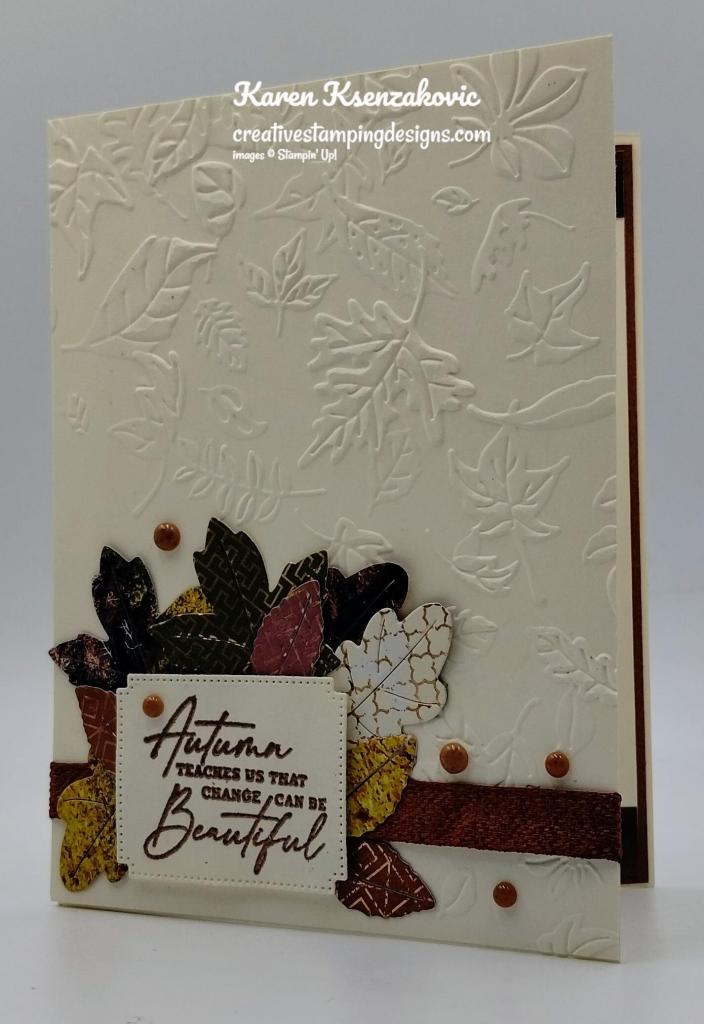
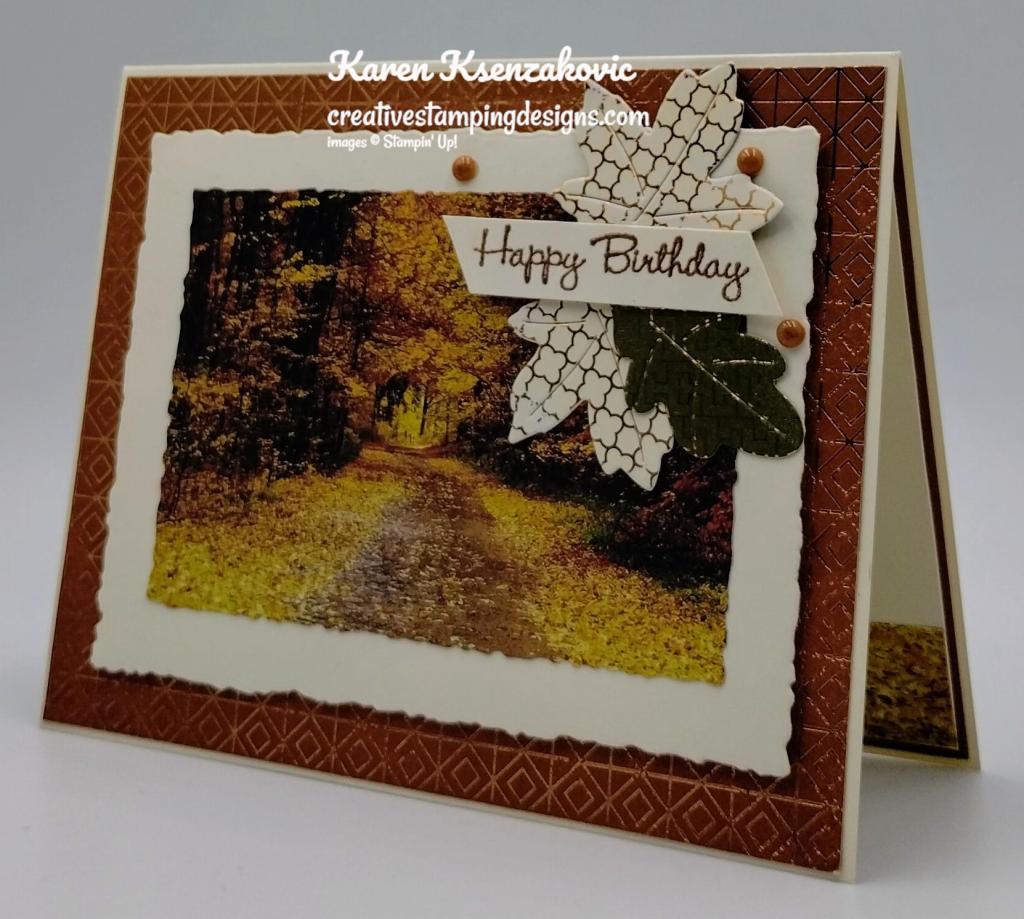
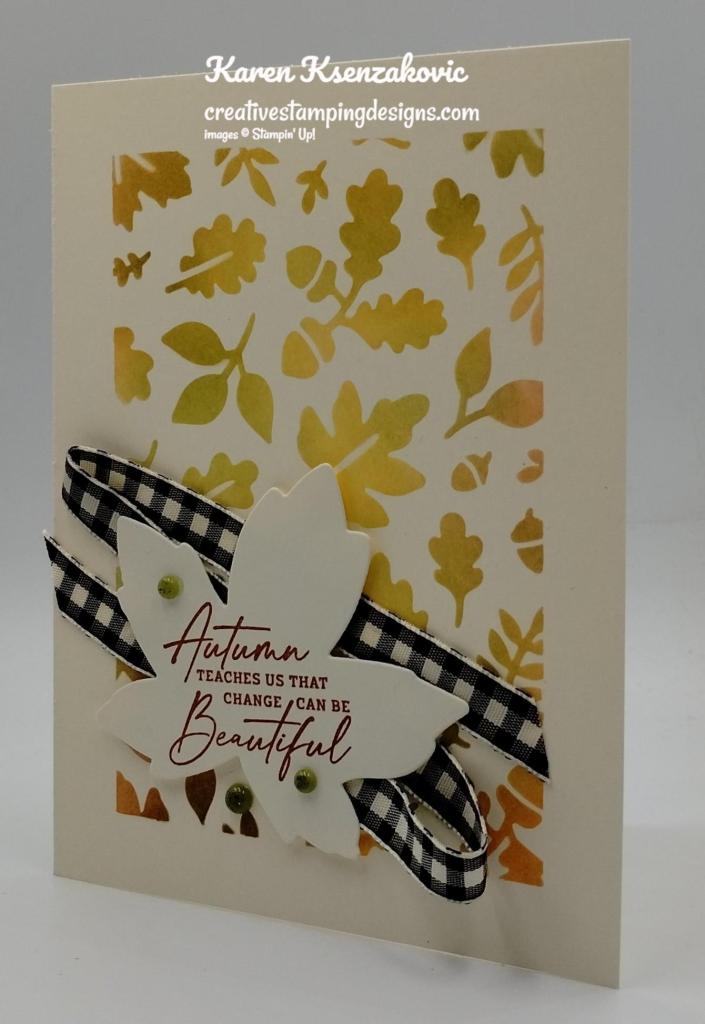
Start by stamping the sentiment from the Autumn Leaves stamp set in Pretty peacock Ink on the 2 1/2″ X 3 1/4″ panel of Basic Beige. Adhere the 3 panels of Basic Beige together lightly. This can be done by using a strip of Stampin’ Seal and patting it on your clothes to get rid of some of the stickiness.
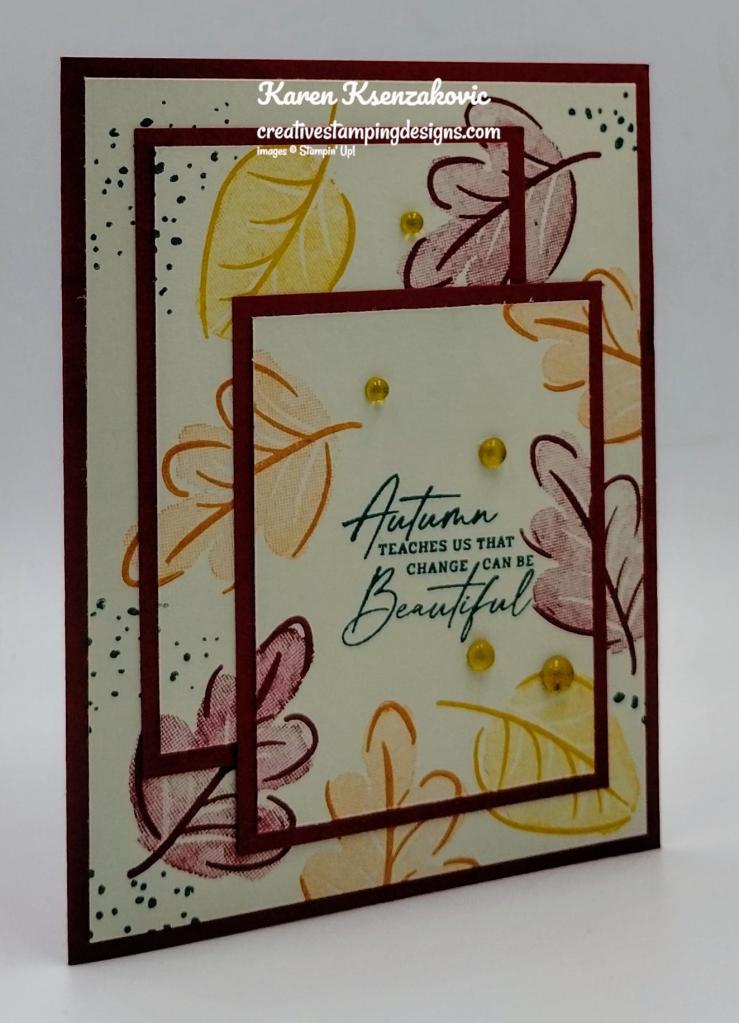
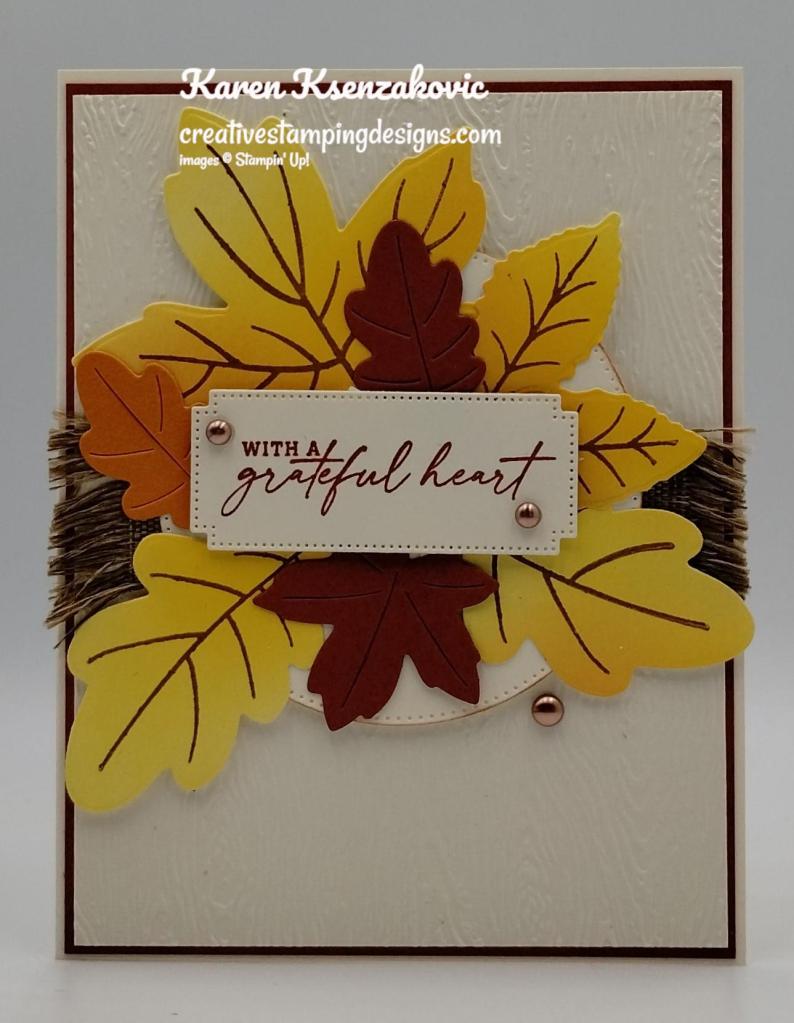
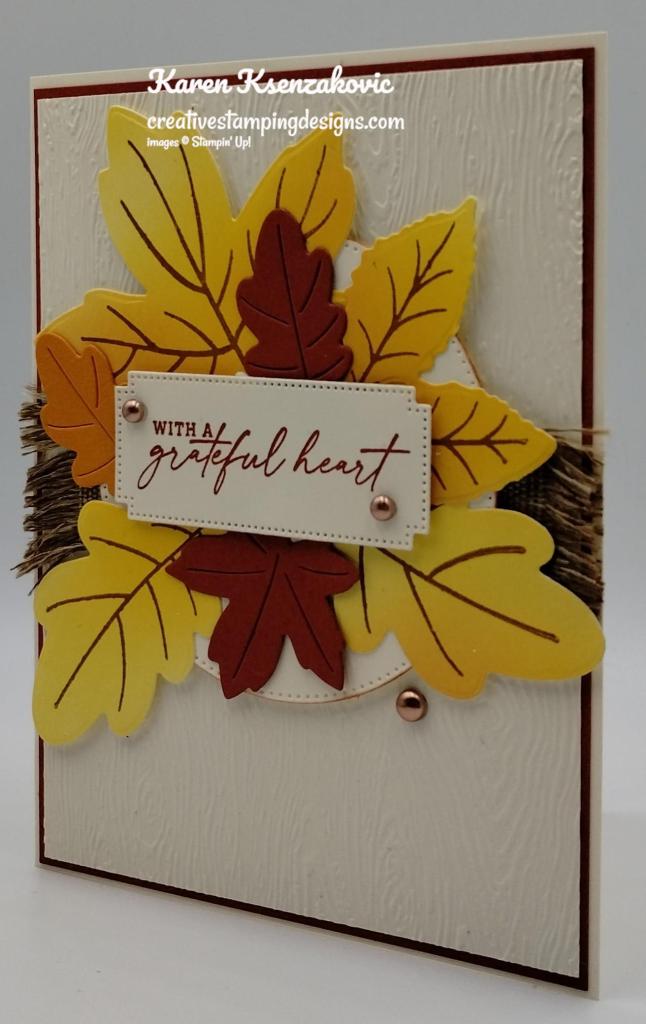
Randomly stamp the leaf images from the Caring Leaves stamp set on the panels. Stamp the outline oak leaf image from the Caring Leaves stamp set in Cherry Cobbler and Pumpkin Pie Inks. Stamp the outline birch leaf image from the Caring Leaves stamp set in Crushed Curry Ink. Stamp the oak leaf solid image from the Caring Leaves stamp set in Cherry Cobbler and Pumpkin Pie Inks, stamping off once on scrap paper. Stamp the birch leaf solid image from the Caring Leaves stamp set in Crushed Curry Ink, stamping off once on scrap paper. Stamp the splatter image from the Layering Leaves stamp set in Pretty Peacock Ink randomly around in open spaces.

Tale the 3 panels of Basic Beige apart and adhere the 2 smaller panels to Cherry Cobbler mats using Stampin’ Seal. Adhere the layered panels to the larger panel, matching the leaves, using Liquid Glue. Adhere the layered panel to the Cherry Cobbler card base using Liquid Glue. Add a few Gold Textured Adhesive-Backed Dots to the card front.

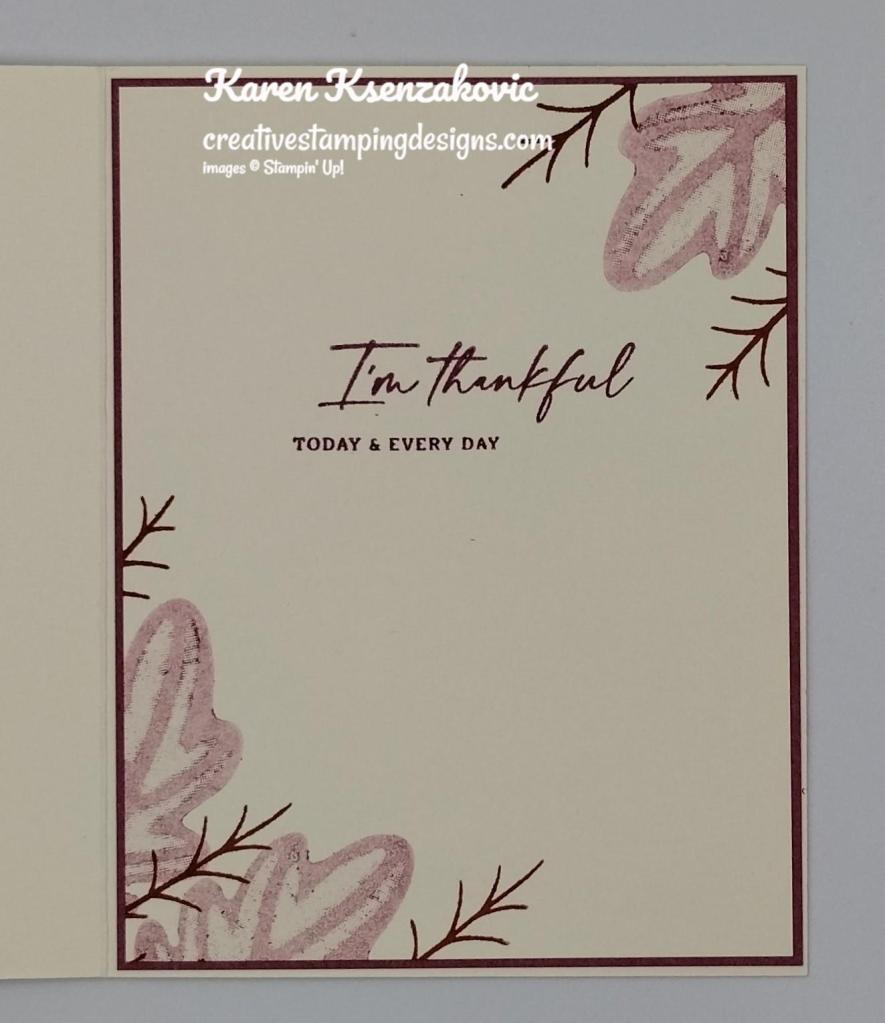
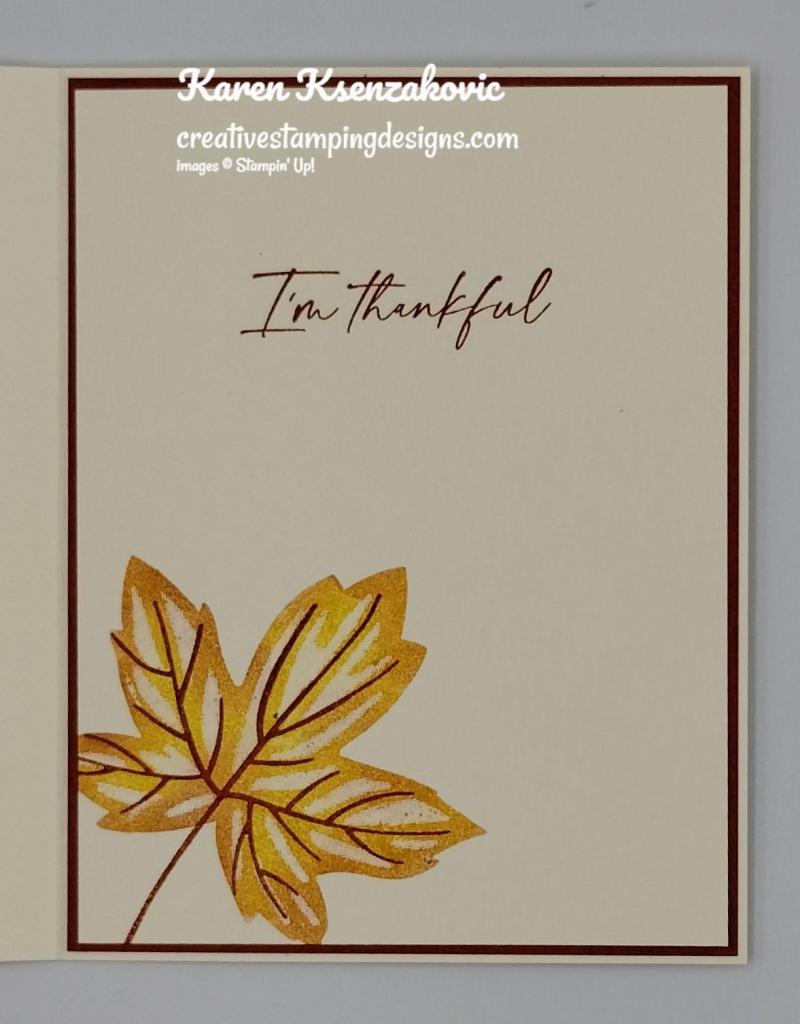
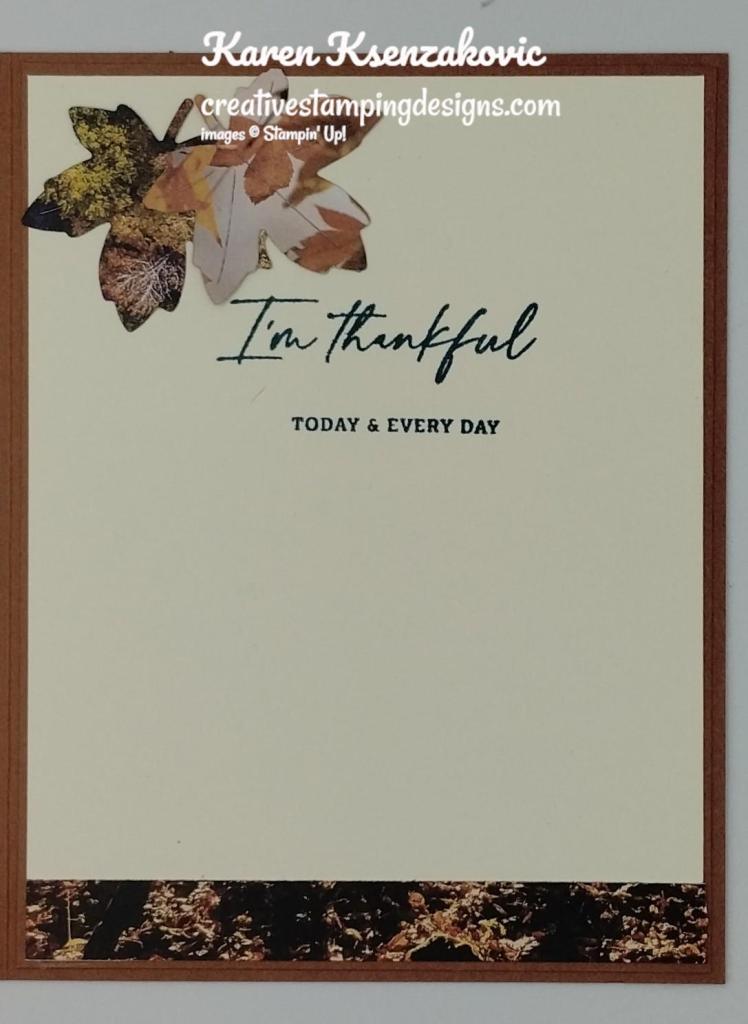
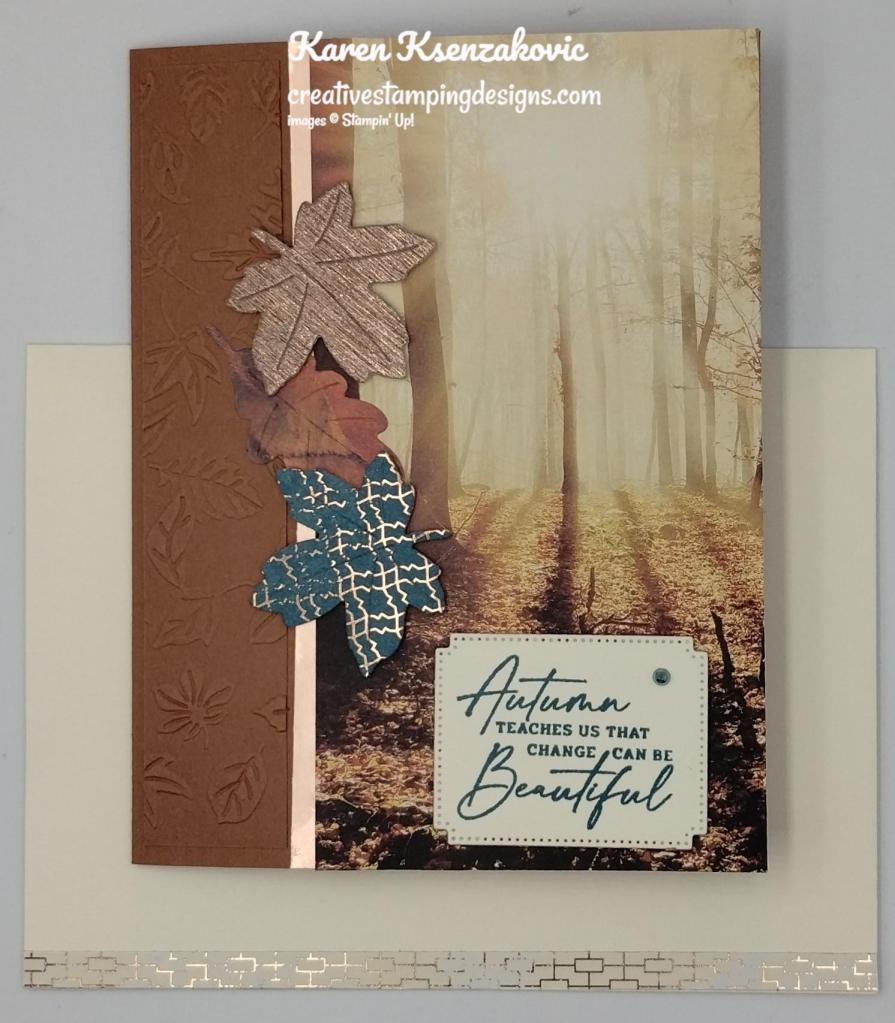
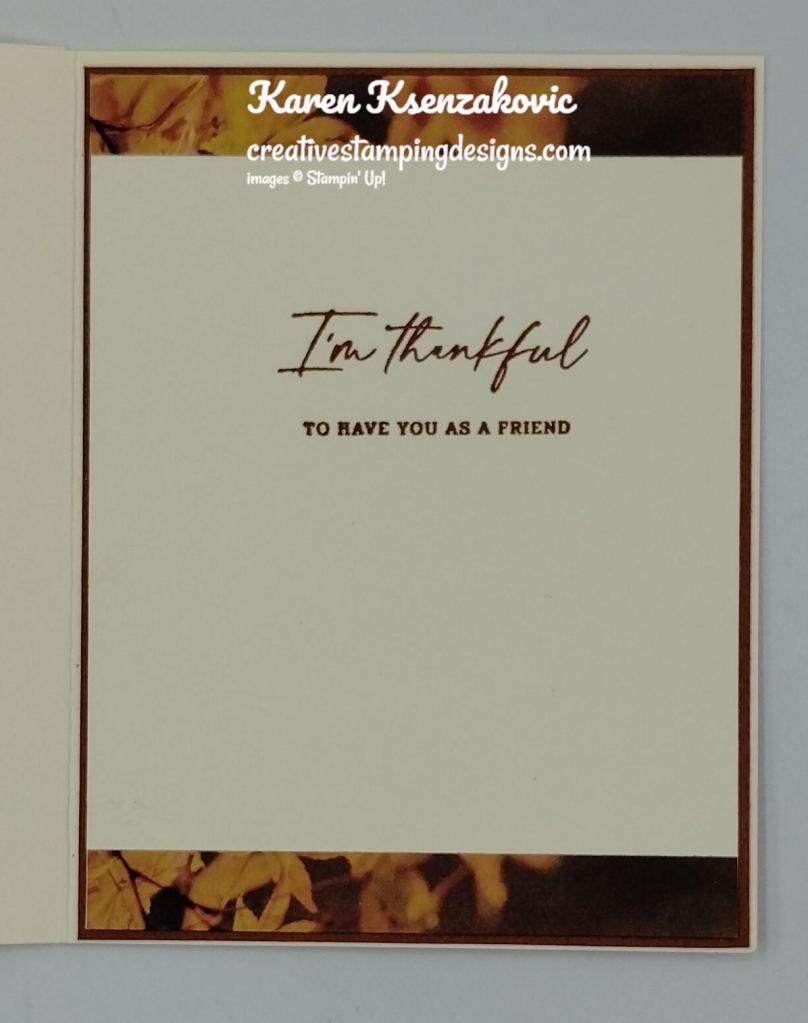
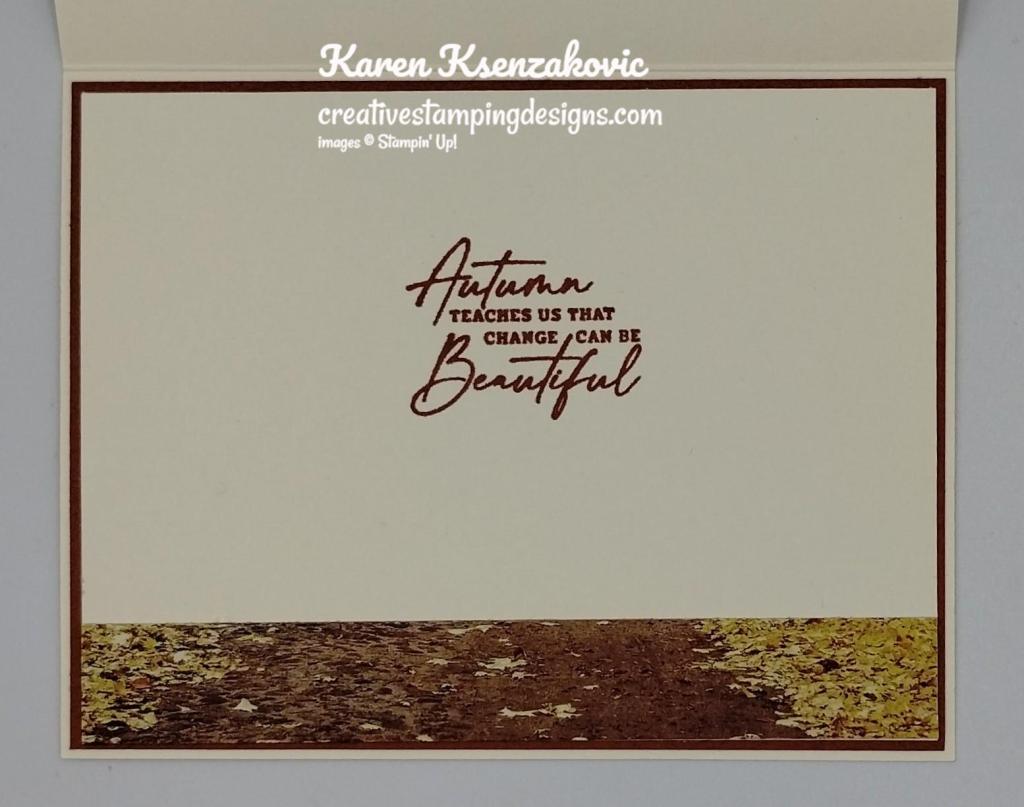
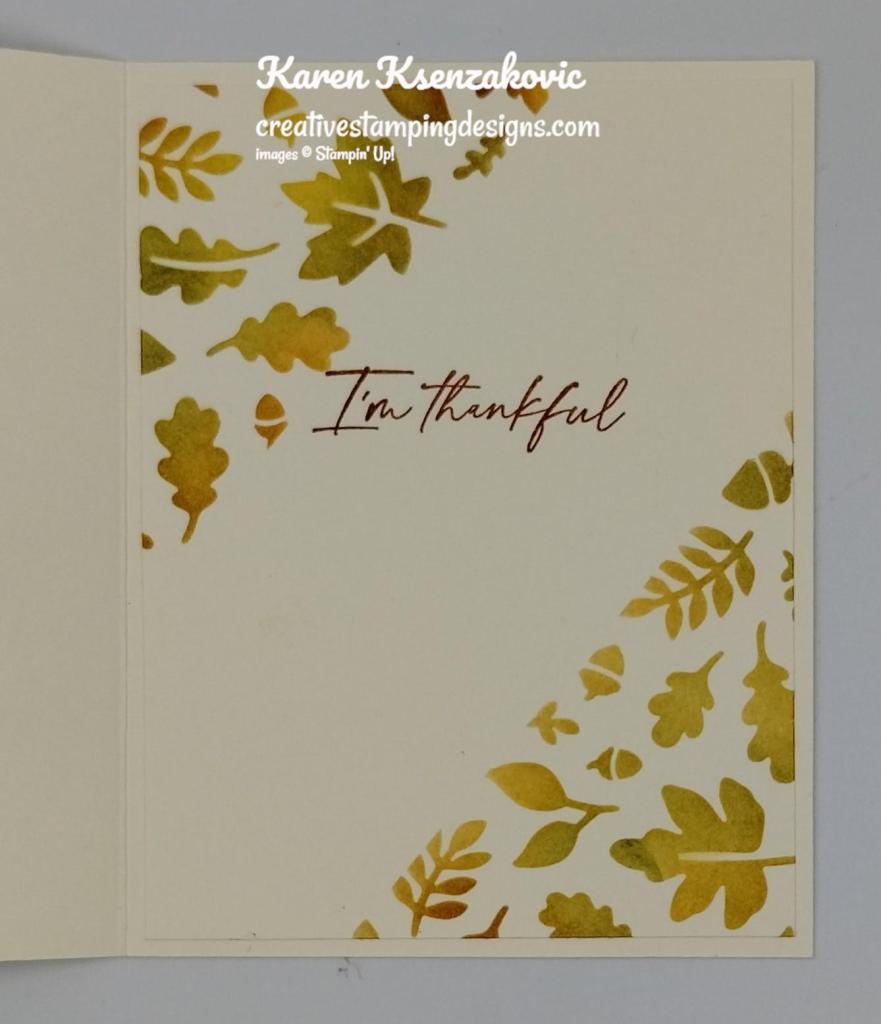
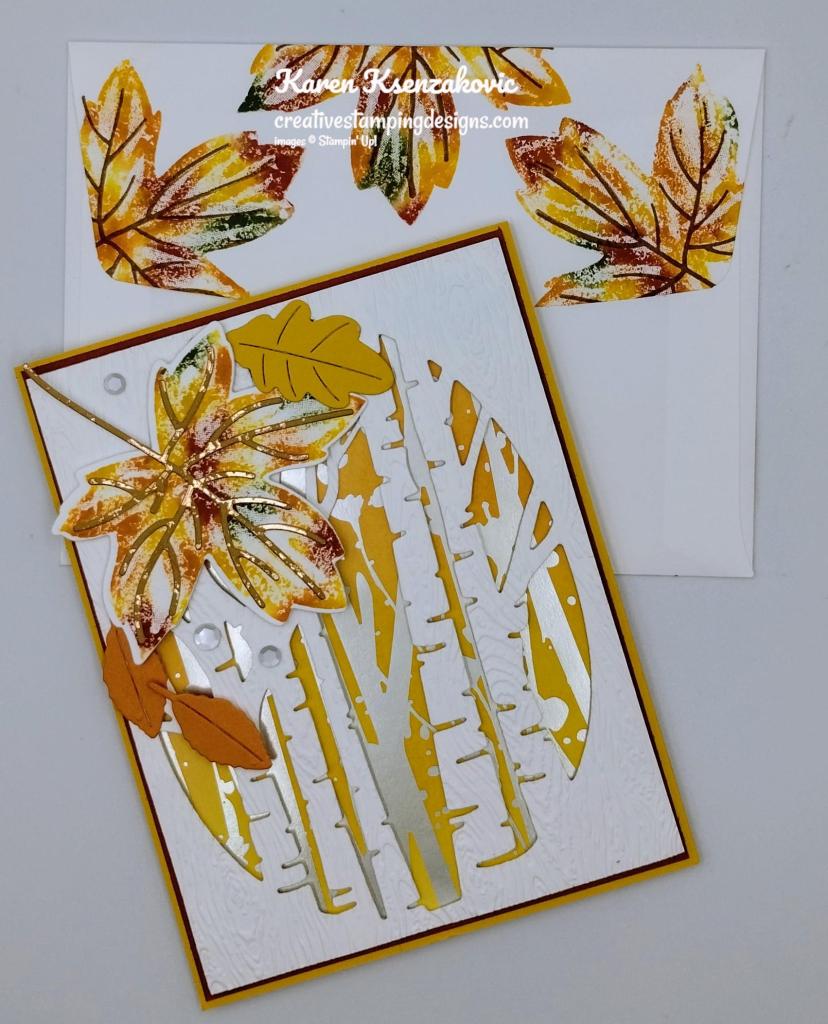
Stamp the sentiment from the Caring Leaves stamp set in Pretty Peacock Ink on a panel of Basic Beige. Randomly stamp the leaf images from the Caring Leaves stamp set around the edges the same as for the card front. randomly stamp the splatter image from the Layering Leaves stamp set in Pretty Peacock Ink on the panel. Adhere the Basic Beige panel to a Pretty Peacock mat then to the inside of the Cherry Cobbler card base.

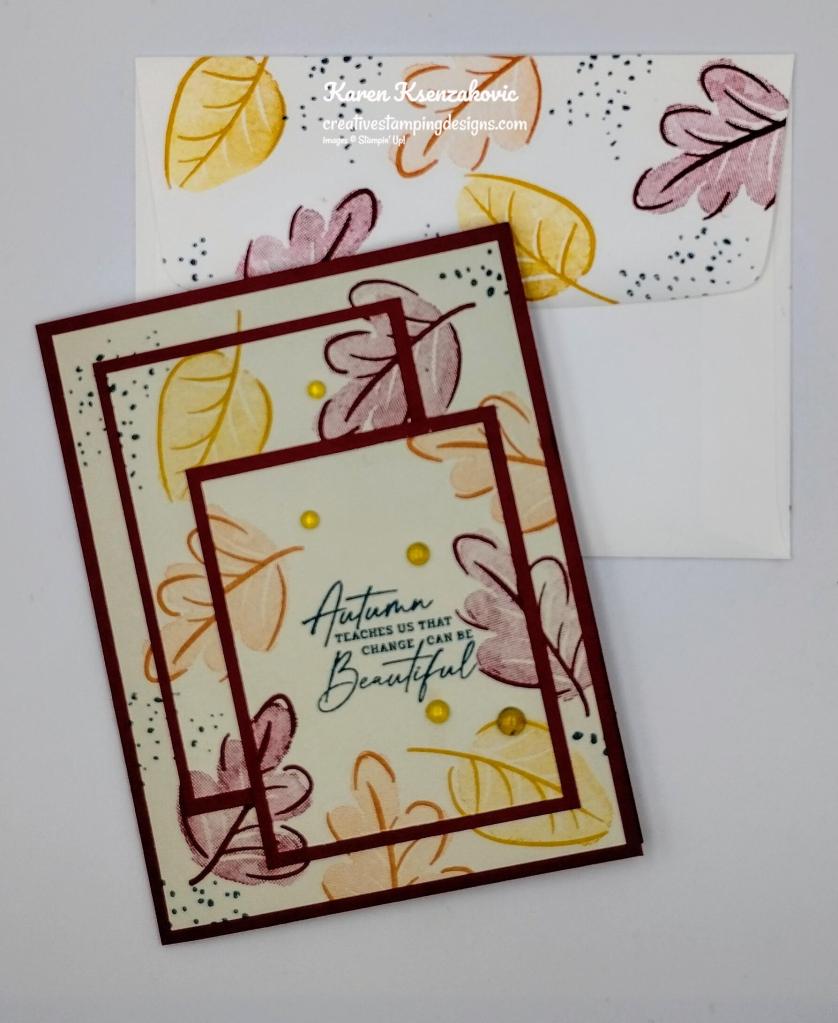
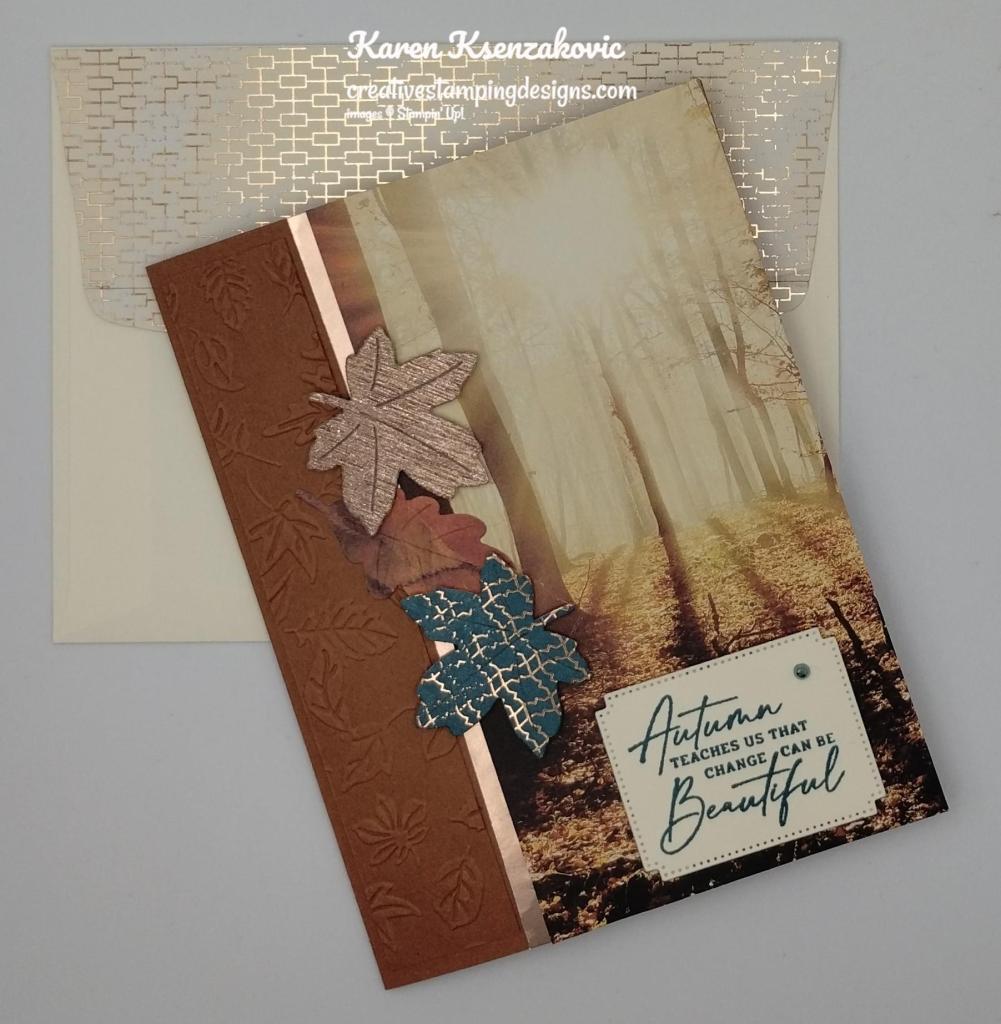
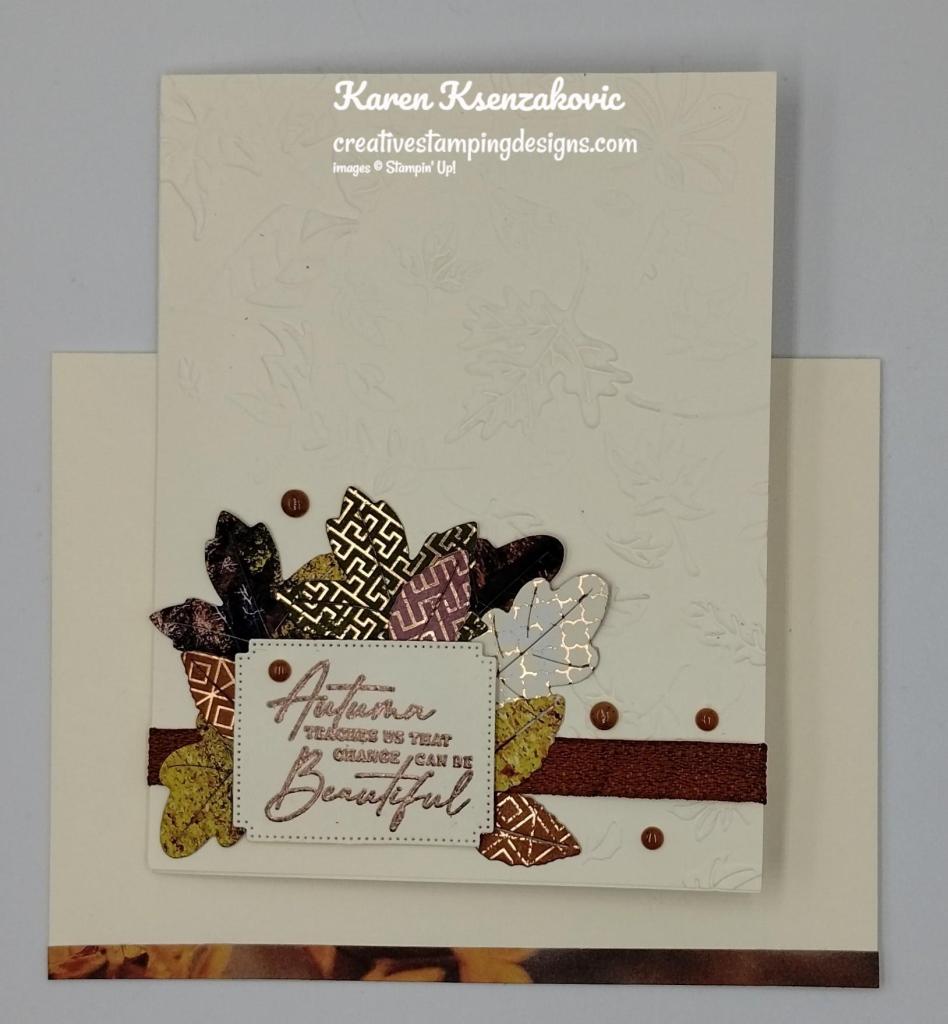
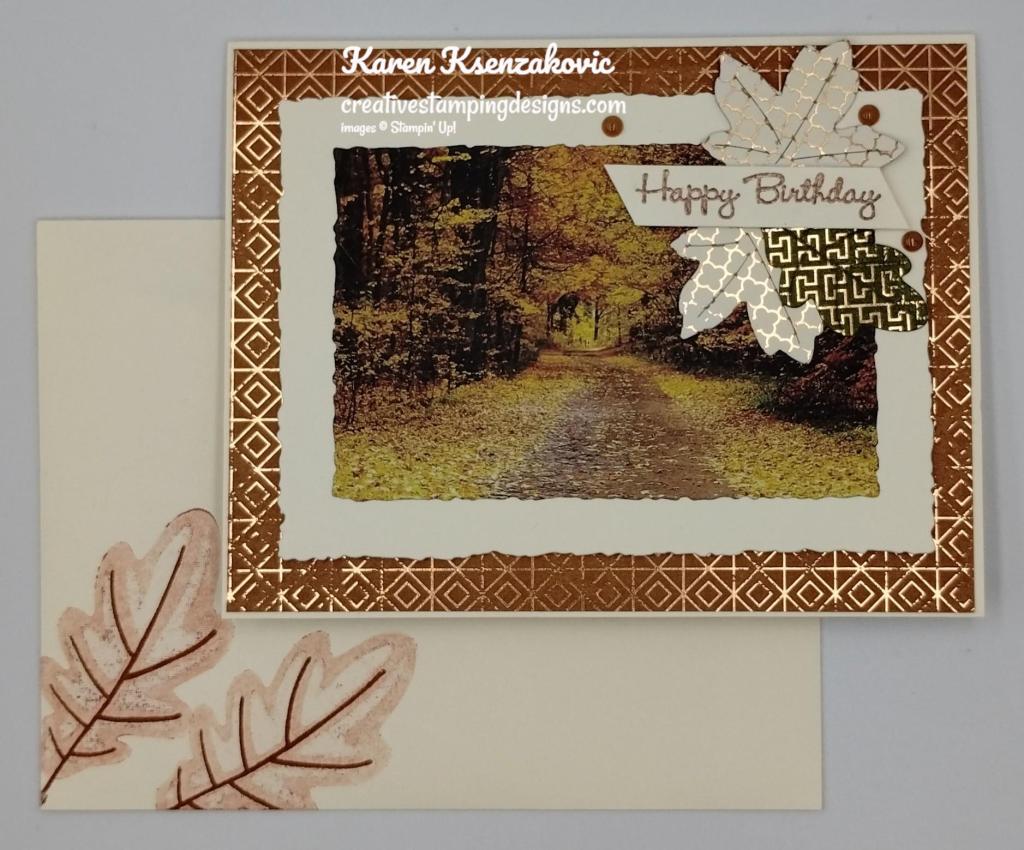
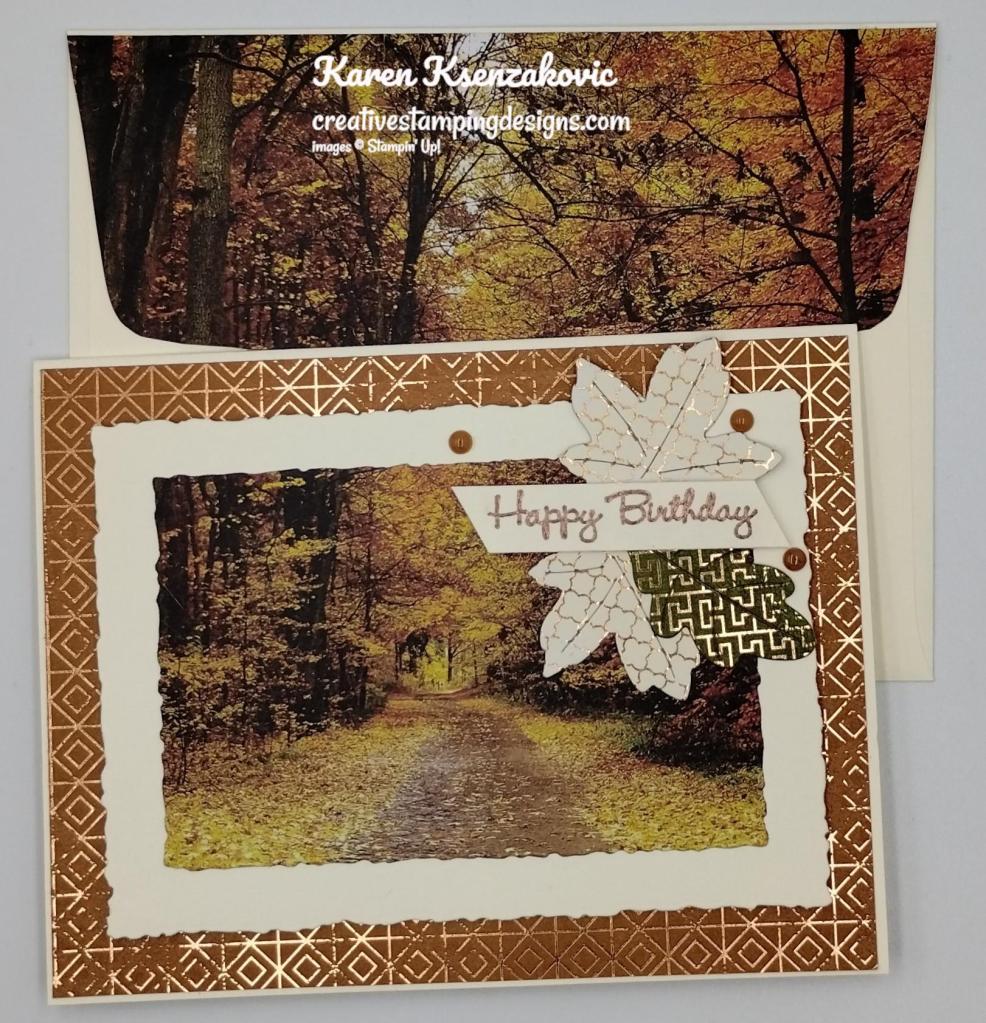
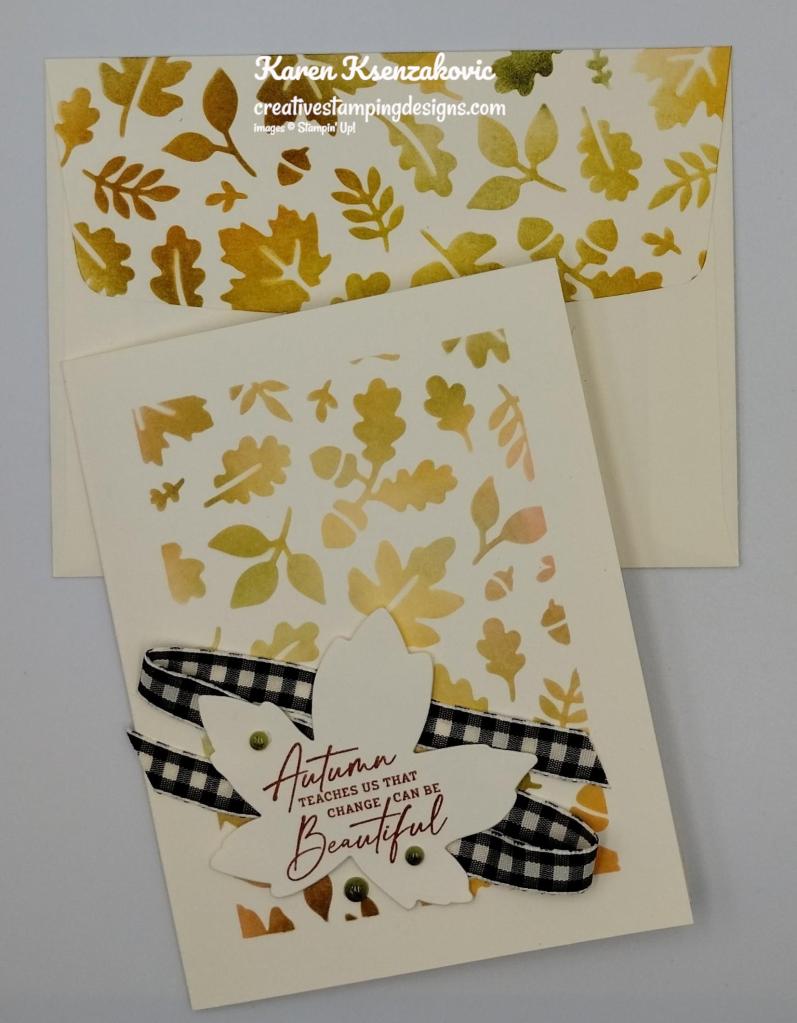
To complete the card, decorate a Basic White Medium Envelope. Randomly stamp the leaf images from the Caring Leaves stamp set on the envelope front and flap the same as for the card front. Randomly stamp the splatter image from the Layering Leaves stamp set in Pretty Peacock Ink.
Thank you for stopping by my blog today. Now that you’ve seen my card, let’s get on with the hop! Click the button below to hop over to see what Tara has created today. Happy Hopping!

Just in case you get lost along the way, here is a list of the team members involved in the hop today.
Karen Ksenzakovic You Are Here
*********************************************************************************************************
If you need any stamping supplies, I’d love to be your Demonstrator. Just click HERE to go directly to my online store or drop me an email if you have any questions.
MY CURRENT HOST CODE IS: EPRVU3FN
Use this Host Code when placing ALL orders with me up to $149. When you order $50 or greater you will receive a free gift from me but only if you remember the Host Code! If your order is over $150, please do not use this code, but you’ll still get the free gift. The free gift is your choice of any 1 item valued up to $10.00 from the 2024-2025 Annual Catalog, or from the Online Exclusives! You MUST use the Host Code to earn this!! For any orders $50 or more I will also send you my monthly class tutorials. Click HERE or go to my Customer Rewards for more details and to see what this month’s tutorials are.
Please remember to use my current Host Code and make sure that you can see my name on the final checkout page listed as your Demonstrator when you order so that you know that you’re ordering with me, and you’ll get my rewards!
Happy Stamping, Karen
*********************************************************************************************************
2 New Kits Available
Kits by Stampin’ Up! are perfect for new crafters, busy crafters, or crafters who want quick and easy projects. All-inclusive project kits have everything you need in one box! Give as a gift or try them yourself. Kits are while supplies last. Order today!
Christmas Ornaments Kit
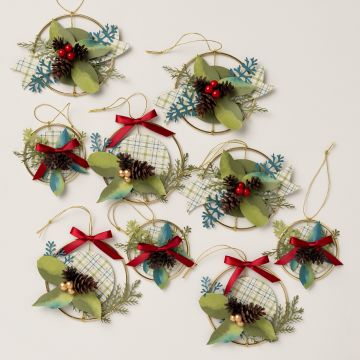
Get into the Christmas spirit with our Christmas Ornaments Kit! This craft kit comes with everything you need to make 9 beautiful Christmas ornaments, including precut paper greenery, pinecones, bright berries, and festive details. Whether you gift it to a friend or keep it for yourself, this kit is the perfect solution for quick and easy Christmas crafting projects.
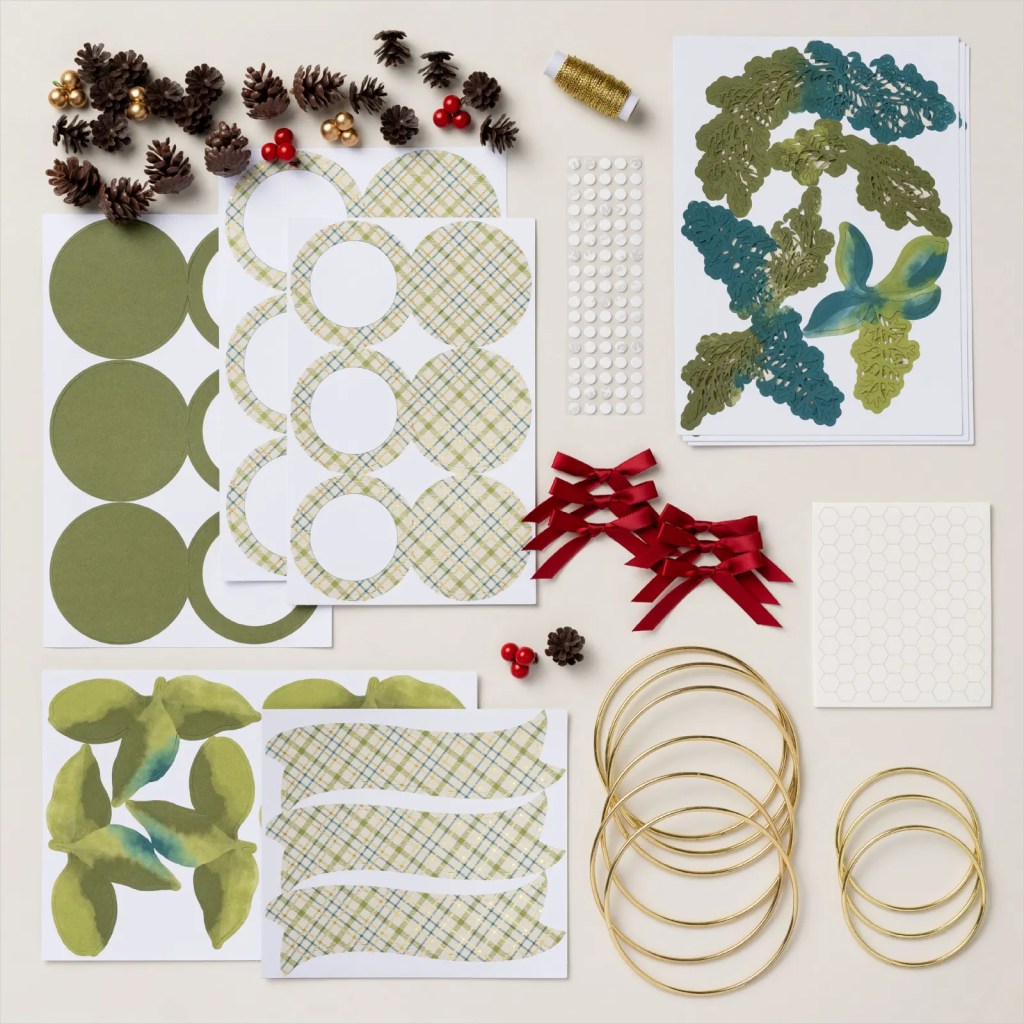
Kit includes:
* Predesigned projects
* Step-by-step instructions
* Precut pieces (No prep work! Get right to crafting)
* Makes 9 4″ (10.2 cm) & 3″ (7.6 cm) metal ring ornaments: 3 each of 3 designs
* Enough adhesive to complete projects (or use hot glue for easier assembly; hot glue not included.)
* Plastic pinecones and faux berries
* Pre-tied satin bows
* Metallic string
* A 9-7/8″ x 6-1/2″ x 2-3/4″ (25.1 x 16.5 x 7 cm) printed designer box for storage or crafting on the go
Featured colors: Basic Beige, brown, Cherry Cobbler, gold, Mossy Meadow, Old Olive, Pretty Peacock
#164378 $25
++++++++++++++++++++++++++++++++++++++++++++++++++++++++++++++++++++++
Card Keeper Kit
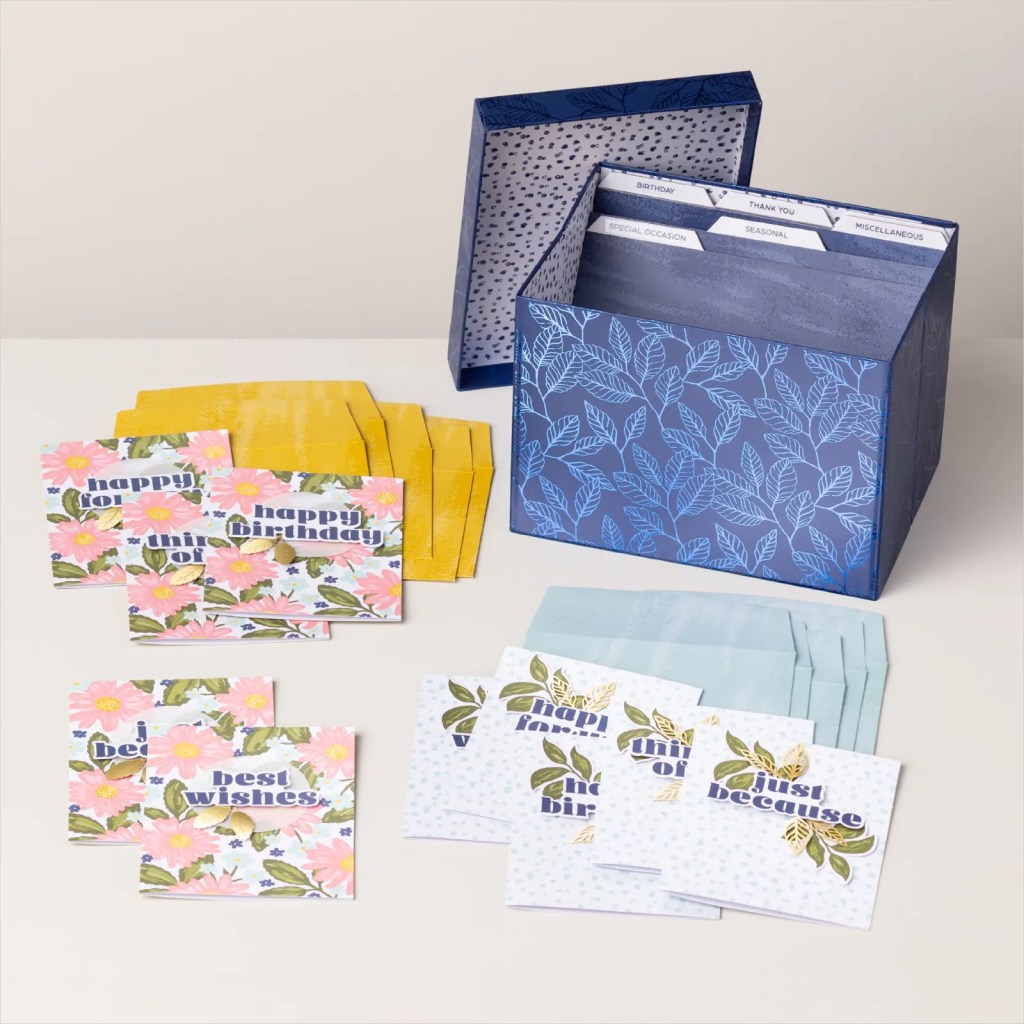
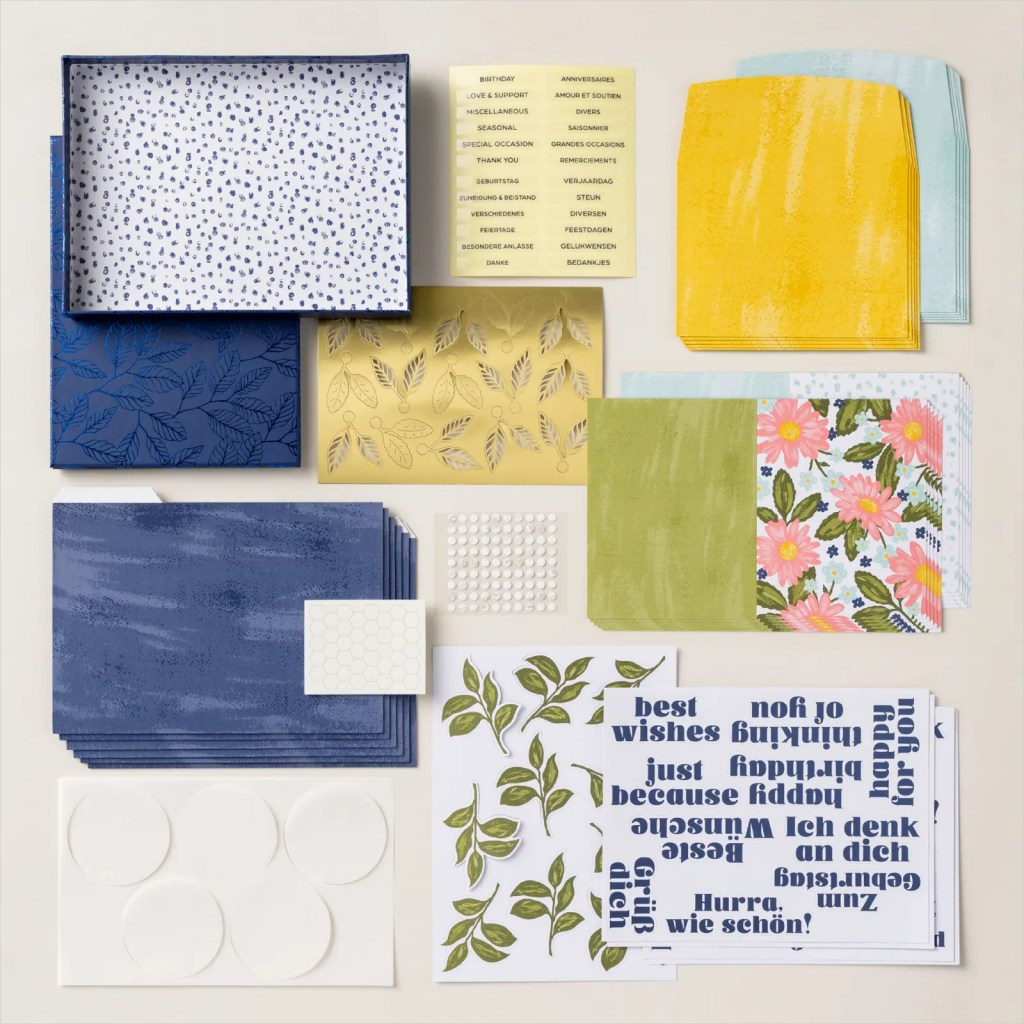
Step up your handmade card collection with our Card Keeper Kit! This kit comes with everything you need to make 10 beautiful all-occasion cards. With a variety of sentiments, you can create an assortment of cards fit for birthdays, saying thanks, and more. And don’t miss the coordinating card container! This cute storage option is the perfect solution for keeping these all-occasion cards organized and ready to go. The printed sentiments are available in Dutch, English, French, and German.
Kit includes:
* Predesigned projects
* Step-by-step instructions
* Precut pieces (No prep work! Get right to crafting)
* Makes 10 cards: 5 each of 2 designs, and 1 card container (includes lid)
* Folded card size: 5-1/2″ x 4-1/4″ (14 x 10.8 cm)
* Card container size: Approx. 8-1/4″ x 6-1/4″ x 6″ (21 x 15.9 x 15.2 cm)
* 10 preprinted envelopes
* Enough adhesive to complete projects
* A 9-1/8″ x 6-3/4″ x 1-7/8″ (23.2 x 17.2 x 4.8 cm) printed designer box for storage or crafting on the go
Featured colors: Crushed Curry, Flirty Flamingo, Mossy Meadow, Night of Navy, Old Olive, Pool Party
#164377 $25
********************************************************************************************************
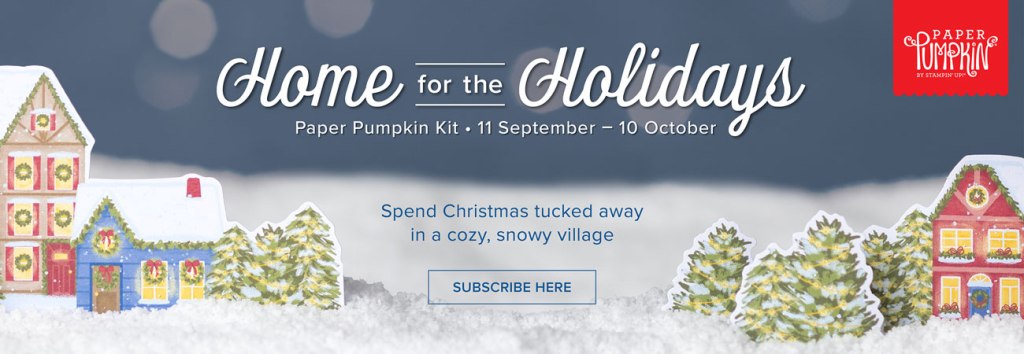
Autumn Abundance
Subscribe August 11 – September 10
Subscribe to Paper Pumpkin for a monthly, all-inclusive crafting kit that’s a fun surprise! Each kit includes a photopolymer stamp set, Classic Stampin’ Spot, and step by step instructions to complete exclusive paper craft projects, including cards, tags, and gift
packaging. And don’t miss the special add-on that coordinates with the next three months!
Share your love for all things autumn with this kit! Don’t miss the whimsical, water colored ephemera pack with this month’s Paper Pumpkin!

• Makes 9 cards, 3 each of 3 designs
• Project includes printed cards and coordinating envelopes
• Laser cut card fronts, ephemera pack, and embellishments
• Coordinating colors: Cajun Craze (Classic Stampin’ Spot), Crushed Curry, Poppy
Parade, Pumpkin Pie, Very Vanilla, Wild Wheat
*********************************************************************************************************
Don’t miss the coordinating
Every Celebration Dies Add-On!

This exclusive add-on (item 164991) coordinates with the three upcoming kits! Paper Pumpkin subscribers can purchase it beginning 11 July. The add-on is available only while supplies last, so it’s best to shop early!
Subscribe to the September Paper Pumpkin Kit between 11 August and 10 September by clicking here!
Note: Supplies may be limited toward the end of the subscription period.
*********************************************************************************************************
Card stock cuts for this project:
- Basic Beige Cardstock 2 – 4″ X 5 1/4″(card front & inner liner), 2 1/2″ X 3 3/4″ & 2 1/2″ X 3 1/4″ (card front panels)
- Cherry Cobbler Cardstock 54 1/2″ X 8 1/2″(card base scored & folded at 4 1/4″), 2 3/4″ X 4″ & 2 3/4″ X 3 1/2″(card front panel mats)
- Pretty Peacock Cardstock 4 1/8″ X 5 3/8″ (inner liner mat)
*********************************************************************************************************
Product List
")
")
")


")
")


")
")


 Specialty Paper")


 Specialty Designer Series Paper")


")

 Textured Ribbon")


")


 Large Check Ribbon")


 Specialty Designer Series Paper")
 Specialty Designer Series Paper")


")
")


 Gingham Ribbon")