
Good Sunday morning stamping friends. How is everyone’s weekend going? Yesterday was a real washout here in NJ. It rained from 2am till about 4pm and three were floods everywhere. It was a perfect day to stay in and craft, but unfortunately I had to go to work. Today is supposed to be sunny, we’ll see what happens.
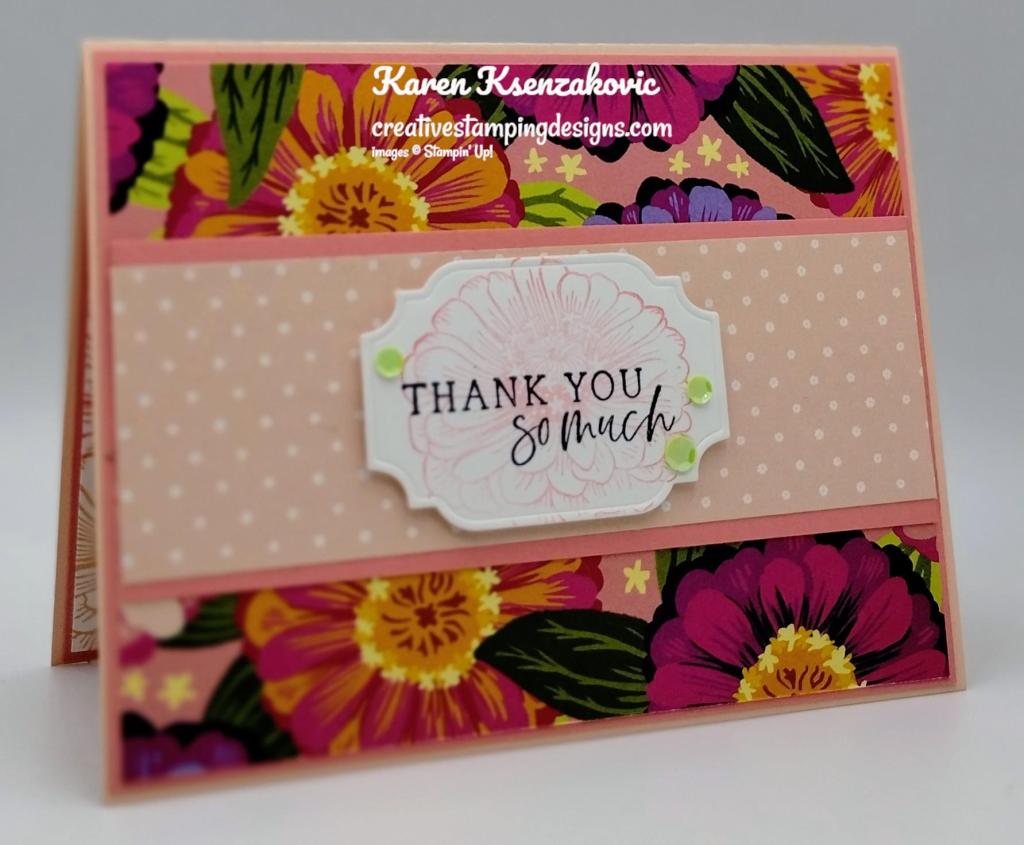
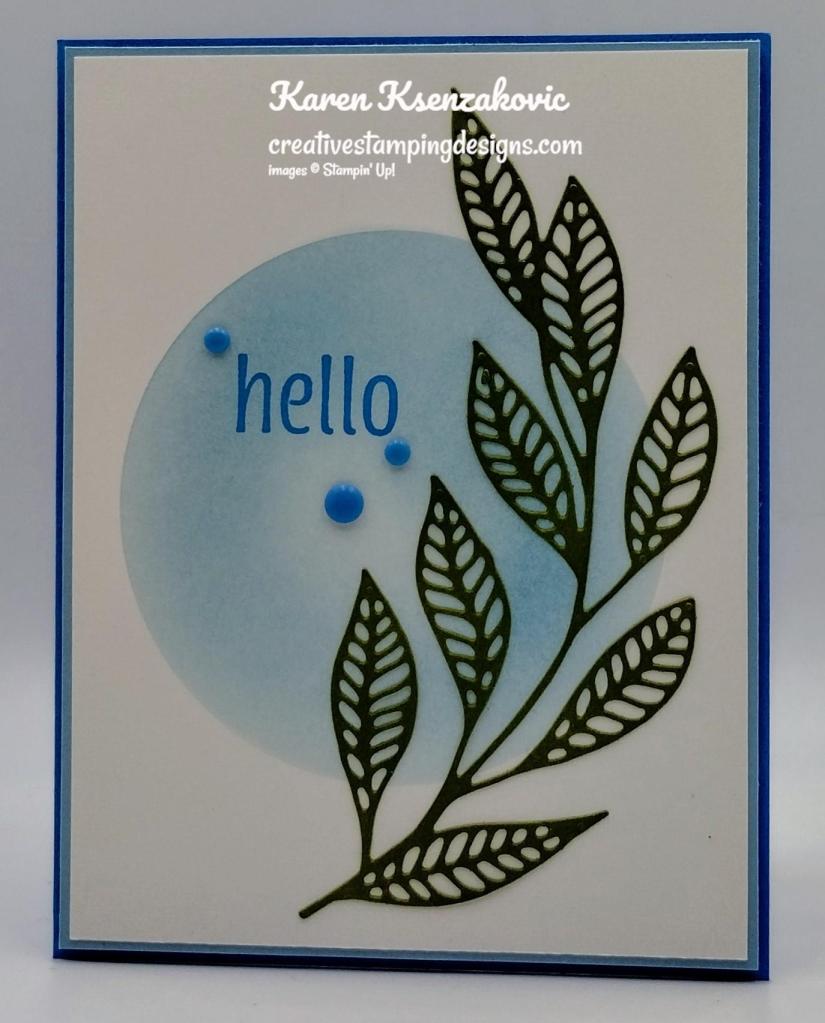
I have a sneak peek for you today of a gorgeous set coming in the 2024-2o25 Annual Catalog. This set comes as a bundle, but I only used the stamp set. If you’d like to see a quick video on how I made this card, Click Here to go to my Instagram Reels. Here’s my card for today.

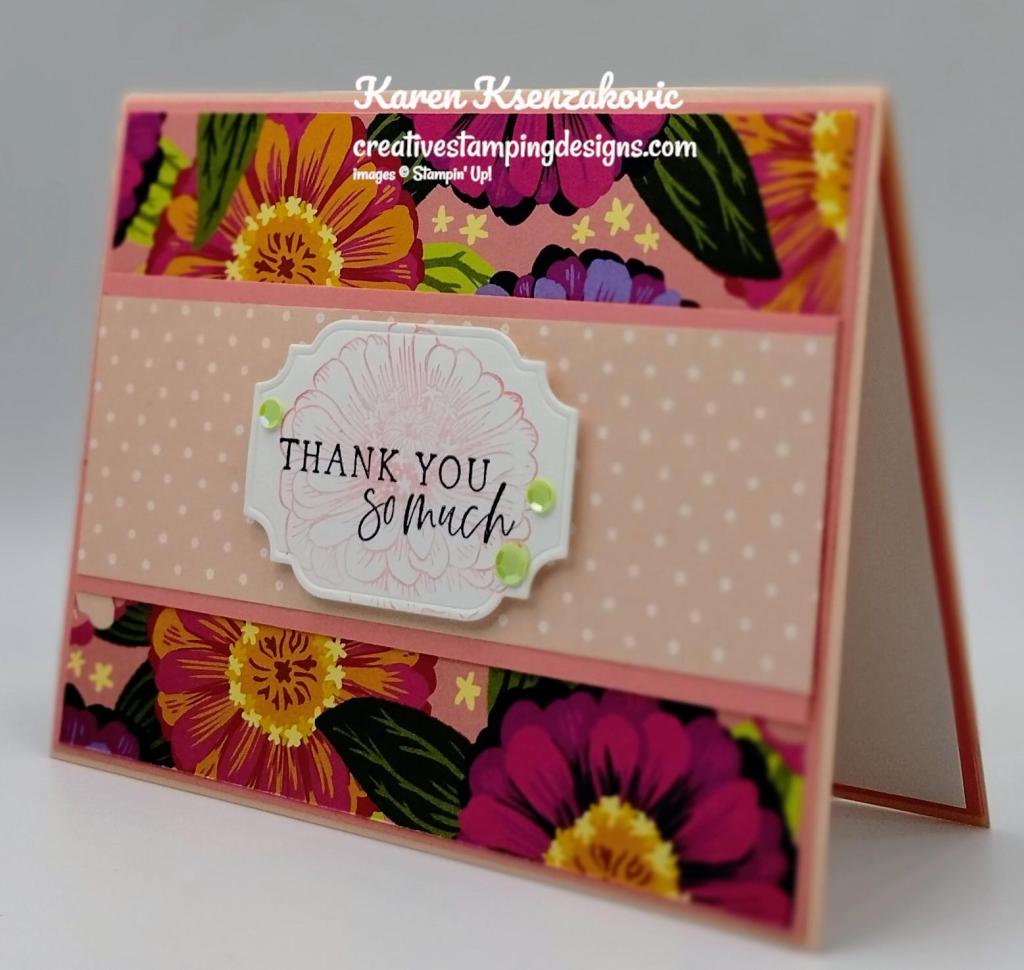
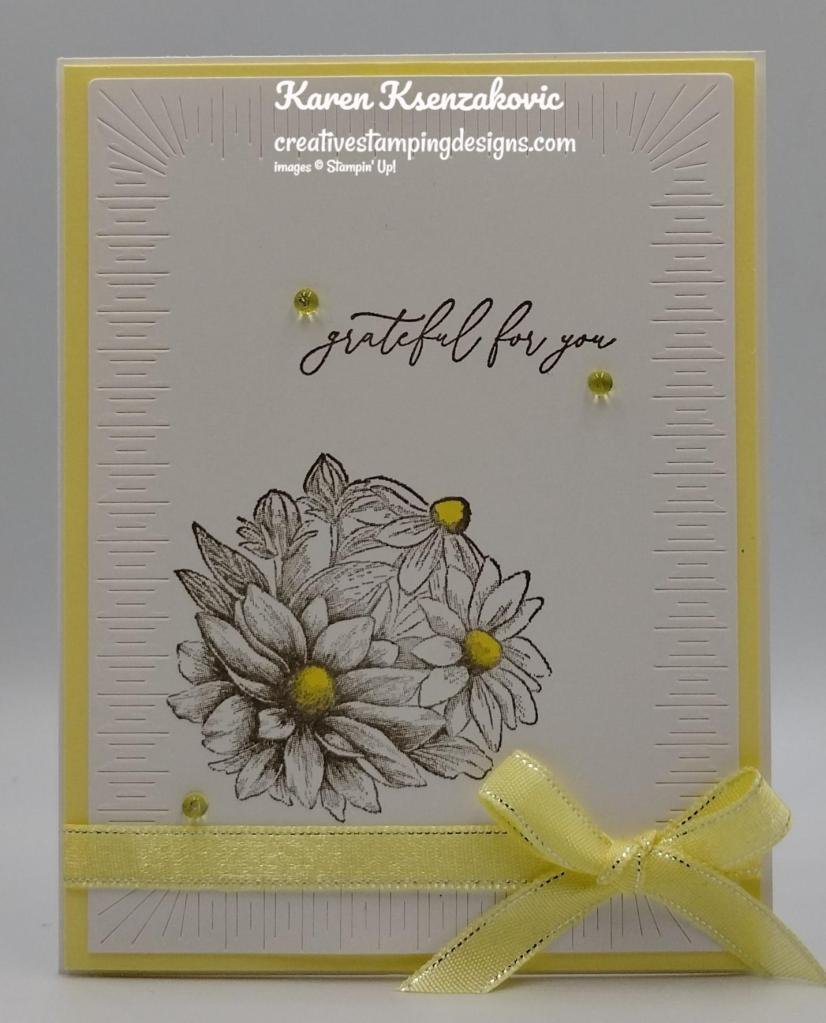
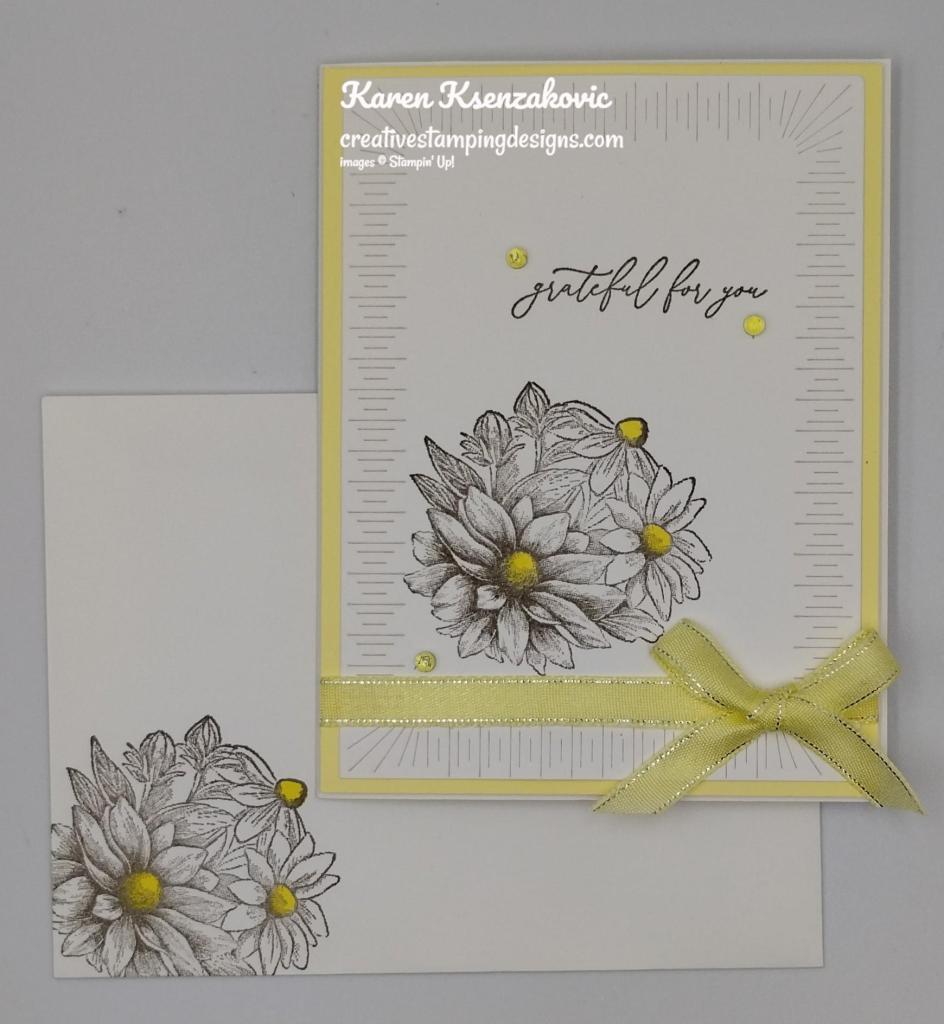
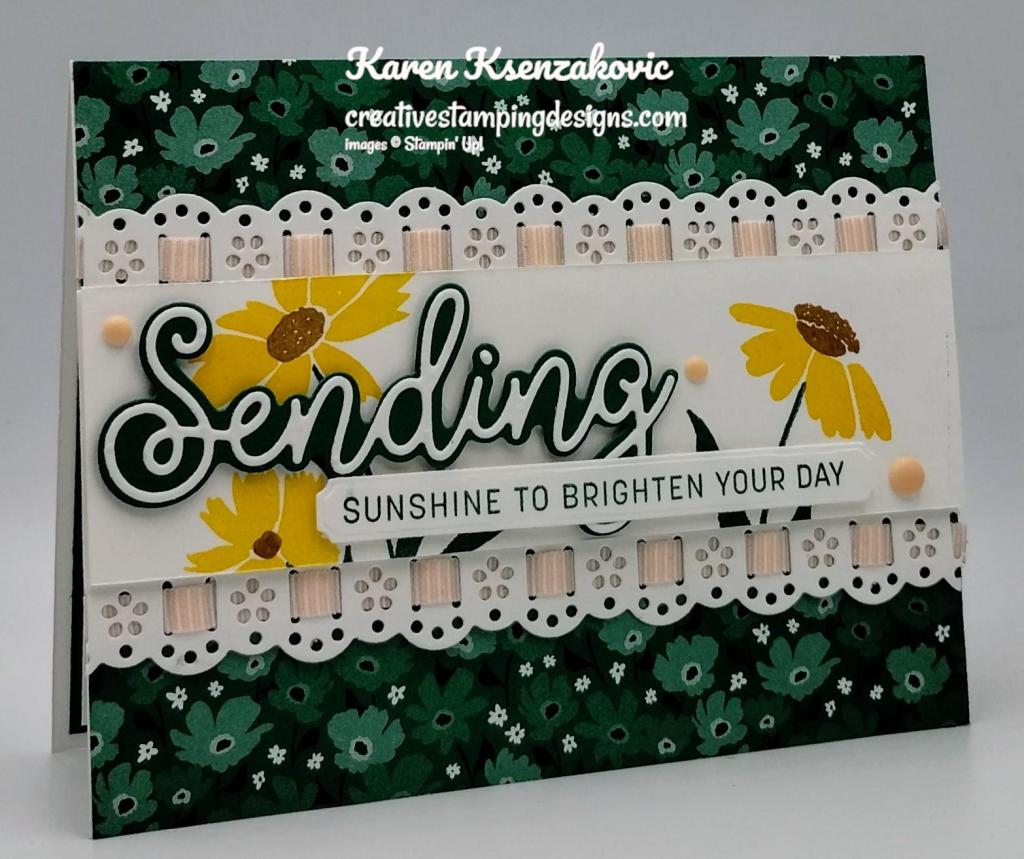
I used the new Stampin’ Up! Layers of Beauty Photopolymer Stamp Set which will be available starting May 1st, along with the Distressed Tile 3D Embossing Folder for my card today.
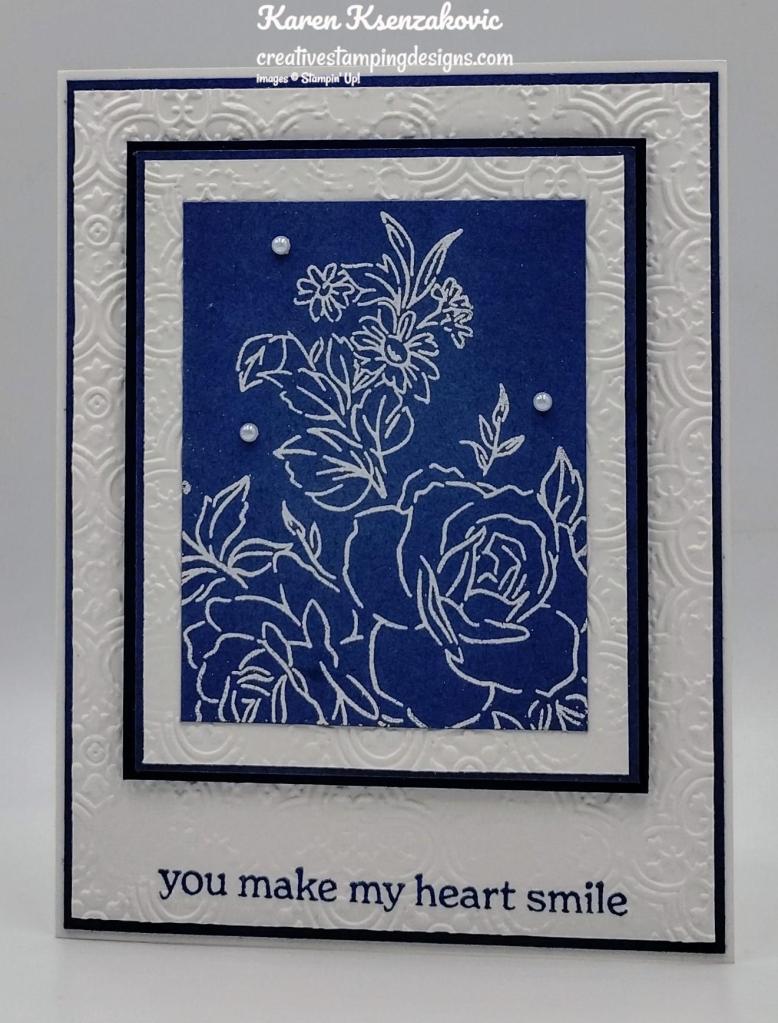
I started by stamping the sentiment from the Layers of Beauty stamp set in Misty Moonlight Ink on the bottom of the 4″ X 5 1/4″ card front panel. I embossed the panel using the Distressed Tile EF. I adhered the embossed panel to a Misty Moonlight mat using Liquid Glue then to a Basic White Thick card base using Liquid Glue.

On a panel of Misty Moonlight, I stamped the large flower image from the Layers of Beauty stamp set in Versamark Ink. I sprinkled it with White Embossing Powder and set it using the Heat Tool. I embossed the smaller Basic White panel using the Distressed Tile EF. I adhered the Misty Moonlight panel to the embossed panel using Liquid Glue.
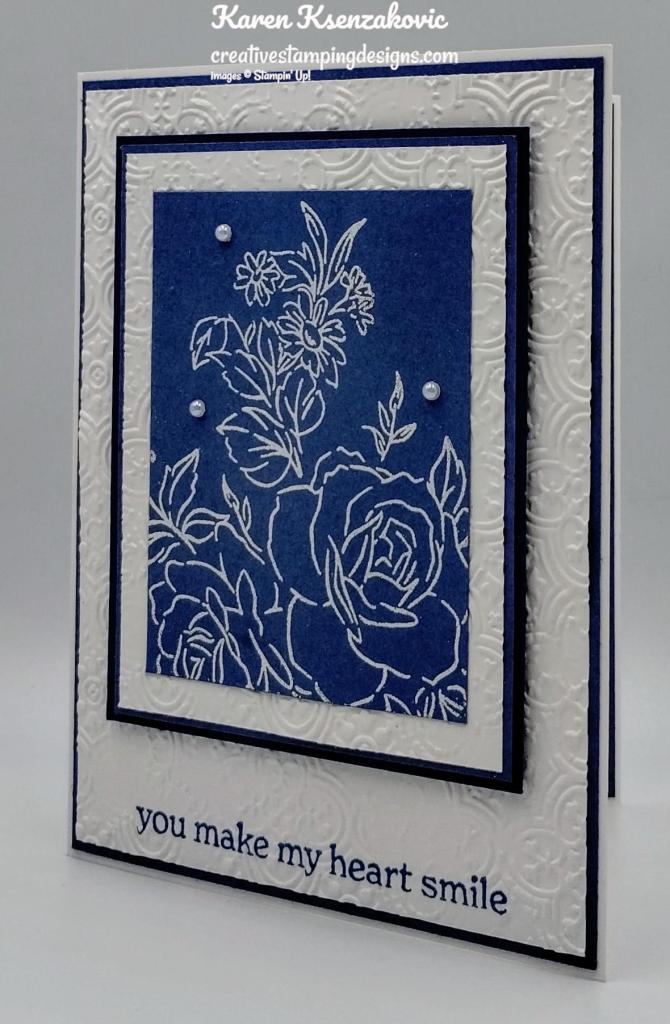
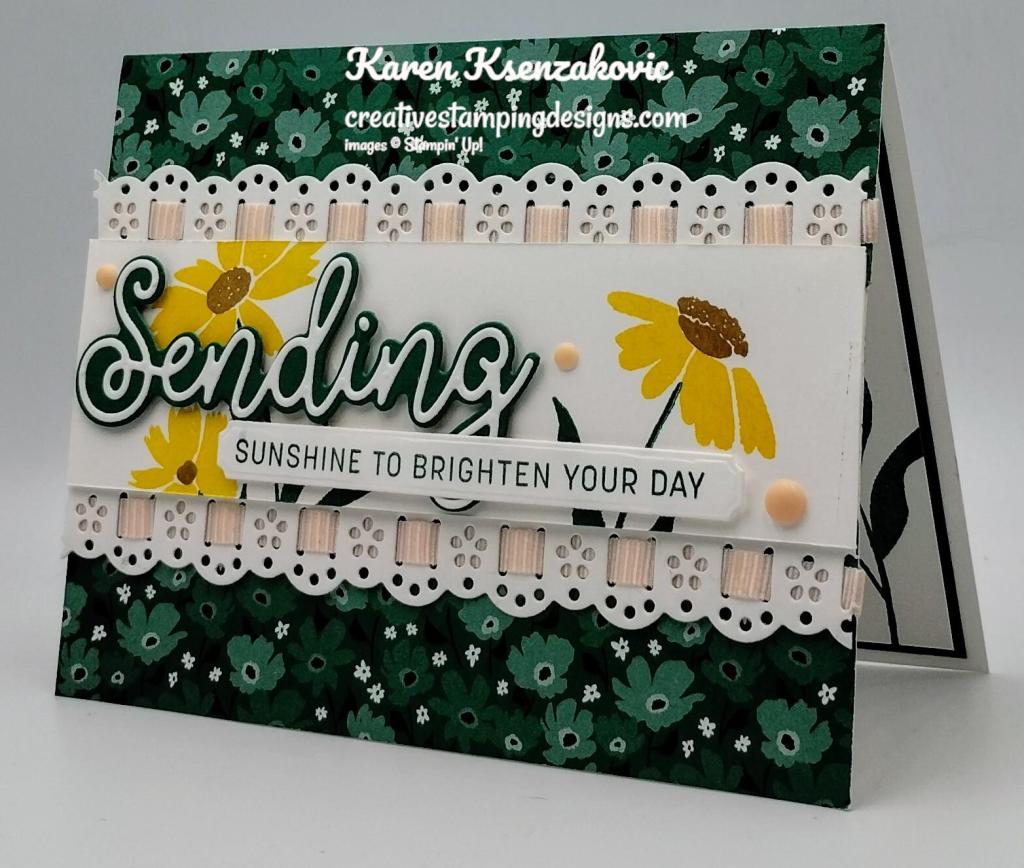
I adhered the layered panel to a Misty Moonlight mat using Liquid Glue. I adhered the layered panel to a Night of Navy mat using Stampin’ Seal. I adhered the multi-layered panel to the card front using Stampin’ Dimensionals. I added a few Iridescent Pearls Basic Jewels to the card front.

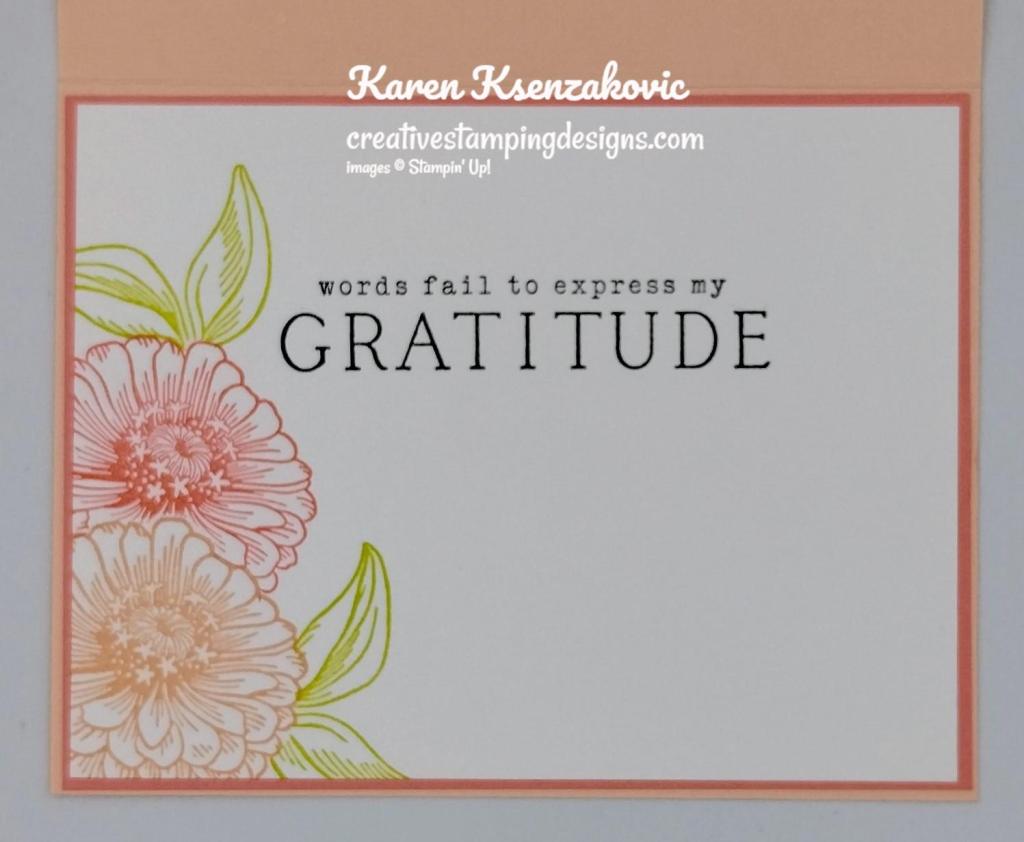
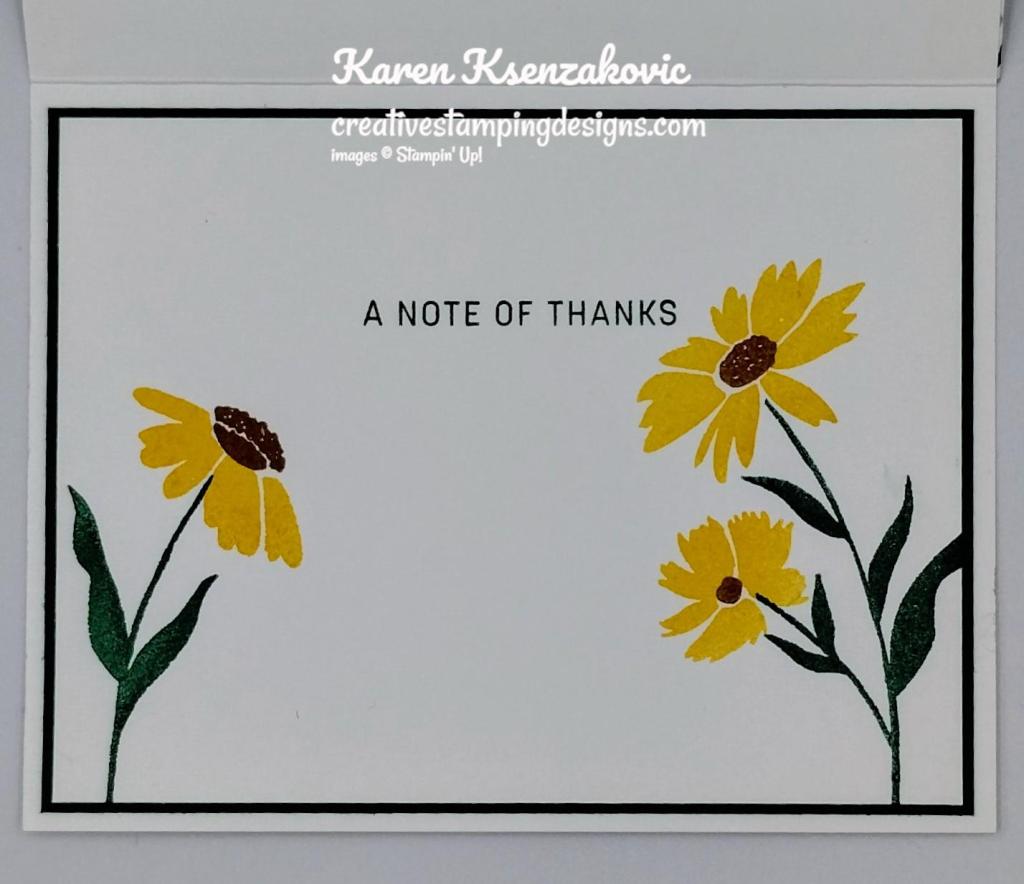
On the inside, I stamped the sentiment from the Layers of Beauty stamp set in Misty Moonlight Ink. I stamped the top of the large flower image from the Layers of Beauty stamp set in Misty Moonlight Ink on the bottom of the panel. I adhered the Basic Whtie panel to a Misty Moonlight mat then to the inside of the Basic Whtie Thick card base.
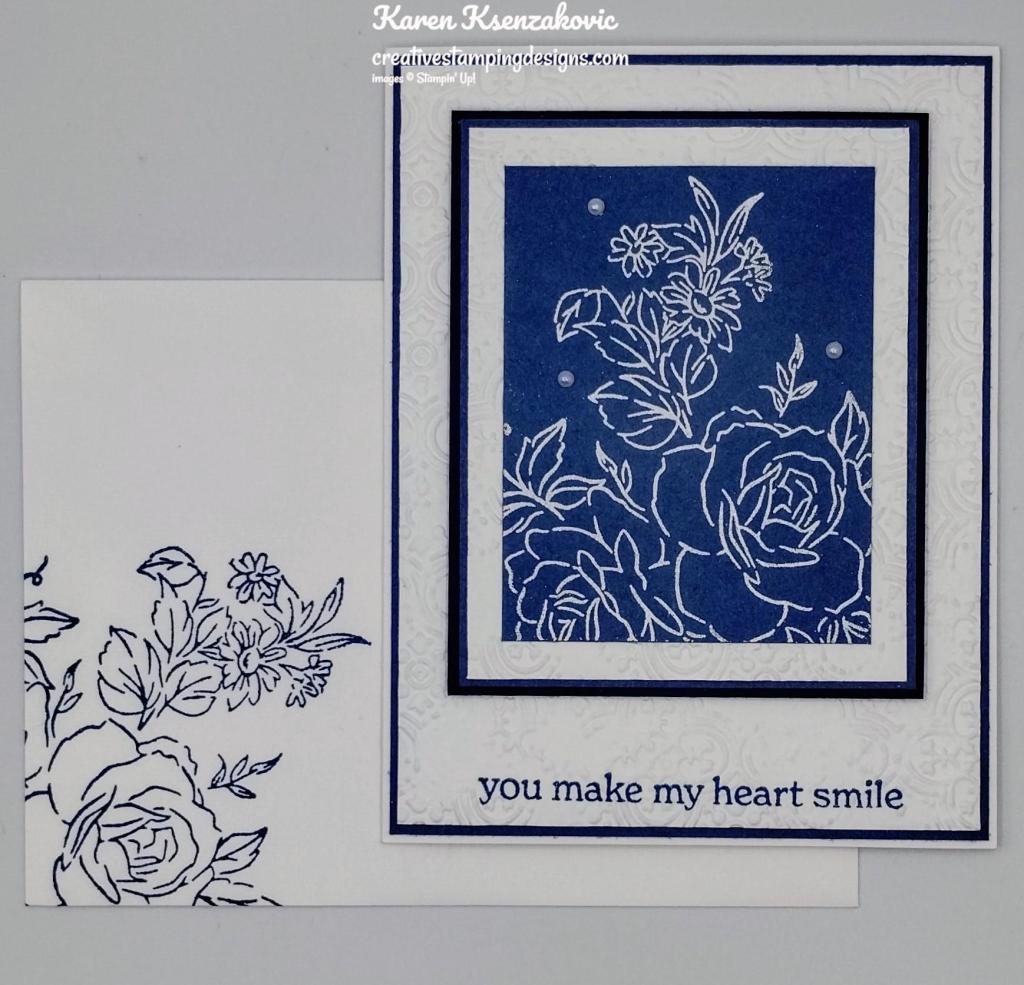
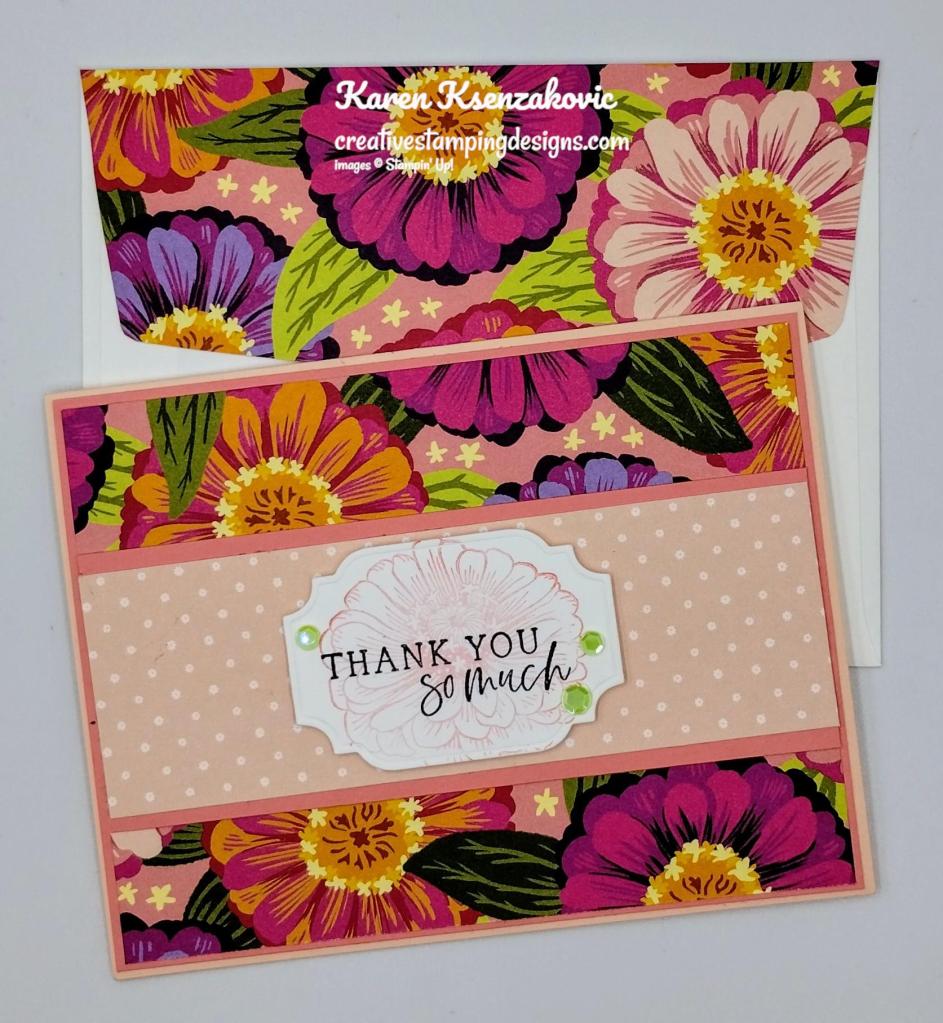
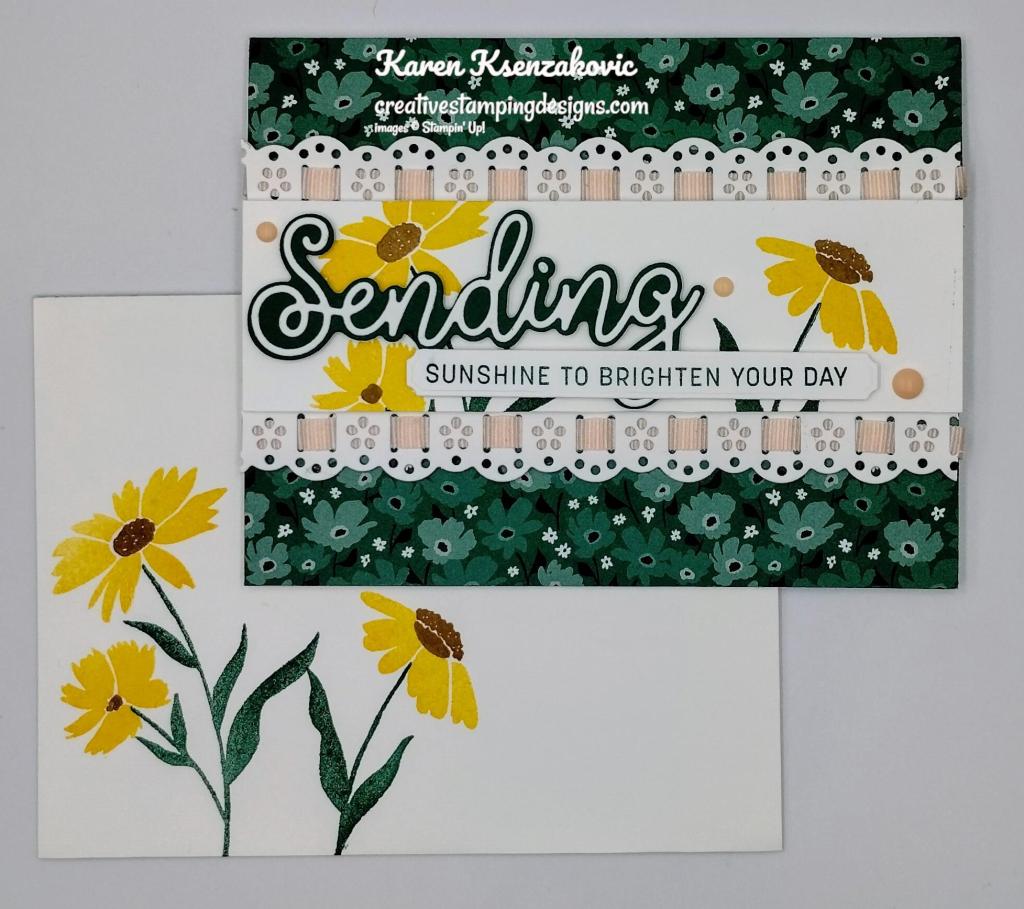
To finish my card, I decorated a Basic Whtie Medium Envelope. I stamped the large flower image from the Layers of Beauty stamp set in Misty Moonlight Ink on the envelope front and flap.

Thank you for stopping by my blog today. I hope you like this card and this set will be on your wish list. It comes as a bundle with dies and masks to color with blending brushes. Happy Stamping!!
*********************************************************************************************************
If you need any stamping supplies, I’d love to be your Demonstrator. Just click HERE to go directly to my online store or drop me an email if you have any questions.
MY CURRENT HOST CODE IS: GVPUUBAZ
Use this host code when placing an order with me. When you order $50 or greater you will receive a free gift from me! If your order is over $150, please do not use this code, but you’ll still get the free gift. The free gift is your choice of any 1 item valued up to $10.00 from the 2023-2024 Annual Catalog, the January-April 2024 Mini Catalog or from the Online Exclusives! Unfortunately, packs of cardstock are no longer an option for a free gift. Shipping has become too expensive to ship and it’s costing me as much to ship as the cardstock costs. For any orders $50 or more I will also send you my monthly class tutorials. Click HERE or go to my Customer Rewards for more details and to see what this month’s tutorials are.
Please remember to use my current Host Code and make sure that you can see my name on the final checkout page listed as your Demonstrator when you order so that you know that you’re ordering with me, and you’ll get my rewards!
Happy Stamping, Karen
*********************************************************************************************************
In response to changing policies at Stampin’ Up – I’m adjusting my Ordering Gift policy as well. I’m having to get a little more tough on the adding of Host codes when you place your order thru my Online Store.
Not to worry – you’re still going to get that $10 ordering gift for orders of $50 (before shipping & tax) or greater. And the gift is still any 1 SU! product up to that $10 value – which includes some of our fun Host Sets!
But – if you DO NOT use the Host code for your orders of less than $150 (this is the RETAIL total before Shipping & Handling), then you’ll have two options:
- You’ll need to call Stampin’ Up! (1-800-Stamp-Up) and ask them to add it for you. They’re very helpful and will get it done quickly! OR….
- If your order was over the $50 threshold but under $150, then…you’ll forfeit that $10 ordering gift and rewards – this is the Bummer Option – and I REALLY don’t want to do this, SO please remember to add my Current Host Code.
*********************************************************************************************************
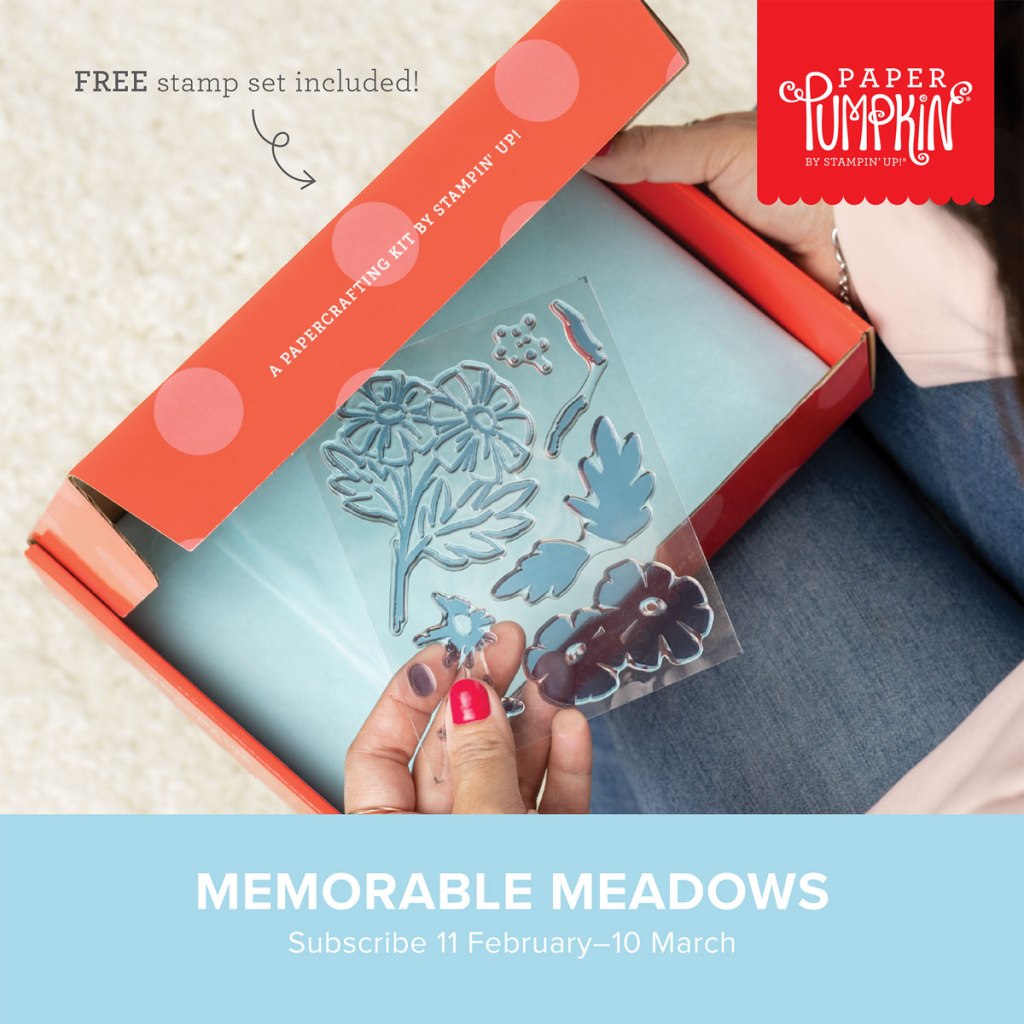
Delicate Wings
Subscribe March 11 – April 10
Subscribe to Paper Pumpkin for a monthly, all-inclusive crafting kit that’s a fun surprise! Each kit includes a photopolymer stamp set, Classic Stampin’ Spot, and step by step instructions to complete exclusive paper craft projects, including cards, tags, and gift
packaging. And don’t miss the special add-on that coordinates with the next three months!

Send elegant words of encouragement and support to those you love.
- Makes 9 cards: 3 each of 3 designs with 9 coordinating envelopes
- Precut paper pieces and butterfly designs
- Champagne foil images, sentiments, and labels
- Coordinating colors: Lost Lagoon, Moody Mauve, Basic Beige, Basic Gray
(Classic Stampin’ Spot), Basic Black, champagne foil
Thanks and Beyond Add On Dies

Dies #164397 Price $12.00
This exclusive add-on coordinates with the three upcoming kits! Paper Pumpkin subscribers can purchase it beginning 11 March. The add-on is available only while supplies last, so it’s best to shop early!
Subscribe to the April Paper Pumpkin Kit between 11 March and 10 April by clicking here!
Note: Supplies may be limited toward the end of the subscription period.
*********************************************************************************************************
Card stock cuts for this project:
- Basic White Cardstock 2 – 4″ X 5 1/4″ (card front panel & inner liner), 3″ X 3 3/4″ (card front panel)
- Basic White Thick Cardstock 5 1/2″ X 8 1/2″ (card base scored & folded at 4 1/4″)
- Misty Moonlight Cardstock 2 – 4 1/8″ X 5 3/8″ (card front & inner laienr mats), 3 1/8″ X 3 7/8″ & 2 1/2″ X 3 1/4″ (card front mats)
- Night of Navy Cardstock 3 1/4″ X 4″ (card front mat)
*********************************************************************************************************
Product List


")


")


 Designer Series Paper")


")


")


 Sheer Ribbon Combo Pack")


")
")

 Designer Series Paper")


")


 Designer Series Paper")


")
")


 Specialty Designer Series Paper")


