
Good Saturday morning stamping friends and welcome to the weekend. I hope you are making some plans for the weekend. I’ll be at work all day today and last I heard it’s supposed to be a thunderstorm kind of day.
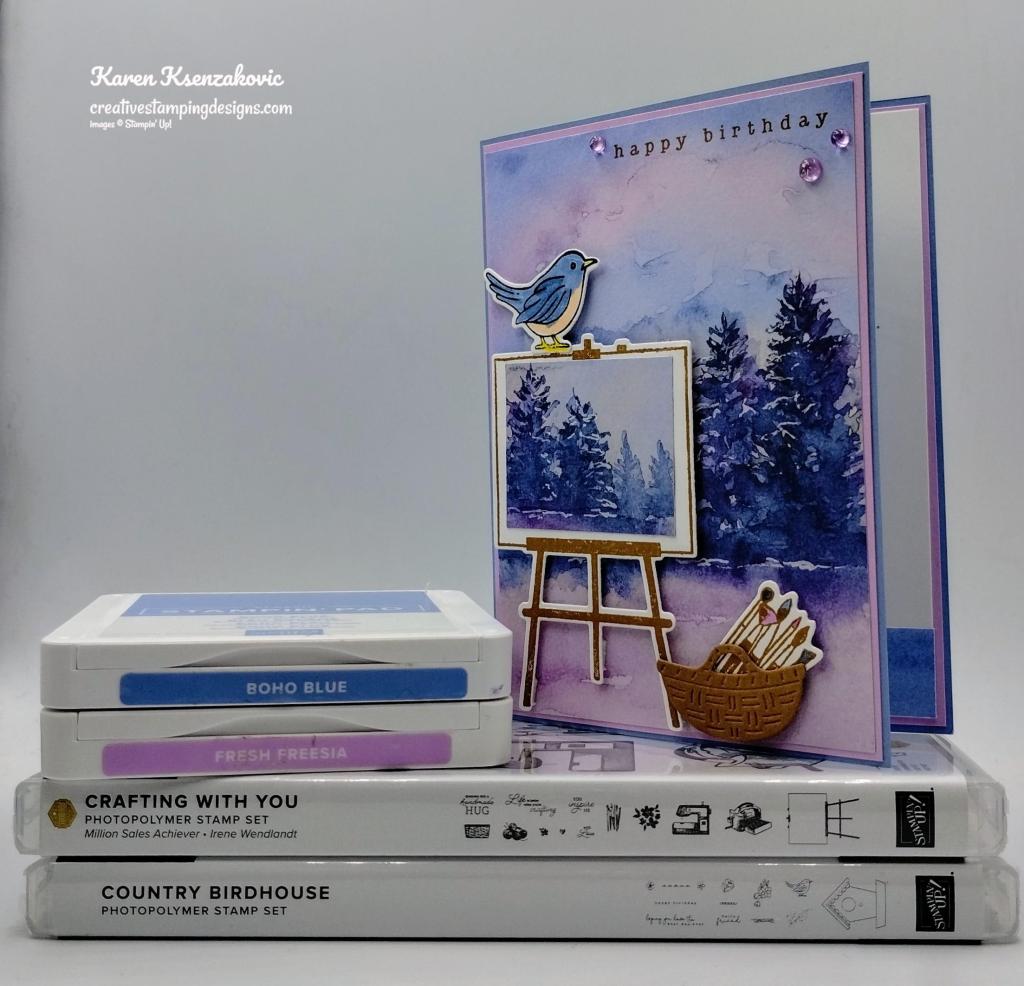
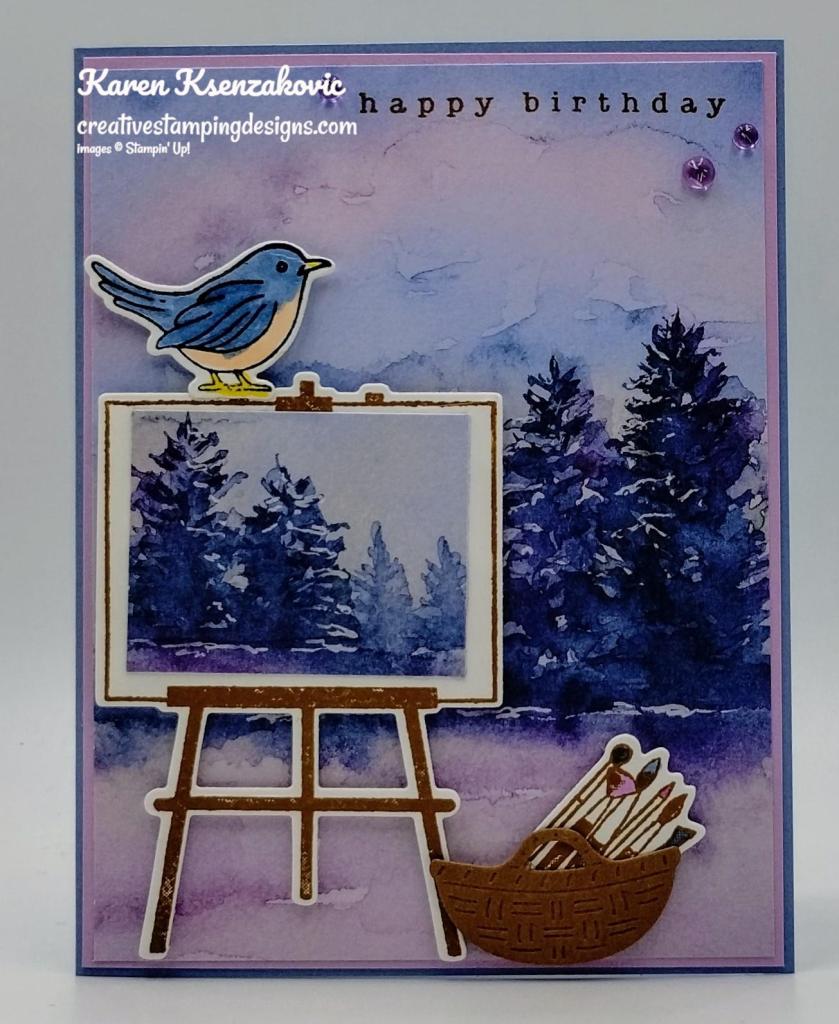
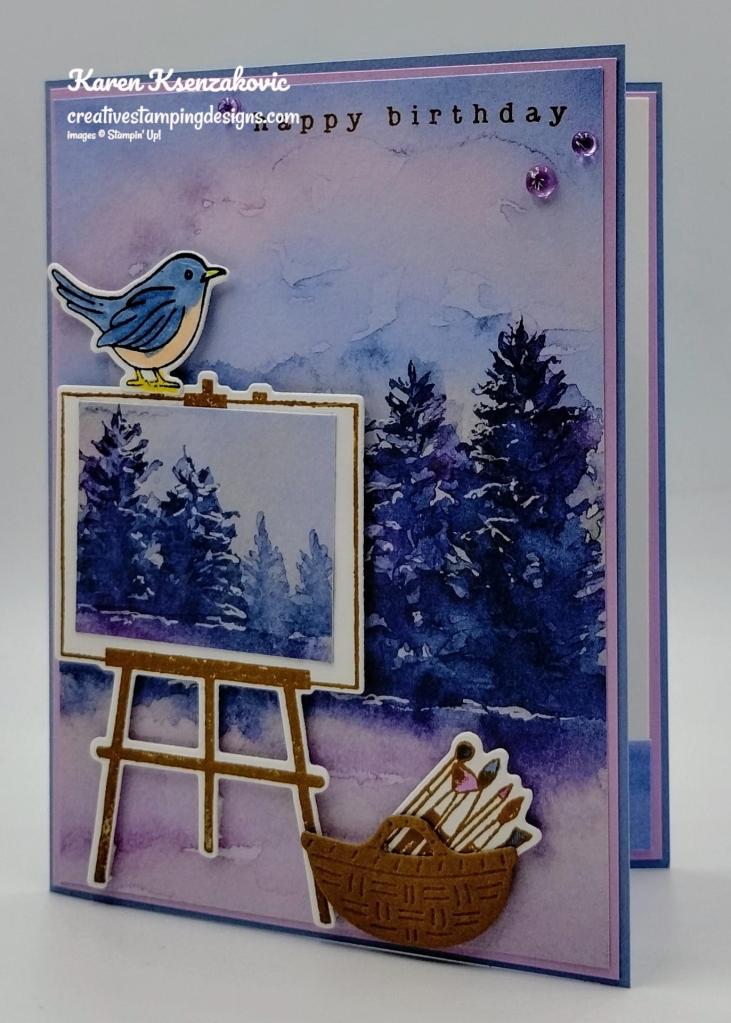
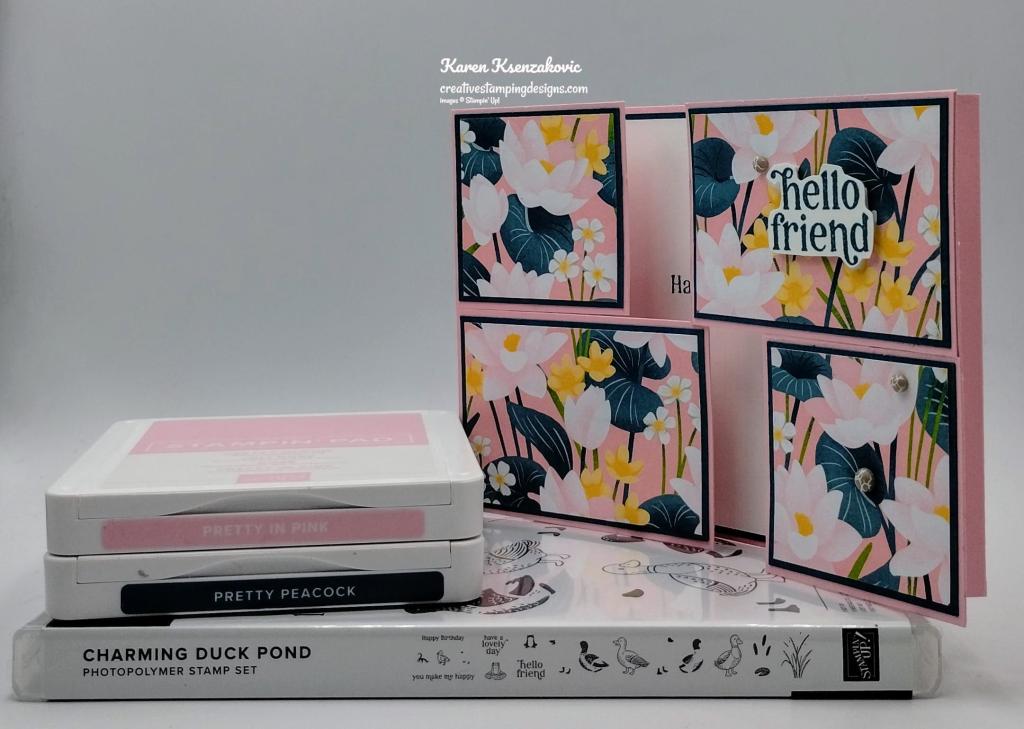
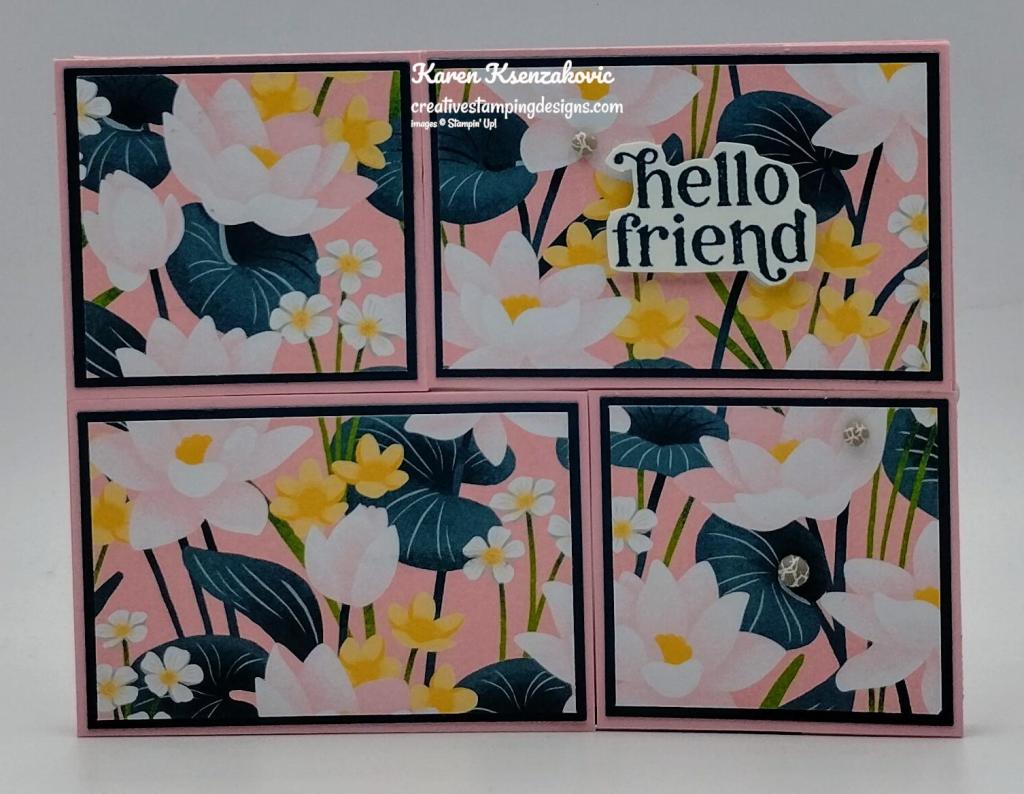
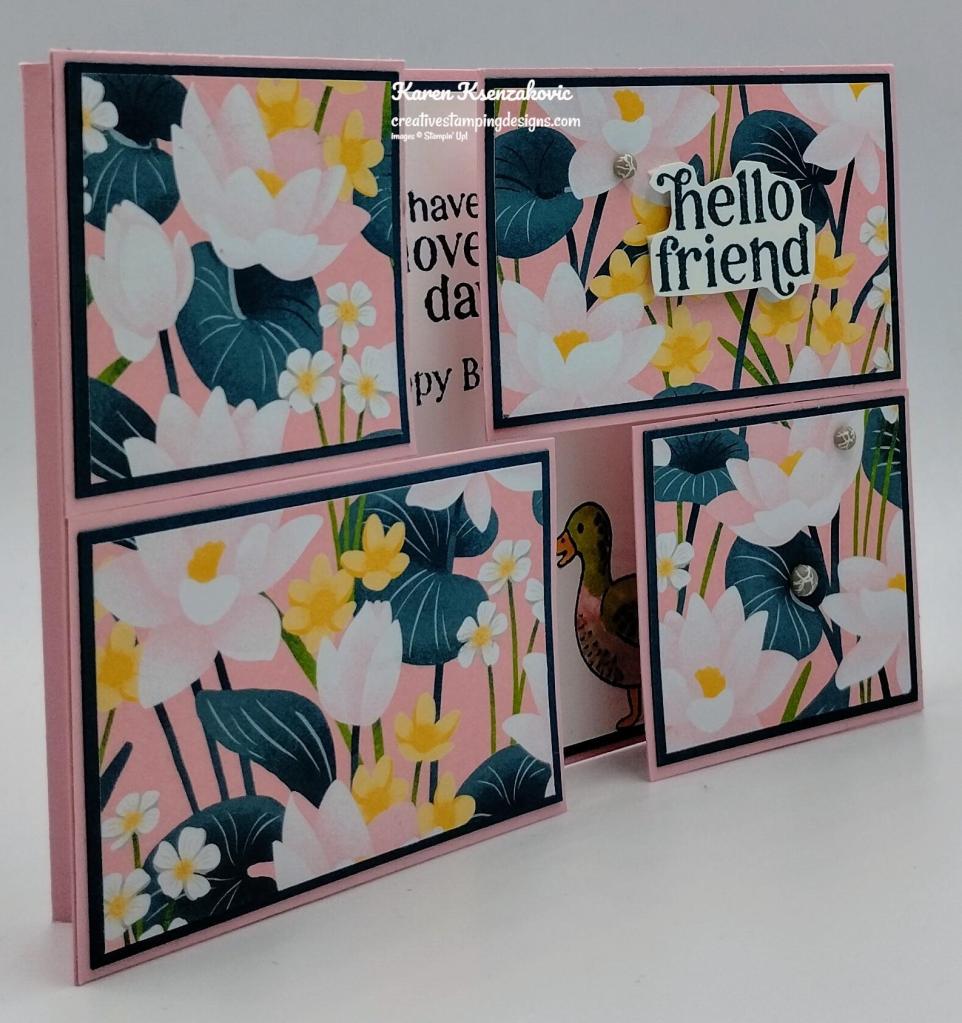
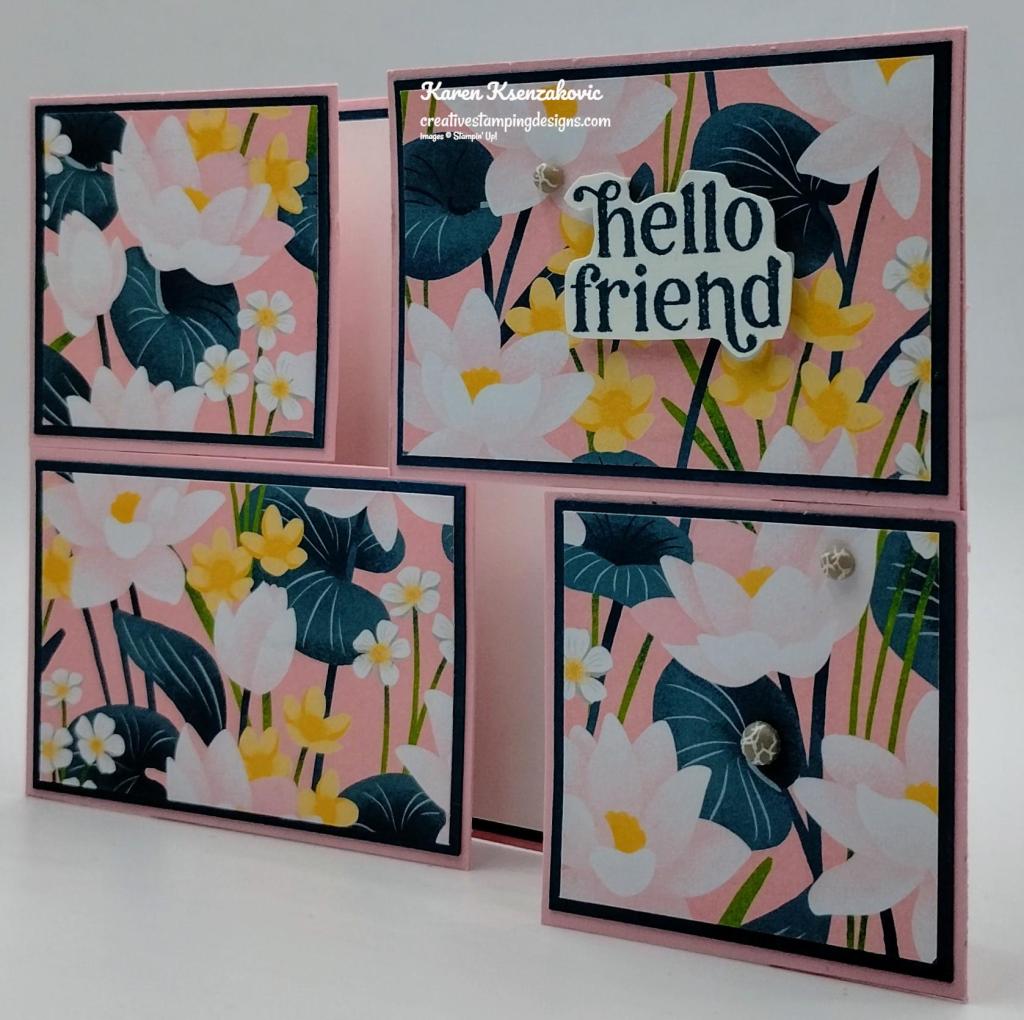
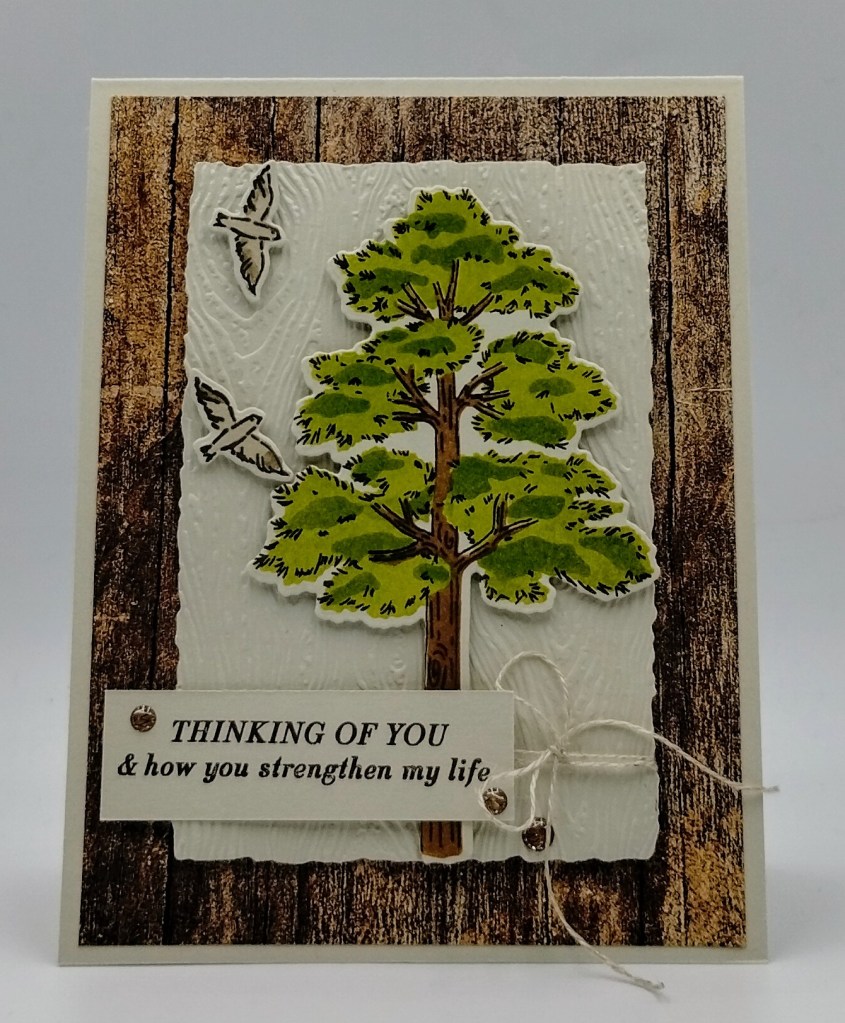
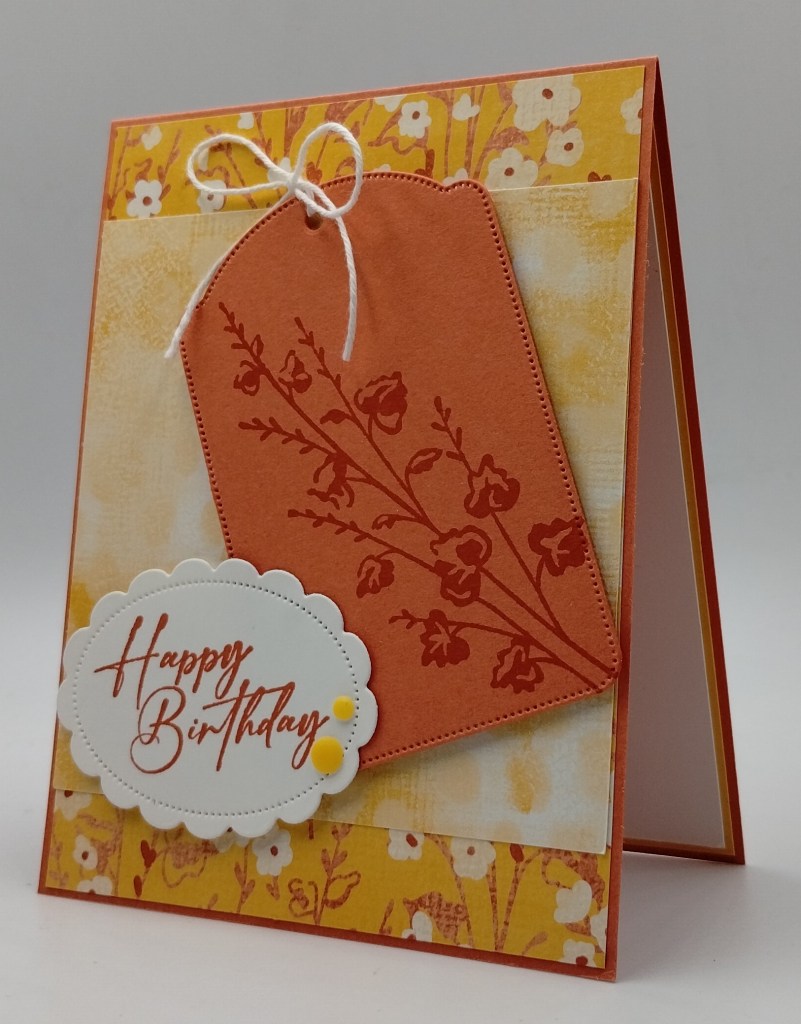
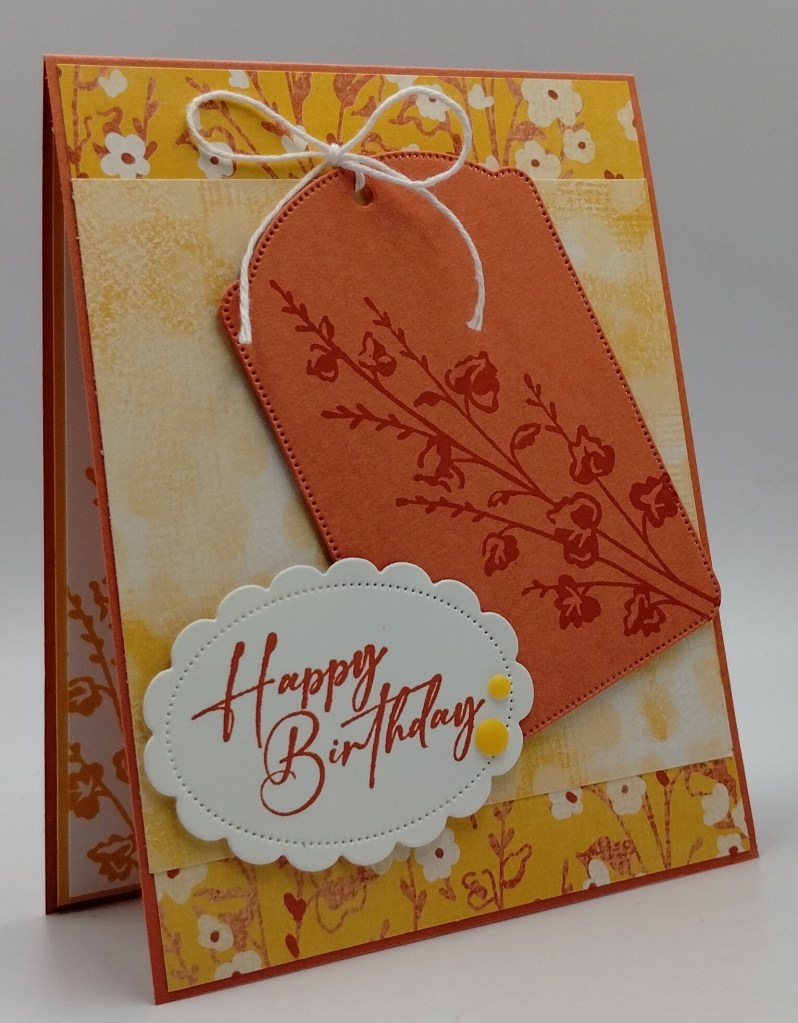
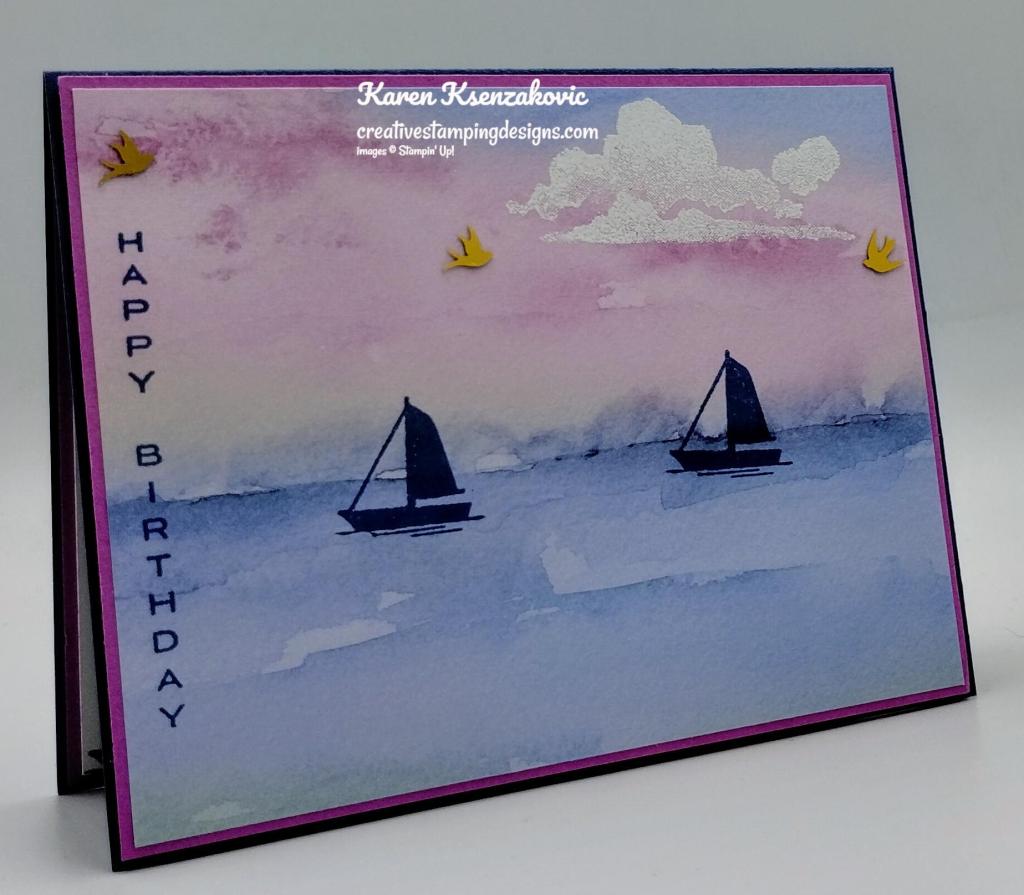
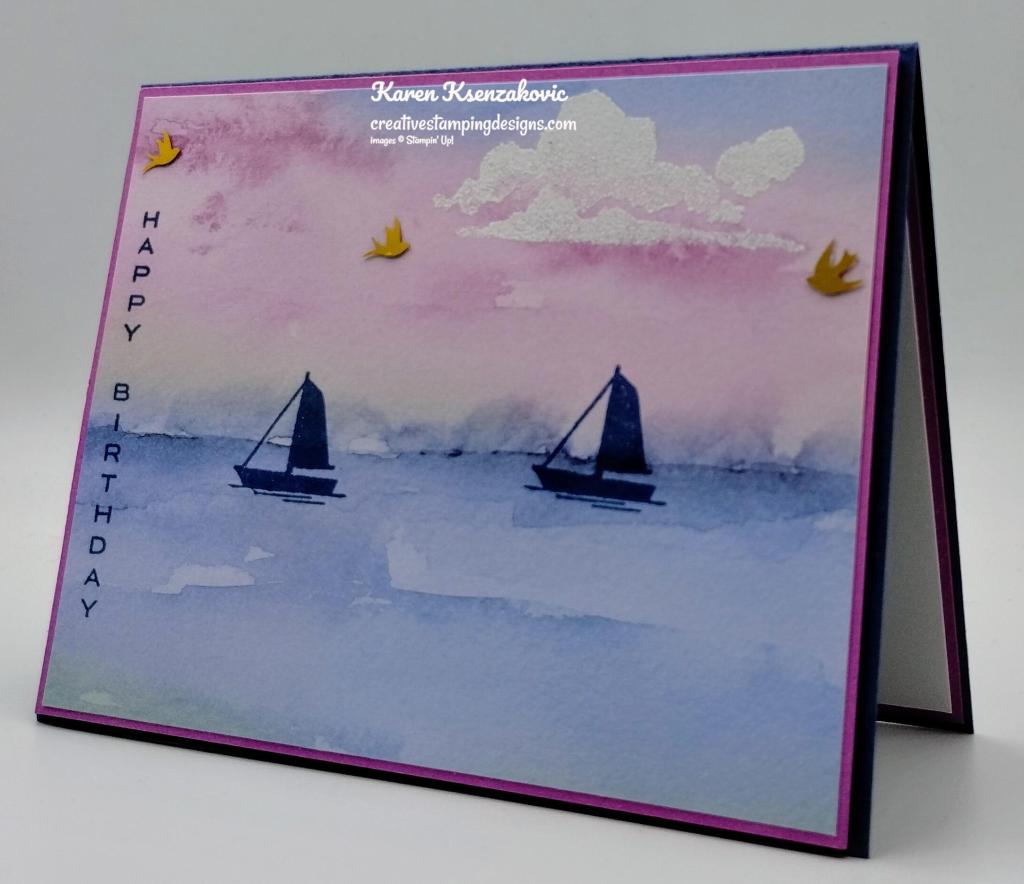
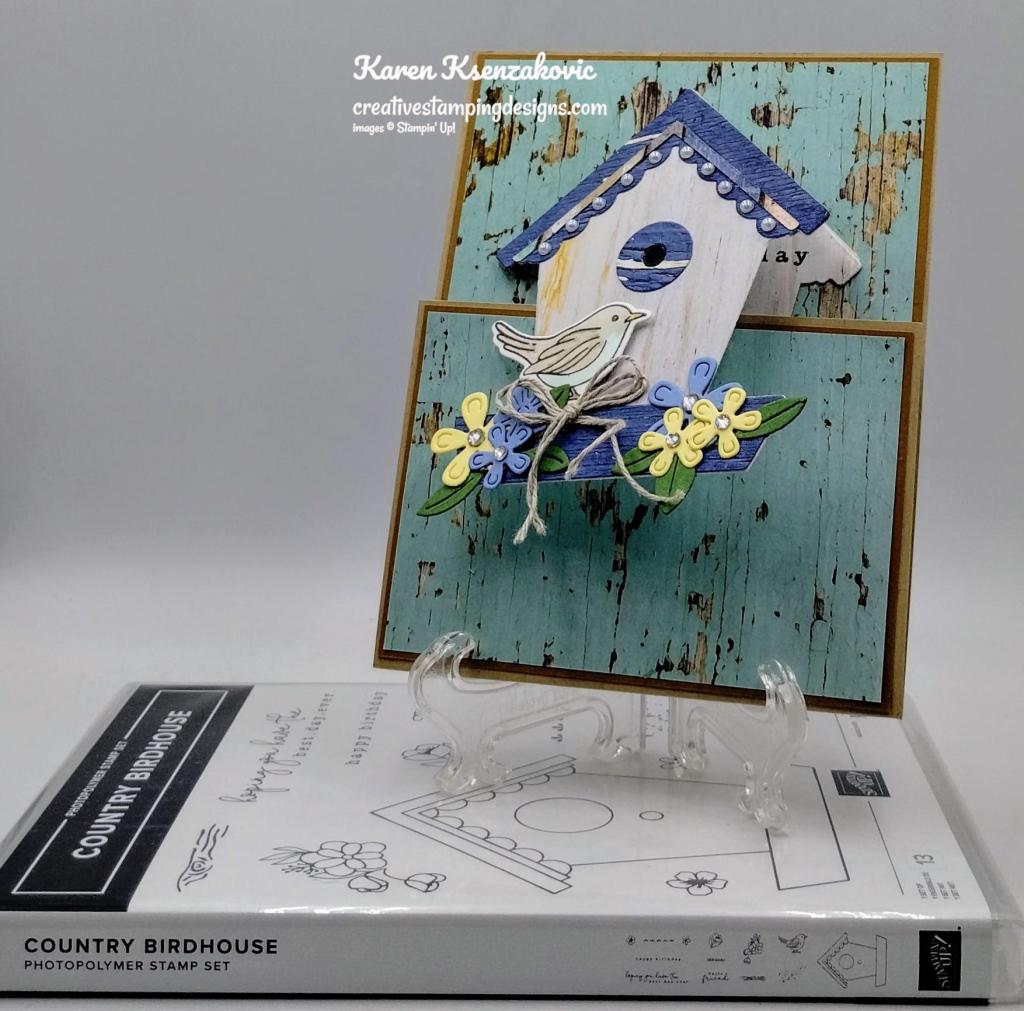
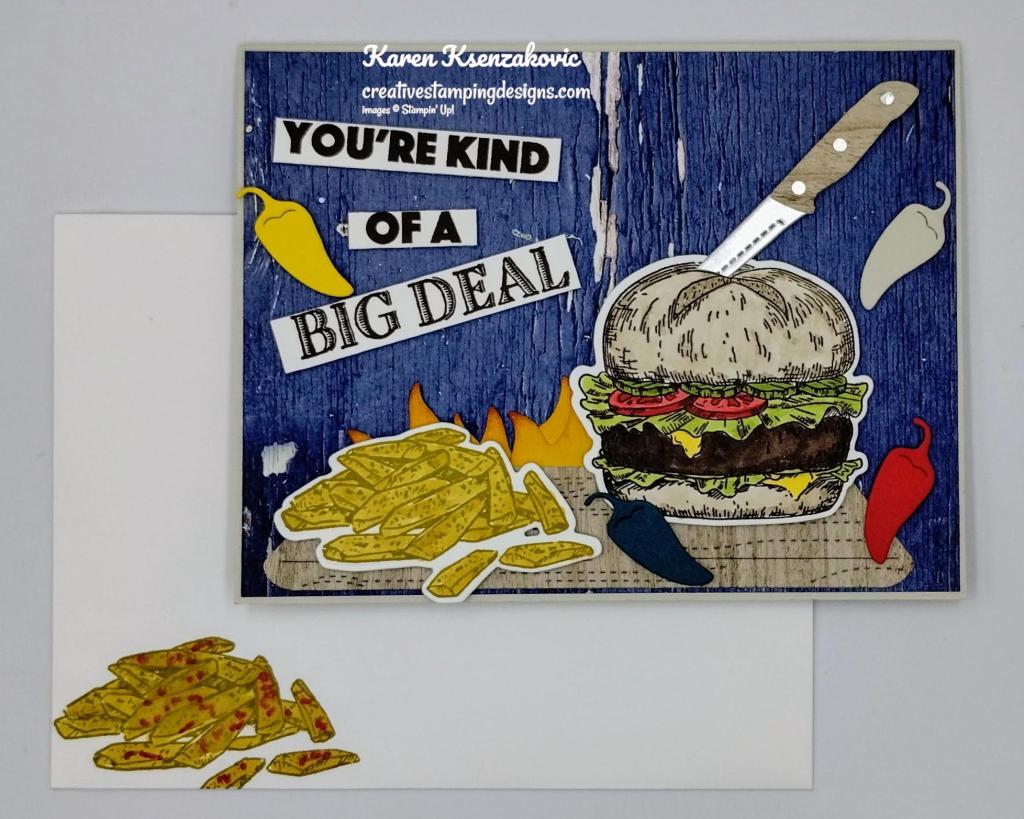
Today’s card I played with another new bundle that I wasn’t sure if I wanted or not. I was leaning towards I don’t want it, then I saw some cards made and I really liked the set. Once I got it in my hands, I had a lot of fun playing with it and I’m already thinking of other cards to make with it. If you’d like to see a quick video on how I made this card, Click Here to go to my Instagram Reels. Here’s my card for today.
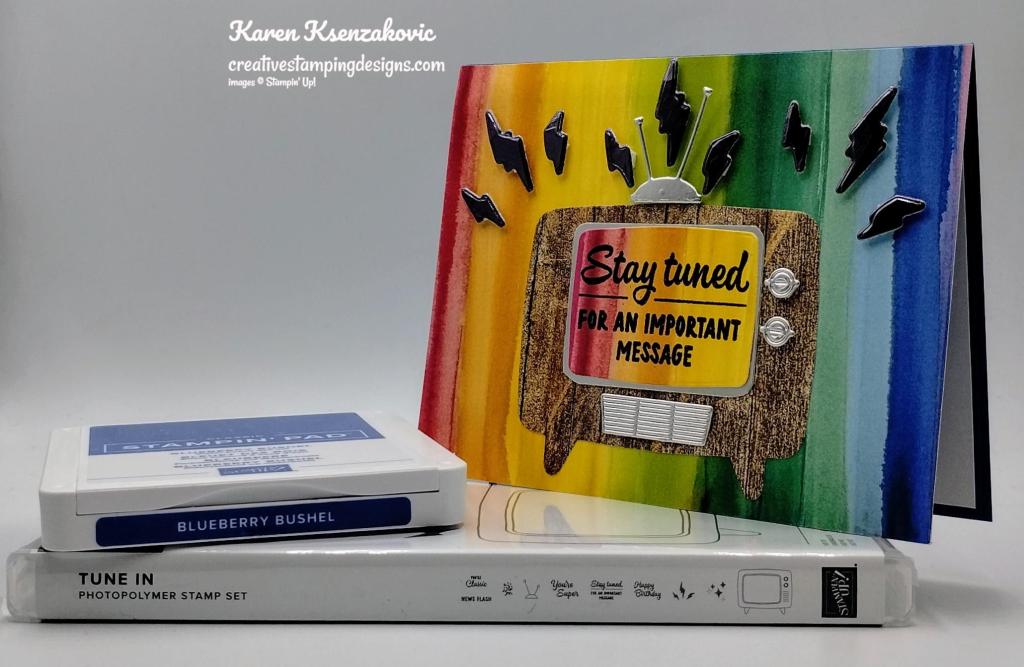
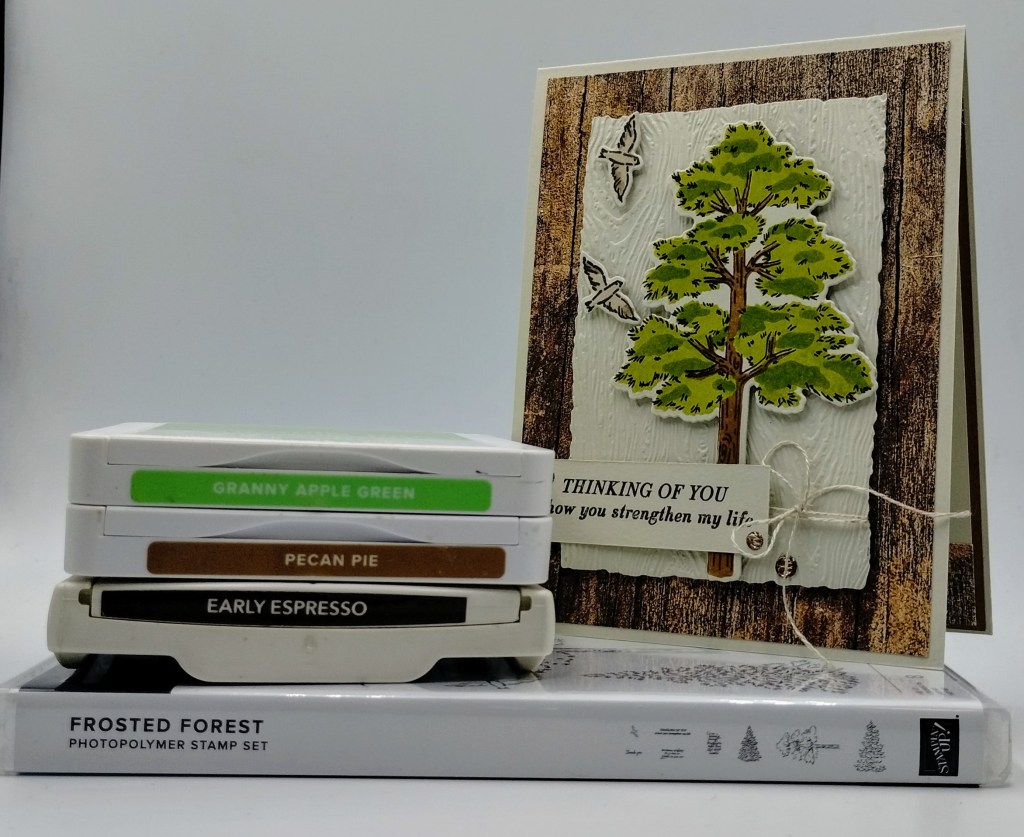
I used the Stampin’ Up! tune In Bundle along with the Full of Life 6 X 6 Designer Series Paper, Silver Foil Paper, Country Woods Designer Series Paper and Textured Metallic Specialty Paper for my card today.

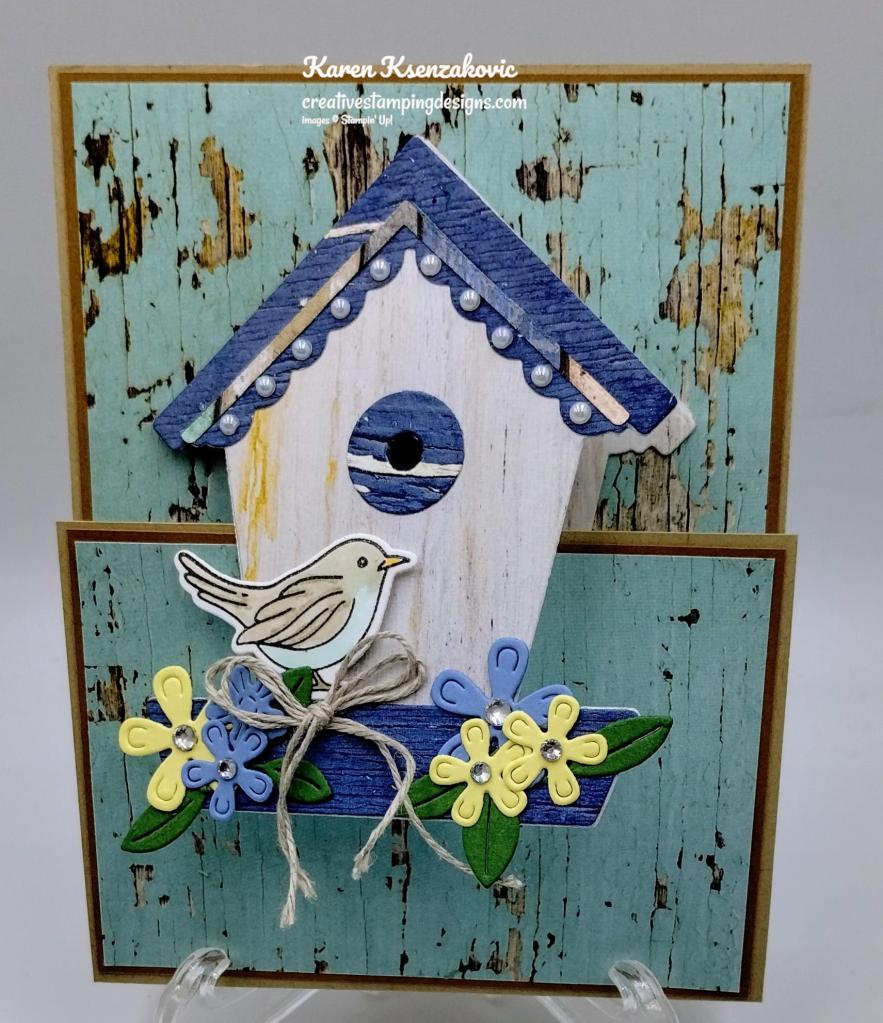
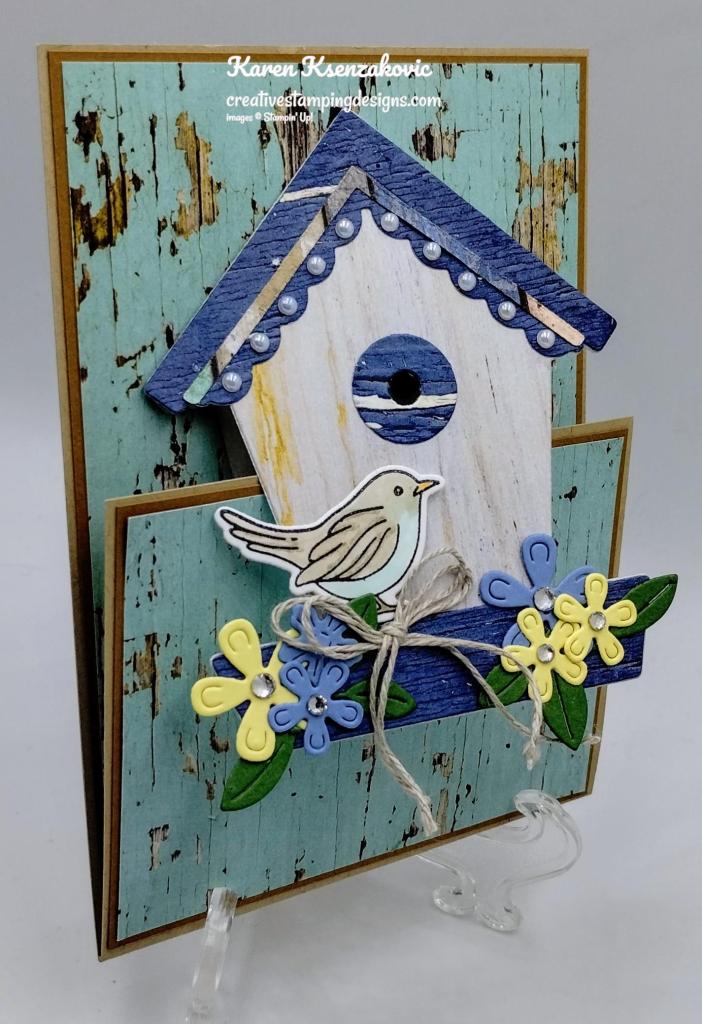
I adhered a panel of Full of Life DSP to a Blueberry Bushel card base using Liquid Glue.

Using the Tune In Dies, I cut the tv from a panel of Country Woods DSP, the mat for the screen, knobs, vent and rabbit ears from Silver Foil Sheets, the tv screen from a panel of Full of Life DSP and the bolts from Textured Metallic Paper. I stamped the sentiment from the Stampin’ Up! Tune In Photopolymer Stamp Set in Versamark Ink on the die cut screen panel. I sprinkled it with Black Embossing Powder and set it using the Heat Tool. I adhered the tv screen to a Silver Foil mat using Stampin’ Seal. I adhered the layered panel to the tv using Liquid Glue.

I adhered the die cut vent under the tv screen using Glue Dots. I adhered the knobs and rabbit ears using Stampin’ Dimensionals. I adhered the tv to the card front using Liquid Glue. I adhered the bolts using Stampin’ Dimensionals.
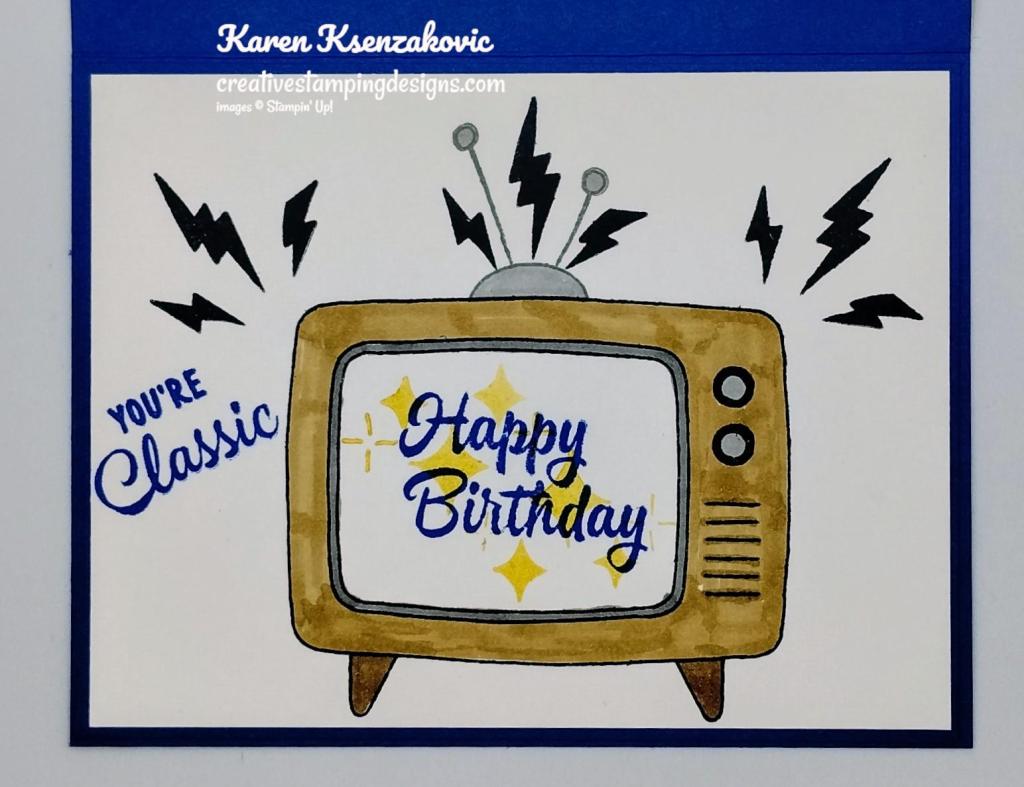
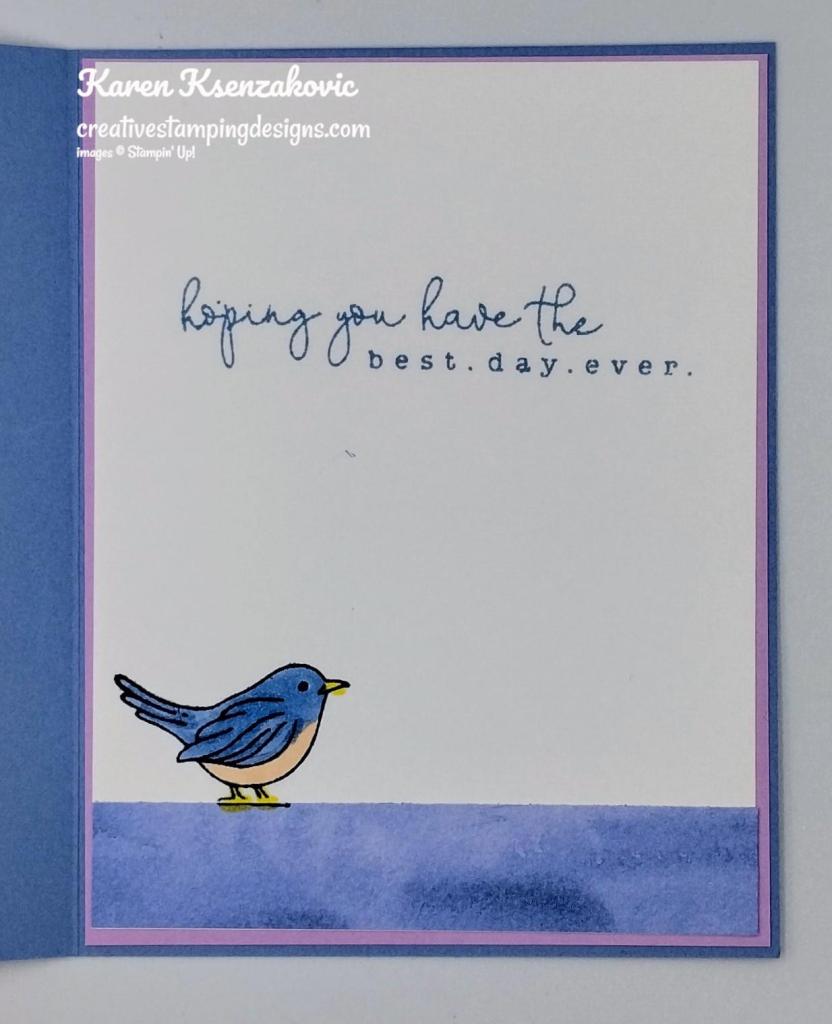
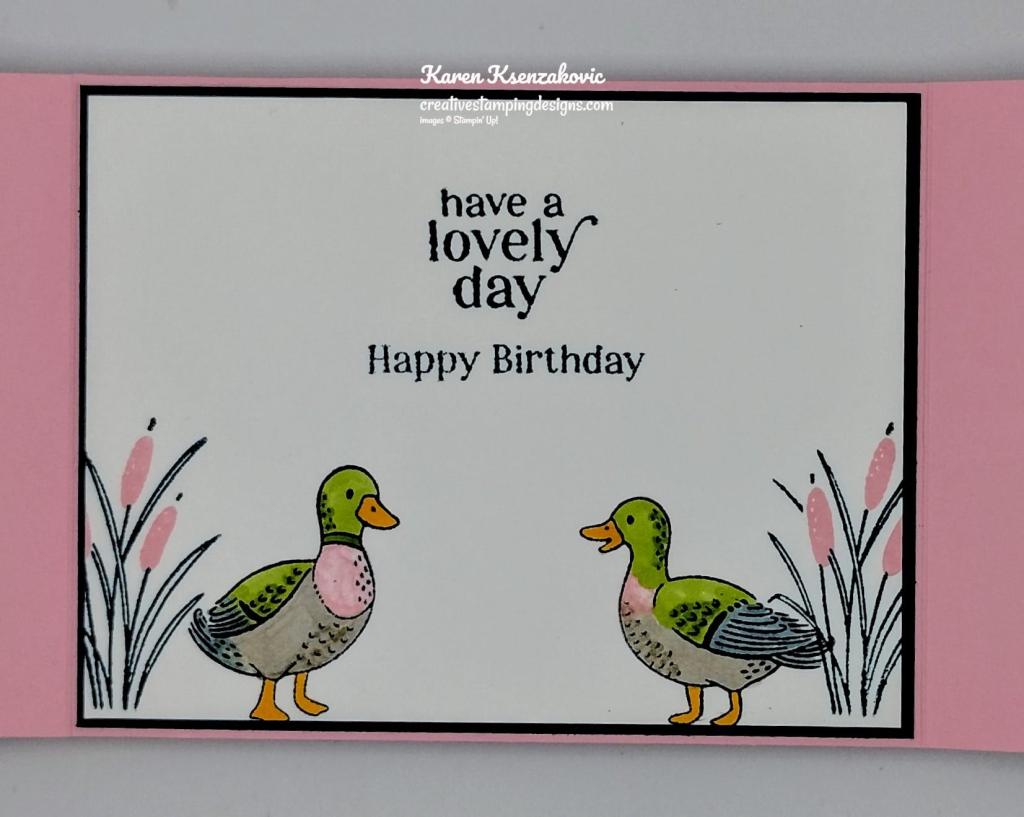
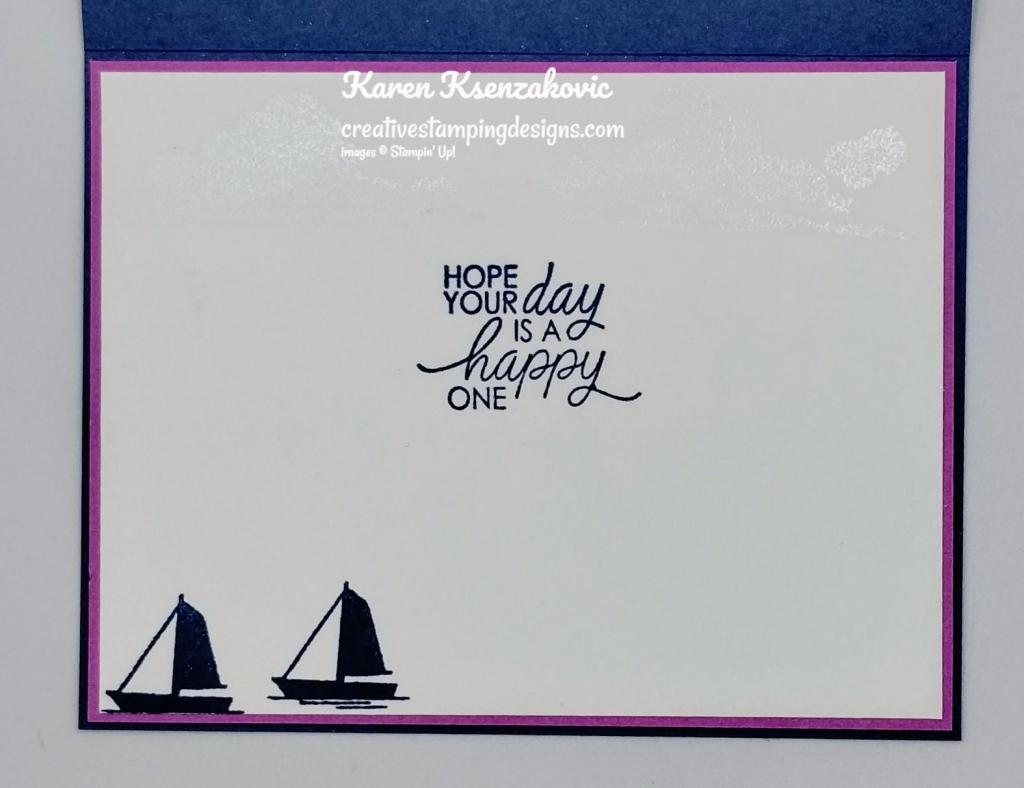
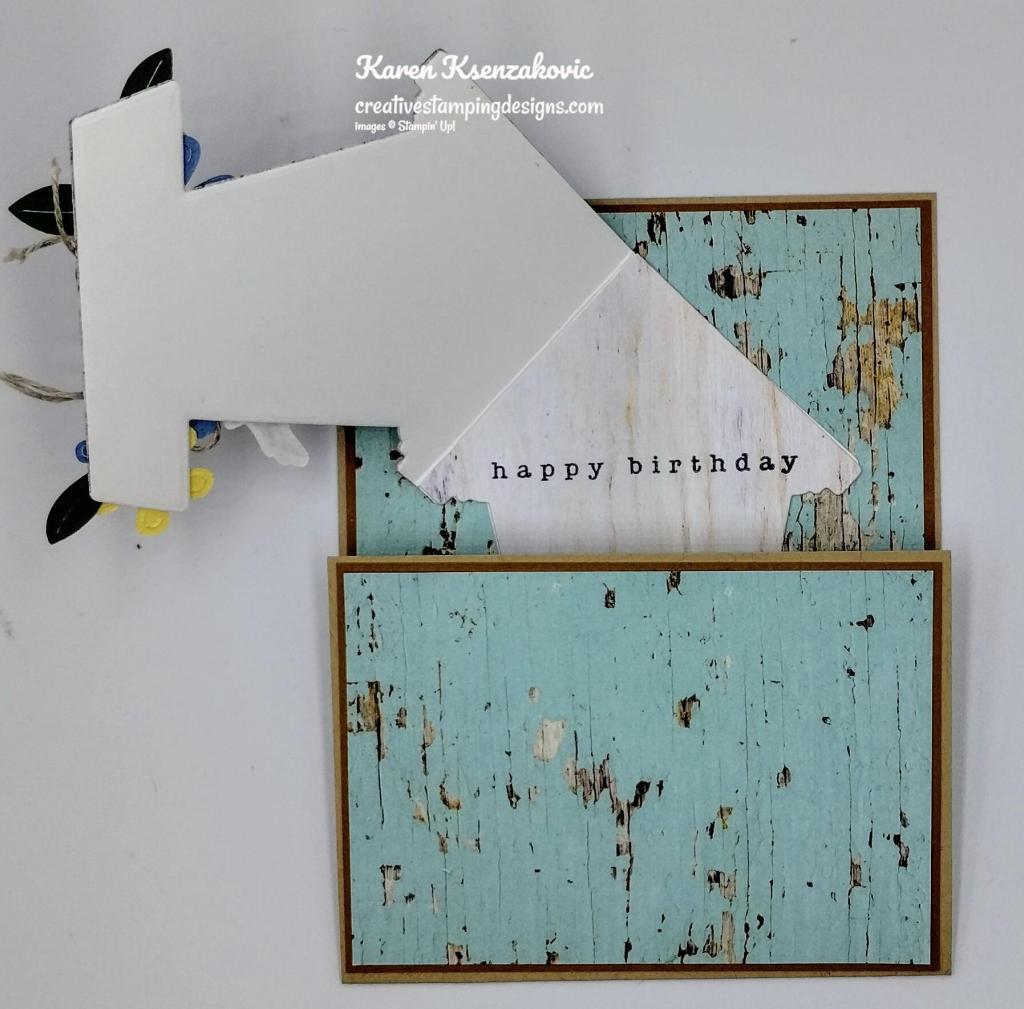
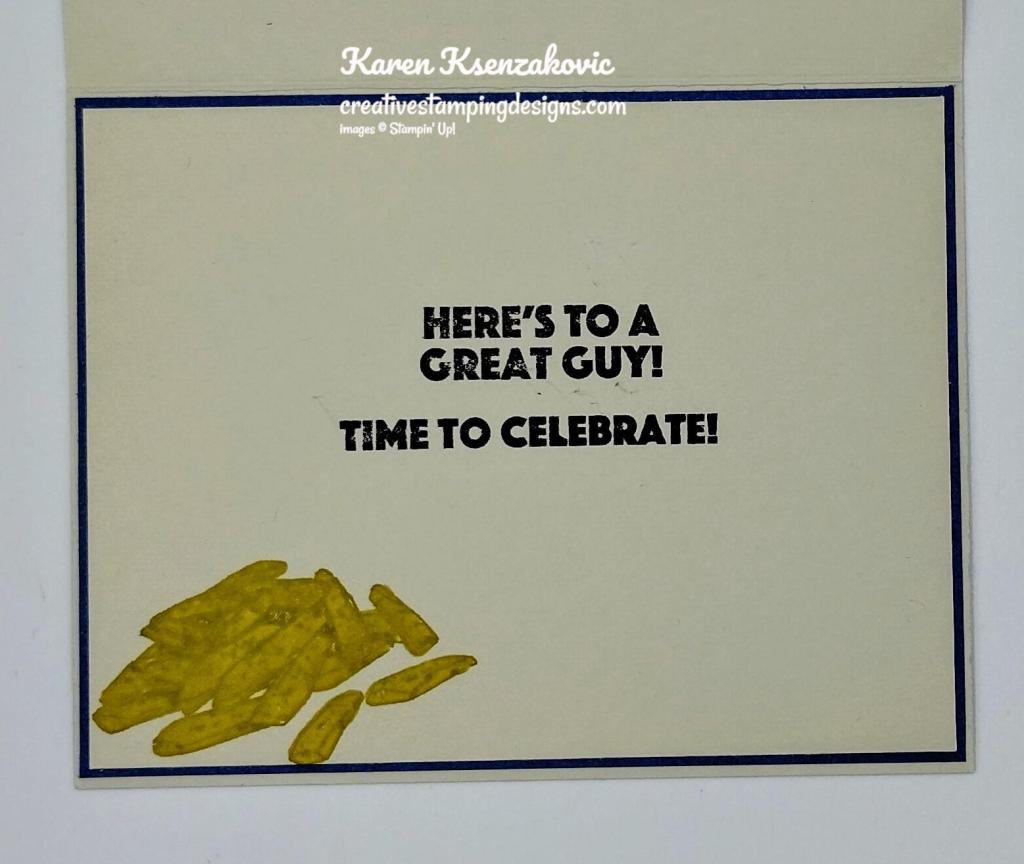
On the inside, I stamped the sentiment from the Tune In stamp set in Blueberry Bushel Ink on a panel of Basic White. I stamped the tv image from the Tune In stamp set in Tuxedo Black Ink on the panel. I stamped the rabbit ears from the Tune In stamp set on top of the tv in Smoky Slate Ink. I colored the images using Pecan Pie and Smoky Slate Stampin’ Blends Markers. I stamped the bolts above the large tv image from the Tune In stamp set in Tuxedo Black Ink. I stamped the other sentiment from the Tune In stamp set in blueberry Bushel Ink next to the tv. I stamped the star image from the Tune In stamp set in Crushed Curry Ink, stamping off on scrap paper once, then over the sentiment.
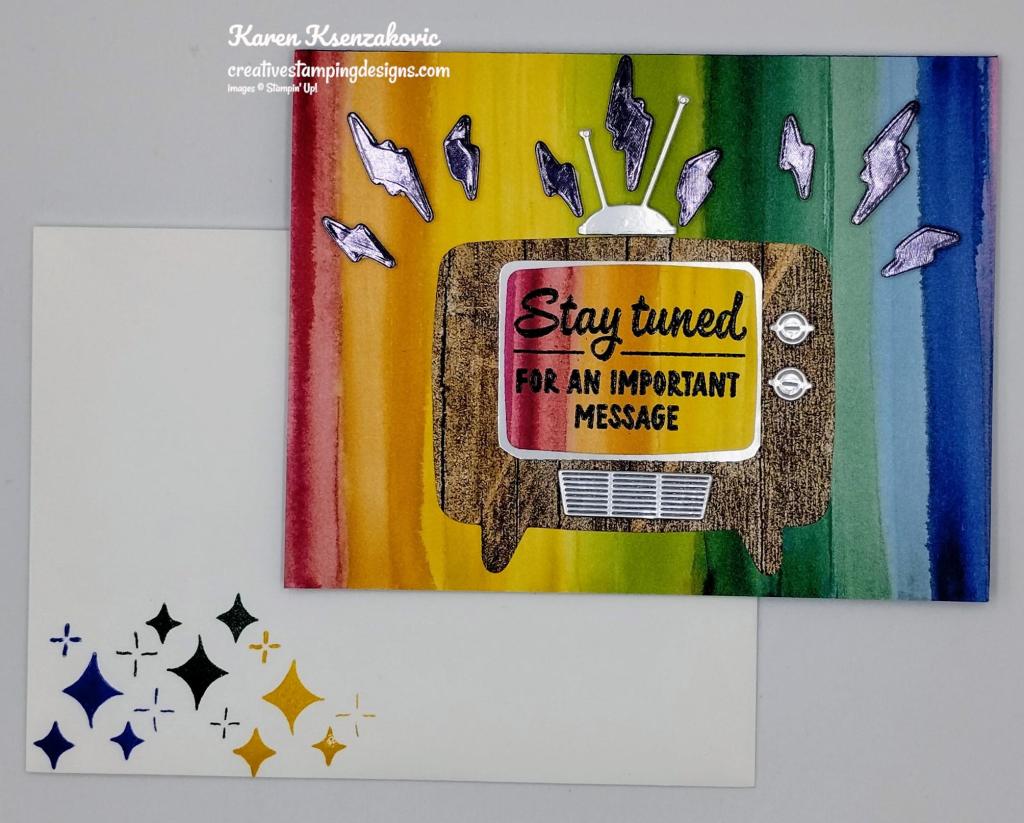
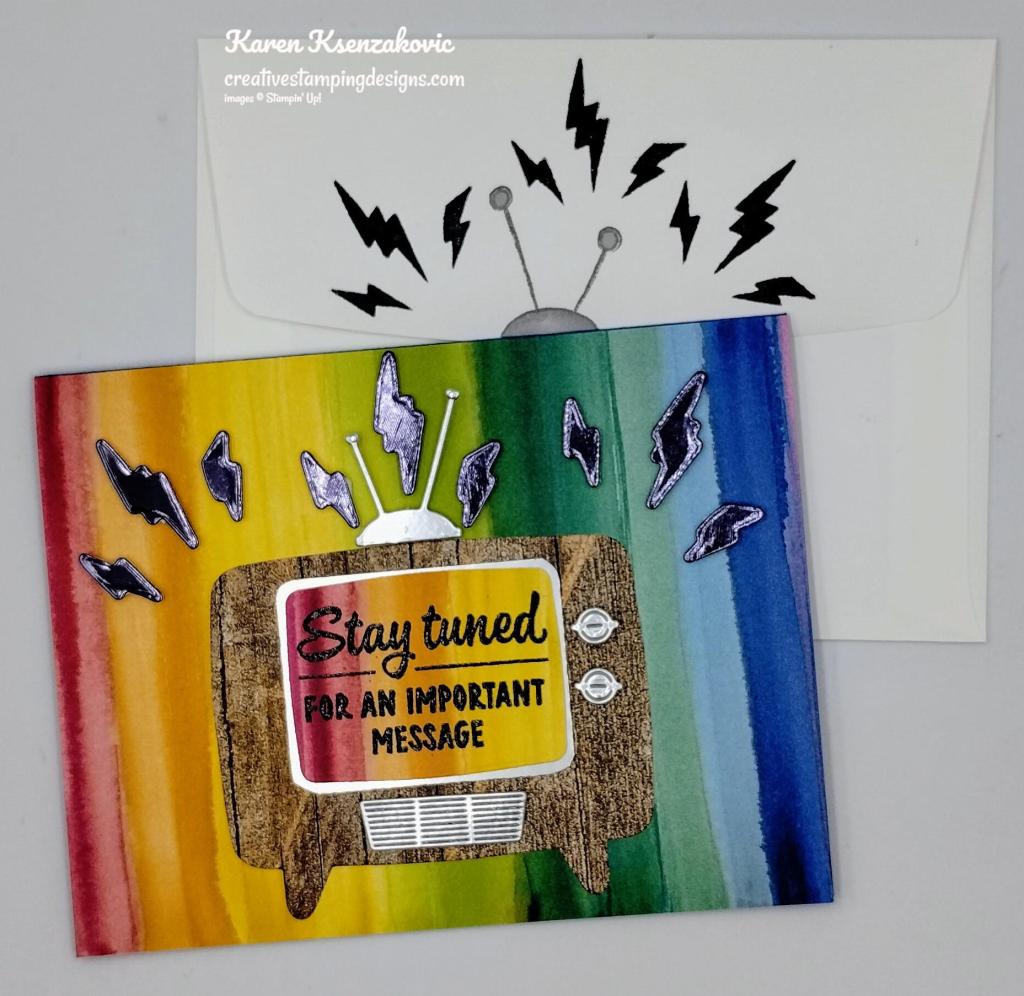
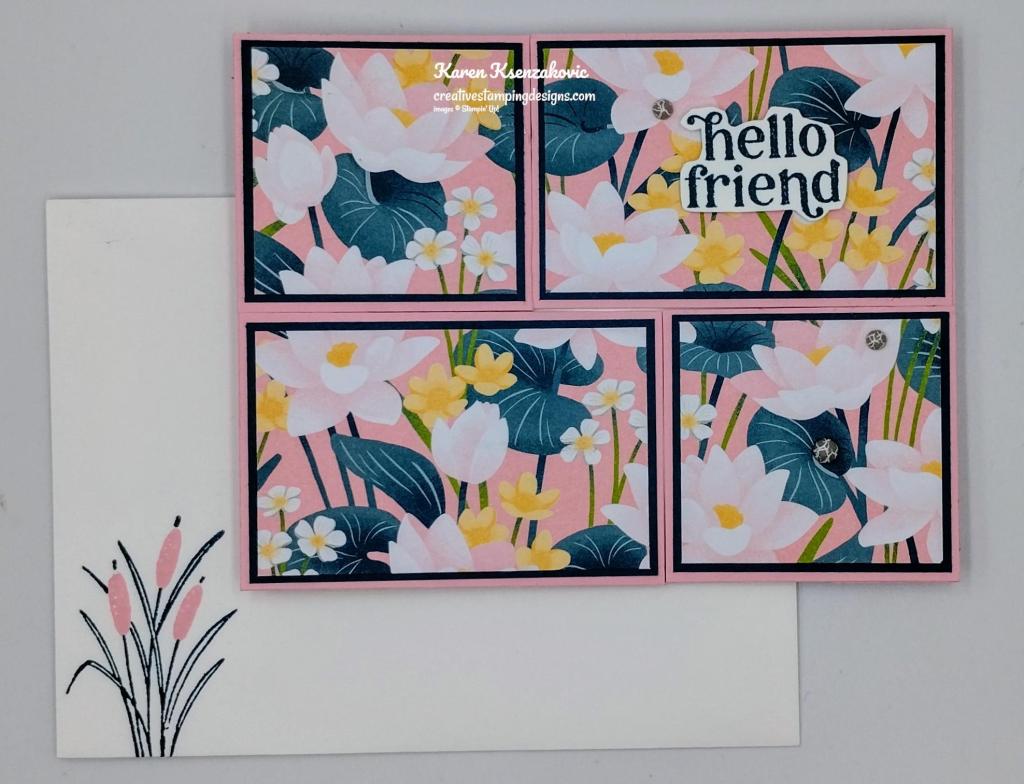
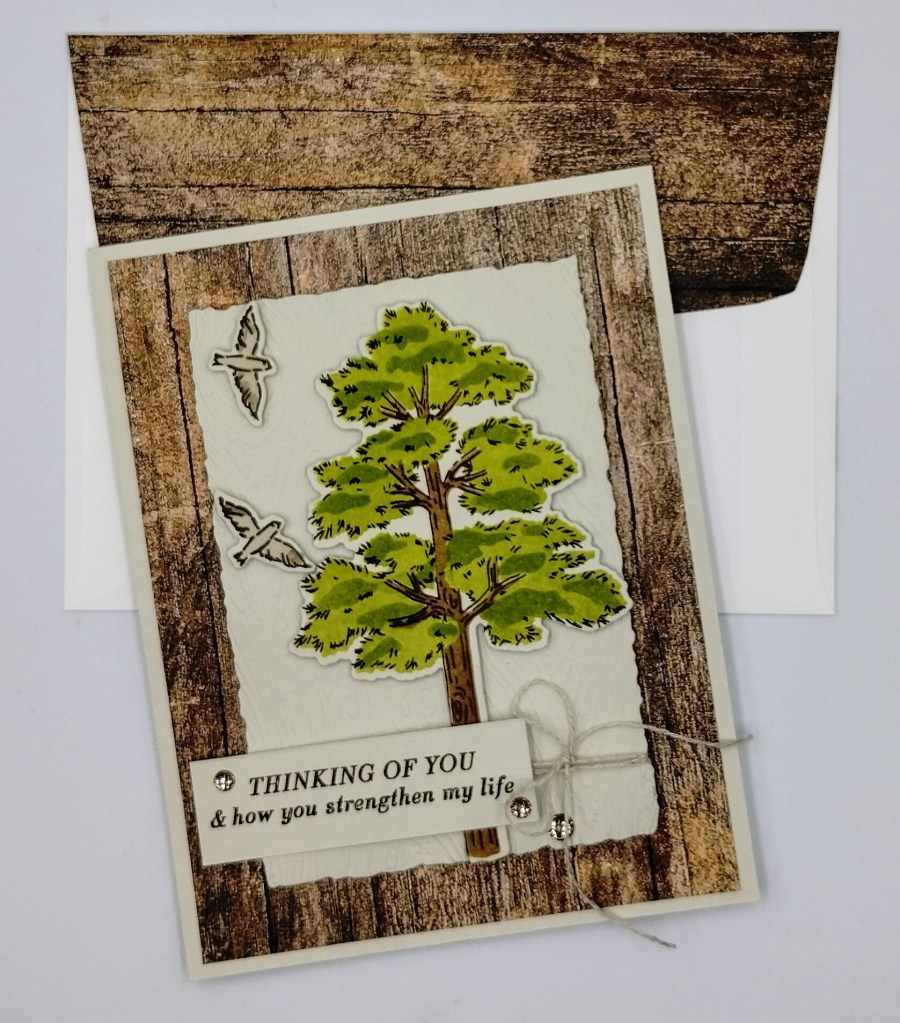
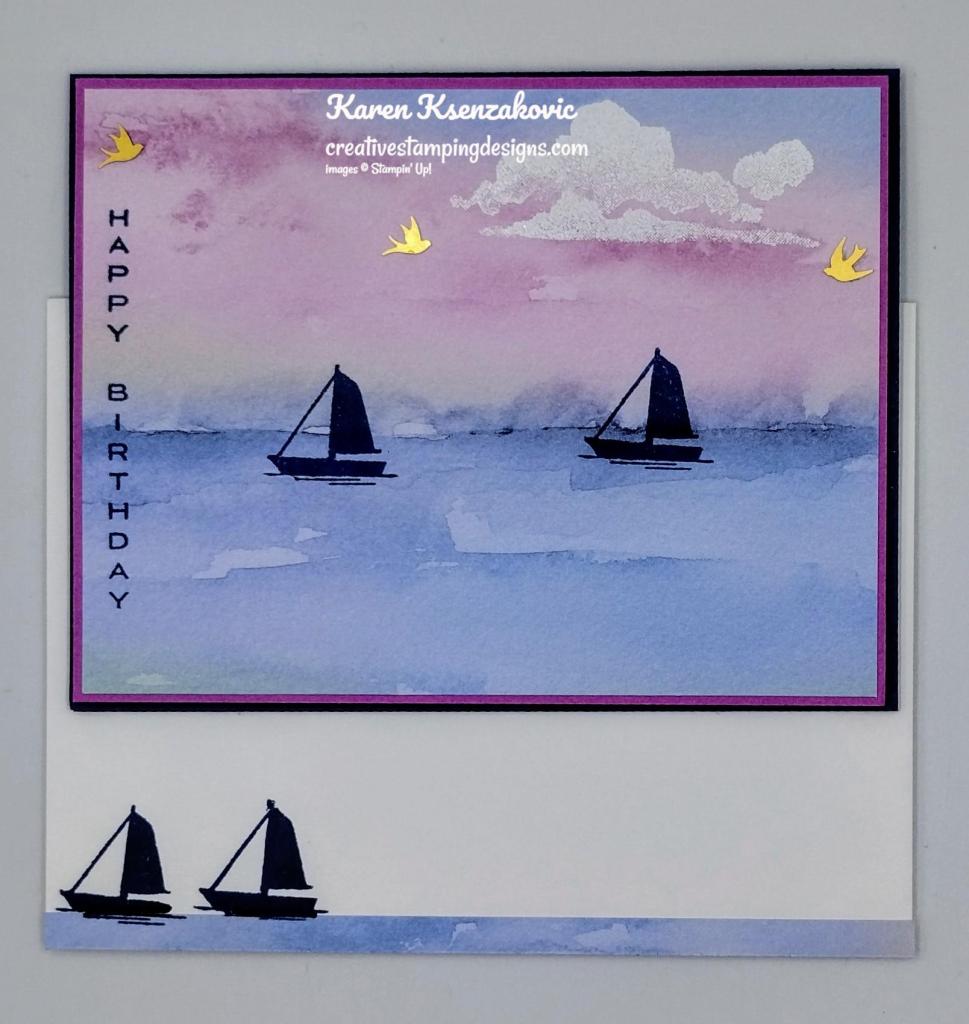
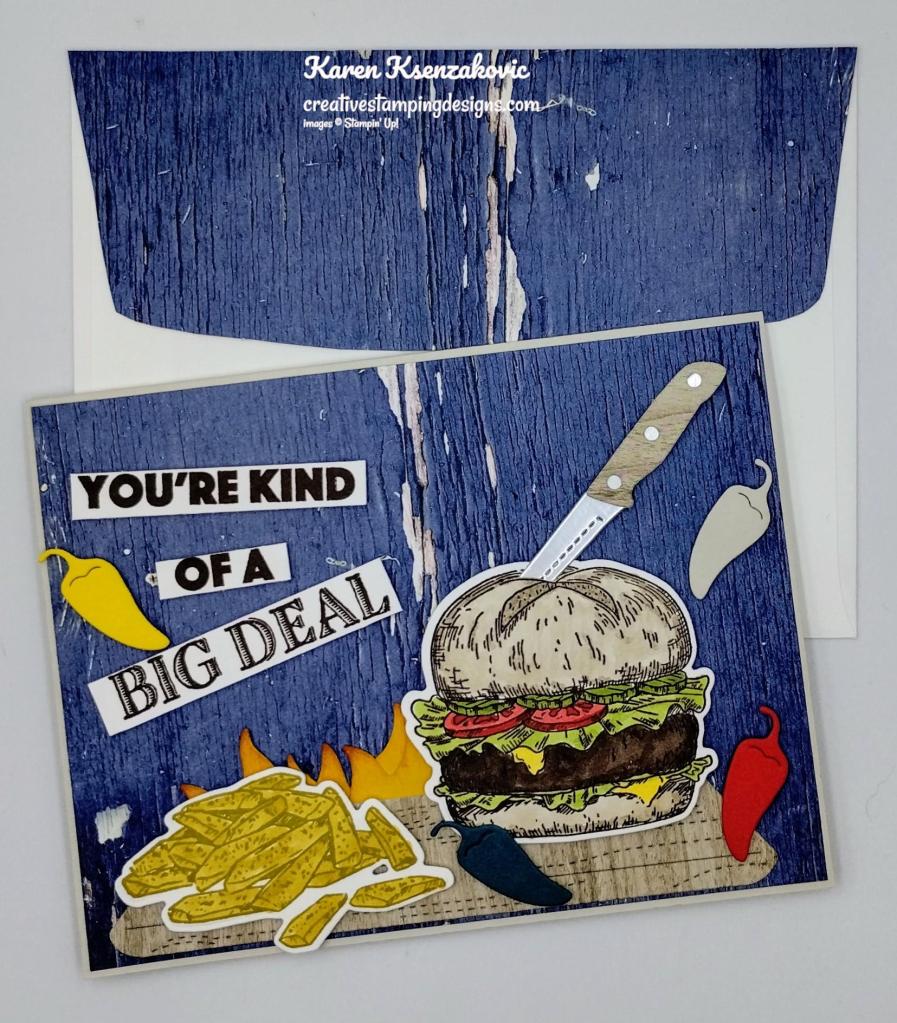
To finish my card, I decorated a Basic White Medium Envelope. I stamped the star image from the Tune In stamp set on the envelope front in Blueberry Bushel, Shaded Spruce and Crushed Curry Inks. I stamped the rabbit ears from the Tune In stamp set in Smoky Slate Ink on the envelope flap and colored them using Smoky Slate Stampin’ Blends Markers. I stamped the bolts around the rabbit ears in Tuxedo Black Ink.
Thank you for stopping by my blog today. I hope you like the card and will give it a try. Happy Stamping!!
*********************************************************************************************************
If you need any stamping supplies, I’d love to be your Demonstrator. Just click HERE to go directly to my online store or drop me an email if you have any questions.
MY CURRENT HOST CODE IS: D9NW3RJ3
Use this host code when placing an order with me. When you order $50 or greater you will receive a free gift from me! If your order is over $150, please do not use this code, but you’ll still get the free gift. The free gift is your choice of any 1 item valued up to $10.00 from the 2024-2025Annual Catalog, or from the Online Exclusives! Unfortunately, packs of cardstock are no longer an option for a free gift. Shipping has become too expensive to ship and it’s costing me as much to ship as the cardstock costs. For any orders $50 or more I will also send you my monthly class tutorials. Click HERE or go to my Customer Rewards for more details and to see what this month’s tutorials are.
Please remember to use my current Host Code and make sure that you can see my name on the final checkout page listed as your Demonstrator when you order so that you know that you’re ordering with me, and you’ll get my rewards!
Happy Stamping, Karen
*********************************************************************************************************
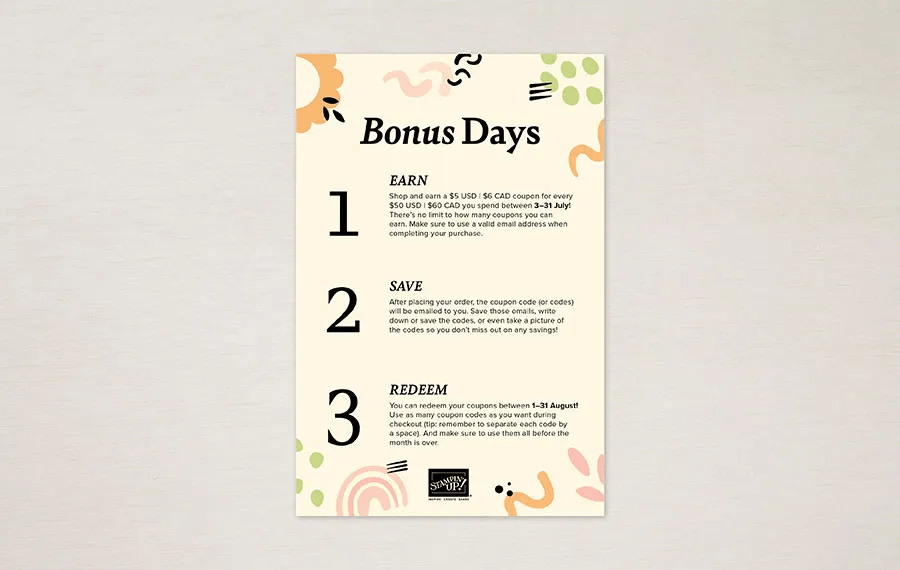
Bonus Days Are Back – July 3 – July 31

It’s time for one of your favorite promotions—BONUS DAYS! Because getting rewarded for all the crafting supplies you’re already going to buy is awesome! When you shop between July 3-31, for every $50 that you spend in one order, you will earn a $5 coupon! Make sure you save all your coupons because you can redeem them between August 1-31.
There’s no limit to how many coupons you can earn! And, as an added bonus, you’ll earn Creative Stamping Designs Reward points (my personal customer reward program) from me when you order $50+ too!!
Bonus Days Promotion Details:
Earning Period: July 3-31, 2024
Ordering Deadline: July 31, 2024 at 11:59 p.m. (MT)
- Earn a $5 coupon for every $50 spent (before shipping and tax).
- All coupon codes will be emailed right after a qualifying purchase has been made. You must have a valid email address to earn coupons when you shop.
- If you earn multiple codes from a single order, you will receive one email with multiple codes. If you earn multiple codes from multiple orders, you will receive separate emails for each code earned.
- All order types qualify for this promotion. Phone and email orders still require an email address.
- Orders started before the promotion begins will not count toward earning coupon codes. You must add items to your cart and complete your purchase during the earning period.
- There is no limit to the number of coupon codes you can earn per order or throughout the duration of the earning period.
- Starter Kit orders are excluded from this offer.
- For workshop orders, each customer who reaches a qualifying amount will receive a coupon code to their provided email address.
Redemption Period: August 1-31, 2024
Ordering Deadline: August 31, 2024 at 11:59 p.m. (MT)
Get your wish lists ready and earn those coupon codes in July! Then redeem them on your orders in August! Let me know if you have any questions.
*********************************************************************************************************
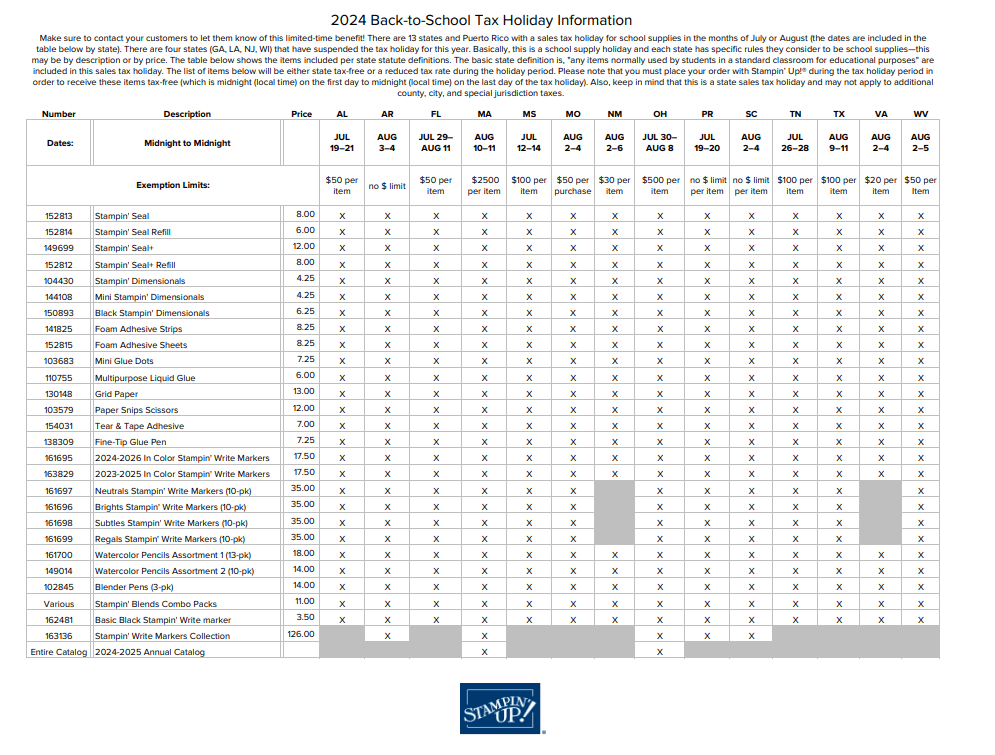
Sales Tax Holiday

Thirteen states and Puerto Rico are having Back-to-School Sales Tax Holidays this year and some Stampin’ Up! items qualify for the tax break in those states!
The states with upcoming tax holidays are: Alabama, Arkansas, Florida, Massachusetts, Mississippi, Missouri, New Mexico, Ohio, South Carolina, Tennessee, Texas, Virginia and West Virginia. So if you live in one of those states or Puerto Rico, take a second to download the spreadsheet below and mark your calendar!
Here is the list of states having sales tax holidays, what the dates are and what supplies will be tax free during the holiday (click on the image to download a full-size printable page):
*********************************************************************************************************
Time for Cake
Subscribe July 11 – August 10
Subscribe to Paper Pumpkin for a monthly, all-inclusive crafting kit that’s a fun surprise! Each kit includes a photopolymer stamp set, Classic Stampin’ Spot, and step by step instructions to complete exclusive paper craft projects, including cards, tags, and gift
packaging. And don’t miss the special add-on that coordinates with the next three months!
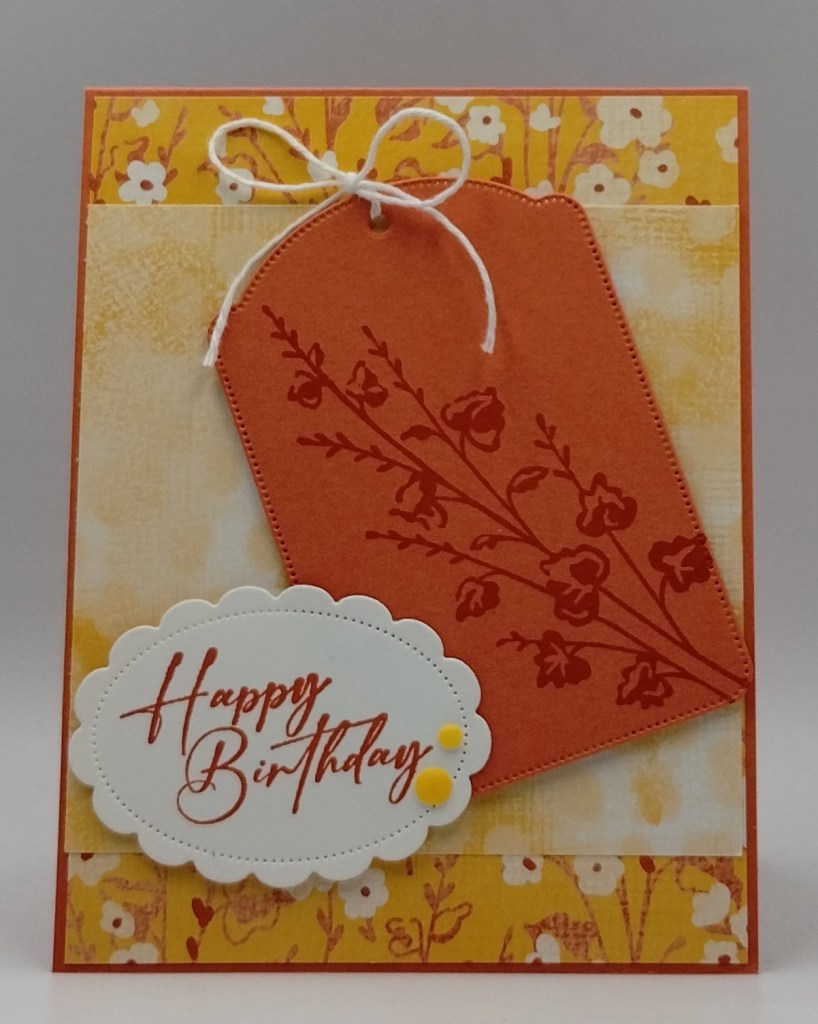
With the August Paper Pumpkin, Time for Cake, bring on a birthday bash with elegant birthday cards made with rose gold details!
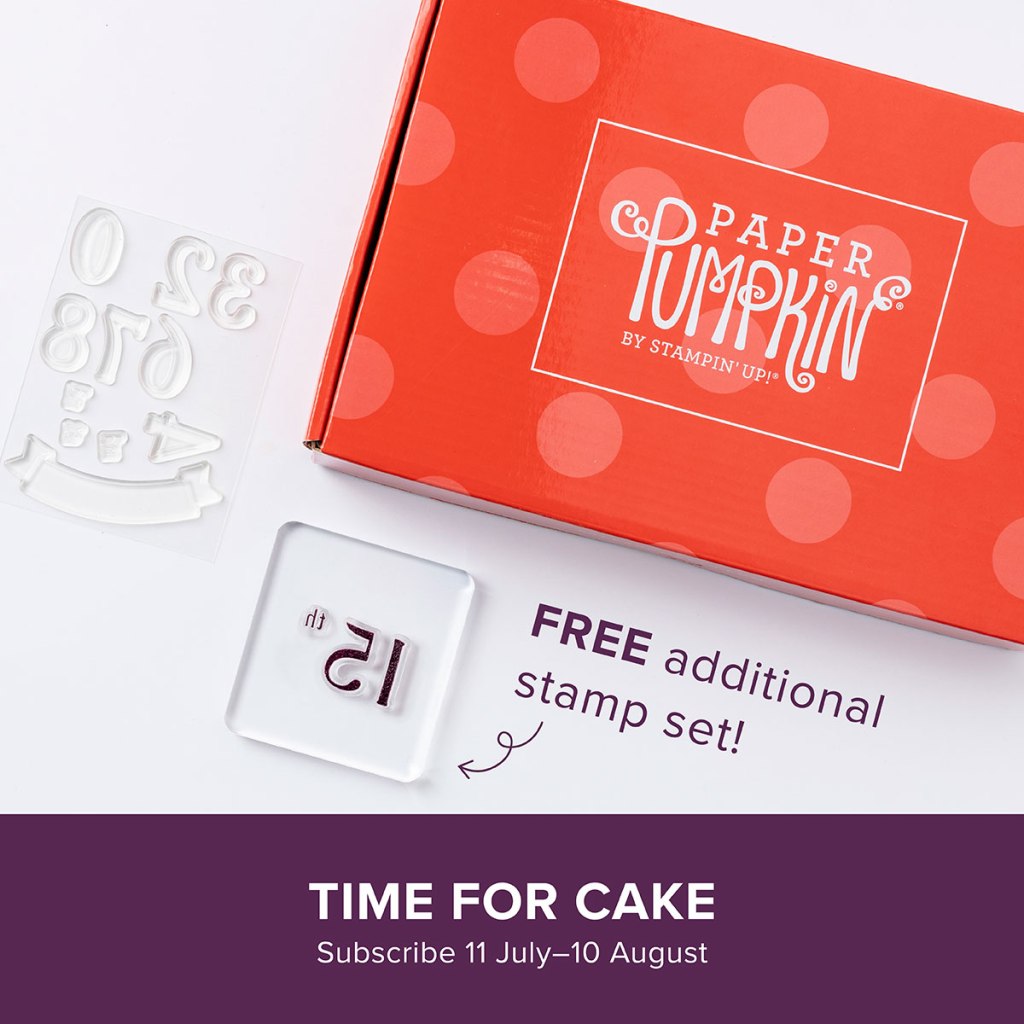
• Makes 9 cards, 3 each of 3 designs
• Project includes printed card bases, coordinating envelopes, and labels
• Embellishments and rose gold cord
• Coordinating colors: Moody Mauve, Night of Navy (Classic Stampin’ Spot), Petal Pink,
Pecan Pie, Pretty in Pink, Wild Wheat
Don’t miss the coordinating
Every Celebration Dies Add-On!

This exclusive add-on (item 164991) coordinates with the three upcoming kits! Paper Pumpkin subscribers can purchase it beginning 11 July. The add-on is available only while supplies last, so it’s best to shop early!
Subscribe to the August Paper Pumpkin Kit between 11 Julu and 10 August by clicking here!
Note: Supplies may be limited toward the end of the subscription period.
*********************************************************************************************************
Card stock cuts for this project:
- Basic White Cardstock 4″: X 5 1/4″ (inner liner)
- Blueberry Bushel Cardstock 5 1/2″ X 8 1/2″ (card base scored & folded at 4 1/4″), 4 1/8″ X 5 3/8″ (inner liner mat)
- Country Woods Designer Series Paper 3″ X 3 1/2″(tv)
- Full of Life 6 X 6 Designer Series Paper 4 1/4″ X 5 1/2″(card front), 2″ X 2 1/4″ (tv)
- Silver Foil Specialty Paper 2″ X 2″ (die cuts), 1 9/16″ X 2 1/16″(screen mat)
- Textured Metallic Specialty Paper 2 1/2″ X 2 1/2″ (die cuts)
*********************************************************************************************************
Product List
")
")


 Designer Series Paper")
 Designer Series Paper")
 Foil Sheets")
 Specialty Paper")


")


")

")
")


 Designer Series Paper")


")


 Designer Series Paper")


")
")


 Designer Series Paper")


")


")
")


")

 Designer Series Paper")


")
")


 Designer Series Paper")


")
")


 Foil Sheets")


