
Good Monday morning stamping friends and welcome to a new start of a week. I hope you all had a great weekend. By the time you read this I will be flying to Las Vegas, NV for BackStage. this is my first time going, so I’m not sure what to expect. I have my phone and laptop so I will still be able to answer any of your emails, it just might take me a minute to get back to you.
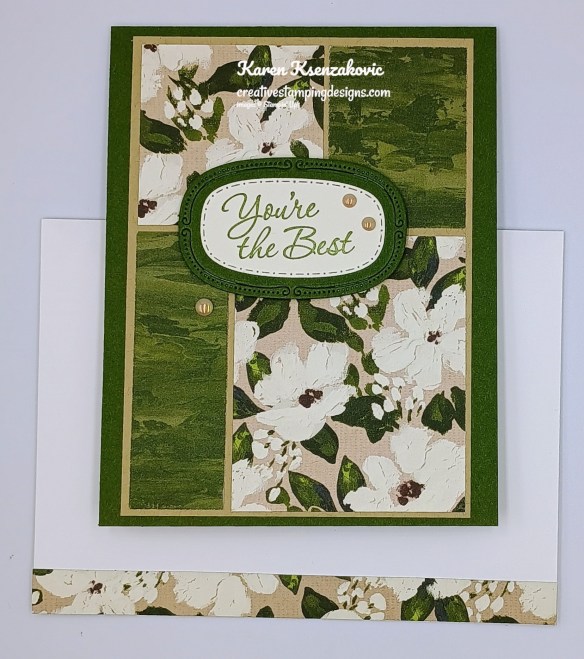
I have a quick card today to feature the new DSP that just came out in the Online Exclusives. If you’d like to see a quick video on how I made this card, Click Here to go to my Instagram Reels. Here’s my card for today.
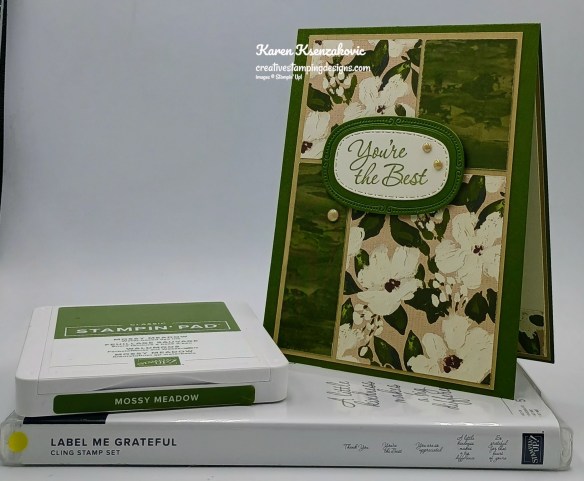
I used the Stampin’ Up! Label Me Grateful Cling Stamp Set along with the Traditional Labels Dies and the new Online Exclusive Brushed With Beauty Designer Series Paper for my card today.
Adhere the 4 panels of Brushed With Beauty DSP to a Crumb Cake mat. Adhere the layered panel to a Mossy meadow card base.
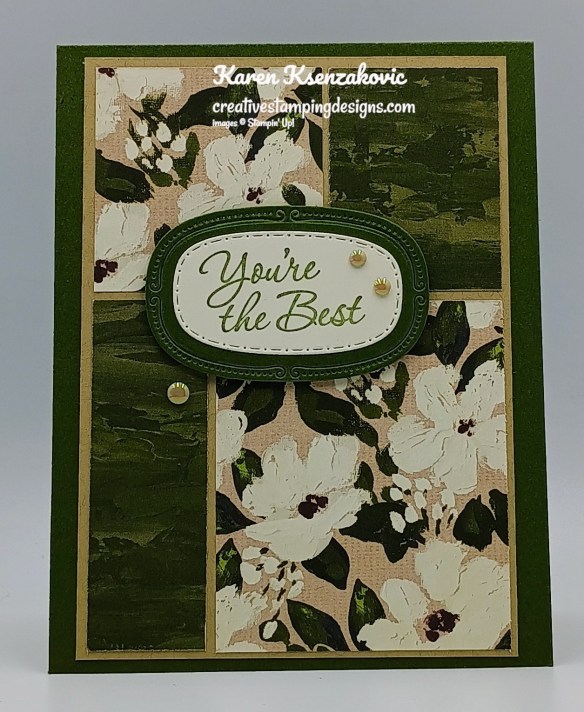
Stamp the sentiment from the Label Me Grateful stamp set in Mossy Meadow Ink on a panel of Very Vanilla. Cut the sentiment out using the Traditional Labels Dies. Cut a panel of Mossy Meadow using the Traditional Labels Dies. Adhere the sentiment to the Mossy Meadow mat.

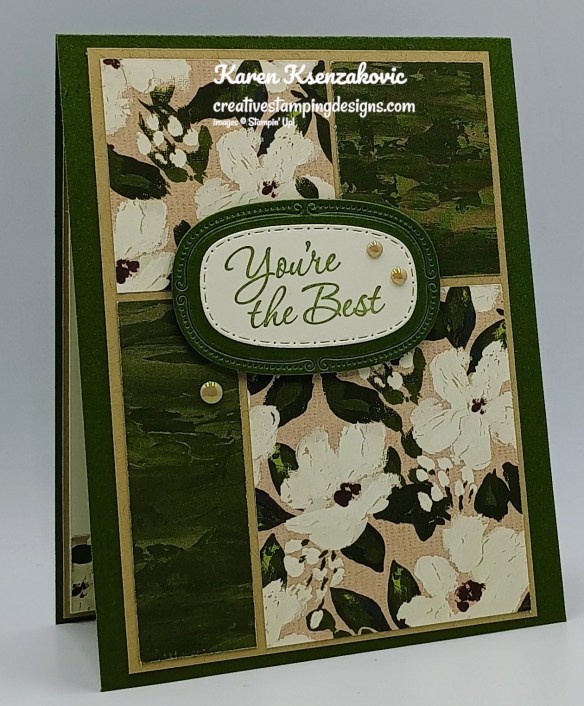
Adhere the layered sentiment to the card front in the center of where the panels meet with Stampin’ Dimensionals. Add a few Pearls of Beauty embellishments to the card front.
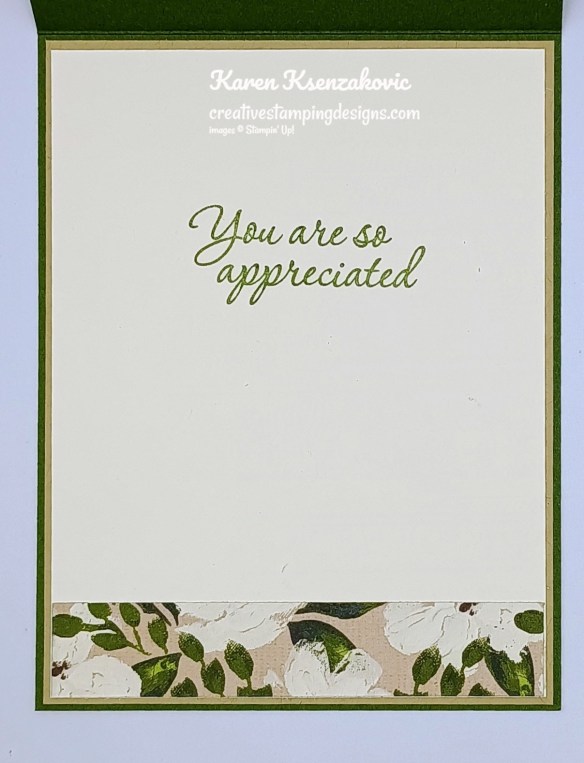
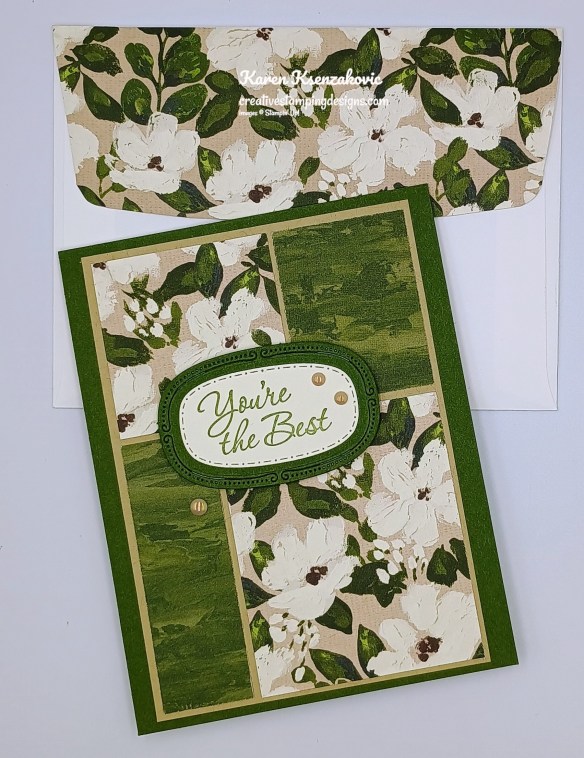
Stamp the sentiment from Label Me Grateful stamp set in Mossy Meadow Ink on a panel of Very Vanilla. Adhere a panel of Brushed With Beauty DSP to the bottom of the panel. Adhere the Very Vanilla panel to a Crumb Cake mat then to the inside of the Mossy Meadow card base.
Decorate a Basic White Medium Envelope to finish your card. Adhere a strip of Brushed With Beauty DSP to the envelope front and a panel to the envelope flap.
Thank you for stopping by my blog today. I hope you like the card and will give it a try. Happy Stamping!!
*********************************************************************************************************
If you need any stamping supplies, I’d love to be your Demonstrator. Just click HERE to go directly to my online store or drop me an email if you have any questions.
*********************************************************************************************************
Card stock cuts for this project:
- Crumb Cake Cardstock 3 3/4″ x 5 1/4″(card front panel mat), 4 1/8″ x 5 3/8″(inner liner mat)
- Mossy Meadow Cardstock 4 1/4″ x 11″(card base scored & folded at 5 1/2″), 2″ x 3″(sentiment mat)
- Very Vanilla Cardstock 1 1/2″ x 2 1/2″(sentiment), 4″ x 5 1/4″(inner liner)
- brushed With Beauty Designer Series Paper 1 1/2″ x 2″, 2″ x 2″, 1″ x 3″ & 2 1/2″ x 3″(card front panels), 3/4″ x 4″(inner liner), 1/2″ x 6″ & 2 1/4″ x 6″(envelope)
*********************************************************************************************************
Product List
![Label Me Grateful Cling Stamp Set (English) [ 166108 ]](https://assets1.tamsnetwork.com/images/EC042017NF/166108s.jpg "Label Me Grateful Cling Stamp Set (English) [ 166108 ]")
![Crumb Cake 8-1/2" X 11" Cardstock [ 120953 ]](https://assets1.tamsnetwork.com/images/EC042017NF/120953s.jpg "Crumb Cake 8-1/2\" X 11\" Cardstock [ 120953 ]")
![Mossy Meadow 8-1/2" X 11" Cardstock [ 133676 ]](https://assets1.tamsnetwork.com/images/EC042017NF/133676s.jpg "Mossy Meadow 8-1/2\" X 11\" Cardstock [ 133676 ]")
![Very Vanilla 8 1/2" X 11" Cardstock [ 166784 ]](https://assets1.tamsnetwork.com/images/EC042017NF/166784s.jpg "Very Vanilla 8 1/2\" X 11\" Cardstock [ 166784 ]")
![Mossy Meadow Classic Stampin' Pad [ 147111 ]](https://assets1.tamsnetwork.com/images/EC042017NF/147111s.jpg "Mossy Meadow Classic Stampin' Pad [ 147111 ]")
![Traditional Labels Dies [ 165864 ]](https://assets1.tamsnetwork.com/images/EC042017NF/165864s.jpg "Traditional Labels Dies [ 165864 ]")
![Basic White Medium Envelopes [ 159236 ]](https://assets1.tamsnetwork.com/images/EC042017NF/159236s.jpg "Basic White Medium Envelopes [ 159236 ]")

![Adhesive Sheets [ 152334 ]](https://assets1.tamsnetwork.com/images/EC042017NF/152334s.jpg "Adhesive Sheets [ 152334 ]")


![Take Your Pick [ 144107 ]](https://assets1.tamsnetwork.com/images/EC042017NF/144107s.jpg "Take Your Pick [ 144107 ]")


Just beautiful Karen! The layering is perfect on your card! 🙂
LikeLike
Thank you so much Amy 🙂
LikeLike
That’s so lovely – a very classy card
LikeLike
Thank you Deborah 🙂
LikeLiked by 1 person