Good Friday morning my fellow stampers and welcome to my Fun Fold Friday. How was everyone’s week? Are you all ready for the weekend? I’m not sure, but I think my husband might be going to cut our tree. I’ll be working all weekend I believe.
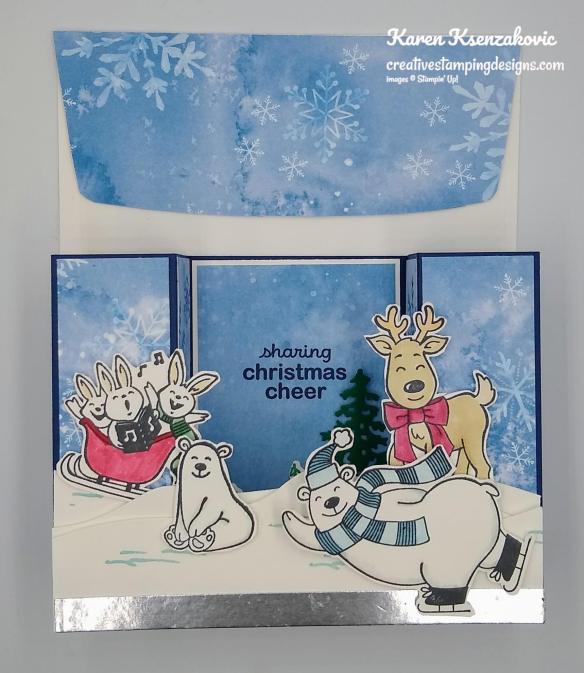
I thought I was done making my Christmas cards and my husband asked me to make a card for his department to give their supervisor. Today’s card I made on my Facebook Live video on Wednesday. If you were able to join me or watched the replay, thank you very much. If you’d like to watch my video and stamp along, the measurements are below along with the links to my Facebook page and my YouTube channel. Here’s my card that I made. I used a few stamp set for my card, but the main set I used was the Stampin’ Up! Warm & Toasty Cling Stamp Set.
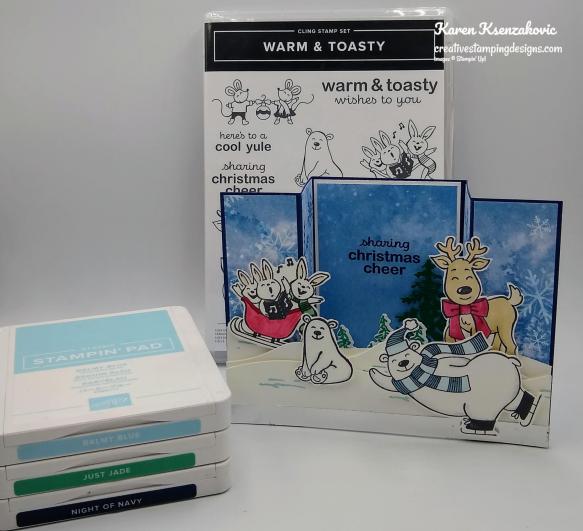
I played along with The Spot Challenge #140. Their theme is Holiday Throwdown (Over the Top Holiday Cards).
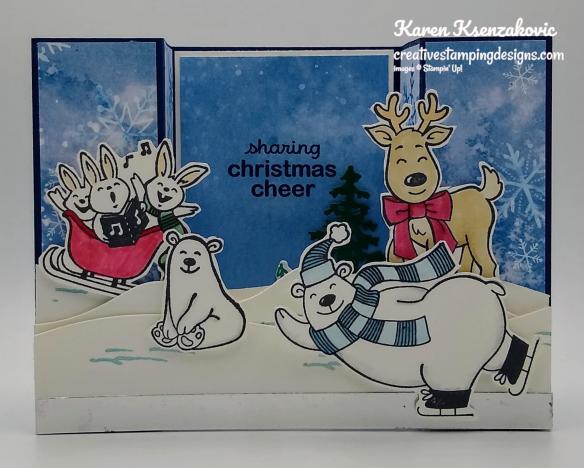
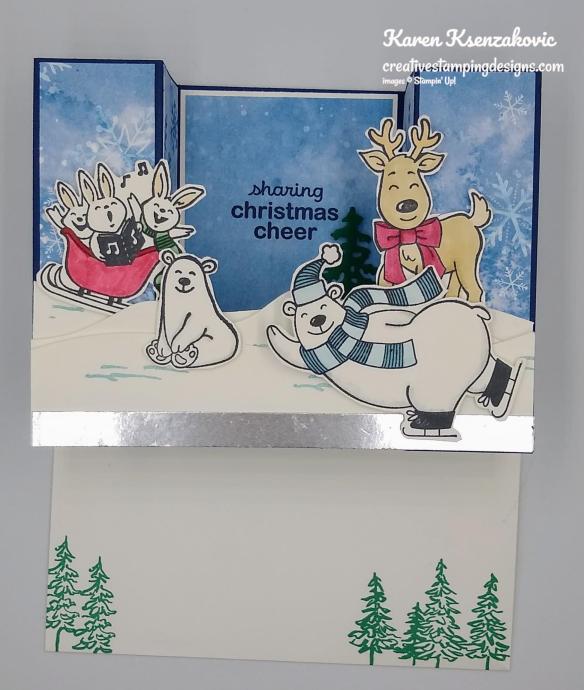
I started by adhering 8 panels of the Snowflake Splendor Designer Series Paper to the front and back of the Night of Navy card base using Multipurpose Liquid Glue. I stamped the sentiment from Warm & Toasty stamp set in Night of Navy Ink on a panel of Snowflake Splendor DSP. I adhered the DSP to a Whisper White mat using Stampin’ Seal and then to the center of the card base using Multipurpose Liquid Glue. I stamped 4 of the animal images from the Warm & Toasty stamp set in Tuxedo Black Memento Ink on a panel of Whisper White cardstock. I colored the images in using my Balmy Blue, Cherry Cobbler, Crumb Cake, Ivory, Just Jade, Real Red, Smoky Slate and Color Lifter Stampin’ Blends Markers. I fussy cut all the images using my Paper Snips. Using the Pine Woods Dies, I cut 3 of the snow drift dies from a panel of Whisper White cardstock.
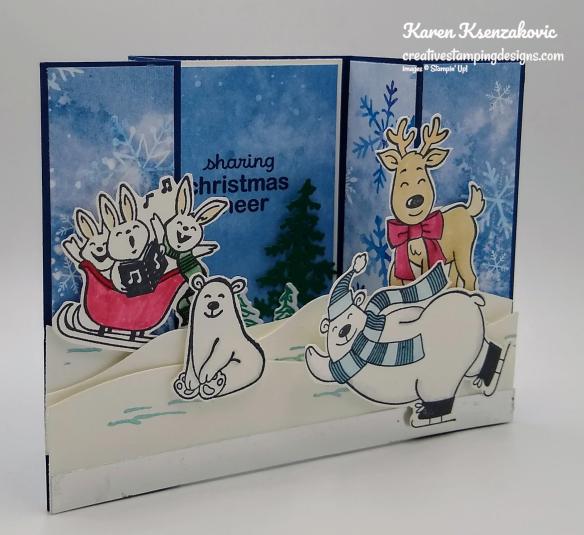
I adhered a strip of Silver Foil sheet to the top snow drift using Stampin’ Seal. I adhered the snow drifts together using Glue Dots on the bottom 2 and Stampin’ Dimensionals on the top one. I stamped the snow image in Balmy Blue Ink on the drifts to give them a little dimension. I adhered the snow drifts to the card base using Tear & Tape on the top section and Stampin’ Dimensionals on the bottom.
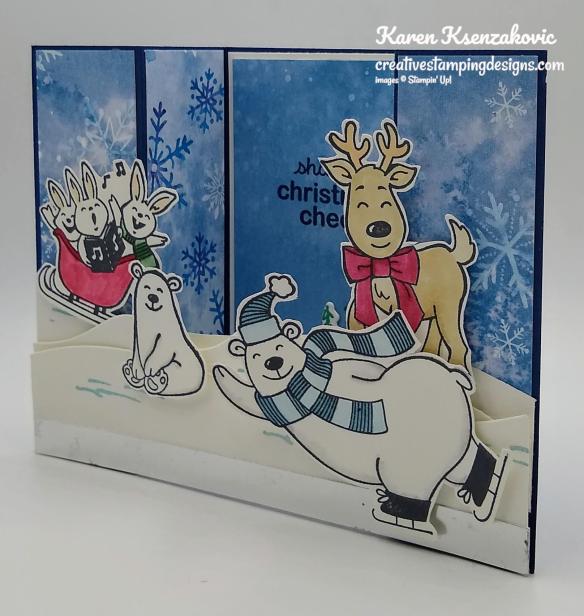
I adhered the cut images to the card front and snow using Stampin’ Dimensionals. After I added them I felt like the inside still needed a little something, so I added a tall pine tree I had cut from a panel of Shaded Spruce cardstock using the Pine Woods Dies. I also stamped the tree cluster image from the Stampin’ Up! In The Pines Photopolymer Stamp Set in Just Jade Ink on a panel of Whisper White cardstock and cut out using the Pine Woods Dies. I adhered the tall pine tree using Multipurpose Liquid Glue and the tree cluster using Glue Dots.
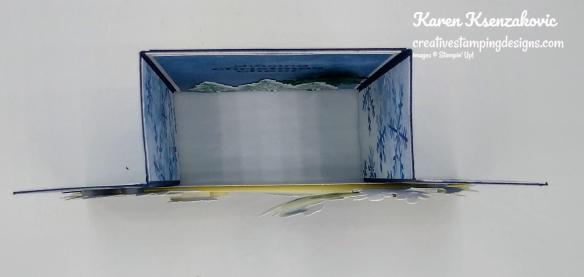
This is how the card looks when it is sitting on a table, so you can see how it is folded.
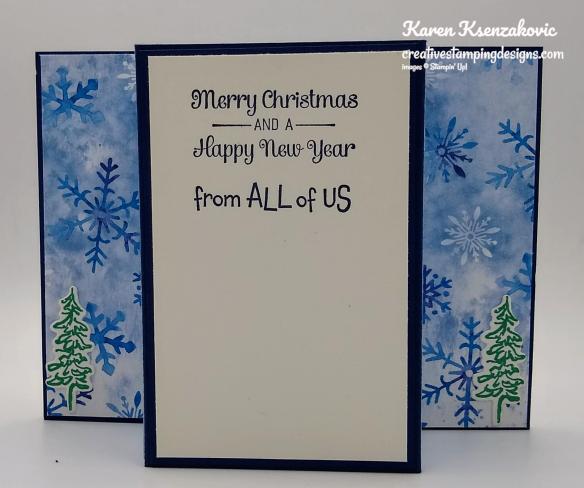
On a Whisper White panel I stamped the sentiments from the Stampin’ Up! Itty Bitty Christmas Cling Stamp Set the the Stampin’ Up! From All Of Us Cling Stamp Set in Night of Navy Ink towards the top. I adhered the Whisper white panel to a Night of Navy mat using Stampin Seal and then adhered it to the back of the card base using Multipurpose Liquid Glue.
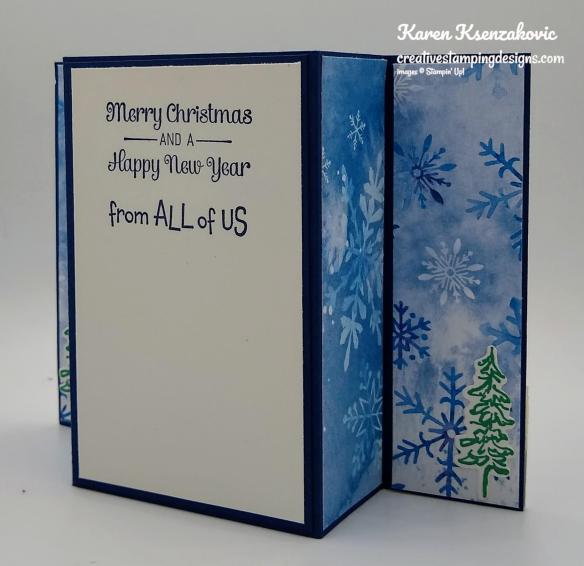
I stamped 2 of the small tree images from the In The Pines stamp set in Just Jade Ink and cut them out using the Pine Woods Dies. I adhered them to the side panels using Multipurpose Liquid Glue.
To finish my card I decorated a Medium Whisper White Envelope. I stamped the small tree images from the In The Pines stamp set in Just Jade Ink on the bottom front of the envelope. I adhered a panel of Snowflake Splendor DSP to the envelope flap.
Thank you for stopping by my blog today. I hope you liked my card and will give it a try. The list of measurements are below if you’d like to stamp along while watching the video. You can watch my video on my Facebook page Here.
You can also view the video on my YouTube channel Here. Happy Stamping!!
*********************************************************************************************************
If you need any stamping supplies, I’d love to be your Demonstrator. Just click HERE to go directly to my online store or drop me an email if you have any questions.
MY CURRENT HOST CODE IS: YUWDMJMT
Use this host code when you order $50 or greater and receive a free gift from me! If your order is over $150, please do not use this code, but you’ll still get the free gift. The free gift is your choice of any 1 item valued up to $10.00 in the 2020-2021 Annual Catalog! For any orders $50 or more I will also send you my monthly class tutorials. Click HERE or go to my Customer Rewards for more details and to see what this months tutorials are.
Click HERE to shop the clearance rack.
Please remember to use my current Host Code and make sure that you can see my name on the final checkout page listed as your Demonstrator when you order so that you know that you’re ordering with me and you’ll get my rewards!
Happy Stamping, Karen!
*********************************************************************************************************
Stampin’ Up!’s Year End Closeout Sale going on now

If you love great deals, our Giant Year-End Closeout event is the perfect time to shop. You’ll get deep discounts on your favorite products from the August–December 2020 Mini Catalog. The Year-End Closeout happens only once a year!
Year End Closeout Sale Details:
Sale Dates: December 8, 2020 through January 4, 2021
- No minimum purchase required.
- Retiring items are available while supplies last.
- Exclusions apply: Carryover items will not be discounted.
- Due to increased shipping times and possible shipping delays during the month of December, we can’t guarantee delivery before Christmas.
- Ordering Deadlines: January 4, 2021 at 11:50 PM (MT)
Click here to download the full list of items that are retiring and which items are on sale starting on Tuesday, December 8! And get your lists ready to shop early!! The items that are retiring are only while supplies last!! And everything on this list is retiring!!
*********************************************************************************************************
FREE Bonus Quite Curvy and Curvy Christmas Project Tutorials With Videos When You Purchase The Bundle From Me!!

A group of us worked together to create five awesome tutorials using the Stampin’ Up! Curvy Celebrations special release products with video tutorials! You can get this set of exclusive tutorials when you purchase either the Quite Curvy Variety Bundle (item 158396) or the Quite Curvy Bundle (item 156228) from me between now and January 4!
If your order is $50 or greater and includes either of these bundles, you will get this set of tutorials in addition to the monthly online class tutorials AND your $10 thank you gift! And you’ll also earn my Creative Stamping Designs Reward Points!
*********************************************************************************************************
Card stock cuts for this project:
- Night of Navy Cardstock 4 1/4″ X 8 1/4″ (card base scored and folded at 1 3/8″, 2 3/4″, 5 1/2″ & 8 1/4″), 2 1/2″ X 4″ (back panel mat)
- Shaded Spruce Cardstock 3″ X 1 1/2″ (tree die cut)
- Whisper White Cardstock 4 1/4″ X 5 1/2″ (snow drifts), 5 1/4″ x 4″ (animals), 2 5/8″ X 4 1/8″ (inside front mat), 2″ x 3 1/2″ (small trees), 2 1/2″ X 4″ (back panel)
- Silver Foil Sheet 3/8″ X 5 1/2″
- Snowflake Splendor Designer Series Paper 8 – 1 1/4″ X 4 1/8″ panels, 2 1/2″ X 4″ (inside front panel), 2 1/4″ X 6″ (piece for envelope flap)
*********************************************************************************************************
Product List


Oh my goodness, how cute is that!?! Love the fun winter scene. 🙂
LikeLiked by 1 person
Thank you so much Amy 🙂 Super easy too, minus the fussy cutting 😉
LikeLiked by 1 person
Catching up and had to say, even late, how much I love this super cute card. Your attention to detail on it is amazing! Smile-maker for sure! TFS
LikeLiked by 1 person
Thank you so much Susan 🙂
LikeLiked by 1 person