
Good Sunday morning stamping friends. I hope your weekend is going well. I’m running into work this morning to clean up any work before I leave tomorrow morning for BackStage. I’ll be in Las Vegas this week until Thursday so I may be a little slower in answering emails, but you can rest assure that I will be answering them.
I have a super quick and easy card for you today. If you’d like to see a quick video on how I made this card, Click Here to go to my Instagram Reels. Here’s my card for today.
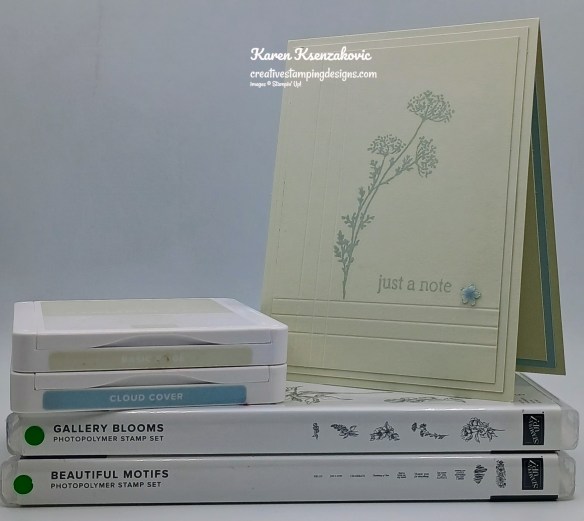
I used the Stampin’ Up! Gallery Blooms Cling Stamp Set along with the Stampin Up! Beautiful Motifs Photopolymer Stamp Set for my card today.
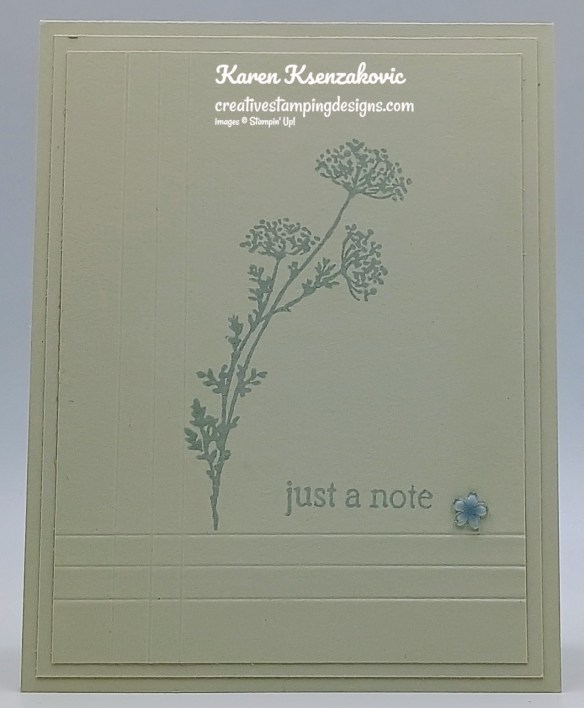
Using the Paper Trimmer or Simply Score, score the left side of the card front at 1/2″, 3/4″ & 1″. Turn the card front and score the bottom of the card front at 1/2″, 3/4″ & 1″.
Stamp the floral image from the Gallery Blooms stamp set in Cloud Cover Ink between the score lines. Stamp the sentiment from the Beautiful Motifs stamp set in Cloud Cover Ink next to the floral image.
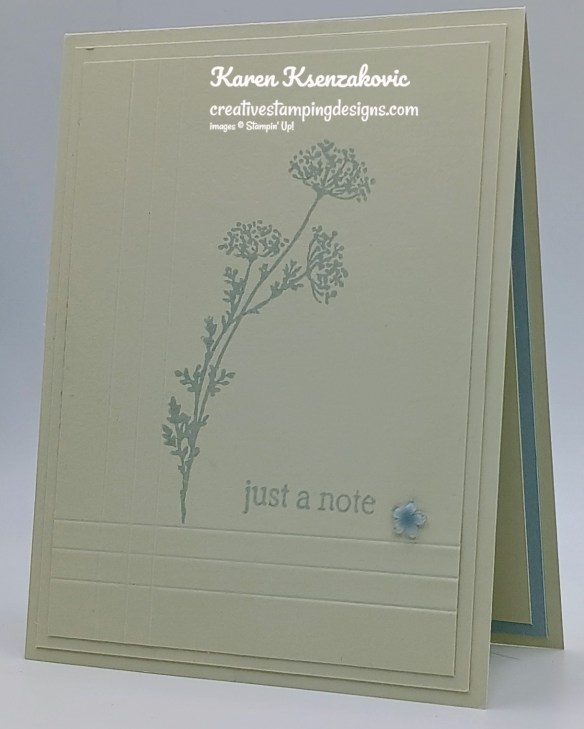
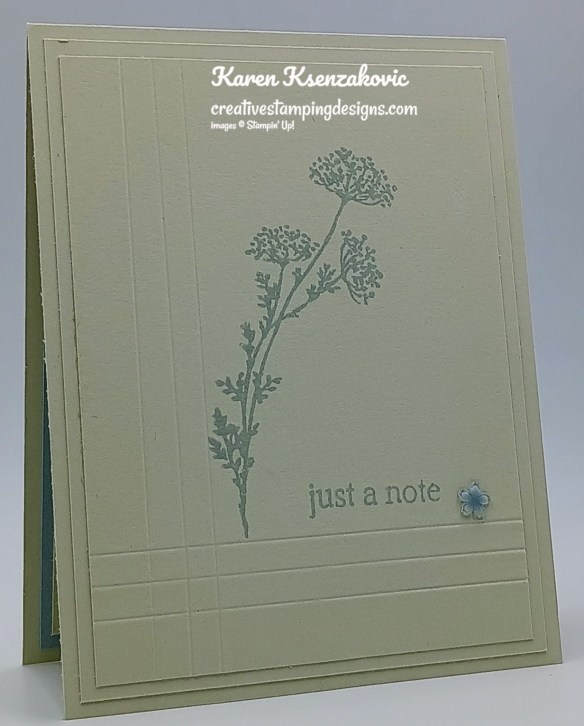
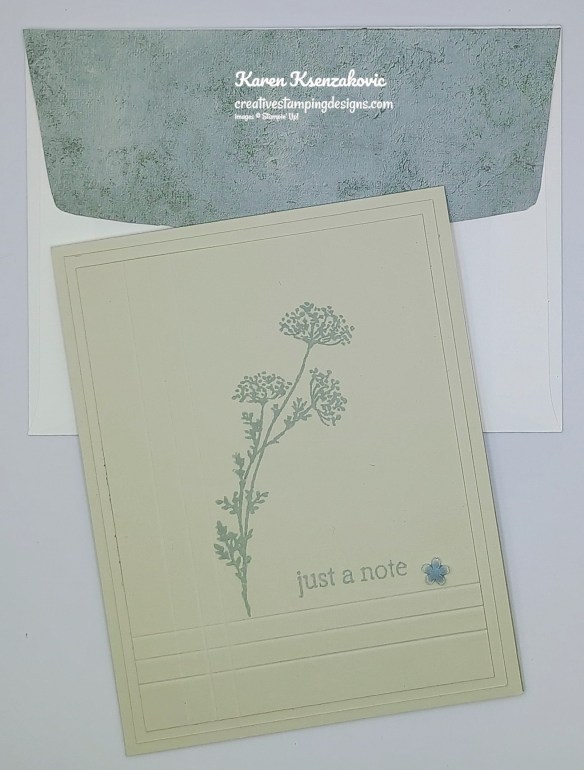
Adhere the card front to a Basic Beige mat. Adhere the layered panel to a Basic Beige card base. Add a Hues of Blue Blower to the card front.
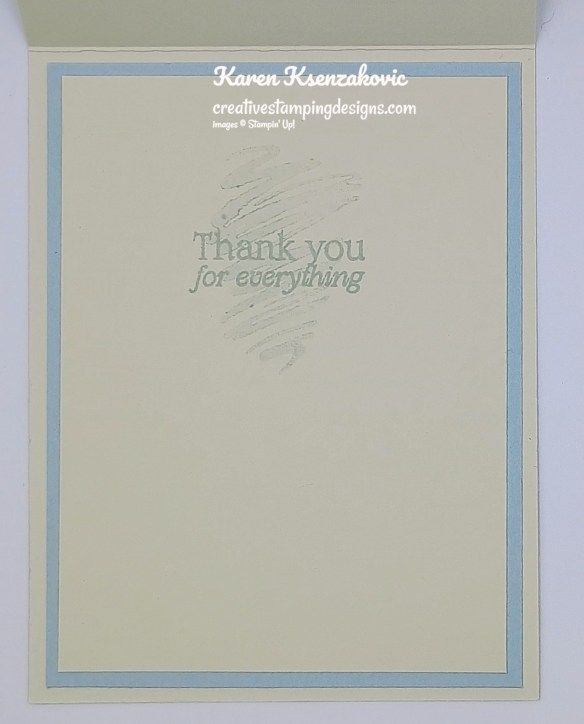
Stamp the sentiment from the Beautiful Motifs stamp set in Cloud Cover Ink on a panel of Basic Beige. Stamp the swish image from the Beautiful Motifs stamp set in Cloud Cover Ink, stamping off once on scrap paper, over the sentiment. Adhere the Basic Beige panel to a Cloud Cover mat then to the inside of the Basic Beige card base.
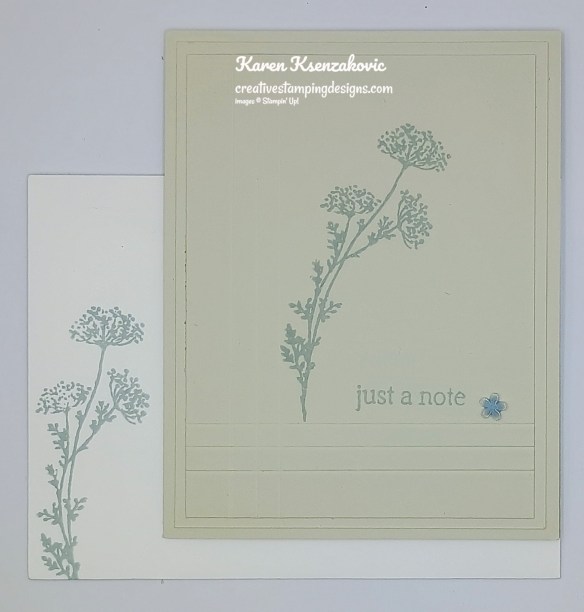
Decorate a Basic White Medium Envelope to finish the card. Stamp the floral image from the Gallery Blooms stamp set on the envelope front in Cloud Cover Ink. Adhere a panel of Beautiful Gallery DSP to the envelope flap.
Thank you for stopping by my blog today. I hope you like the card and will give it a try. Happy Stamping!!
*********************************************************************************************************
If you need any stamping supplies, I’d love to be your Demonstrator. Just click HERE to go directly to my online store or drop me an email if you have any questions.
*********************************************************************************************************
Card stock cuts for this project:
- Basic Beige Cardstock 4 1/4″ x 11″(card base scored & folded at 5 1/2″), 4″ x 5 1/4″(card front mat), (2) – 3 3/4″ x 5″ (card front & inner liner)
- Cloud Cover Cardstock 4″ x 5 1/4″(inner liner mat)
- Beautiful Gallery 6 x 6 Designer Series Paper 2 1/4″ x 6″(envelope flap)
*********************************************************************************************************
Product List
![Beautiful Motifs Photopolymer Stamp Set (English) [ 165198 ]](https://assets1.tamsnetwork.com/images/EC042017NF/165198s.jpg "Beautiful Motifs Photopolymer Stamp Set (English) [ 165198 ]")
![Gallery Blooms Photopolymer Stamp Set [ 165211 ]](https://assets1.tamsnetwork.com/images/EC042017NF/165211s.jpg "Gallery Blooms Photopolymer Stamp Set [ 165211 ]")
![Basic Beige 8 1/2" X 11" Cardstock [ 164511 ]](https://assets1.tamsnetwork.com/images/EC042017NF/164511s.jpg "Basic Beige 8 1/2\" X 11\" Cardstock [ 164511 ]")
![Cloud Cover 8 1/2" X 11" Cardstock [ 165621 ]](https://assets1.tamsnetwork.com/images/EC042017NF/165621s.jpg "Cloud Cover 8 1/2\" X 11\" Cardstock [ 165621 ]")
![Beautiful Gallery 6" X 6" (15.2 X 15.2 Cm) Designer Series Paper [ 165196 ]](https://assets1.tamsnetwork.com/images/EC042017NF/165196s.jpg "Beautiful Gallery 6\" X 6\" (15.2 X 15.2 Cm) Designer Series Paper [ 165196 ]")
![Hues Of Blue Flowers [ 165930 ]](https://assets1.tamsnetwork.com/images/EC042017NF/165930s.jpg "Hues Of Blue Flowers [ 165930 ]")
![Basic White Medium Envelopes [ 159236 ]](https://assets1.tamsnetwork.com/images/EC042017NF/159236s.jpg "Basic White Medium Envelopes [ 159236 ]")

![Adhesive Sheets [ 152334 ]](https://assets1.tamsnetwork.com/images/EC042017NF/152334s.jpg "Adhesive Sheets [ 152334 ]")


![Take Your Pick [ 144107 ]](https://assets1.tamsnetwork.com/images/EC042017NF/144107s.jpg "Take Your Pick [ 144107 ]")


Pretty card Karen! Love the clean design and the tiny blue flower is the perfect embellishment. 🙂
LikeLike
Thank you so much Amy 🙂
LikeLike
So softly beautiful!
LikeLike
Thank you so much Deborah 🙂
LikeLike