
Good Monday morning stamping friends and welcome to a new week. How was everyone’s weekend? It was a gorgeous one here in NJ. We had our quarterly team meeting yesterday and as I was driving up to Amy’s house, I noticed some of the trees here are starting to turn. They are still mostly green with just a touch of yellow, orange and red. Fall will be here before we know it.
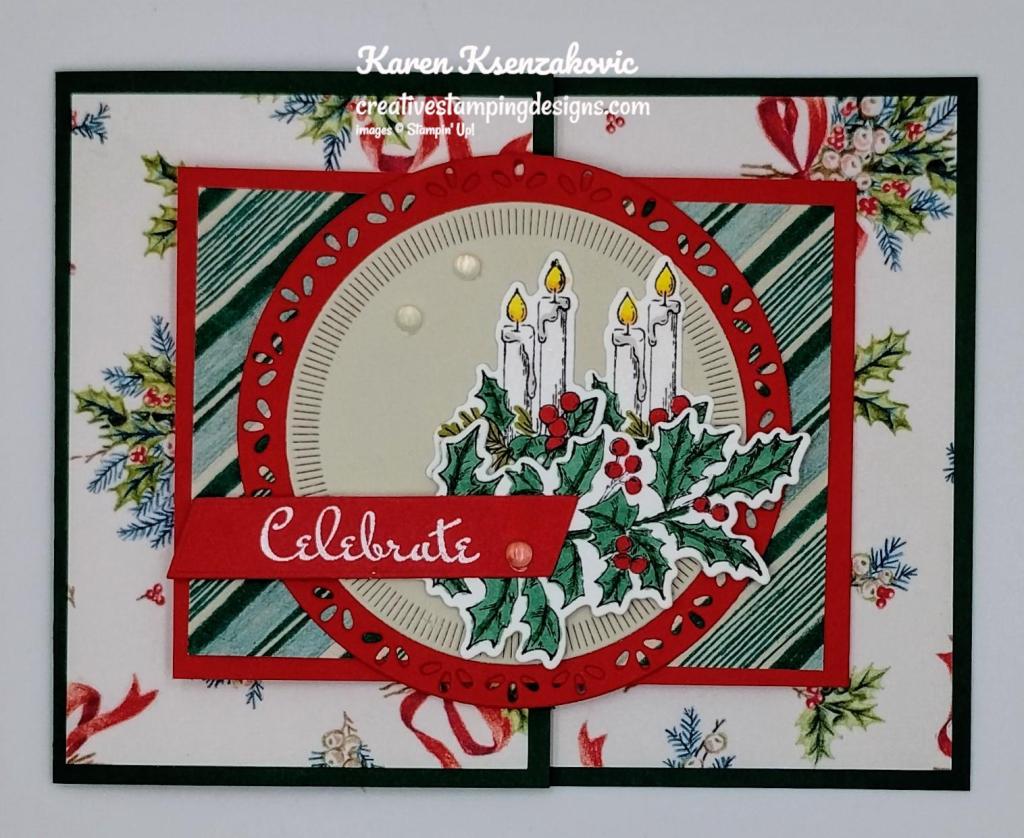
Today’s card is one that we made at our meeting yesterday. This card was designed and presented by one of my team members Akiko Sudano. It’s such a pretty card and one that can be duplicated easily. Here’s my card for today.

I used the Stampin’ Up! Sentimental Wishes Bundle along with the Spotlight on Nature Dies, Something Fancy dies and Sentimental Christmas Designer Series Paper for my card today.

Adhere the floral panels of Sentimental Christmas DSP to the front of the Shaded Spruce card base using Stampin’ Seal.
Adhere the floral panel of the Sentimental Christmas DSP to the inside of the Shaded Spruce card base using Stampin’ Seal. Adhere the striped panel of the Sentimental Christmas DSP to the front of the small Poppy Parade card base using Stampin’ Seal. Adhere the small card base to the center inside of the Shaded Spruce card base using Liquid Glue.
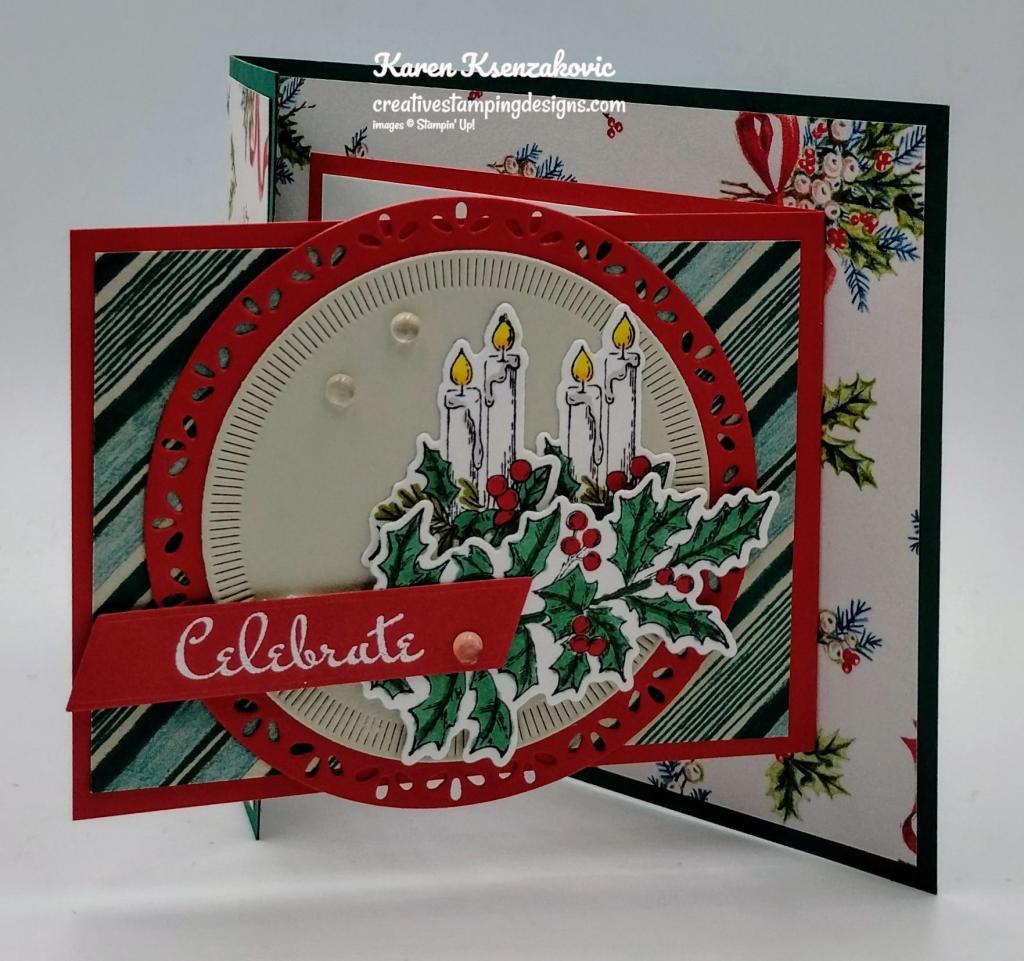
Using the Spotlight on Nature Dies, cut the larger circle from a panel of Poppy Parade and the smaller one from a panel of Basic Beige. Adhere the Basic Beige circle to the Poppy Parade circle using Stampin’ Seal. Adhere the layered circle to the center of the small card front using Liquid Glue. Stamp the holly and candle images from the Stampin’ Up! Sentimental Wishes Cling Stamp Set in Tuxedo Black Ink on a panel of Basic White. Color the images using Lemon Lolly, Old Olive, Poppy Parade, Pumpkin Pie and Shaded Spruce Stampin’ Blends Markers. Brush the candles with Clear wink of Stella. Cut the images out using the Sentimental Wishes Dies. Adhere the candles to the Basic Beige circle using Glue Dots. Adhere the holly over the candles using Stampin’ Dimensionals. Stamp the center of the sentiment from the Sentimental Wishes stamp set by covering the top and bottom with tape. Ink up the center with Versamark, remove the tape and stamp on a panel of Poppy Parade. Sprinkle the sentiment with White Embossing Powder and set it using the Heat Tool. Cut the sentiment out using the Something Fancy Dies. Adhere the sentiment over the holly using a Glue dot and Stampin’ Dimensional on the end. Add a few White Pearls from the Cherry Cobbler and Pearl Adhesive-Backed Berries.

Adhere a striped panel of Sentimental Christmas DSP to the inside of the Shaded Spruce card base using Stampin’ Seal. Adhere a floral panel of Sentimental Christmas DSP to the inside of the Poppy Parade card base using Stampin’ Seal. Using the Sentimental Wishes Dies, cut a stocking and bow from a panel of Sentimental Christmas DSP. Adhere the stocking and bow to the inside of the card base using Liquid Glue. Stamp the sentiment from the Sentimental Wishes stamp set in Shaded Spruce Ink on a panel of Basic White. Adhere the Basic White panel to the inside of the Poppy Parade card base. On a panel of Basic White, stamp the sentiment from Sentimental Wishes stamp set in Poppy Parade Ink. Using the Something Fancy Dies, cut the sentiment and from a panel of Shaded Spruce cut the larger die for a mat. Adhere the sentiment to the mat then to the inside right of the Poppy Parade card base.

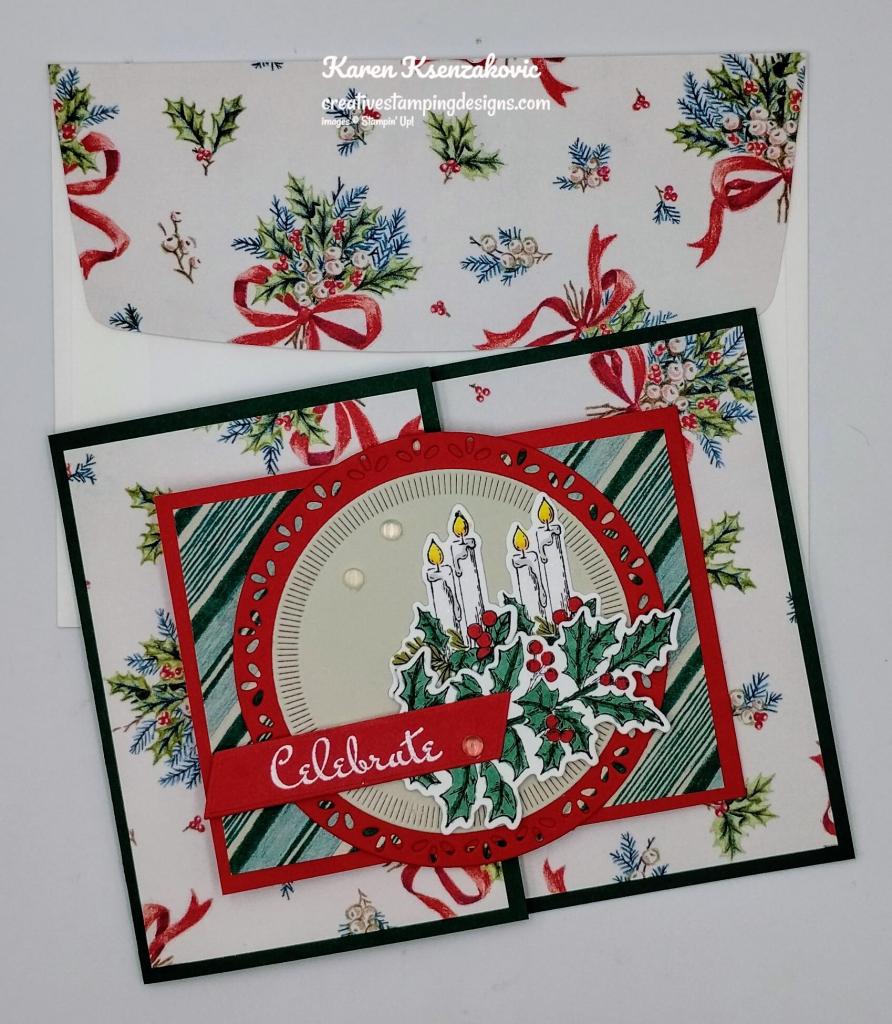
To finish the card, decorate a Basic White Medium Envelope. Stamp the candle image from the Sentimental Wishes stamp set in Tuxedo Black Ink of the envelope front. Color the image using Lemon Lolly, Old Olive, Poppy Parade, Pumpkin Pie and Shaded Spruce Stampin’ Blends Markers. Brush them with Clear Wink of Stella. Adhere a panel of Sentimental Christmas DSP to the envelope flap.
Thank you for stopping by my blog today. I hope you like the card and will give it a try. Happy Stamping!!
*********************************************************************************************************
If you need any stamping supplies, I’d love to be your Demonstrator. Just click HERE to go directly to my online store or drop me an email if you have any questions.
MY CURRENT HOST CODE IS: EPRVU3FN
Use this host code when placing an order with me. When you order $50 or greater you will receive a free gift from me! If your order is over $150, please do not use this code, but you’ll still get the free gift. The free gift is your choice of any 1 item valued up to $10.00 from the 2024-2025Annual Catalog, or from the Online Exclusives! Unfortunately, packs of cardstock are no longer an option for a free gift. Shipping has become too expensive to ship and it’s costing me as much to ship as the cardstock costs. For any orders $50 or more I will also send you my monthly class tutorials. Click HERE or go to my Customer Rewards for more details and to see what this month’s tutorials are.
Please remember to use my current Host Code and make sure that you can see my name on the final checkout page listed as your Demonstrator when you order so that you know that you’re ordering with me, and you’ll get my rewards!
Happy Stamping, Karen
*********************************************************************************************************
Stampin’ Up! World Card Making Day Event – Free Registration Open

It’s time to celebrate one of my favorite days of the year—World Card Making Day! Join Stampin’ Up! on October 5 as they celebrate this day with a creative virtual event. They’ll create five simple cards and show you some additional fun projects! Crafters of all skill levels are invited and welcome to join. And the event and registration are FREE! Mark your calendars now and join the event on October 5!
World Card Making Day Event Details:
- Who: Everyone is invited!
- When: October 5, 2024, from 2:00 to 3:00 p.m. (MT)
- Where: Online
- Price of Event: Free
- Registration Dates: September 3–October 4, 2024, at 2:00 p.m. (MT)
- You must register for this event in order to receive a link to view it. Also, those who register will receive a gift after the event ends. Register so that you don’t miss out on the event link and a special registration gift!
- Language of Event: Most of the event will be presented in English with language interpretation voiceover and subtitles available in English, French, German, and Dutch.
- Video on Demand: We will record our stream of this event. Anyone who has the event link will be able to watch the recorded event starting October 8.
- Hashtag: You post about the World Card Making Day event on social media using #SUWorldCardMakingDay2024. If you post with the hashtag, you’ll see your post appear on the event webpage as you watch the event!
Registration for this event begins on Tuesday, September 3 so look for the link to register beginning then!!
********************************************************************************************************
New Paper Pumpkin Subscribers – Receive 40% off Your 1st Kit
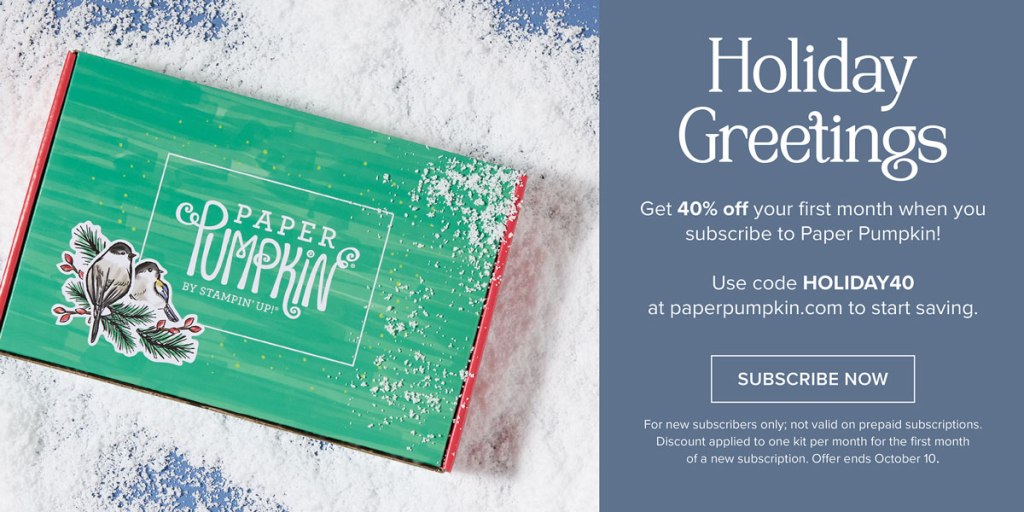
Santa Claus is comin’ to town a bit early this year—and he’s brought a holiday Paper Pumpkin sale! Starting September 11, 2024, at 12:01 a.m. (MT) until October 10, 2024, at 11:50 p.m. (MT), anyone who signs up for our monthly Paper Pumpkin subscription as a new subscriber will receive 40% off their first kit. That’s right, 40% OFF!
Where This Discount Is Applied
This discount will be applied to one kit in the first kit shipment of the Paper Pumpkin subscription, which means new subscribers will get 40% off the October Nests of Christmas Paper Pumpkin Kit. After that, each month’s kit will return to the regular price of $25.00.
Qualifying for This Discount
This offer is only for new month-to-month subscribers and is not valid on purchased or redeemed prepaid subscriptions. So if you have previously used an email address for a Paper Pumpkin subscription, you won’t qualify as a new subscriber to receive this discount. Also, anyone who signs up as a new subscriber to Paper Pumpkin but cancels by October 10 will not receive any kits or discounts.
Nests of Christmas
Subscribe September 11 – October 10

Spread Christmas cheer with this cozy, all-inclusive crafting kit! Coordinates with the Nests of Winter Suite Collection (item 164072)!
About the Kit:
• Makes 10 cards: 5 each of 2 designs with 10 coordinating envelopes
• Tri-fold card bases and precut grosgrain ribbon
• Precut labels with specialty green foil
• Coordinating colors: Basic Black, Coastal Cabana, Granny Apple Green, Night
of Navy, Real Red, Shaded Spruce (Classic Stampin’ Spot)
Subscribe to Paper Pumpkin for a monthly, all-inclusive crafting kit that’s a fun surprise! Each kit includes a photopolymer stamp set, Classic Stampin’ Spot, and step by step instructions to complete exclusive paper craft projects, including cards, tags, and gift
packaging. And don’t miss the special add-on that coordinates with the next three months!
*********************************************************************************************************
Don’t miss the coordinating
Merry Tags & More Dies Add-On!
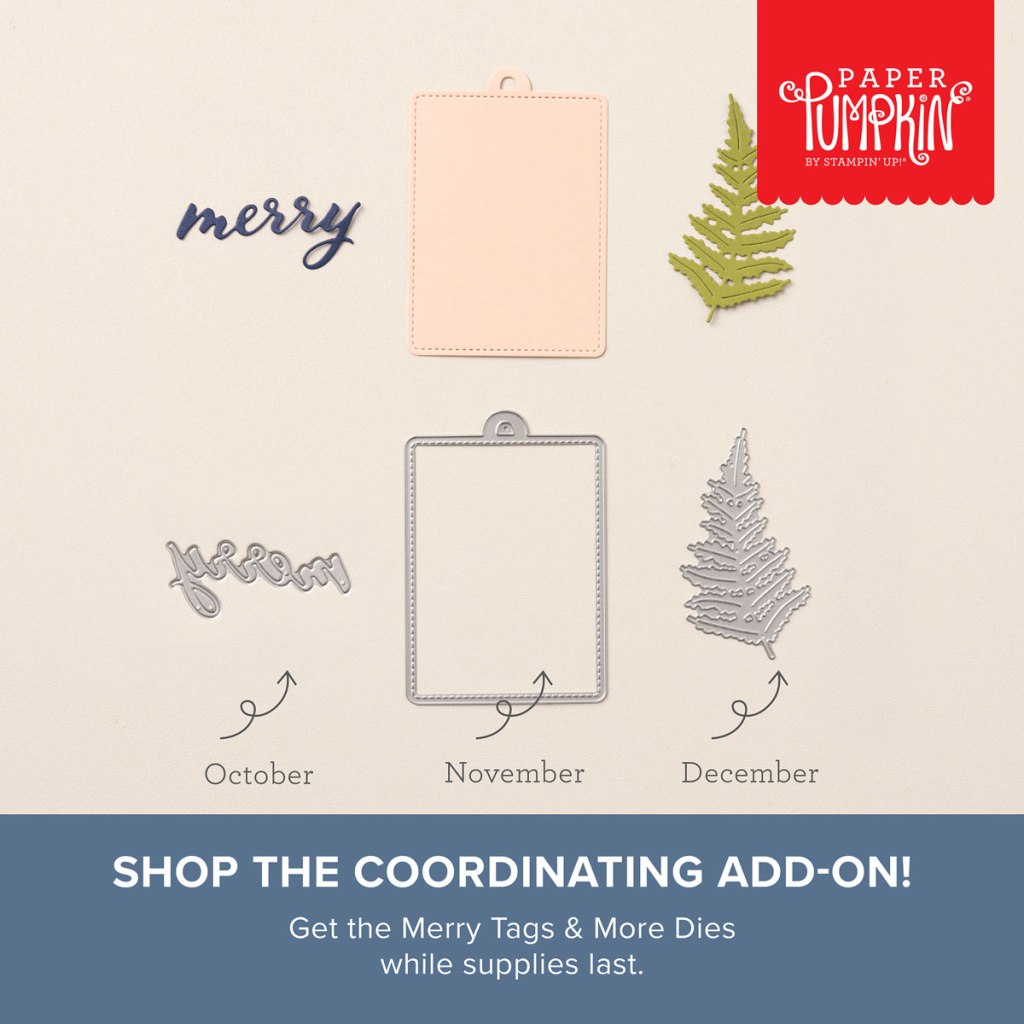
Add dimension and detail to your cards, scrapbook pages, and gift tags with the Merry Tags & More Dies! With a leaf and tag shape and Merry sentiment, these dies are a great way to expand your crafting experience. They even coordinate with three Paper Pumpkin Kits: Nests of Christmas, Filled with Joy, and Notes from the Heart. Such easy coordination makes these dies a must-have for any paper craft. Paper Pumpkin subscribers can purchase it beginning 11 September. The add-on is available only while supplies last, so it’s best to shop early! Please note that the Stampin’ Cut and Emboss Machine is not included and can be purchased separately.
#165639 $12
Subscribe to the September Paper Pumpkin Kit between 11 September and 10 October by clicking here!
Note: Supplies may be limited toward the end of the subscription period.
*********************************************************************************************************
Card stock cuts for this project:
- Basic Beige Cardstock 3″ X 3″(die cut circle)
- Basic White Cardstock 4″ X 5 1/4″ (stamped & die cut images & inner sentiment)), 2 3/4″ X 3 3/4″(inner liner)
- Poppy Parade Cardstock 3″ X 8″ (small card base scored & folded at 4″), 3 1/2″ X 3 1/2″(die cut circle), 1″ X 3″(sentiment)
- Shaded Spruce Cardstock 4 1/4″ X 8 1/2″ (card base scored & folded at 3″, 2″ X 3 1/2″(inner label mat)
- Sentimental Christmas Designer Series Paper Floral Pattern – 2 3/4″ X 4″(card front panel), 2 3/4″ X 3 3/4″(small card base inner panel), 4″ X 5 1/4″(inner liner), 2 1/4″ X 6″ (envelope) Striped Pattern – 2 3/4″ X 4″(large card base inner panel), 2 3/4″ x 3 3/4″(small card base card front)
*********************************************************************************************************
Product List
")
")


 Designer Series Paper")


")


Such a pretty card! Love the layout, so glad that you were able to join us for the meeting yesterday! 🙂
LikeLiked by 1 person
Thank you so much Amy 🙂
LikeLike
Akiko, you did a marvelous presentation and I’ve added this bundle and DSP to my wish list for October thanks to you and Karen!
LikeLiked by 1 person
very pretty!
LikeLiked by 1 person
Thank you Dawn
LikeLike
Lovely trad card, with real contemporary feel
LikeLiked by 1 person
Thank you so much Deborah
LikeLiked by 1 person