Good Friday morning my stamping friends welcome to my Fun Fold Friday. How was everyone’s week? Does anyone have any plans yet for the weekend? I’ll be at work tomorrow, but I have Sunday off so I can attend our Zoom monthly meeting.
Today’s card I made on my Facebook Live video on Wednesday. If you were able to join me or watched the replay, thank you. If you’d like to watch my video and stamp along, the measurements are below along with the links to my Facebook page and my YouTube channel. Here is my card for today.
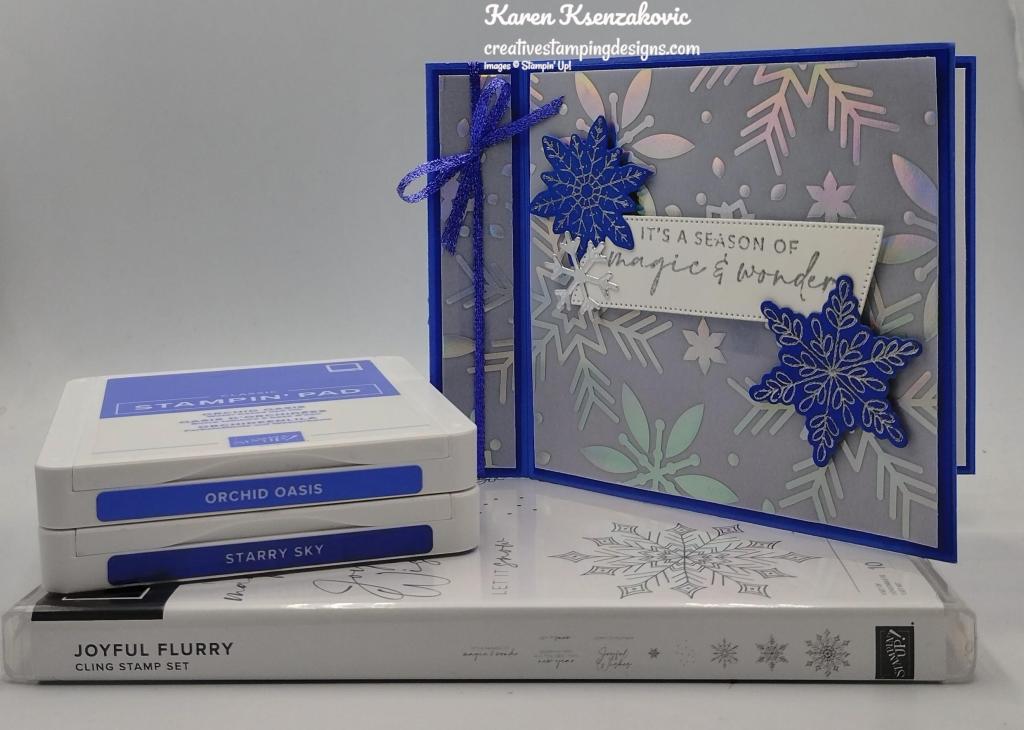
I used the Stampin’ Up! Joyful Flurry Bundle and the Snowflake Vellum Paper for my card today.
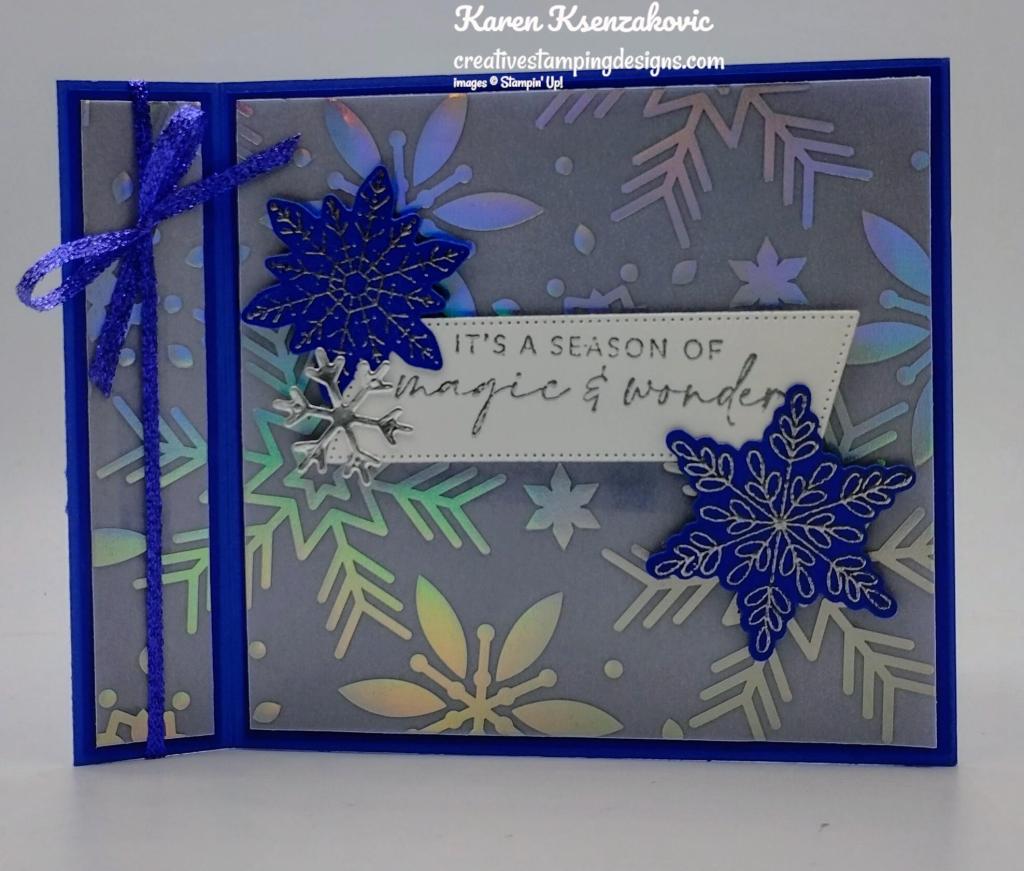
I started by folding my card base in half at the 5 1/2″ score line, then I folded the 4 1/2″ score line back. I adhered the 1″ binder part of the card using Multipurpose Liquid Glue.

I adhered the 2 panels of Snowflake Vellum Paper to the Starry Sky mats using a small amount of Stampin’ Seal in the center where the sentiment was going to go and the side where the ribbon was going. I also added a few Glue Dots behind the snowflake images on the Vellum Paper. I adhered the layered panels to the Orchid Oasis card base using Multipurpose Liquid Glue. I wrapped a piece of Orchid Oasis 1/8″ Metallic Woven Ribbon around the binder end and tied a bow.

On a panel of Basic White cardstock, I stamped the sentiment from the Stampin’ Up! Joyful Flurry Cling Stamp Set in Versamark Ink. I sprinkled it with my Silver Embossing Powder and set it using my Heat Tool. On a panel of Starry Sky cardstock, I stamped the snowflake images from the Joyful Flurry stamp set in Versamark Ink. I sprinkled them with my Silver Embossing Powder and set them with my Heat Tool. I cut the sentiment and snowflakes out using the Frosted Flurry Dies. I adhered the sentiment to the card front using Stampin’ Dimensionals. I adhered the snowflakes by the sentiment using Stampin’ Dimensionals. I cut a couple of the small snowflakes out from a panel of Silver Foil Paper. I adhered the silver foil snowflake using Multipurpose Liquid Glue.

On the inside I stamped the sentiment from the Joyful Flurry stamp set in Orchid Oasis Ink on a Basic White panel. I stamped the dotted image from the Joyful Flurry stamp set in Orchid Oasis Ink, stamping off once on scrap paper, next to the sentiment. I adhered the other silver snowflake by the sentiment. I adhered the Basic White panel to a Starry Sky mat then to the inside of the Orchid Oasis card base.
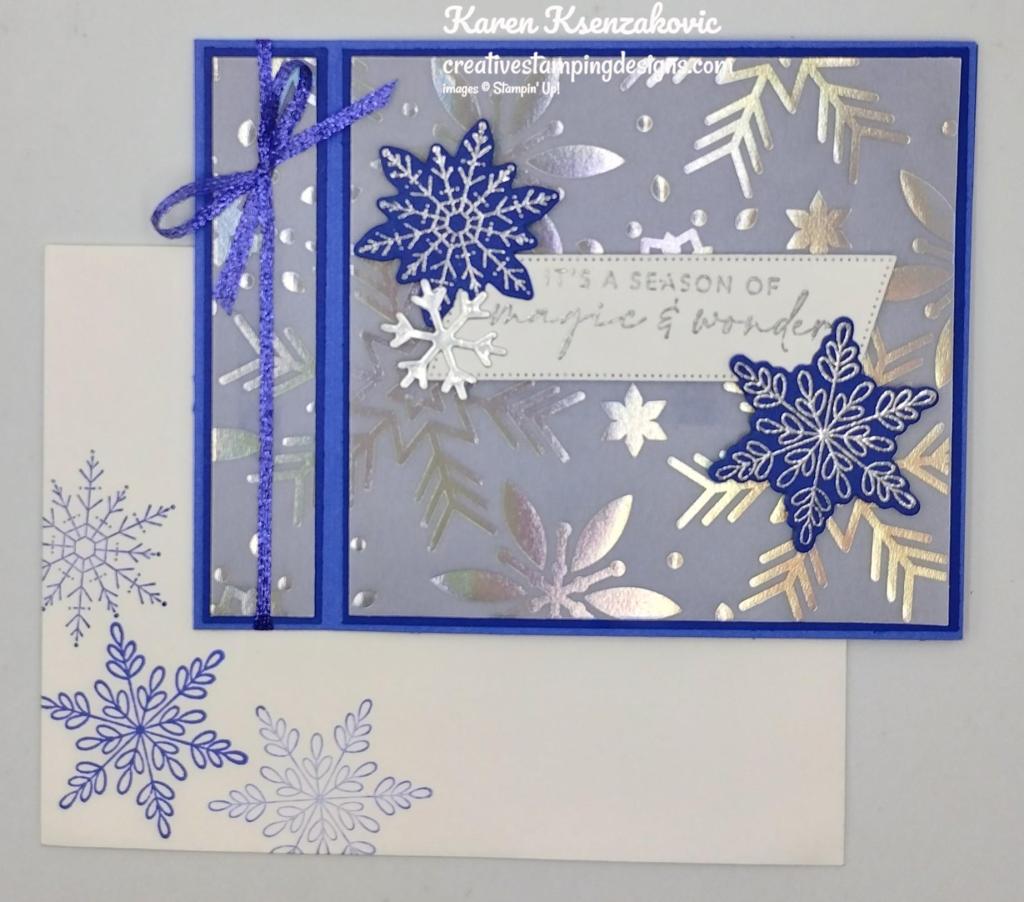
To finish my card, I decorated a Basic White Medium Envelope. I stamped the snowflake images form the Joyful Flurry stamp set in Orchid Oasis and Starry Sky Inks on the envelope front and flap, stamping some full strength and some stamped off.
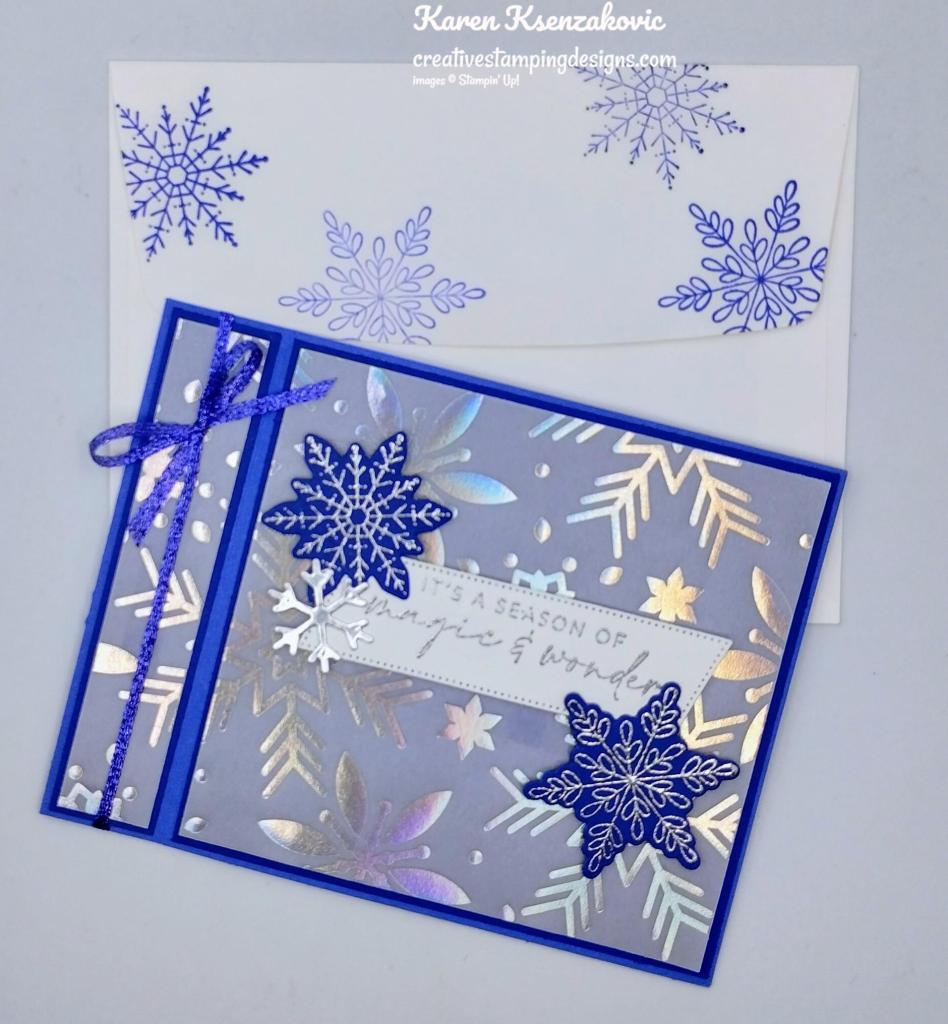
Thank you for stopping by my blog today. I hope you liked my card and will give it a try. I hope you will CASE this card and please feel free to post it in the comments of my Facebook page under my post. I’d love to see your take on the card. The list of measurements are below if you’d like to stamp along while watching the video. You can watch my video on my Facebook page Here.
You can also view the video on my YouTube channel Here. If you watch this on my YouTube channel, please remember to subscribe so that you will get notified when a new video goes live. I’m hoping to start doing YouTube lives soon, thanks to all that have subscribed. Happy Stamping!!
*********************************************************************************************************
If you need any stamping supplies, I’d love to be your Demonstrator. Just click HERE to go directly to my online store or drop me an email if you have any questions.
MY CURRENT HOST CODE IS: 76V6XDMX
Use this host code when placing an order with me. When you order $50 or greater you will receive a free gift from me! If your order is over $150, please do not use this code, but you’ll still get the free gift. The free gift is your choice of any 1 item valued up to $10.00 from the 2022-2023 Annual Catalog or the July – December 2022 Mini Catalog! For any orders $50 or more I will also send you my monthly class tutorials. Click HERE or go to my Customer Rewards for more details and to see what this month’s tutorials are.
Please remember to use my current Host Code and make sure that you can see my name on the final checkout page listed as your Demonstrator when you order so that you know that you’re ordering with me and you’ll get my rewards!
Happy Stamping, Karen
*********************************************************************************************************
Starter Kit + Promotion From Stampin’ Up! October 4-31!!

October is a fabulous time to join Stampin’ Up! You will get even MORE FREE products in your customizable Starter Kit! Between October 4-31, when you join, you will get $155 worth of products in your Starter Kit for only $99!! Plus you’ll get free shipping and all the fun being a part of Stampin’ Up! and our Inkin’ Krew Team!
STARTER KIT+ PROMOTION DATES: OCTOBER 4-31, 2022
- When you purchase your Starter Kit, you will be able to redeem $155 of Starter Kit eligible products for just $99!!
- You can select any eligible Stampin’ Up! products up to the stated value of $155.
- Your Starter Kit also includes business resources like catalogs, brochures, order forms, and postcards.
- The Starter Kit also includes a FREE past Paper Pumpkin kit!
- In addition to the amazing added value to your Starter Kit, when you join Stampin’ Up! you get to be a part of our amazing community of crafters. Plus, you get to enjoy sharing simple and fun crafting experiences with others, early access to products, and exclusive access to training events!!
- There is no requirement to hold events, share online or sell in any way to others. You can join and simply get the awesome Starter Kit+ deal and then get a minimum of a 20% discount on anything that you purchase as a Demonstrator!
- New demonstrators who submit their Independent Demonstrator Agreement (IDA) before October 4 or after October 31 will not be eligible for this offer.
- Starter Kit + Promotion begins : October 4, 2022
- Starter Kit + Promotion ends: October 31, 2022 @ 11:50pm MT
You can check out more information about joining our team Here and more details about the benefits of being a Demonstrator and find the link to join Here.
I’d be happy to help you and talk to you about joining. Contact me at creativestampingdesigns@gmail.com and we can connect. This is such a great deal you won’t want to pass it up.
*********************************************************************************************************
BIRTHDAY CARD ORGANIZER KIT NOW AVAILABLE
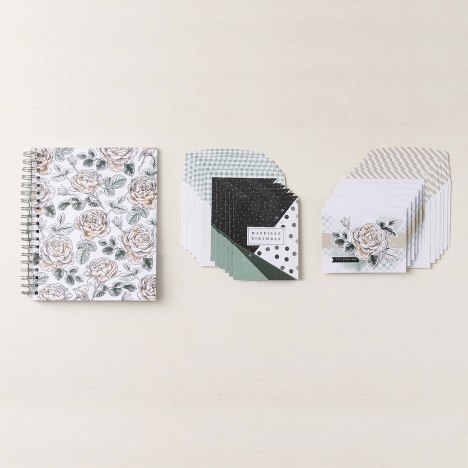
Get ready for the latest addition to the Kits Collection by Stampin’ Up! The Birthday Card Organizer Kit has everything you need to plan ahead and never forget another birthday again!
#161056 / $25 USD
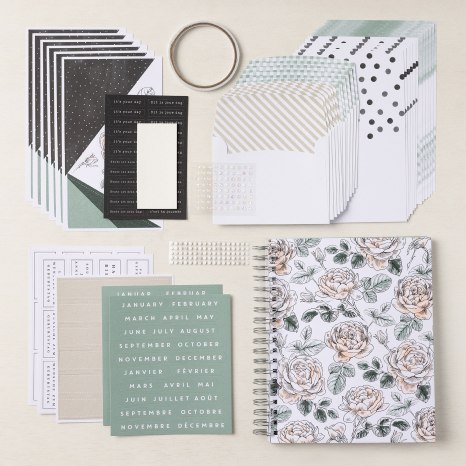
- Kit includes one 8″ x 10″ (20.3 x 25.4 cm) monthly planner with space to record birthdays each month as well as a pocket sleeve to hold birthday cards.
- Includes 12 full-size birthday cards, 6 of 2 designs, and 12 coordinating envelopes.
- Includes Glue Dots, Stampin’ Dimensionals, Adhesive-Backed Embellishments, and Tear & Tape Adhesive
- Includes die-cut florals and pieces ready for you to use—no prep work required!
- Includes sticker sentiments and die-cut labels in Dutch, English, French, and German
- Coordinating colors: Basic Black, Evening Evergreen, Petal Pink, Sahara Sand, and Soft Succulent
*********************************************************************************************************
Ho Ho Ho
Subscribe September 11 – October 10

‘Tis the season to make your own Christmas cards with the Ho Ho Ho Paper Pumpkin Kit! This kit contains whimsical designs of Santa and his reindeer in a classic Christmas color palette which is sure to match various styles of holiday décor and look great on mantles everywhere.
Each kit contains enough supplies to create 9 festive cards—3 each of 3 designs—and 9 coordinating envelopes. These cards are sure to bring the warm holiday spirit.
And word from the North Pole is that this kit coordinates with next month’s Paper Pumpkin tag kit and the special add-on product! With so much coordination between products, you’ll have a breeze at creating a cohesive look for all your holiday gifting needs. Make this season the most wonderful time of the year for your loved ones—and for yourself!
This kit includes:
- Ho Ho Ho Photopolymer Stamp Set
- Early Espresso Classic Stampin’ Spot
- Printed card bases
- Printed envelopes
- Printed die cuts
- Die-cut labels
- Iridescent foil die-cut snowflakes
- Vellum
- Vanilla expoy dots
- Adhesive dots
- Mini Dimensionals
Card size: 4-1/4″ x 5-1/2″ (10.8 x 14 cm)
Coordinating Stampin’ Up! colors: Bermuda Bay, Cherry Cobbler, Crumb Cake, Early Espresso, Shaded Spruce, Sweet Sorbet, Very Vanilla
Subscribe to the October Paper Pumpkin Kit between 11 September and 10 October at paperpumpkin.com!
Note: Supplies may be limited toward the end of the subscription period.
*********************************************************************************************************
Card stock cuts for this project:
- Basic White Cardstock 4″ X 1 1/2″ (sentiment), 4″ X 4 1/4″ (inner liner)
- Orchid Oasis Cardstock 4 1/4″ X 11″ (card base scored & folded at 5 1/2″ & 4 1/2″)
- Starry Sky Cardstock 2 – 4 1/8″ X 4 3/8″ (card front & inner liner mats), 7/8″ x 4 1/8″ (side panel mat), 4″ X 2 1/4″ (snowflakes)
- Snowflake Vellum Paper 4″ X 4 1/4″ (card front), 3/4″ X 4″ (card front panel)
- Silver Foil Paper2 1/2″ X 1″ (snowflakes)
*********************************************************************************************************
Product List


So pretty Karen! The blue under the vellum is beautiful! Love the layering! 🙂
LikeLiked by 1 person
Thank you so much Amy 🙂
LikeLike
Oooh, I love that paper on the blue! Gorgeous! And my favorite fun fold to boot! TFS
LikeLiked by 1 person
Thank you so much Susan 🙂
LikeLike