

Good Thursday morning stamping friends welcome to our Happy Inkin’ Thursday Blog Hop. If you are starting with me, thank you, I hope you will stop by everyone’s blog to see the beautiful projects they have created this week. If you are hopping over from Mary’s blog, thank you for stopping by. This week we have a Sketch Challenge to work with. If you’d like to see a quick video on how I made this card, Click Here to go to my Instagram Reels. Here is my card using this week’s sketch.
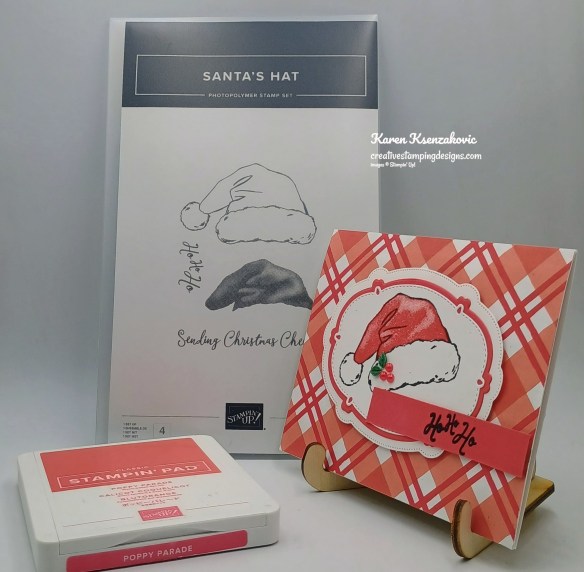
I used the Stampin’ Up! Santa Hat Stamp Set, Timeless Christmas Designer Series Paper and Sweet Words & Labels Dies for my card today.
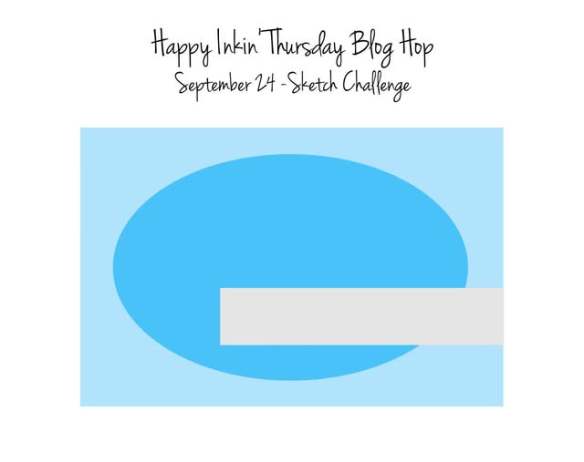
This is our sketch for this week
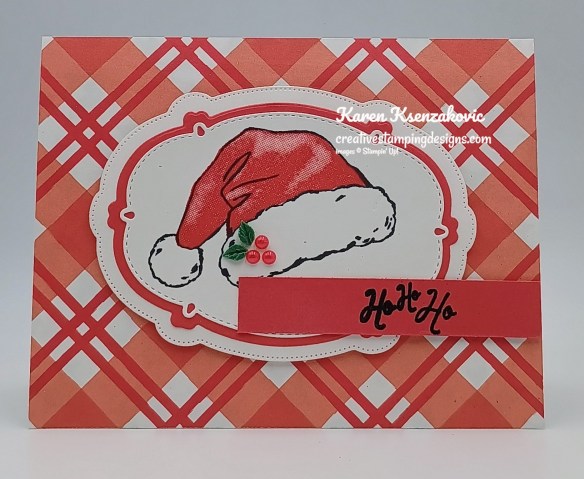
Adhere a panel of Timeless Christmas DSP to a Basic White Thick card base. Cut a Basic White panel using the smaller and larger Sweet Words & Labels Dies. Cut a panel of Poppy Parade using the next middle Sweet Words & Labels Dies.
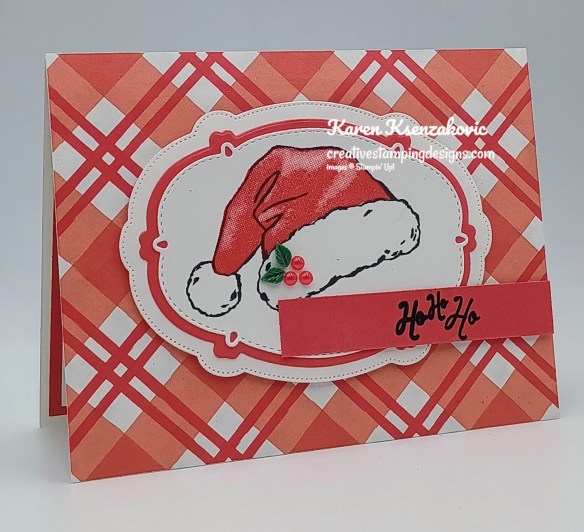
Stamp the details Santa hat image from the Santa Hat stamp set in Black Ink on the smallest die cut panel of Basic White. Stamp the solid hat image from the Santa Hat stamp set in Poppy Parade Ink. Adhere the Basic White die cut to the Poppy Parade die cut. Adhere the layered panel to the larger Basic White die cut.
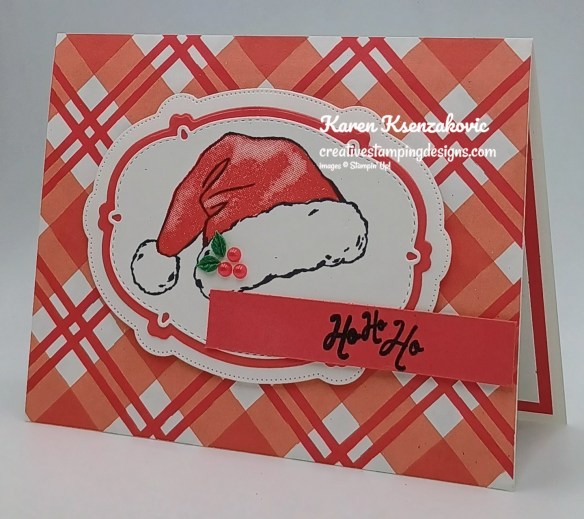
Adhere the layered die cut panel to the card front with Stampin’ Dimensionals. Stamp the sentiment from the Santa Hat stamp set in Versamark Ink on the panel of Poppy Parade. Sprinkle the sentiment with Black Embossing Powder and set it with the Heat Tool. Adhere the sentiment to the card front with Stampin’ Dimensionals. Add an Adhesive-Backed Christmas Berries to the Santa hat.
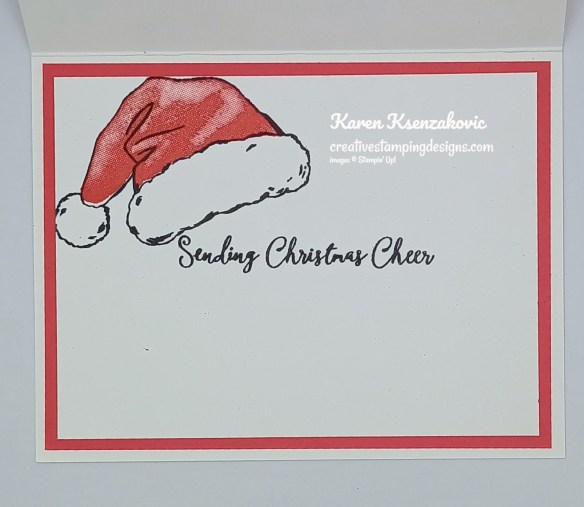
Stamp the sentiment from the Santa Hat stamp set in Black ink on a panel of Basic White. Stamp the detailed Santa hat image from the Santa Hat stamp set in Black Ink above the sentiment. Stamp the solid Santa hat image from the Santa Hat stamp set in Poppy Parade Ink. Adhere the Basic White panel to a Poppy Parade mat then to the inside of the Basic White Thick card base.
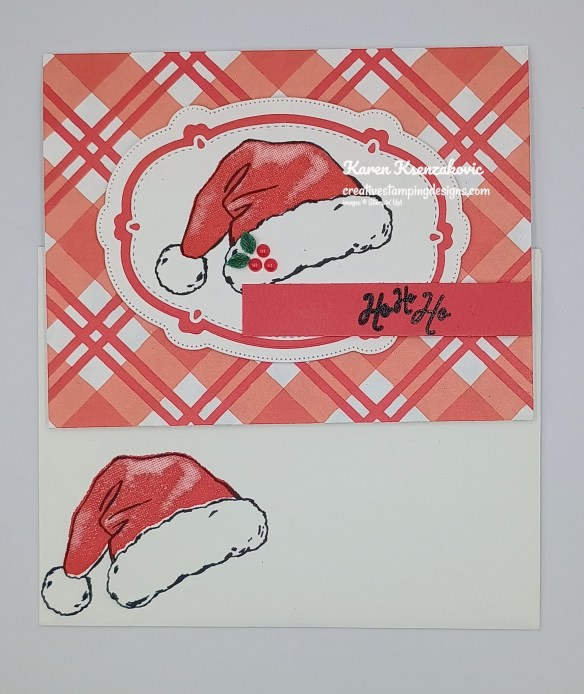
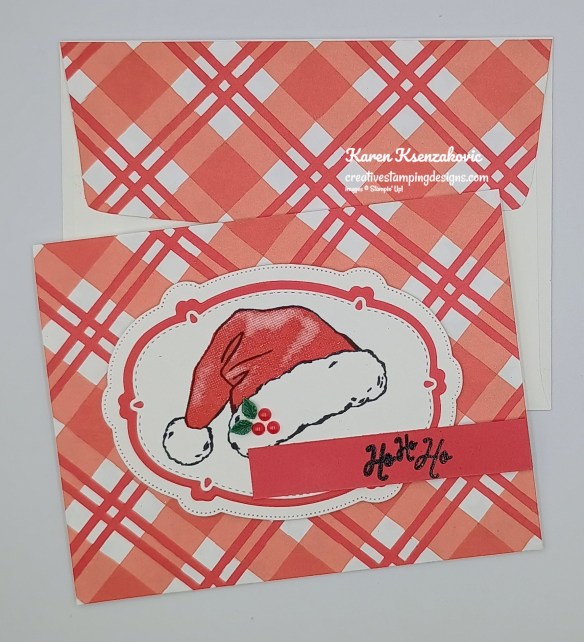
Decorate a Basic White Medium Envelope to complete your card. Stamp the detailed Santa hat image from the Santa Hat stamp set in Black Ink on the envelope front. Stamp the solid hat image in Poppy Parade Ink over the detailed image. Adhere a panel Timeless Christmas DSP to the envelope flap.
Thank you for stopping by my blog today. Now that you’ve seen my card, let’s get on with the hop! Click the next button below to hop over to see what Tara has created. Happy Hopping

Just in case you get lost along the way, here is a list of the team members involved in the hop today.
Karen Ksenzakovic You Are Here
********************************************************************************************************
If you need any stamping supplies, I’d love to be your Demonstrator. Just click HERE to go directly to my online store or drop me an email if you have any questions.
*********************************************************************************************************
Card stock cuts for this project:
- Basic White Cardstock 3 1/2″ x 4 3/4″ (die cuts), 3 3/4″ x 5″ (inner liner)
- Basic White Thick Cardstock 5 1/2″ x 8 1/2″ (card base scored & folded at 4 1/4″)
- Poppy Parade Cardstock 3″ x 4 1/4″ (die cut)1/2″ x 3 1/4″ (sentiment), 4″ x 5 1/4″ (mat)
- Timeless Christmas Designer Series Paper 4 1/4″ x 5 1/2″ (card front), 2 1/4″ x 6″ (envelope)
*********************************************************************************************************
Product List
![Santa's Hat Photopolymer Stamp Set (English) [ 168408 ]](https://assets1.tamsnetwork.com/images/EC042017NF/168408s.jpg "Santa's Hat Photopolymer Stamp Set (English) [ 168408 ]")
![Basic White 8 1/2" X 11" Cardstock [ 166780 ]](https://assets1.tamsnetwork.com/images/EC042017NF/166780s.jpg "Basic White 8 1/2\" X 11\" Cardstock [ 166780 ]")
![Basic White 8 1/2" X 11" Thick Cardstock [ 159229 ]](https://assets1.tamsnetwork.com/images/EC042017NF/159229s.jpg "Basic White 8 1/2\" X 11\" Thick Cardstock [ 159229 ]")
![Poppy Parade 8-1/2" X 11" Cardstock [ 119793 ]](https://assets1.tamsnetwork.com/images/EC042017NF/119793s.jpg "Poppy Parade 8-1/2\" X 11\" Cardstock [ 119793 ]")
![Timeless Christmas 12" X 12" (30.5 X 30.5 Cm) Designer Series Paper [ 168537 ]](https://assets1.tamsnetwork.com/images/EC042017NF/168537s.jpg "Timeless Christmas 12\" X 12\" (30.5 X 30.5 Cm) Designer Series Paper [ 168537 ]")
![Poppy Parade Classic Stampin' Pad [ 147050 ]](https://assets1.tamsnetwork.com/images/EC042017NF/147050s.jpg "Poppy Parade Classic Stampin' Pad [ 147050 ]")
![Versamark Pad [ 102283 ]](https://assets1.tamsnetwork.com/images/EC042017NF/102283s.jpg "Versamark Pad [ 102283 ]")
![Basics Wow! Embossing Powder [ 165679 ]](https://assets1.tamsnetwork.com/images/EC042017NF/165679s.jpg "Basics Wow! Embossing Powder [ 165679 ]")
![Heat Tool (Us And Canada) [ 129053 ]](https://assets1.tamsnetwork.com/images/EC042017NF/129053s.jpg "Heat Tool (Us And Canada) [ 129053 ]")
![Sweet Words & Labels Dies [ 167627 ]](https://assets1.tamsnetwork.com/images/EC042017NF/167627s.jpg "Sweet Words & Labels Dies [ 167627 ]")
![Adhesive Backed Christmas Berries [ 168549 ]](https://assets1.tamsnetwork.com/images/EC042017NF/168549s.jpg "Adhesive Backed Christmas Berries [ 168549 ]")
![Basic White Medium Envelopes [ 159236 ]](https://assets1.tamsnetwork.com/images/EC042017NF/159236s.jpg "Basic White Medium Envelopes [ 159236 ]")
![Stampin' Cut & Emboss Machine [ 149653 ]](https://assets1.tamsnetwork.com/images/EC042017NF/149653s.jpg "Stampin' Cut & Emboss Machine [ 149653 ]")
![Mini Glue Dots [ 103683 ]](https://assets1.tamsnetwork.com/images/EC042017NF/103683s.jpg "Mini Glue Dots [ 103683 ]")
![Multipurpose Liquid Glue [ 110755 ]](https://assets1.tamsnetwork.com/images/EC042017NF/110755s.jpg "Multipurpose Liquid Glue [ 110755 ]")
![Stampin' Dimensionals [ 104430 ]](https://assets1.tamsnetwork.com/images/EC042017NF/104430s.jpg "Stampin' Dimensionals [ 104430 ]")
![Stampin' Seal [ 152813 ]](https://assets1.tamsnetwork.com/images/EC042017NF/152813s.jpg "Stampin' Seal [ 152813 ]")
![Paper Trimmer [ 152392 ]](https://assets1.tamsnetwork.com/images/EC042017NF/152392s.jpg "Paper Trimmer [ 152392 ]")
![Bone Folder [ 102300 ]](https://assets1.tamsnetwork.com/images/EC042017NF/102300s.jpg "Bone Folder [ 102300 ]")
![Detail Scissors [ 170902 ]](https://assets1.tamsnetwork.com/images/EC042017NF/170902s.jpg "Detail Scissors [ 170902 ]")
![Take Your Pick [ 144107 ]](https://assets1.tamsnetwork.com/images/EC042017NF/144107s.jpg "Take Your Pick [ 144107 ]")


