Good Sunday morning stamping friends. I hope you are all enjoying your weekend. I’ll be heading out this afternoon to go with my future daughter-in-law to go wedding dress shopping. I haven’t been in a bridal shop in over 39 years and I’m sure things have changed drastically.
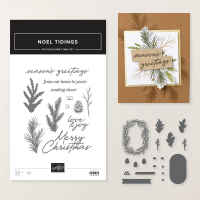
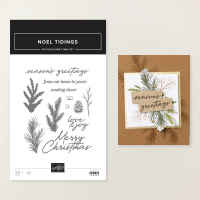
For today’s card I played along with 2 different challenges. The sketch challenge is one of my favorite designs with lots of layers. If you’d like to see a quick video on how I made this card, Click Here to go to my Instagram Reels. Here is my card for today.
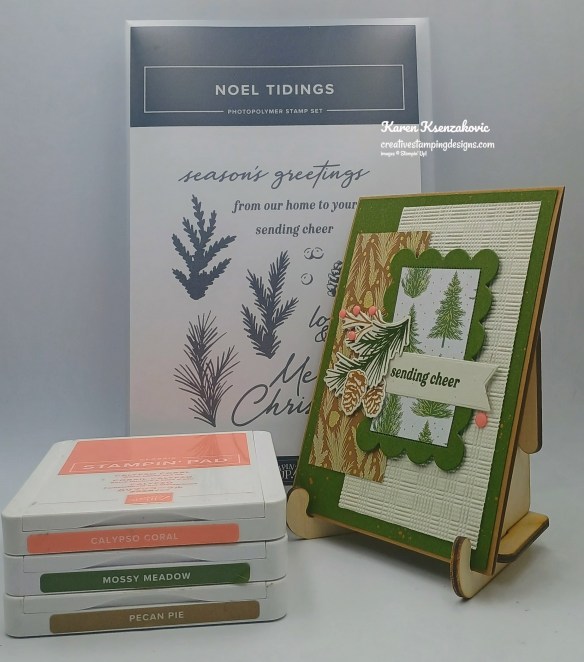
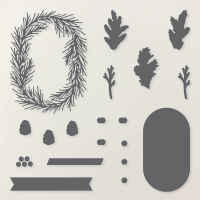
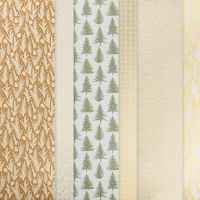
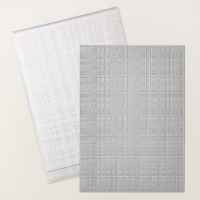
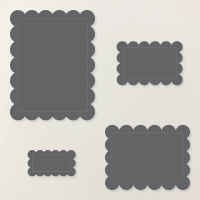
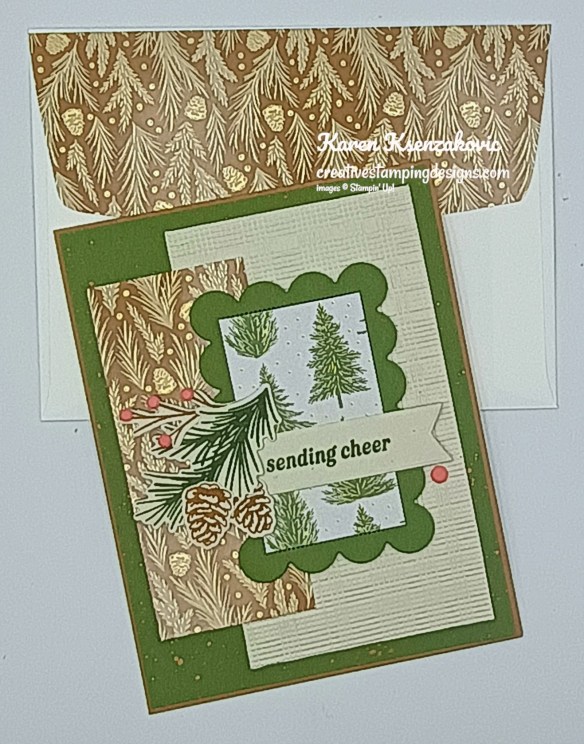
I used the Stampin’ Up! Noel Tidings Bundle, Neutral Noel Specialty Designer Series Paper and Scalloped Christmas Cheer Dies for my card today.
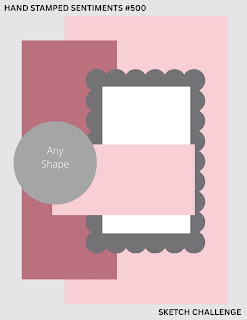
My design is from Hand Stamped Sentiment Challenge #500.
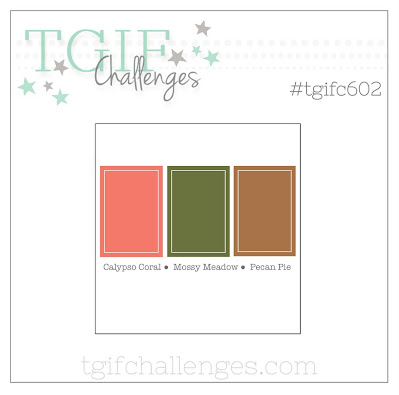
My colors are from TGIF Color Challenge # 602
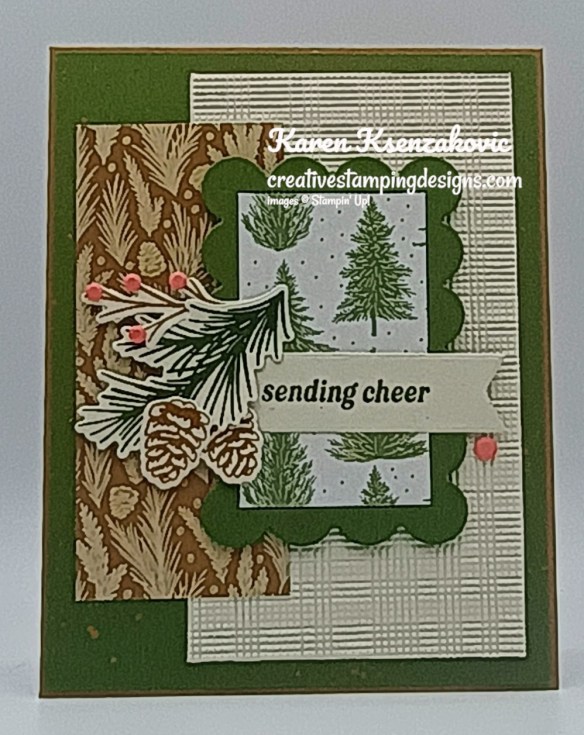
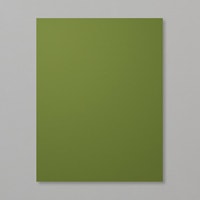
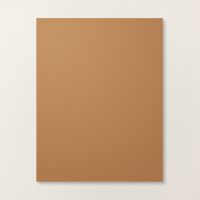
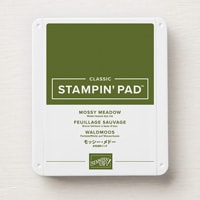
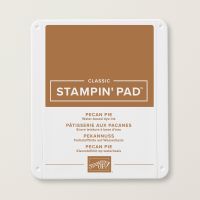
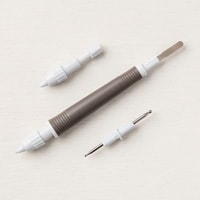
Using the Golden Glow Shimmer Brush and your Bone Folder, tap the Shimmer Brush on the Bone Folder to splatter a panel of Mossy Meadow. Adhere the Mossy Meadow panel to a Pecan Pie card base.
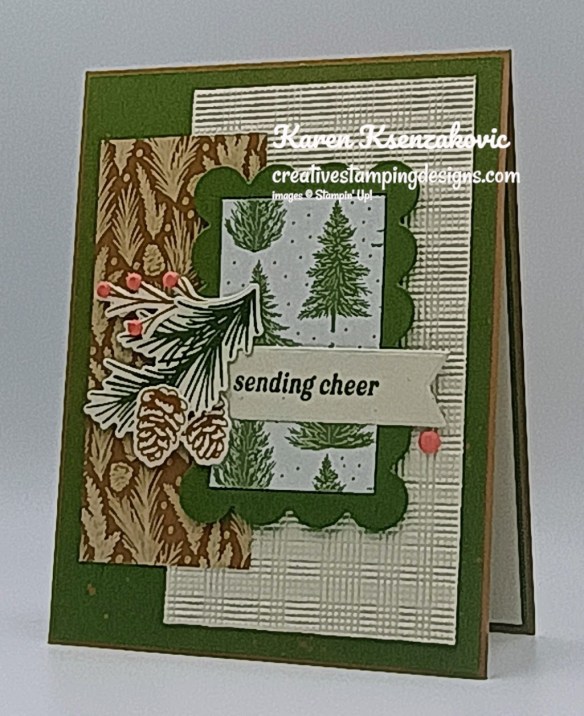
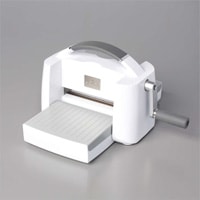
Emboss a panel of Basic Beige using the Softly Woven EF. Adhere the embossed panel to the Mossy Meadow card front. Using the Scalloped Christmas Cheer Dies, cut a panel of Mossy Meadow. Adhere a panel of Neutral Noel DSP in the center of the Scalloped die cut. Adhere a panel of Neutral Noel DSP to the left side of the card front. Adhere the layered scalloped panel to the right side of the card front with Stampin’ Dimensionals.
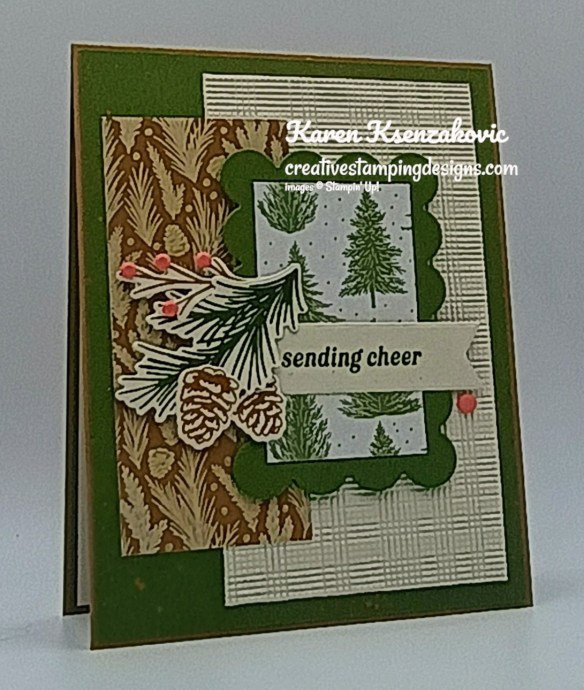
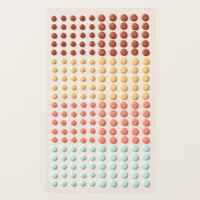
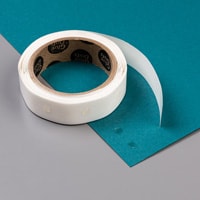
Stamp the pine bough image from the Noel Tidings stamp set in Mossy Meadow Ink on the panel of Basic Beige. Stamp the branch and pinecone images from the Noel Tidings stamp set in Pecan Pie Ink on the same panel. Cut the images out using the Noel Tidings Dies. Stamp the sentiment from Noel Tidings stamp set in Mossy Meadow Ink on a panel of Basic Beige. Cut the sentiment out using the Noel Tidings Dies. Adhere the pine bough and branch to the card front with Stampin’ Dimensionals. Trim the sentiment banner with Detail Scissors and adhere it just under the pine bough. Adhere the pinecones to the pine bough with Glue Dots. Add Calypso Coral Painted Patch Adhesive-Backed Dots to the branch and card front.
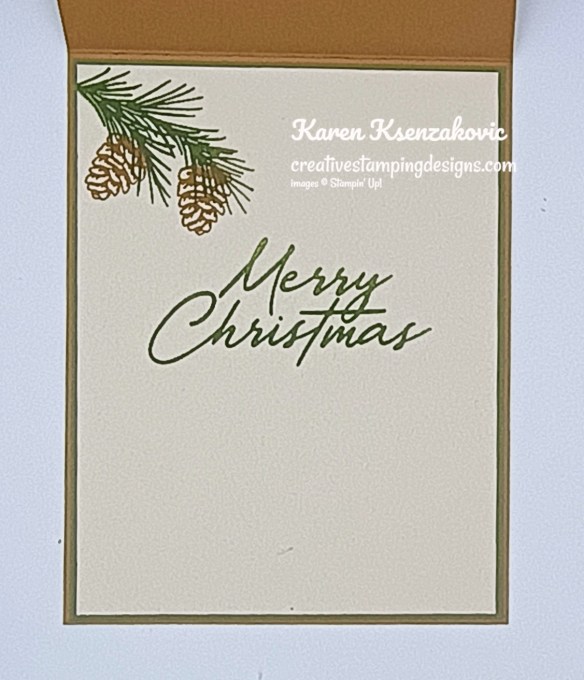
Stamp the sentiment from Noel Tidings stamp set in Mossy Meadow Ink on a panel of Basic Beige. Stamp the pine bough image from Noel Tidings stamp set in Mossy Meadow Ink on the top of the panel. Stamp the pinecone image from Noel Tidings stamp set in Pecan Pie ink on the pine bough. Adhere the Basic Beige panel to a Mossy Meadow mat then to the inside of the Pecan Pie card base.
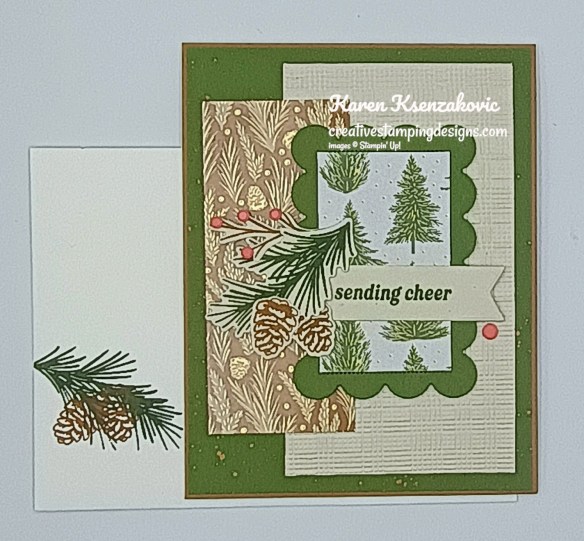
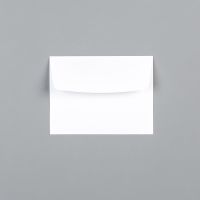
Decorate a Basic White Medium Envelope to finish your card. Stamp the pine bough image from the Noel Tidings stamp set in Mossy Meadow Ink on the envelope front. Stamp the pinecone image from the Noel Tidings stamp set in Pecan Pie Ink on the pine bough. Adhere a panel of Neutral Noel DSP to the envelope flap.
Thank you for stopping by my blog today. I hope you like the card and will give it a try. Happy Stamping!!
*********************************************************************************************************
If you need any stamping supplies, I’d love to be your Demonstrator. Just click HERE to go directly to my online store or drop me an email if you have any questions.
*********************************************************************************************************
Card stock cuts for this project:
- Basic Beige Cardstock 2 3/4″ x 5″ (card front panel), 1 1/2″ x 5 1/2″ (die cuts), 1″ x 4 1/4″ (sentiment), 4″ x 5 1/4″ (inner liner)
- Mossy Meadow Cardstock (2) 4 1/8″ x 5 3/8″ (mats), 2 1/2″ x 3 1/2″ (die cut)
- Pecan Pie Cardstock 4 1/4″ x 11″ (card bae scored at 5 1/2″)
- Neutral Noel Specialty Designer Series Paper 1 9/16″ x 2 5/8″ (card front panel), 1 3/4″ x 4″ (card front panel), 2 1/4″ x 6″ (envelope)
*********************************************************************************************************
Product List