Good Friday morning stamping friends and welcome to my Fun Fold Friday. I hope you are ready for the weekend. I’ll be working all day tomorrow. I think I heard it’s supposed to start cooling down here in NJ.
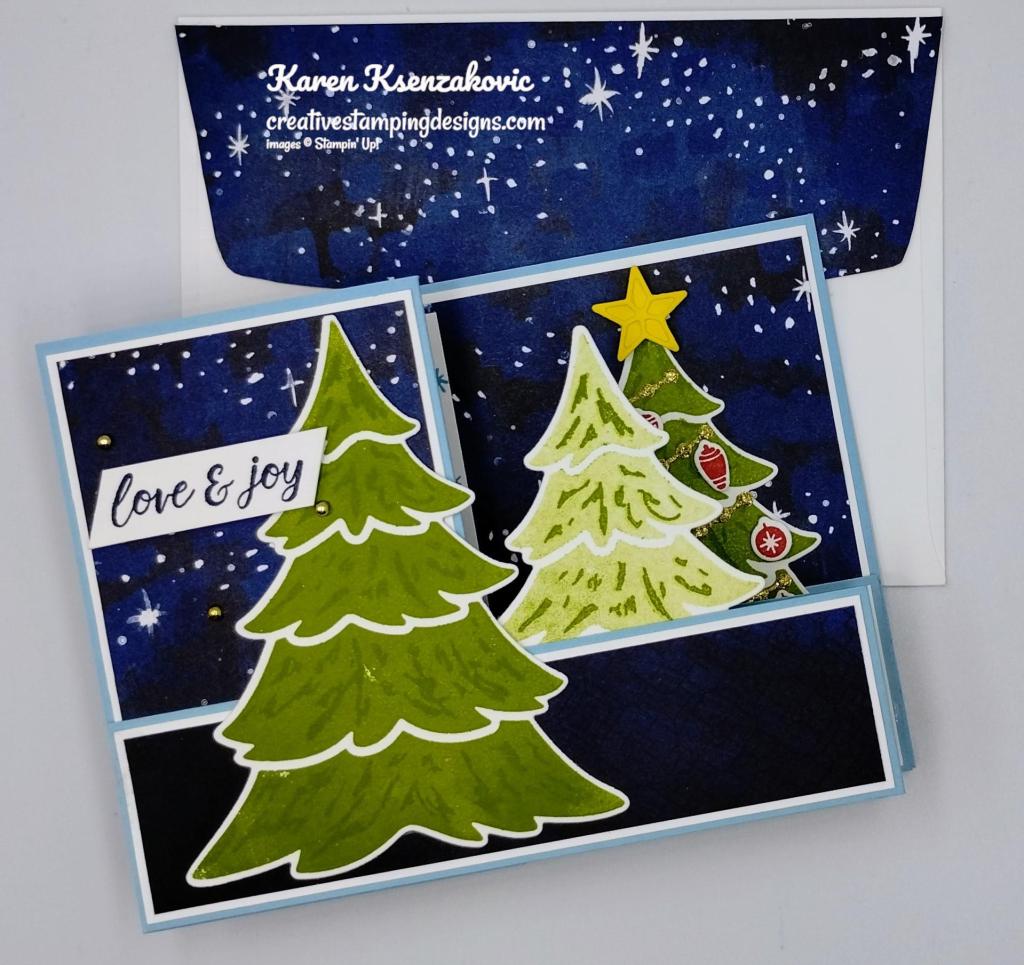
Today’s card I made on YouTube Live on Wednesday. If you were able to join me or watched the replay, thank you. If you’d like to watch my video and stamp along, the measurements are below, just above the supply list, along with the link to my YouTube channel. Here is my card for today.
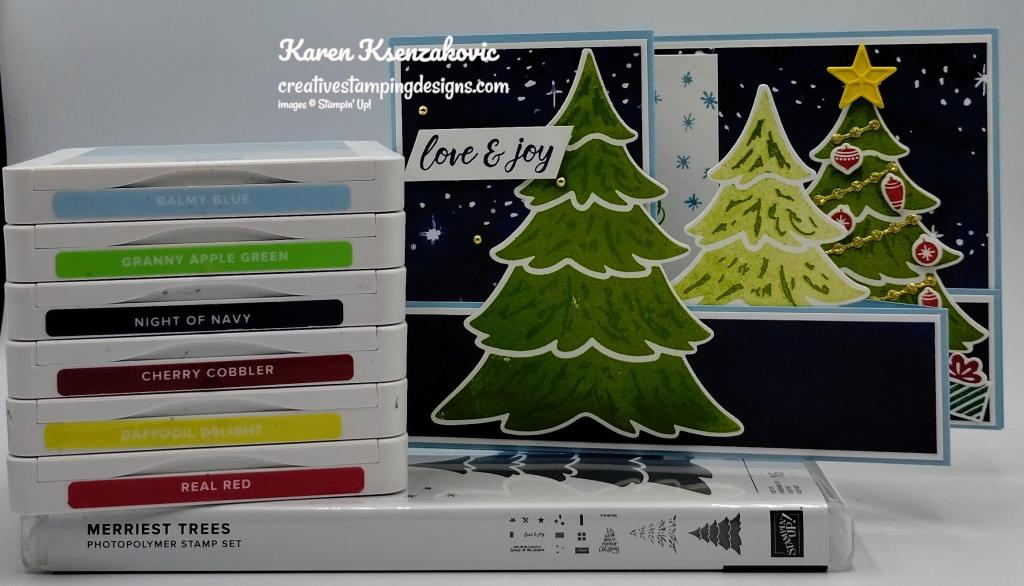
I used the Stampin’ Up! Merriest Trees Bundle along with the O Holy Night Designer Series Paper and Online Exclusive Silver & Gold Adhesive Backed Glimmer Paper for my card today.
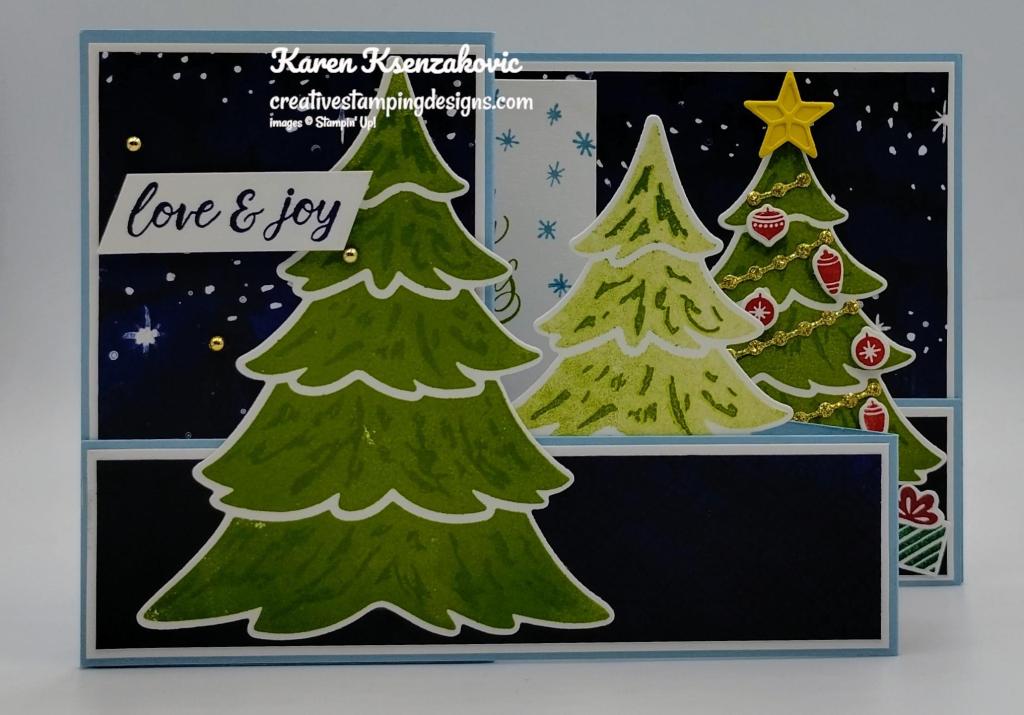
I started by adhering all the panels of O Holy Night DSP to coordinating Basic White mat using Stampin’ Seal. I adhered the layered panels to the Balmy Blue card base and card base strip using Multipurpose Liquid Glue. I folded the card base and card base strip on the score lines for a ‘Z’ fold card. The larger section of the card base strip goes in the front and the larger section of the card base goes in the back. I adhered the 1 1/2″ ‘Z’ fold strip to the bottom of the Balmy Blue card base using Tear & Tape. On a panel of Basic White, I stamped the solid tree image from the Stampin’ Up! Merriest Trees Photopolymer Stamp Set in Granny Apple Green Ink 4 times. Some were stamped in full strength, and some were stamped off once on scrap paper. I stamped the details tree image from the Merriest Trees stamp set in Granny Apple Green Ink over the solid tree images. I cut the trees out using the different sizes of Merriest Trees Dies.
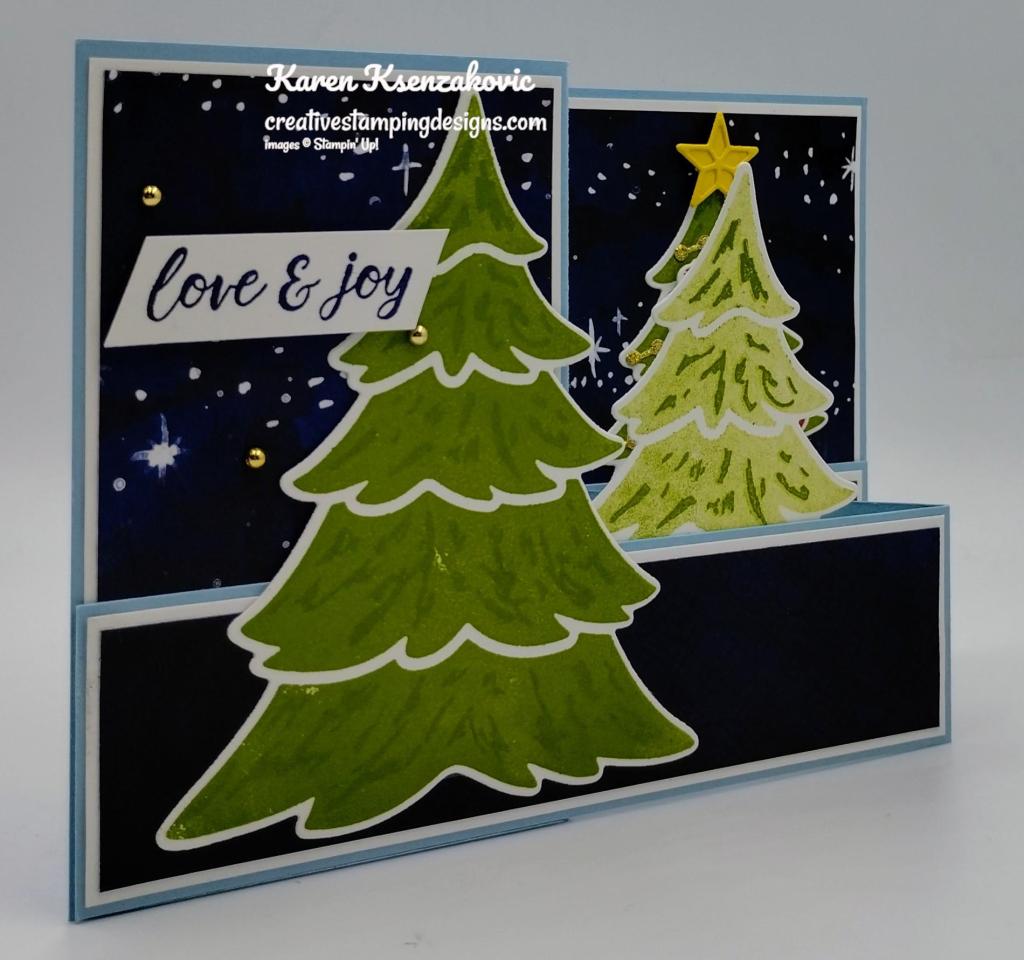
I adhered the largest die cut tree to the front of the card base using Tear & Tape just on the bottom. I stamped the sentiment from the Merriest Trees stamp set in Night of Navy Ink on a strip of Basic White. I cut the 2 ends on an angle using the Paper Trimmer.
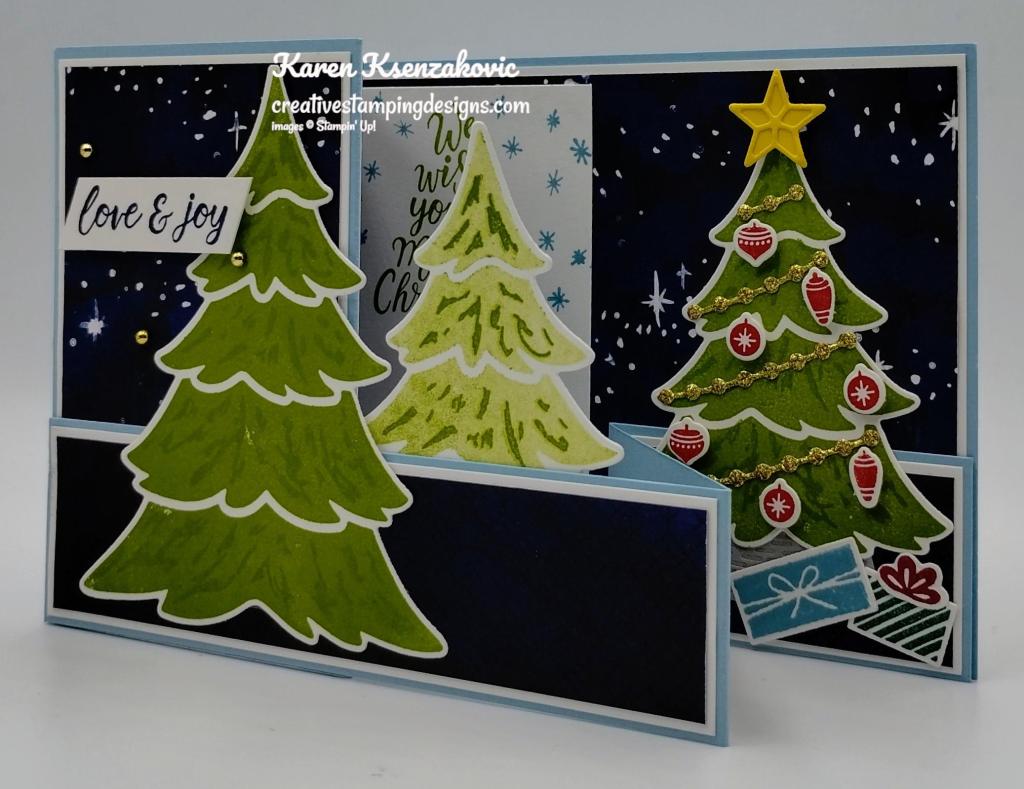
I adhered the stamped off die cut tree to the back of the ‘Z’ fold strip using Tear & Tape.
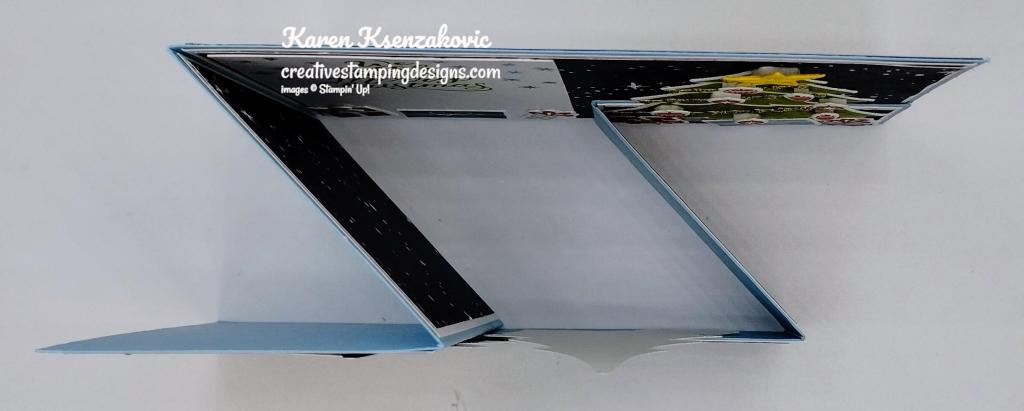
Here is a top view of how the card should look when adhered together.
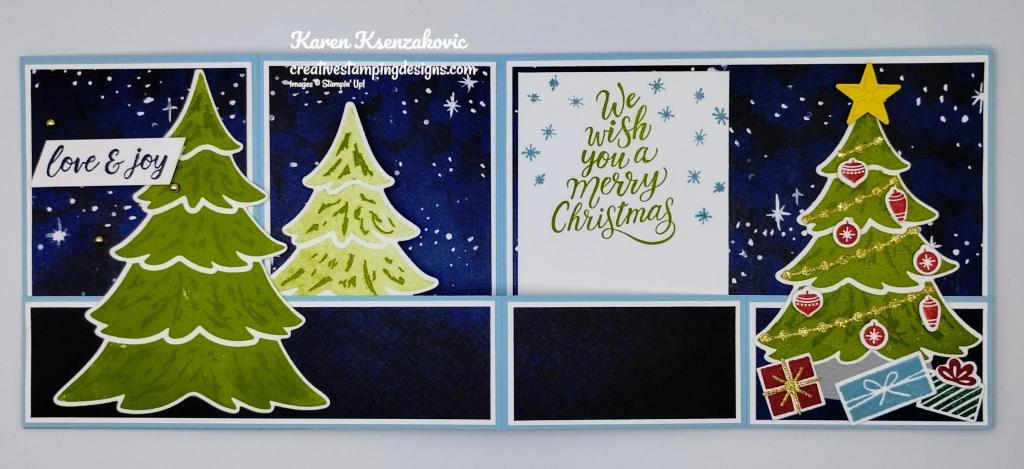
On a panel of Basic White, I stamped the ornament image from the Merriest Trees stamp set 4 times in Real Red Ink. I stamped the different present images and bows from the Merriest Trees stamp set in Cherry Cobbler, Balmy Blue and Shaded Spruce Inks on the panel. I cut all the images out using the Merriest Trees Dies. Using the Merriest Trees Dies, I cut the garland die from a panel of Gold Adhesive Backed Glimmer Paper, the solid & detailed star dies from a panel of Daffodil Delight and the tree base from a panel of Smoky Slate. I decorated one of the die cut trees with the garland and ornaments. I adhered the tree to the tree base using Glue Dots. I adhered the tree to the back section of the card base using Tear & Tape. I adhered the detailed star to the solid star. I adhered it to the top of the tree using a Stampin’ Dimensional. I adhered the packages under the tree. On a panel of Basic White, I stamped the sentiment from the Merriest Trees stamp set in Granny Apple Green Ink. I stamped the star image around the sentiment in Balmy Blue Ink. I adhered the Basic White panel to the inside of the Balmy Blue card base.
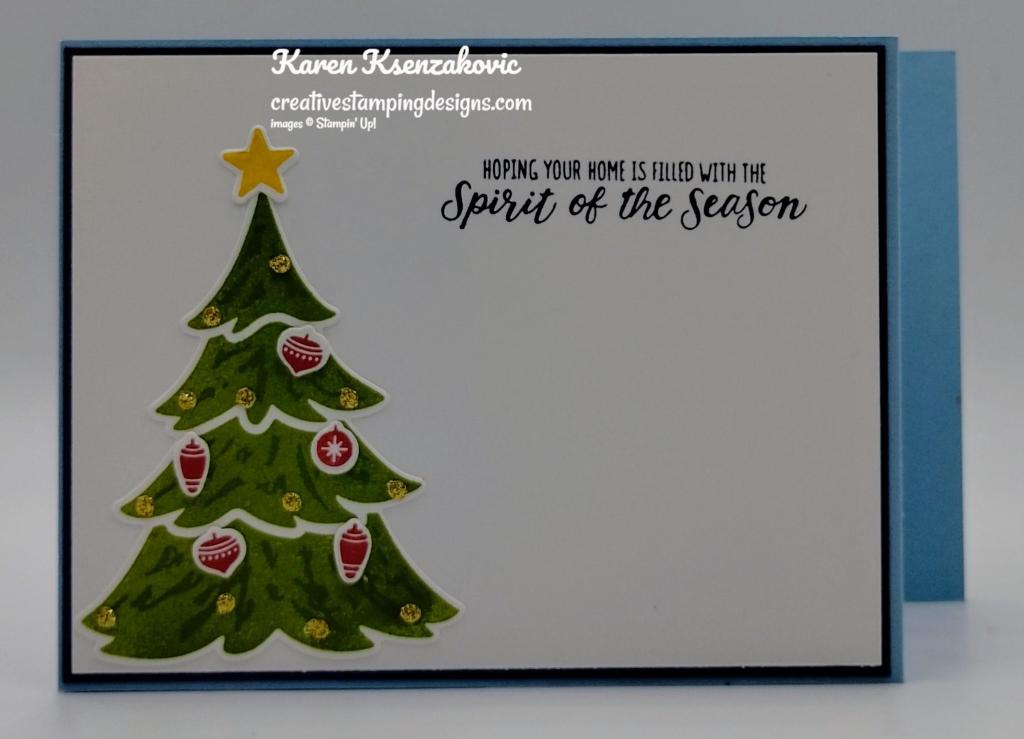
I did not do this part on the video. On the back of the card, I put a panel where I could write a message. I stamped the sentiment from the Merriest Trees stamp set in Night of Navy Ink on a panel of Basic White. I had an extra tree, star and ornaments from what I cut for the card front, so I adhered them to the Basic White panel. I adhered the Basic Whtie panel to a Night of Navy mat then to the back of the Balmy Blue card base.
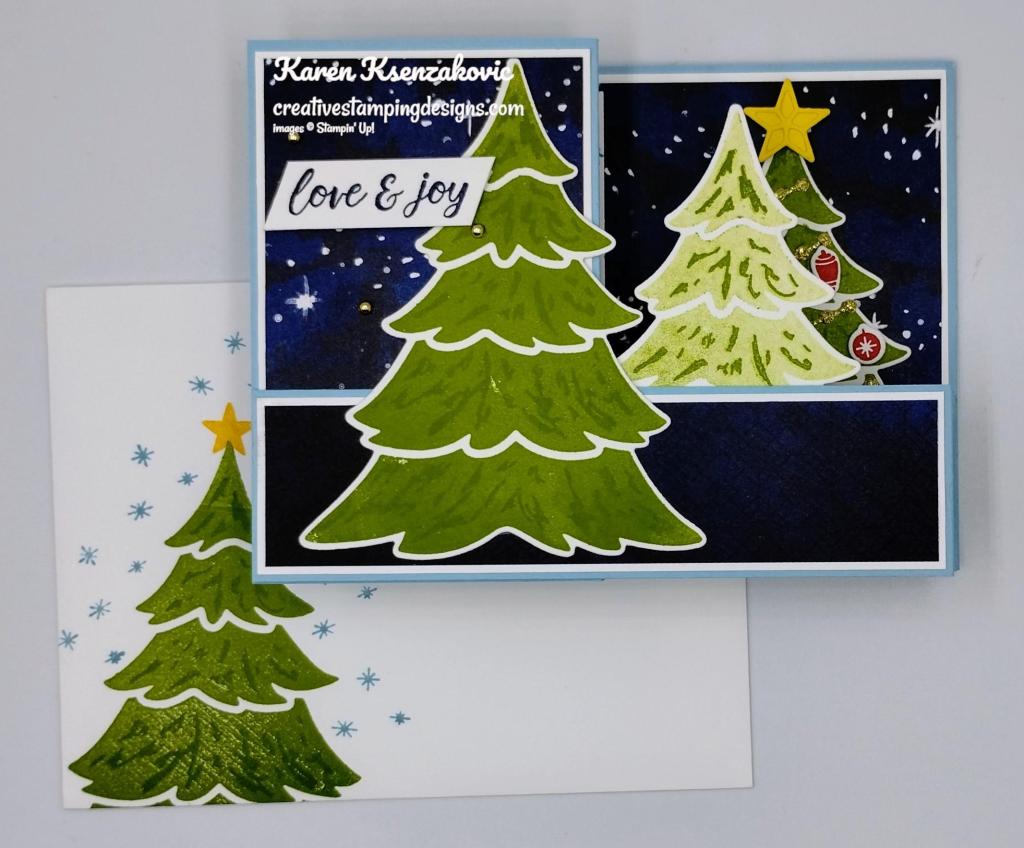
To finish my card, I decorated a Basic White Medium Envelope. I stamped the solid and detailed tree images from the Merriest Trees stamp set in Granny Apple Green Ink on the envelope front. I stamped the star image from the Merriest Trees stamp set in Daffodil Delight Ink on top of the tree. I stamped the star image from the Merriest Trees stamp set in Balmy Blue Ink around the tree. I adhered a panel of O Holy Night DSP to the envelope flap.
Thank you for stopping by my blog today. I hope you liked my card and will give it a try. I hope you will CASE this card and please feel free to post it in the comments of my Facebook page under my post. I’d love to see your take on the card. The list of measurements are below if you’d like to stamp along while watching the video. You can watch my video on my YouTube Channel Here.
If you watch this on my YouTube channel, please remember to subscribe so that you will get notified when a new video goes live. Thank you to those that have subscribed already. Happy Stamping!!
*********************************************************************************************************
If you need any stamping supplies, I’d love to be your Demonstrator. Just click HERE to go directly to my online store or drop me an email if you have any questions.
MY CURRENT HOST CODE IS: P6UQN4GZ
Use this host code when placing an order with me. When you order $50 or greater you will receive a free gift from me! If your order is over $150, please do not use this code, but you’ll still get the free gift. The free gift is your choice of any 1 item valued up to $10.00 from the 2023-2024 Annual Catalog! Unfortunately, packs of cardstock are no longer an option for a free gift. Shipping has become too expensive to ship and it’s costing me as much to ship as the cardstock costs. For any orders $50 or more I will also send you my monthly class tutorials. Click HERE or go to my Customer Rewards for more details and to see what this month’s tutorials are.
Please remember to use my current Host Code and make sure that you can see my name on the final checkout page listed as your Demonstrator when you order so that you know that you’re ordering with me, and you’ll get my rewards!
Happy Stamping, Karen
*********************************************************************************************************
In response to changing policies at Stampin’ Up – I’m adjusting my Ordering Gift policy as well. I’m having to get a little more tough on the adding of Host codes when you place your order thru my Online Store.
Not to worry – you’re still going to get that $10 ordering gift for orders of $50 (before shipping & tax) or greater. And the gift is still any 1 SU! product up to that $10 value – which includes some of our fun Host Sets!
But – if you DO NOT use the Host code for your orders of less than $150 (this is the RETAIL total before Shipping & Handling), then you’ll have two options:
- You’ll need to call Stampin’ Up! (1-800-Stamp-Up) and ask them to add it for you. They’re very helpful and will get it done quickly! OR….
- If your order was over the $50 threshold but under $150, then…you’ll forfeit that $10 ordering gift and rewards – this is the Bummer Option – and I REALLY don’t want to do this, SO please remember to add my Current Host Code.
*********************************************************************************************************
Christmas Everywhere Kit Available


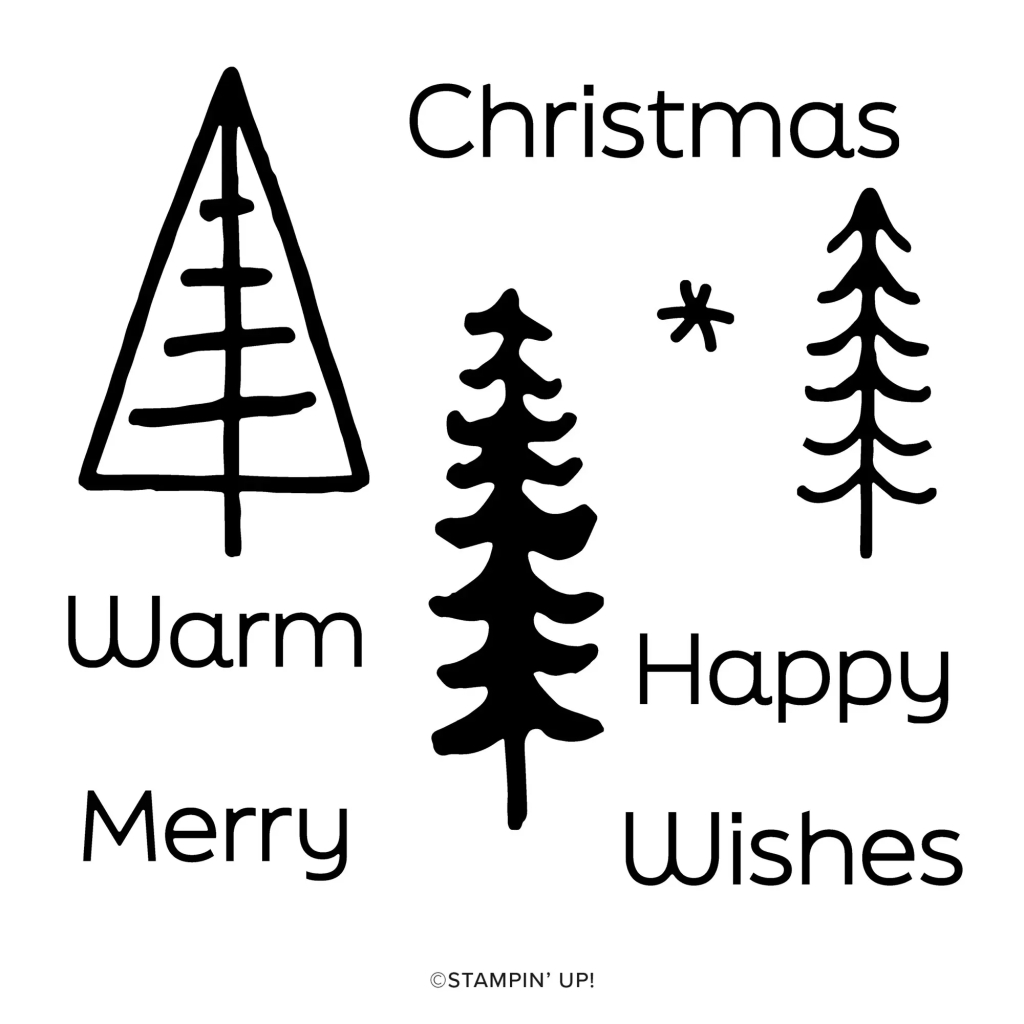
Share the joy of Christmas with everyone, everywhere with the Christmas Everywhere Kit! Featuring trees from around the world, this kit comes with everything you need to quickly create 9 cards—3 each of 3 designs—so you can send the special people in your life warm Christmas wishes wherever they are!
This kit includes:
- Enough supplies to create 9 cards—3 each of 3 designs
- 9 coordinating envelopes
- Christmas Everywhere photopolymer stamp set
- One Lost Lagoon Ink Spot
- Printed card bases, printed die-cut labels and images with red glitter, adhesive, and a clear block
- Finished card size: 5-1/2″ x 4-1/4″ (14 x 10.8 cm)
- Coordinating colors: Granny Apple Green, Lost Lagoon, Pecan Pie, Pretty Peacock, Real Red
*********************************************************************************************************
Online Exclusive New Designer Series Paper Available

Surprise, surprise! We’re offering a special release of five beautiful new Designer Series Paper options! These papers include fabulous holiday prints, gorgeous seasonal styles, and some spectacular timeless designs.
We originally created these papers to be part of our second Sale-A-Bration offering. However, since our next release of new Online Exclusive products won’t happen until November (and you won’t be able to find any of these papers in a catalog), we’ve adjusted our strategy and decided to release these paper options starting 6 September! That way, you have the chance to get ahead on Christmas cards, seasonal crafts, and much more. These products are available while supplies last—you don’t want to miss out!
Sales Period: Starting 6 September
- The special release paper options will be available in the Online Exclusives category in the online store.
- Products will only be available while supplies last. Once products run out, they will no longer be visible in the online store.
*********************************************************************************************************
Home for the Holidays
Subscribe September 11 – October 10
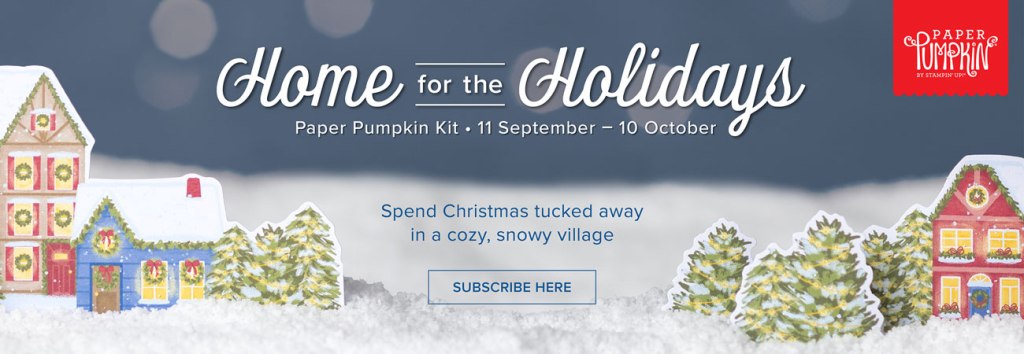
Create dazzling traditional Christmas cards with the Home for the Holidays Paper Pumpkin Kit! This kit includes eight beautiful cards—four each of two designs. Whether you want to send a few to your loved ones or fill your home with some extra special Christmas cheer, this kit has everything you need to make some sparkly, festive cards. Keep reading to learn more!
One extra fun feature of the Home for the Holidays Paper Pumpkin Kit is the bottle of glitter glue! You can use this glue to add shimmery, shiny details to the Christmas scenes on their cards. You can add some glitter to the trees, houses, snow, and more. There are endless possibilities you will have with this glue and the kit.
Bring some inspiration to your creations with the coordinating box design! This box could help create a cute village Christmas scene with your cards, and more. You could even use the box as a photo op prop! This is a fun way to make the most of the kit. Don’t let the Christmas crafts end once you finish with this kit! Since the Home for the Holidays Kit perfectly coordinates with the November Paper Pumpkin Kit, you and you will be able to extend your holiday crafting experience even further. So make sure your subscription is up to date!
This kit includes:
- All the supplies you’ll need to create 8 sparkly and dazzling Christmas cards—4 each of 2 designs—and eight coordinating envelopes.
- A coordinating photopolymer stamp set with endearing holiday sentiments and festive designs.
- A Real Red Stampin’ Spot
- A bottle of Glitter Glue
- Beautiful Christmasy-themed precut pieces
Finished folded card size: 4-1/4″ x 5-1/2″ (10.8 x 14 cm)
Coordinating Stampin’ Up! colors: Balmy Blue, Blueberry Bushel, Cherry Cobbler, Crumb Cake, Crushed Curry, Daffodil Delight, Lemon Lolly, Mossy Meadow, Night of Navy, Old Olive, Pecan Pie, Real Red
Subscribe to the August Paper Pumpkin Kit between 11 September and 10 October by clicking here!
Note: Supplies may be limited toward the end of the subscription period.
*********************************************************************************************************
Card stock cuts for this project:
- Basic White Cardstock 2 – 2 5/8″ X 4 1/8″, 4 1/8″ X 5 3/8″ (large card base mats), 1 3/8″ X 5 3/8″ & 2 – 1 3/8″ x 2 5/8″ (card base strip mats), 2 3/8″ X 3 7/8″ (inner liner), 4 1/4″ X 11″ (trees), 1/2″ X 2″ (sentiment), 4″ X 3″ (ornaments, presents, bows & star), 4″ X 5 1/4″ (back panel)
- Balmy Blue Cardstock 4 1/4″ X 11″ (card base scored & folded at 2 3/4″ & 5 1/2″), 1 1/2″ X 11″ (card base strip scored & folded @ 2 3/4″ & 5 1/2″)
- Daffodil Delight Cardstsock 1″ X 1 3/4″ (star)
- Night of Navy Cardstock 4 1/8″ X 5 3/8″ (back panel mat)
- Smoky Slate Cardstock 1 1/4″ X 1 3/4″ (tree stand)
- O Holy Night Designer Series Paper 2 – 2 1/2″ X 4″, 4″ X 5 1/4″ (large card base panels), 2 – 1 1/4″ x 2 1/2″ & 1 1/4″ X 5 1/4″ (card base strip panels), 2 1/4″ X 6″ (envelope flap)
- Silver & Gold Adhesive Back Glimmer Paper 1 1/2″ X 3″ (garland & present ribbon)
*********************************************************************************************************
Product List



Such a cute card Karen! Love the fun colors and those trees are awesome! 🙂
LikeLiked by 1 person
Thank you so much Amy 🙂
LikeLike
Beautiful card!
LikeLiked by 1 person
Thank you Deborah 🙂
LikeLiked by 1 person