Good Saturday morning stamping friends and welcome to the weekend. Does anyone have any plans in the works? I’ll be at work all day today.
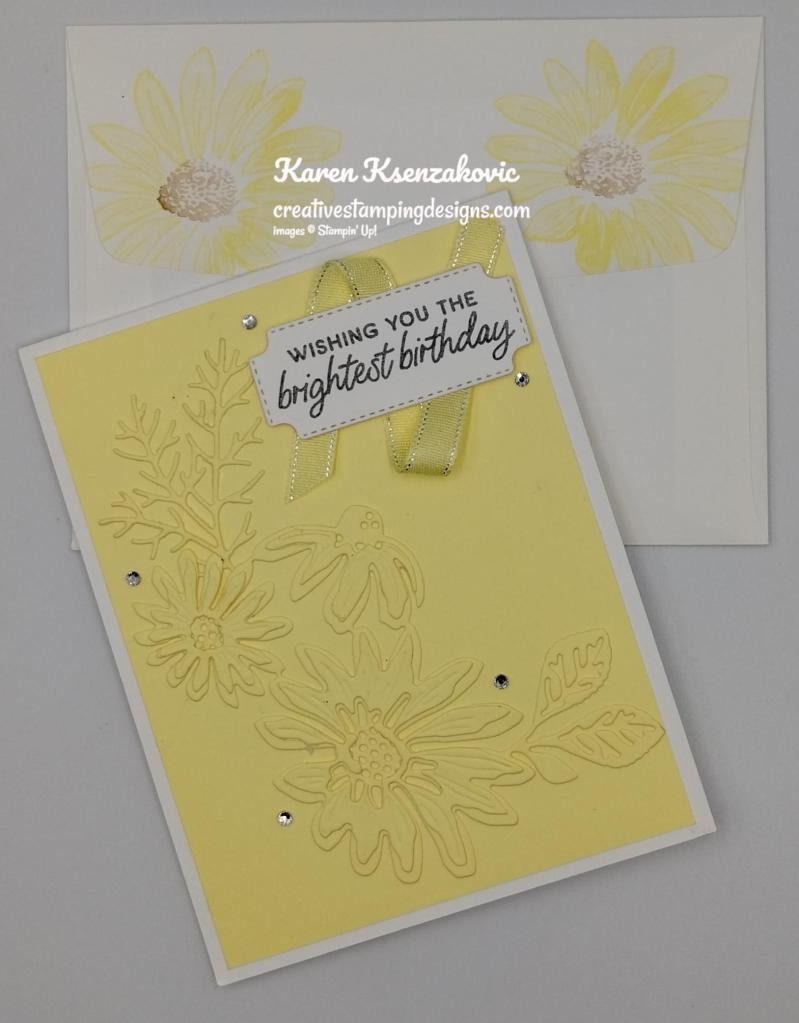
I pulled out a bundle from the2023-2024 Annual Catalog today to play with and I went out of my comfort zone by making a yellow card. As most of you know, I’m not a fan of the color yellow and I have to force myself to use it. I have to admit that I do like this yellow though. If you’d like to see a quick video on how I made my card, Click Here to go to my Instagram Reels. Here’s my card for today.
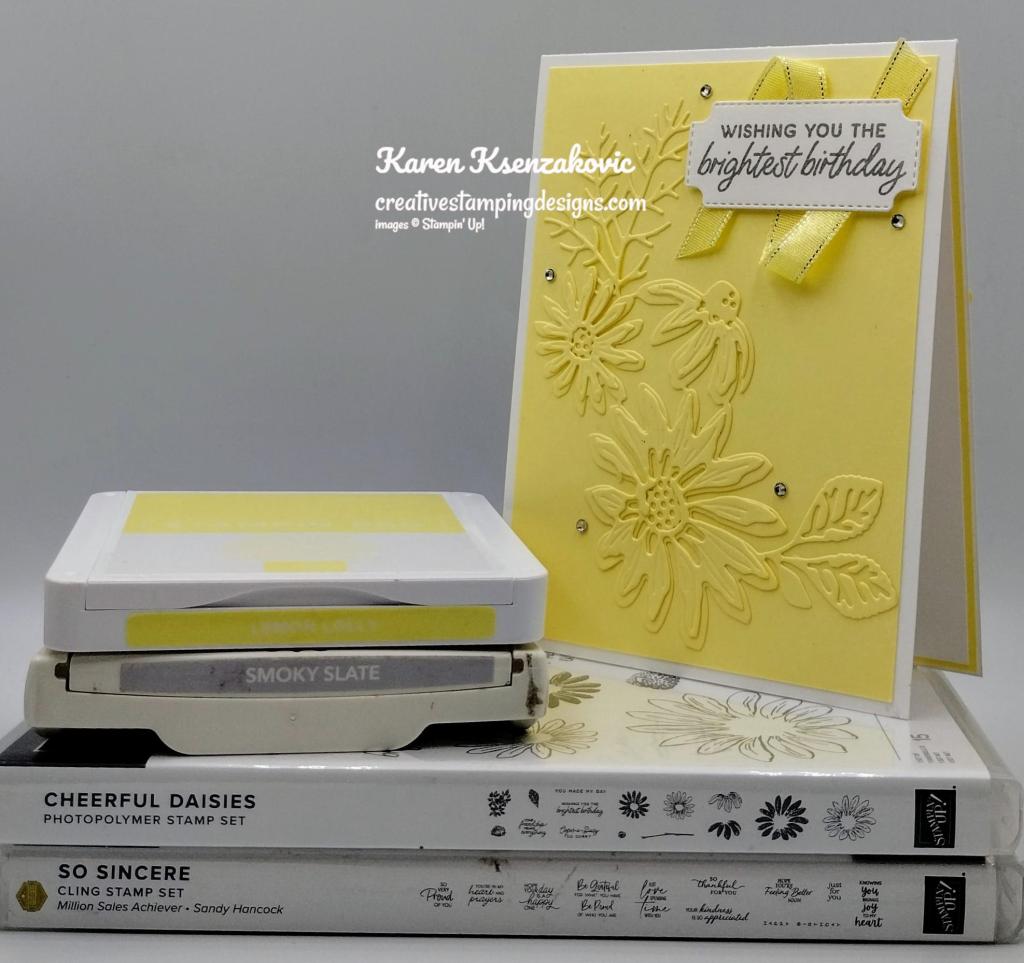
I used the Stampin’ Up! Cheerful Daisies Bundle along with the Stampin’ Up! So Sincere Cling Stamp Set for my card today.
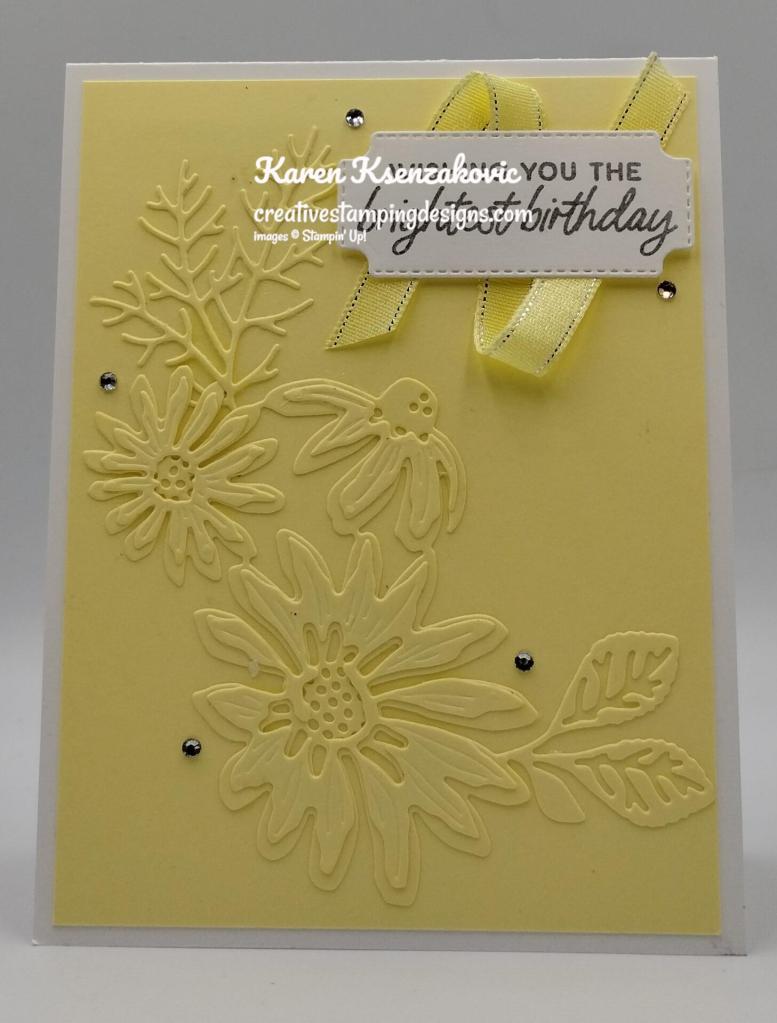
I started by using the Cheerful Daisies Dies and cutting the largest die and the 3 detailed dies from a panel of Lemon Lolly. I adhered the detailed dies to the large die using Liquid Glue.
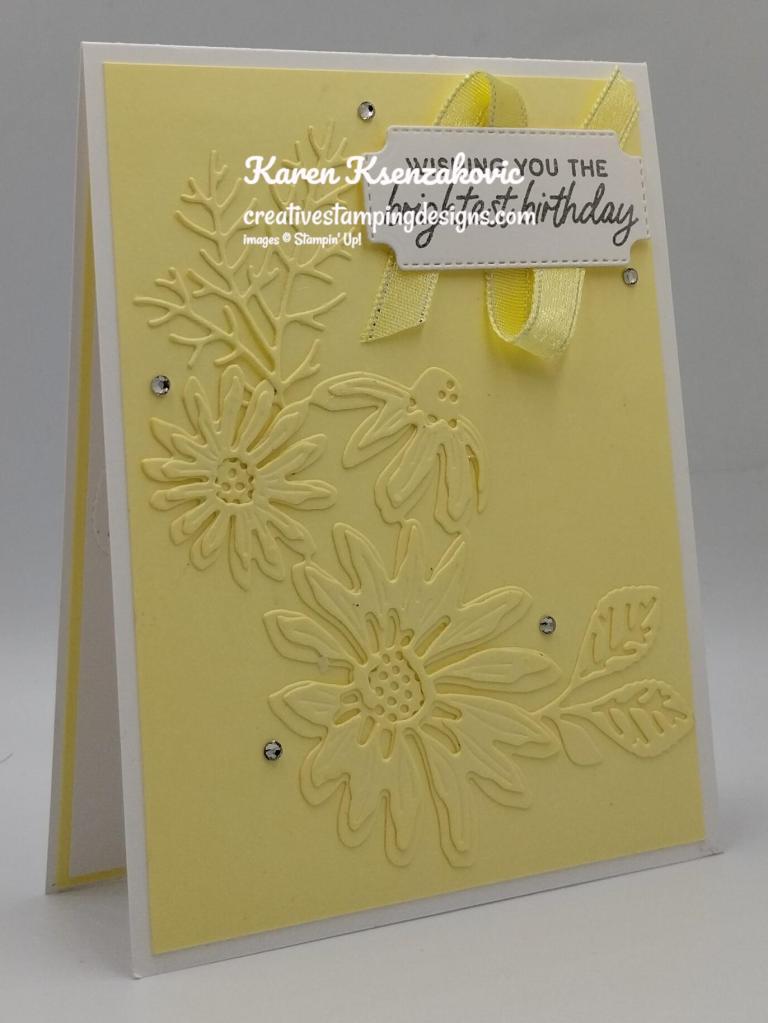
I adhered the die cut daisies to a Lemon Lolly card front using Liquid Glue. I adhered the card front to a Basic White Thick card base using Stampin’ Dimensionals.
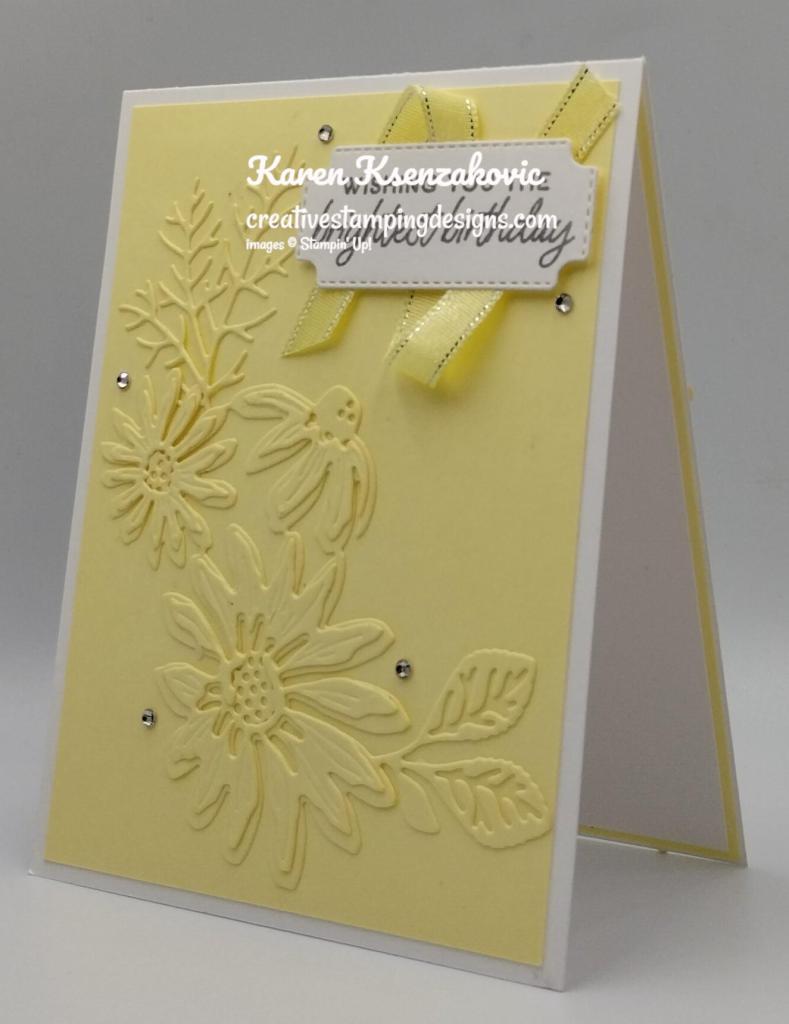
On the panel of Basic White, I stamped the sentiment form the Stampin’ Up! Cheerful Daisies Photopolymer Stamp Set in Smoky Slate Ink. I cut the sentiment out using the Cheerful Daisies Dies. I adhered a piece of Lemon Lolly 3/8″ Sheer Ribbon from the 3/8″ Sheer Ribbon Combo Pack to the card front using Stampin’ Seal in a ‘Z’. I adhered the sentiment over the ribbon using Stampin’ Dimensionals. I added a few Rhinestones Basic Jewels to the card front.
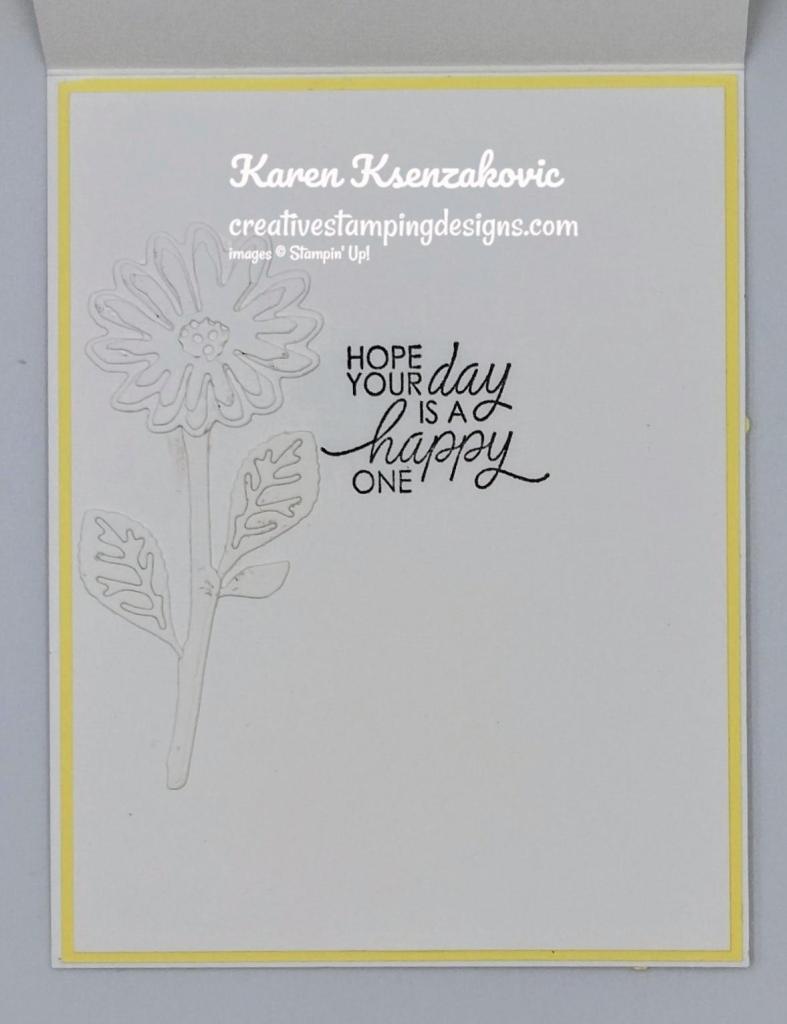
On the inside, I stamped the sentiment from the So Sincere stamp set in Smoky Slate Ink on a panel of Basic White. Using the Cheerful Daisies Dies I cut the daisy, stem and leaves from a panel of Basic White. I adhered the daisy layers together and adhered it next to the sentiment. I adhered the Basic White panel to a Lemon Lolly mat then to the inside of the Basic White Thick card base.
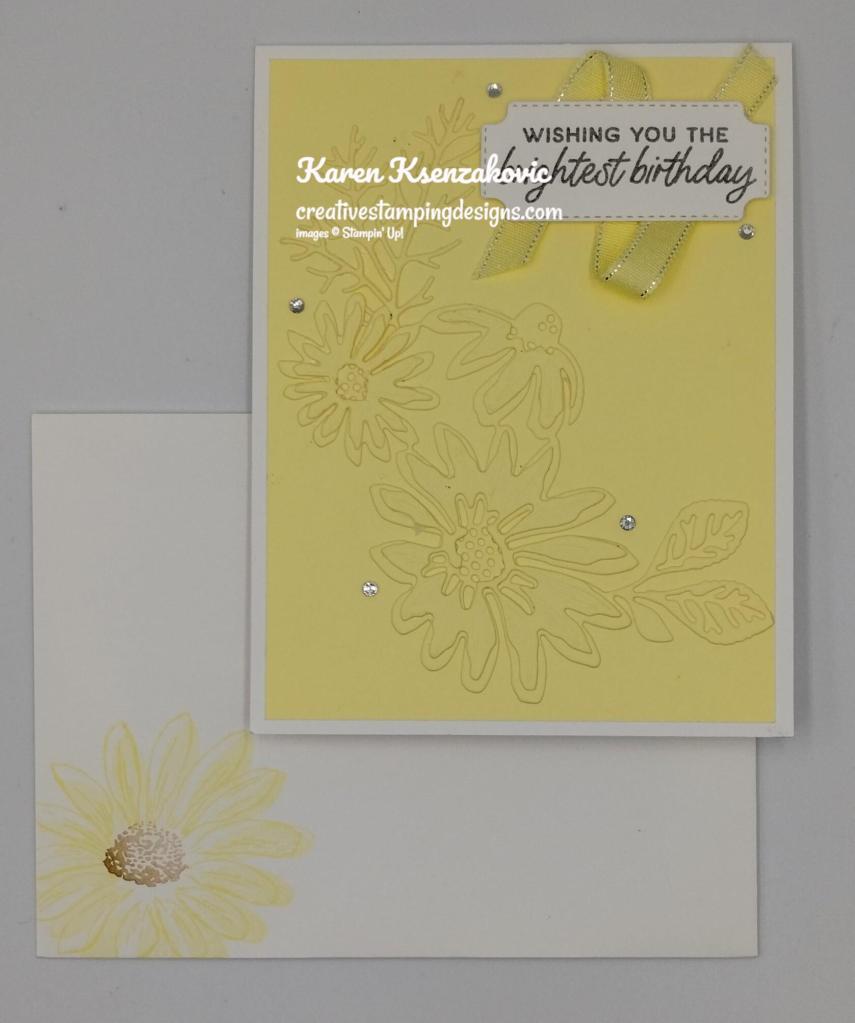
To finish my card, I decorated a Basic White Medium Envelope. I stamped the large daisy image from the Cheerful Daisies stamp set in Lemon Lolly Ink on the envelope front and flap. I stamped the daisy center in Pecan Pie Ink, stamping off once on scrap paper first, inside the daisy.
Thank you for stopping by my blog today. I hope you like the card and will give it a try. Happy Stamping!!
*********************************************************************************************************
If you need any stamping supplies, I’d love to be your Demonstrator. Just click HERE to go directly to my online store or drop me an email if you have any questions.
MY CURRENT HOST CODE IS: T9JKA3XQ
Use this host code when placing an order with me. When you order $50 or greater you will receive a free gift from me! If your order is over $150, please do not use this code, but you’ll still get the free gift. The free gift is your choice of any 1 item valued up to $10.00 from the 2023-2024 Annual Catalog, the January-April 2024 Mini Catalog or from the Online Exclusives! Unfortunately, packs of cardstock are no longer an option for a free gift. Shipping has become too expensive to ship and it’s costing me as much to ship as the cardstock costs. For any orders $50 or more I will also send you my monthly class tutorials. Click HERE or go to my Customer Rewards for more details and to see what this month’s tutorials are.
Please remember to use my current Host Code and make sure that you can see my name on the final checkout page listed as your Demonstrator when you order so that you know that you’re ordering with me, and you’ll get my rewards!
Happy Stamping, Karen
*********************************************************************************************************
In response to changing policies at Stampin’ Up – I’m adjusting my Ordering Gift policy as well. I’m having to get a little more tough on the adding of Host codes when you place your order thru my Online Store.
Not to worry – you’re still going to get that $10 ordering gift for orders of $50 (before shipping & tax) or greater. And the gift is still any 1 SU! product up to that $10 value – which includes some of our fun Host Sets!
But – if you DO NOT use the Host code for your orders of less than $150 (this is the RETAIL total before Shipping & Handling), then you’ll have two options:
- You’ll need to call Stampin’ Up! (1-800-Stamp-Up) and ask them to add it for you. They’re very helpful and will get it done quickly! OR….
- If your order was over the $50 threshold but under $150, then…you’ll forfeit that $10 ordering gift and rewards – this is the Bummer Option – and I REALLY don’t want to do this, SO please remember to add my Current Host Code.
********************************************************************************************************

Looking for older stamp sets and bundles that you missed out on? I’ve updated my Retirement Sale List. Click Here to check it out.
*********************************************************************************************************
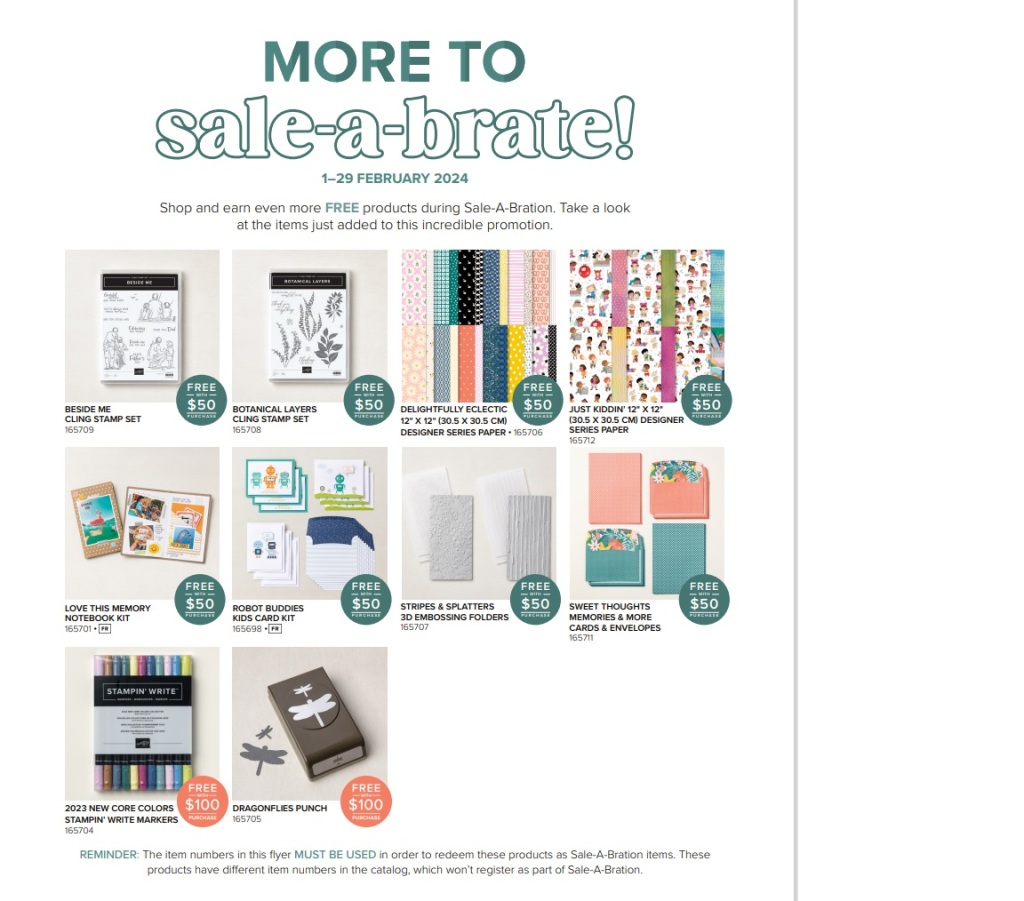
Stampin’ Up! has added more Sale-a-bration items to earn. You can Click Here for a printable PDF flyer to see all the new goodies.
*********************************************************************************************************
Online Exclusives From Stampin’ Up! –
Available Now and New Items Coming March 5!


You can see a flyer with some of the new Online Exclusives that will be available to order beginning March 5 Here. If you want to get your hands on the Online Exclusives early, the Demonstrator preorder starts on February 1! So if you join as a Demonstrator, you can either add the new products to your Starter Kit beginning February 1 or add them to a Demonstrator order in February!
Go check out my Online Store for the NEW Online Exclusive products available. Get those orders placed early so you don’t miss out on the pretty new suite and new bundles.
*********************************************************************************************************
Joining Special January 4 – February 29
Joining Stampin’ Up! as a demonstrator offers some fabulous opportunities, including:
- Becoming part of our wonderful community
- Attending exclusive demonstrator-only events
- Having early access to products
- Receiving a copy of our catalogs early
- Participating in philanthropic events
- Getting a 20% discount on our magnificent coordinating products
- Joining our exclusive demonstrator-only Facebook group
- Having the opportunity to earn a supplemental income
- Accessing our demonstrator-only weekly newsletter: Succeed Weekly
- Receiving training information and accessing resources to help you through your first year and beyond
- Bonus: Since it’s Sale-A-Bration, now is an excellent time to join and take advantage of the Join offer!

Sale-A-Bration is an excellent time you to join Stampin’ Up! In addition to the already great value of the Starter Kit, if you sign up as a Stampin’ Up! demonstrator during Sale-a-bration, you can choose from two incredible options:
- Option 1: Purchase the $99 Starter Kit during Sale-a-bration, pick $125 worth of Stampin’ Up! merchandise of your choice and get the Stampin’ Glass Mat Studio ($60 value!) for FREE with your Starter Kit!
- Option 2: Purchase the $99 Starter Kit during Sale-a-bration, pick $155 worth of Stampin’ Up! merchandise of your choice. That’s $30 additional merchandise for FREE when you purchase your Starter Kit!
Two joining options so you can pick the one that you like the best!!
There is never an obligation to sell. You can join just to enjoy the discount for yourself along with all the other Demonstrator benefits. Once you join, you’ll get at least a 20% discount on all of your Stampin’ Up! merchandise purchases and you get to order early from the upcoming catalogs! You will also be able to attend the OnStage Events and any other events Stampin’ Up! has and you get to be a part of our Stampin’ Up! team!
Unsure about this and want to talk? Contact me at creativestampingdesigns@gmail.com and we can talk. You can also find additional information Here at Join My Team. Being a part of the Stampin’ Up! Community is one of the best decisions I’ve ever made. I have made many friends along the way while doing what I love, Paper Crafting. This Joining offer is only good during Sale-a-bration which starts January 4 and ends on February 29.
********************************************************************************************************
Sweet Springtime
Subscribe January 11 – February 10
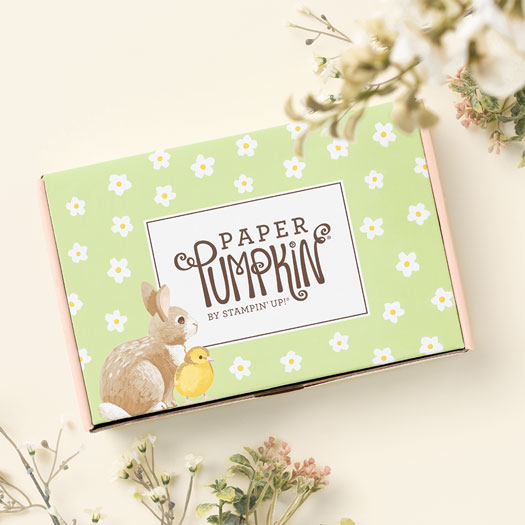
Celebrate Easter and Spring with adorable cards and treat boxes!
• Makes 9 projects: 3 each of 3 designs
• Projects include printed cards, coordinating envelopes, and gift boxes
• Precut paper pieces, baker’s twine, and embellishments
• Coordinating colors: Petal Pink, Daffodil Delight, Granny Apple Green,
Berry Burst, Early Espresso (Classic Stampin’ Spot), Crumb Cake
Don’t miss the coordinating Love of Spring Dies add-on!
The dies will coordinate with the January, February and March Paper Pumpkin Kit.
The Love of Spring Dies Add-On—available only while supplies last!

Item # 164396 $12.00
This exclusive add-on coordinates with the three upcoming kits! Paper Pumpkin subscribers can purchase it beginning 11 December. The add-on is available only while supplies last, so it’s best to shop early!
Subscribe to the February Paper Pumpkin Kit between 11 January and 10 February by clicking here!
Note: Supplies may be limited toward the end of the subscription period.
*********************************************************************************************************
Card stock cuts for this project:
- Basic White Cardstock 2 – 4″ x 5 1/4″ (inner liner, sentiment & inner daisy)
- Basic White Thick Cardstock 4 1/4″ X 11″ (card base scored & folded at 5 1/2″)
- Lemon Lolly Cardstock 4″ X 5 1/4″ (card front), 5″ X 5 1/2″ (daisies), 4 1/8″ X 5 3/8″(inner liner mat)
*********************************************************************************************************
Product List




So pretty Karen! The monochromatic layering is perfect! 🙂
LikeLiked by 1 person
Thank you so much Amy
LikeLike
None of the product links go to stampup
LikeLike
They went to Stampin’ Up! for me when I checked. You may have to go directly to my site creativestampingdesigns.com
LikeLike
Love that tone on tone. Gorgeous! TFS
LikeLiked by 1 person
Thank you so much Susan
LikeLike
Karen,
I love this yellow card. Lemon Lolly the only good yellow they have.
I struggle to find a true yellow I like. This one should be a keeper in the SU line.
At first I thought flowers embossed.
Anyways, think I’ll copy.
Beth
LikeLiked by 1 person
Thank you Beth. CASE away
LikeLike
That yellow is lovely!
LikeLiked by 1 person
Thank you Deborah
LikeLiked by 1 person